Garden Chairs Refurb: From Indoor Dining Chairs to Outdoor Garden Seating
by steve-gibbs5 in Workshop > Furniture
454 Views, 1 Favorites, 0 Comments
Garden Chairs Refurb: From Indoor Dining Chairs to Outdoor Garden Seating
Welcome dear reader.
The Project:
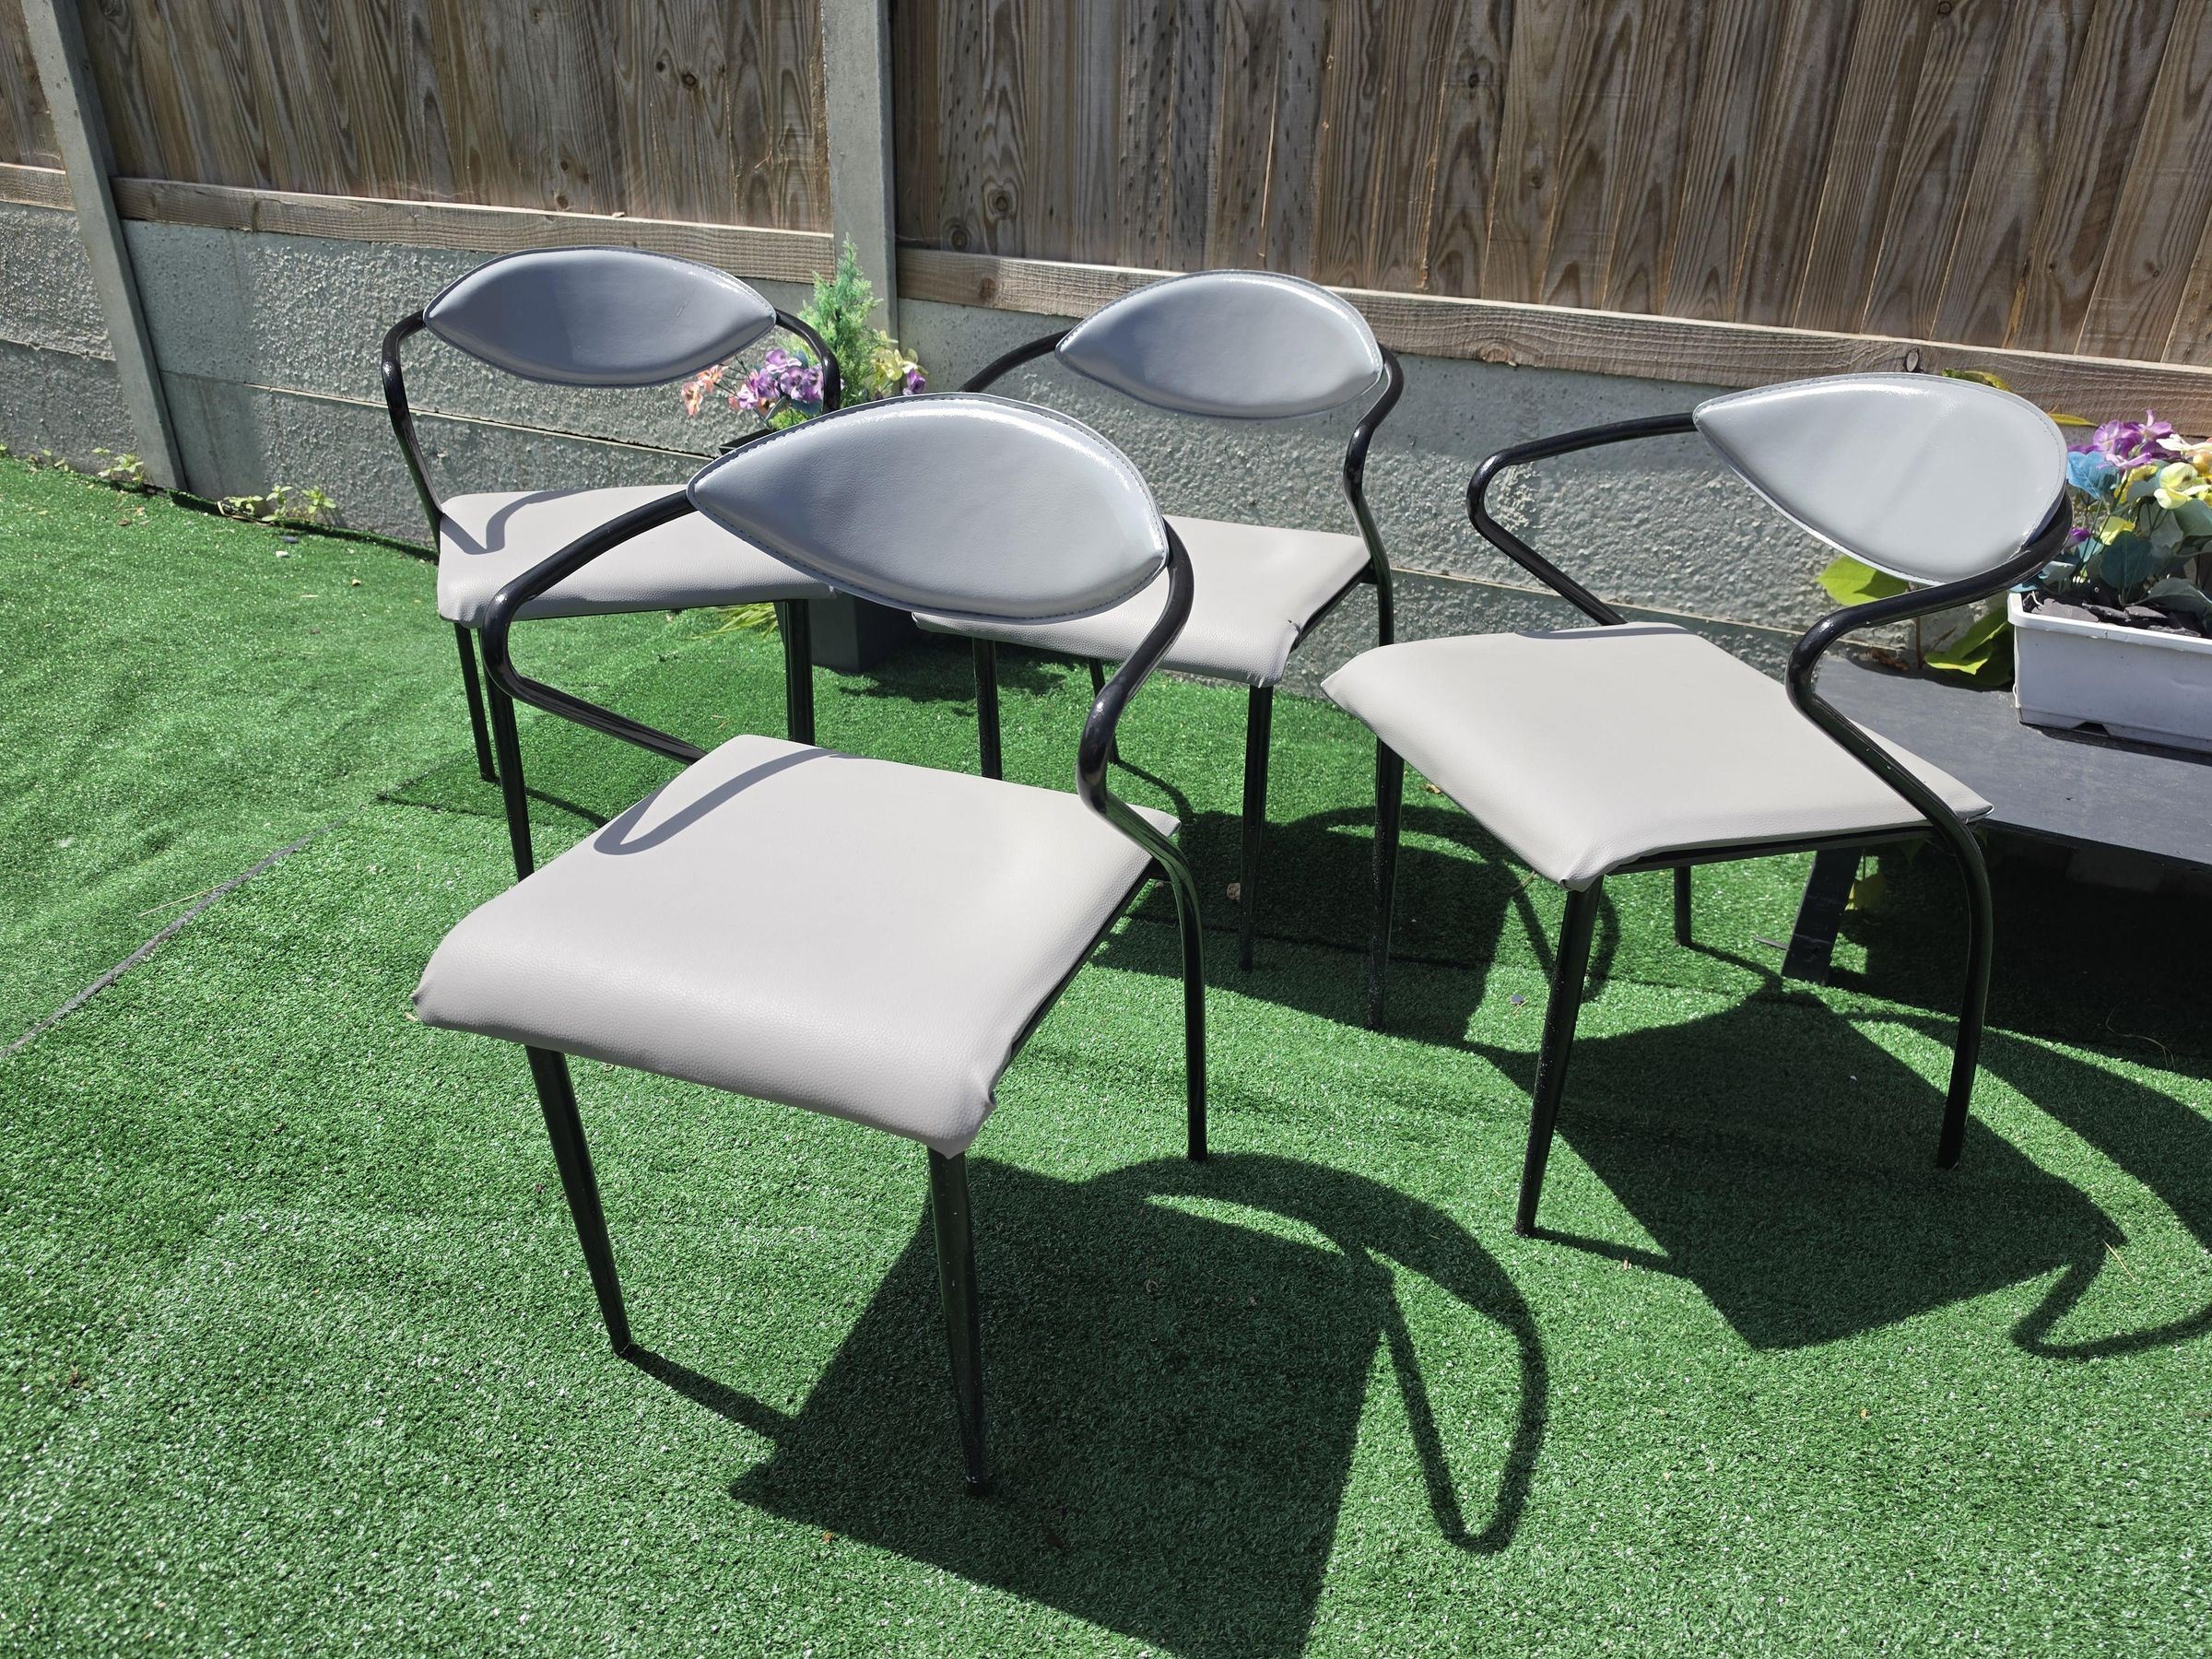
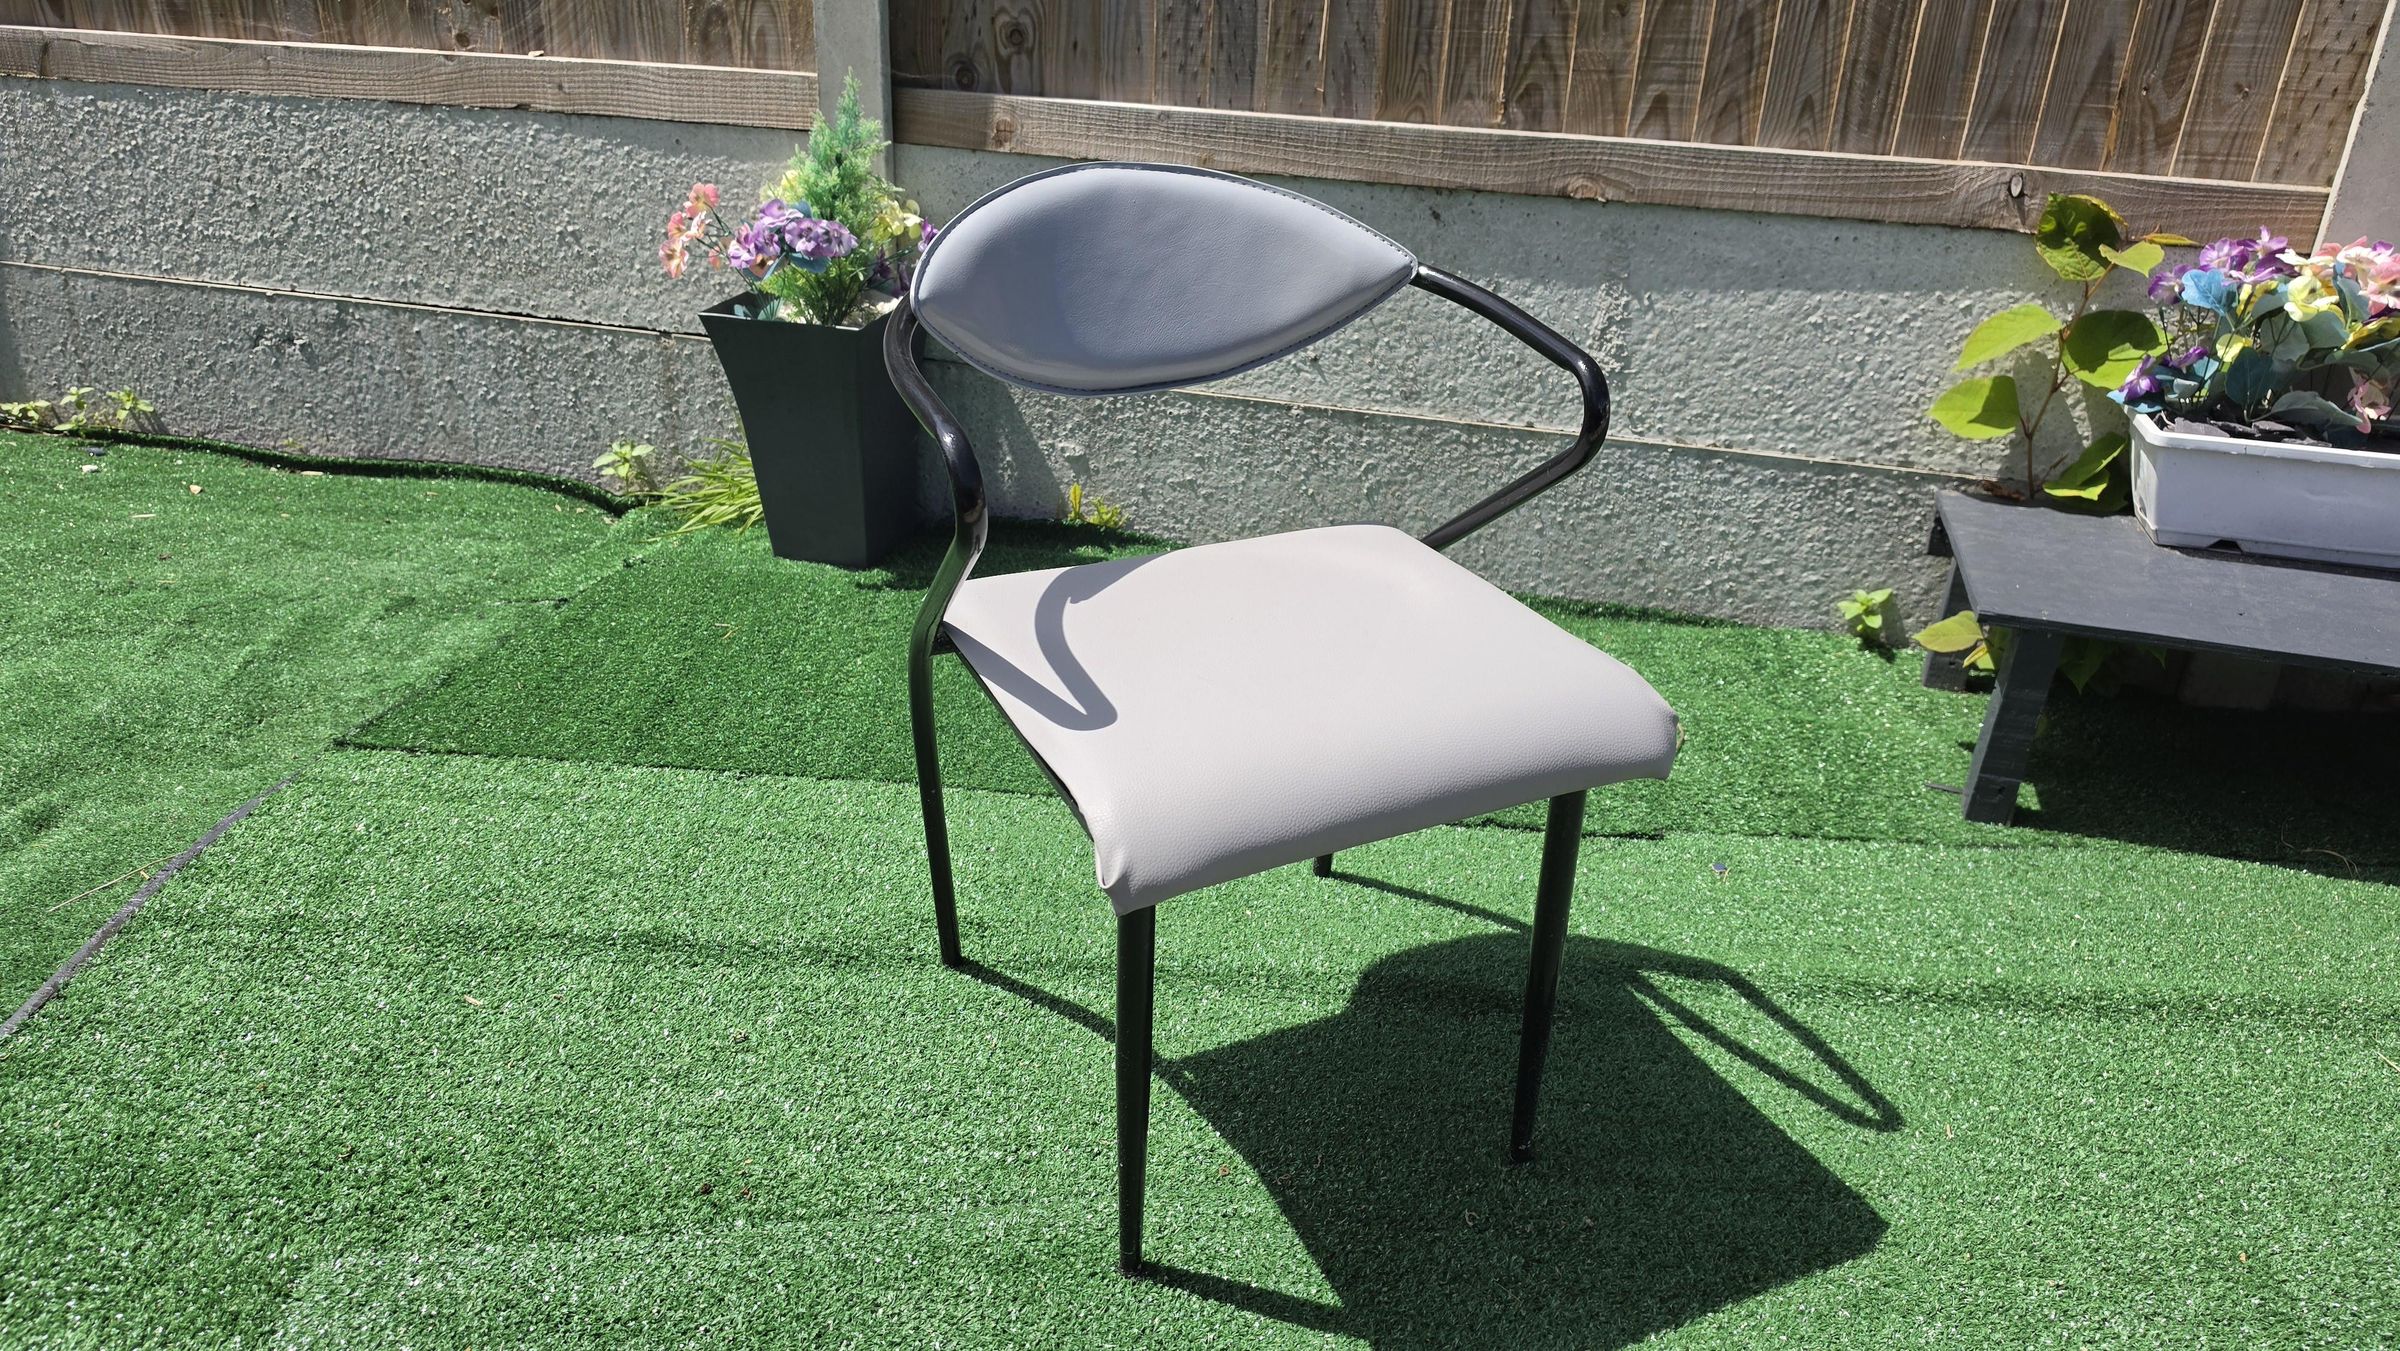
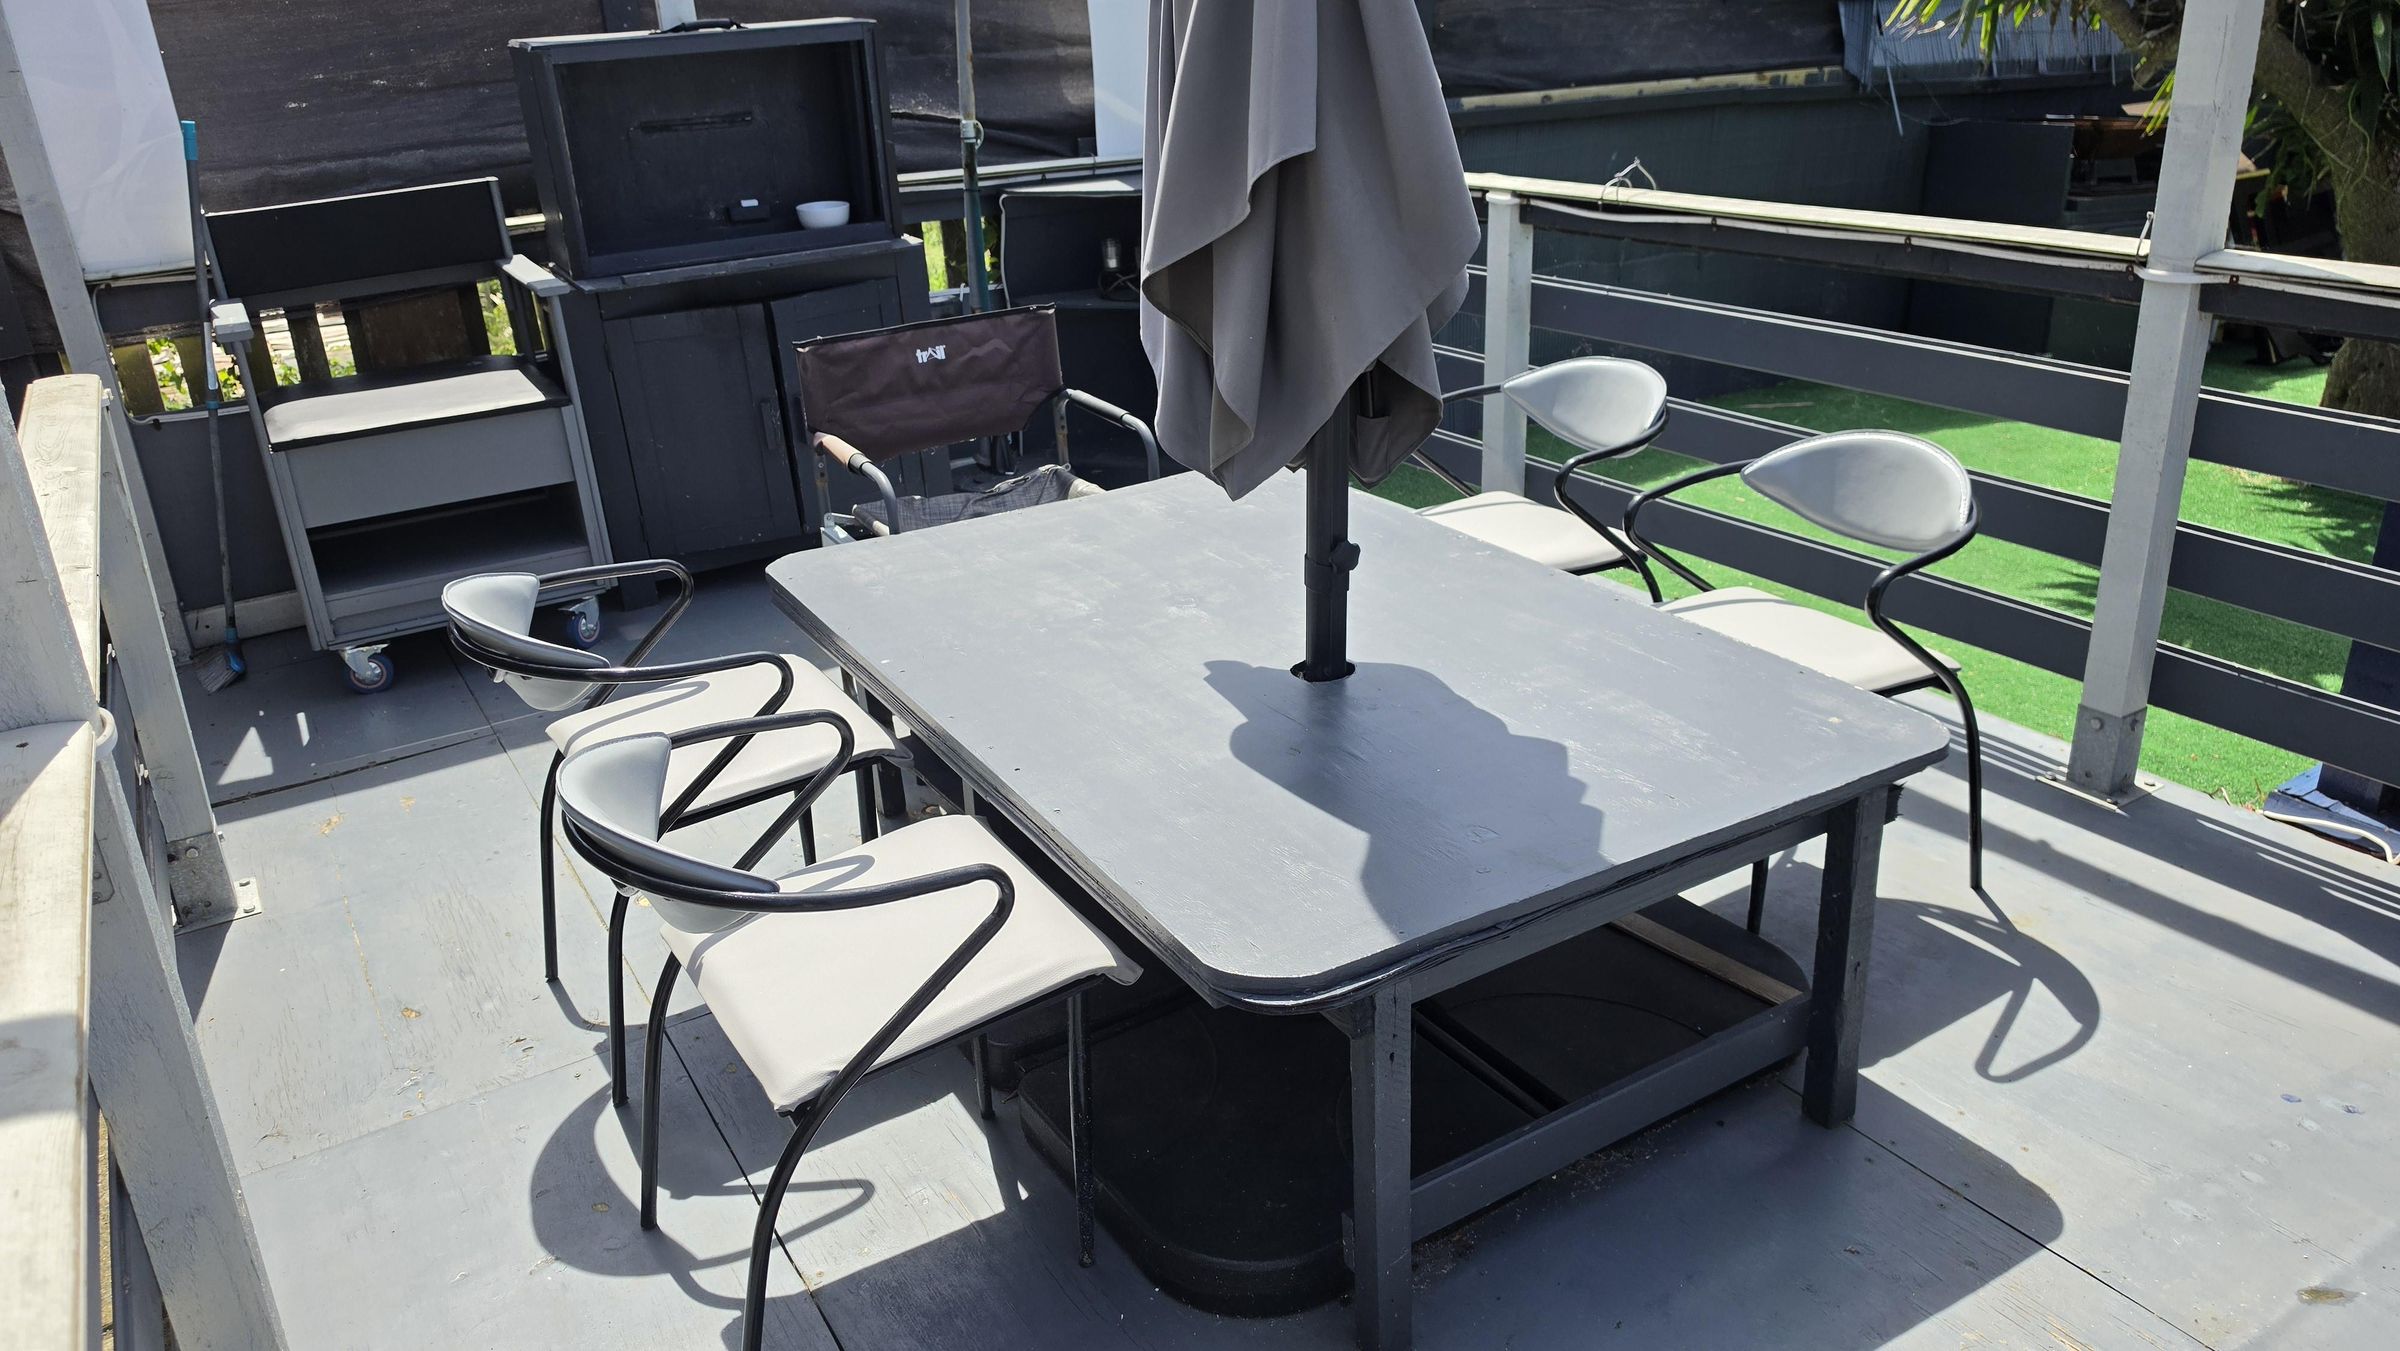
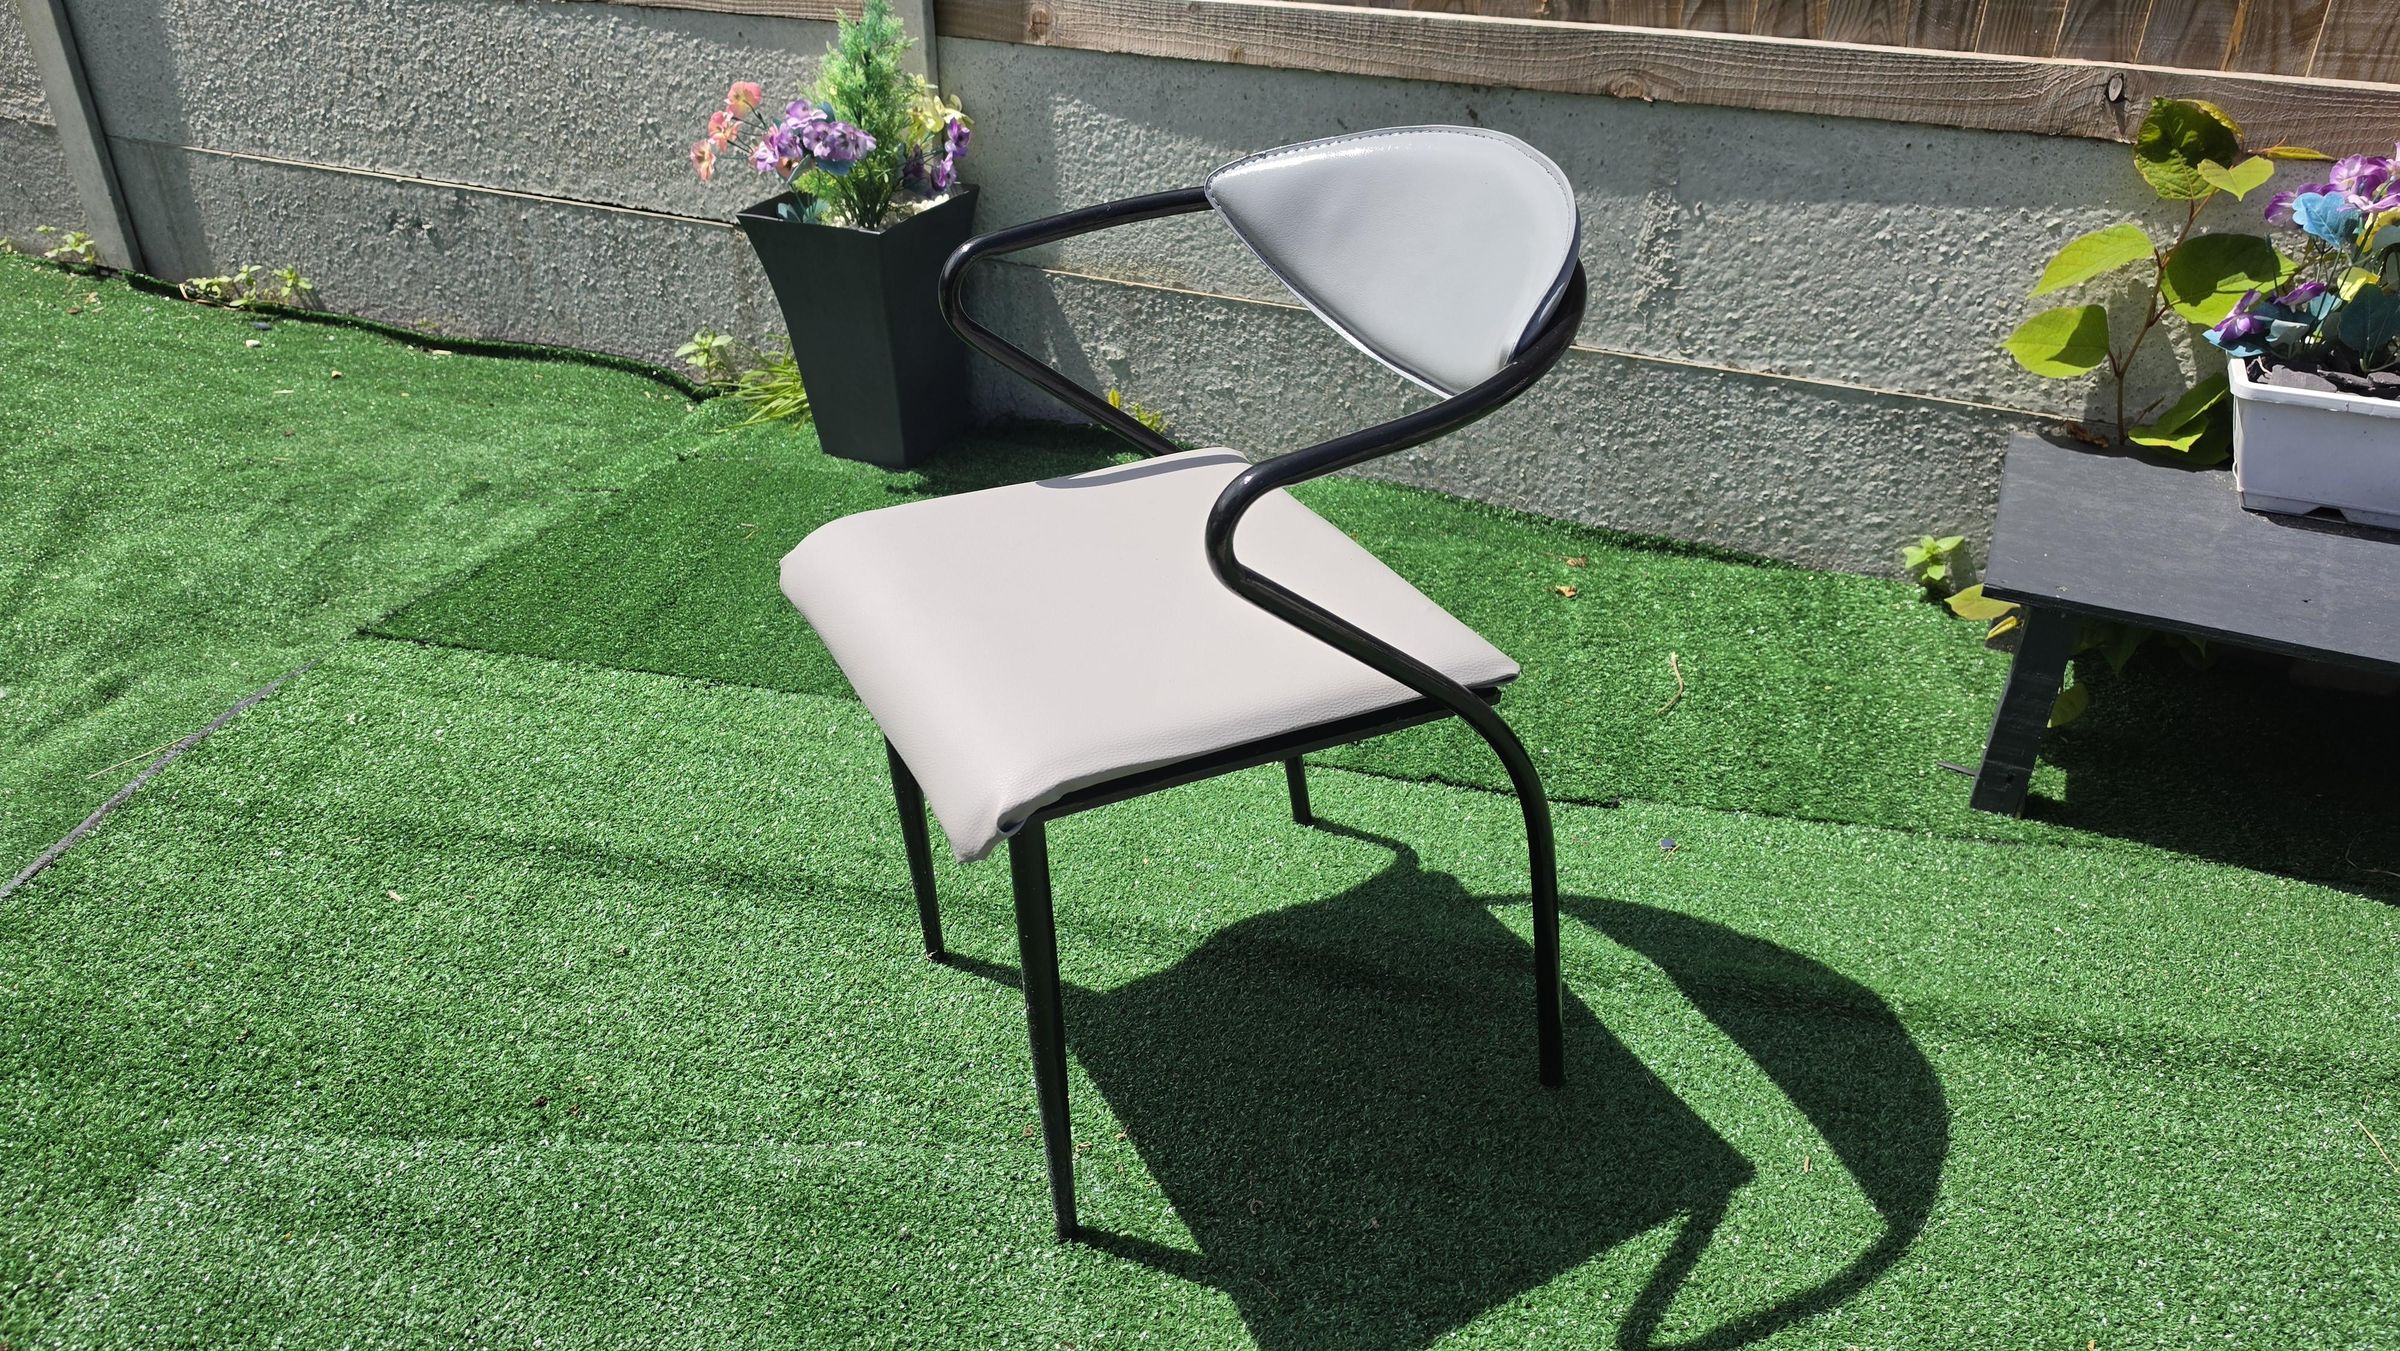
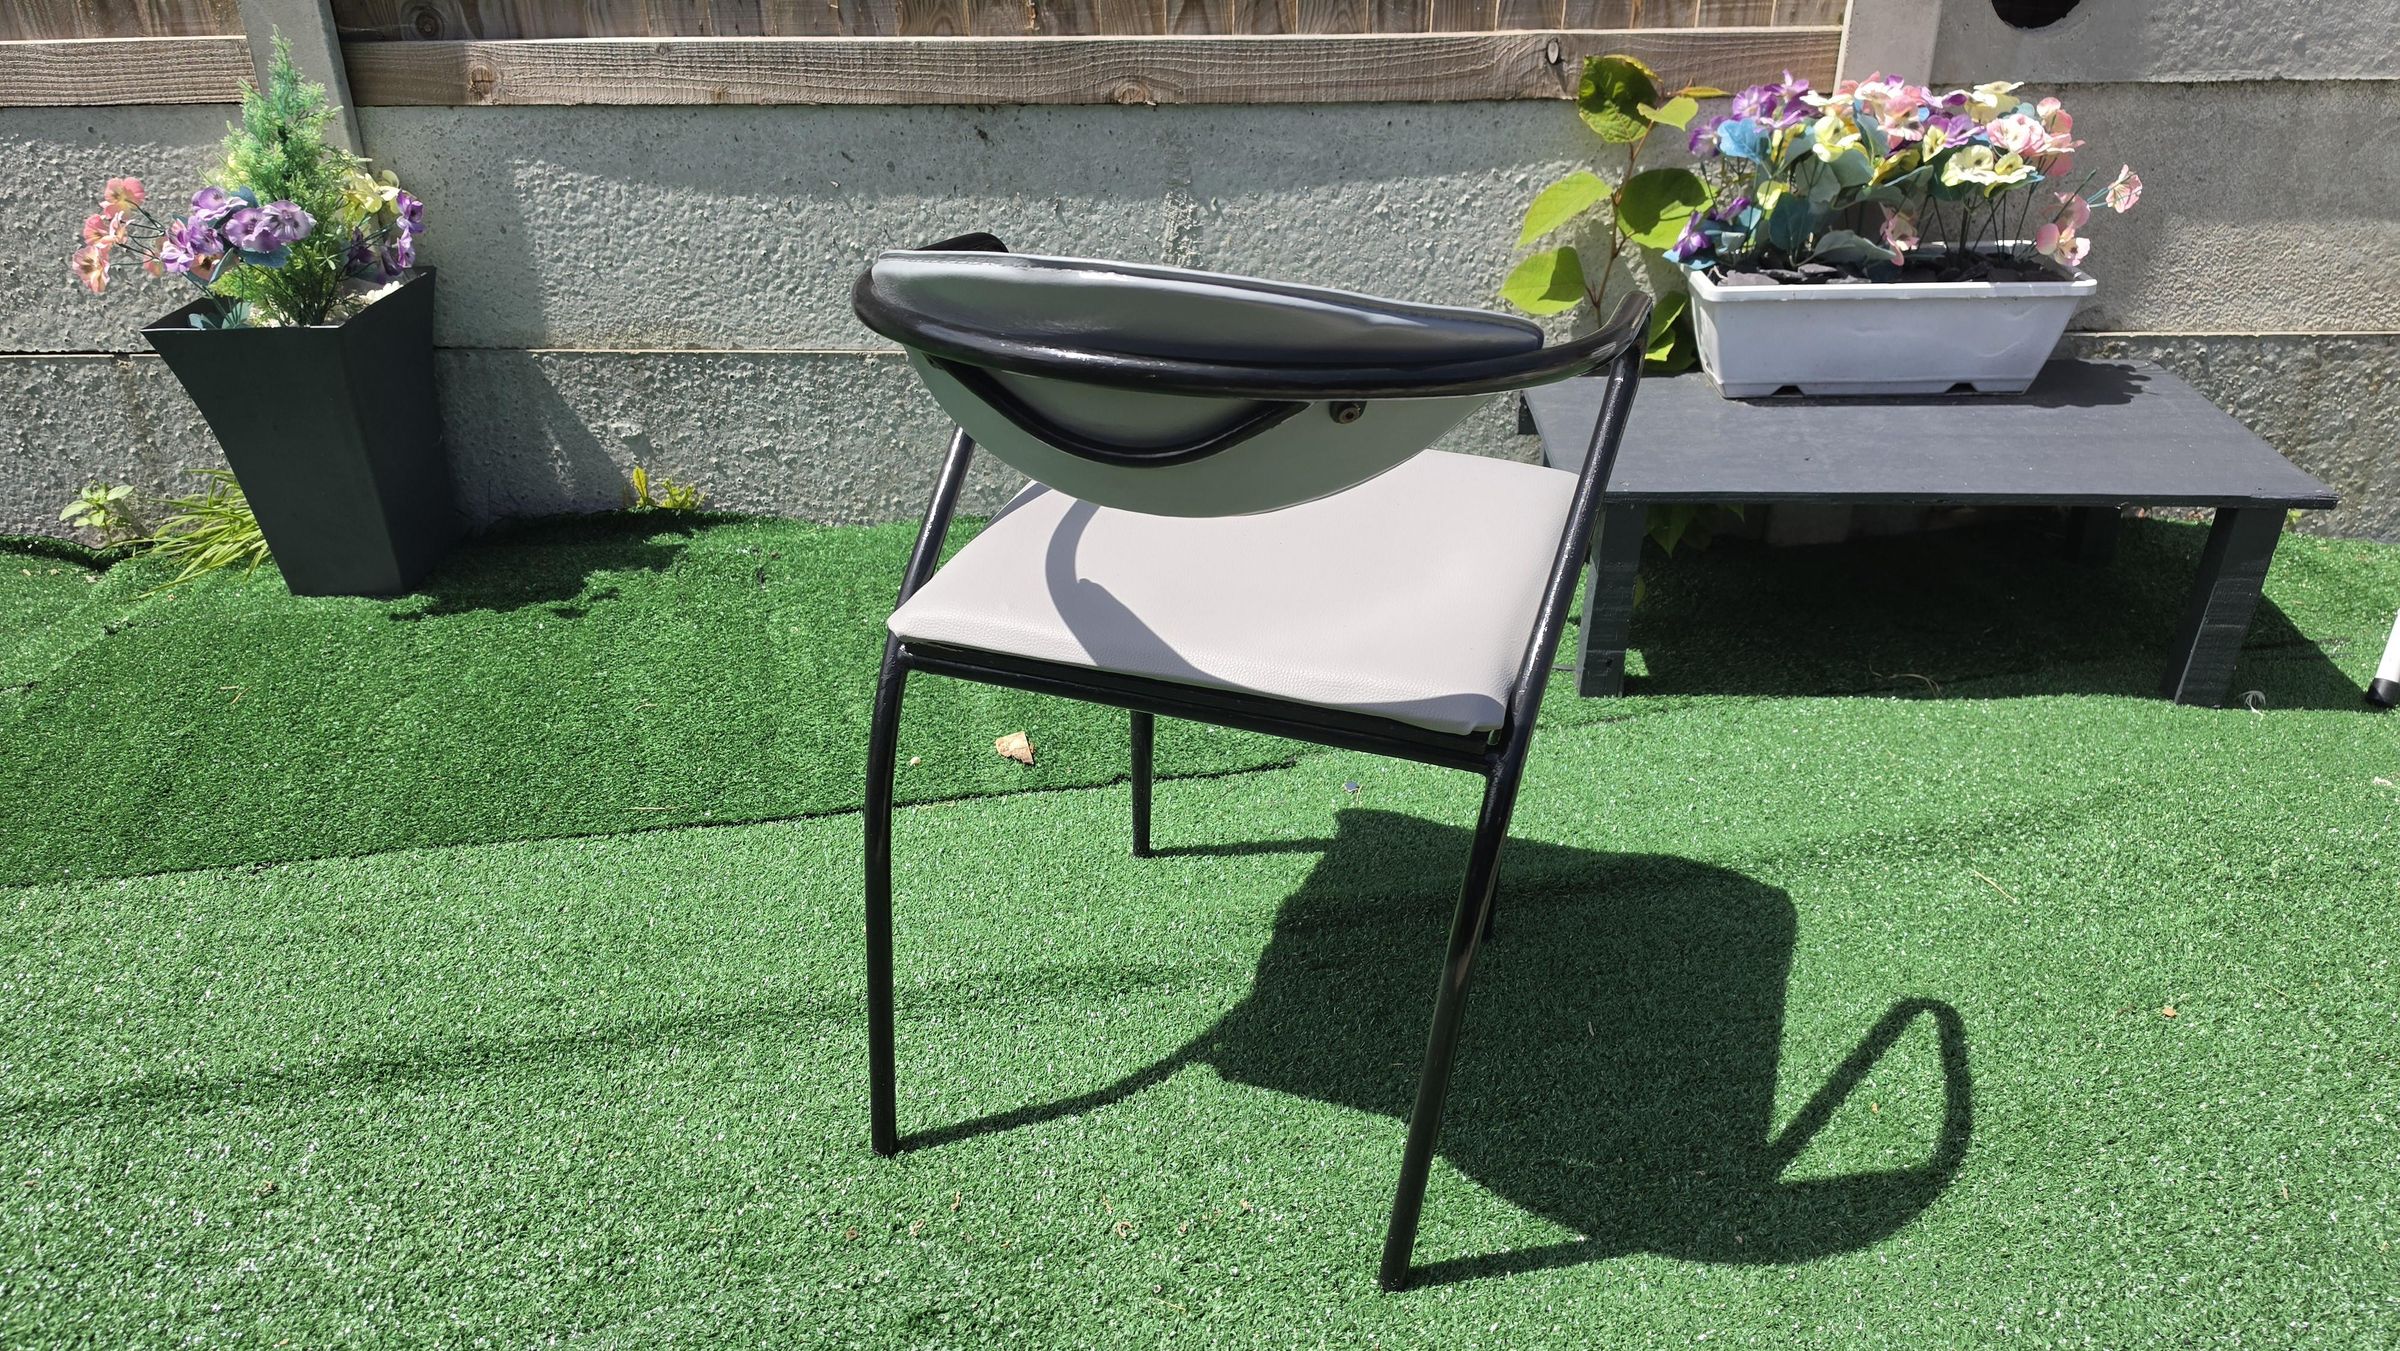
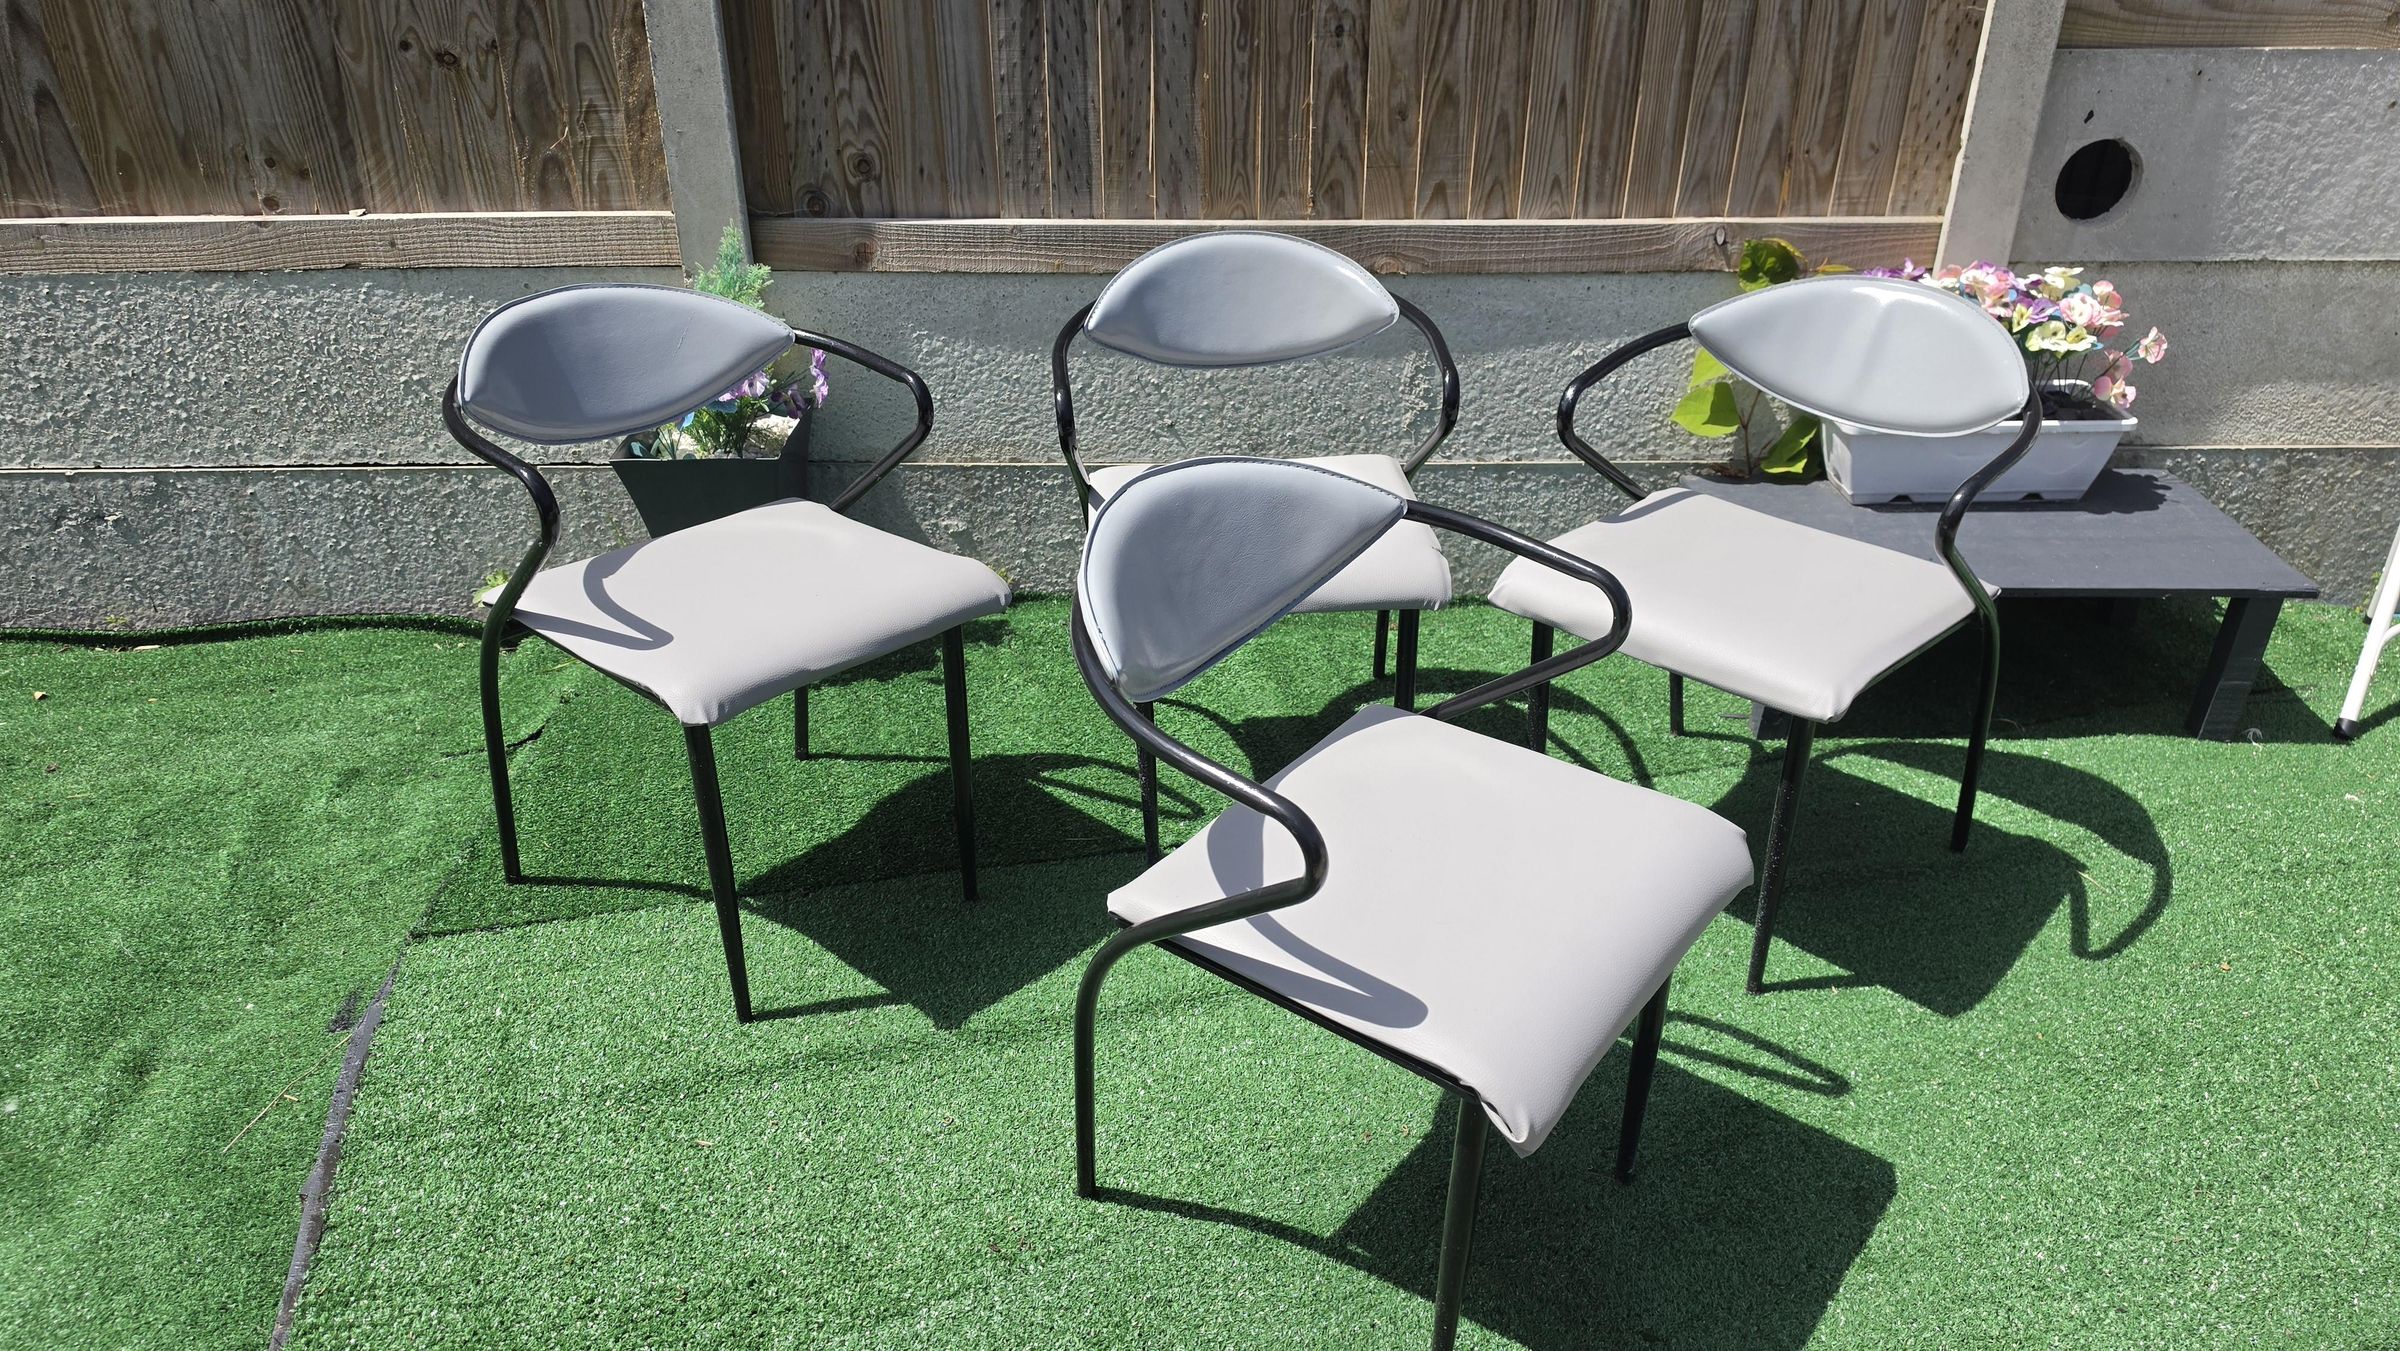
This short Instructable will show how I refurbished some old dining chairs destined for scrap, and gave them a new lease of life as some garden chairs. A lot of clean up, new paint job, showed the seat bases some attention, and I now use them on my backyard decking.
The Inspiration:
I found the chairs at the end of someone's driveway I was driving past with a sign saying "Take us, we're free". I stopped and had a quick look just as the the owner came out and offered to help me put them in my car. He explained that he had the chairs for years, but after getting a new dining suite, they ended up in his garden. Although covered in surface rust and the seat bases had seen better days, he figured there was still life left in them, and I agreed, so we loaded my car up and I set of home to get started.
What's Involved:
The frames were full of surface rust that needed to be removed, new PU leather seat covers added as well as making the seat bases thicker and sturdier with some plywood, and because through the rust I could see that the frames were chrome plated, but were obviously pitted hence the rust, a new paint job was needed so I could use the chairs outside. Not many tasks involved, but getting them done right was important so they last a long time, and I wanted to share the process with tips and the techniques I used in case you have something you want to refurbish but unsure how to go about it, or if you just want to see what I did if this type of upcycling interests you. Lets get to it.
Supplies
Below is a list of what I used which met my needs, but you may need additional of different stuff depending on the seats/furniture you may be working on. If you need any help, let me know in the comments.
Tools:
- Screwdriver to remove the seats and back rests
- Staple gun
- Pair of ratchet wood clamps
- Paint brush
- OPTIONAL: I used a Dremel with sanding/grinding bits to get rid of the heavily rusted spots.
Materials and consumables:
- Sandpaper (I used an 80 grit then a finer 180 grit)
- Sanding block
- A couple of clean cloths
- Rust remover liquid
- Water Dispersant (I used WD40)
- Direct to metal paint (I used gloss black)
- Waterproof PU leather/leatherette, measured to cover the seats with excess fabric to fold underneath
- 9mm Plywood to make thicker seat bases
- External wood sealer for the ply
- Some new external screws to attach the new thicker seat bases
I ADVISE: Depending on what type of rust remover you use, you may also need a pair of rubber gloves. Check the usage instruction of your chosen rust remover. And as we are working with rust, a face mask and eye protection should be used.
Clean and Strip Down
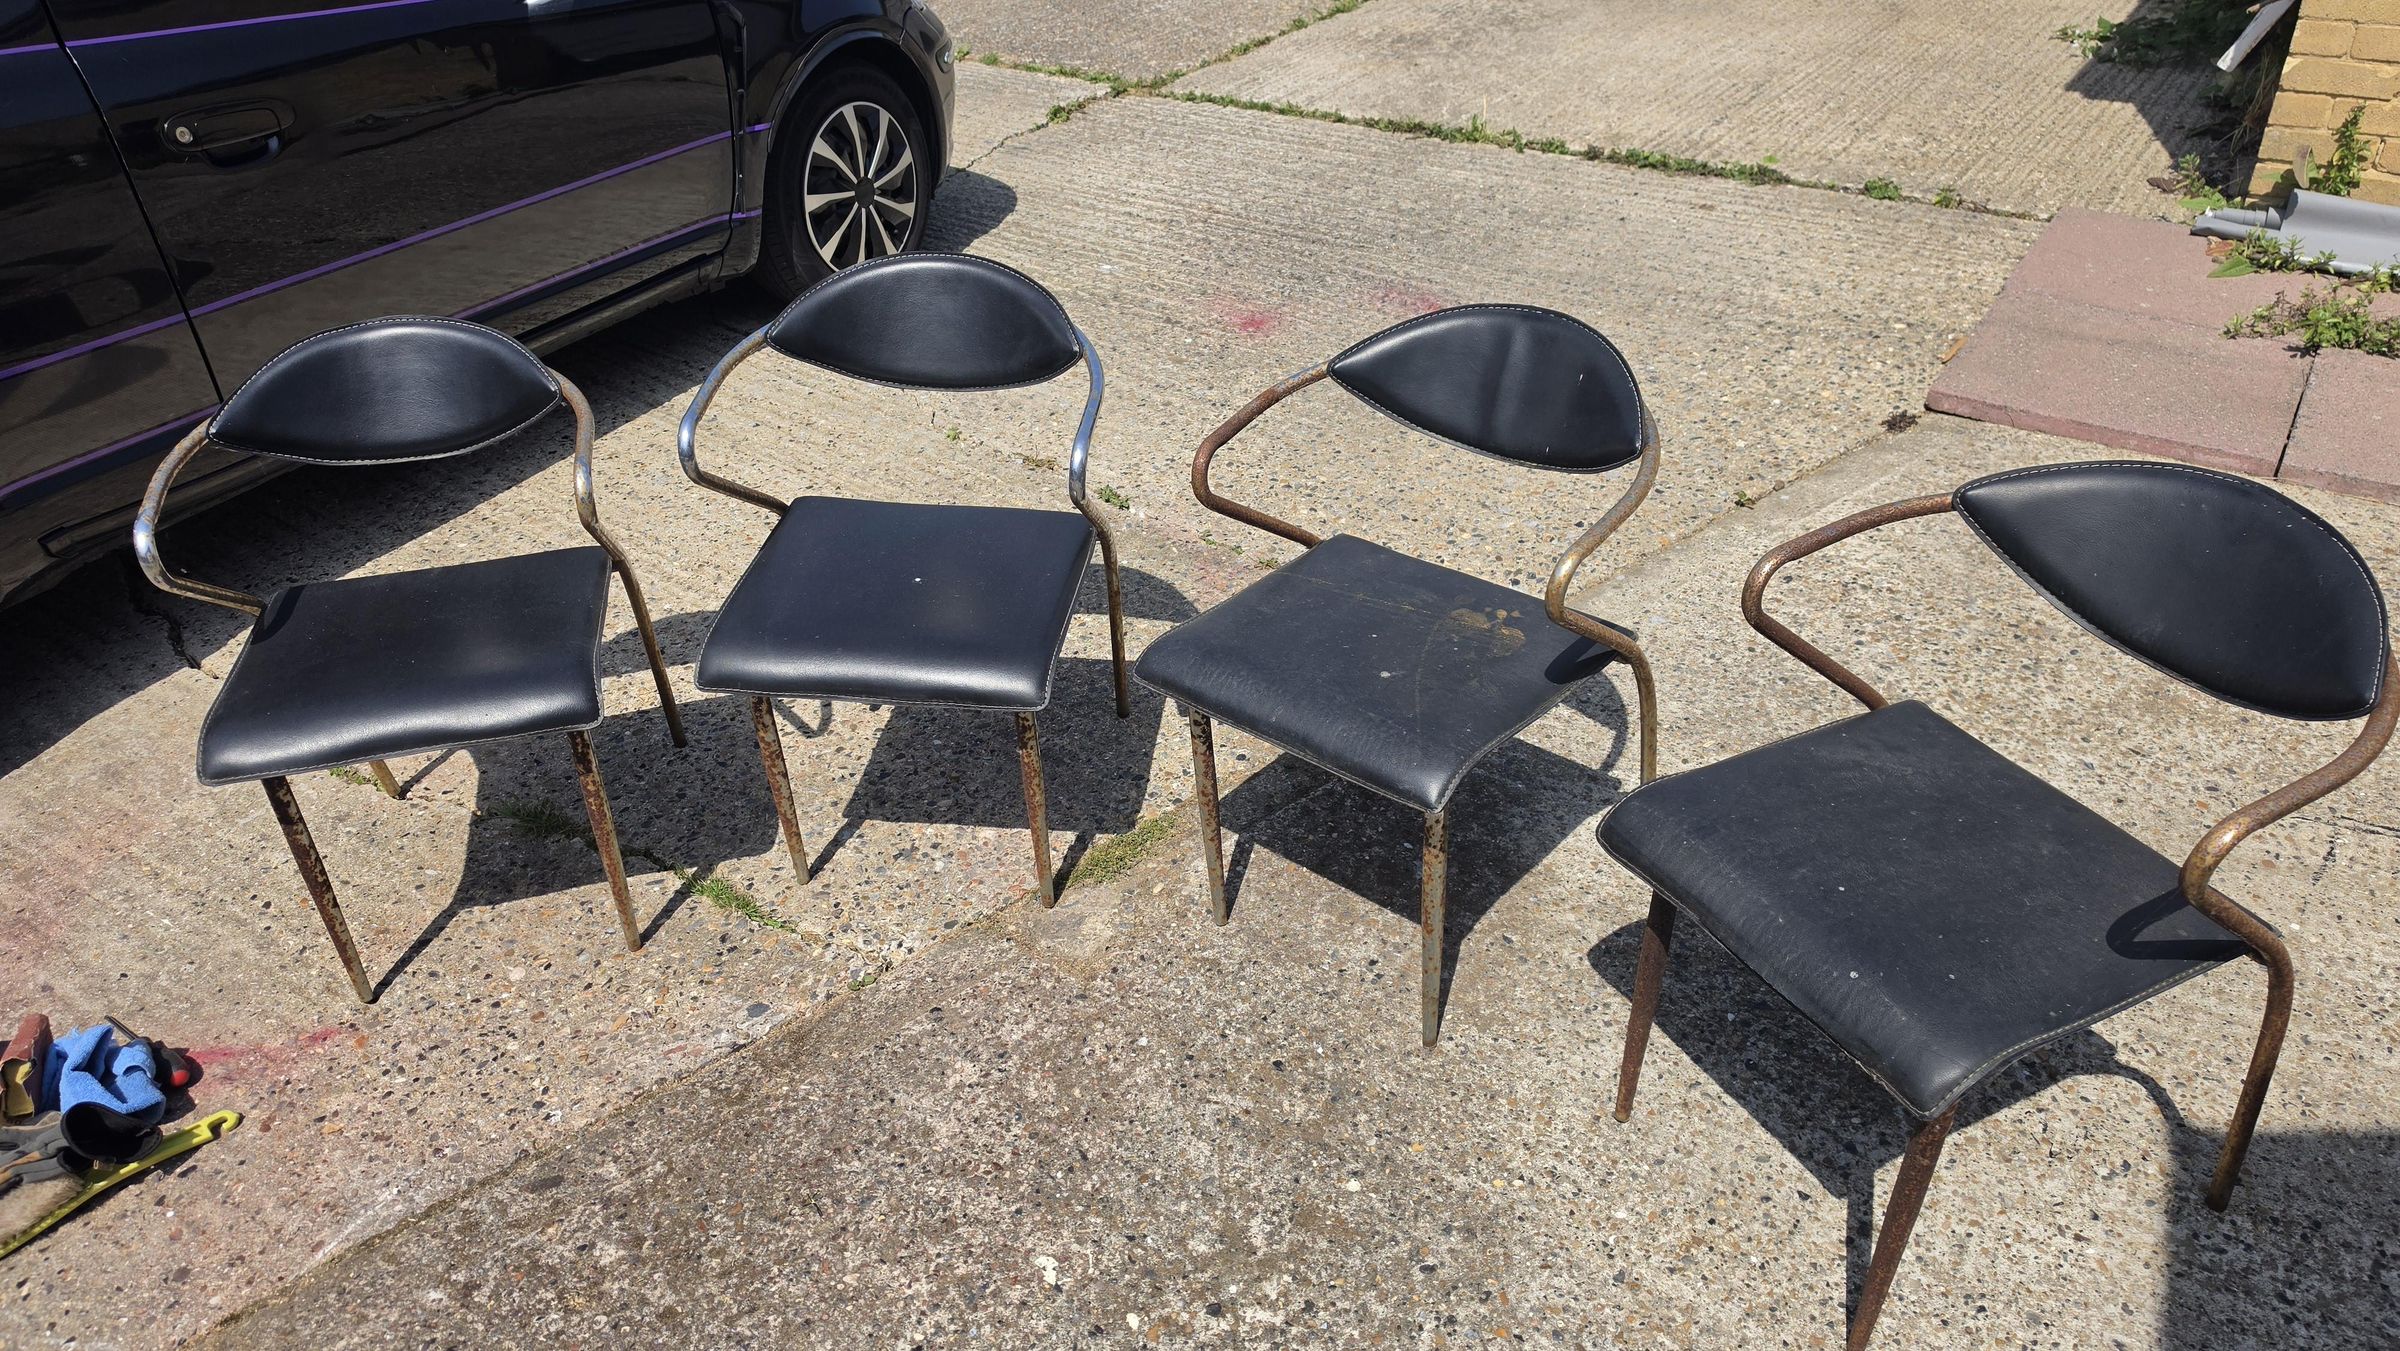
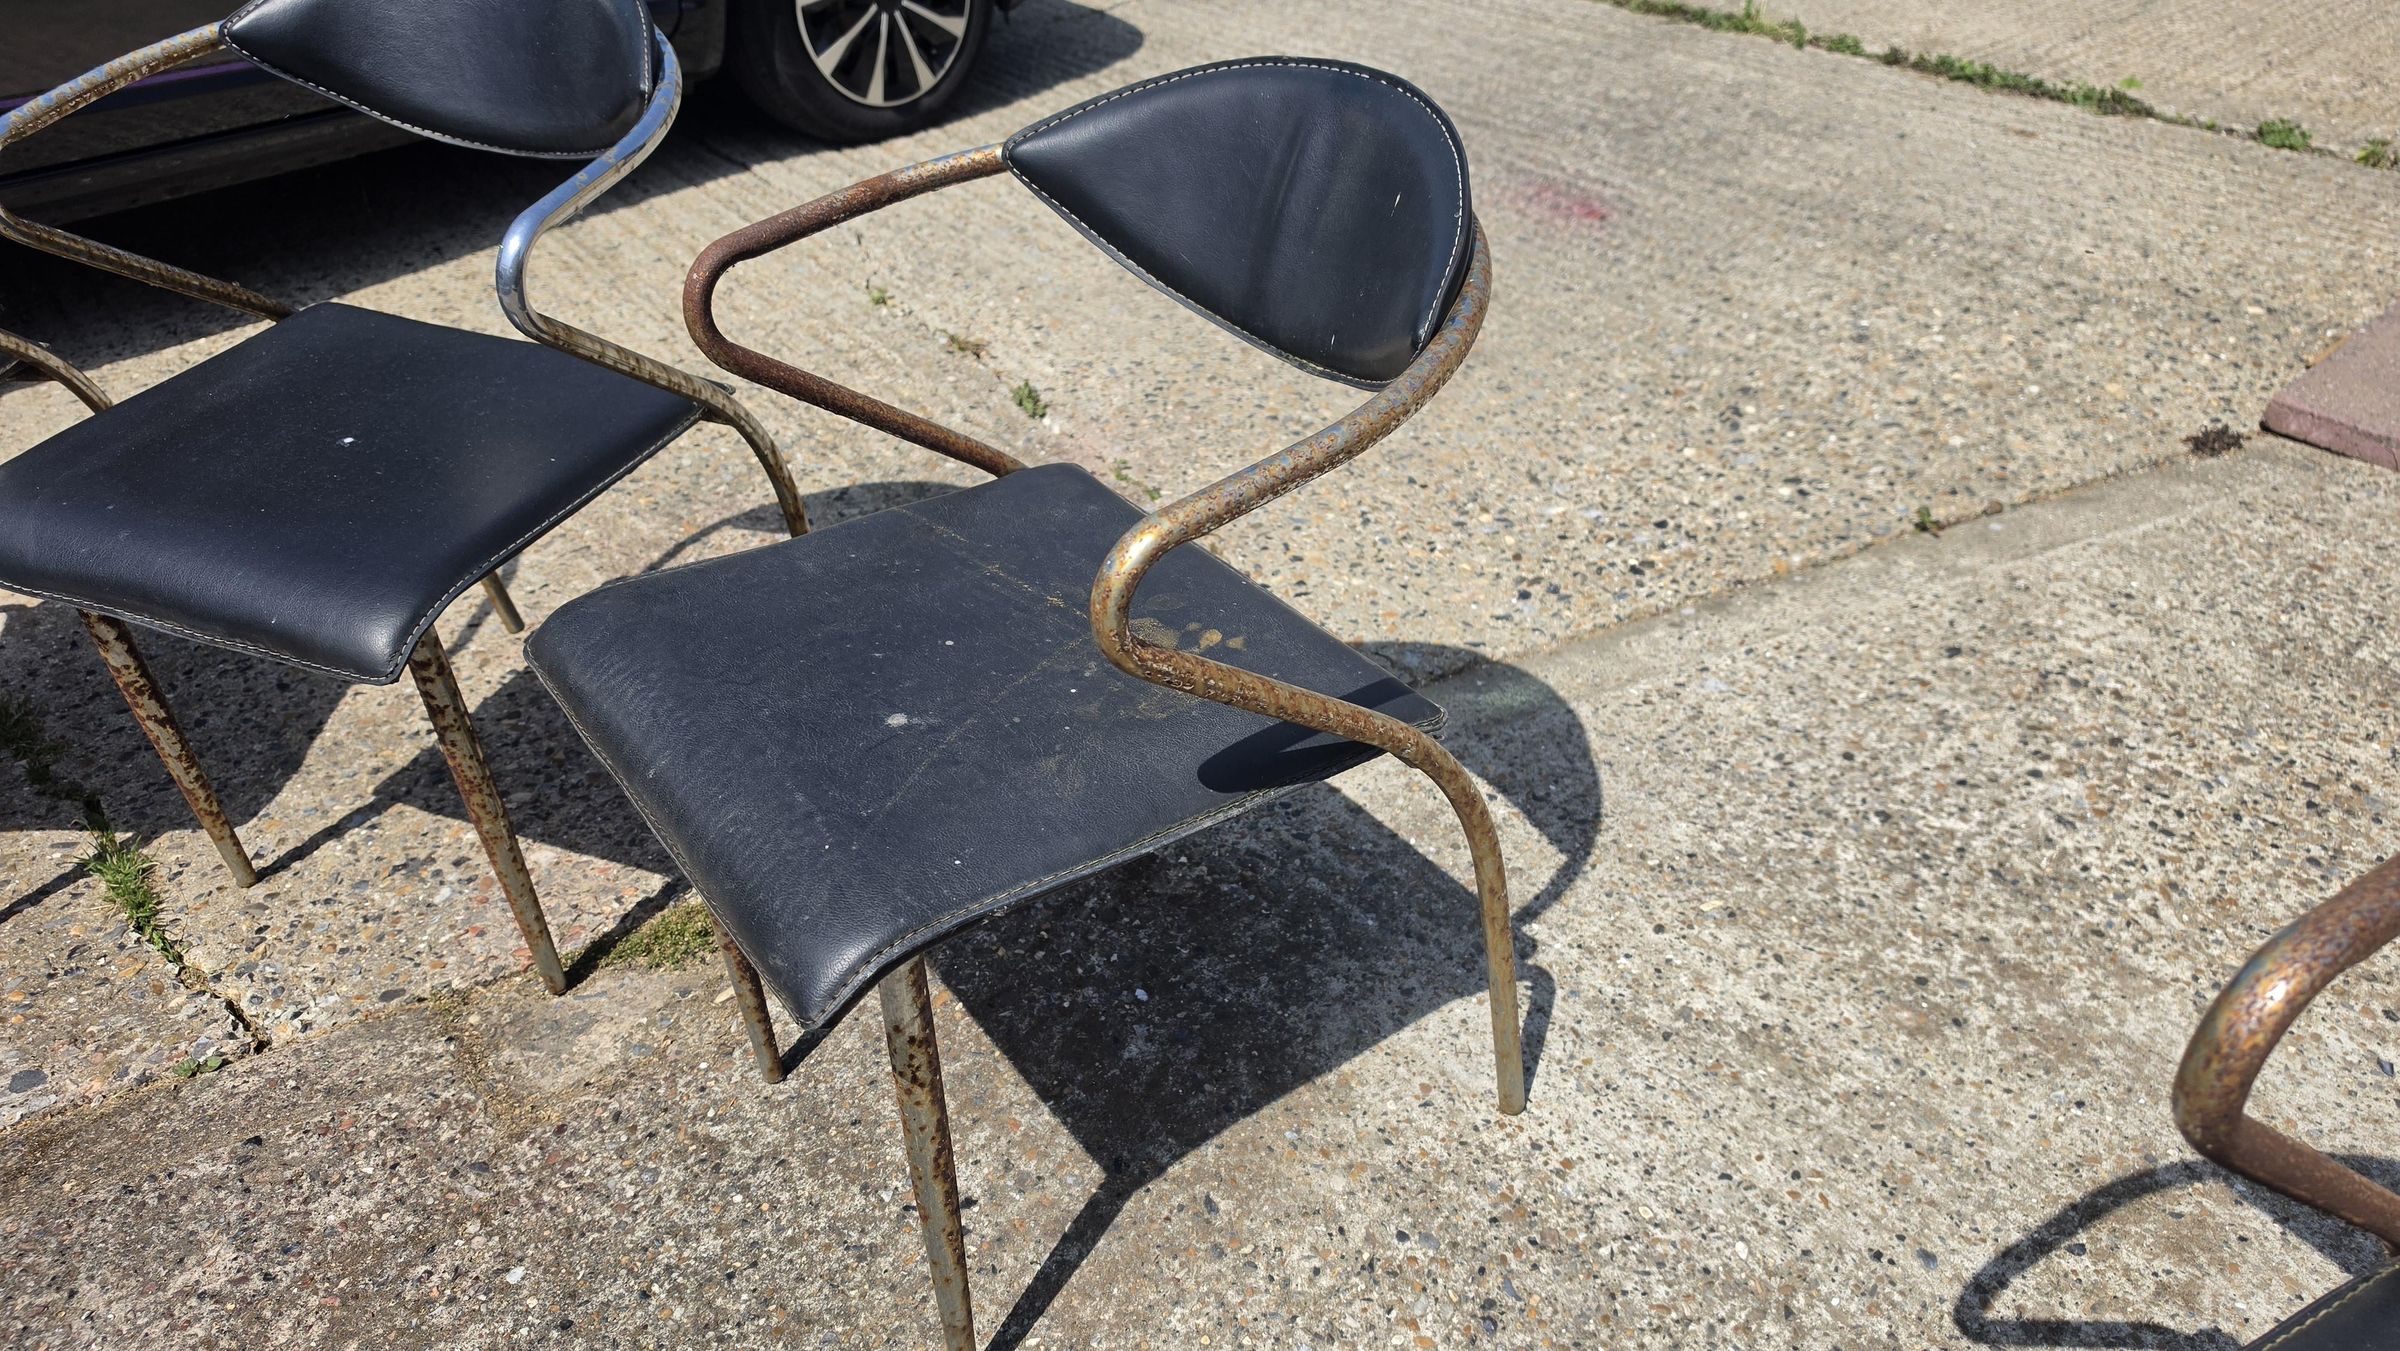
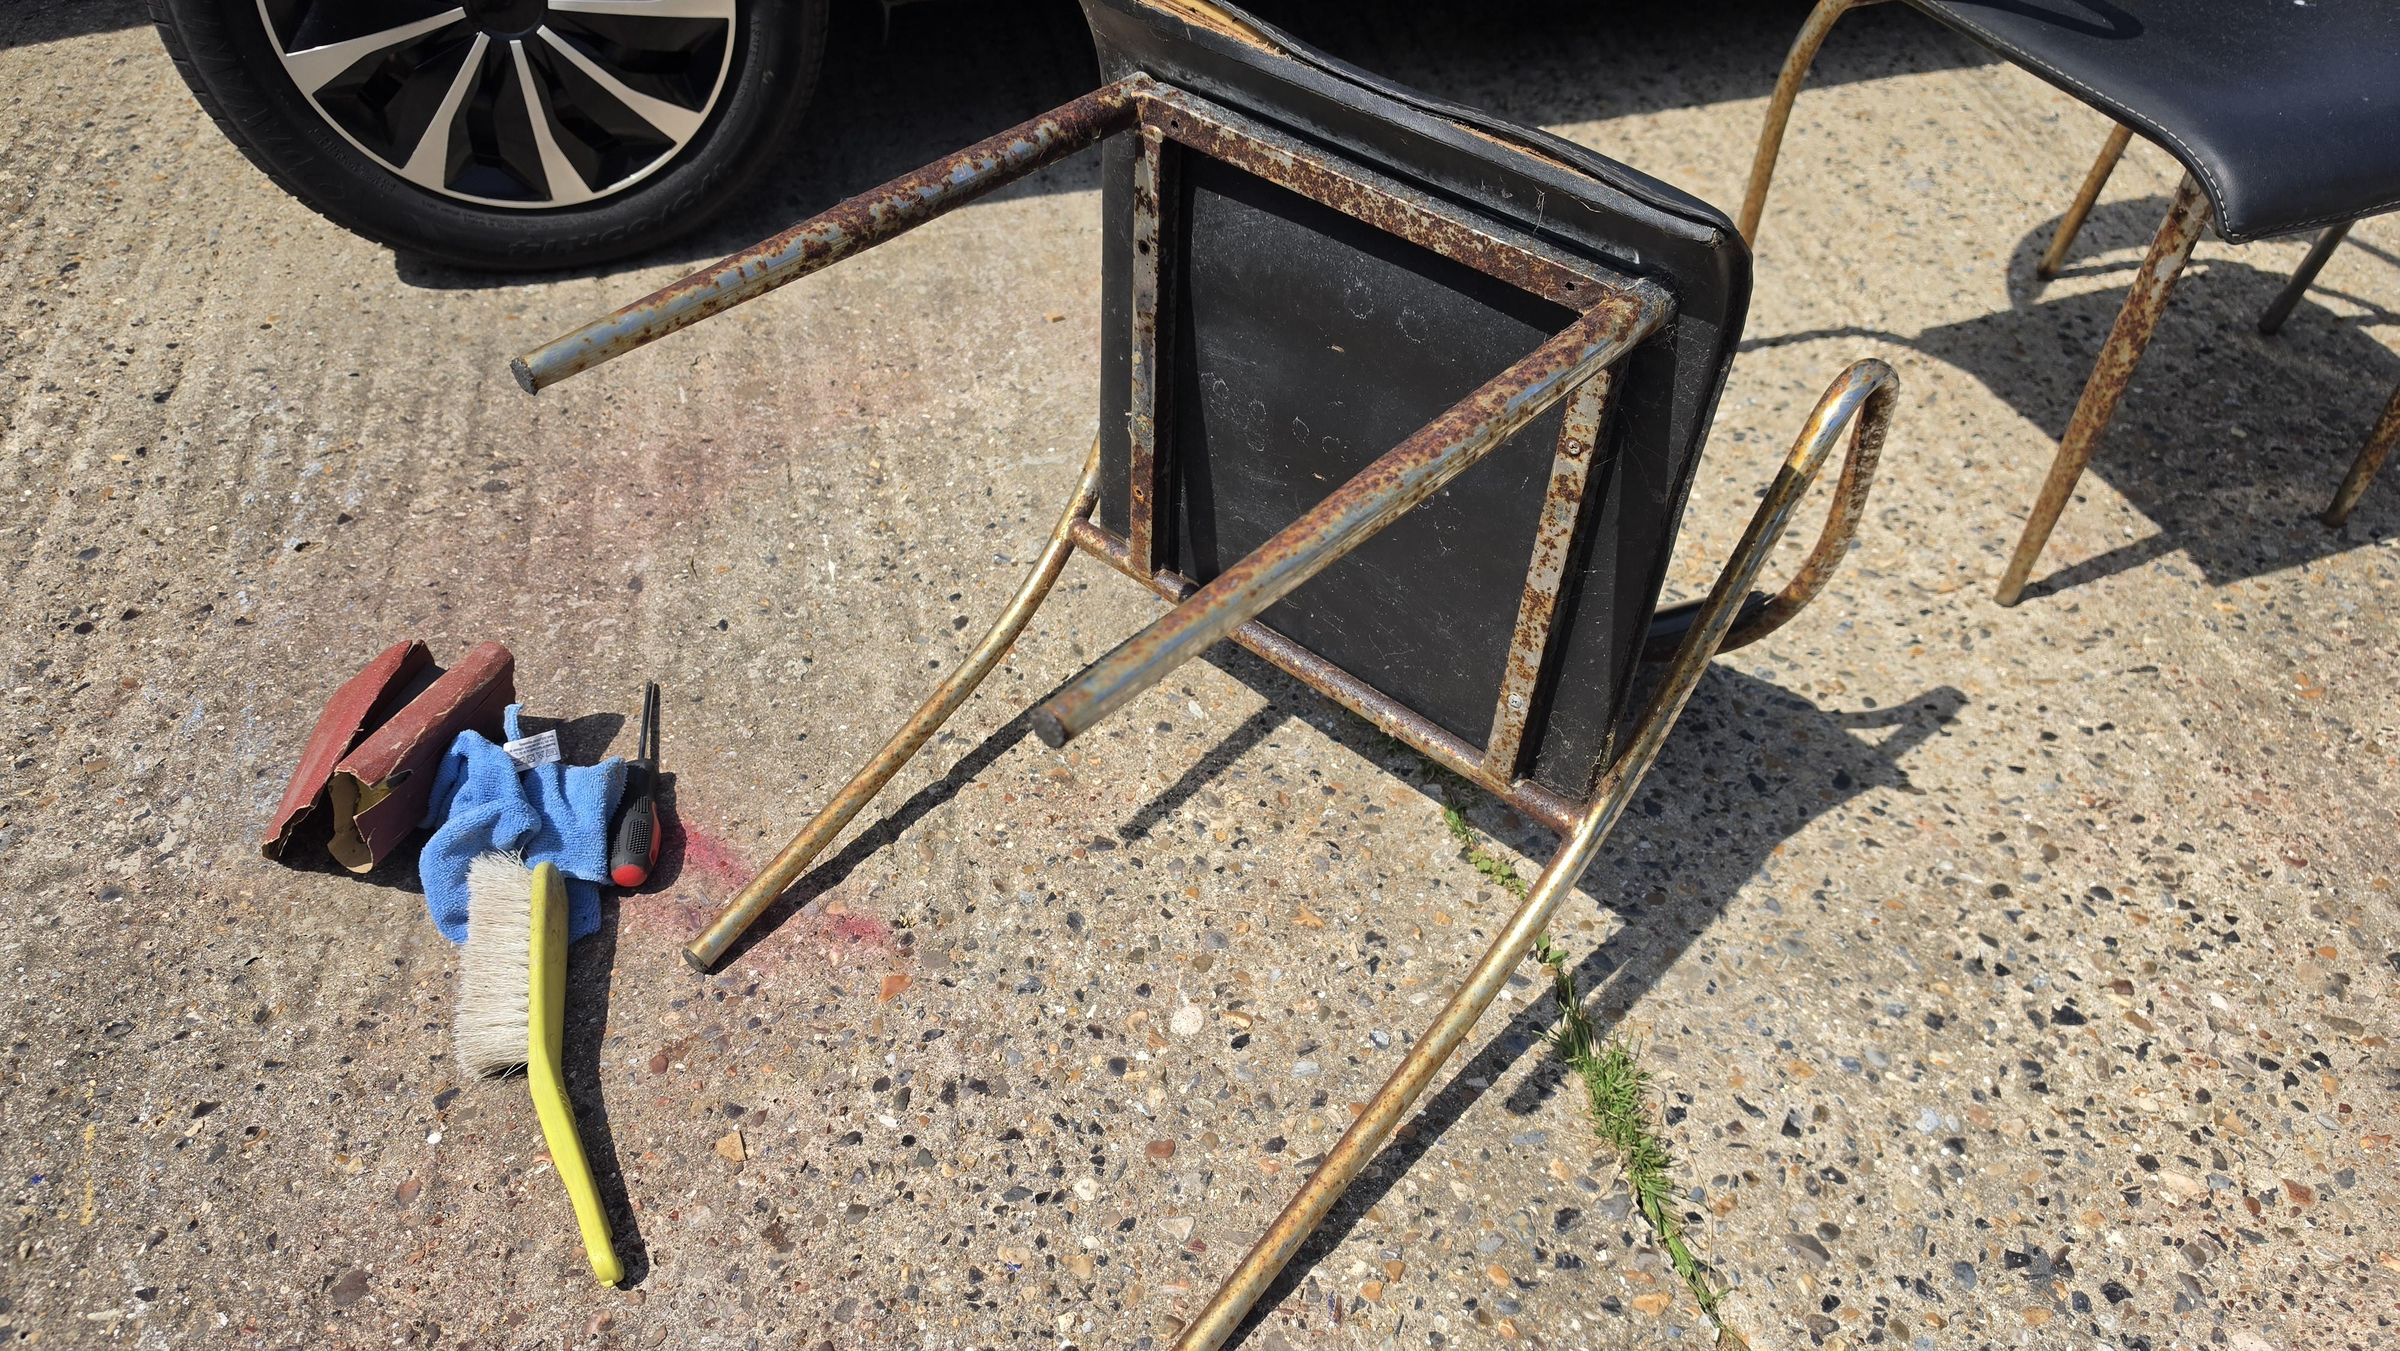
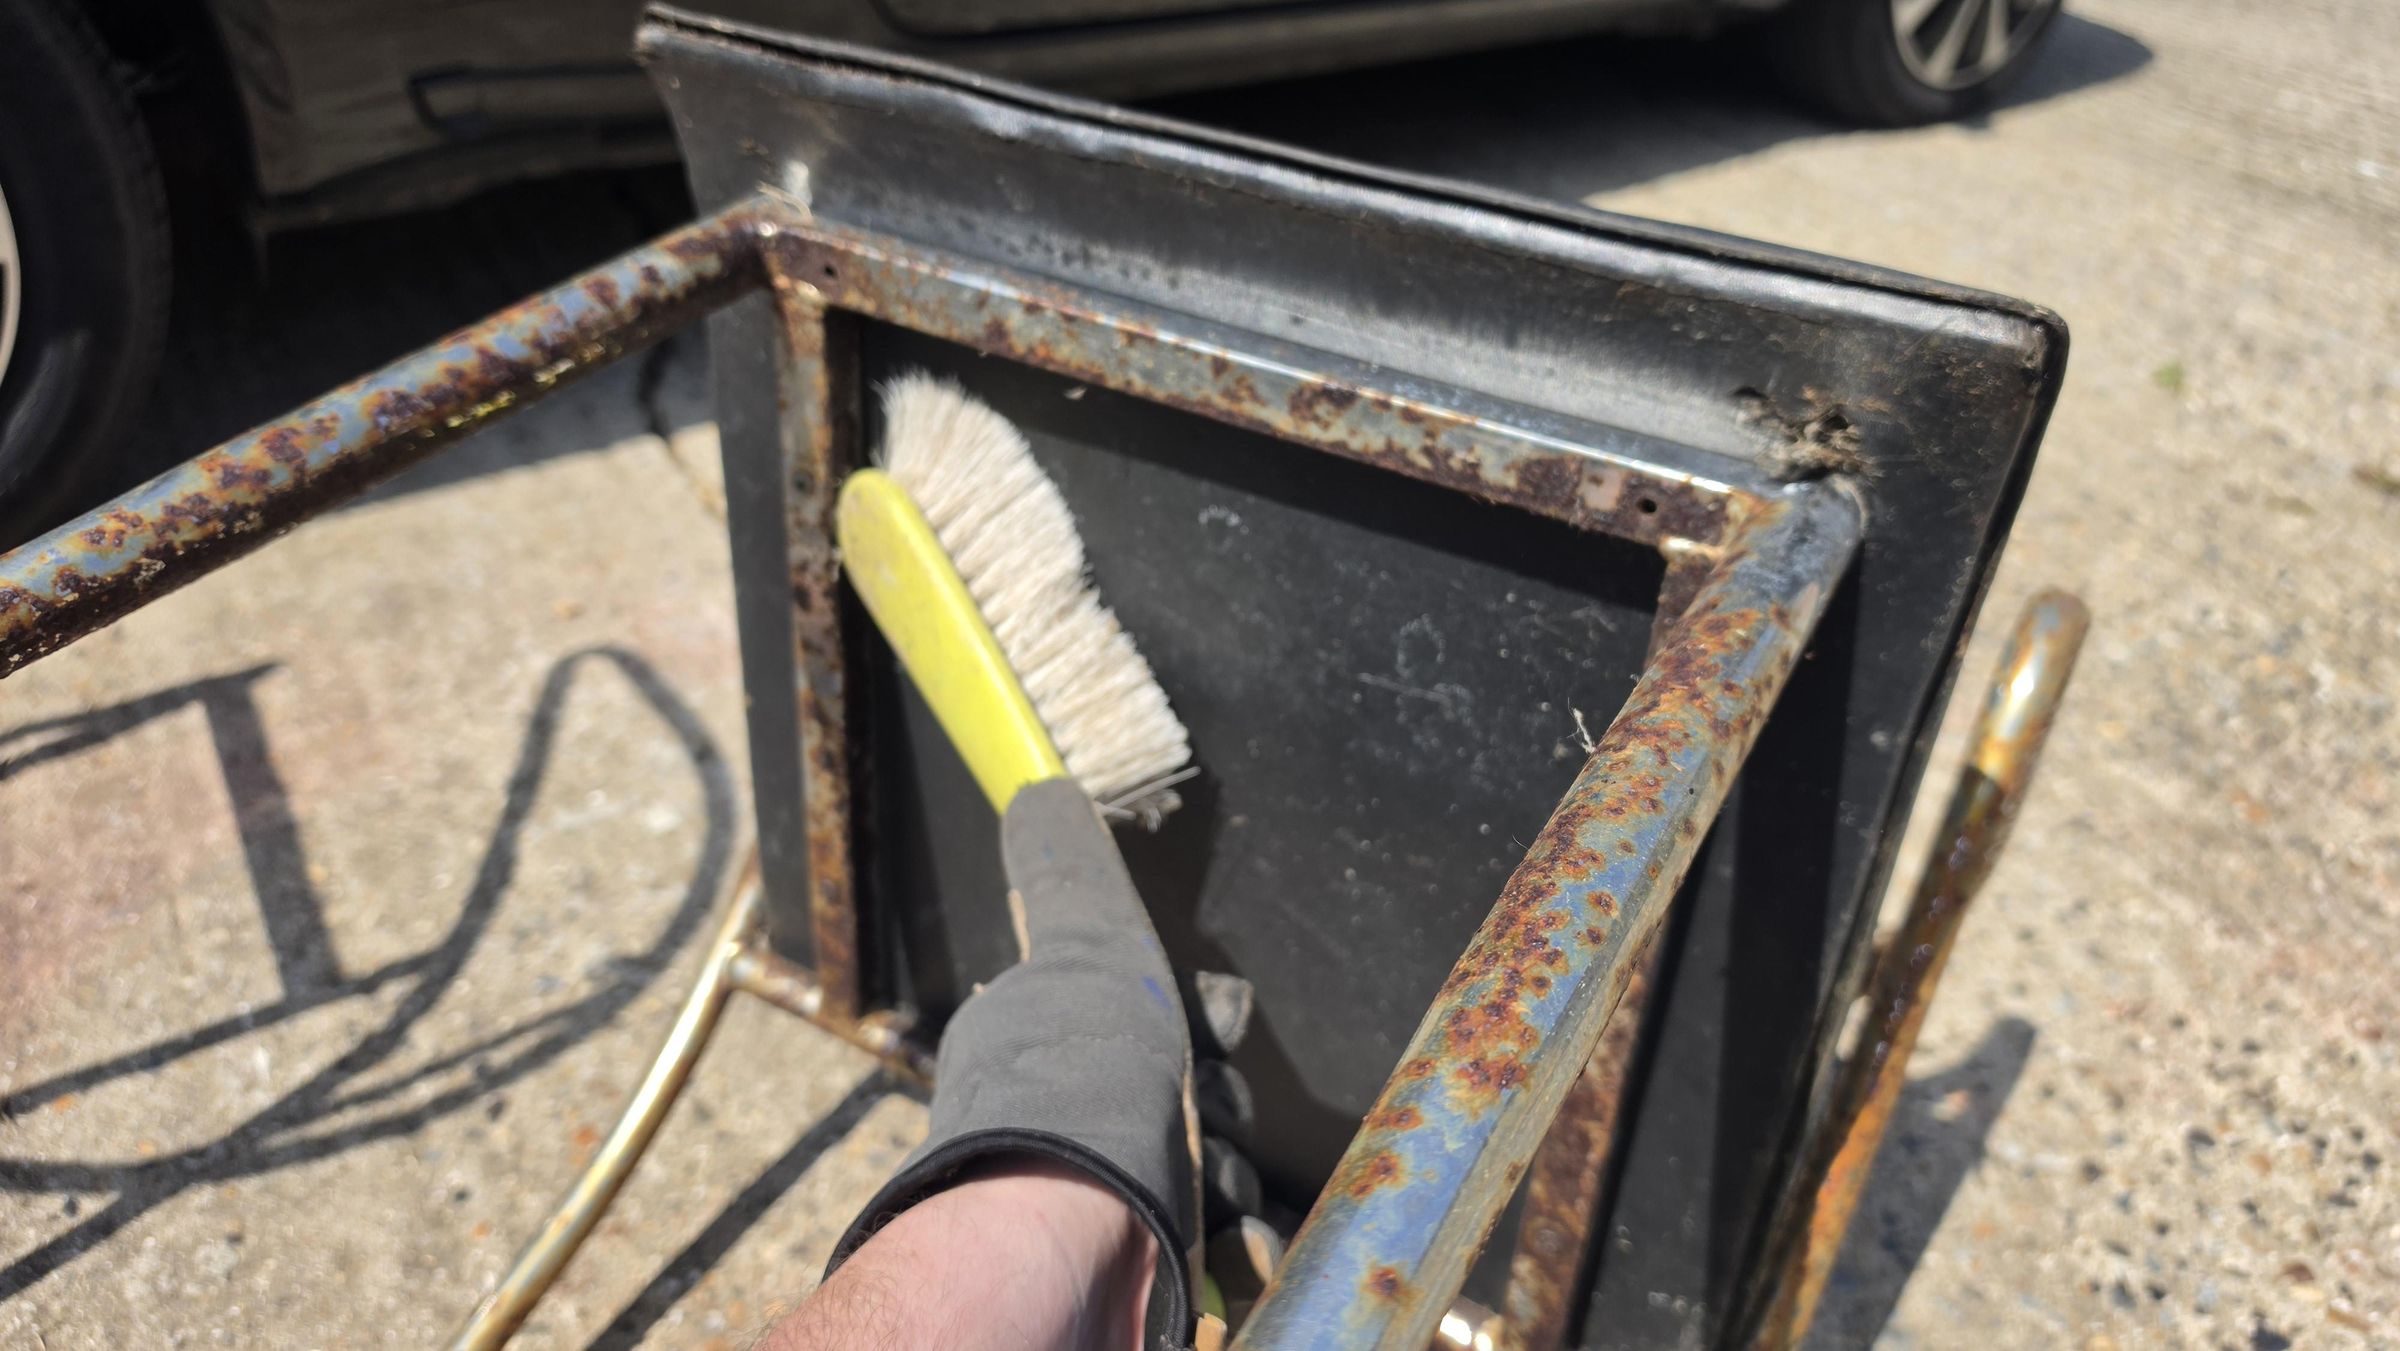
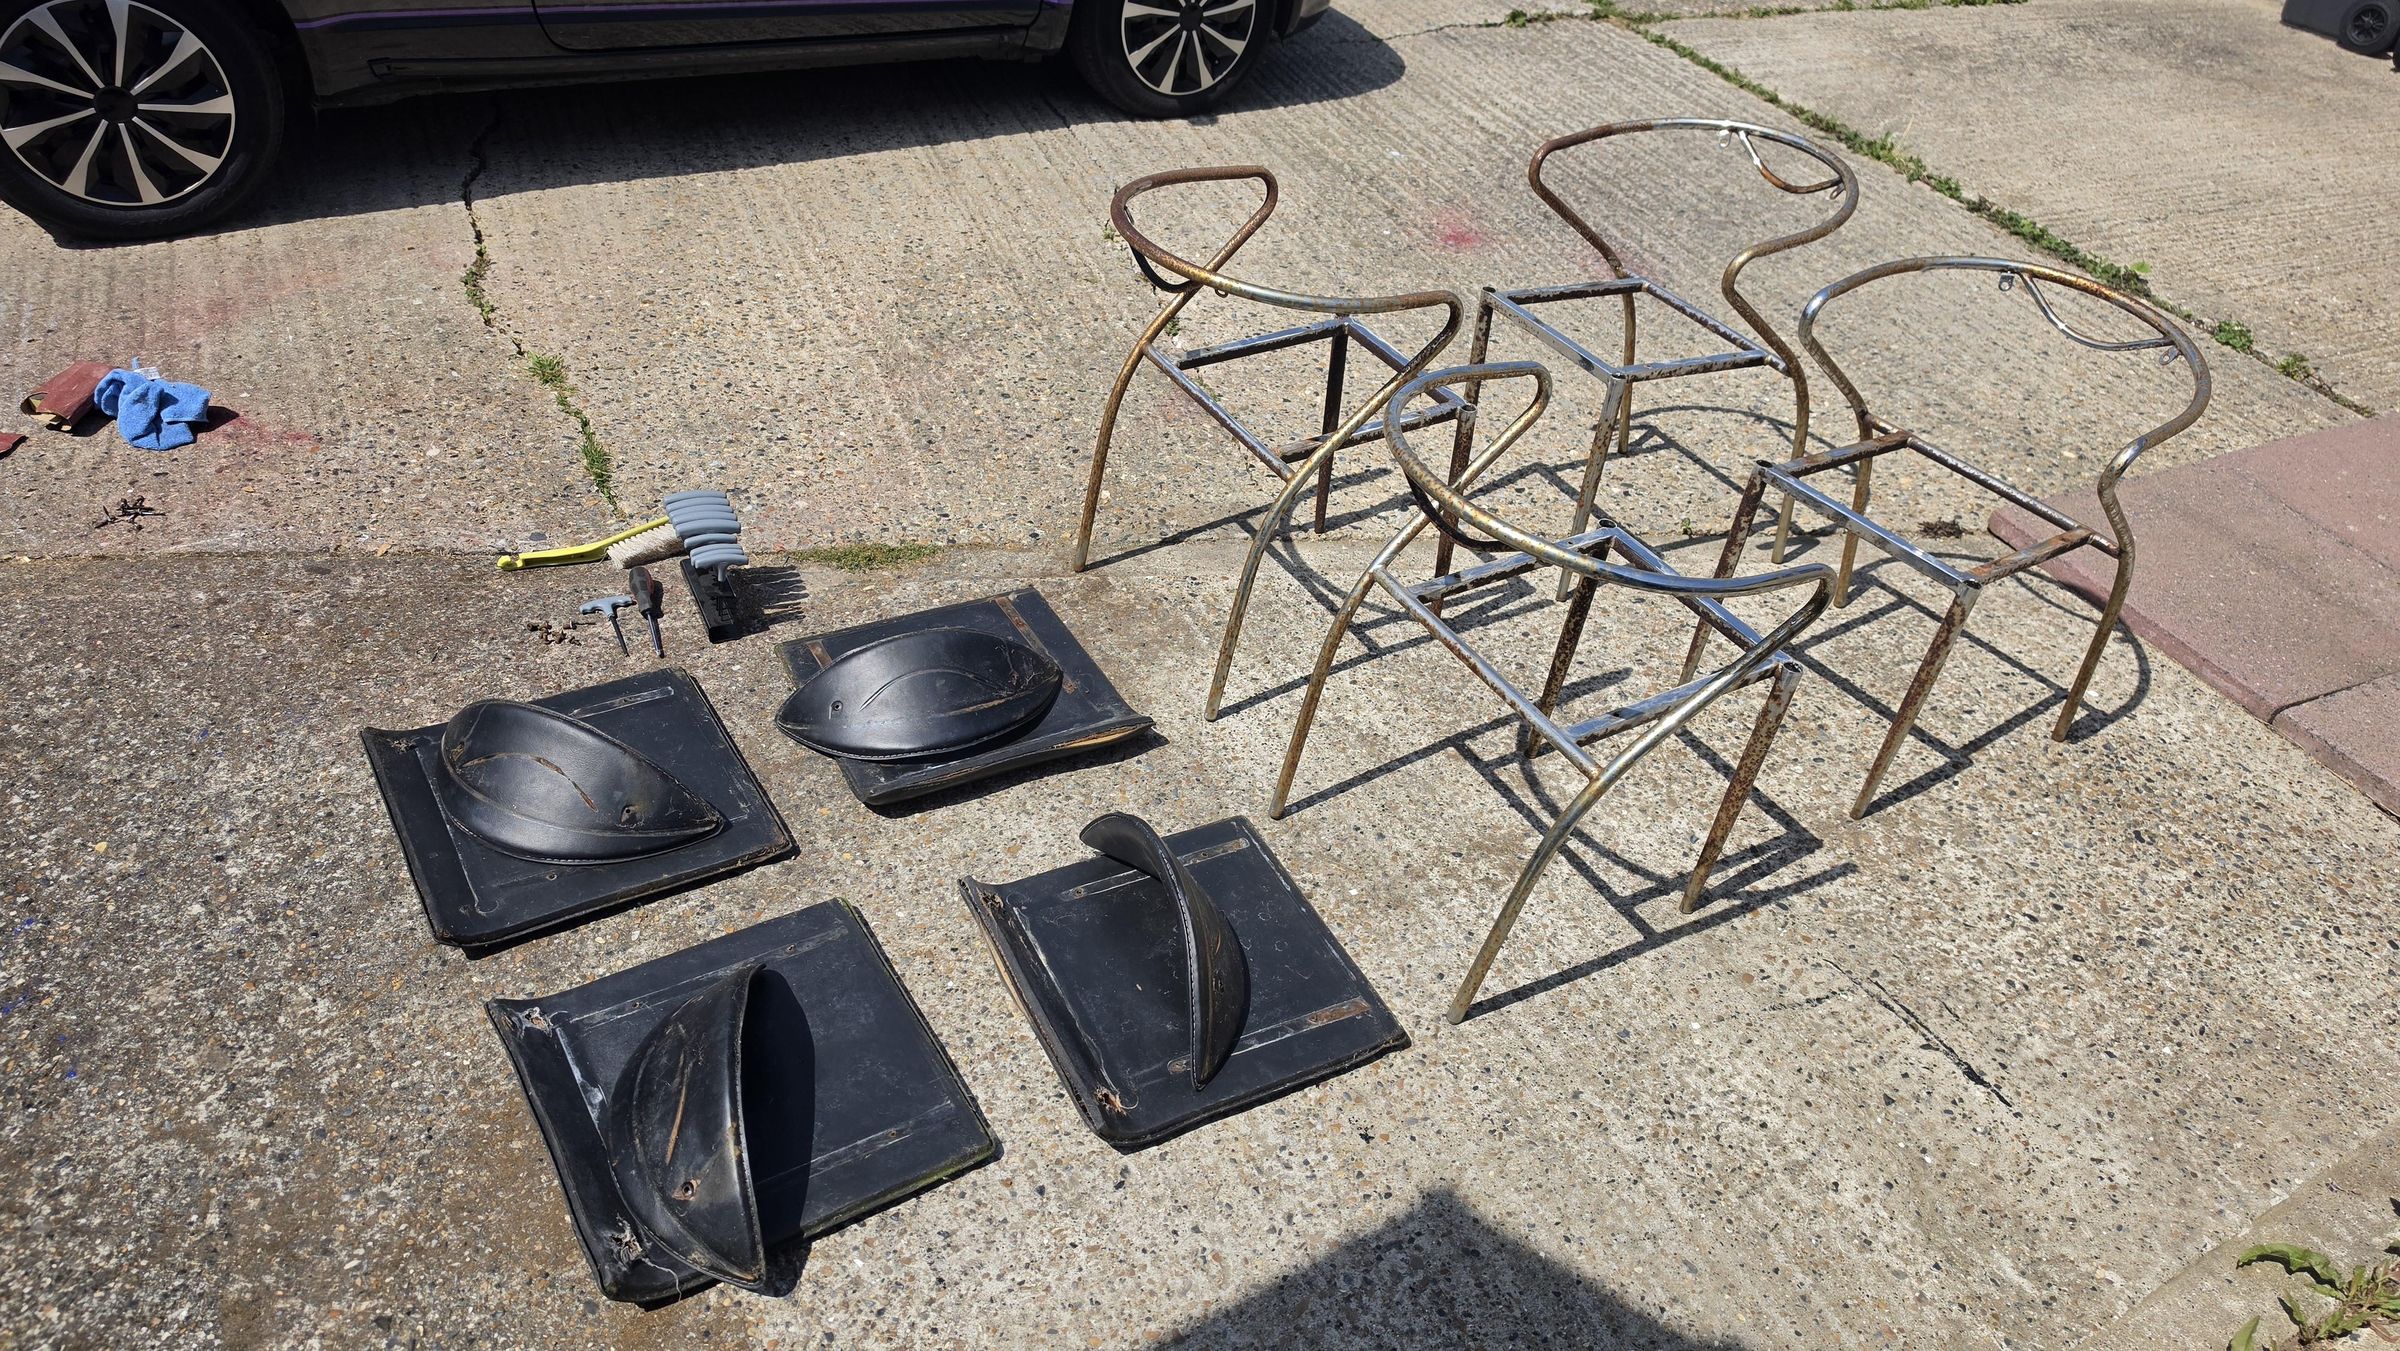
The first to do is to spray the screws with WD40 and left these to soak for an hour or so. As these were indoor dining chairs which were left outside of a long time, the chairs used standard steel screws to hold the seat bases and back rests in place so these were very rusty. Meanwhile I gave the chairs a good look over, then cleaned away the cobwebs and dirt with a wet cloth and brush.
Then it was simply a case of unscrewing the seat bases and back rests with a screwdriver and Allen key wrench which came out fairly easily thank to the soaking they had.
A quick tip: I didn't use a power driver because the rusty screw heads may well have stripped, so standard hand tools worked best.
Sanding
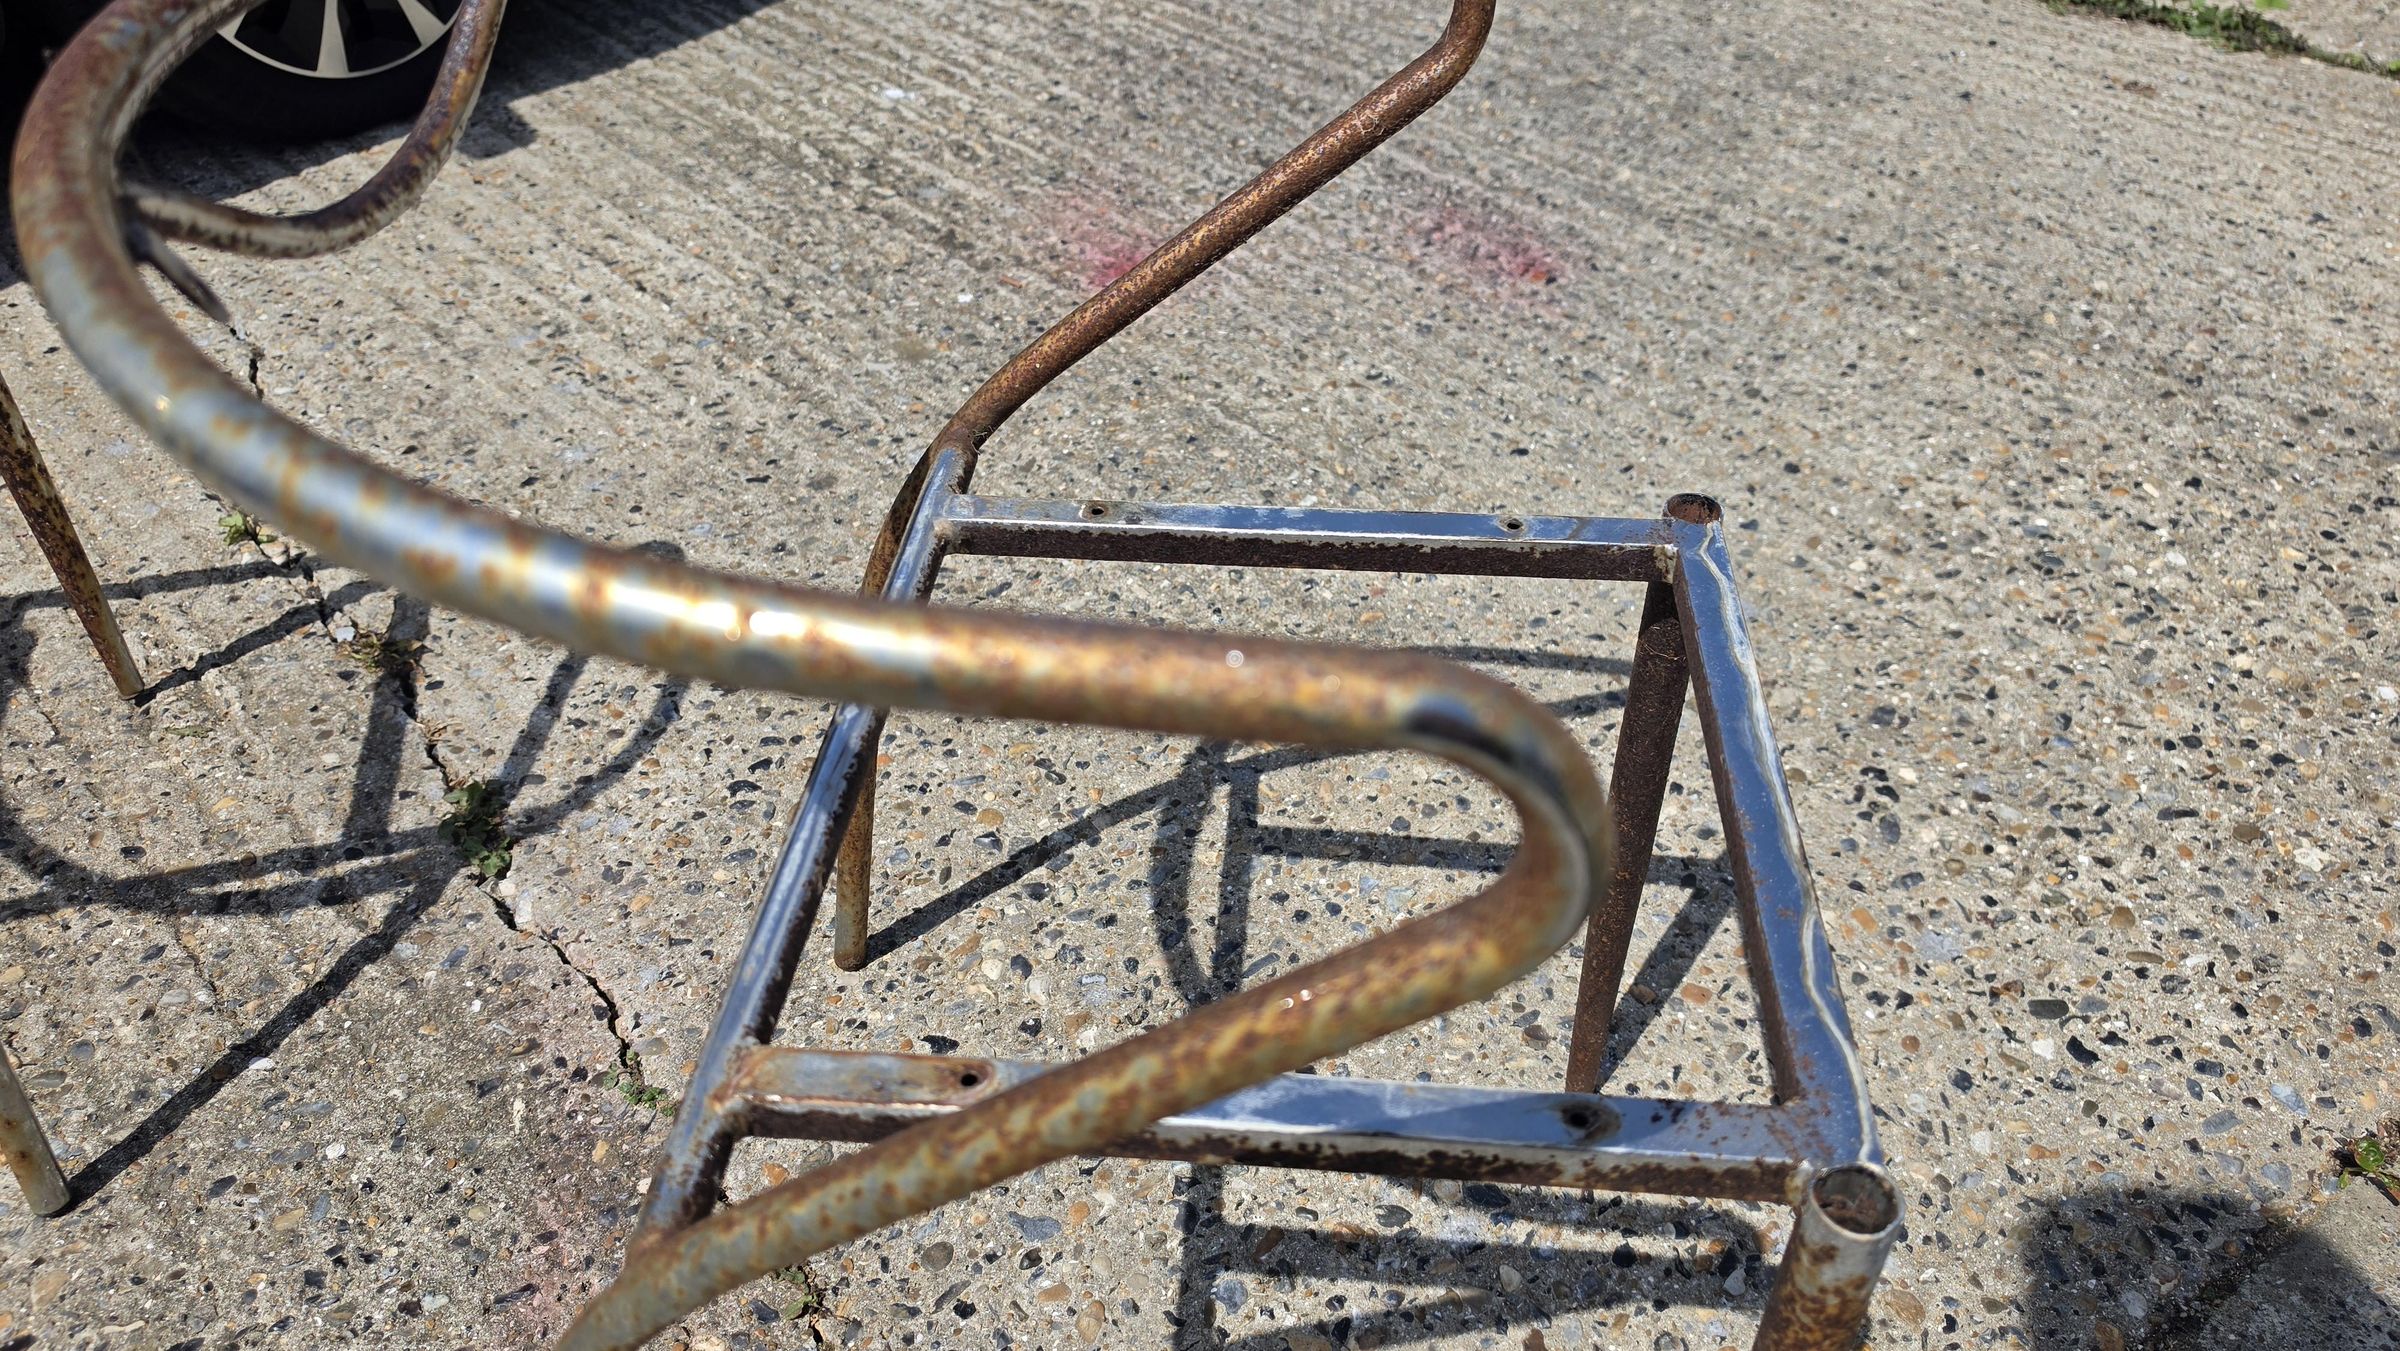
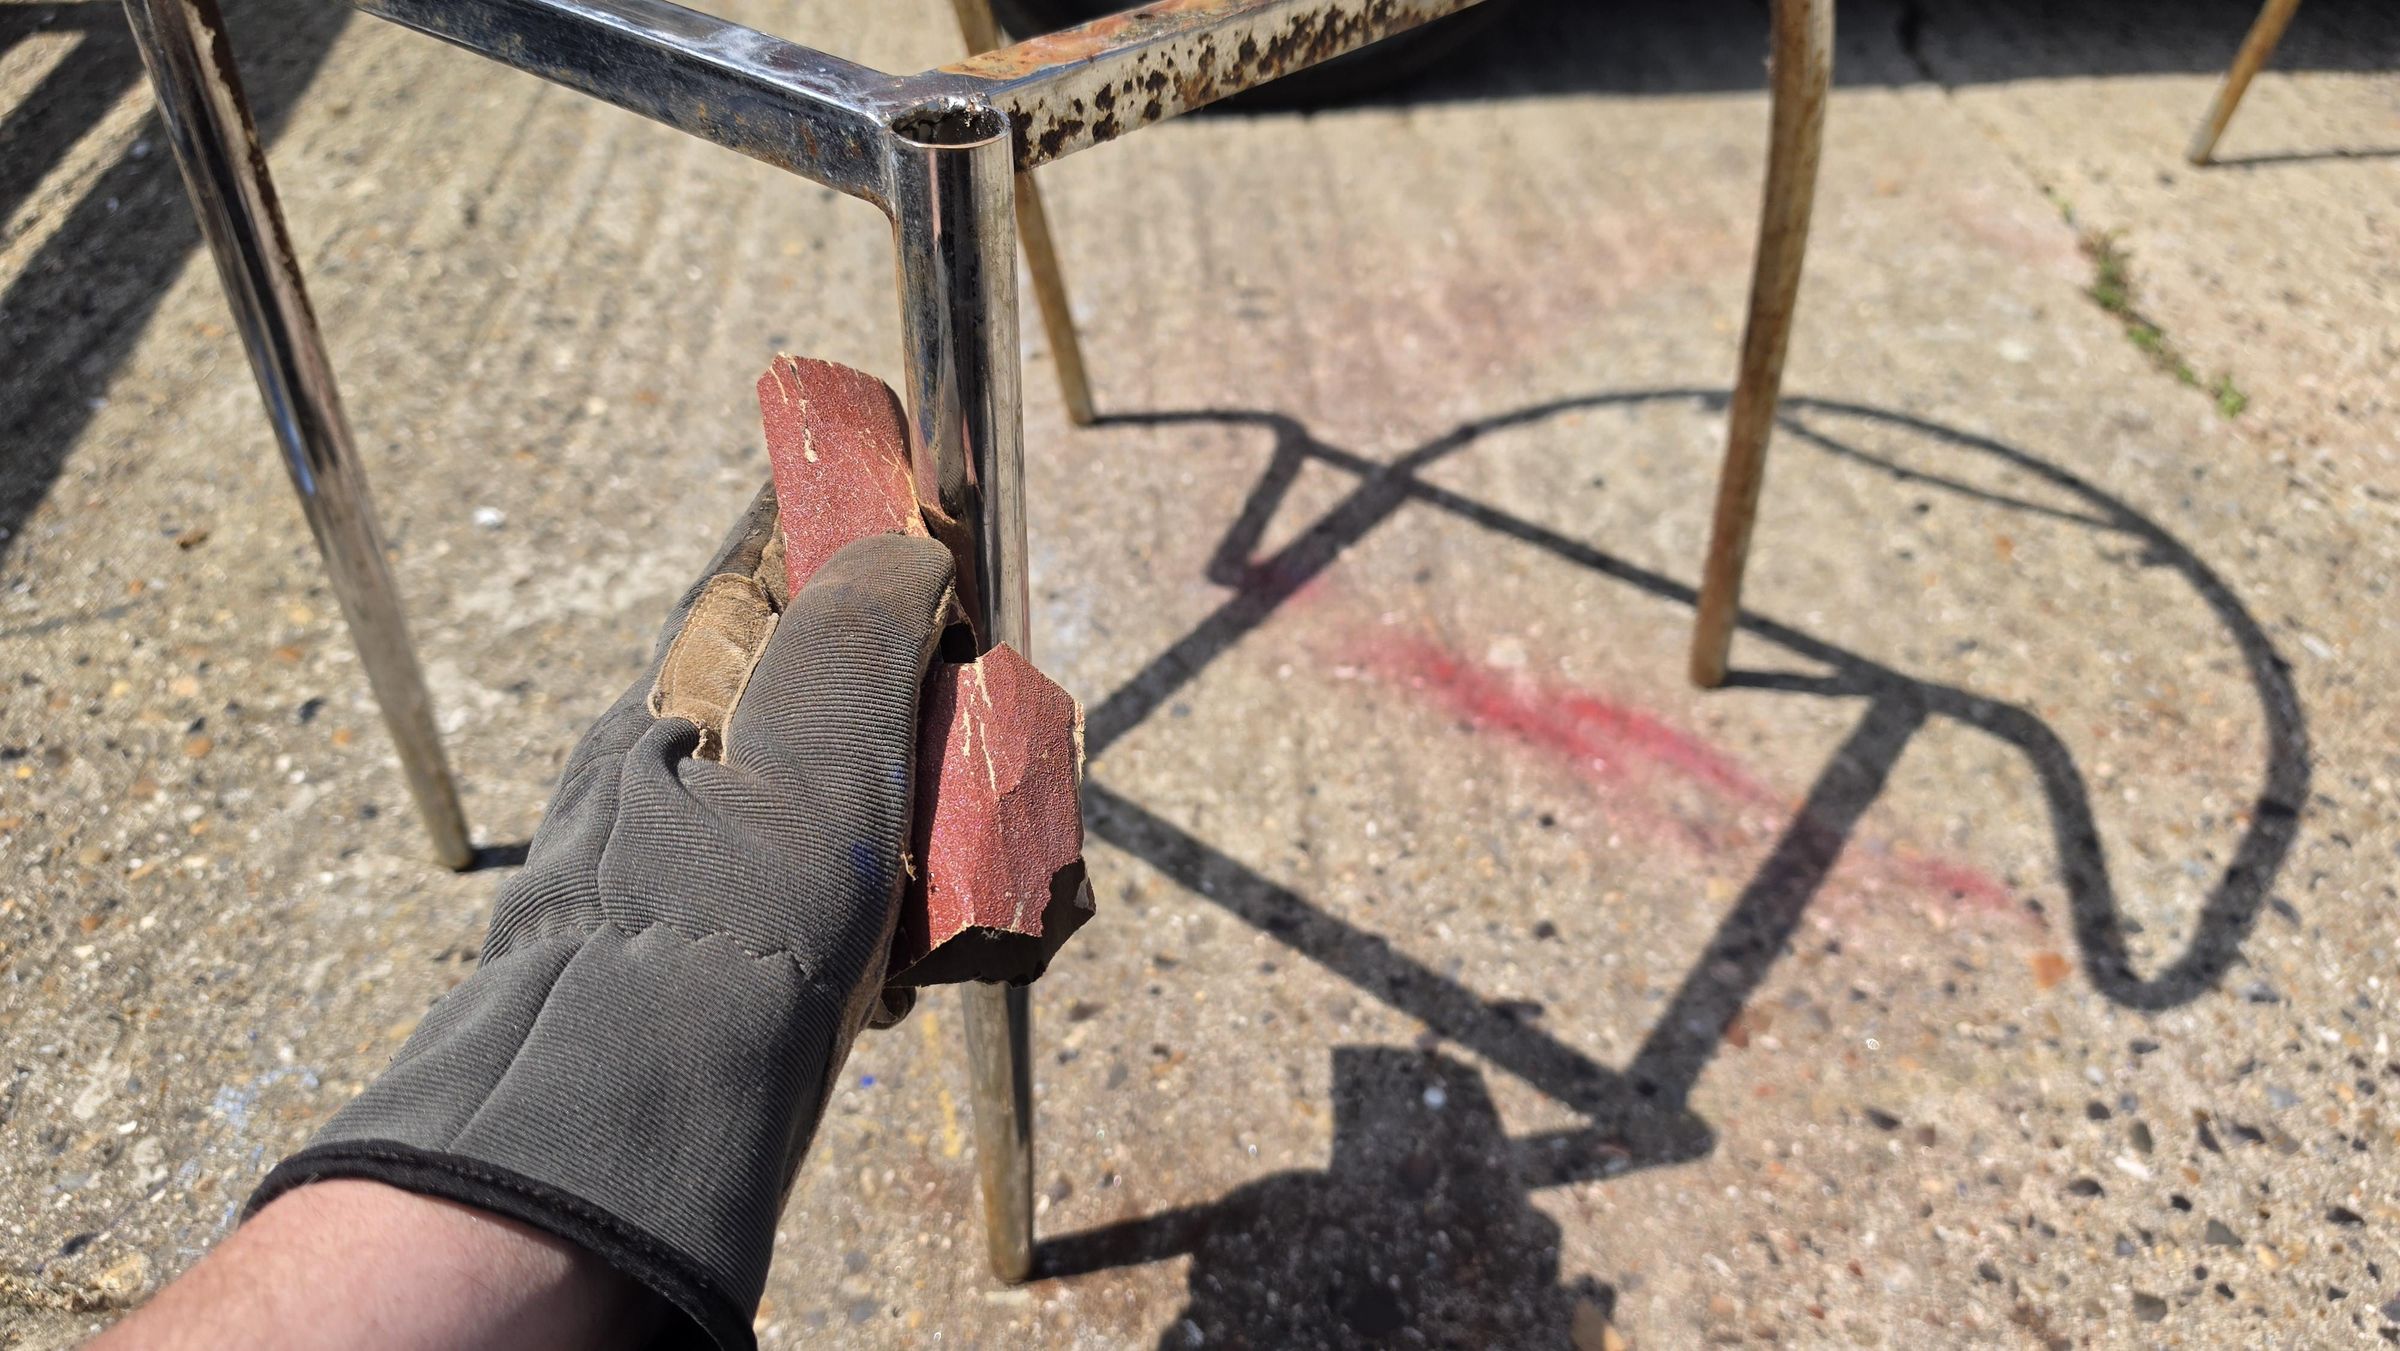
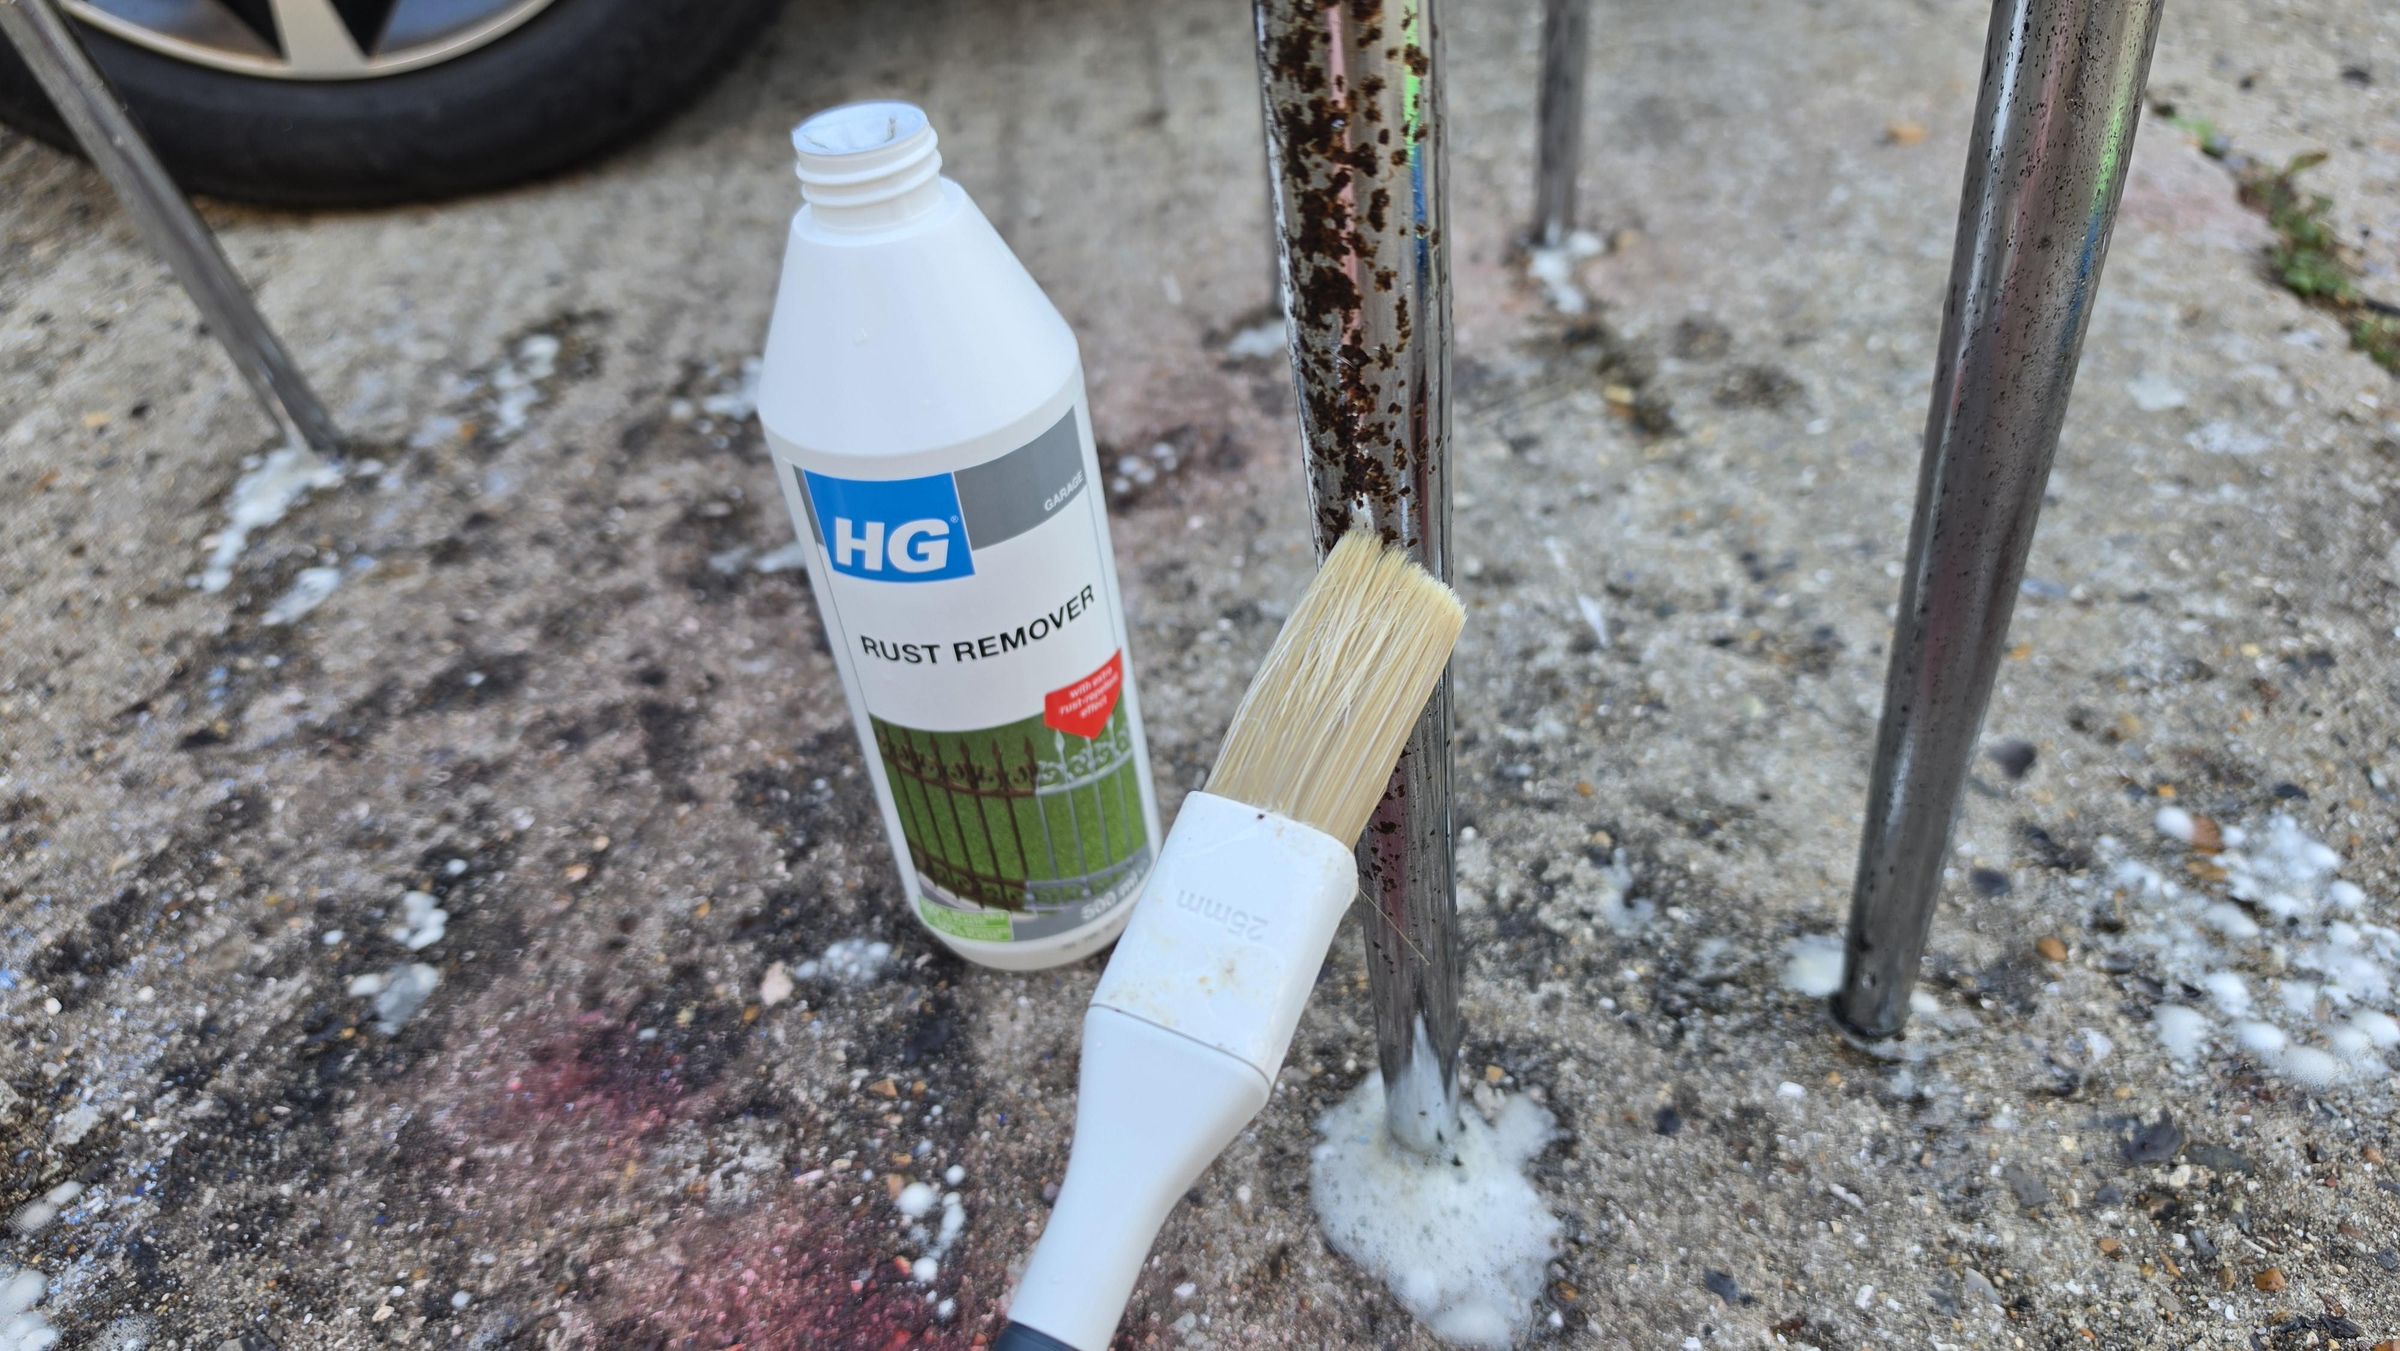
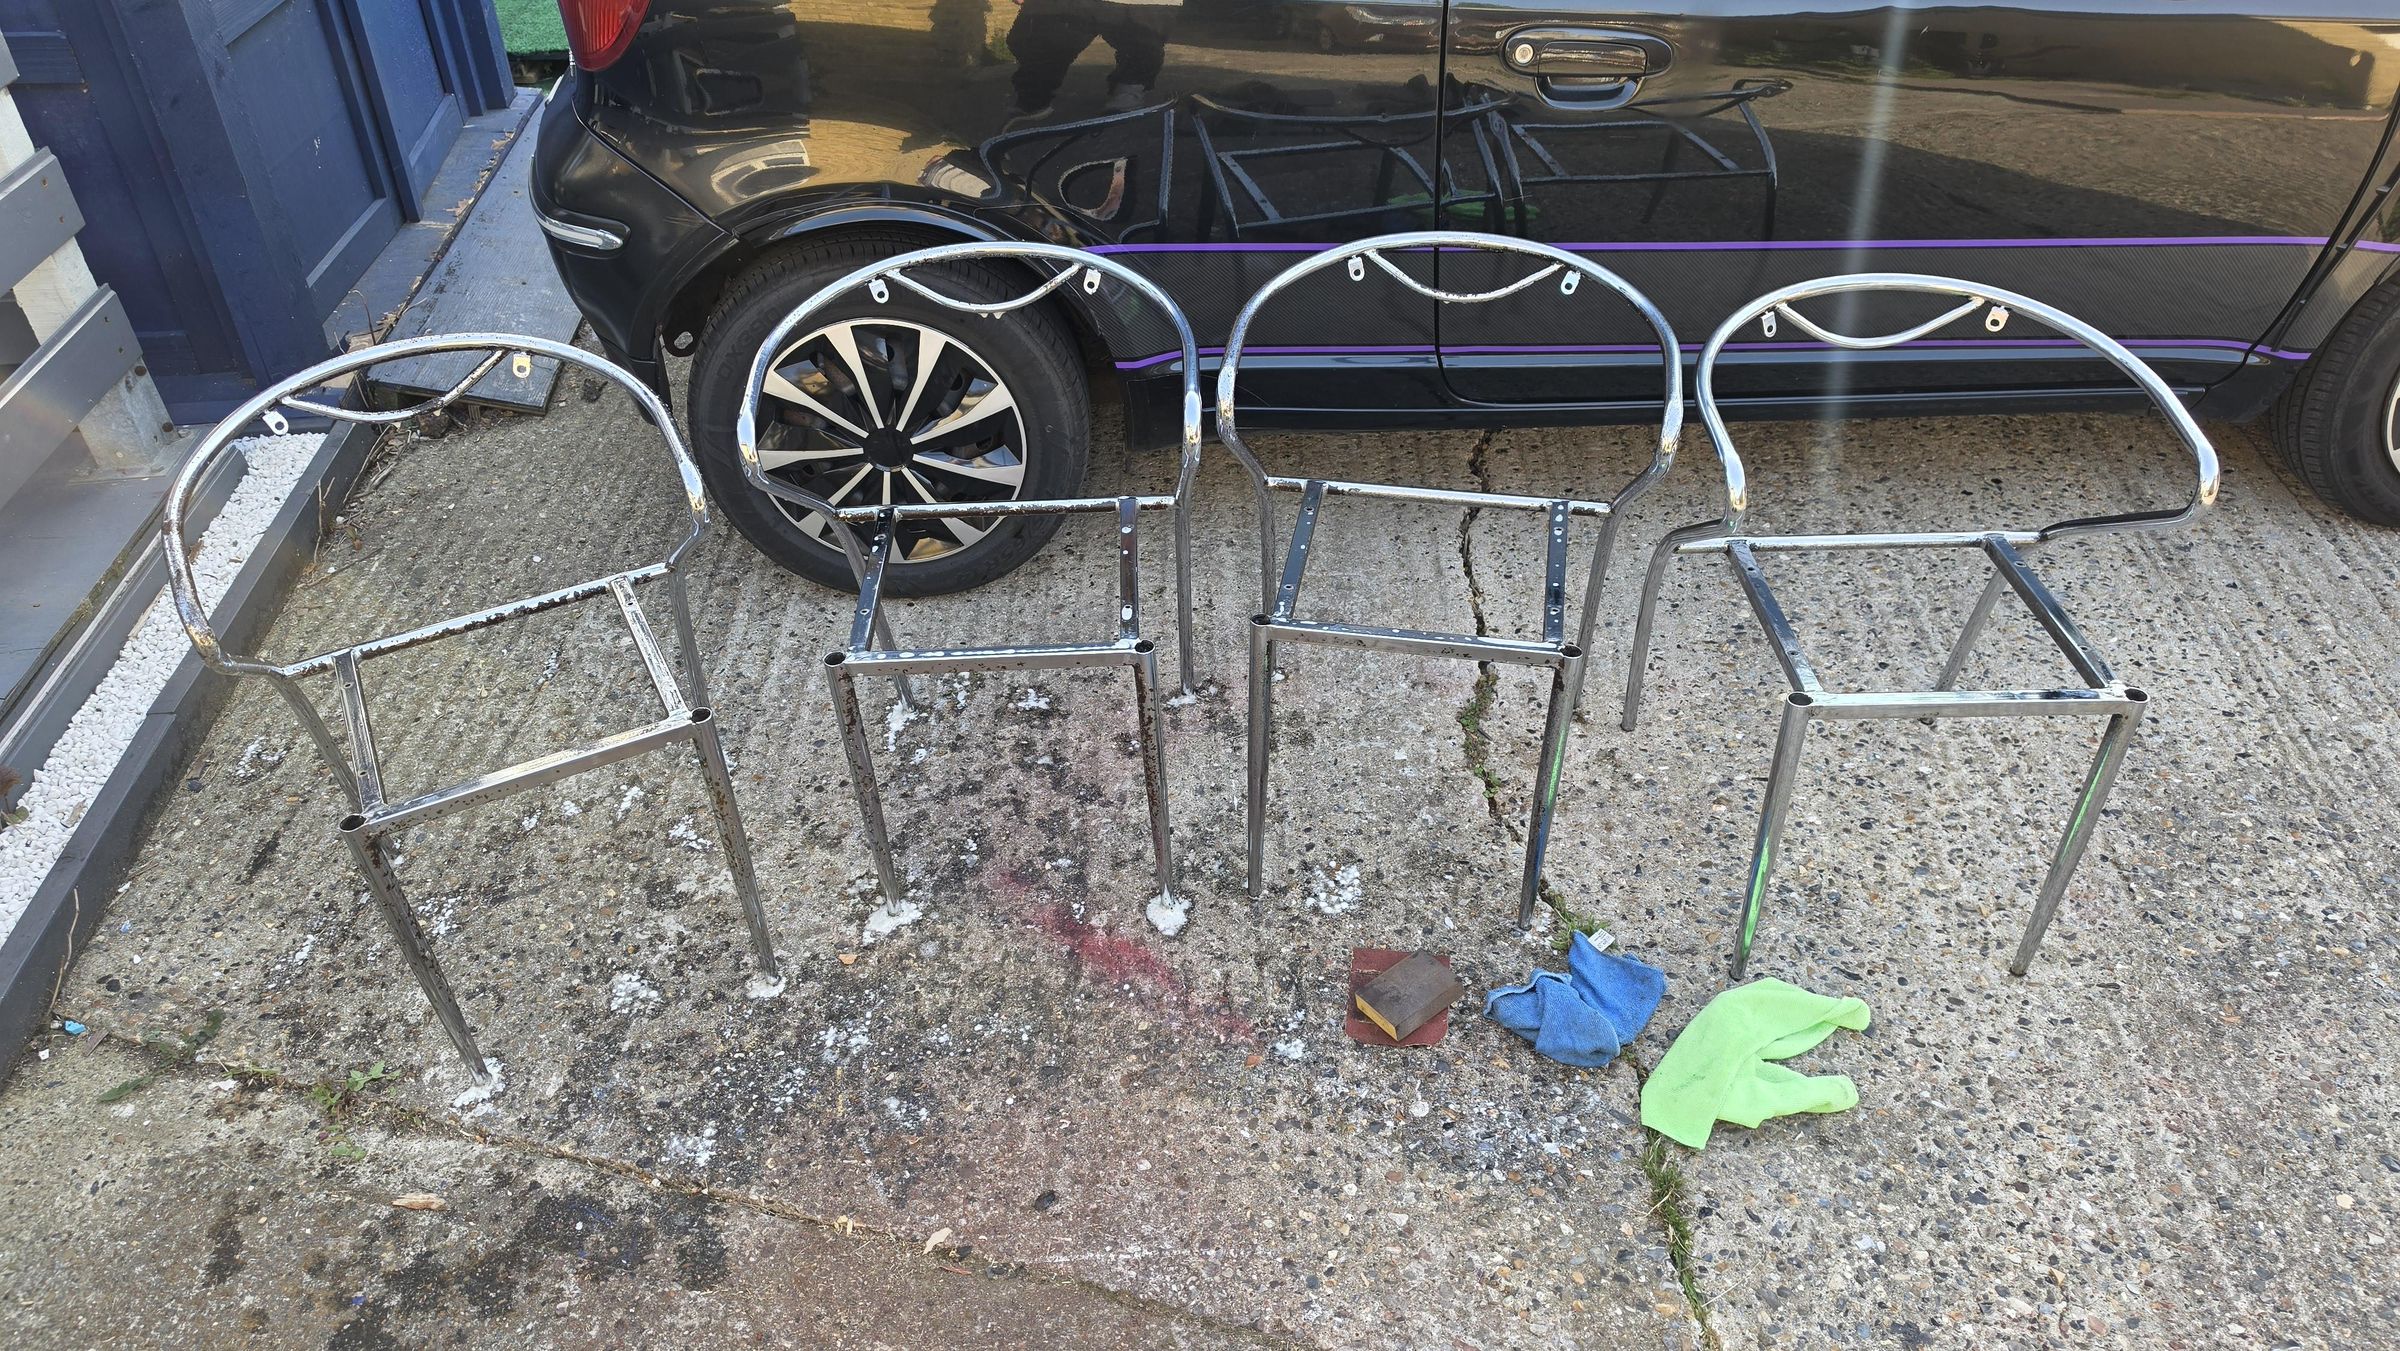
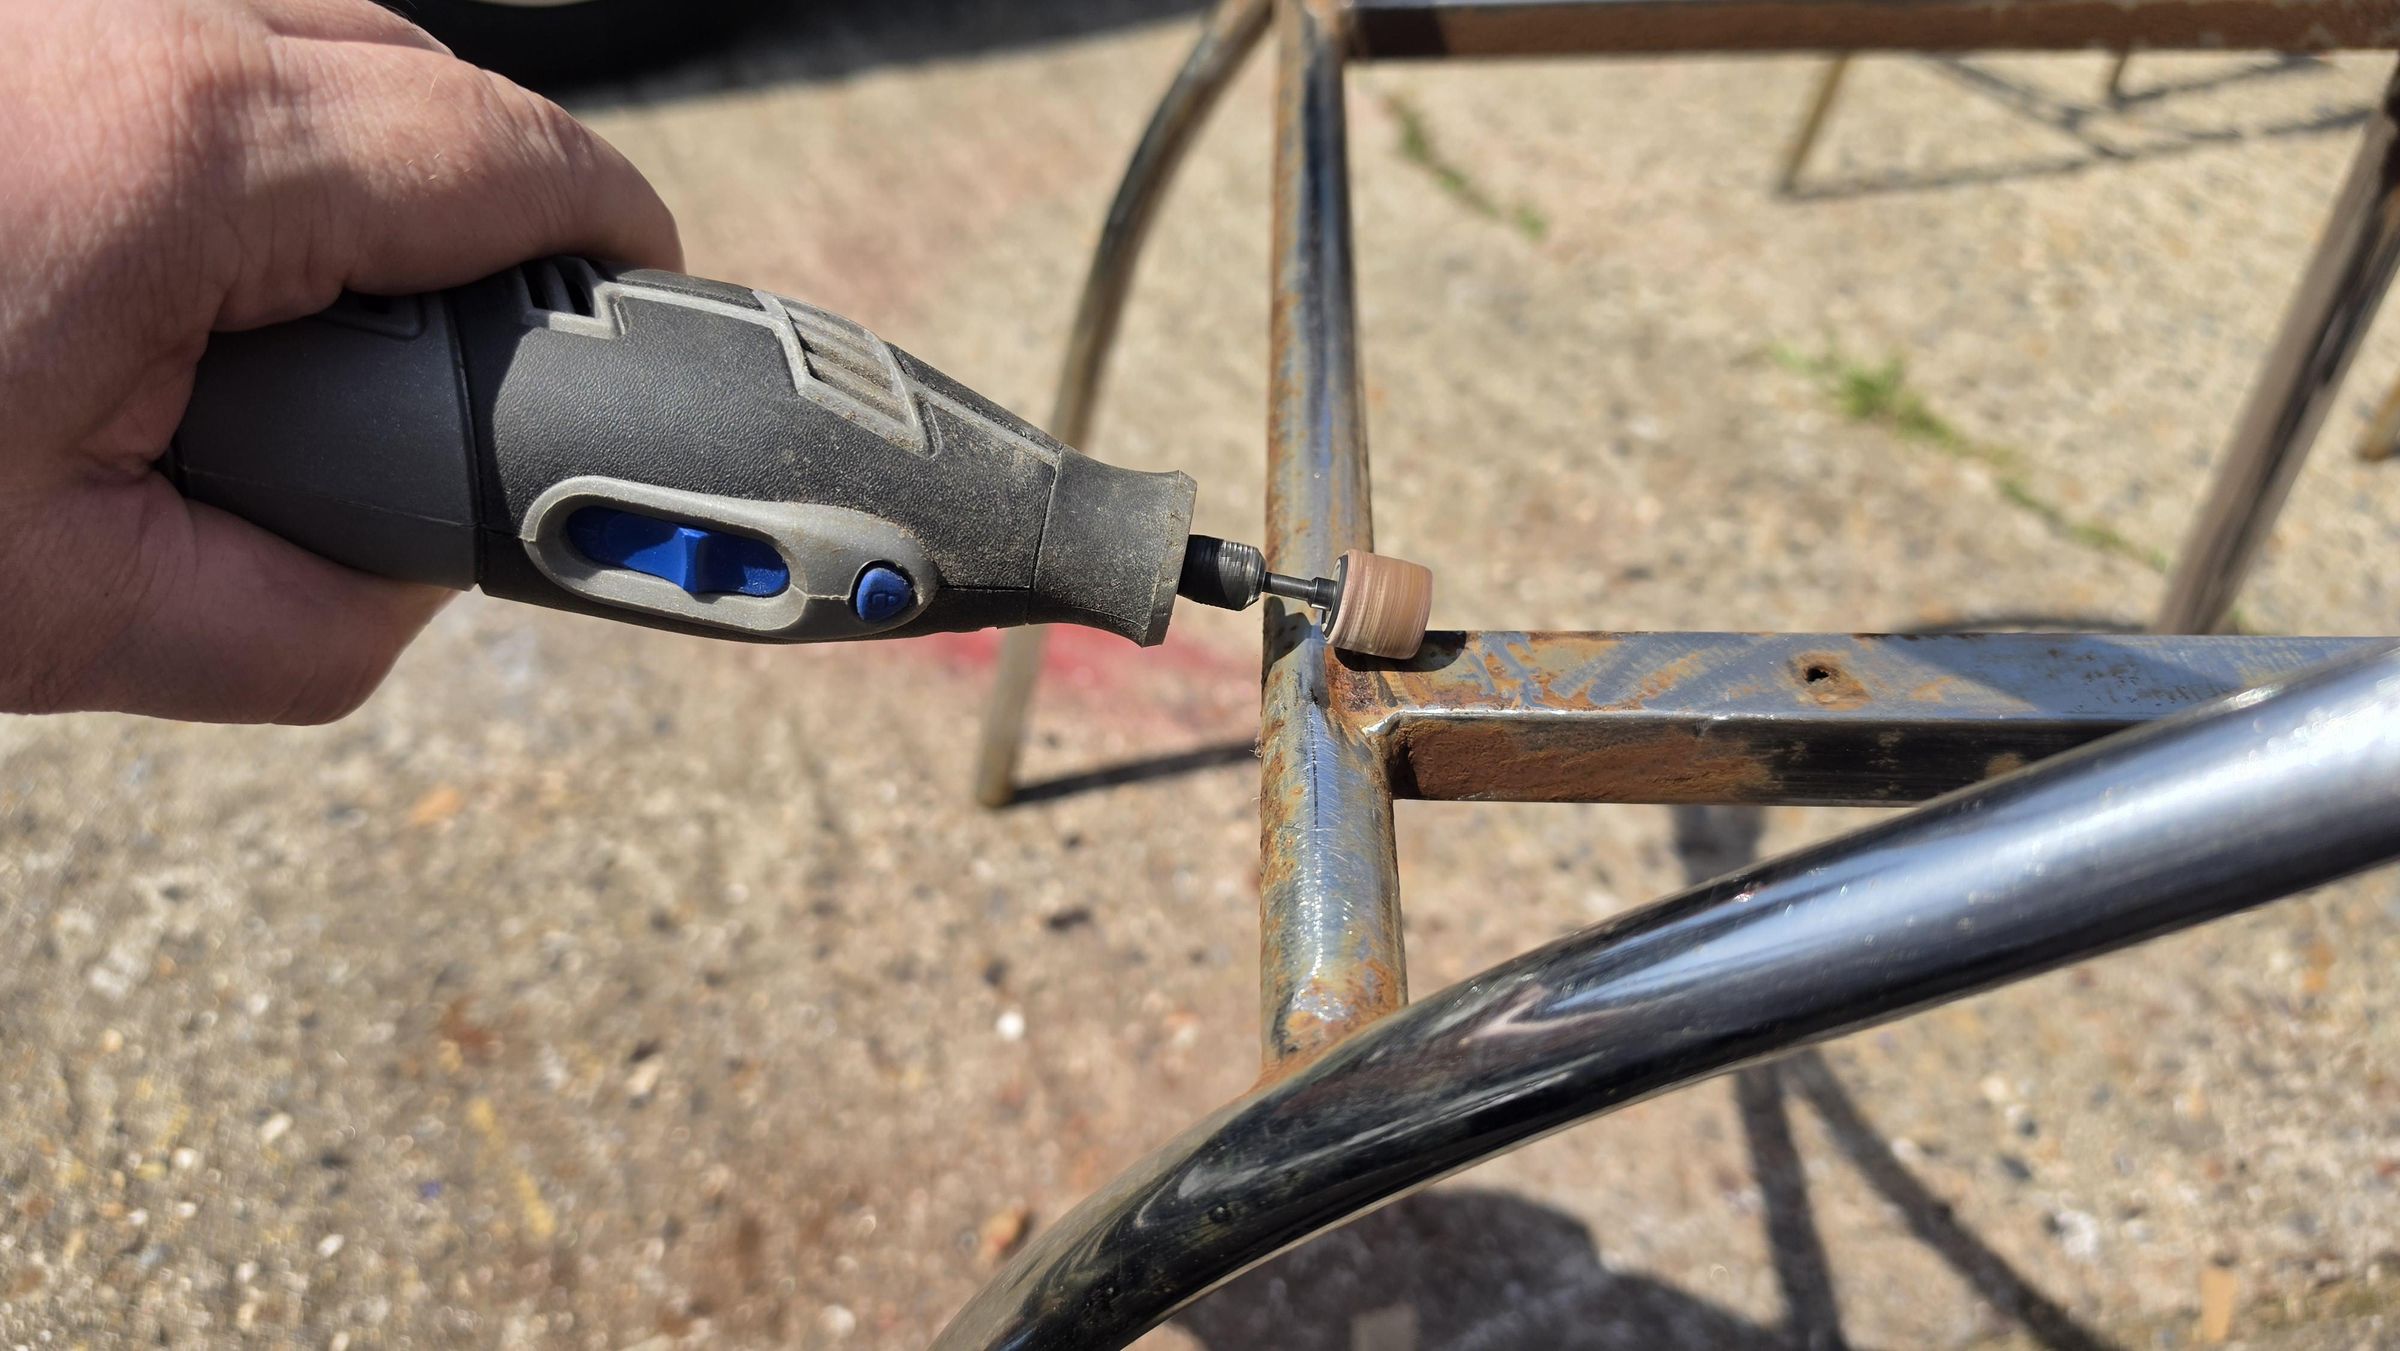
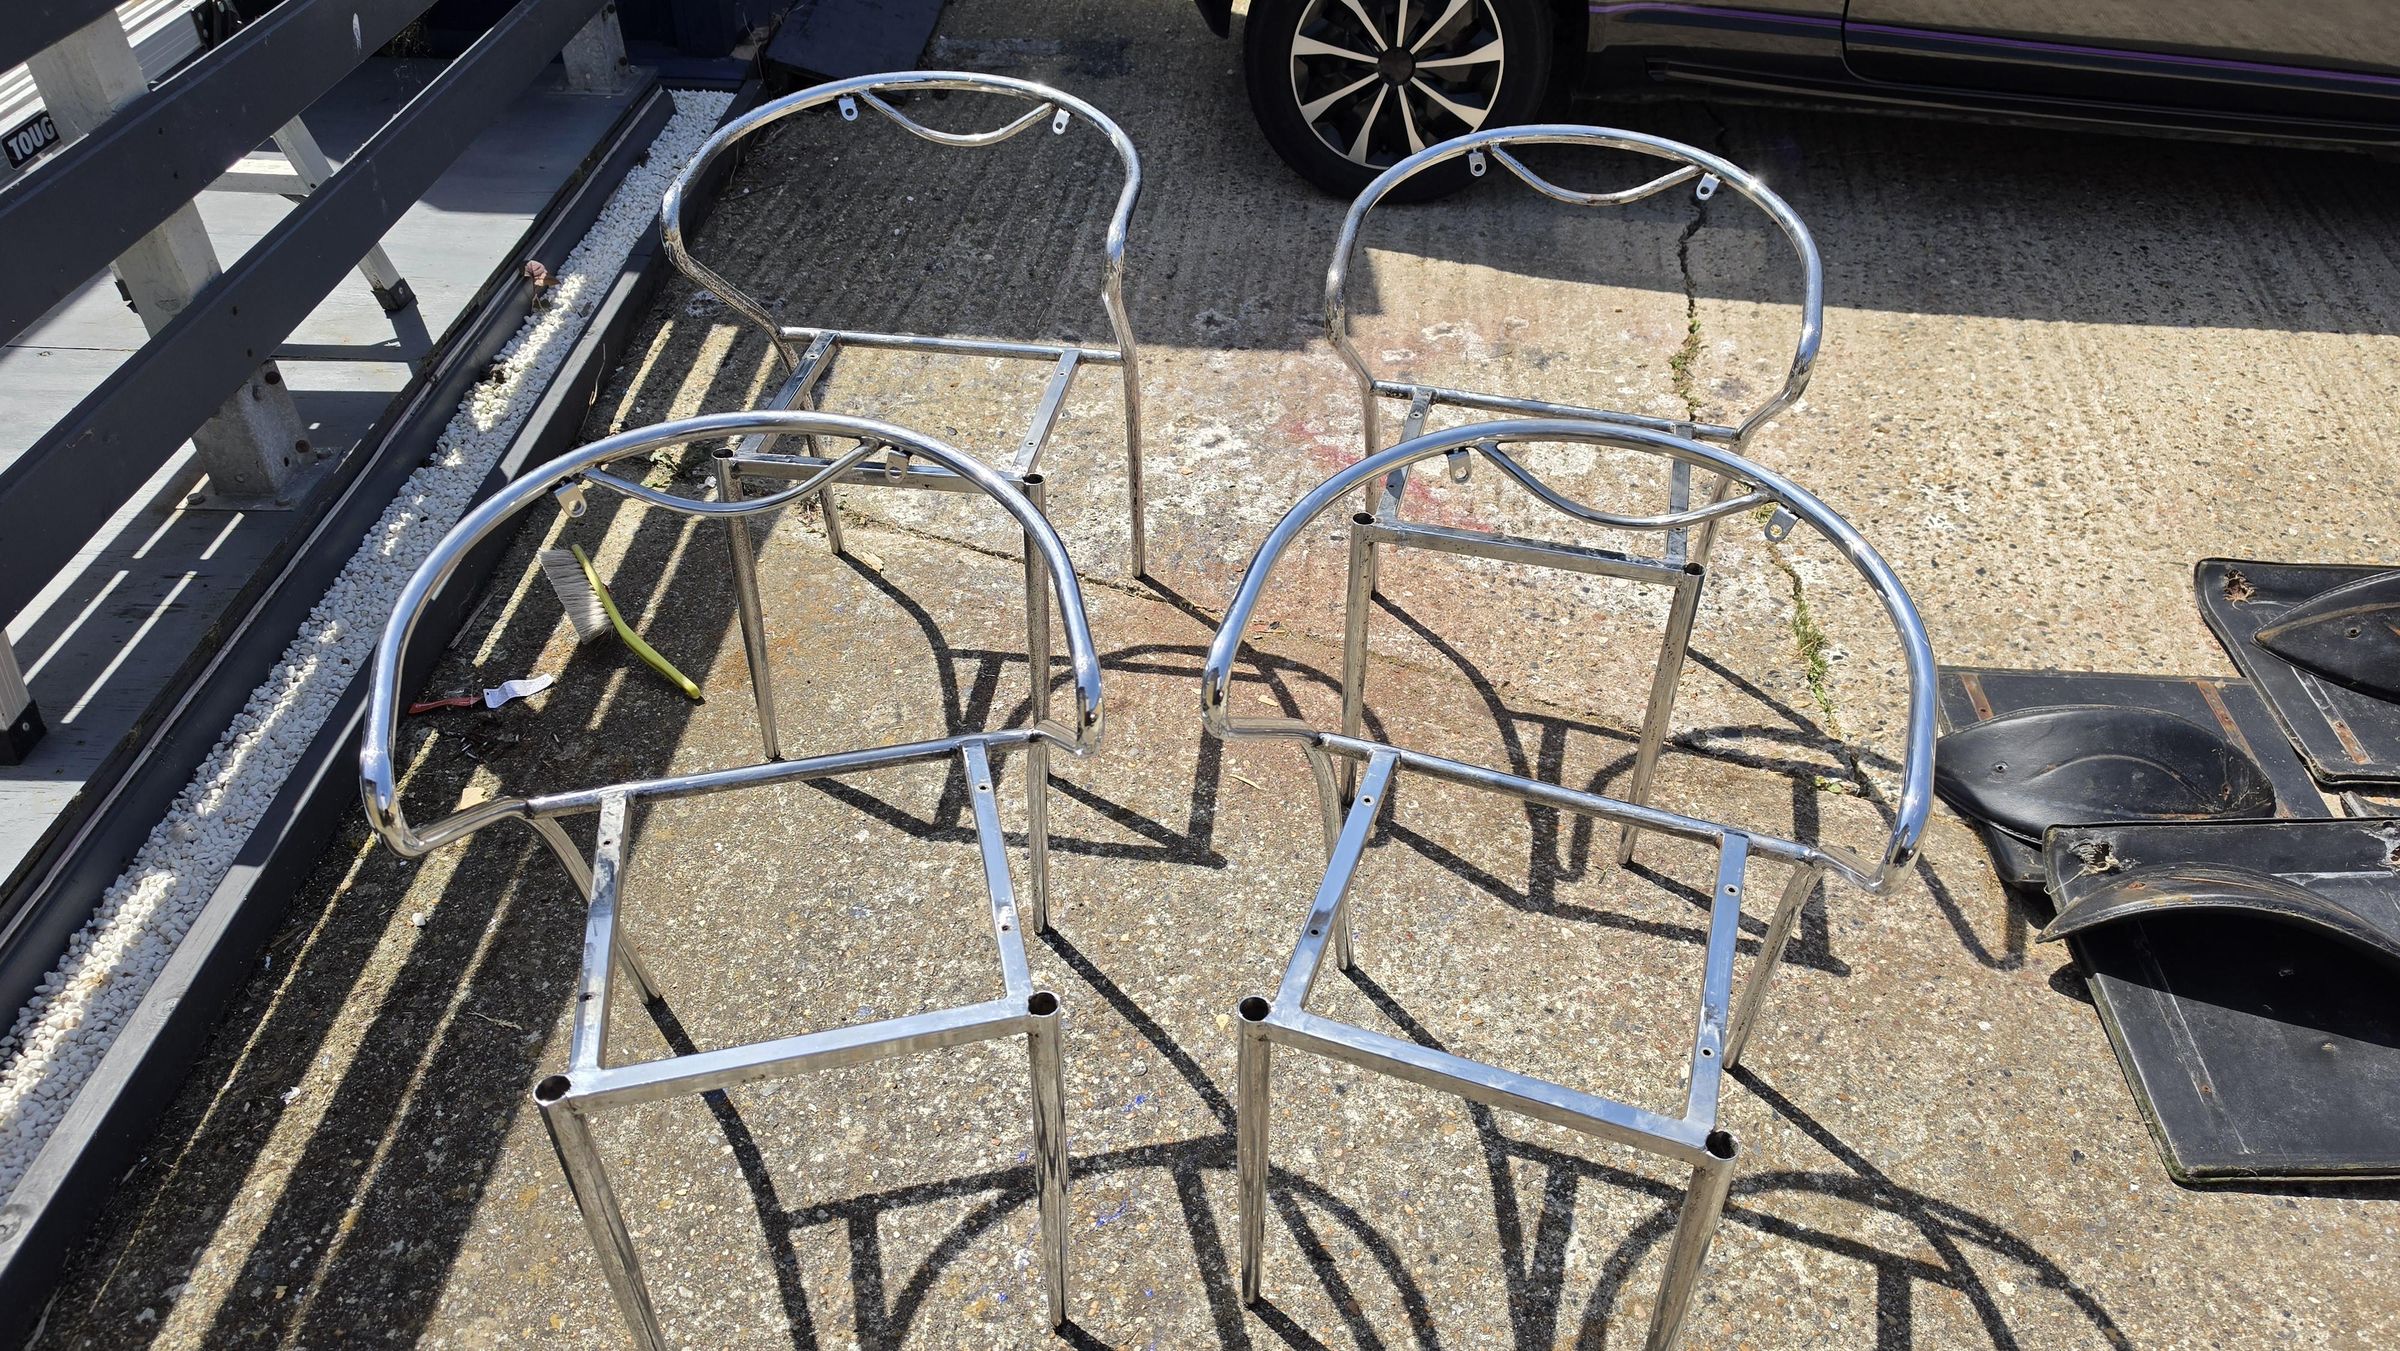
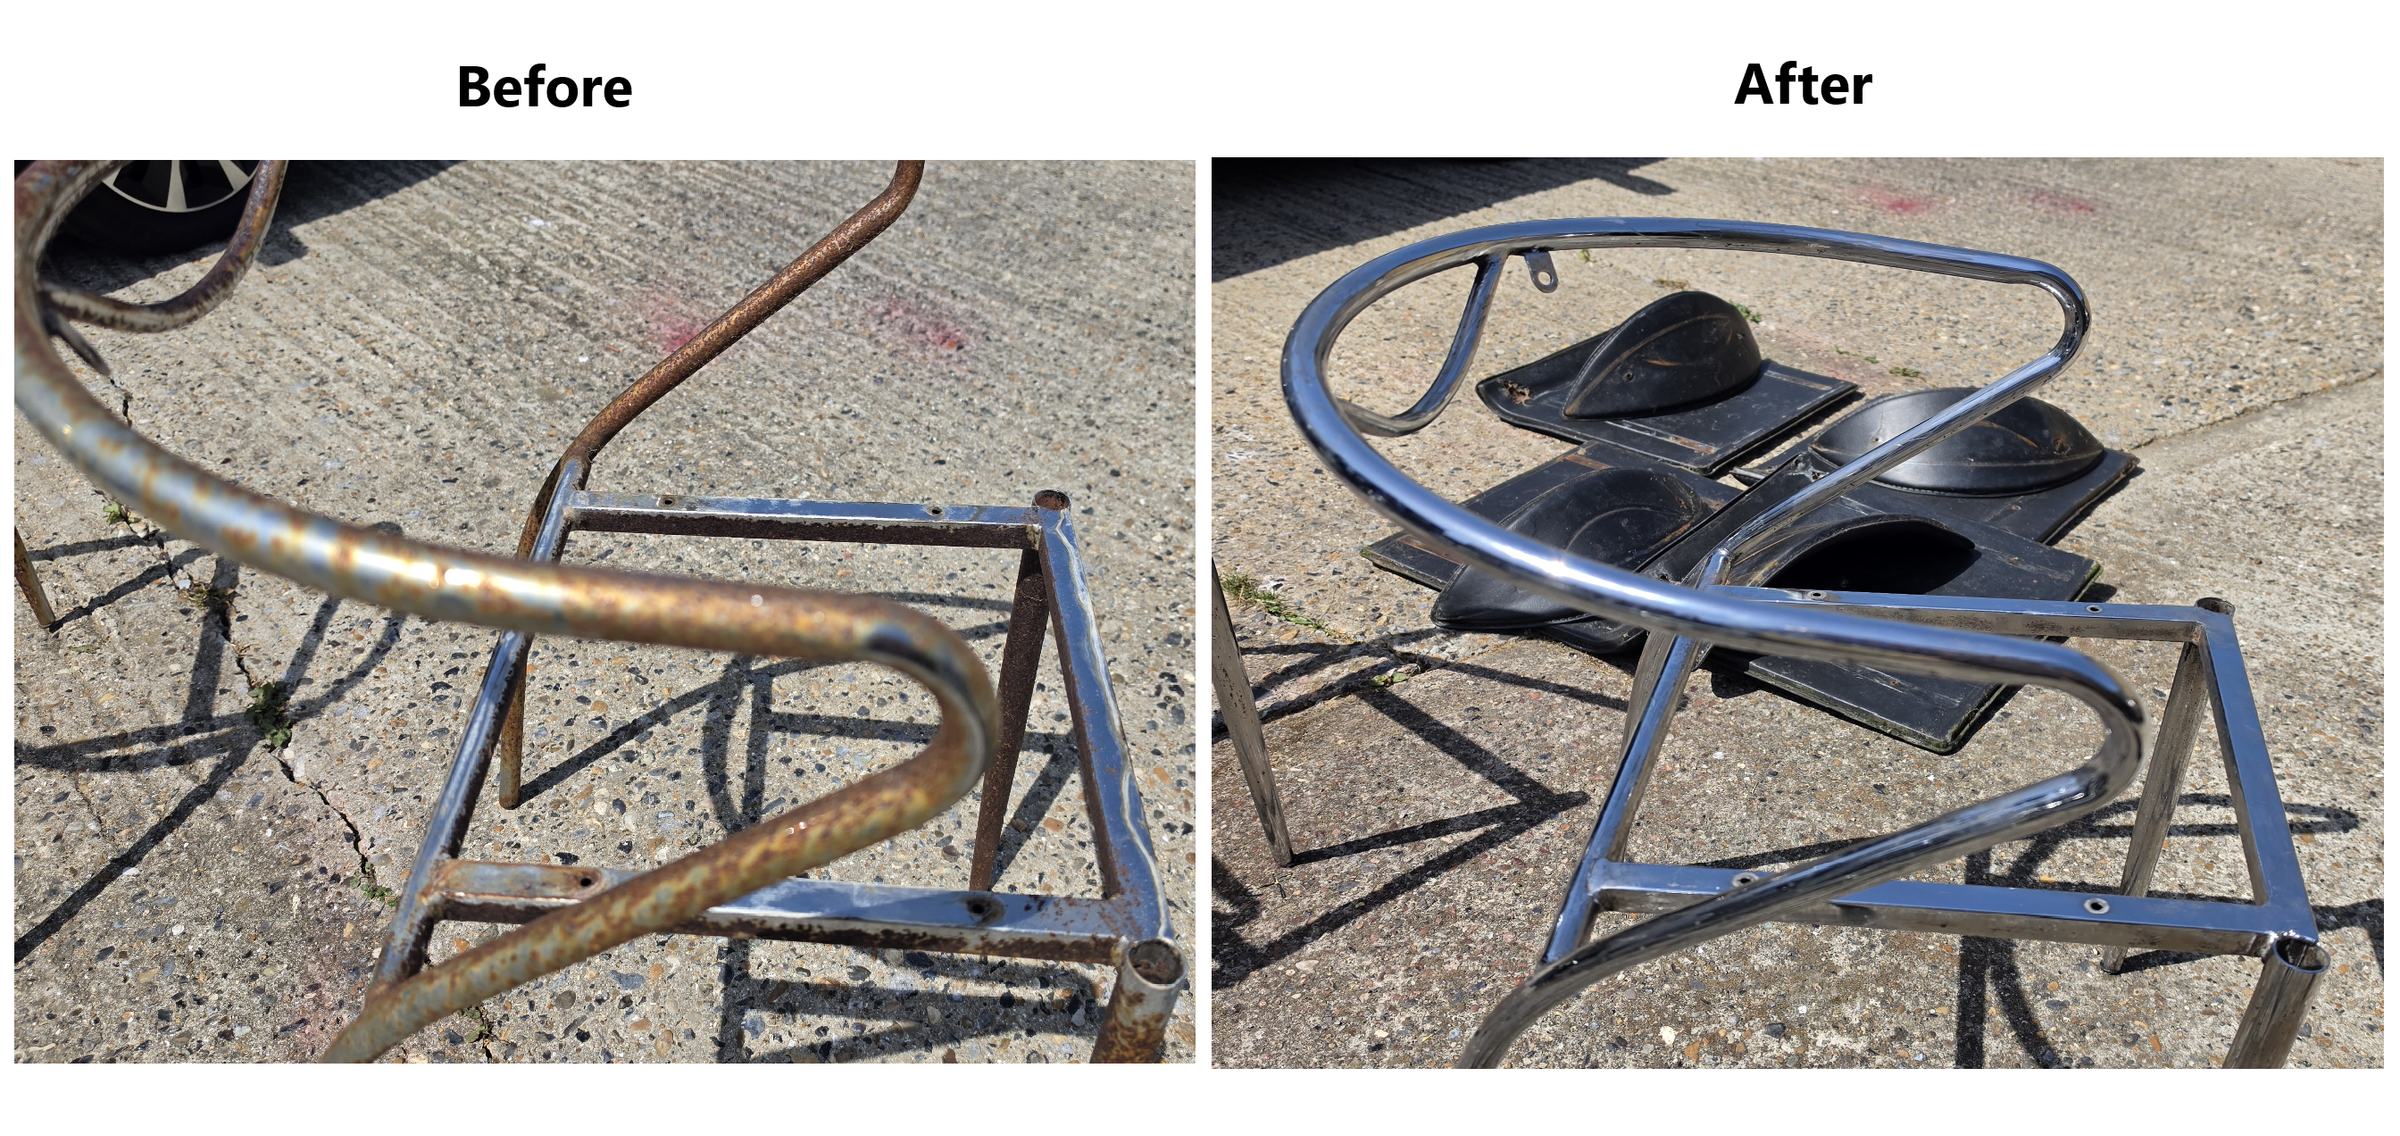
Start off by using a sanding block and a fine grit sandpaper (180 or so), sand over the whole chair frame removing as much of the finer rust and stains as possible. Give the frames a wipe with a cloth then coat the frames with some rust remover. Follow the product instructions for application and waiting times. I left the coated frames for about 20 to 24 hours. Then wipe the frames down with a damp cloth.
For any remaining stubborn rust, move to a rougher grit paper (40 or 80) to get rid of as much of the more stubborn rust areas. I finished off with a Dremel with some sanding drums and grinding bits for the welded areas and really stubborn rust, a quick going over with a 180 grit paper all over, the clean with a damp cloth.
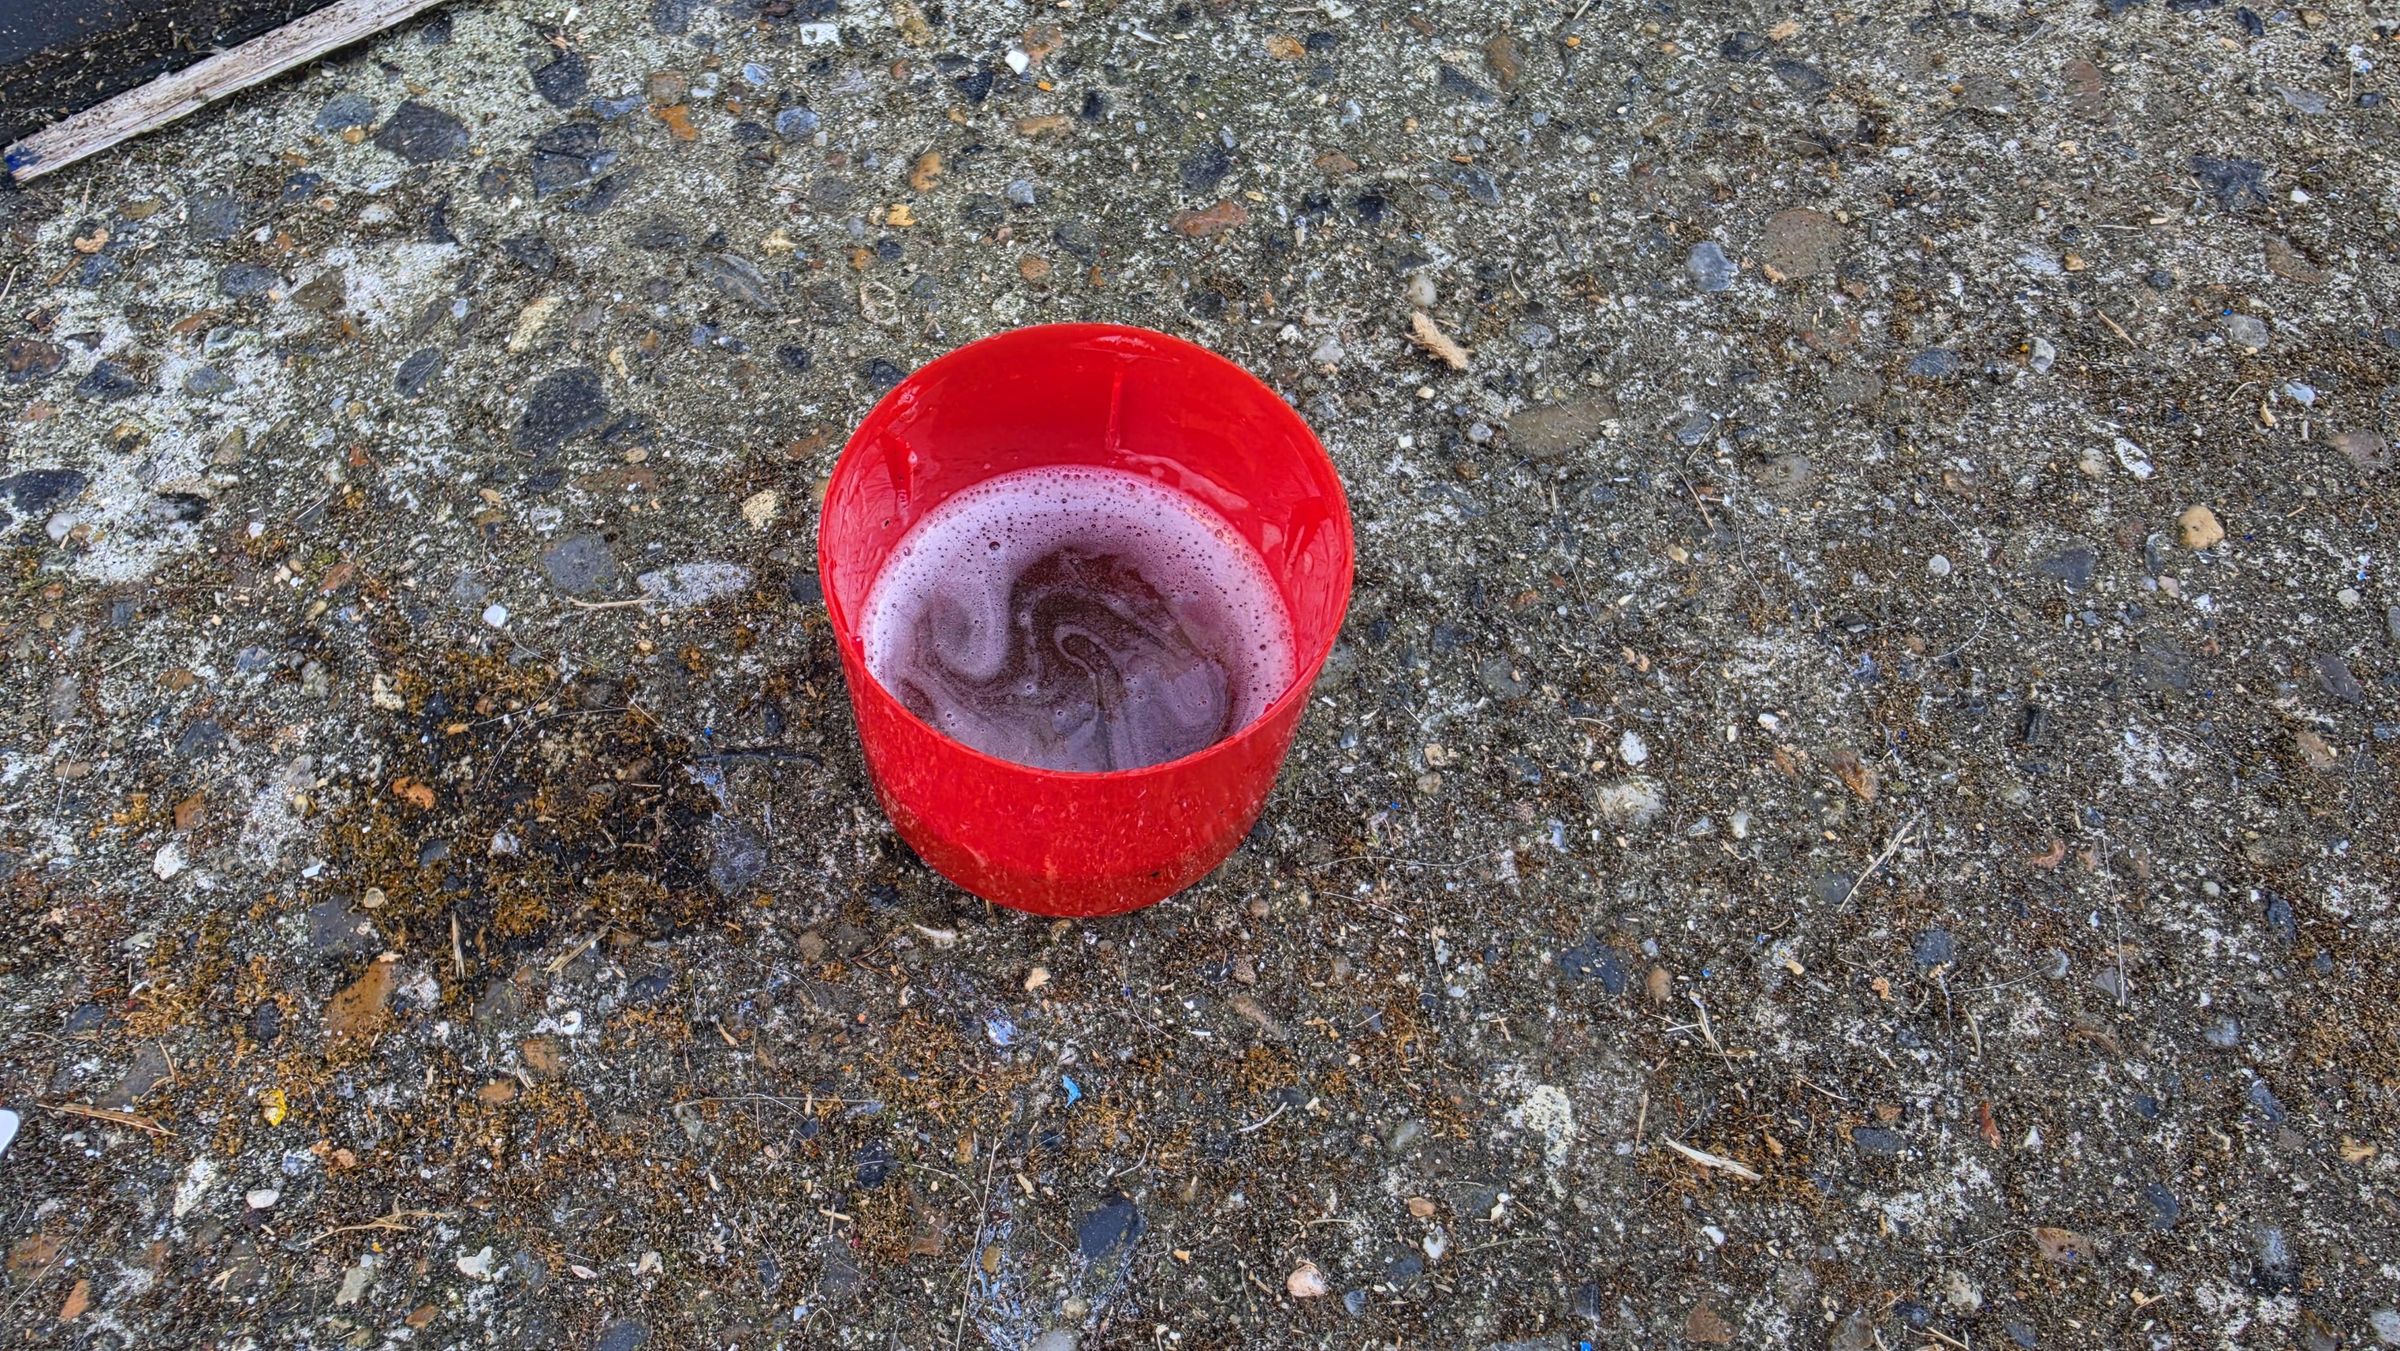
I also soaked the Allen screws that held the back rest on, in a small tub of rust remover and left for 24 hours, rinsed and cleaned.
Treat and Paint
.jpg)
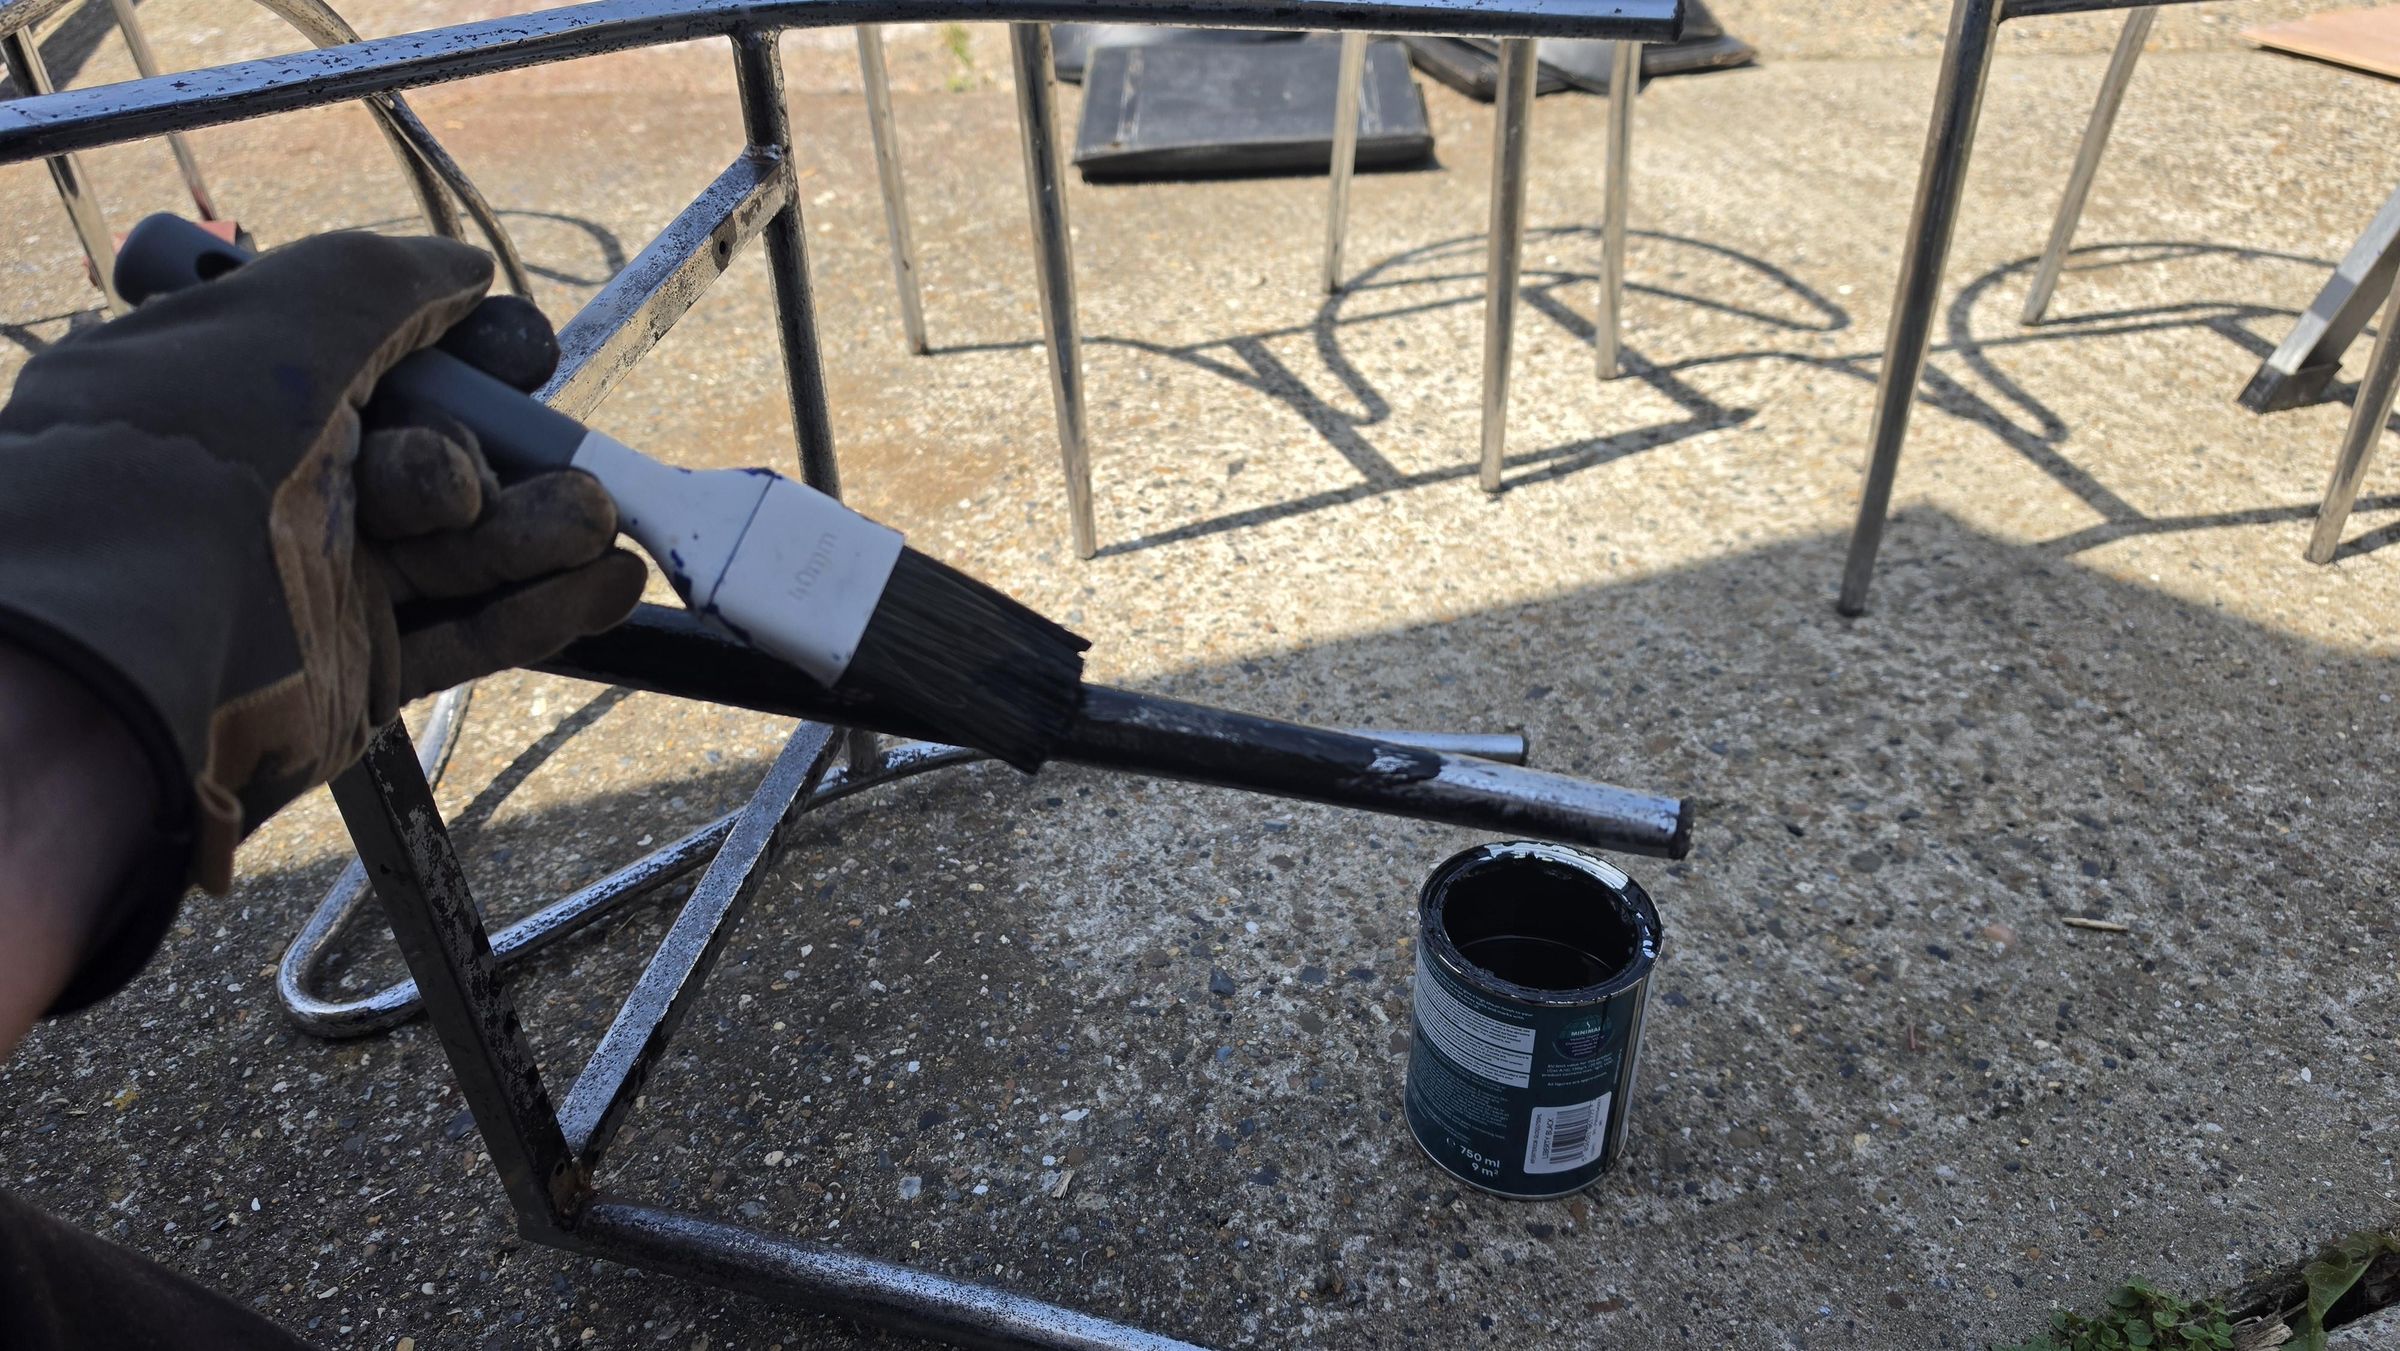
Because of the previous rust, treat the chair frames with a rust inhibitor and wait to completely dry, then give the frames a quick wipe with a clean, dry cloth.
The paint I used was an internal/external direct to metal paint. I chose to paint the frames a gloss black as I was going to re-cover the seat bases with a grey cloth. Stir the paint well, then apply the first coat with a small paint brush all over and wait a couple of hours to dry (check the paint dry times on your chosen paint). Then repeat with another two to three coats, then leave to dry and cure.
For the back rests, as they were in pretty good shape structurally, I gave them a good clean with some warm soapy water, dried, and then coloured them with a grey vinyl dye spray. No primer was needed, so 4 even coats either side was all that was needed to make them look much better and would now match the recovered seat bases, which was the next job.
Seat Base Refurb
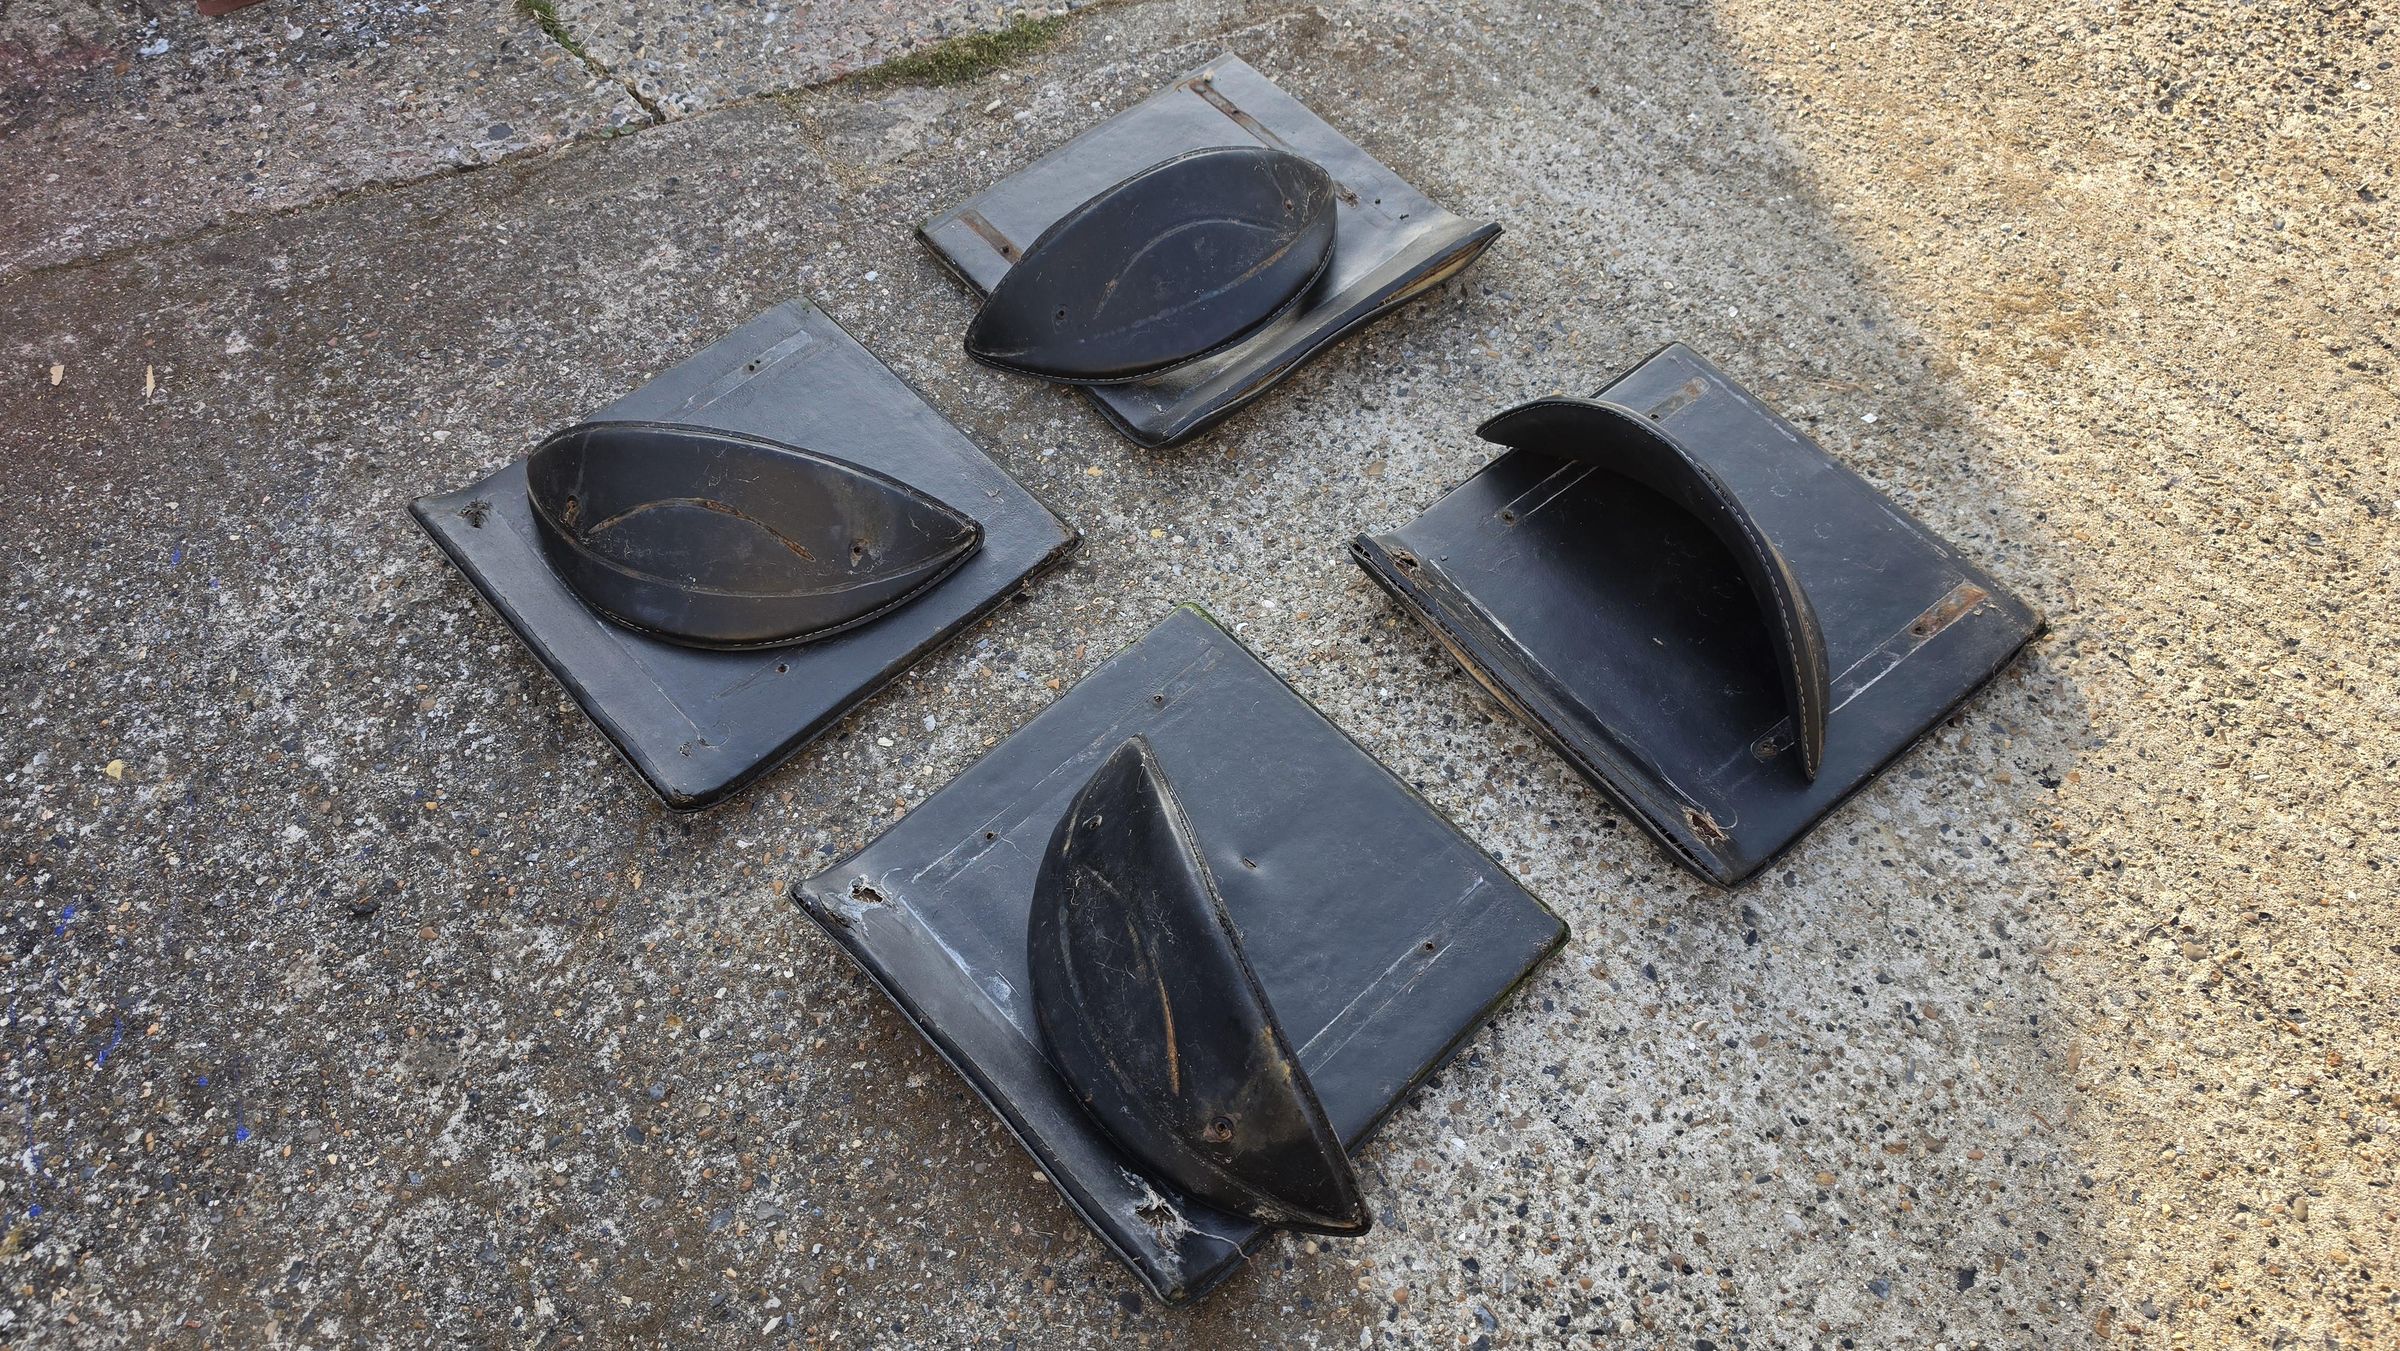
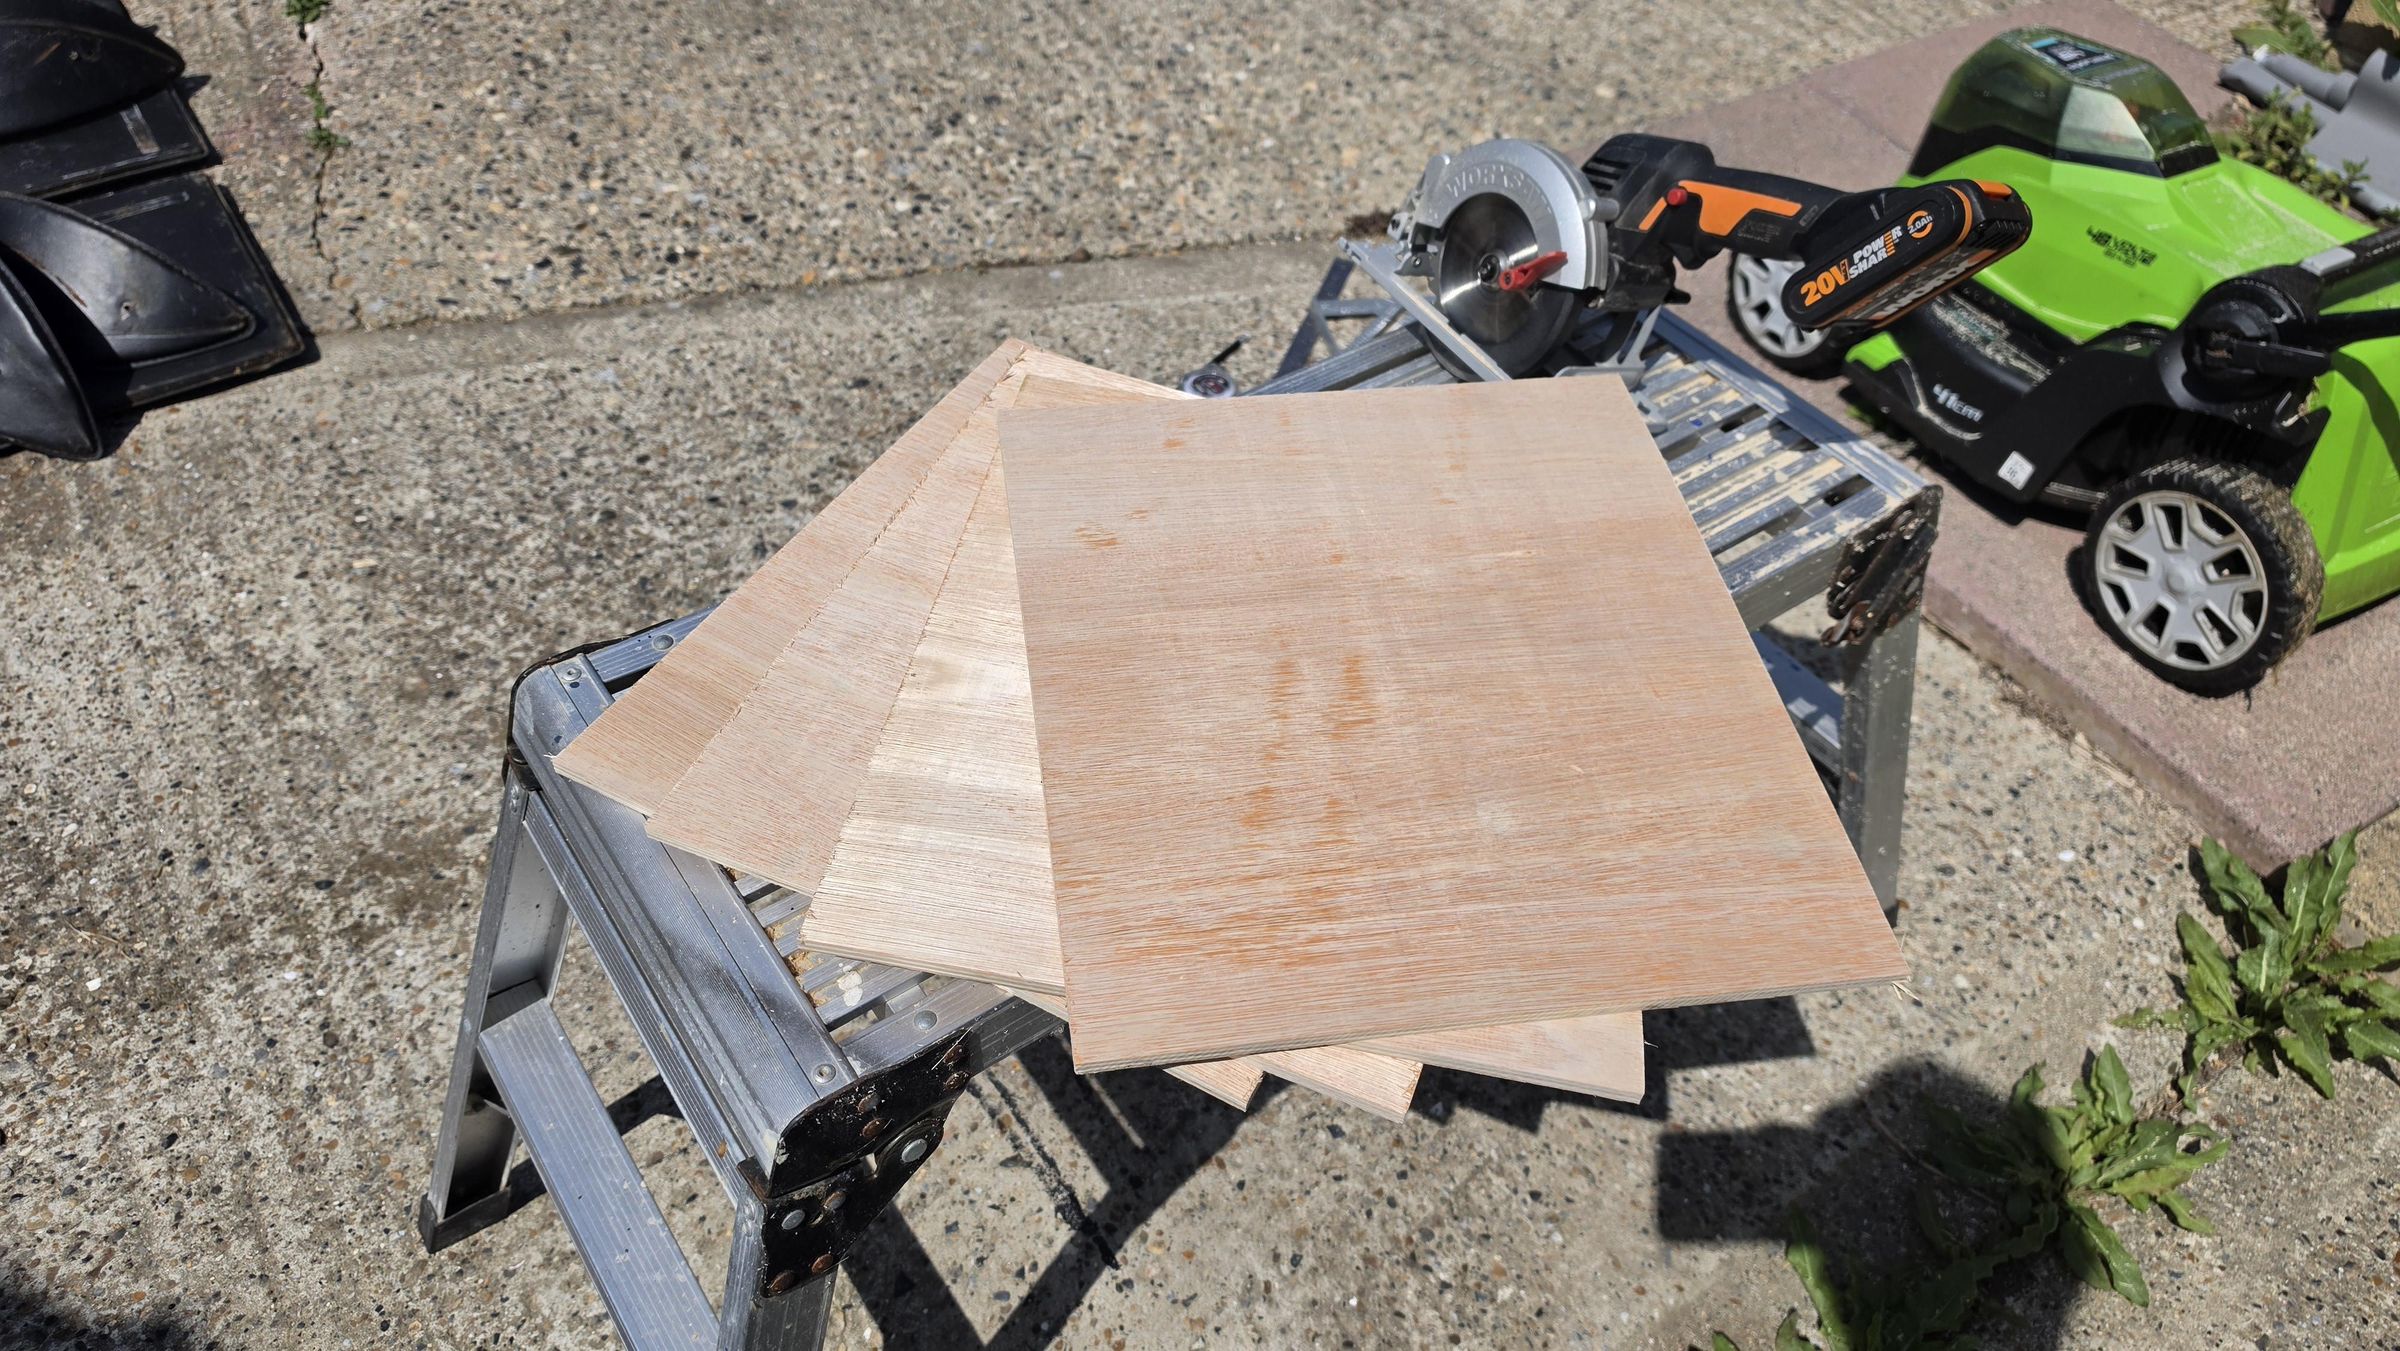
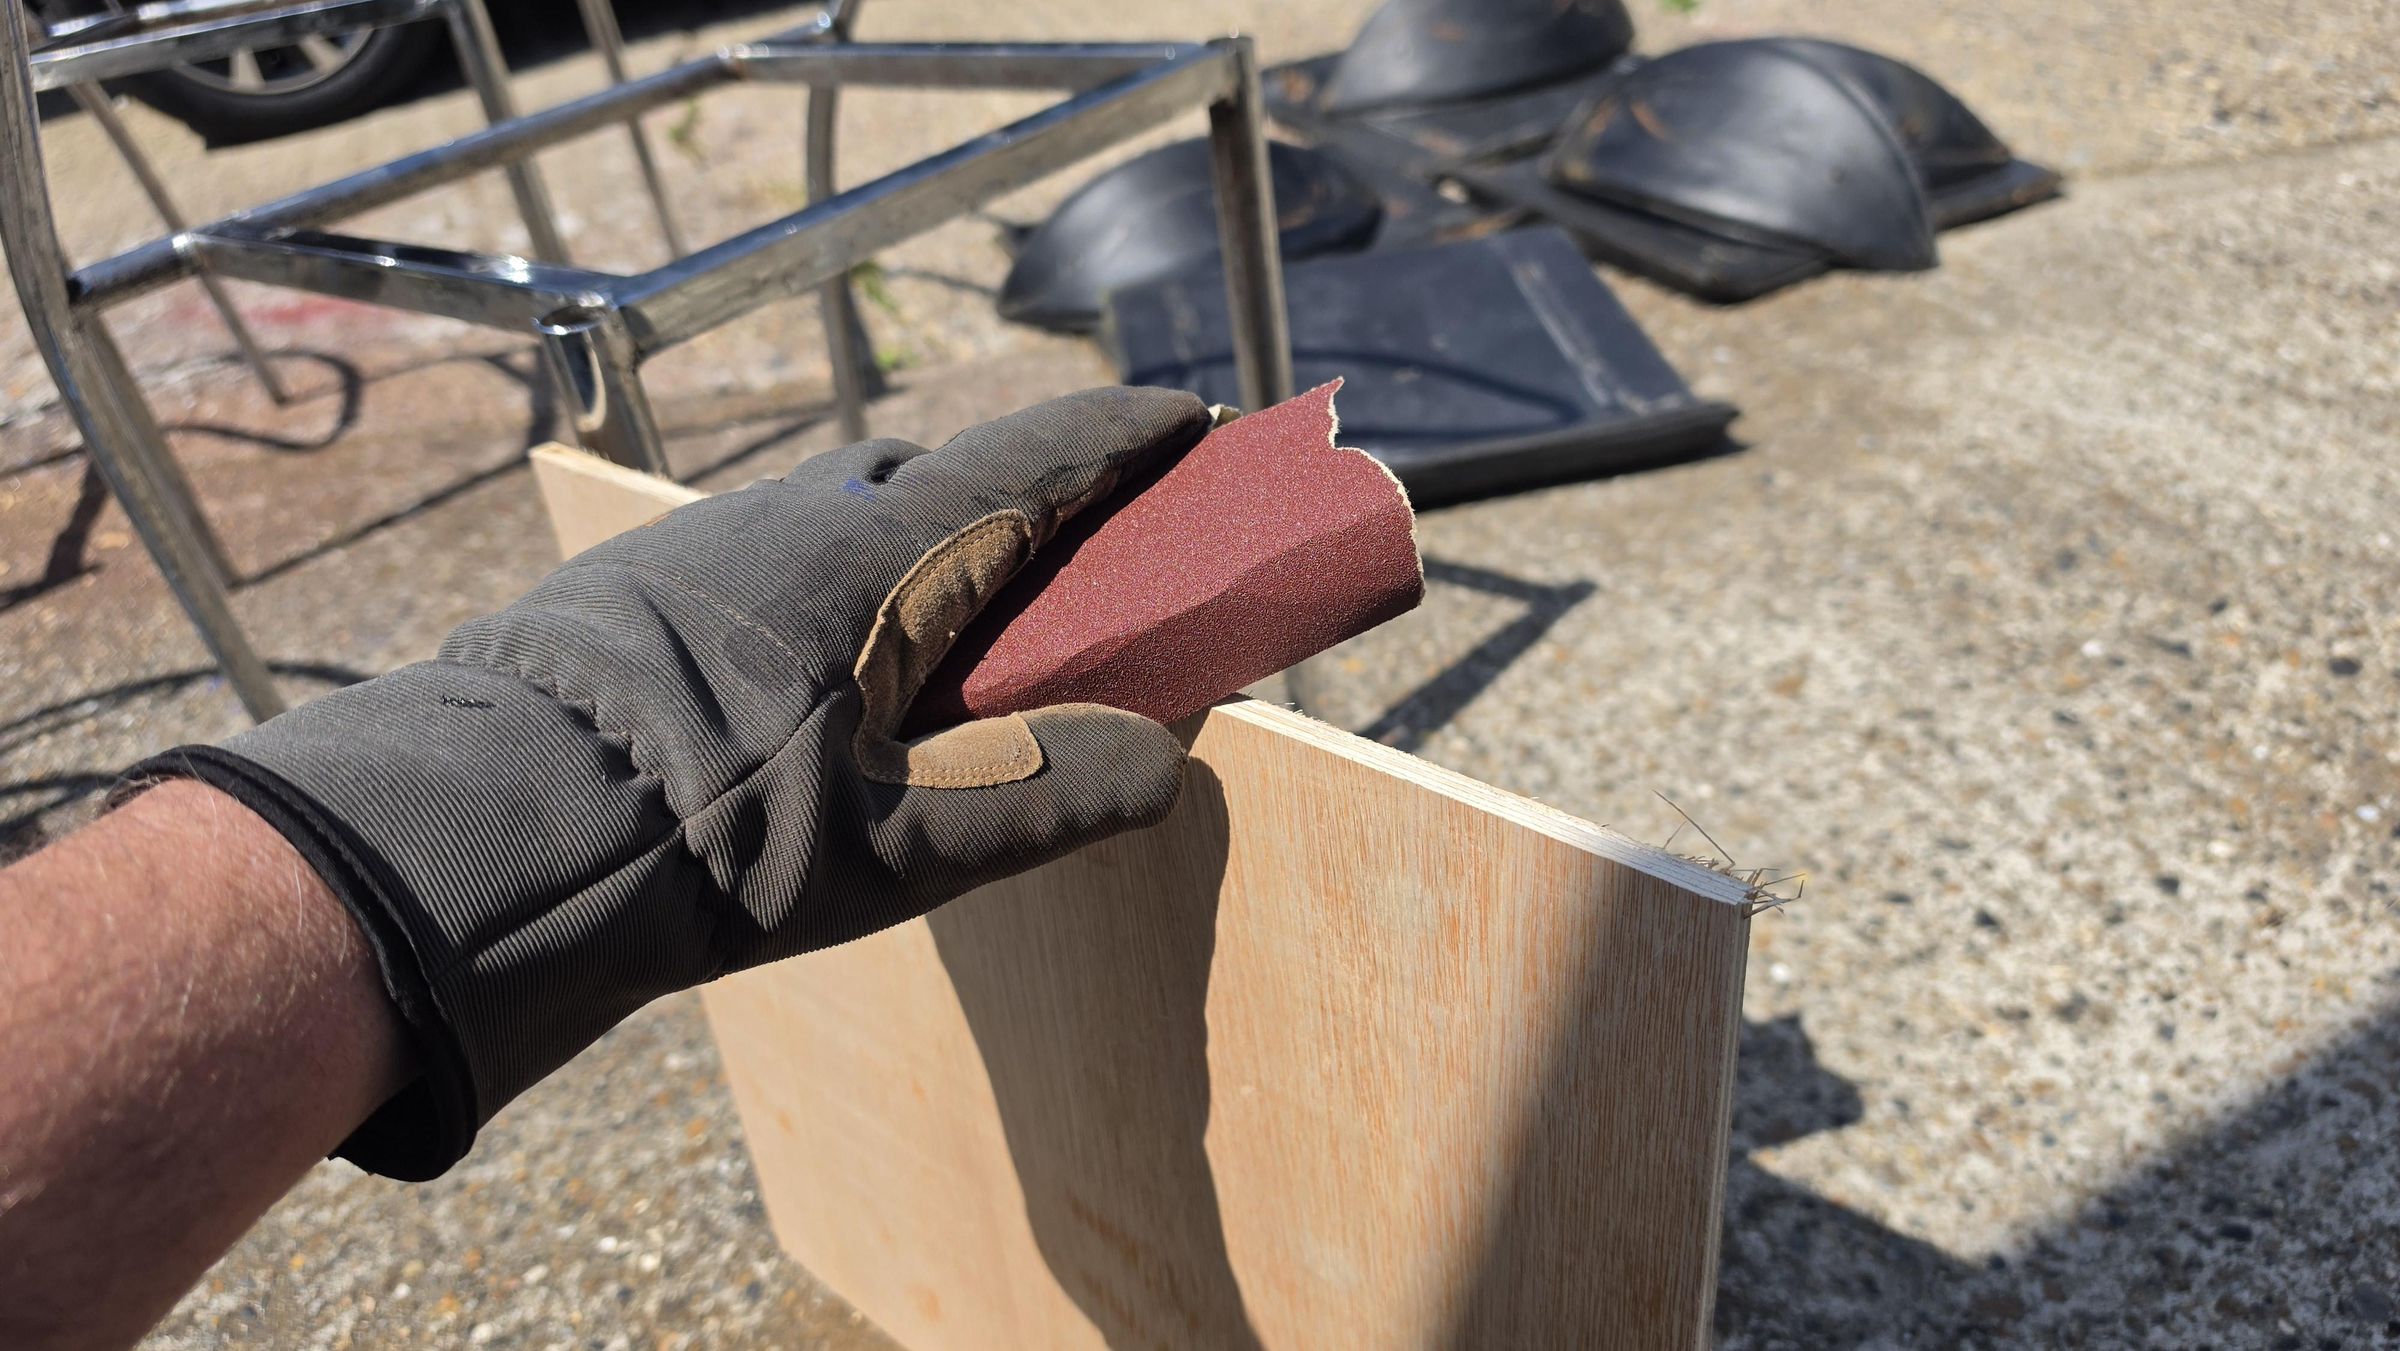
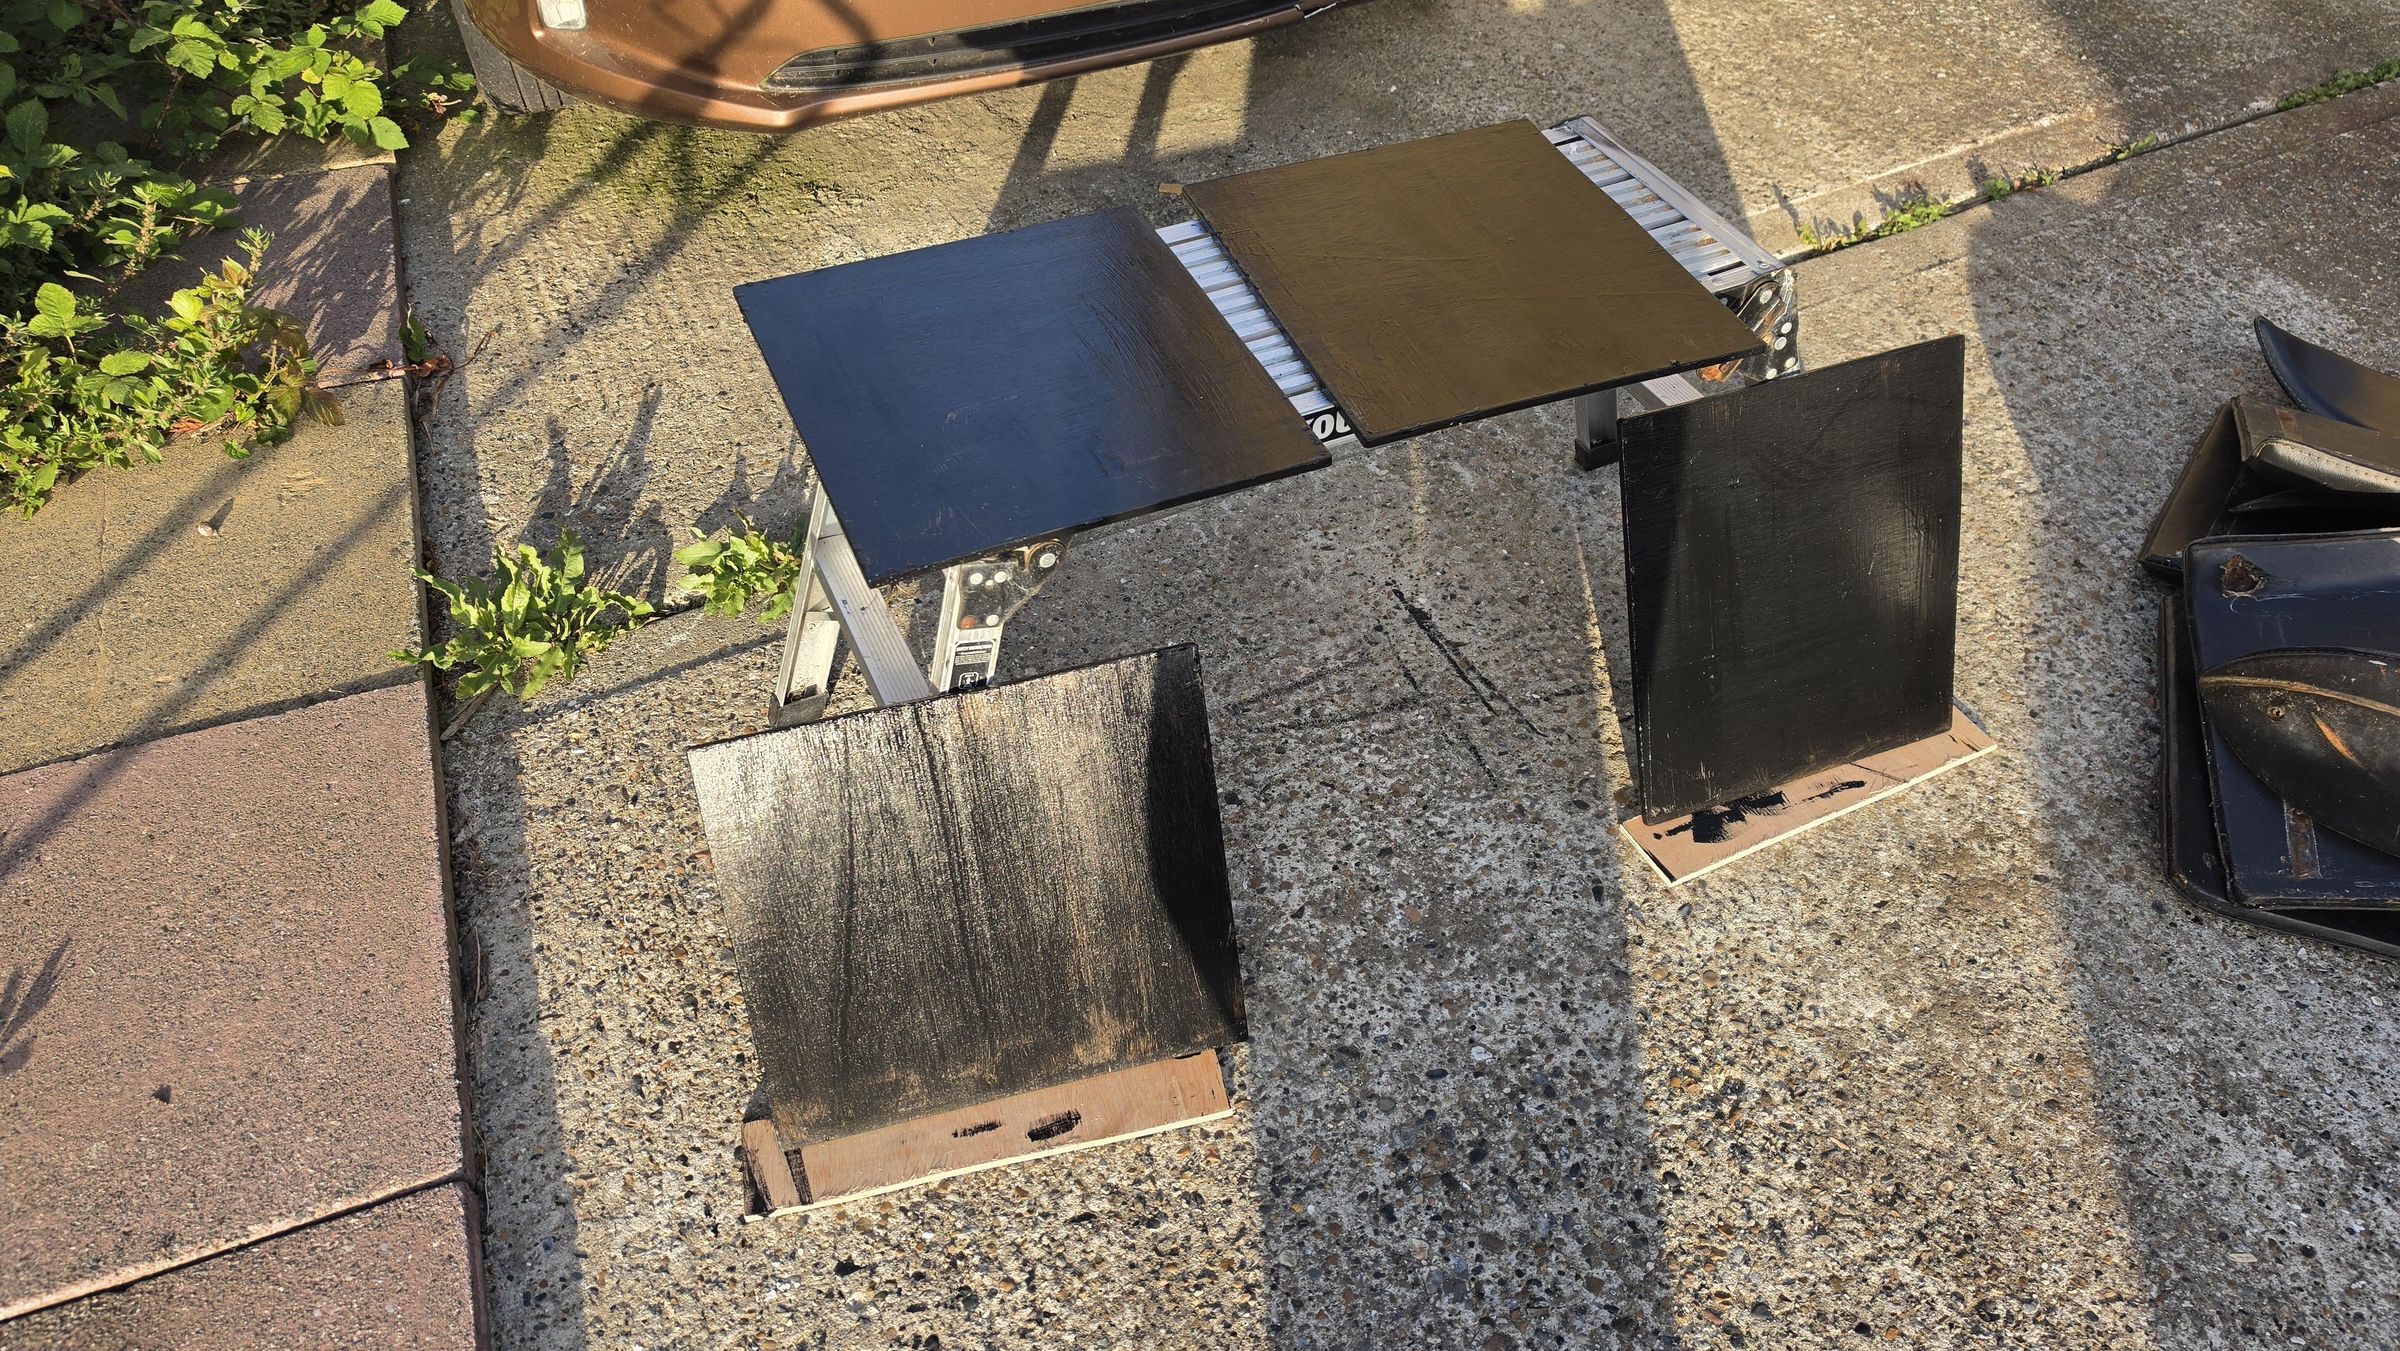
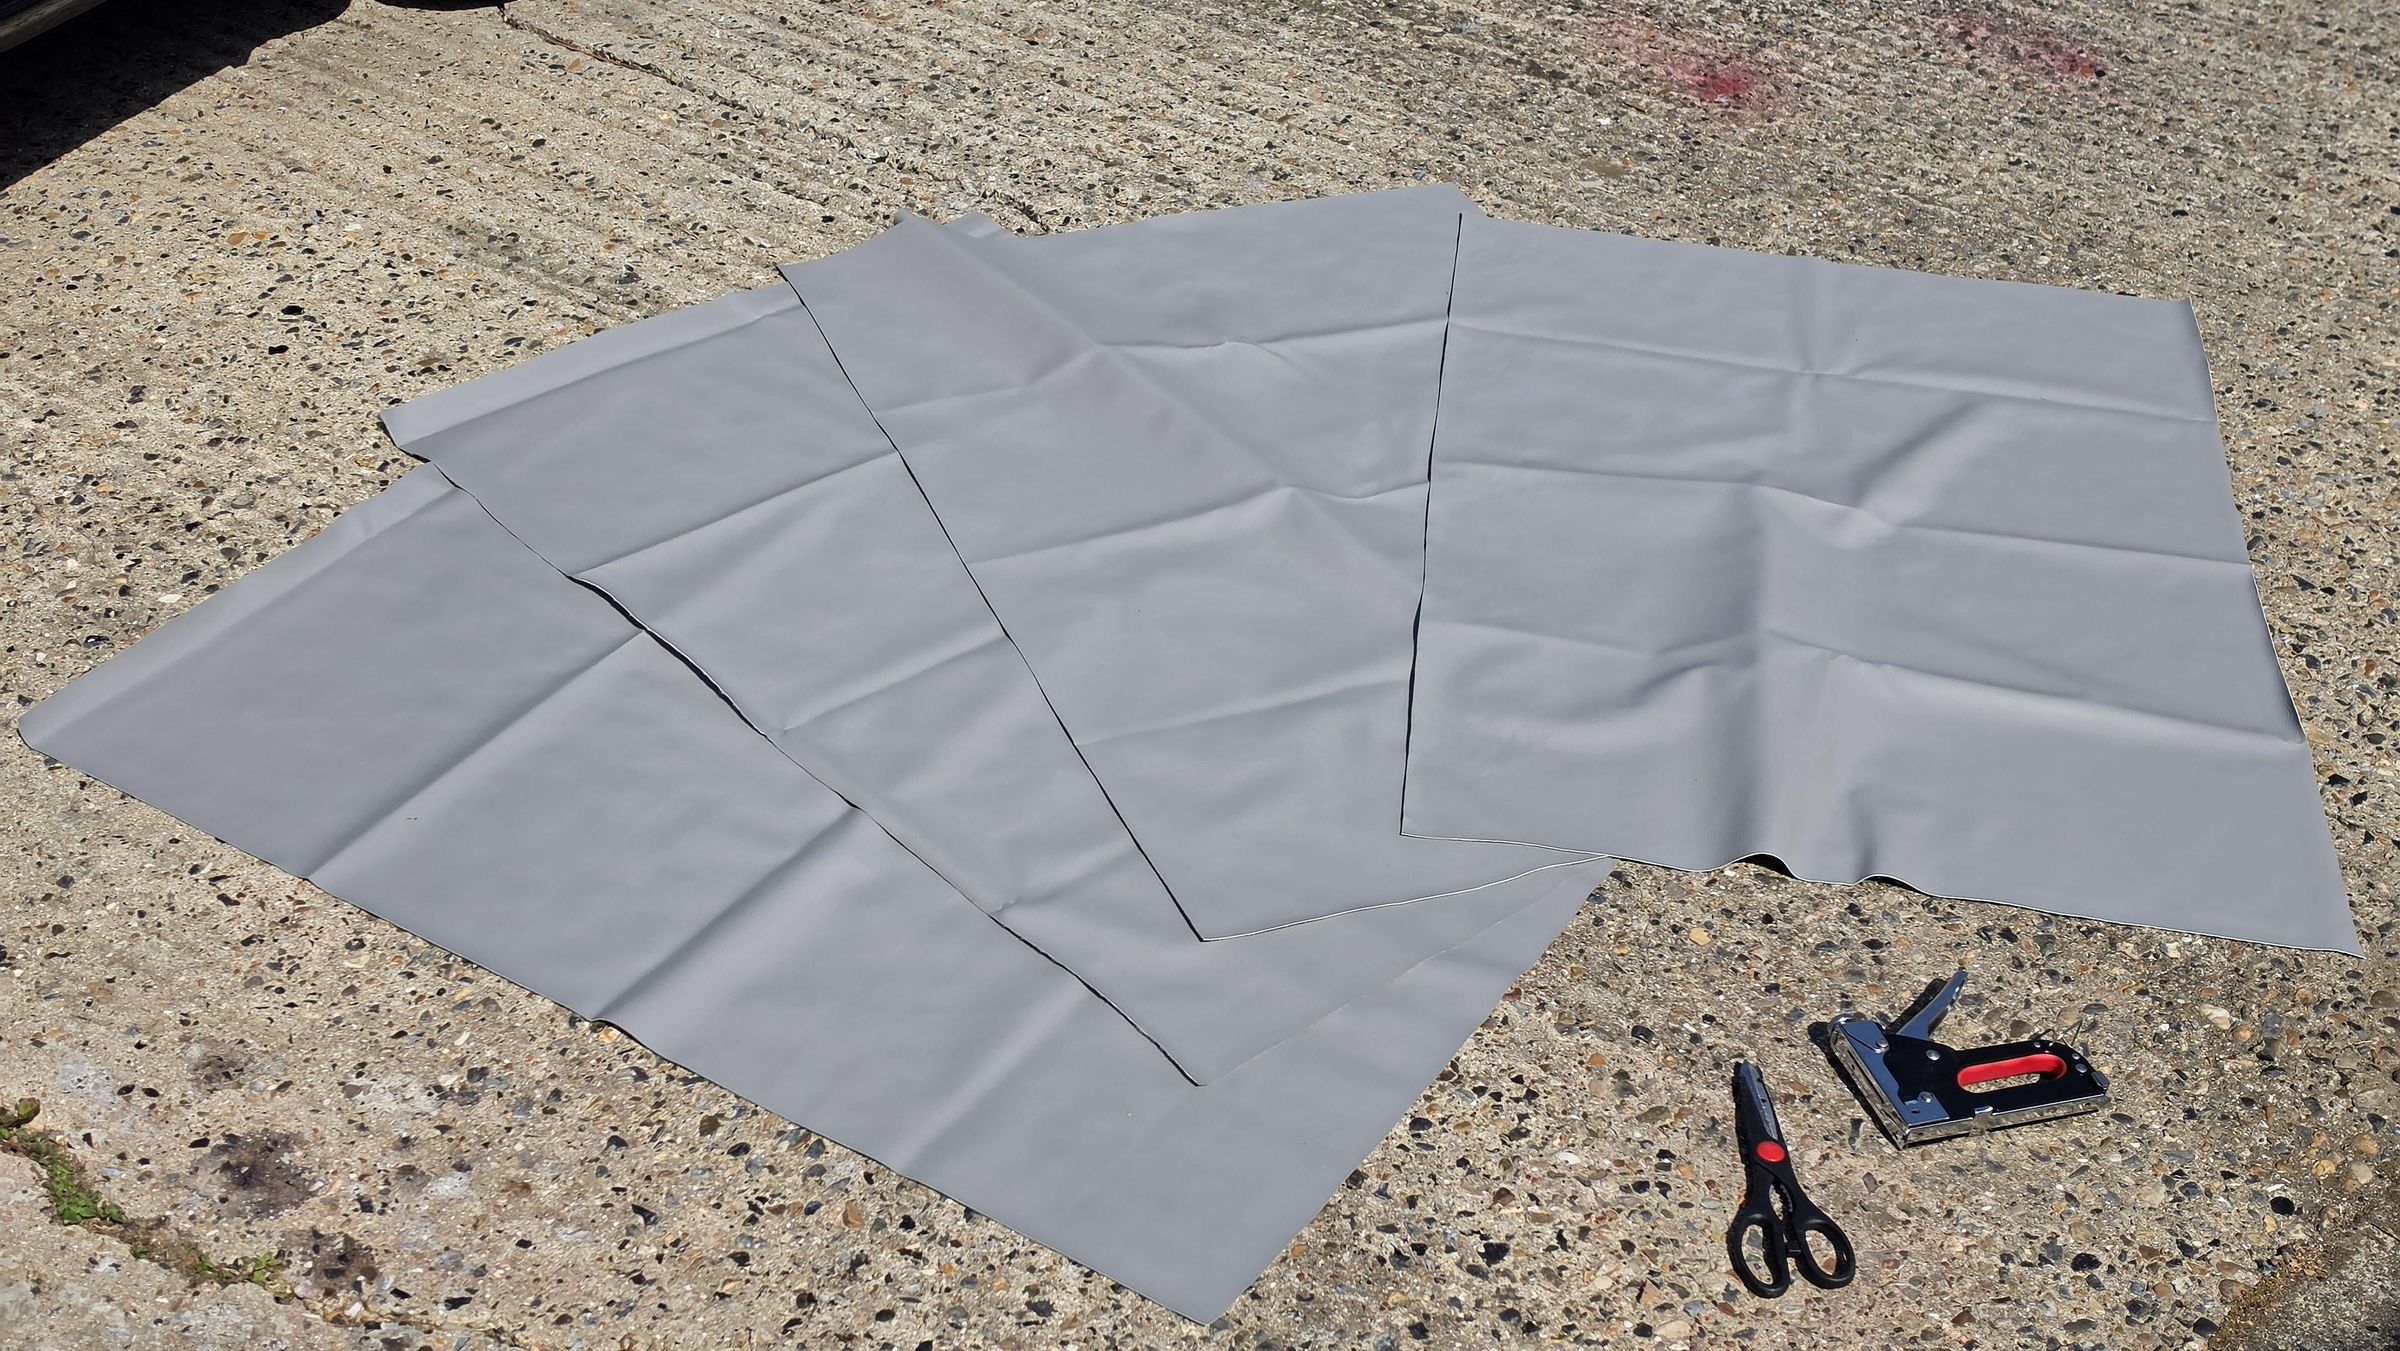
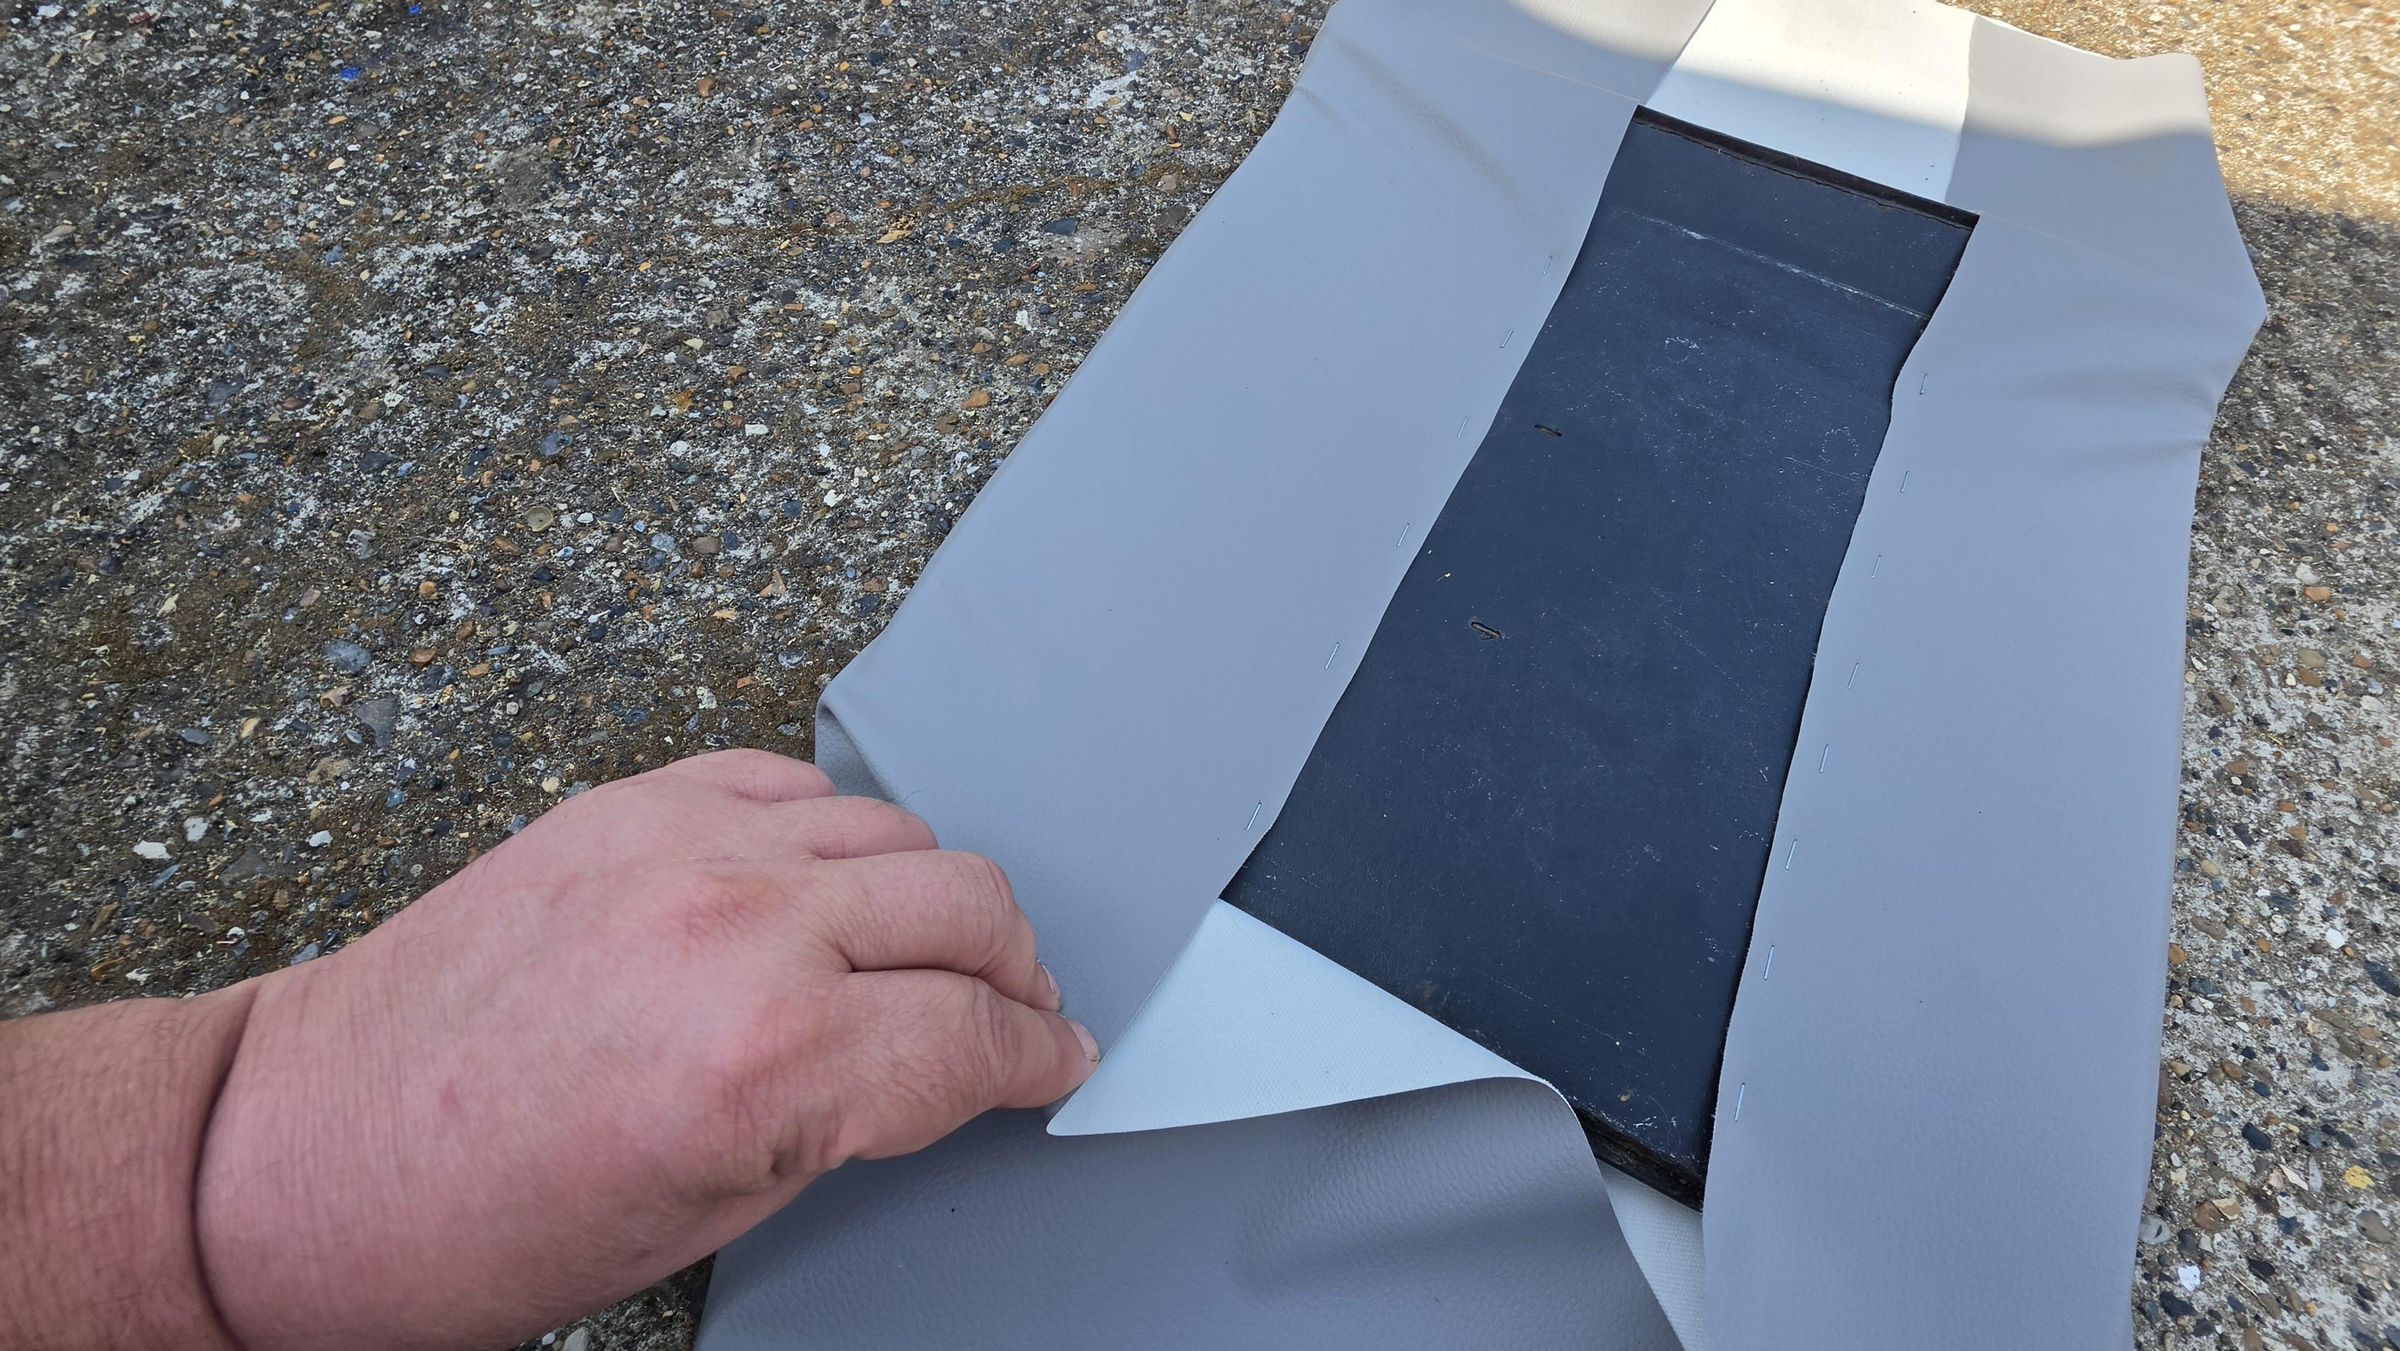
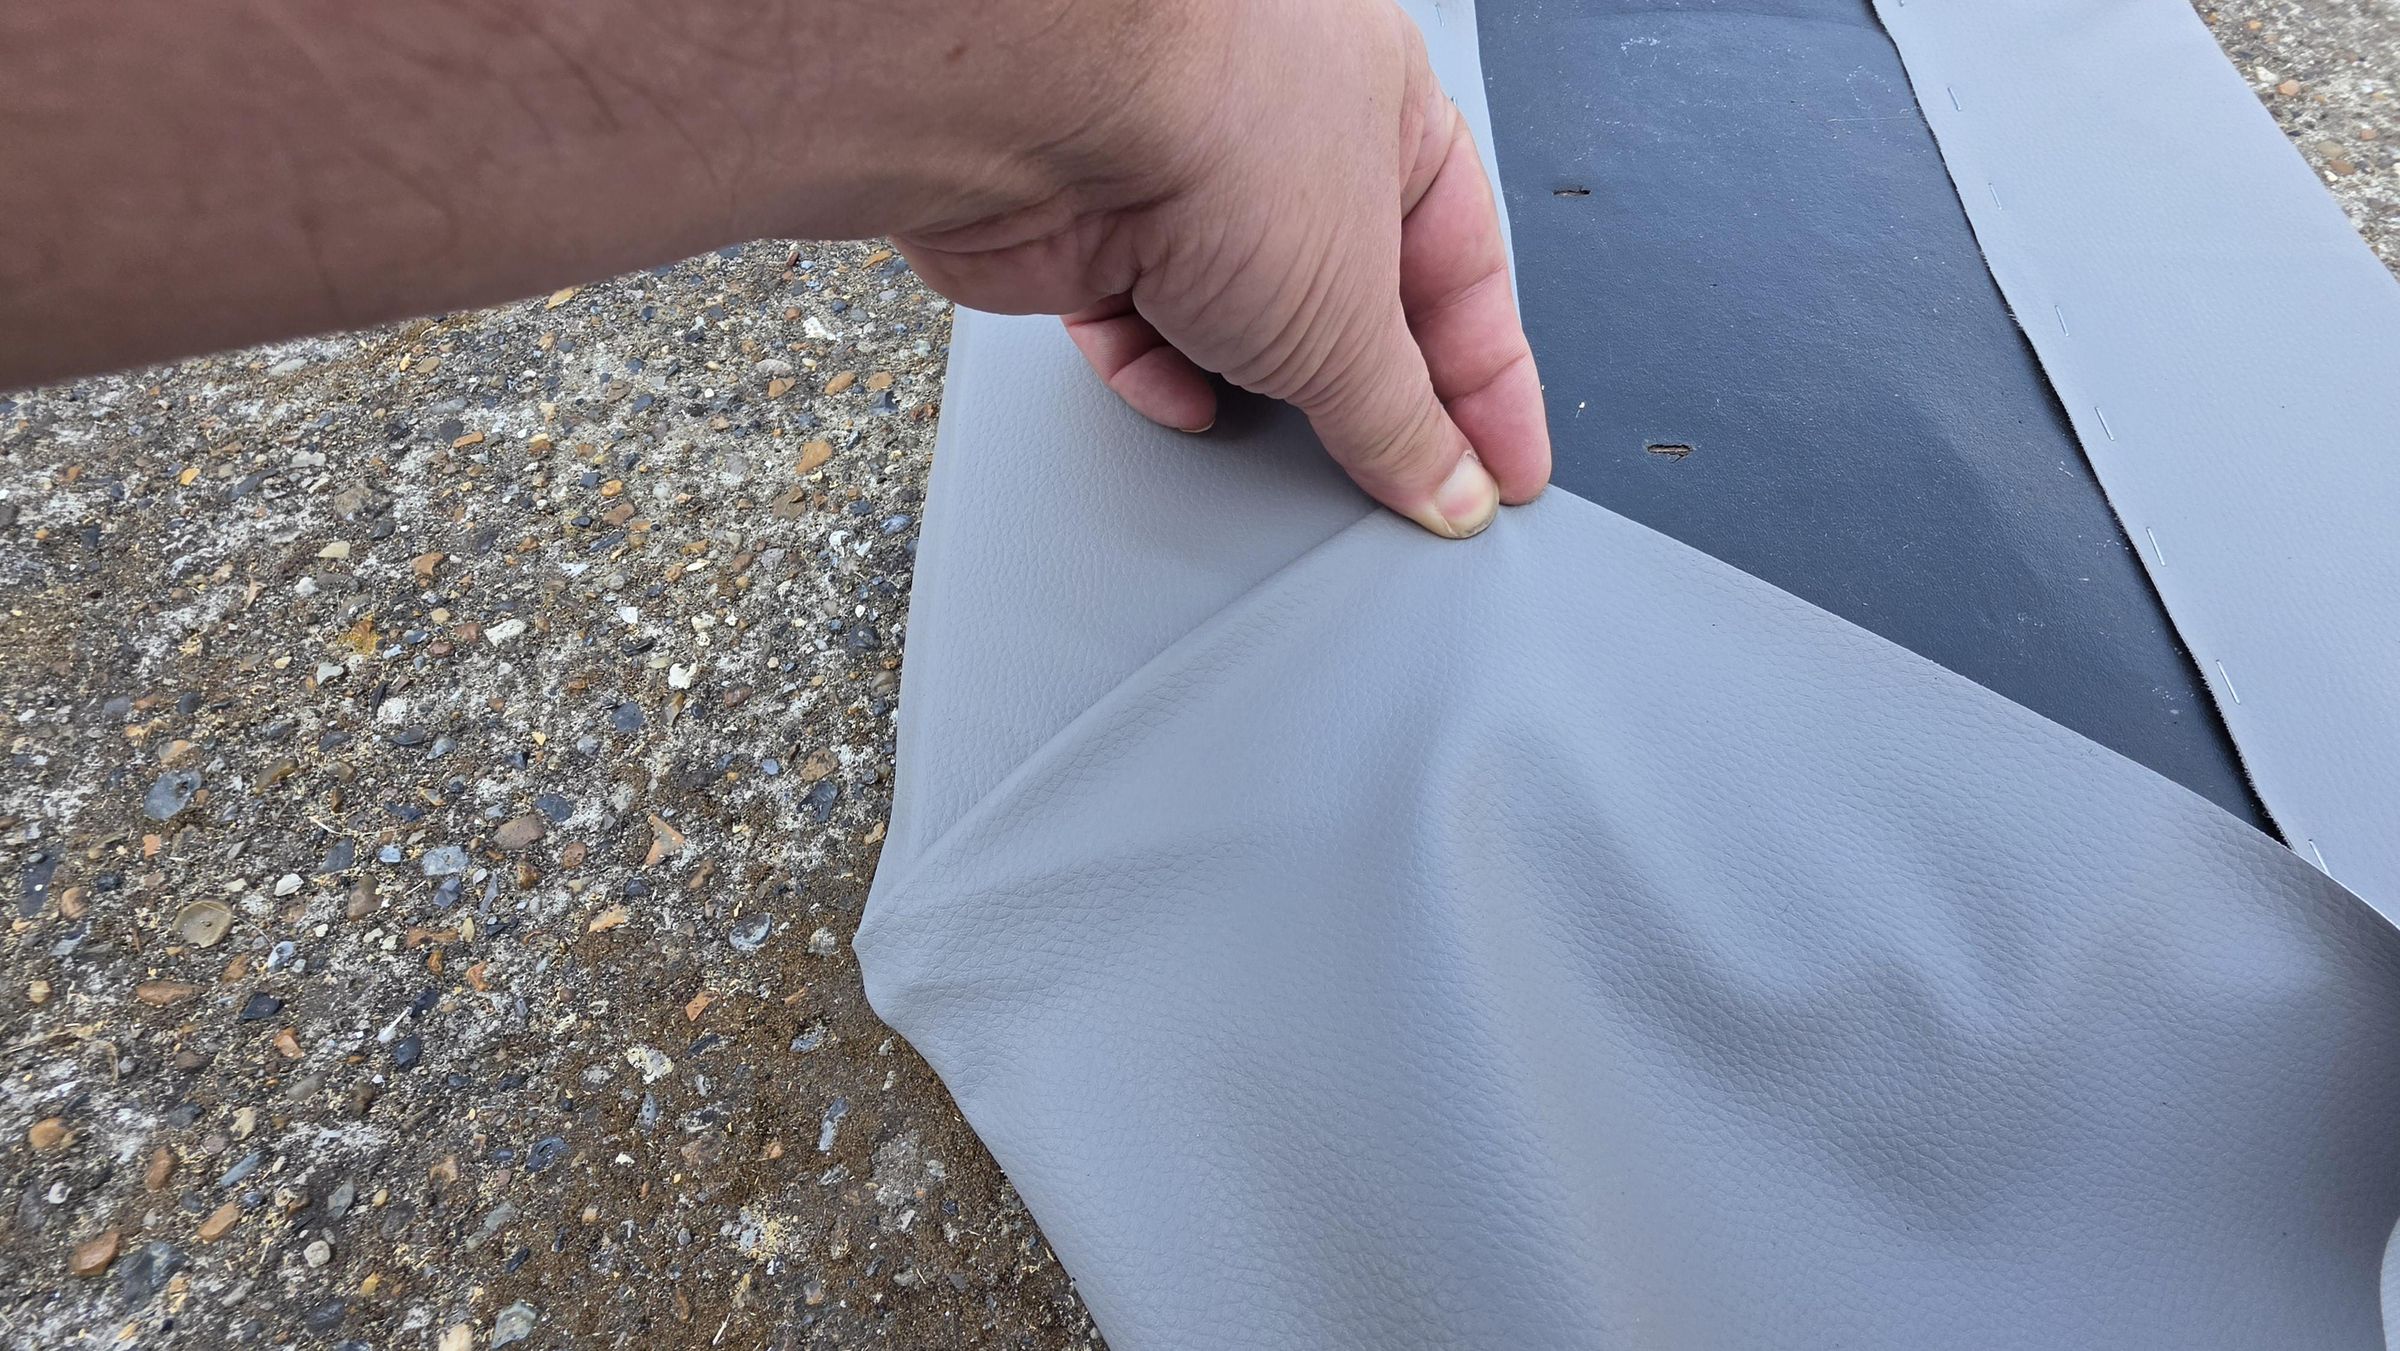
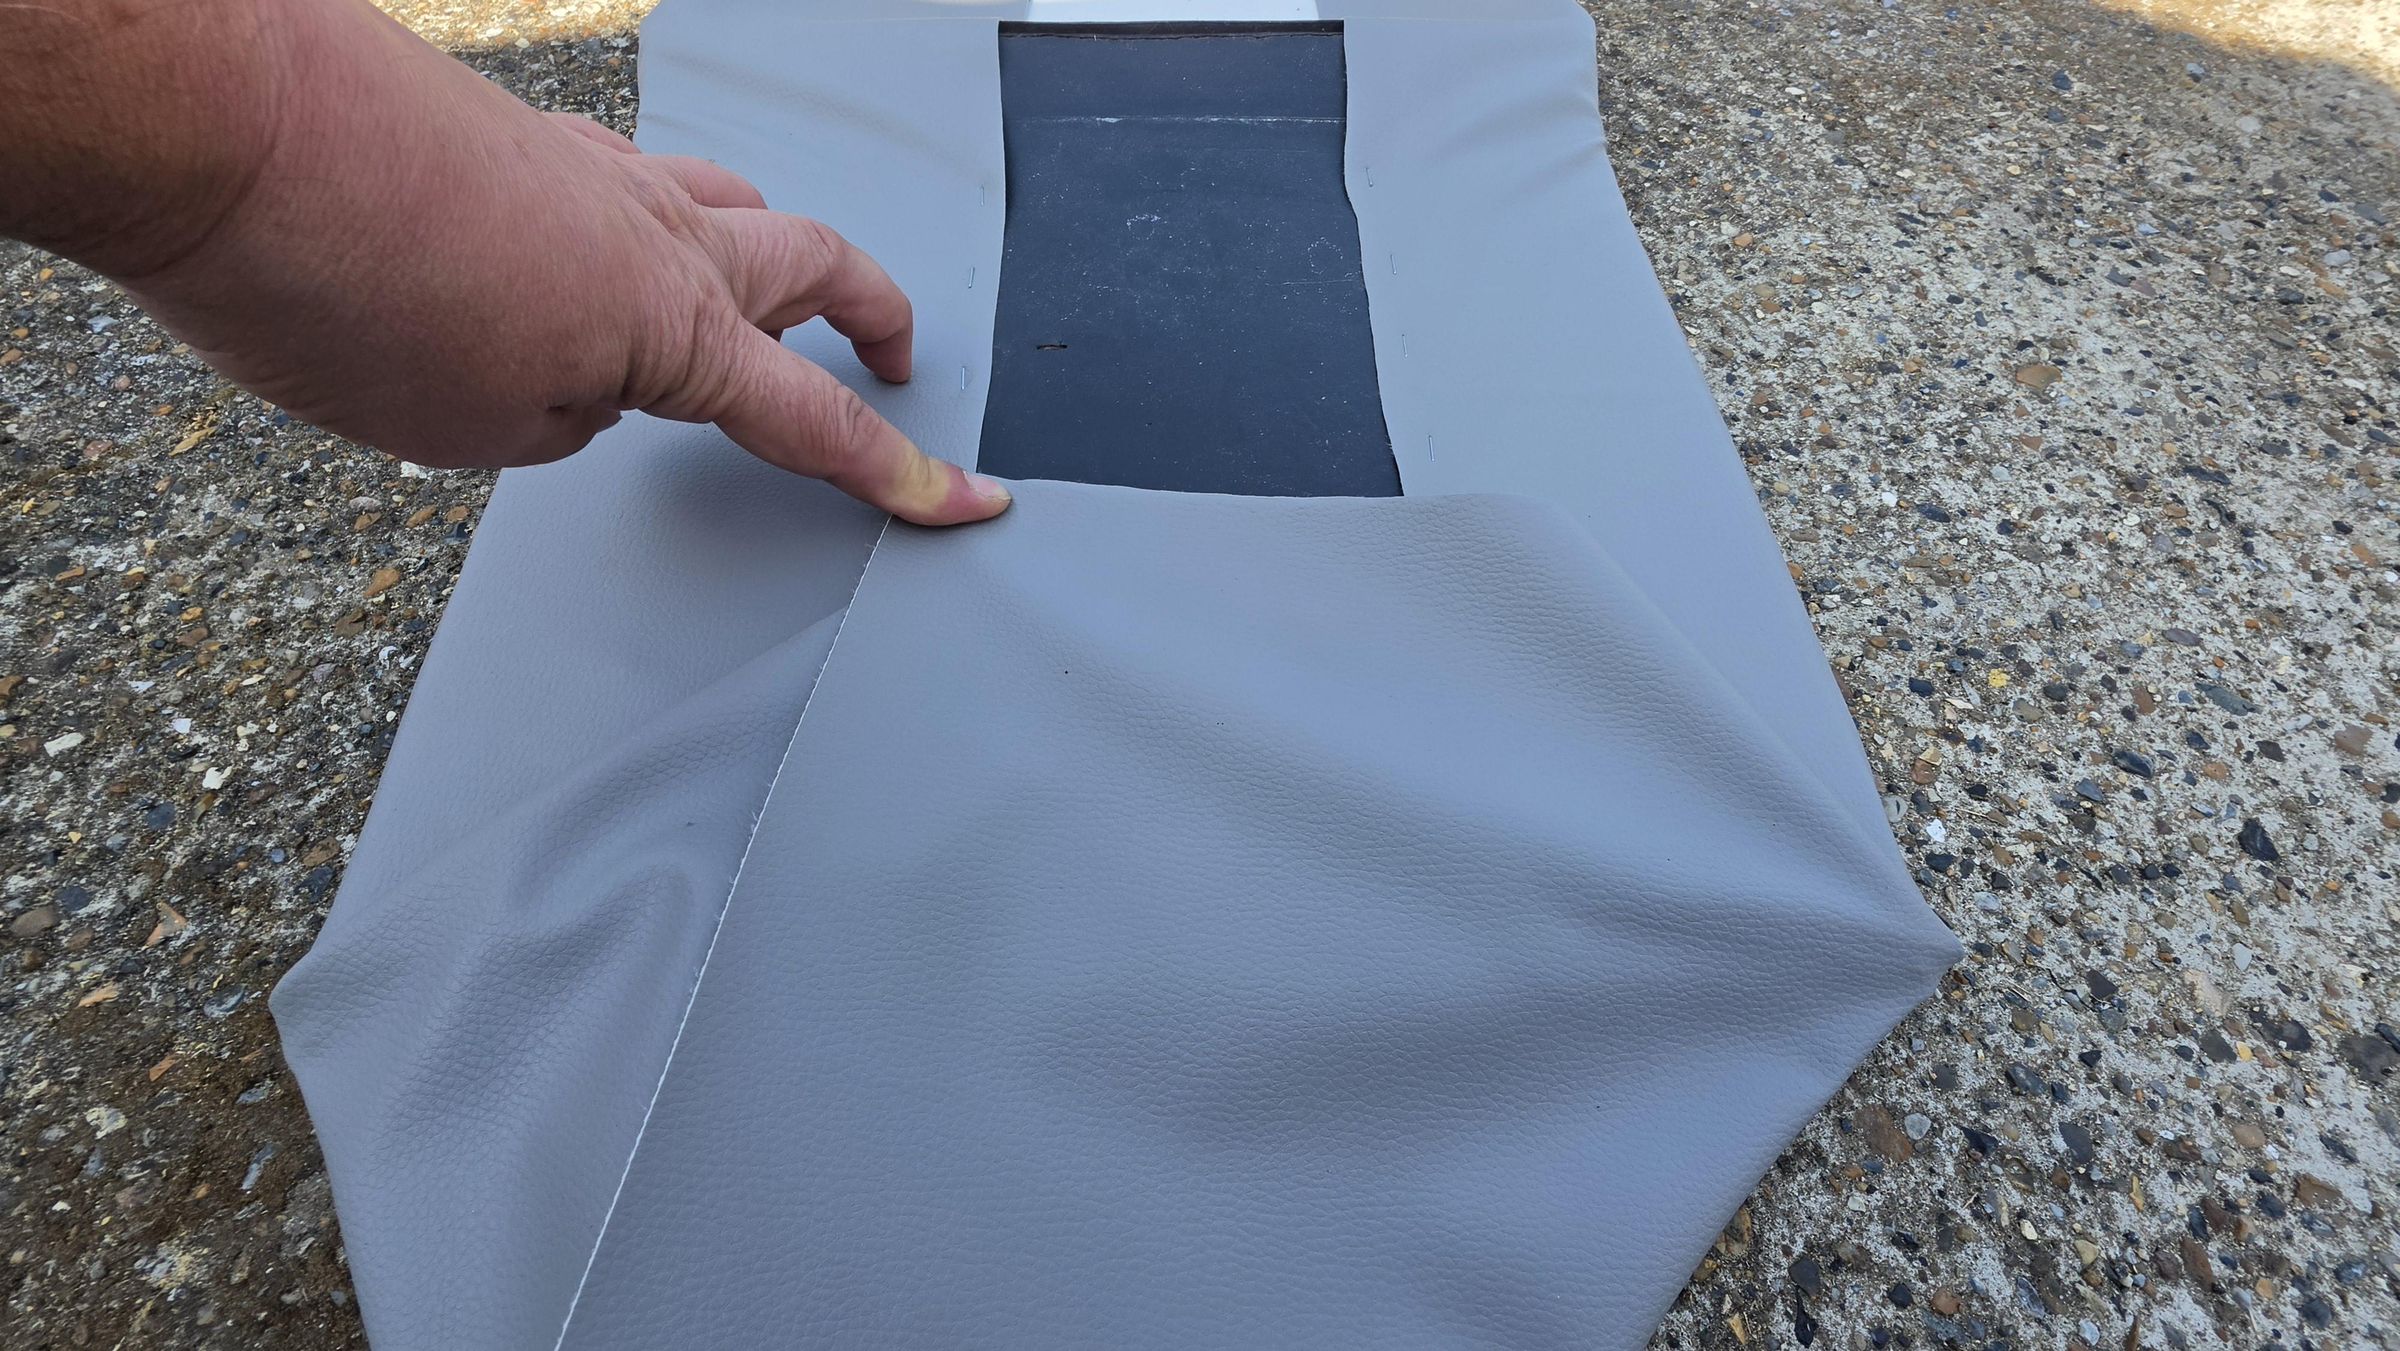
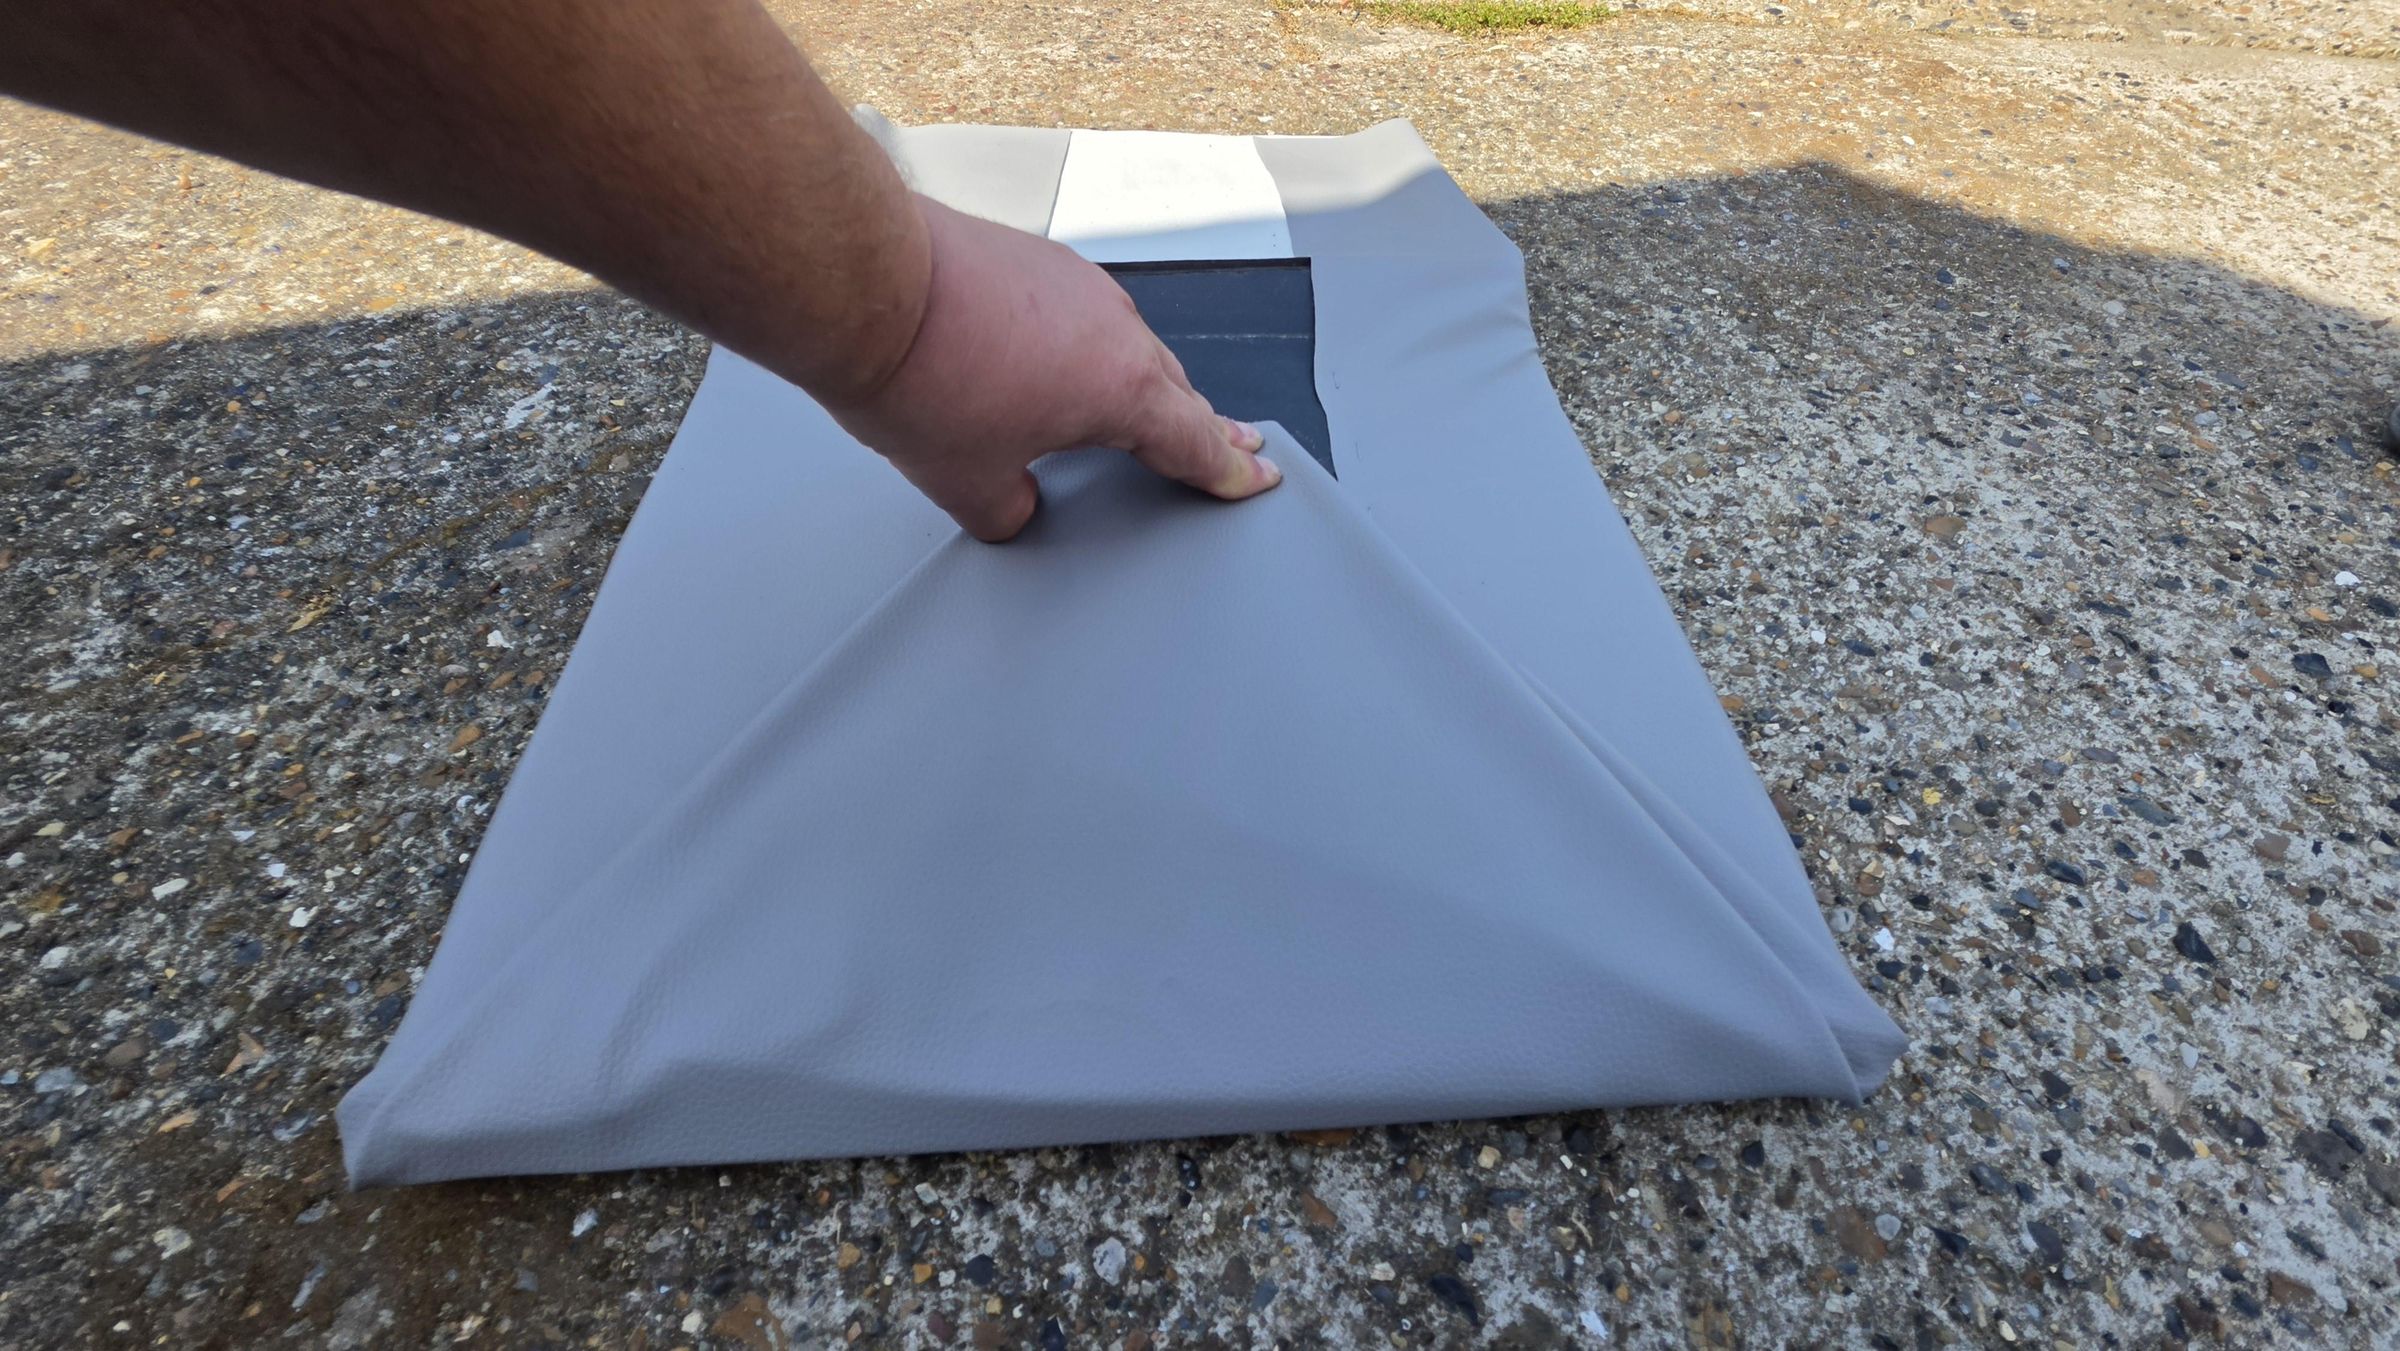
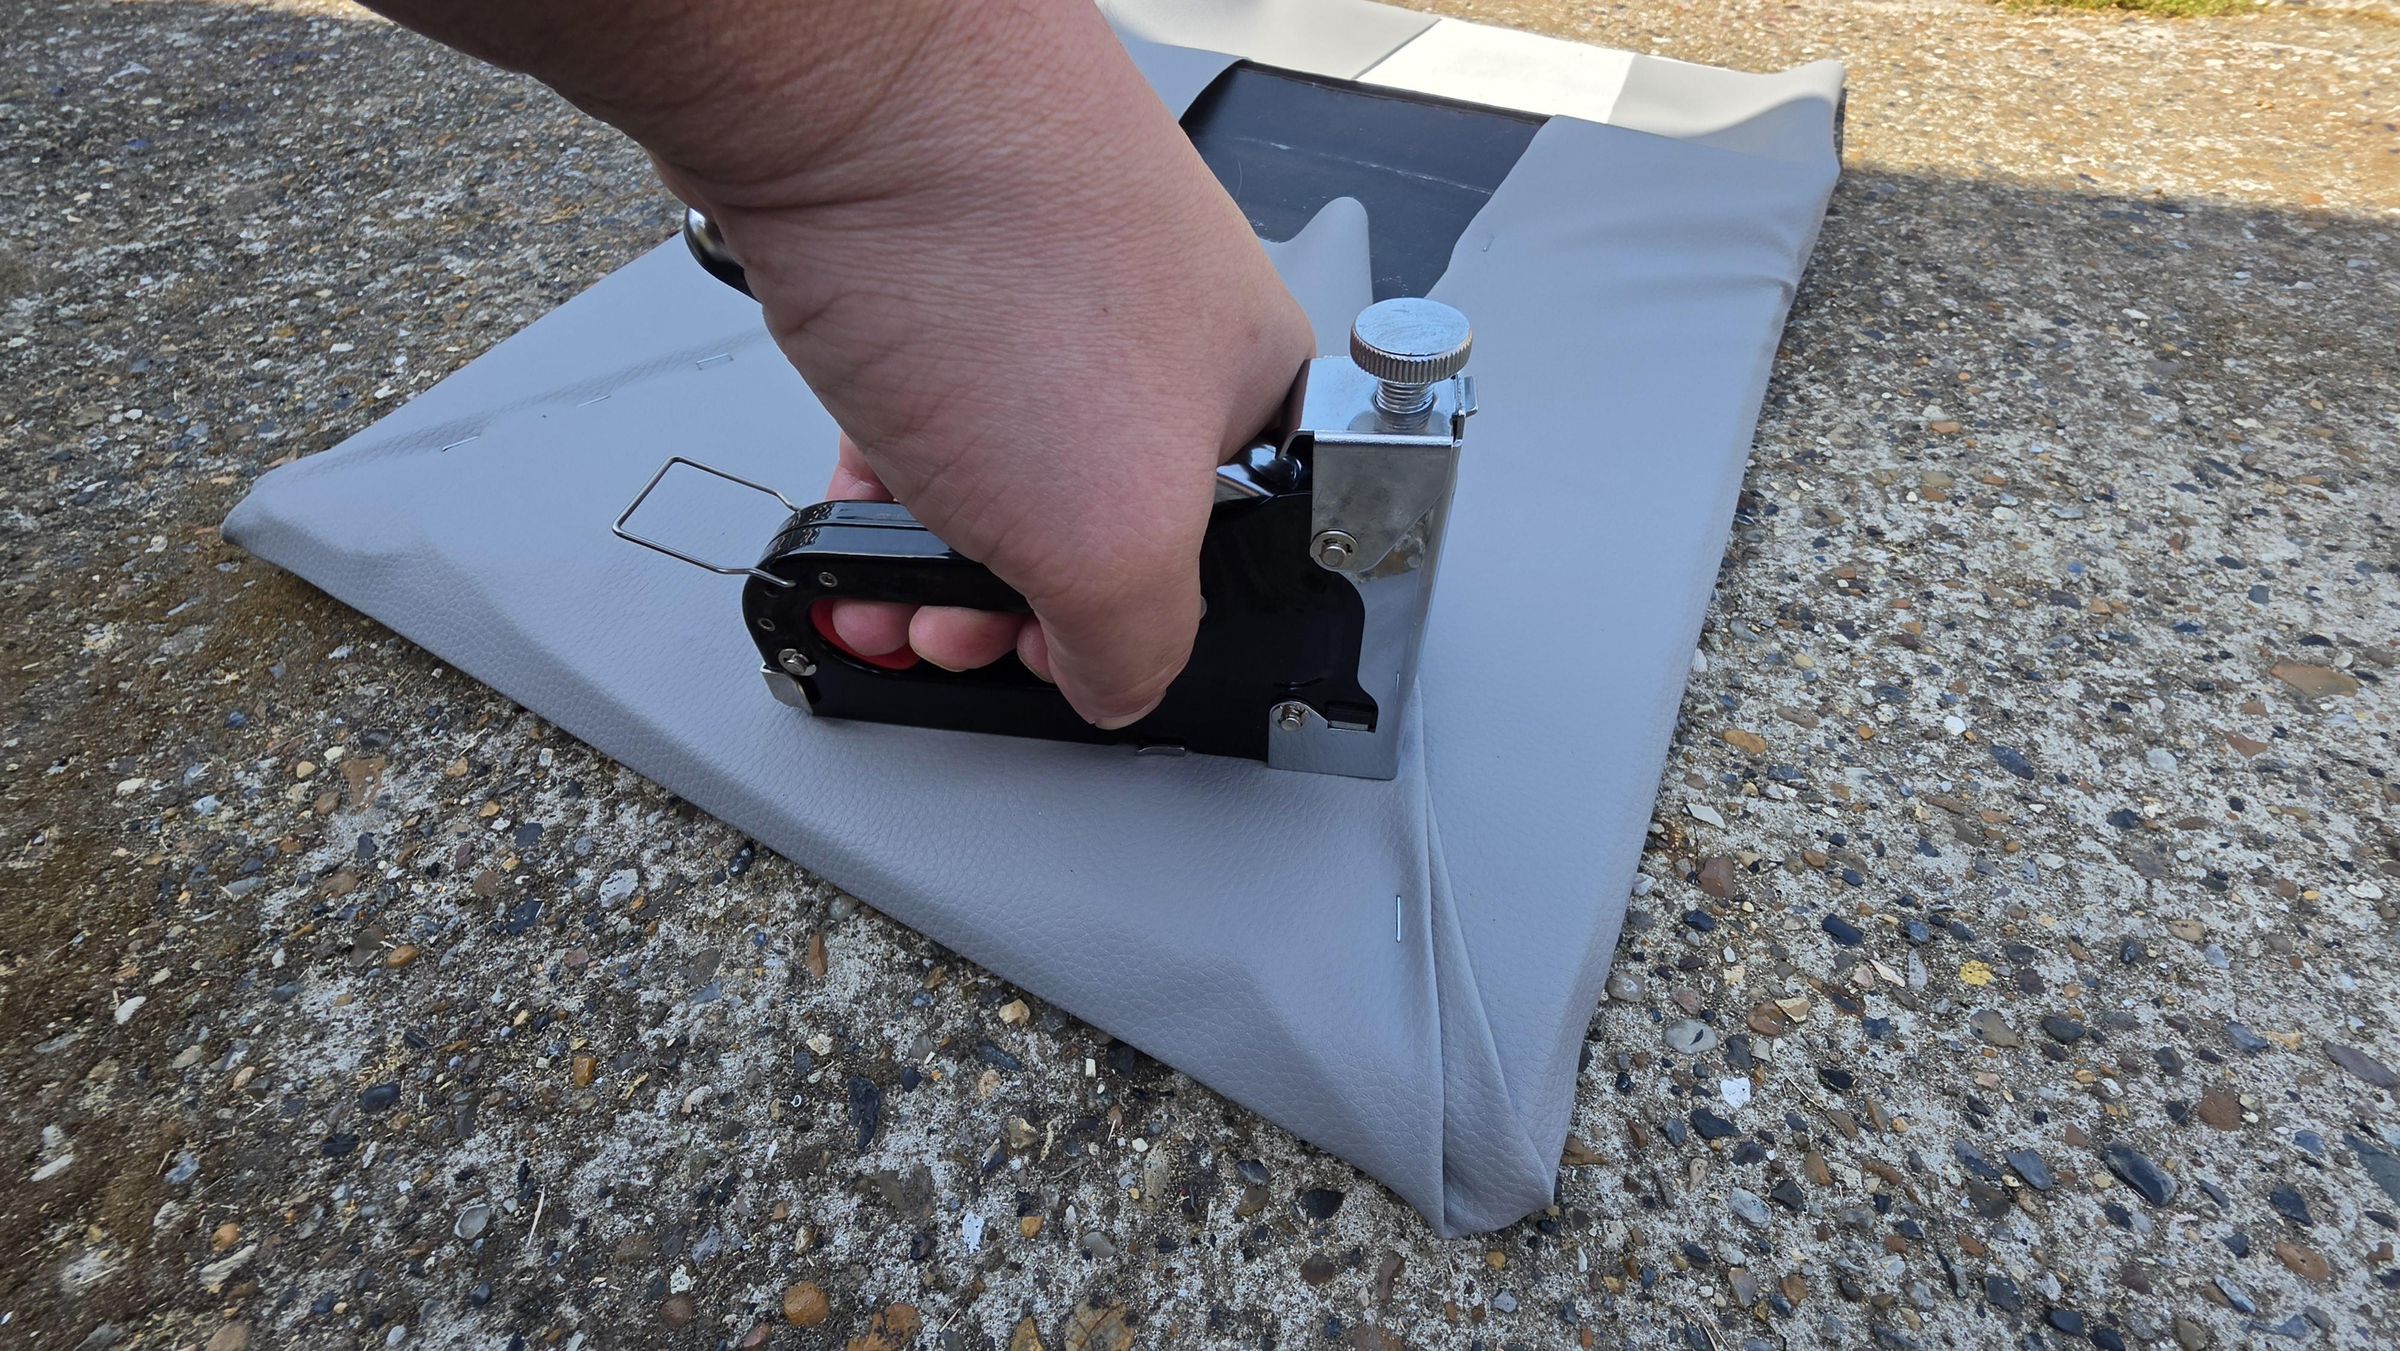
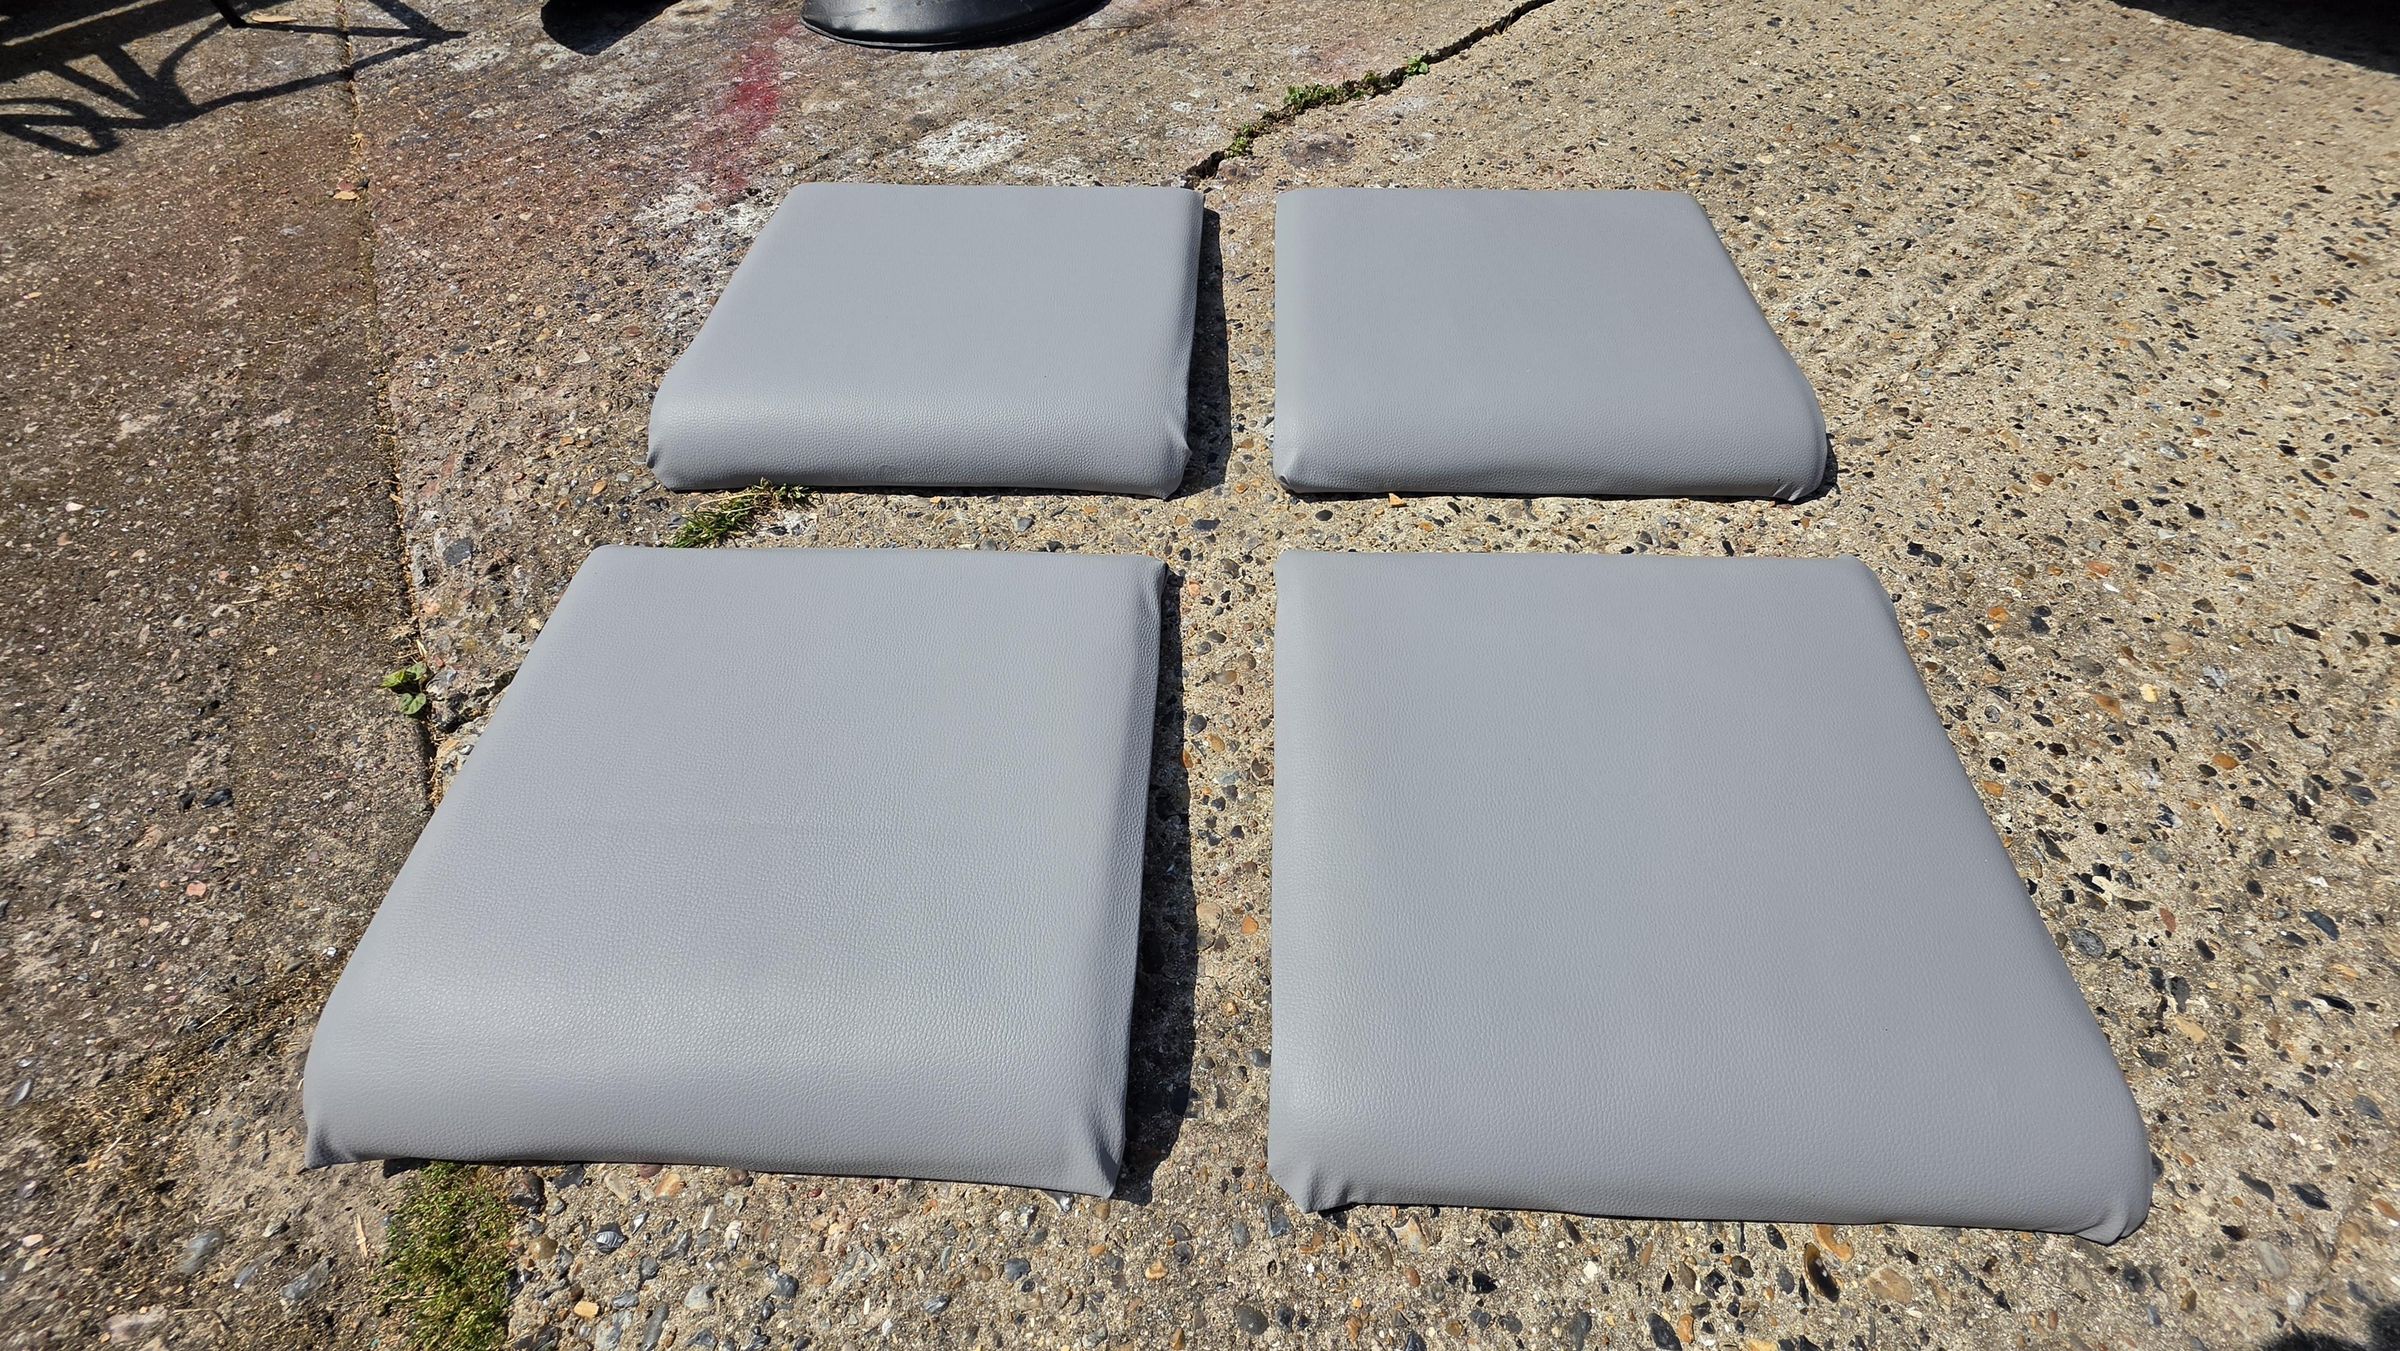
The seat bases and back rests needed a good clean, but where as the back rests were in decent shape, the bases needed some work, especially to make them waterproof. the stitching had come apart on some of the base edges, but the foam inside seemed to be in good shape. So instead of removing the old vinyl, I left it in place and covered over it.
Cut the new PU leather fabric over-sized the measurements of the seat base so the overlap folds the over the base edges. Place the new leather cut out upside down and place the seat base on top, also upside down. Start from one corner and staple the leather to the seat base, then in the diagonal, staple the opposite corner, then do the other corners the same way while pulling the fabric tight so it is a snug fit. Then finish off stappling along each side.
To reinforce the seat base, cut four squares of 9mm plywood the same size as the seat bases, sand down the edges to make them smooth, and completely cover the squares with a coat or two of external wood sealant. When the sealant is dry, paint the squares to fully cover them, with three or four coats and leave to dry and cure.
Assembly
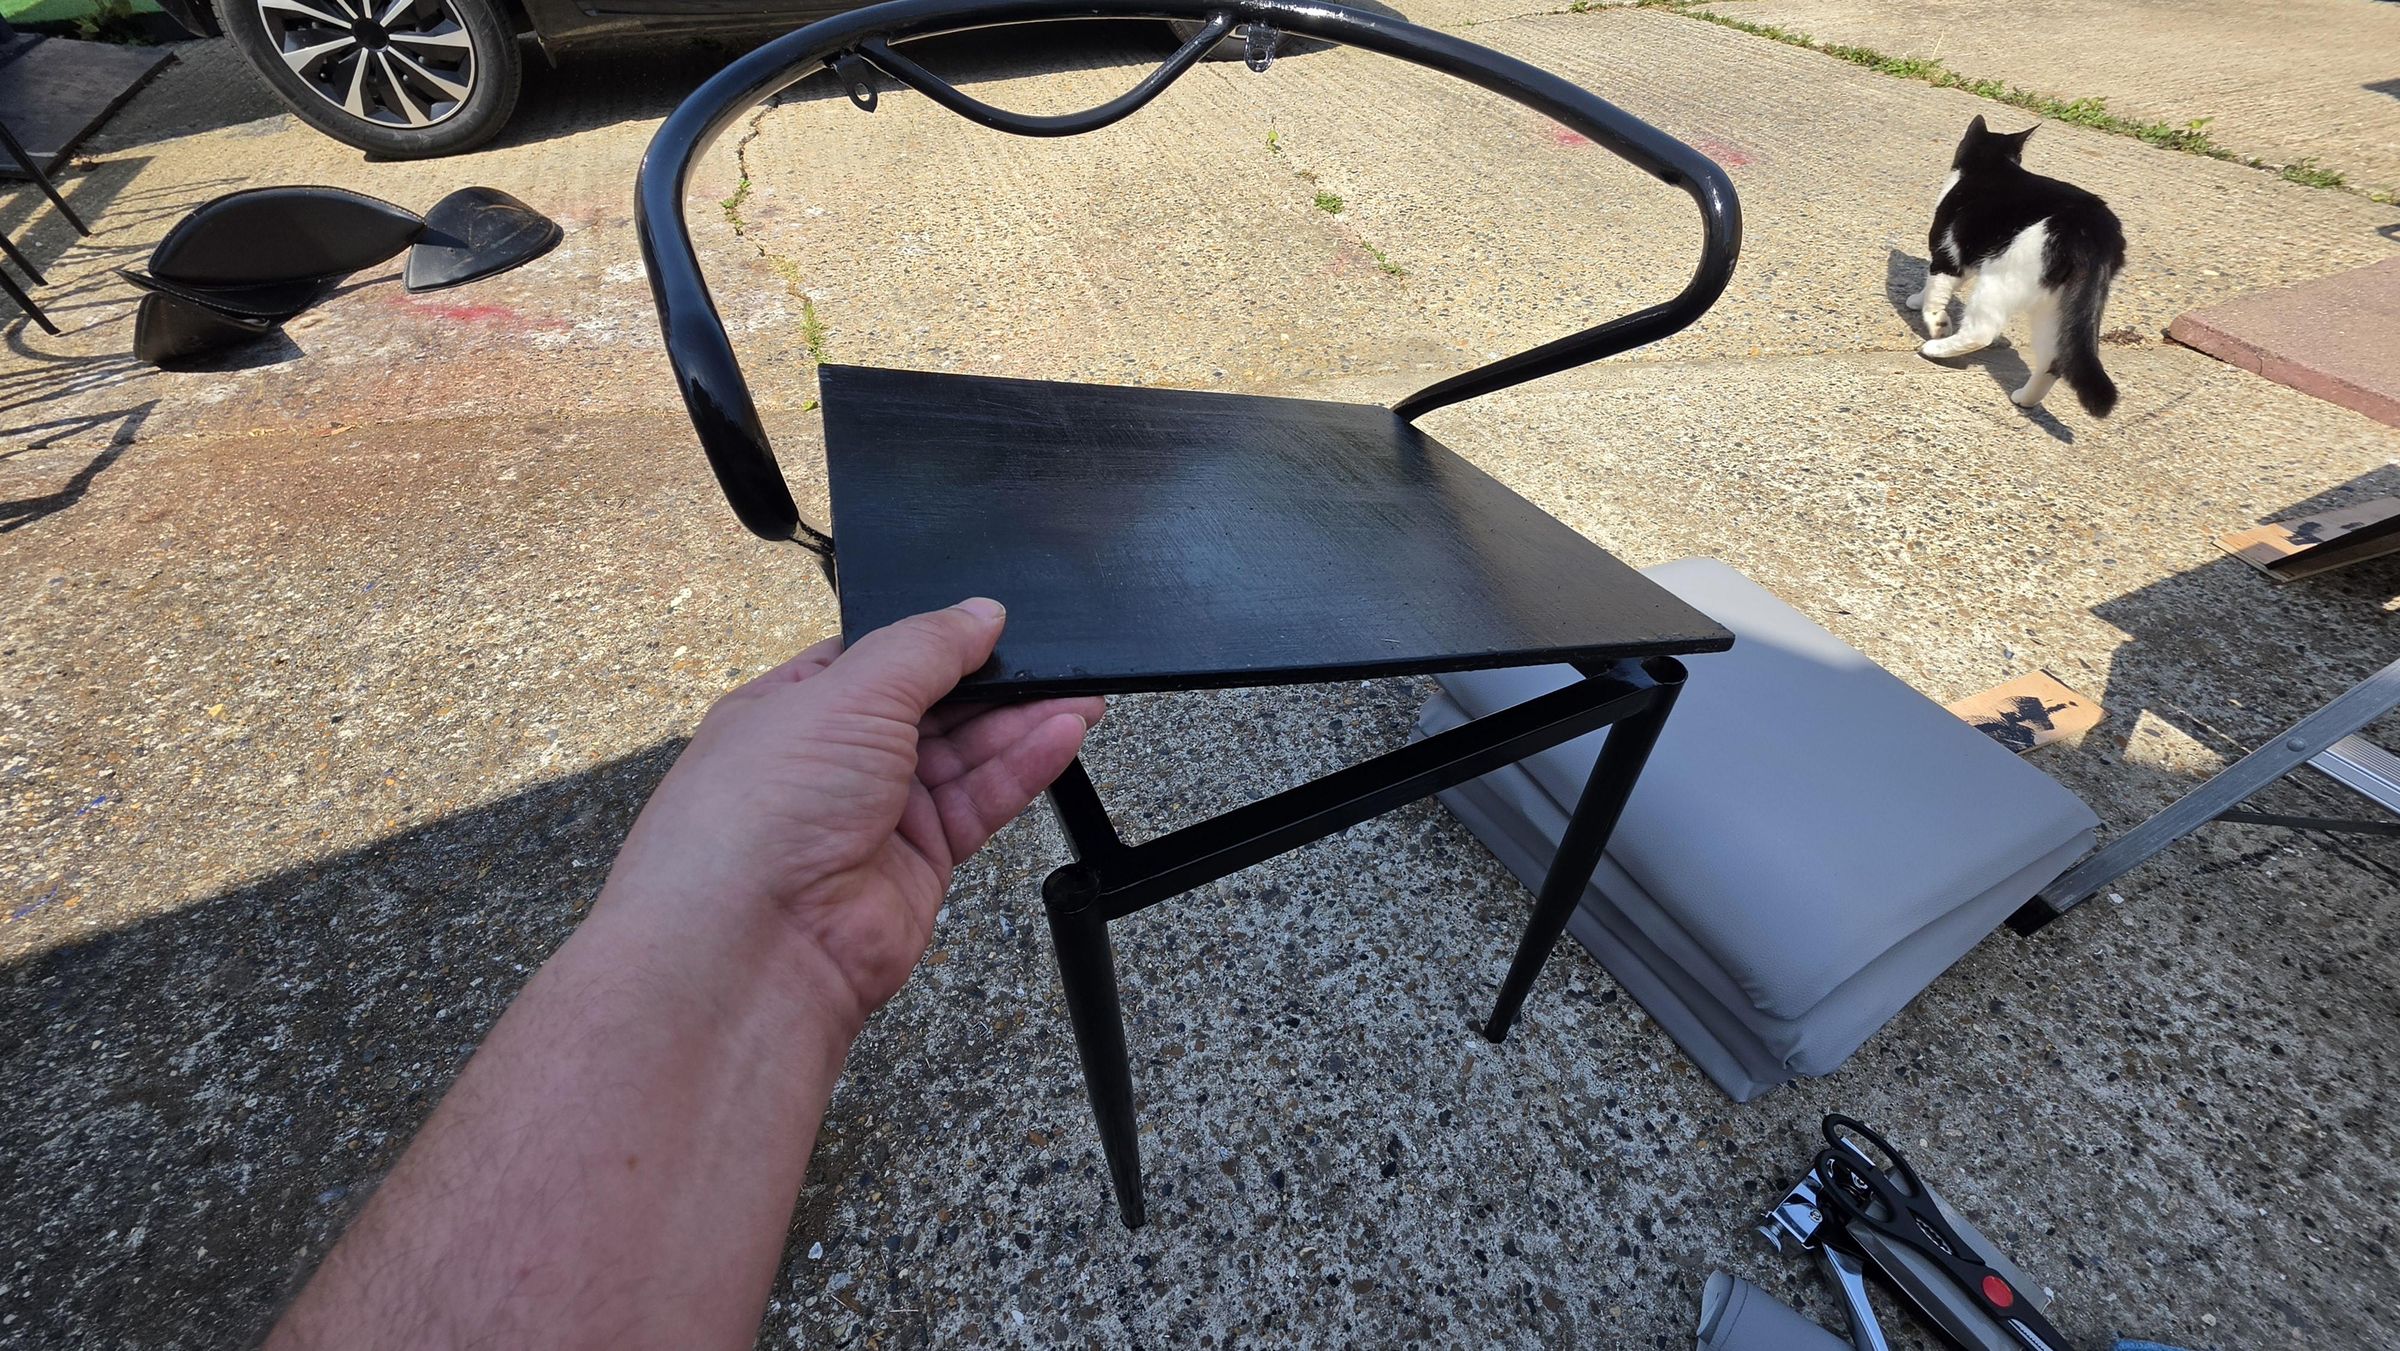
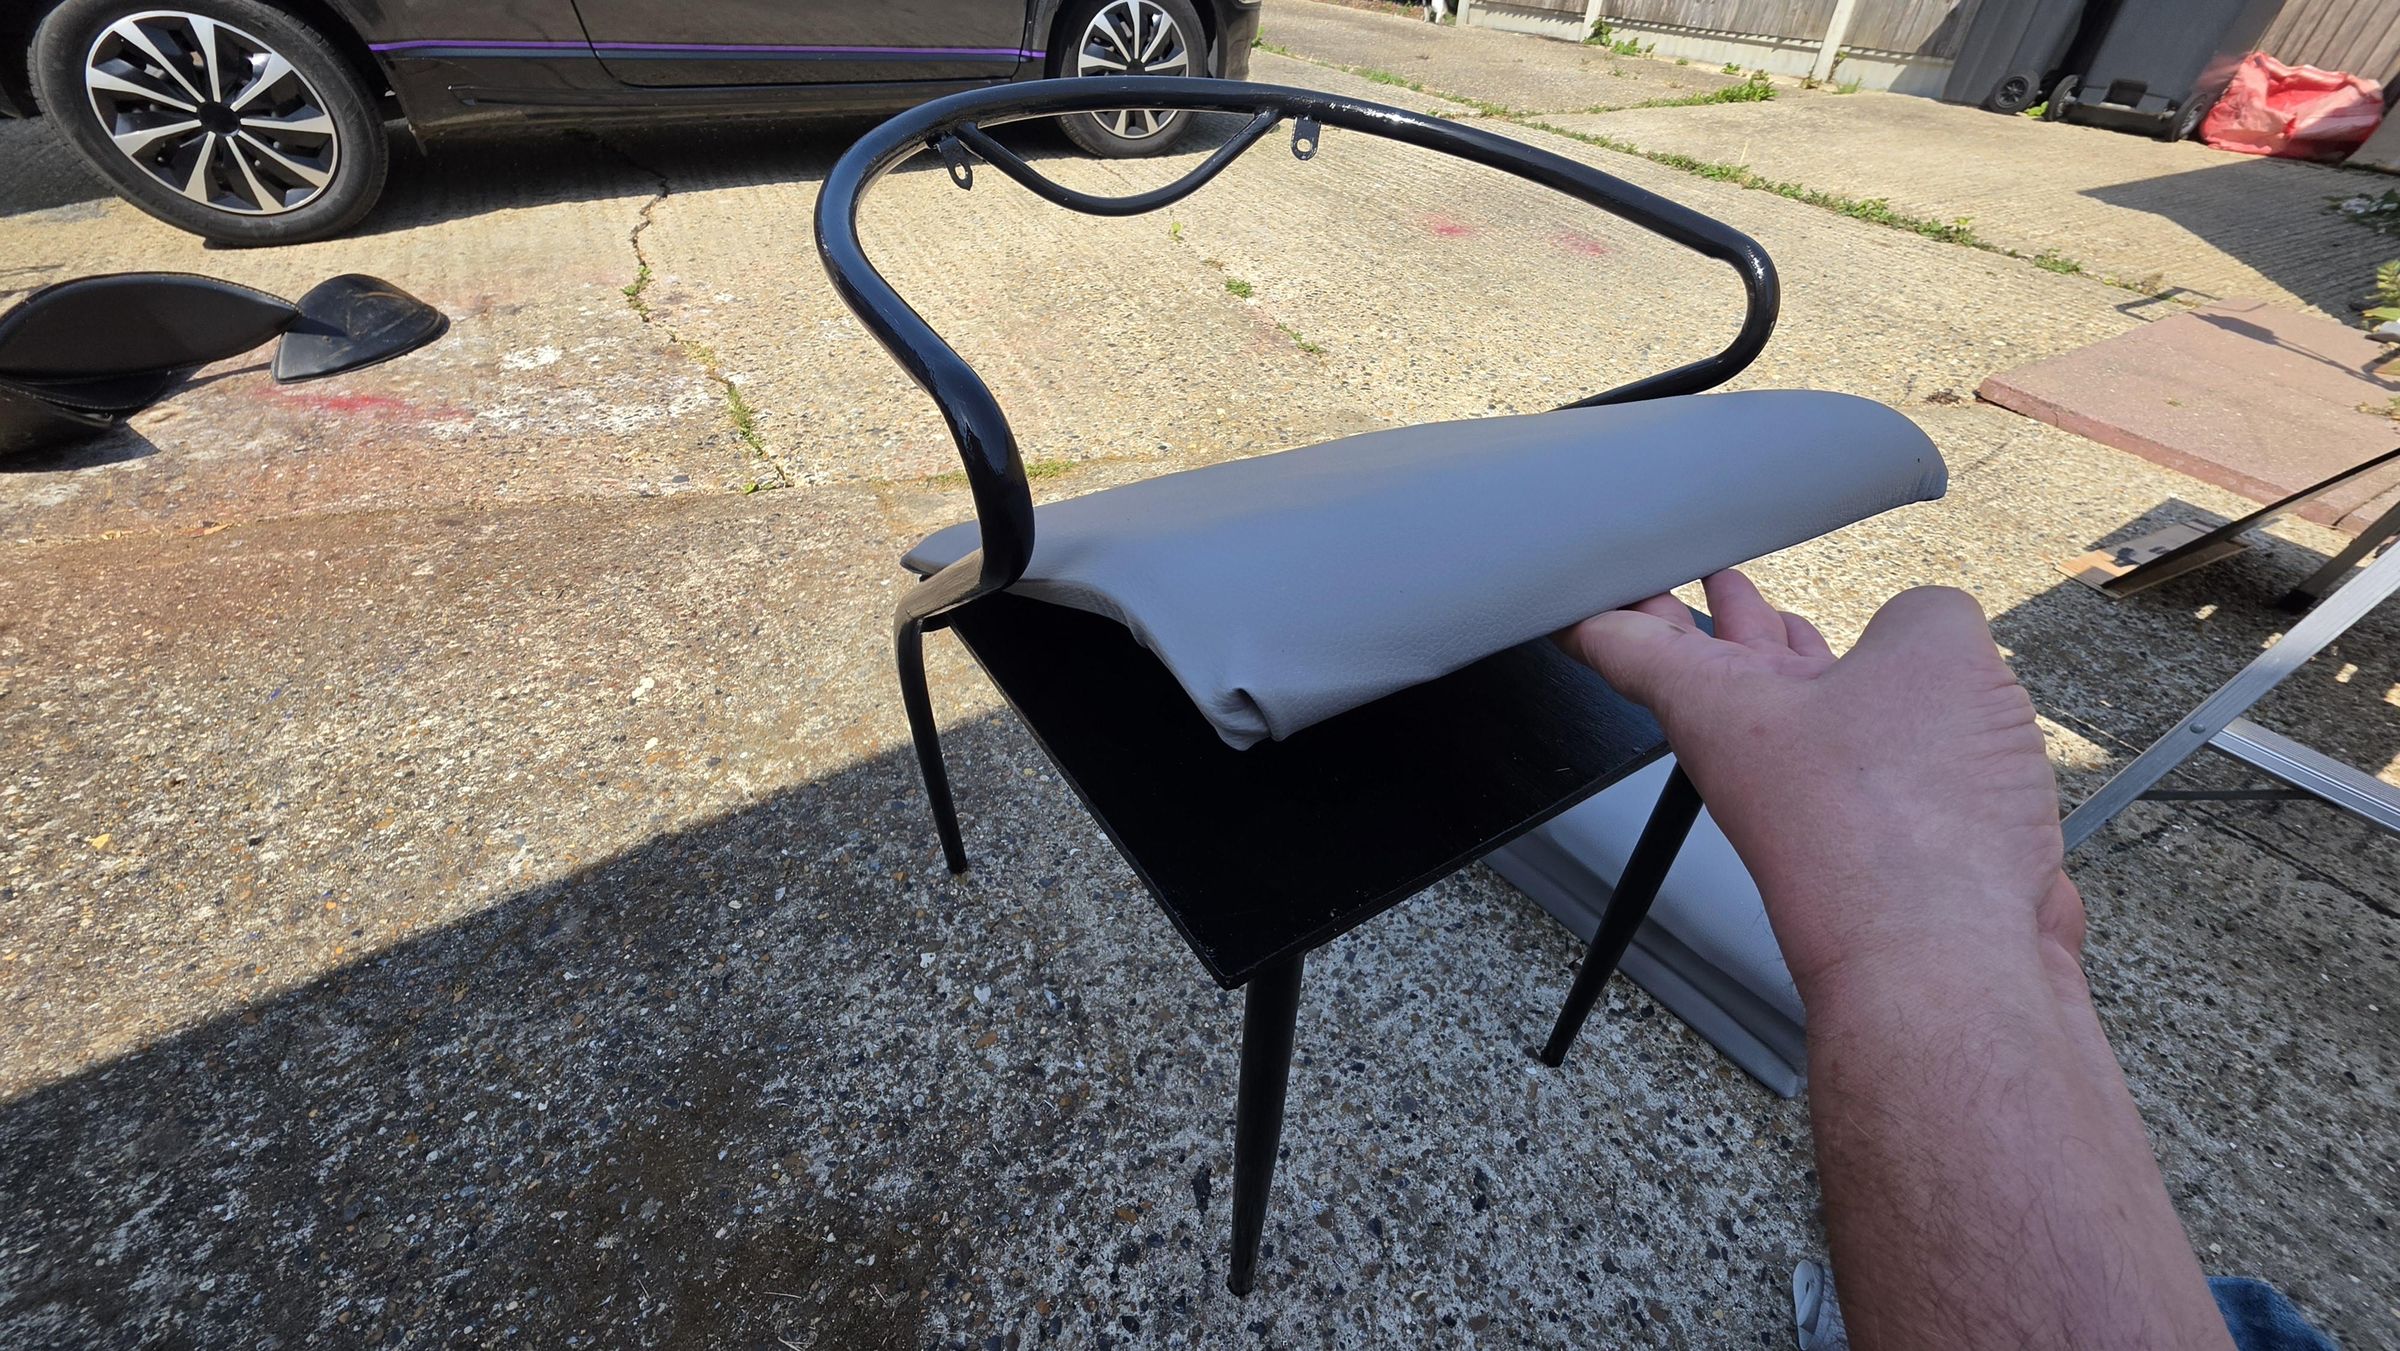
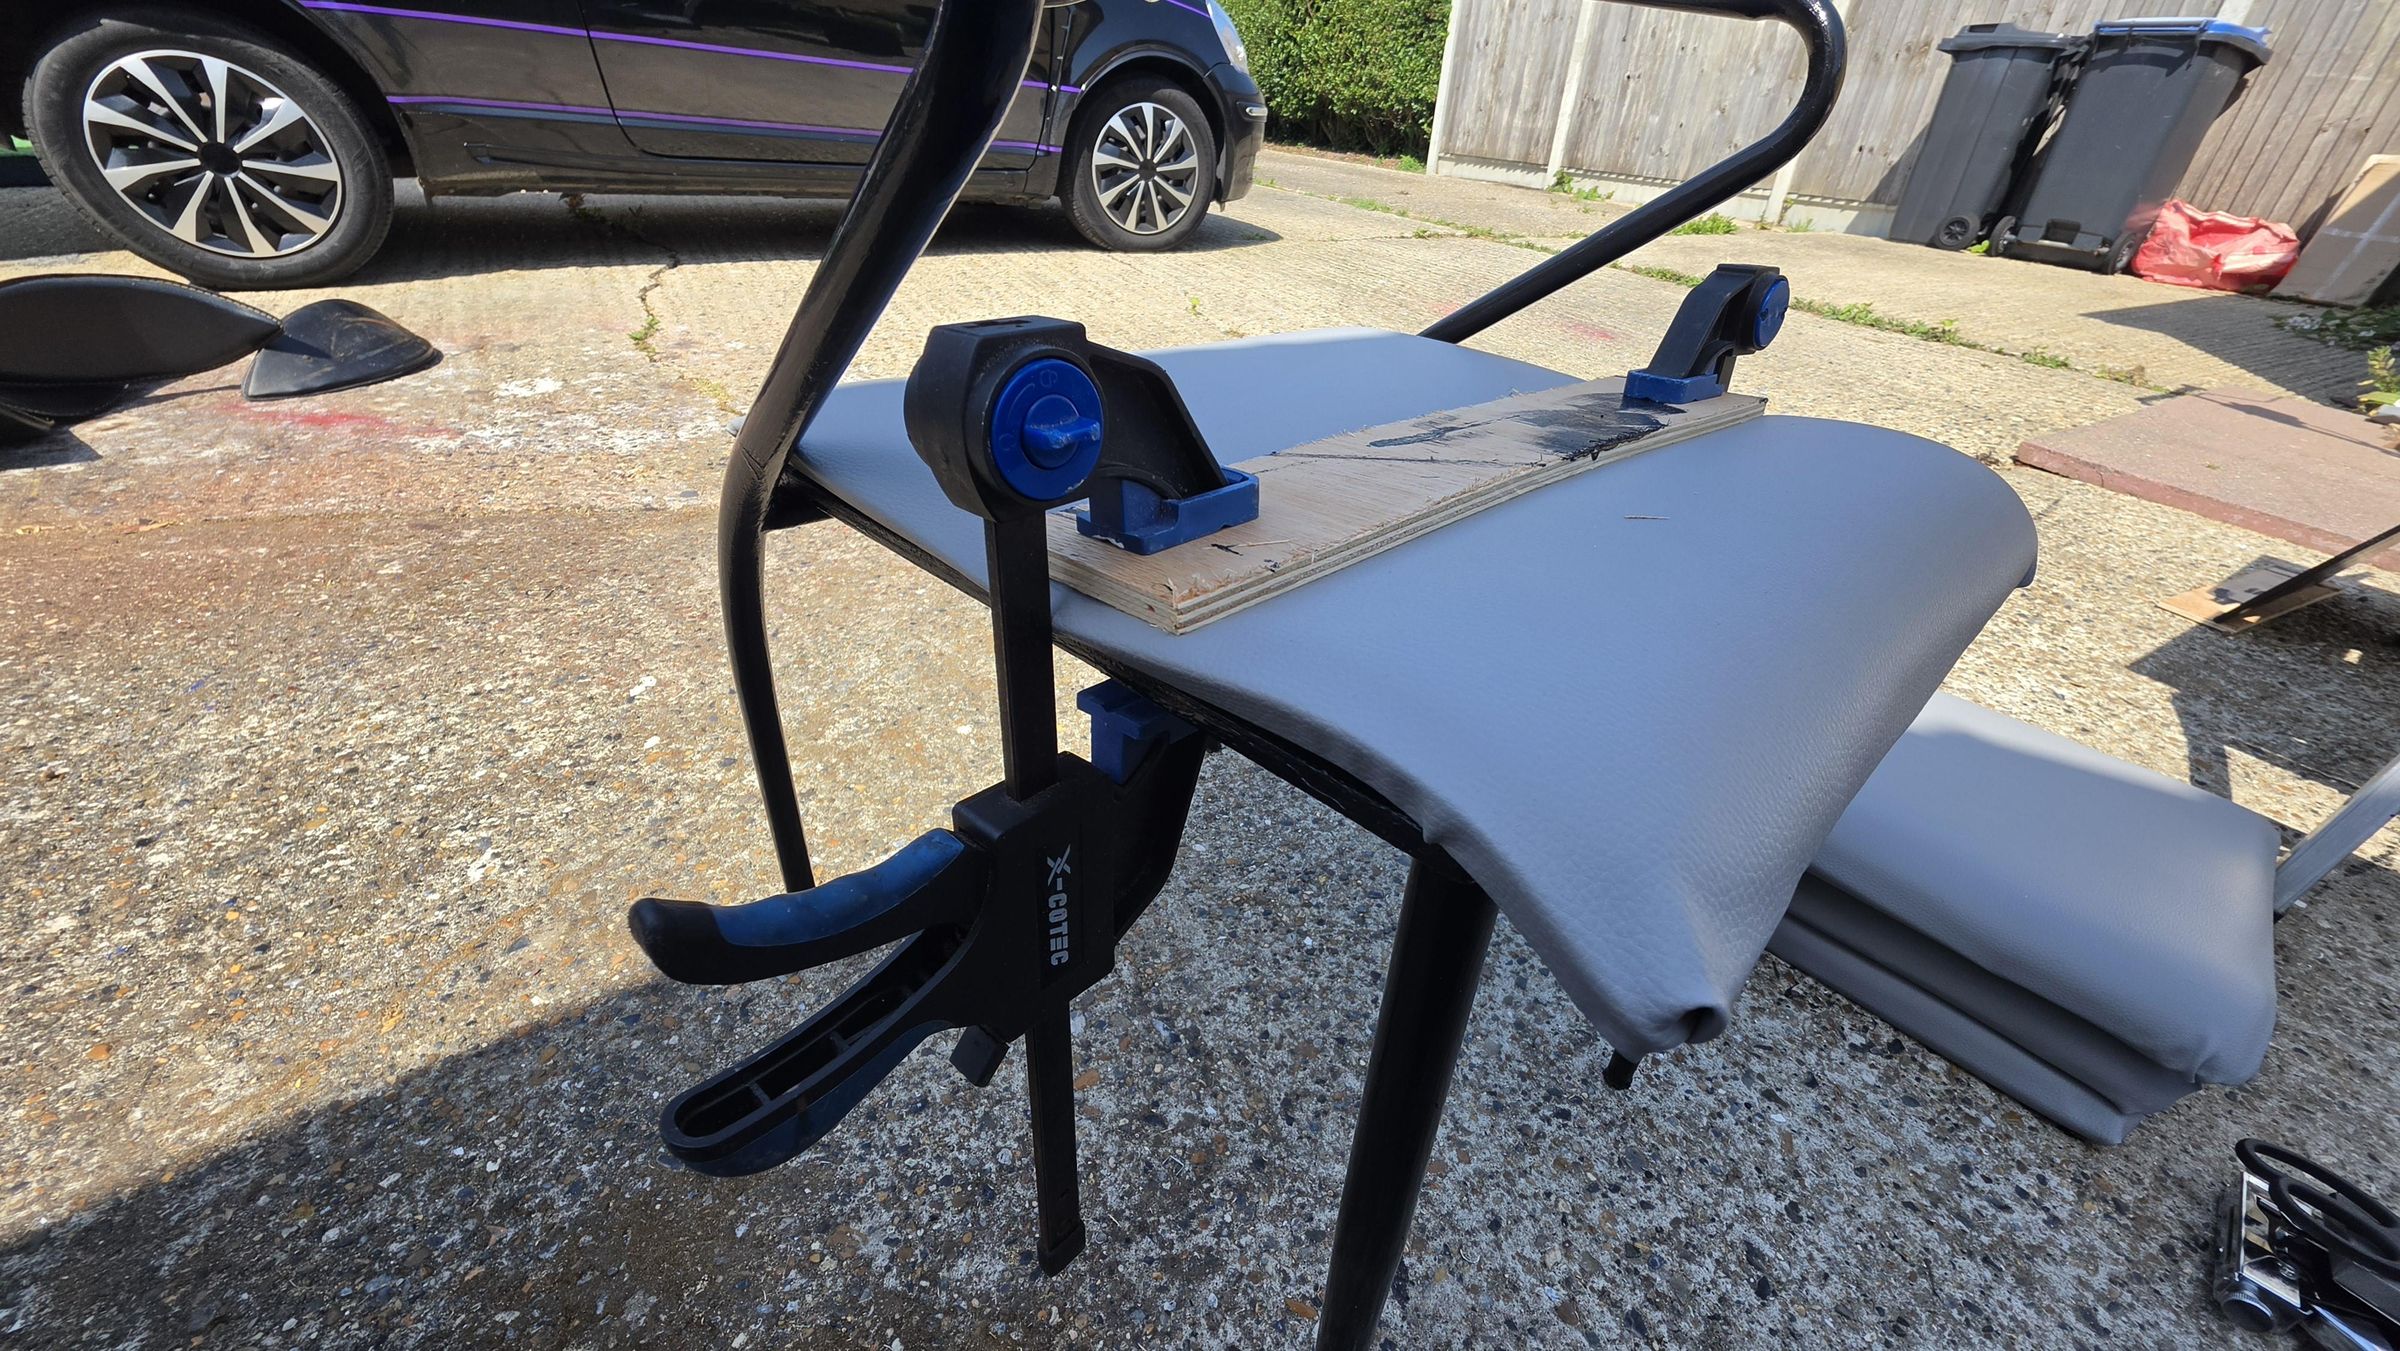
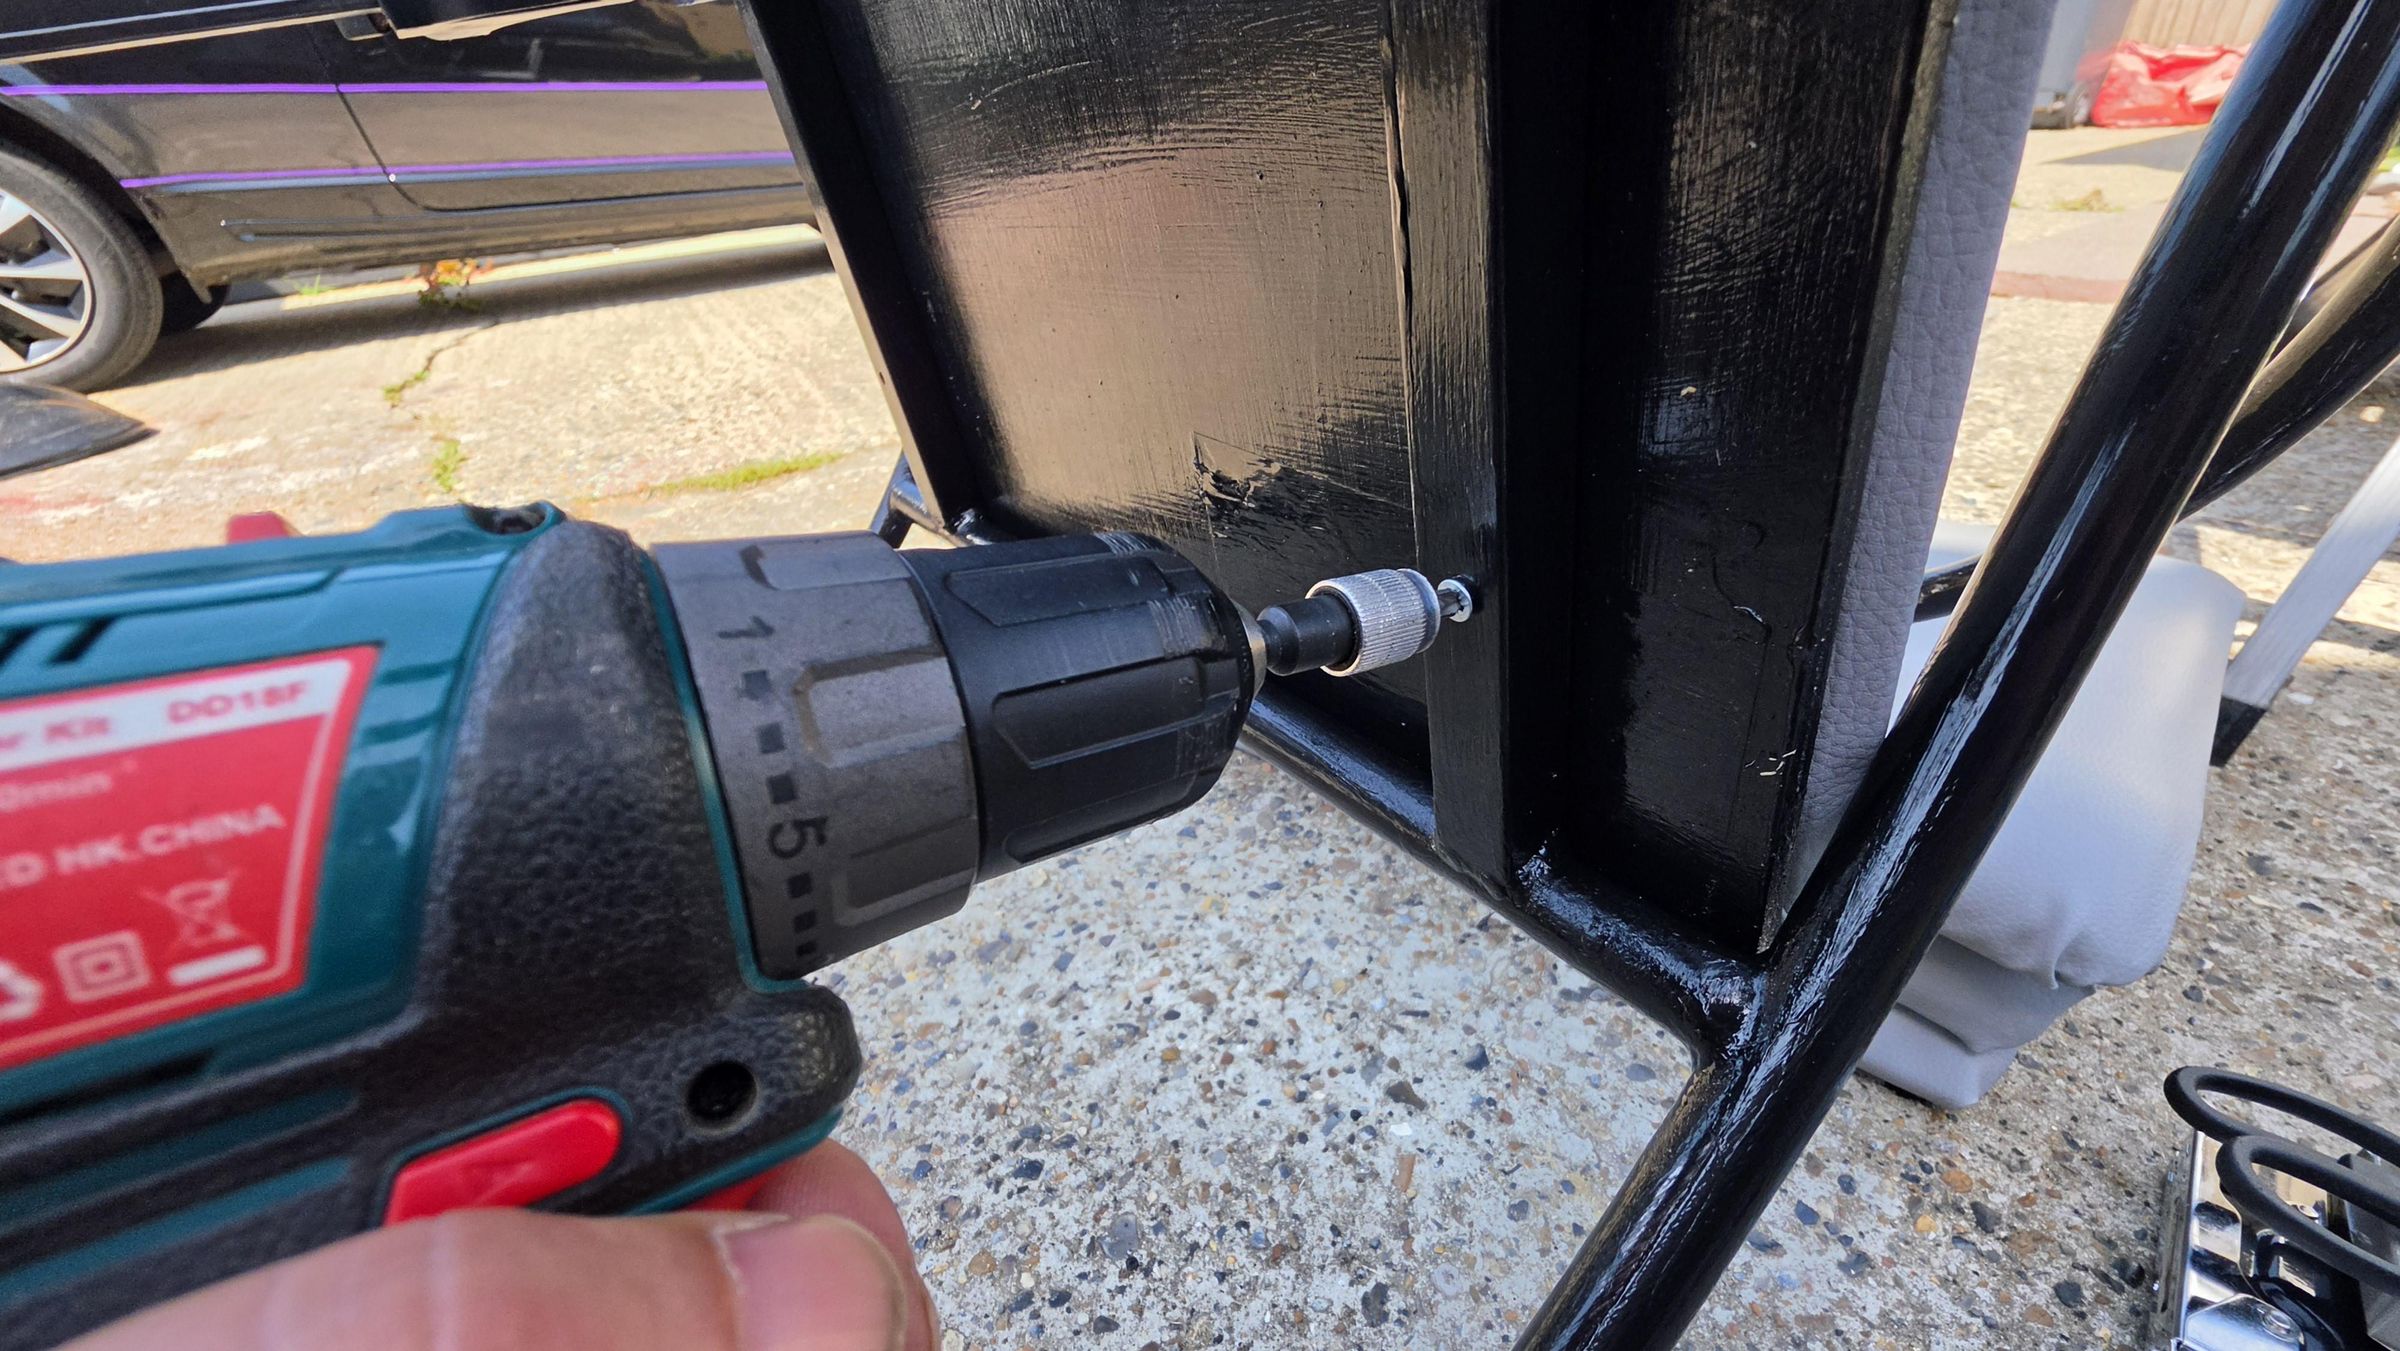
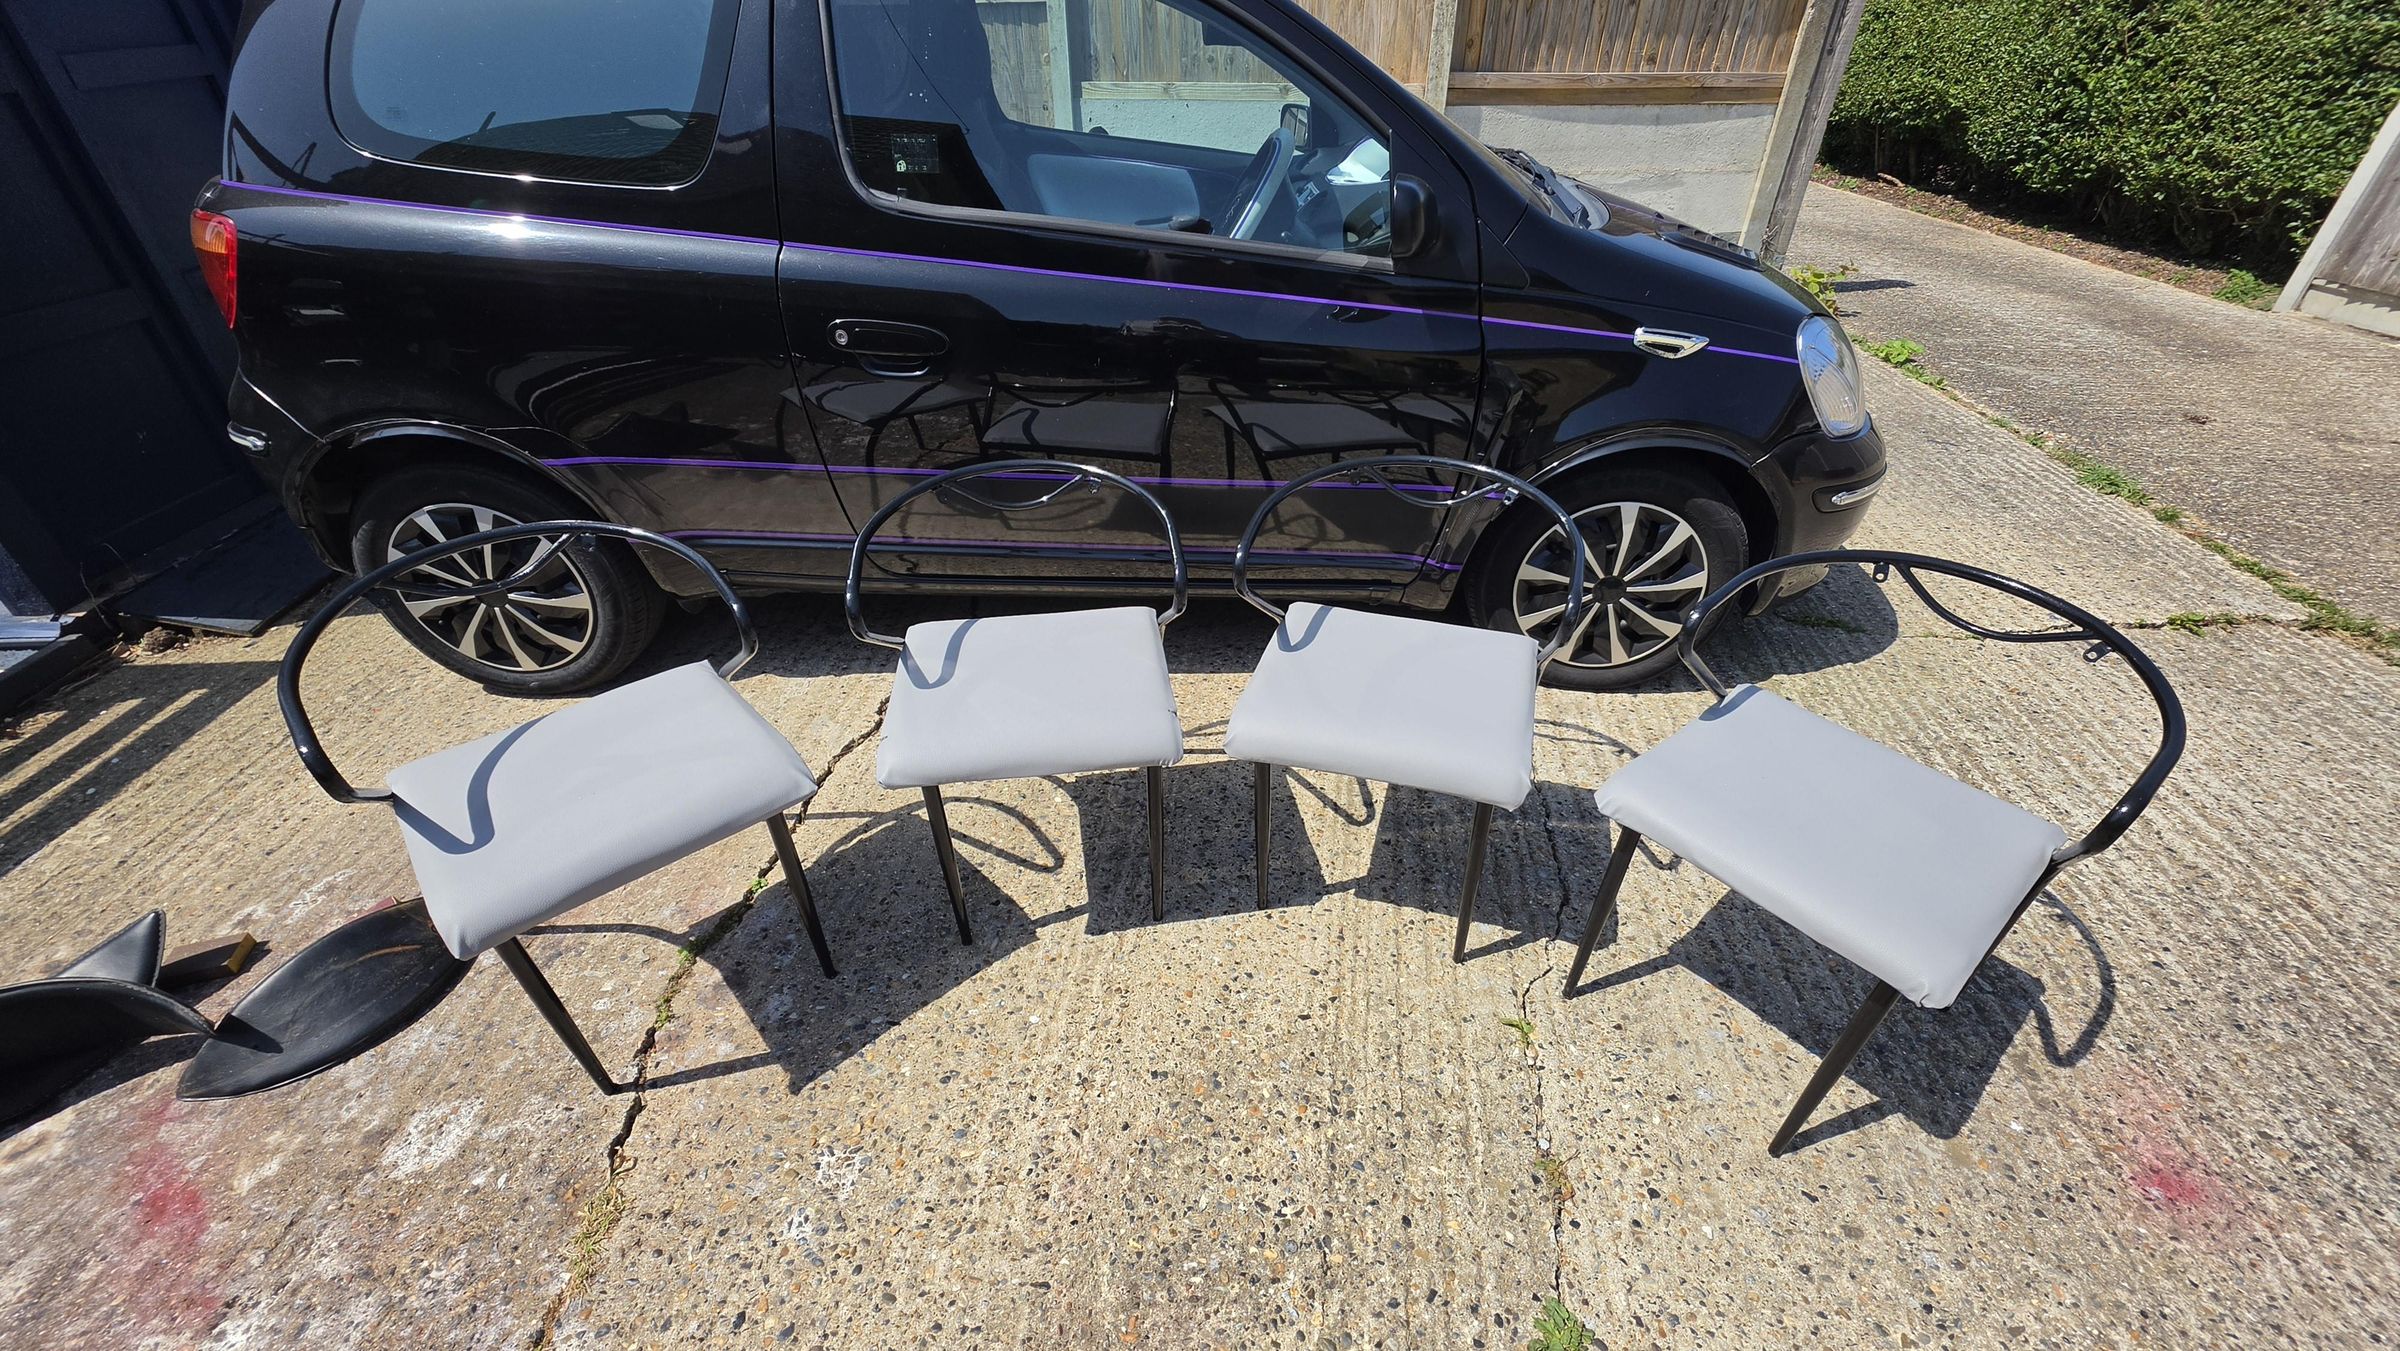
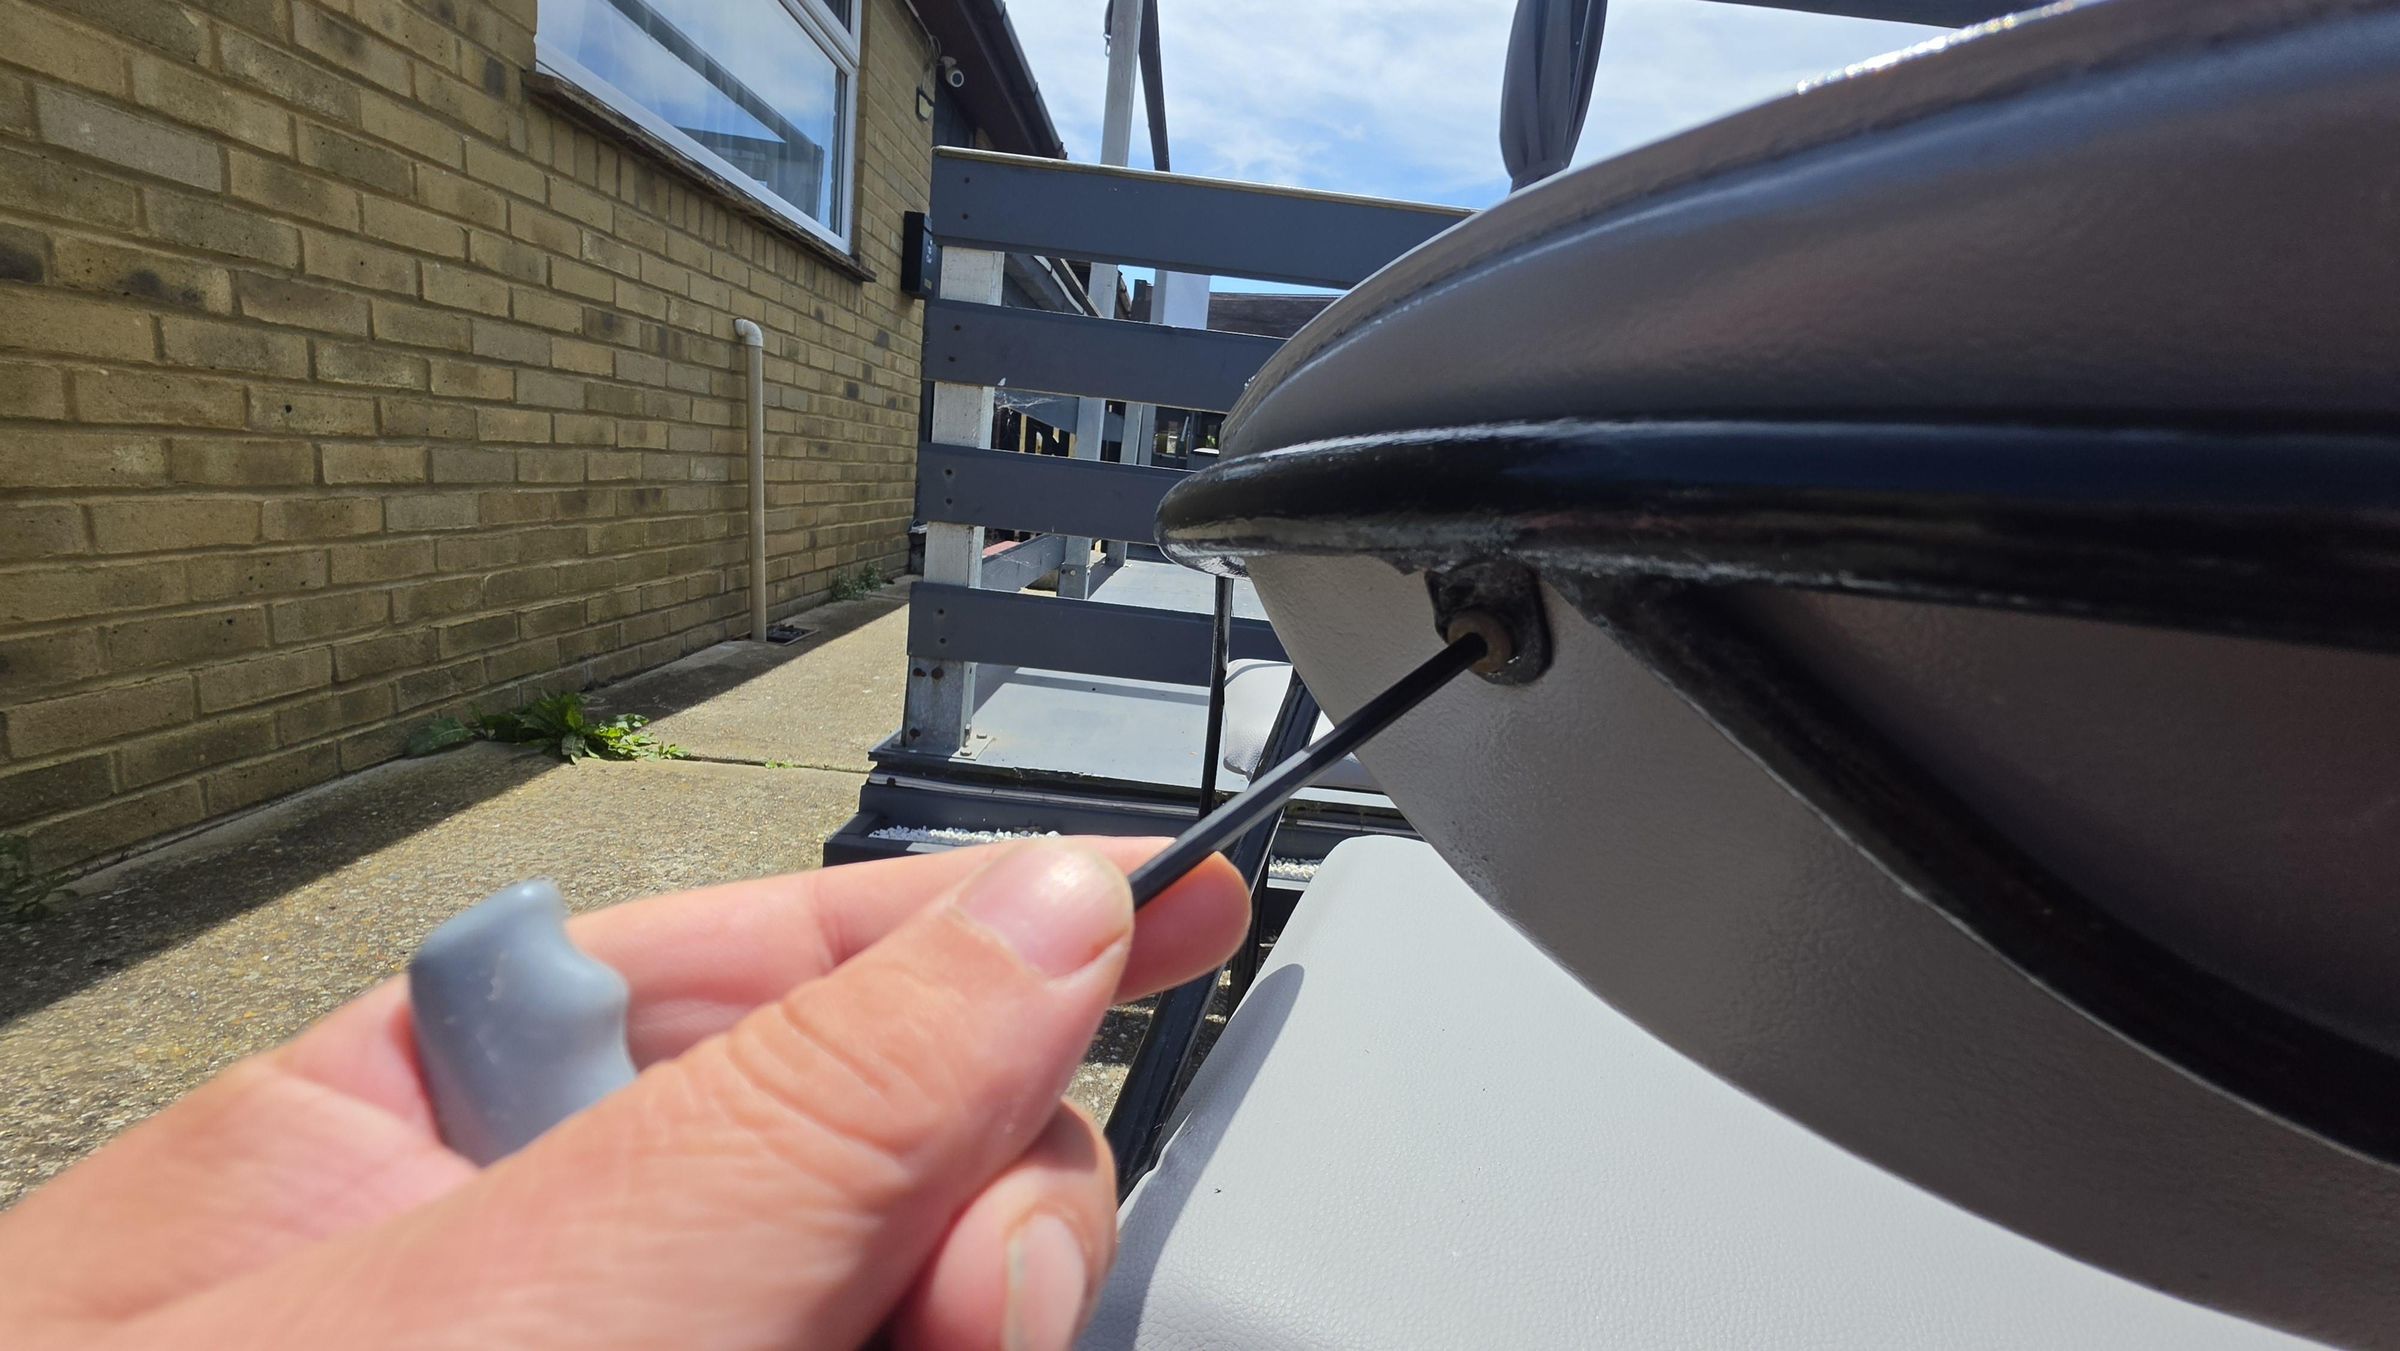
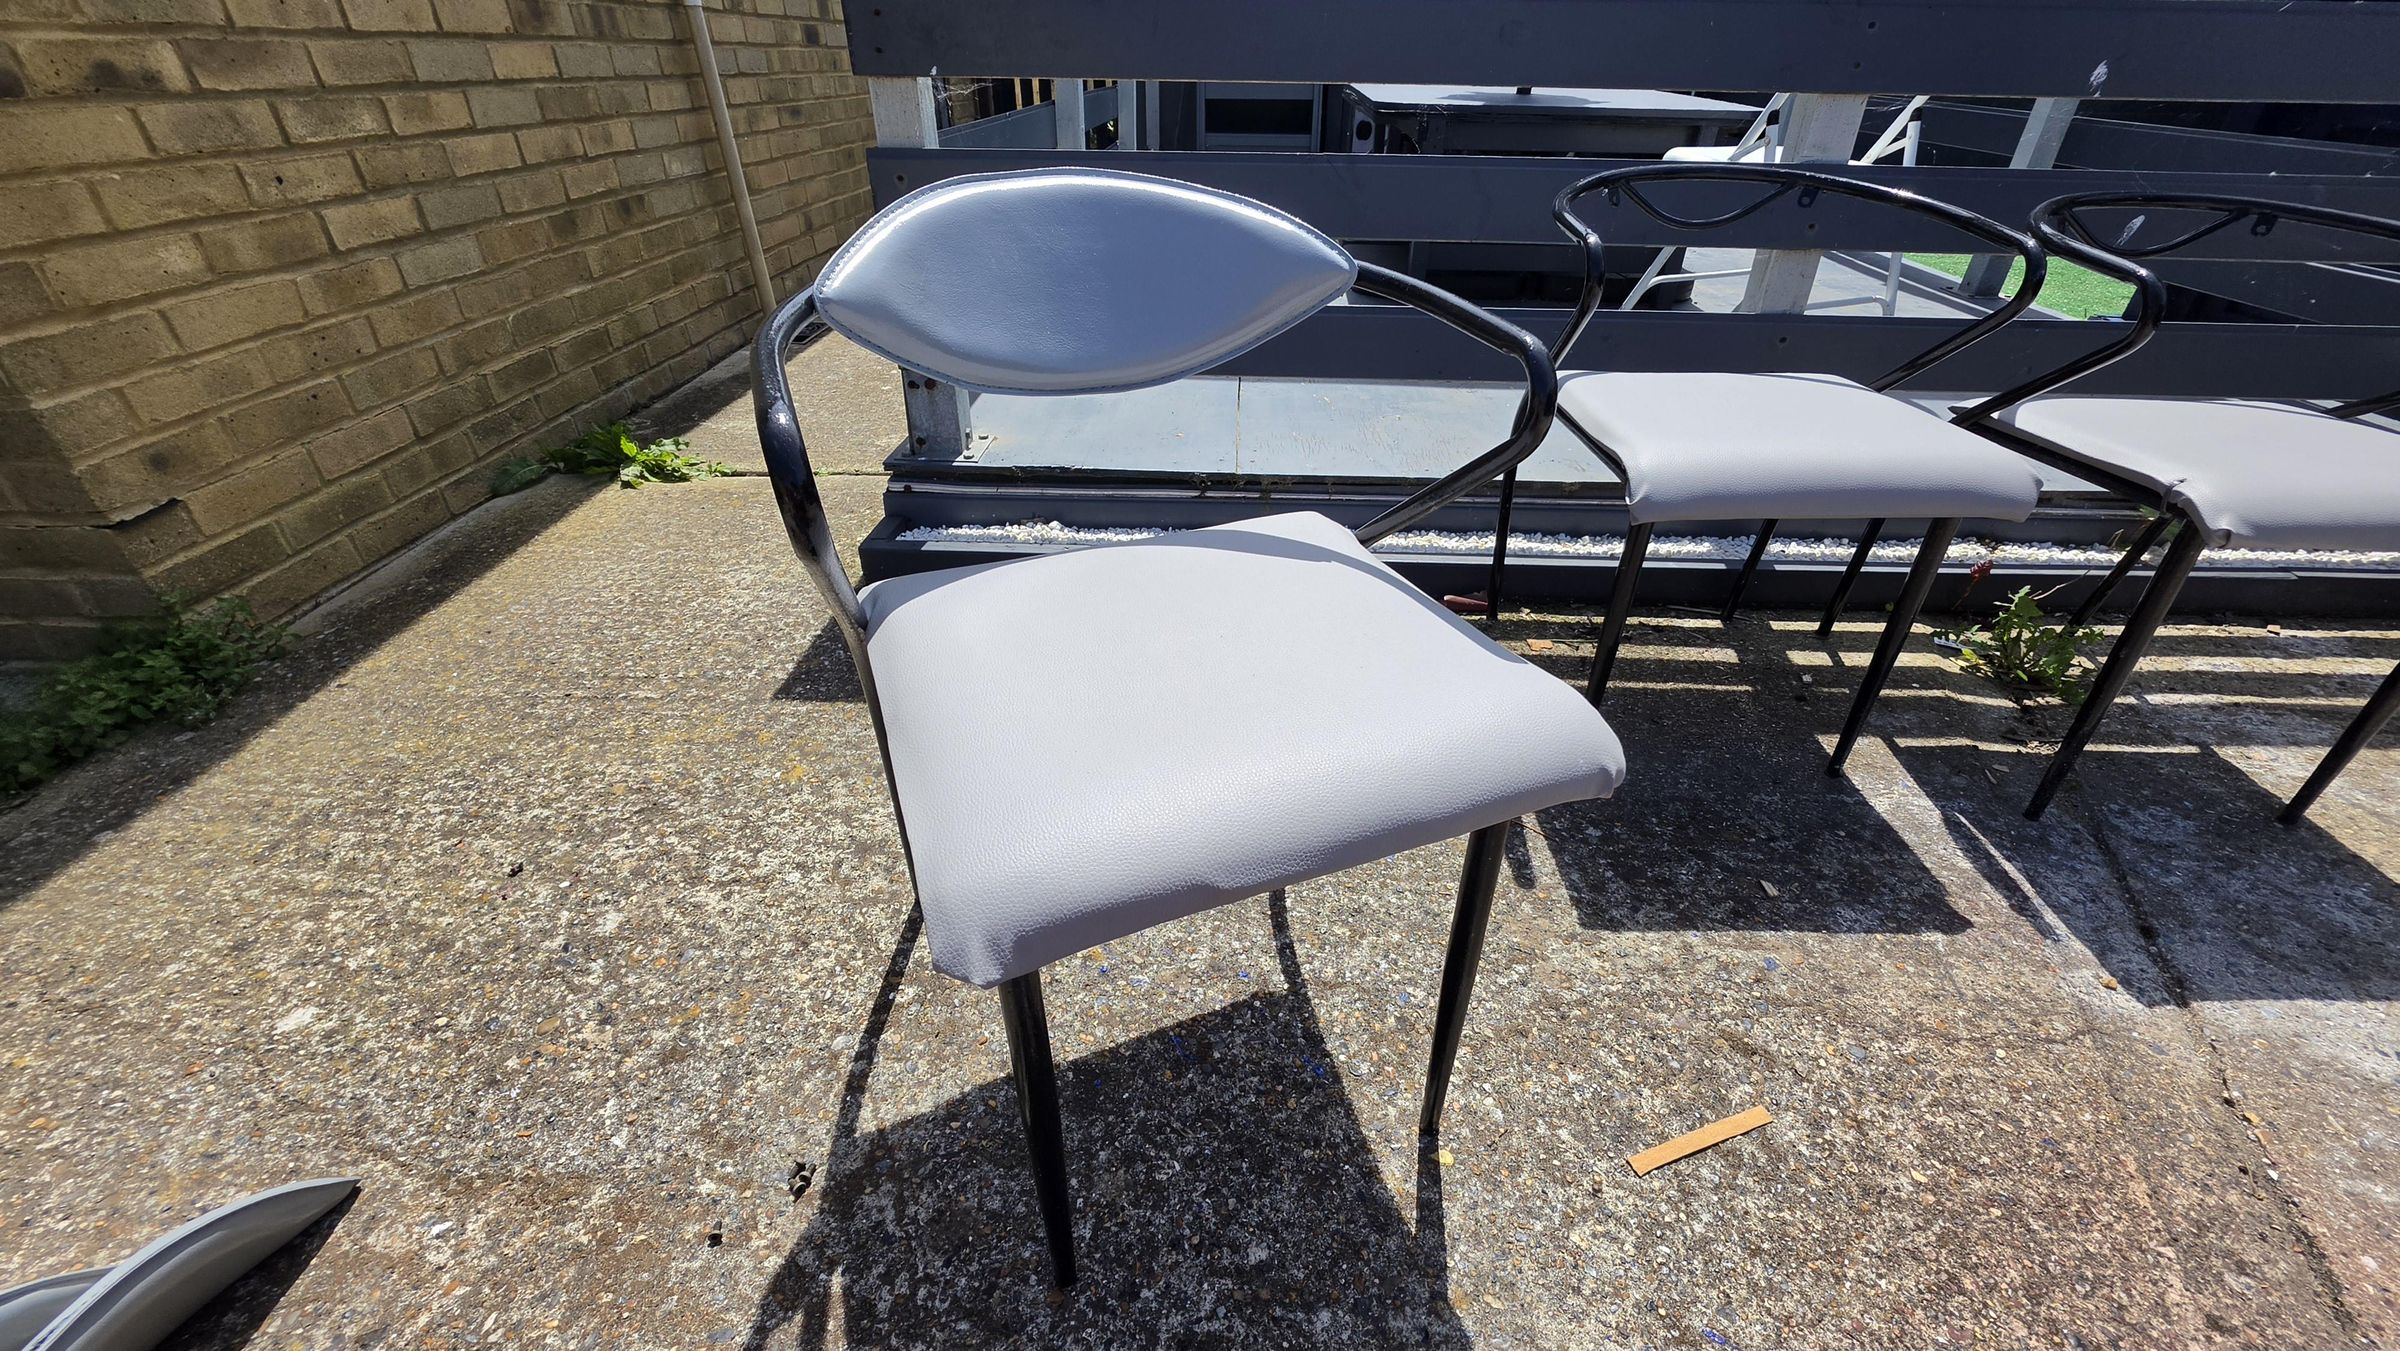
With the paint on the plywood squares now cured, place one onto the chare frame, place a chair base on top, align them so they are straight, then use a pair of wood clamps and a scrap piece of wood to clamp the chair base to the frame, one each side. Flip the chair over, drill a small pilot hole through each mounting bracket of the frame, in drill in some new exterior screws. When choosing the length of the screws to use, take into account the thickness of the mounting brackets of the frame, the new 9mm ply, and half the thickness of the chair base board (don't include the foam padding) as you don't want the sharp tips of the screws to poke through the top of the base.
Remove the clamps, flip the chair back over and attach the back rests with the now cleaned Allen screws, a quick wipe over with a clean cloth Repeat for the rest of the chairs, then pick a seat, sit down and admire your work.
Conclusion
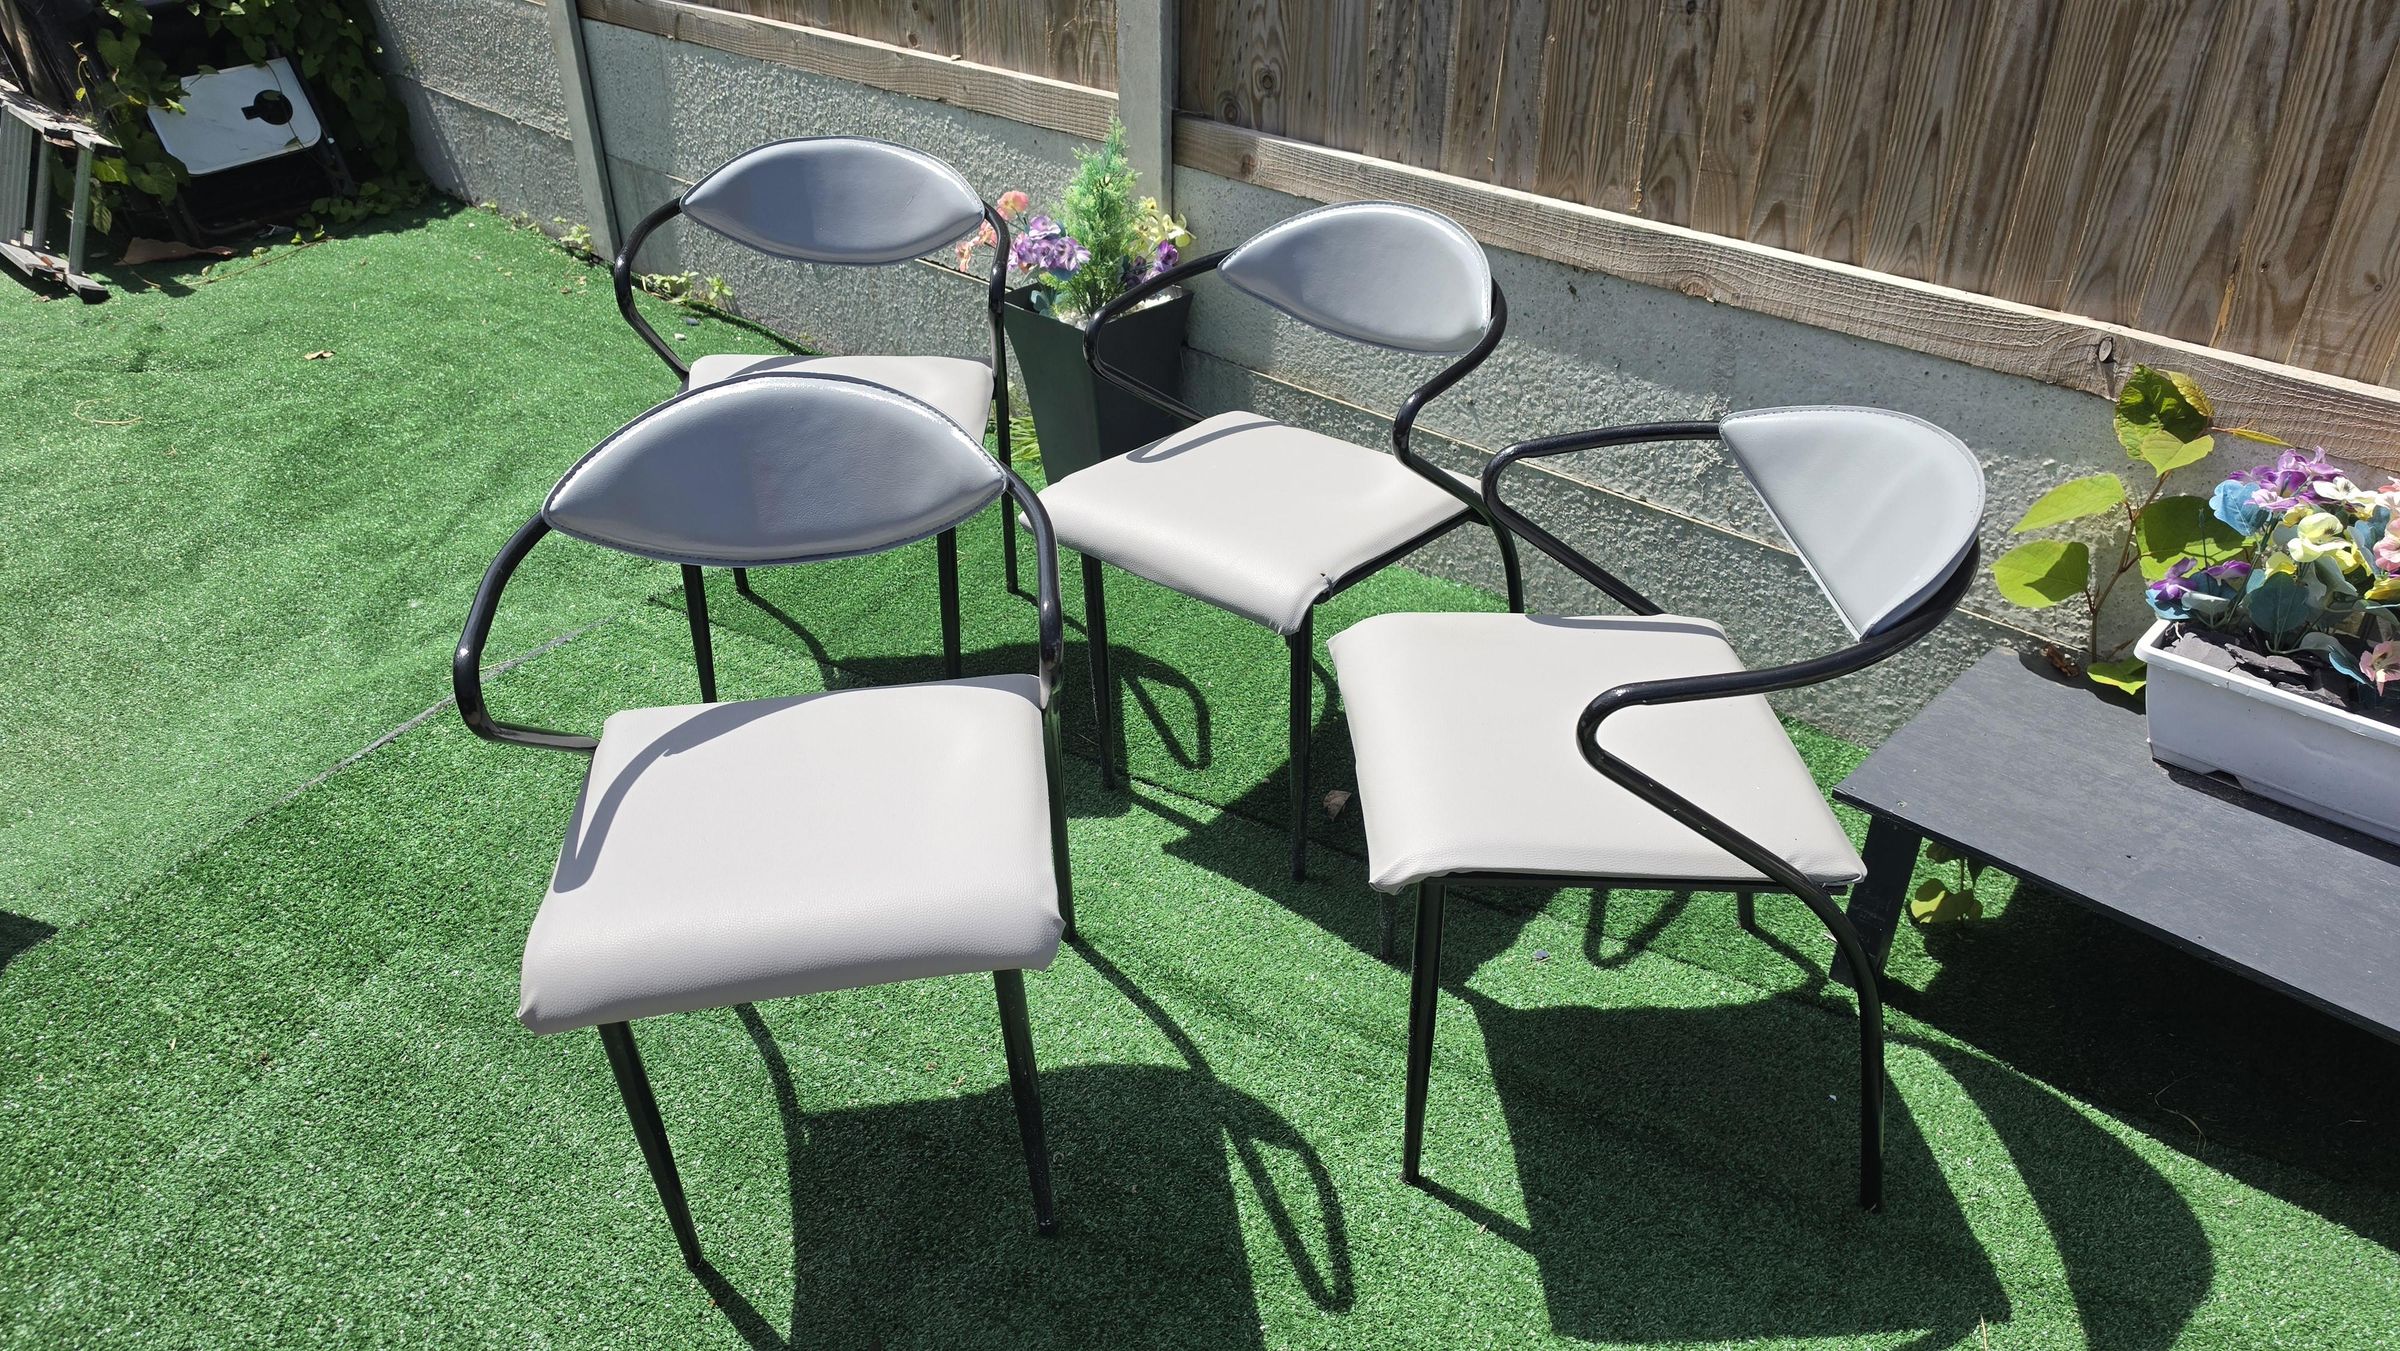
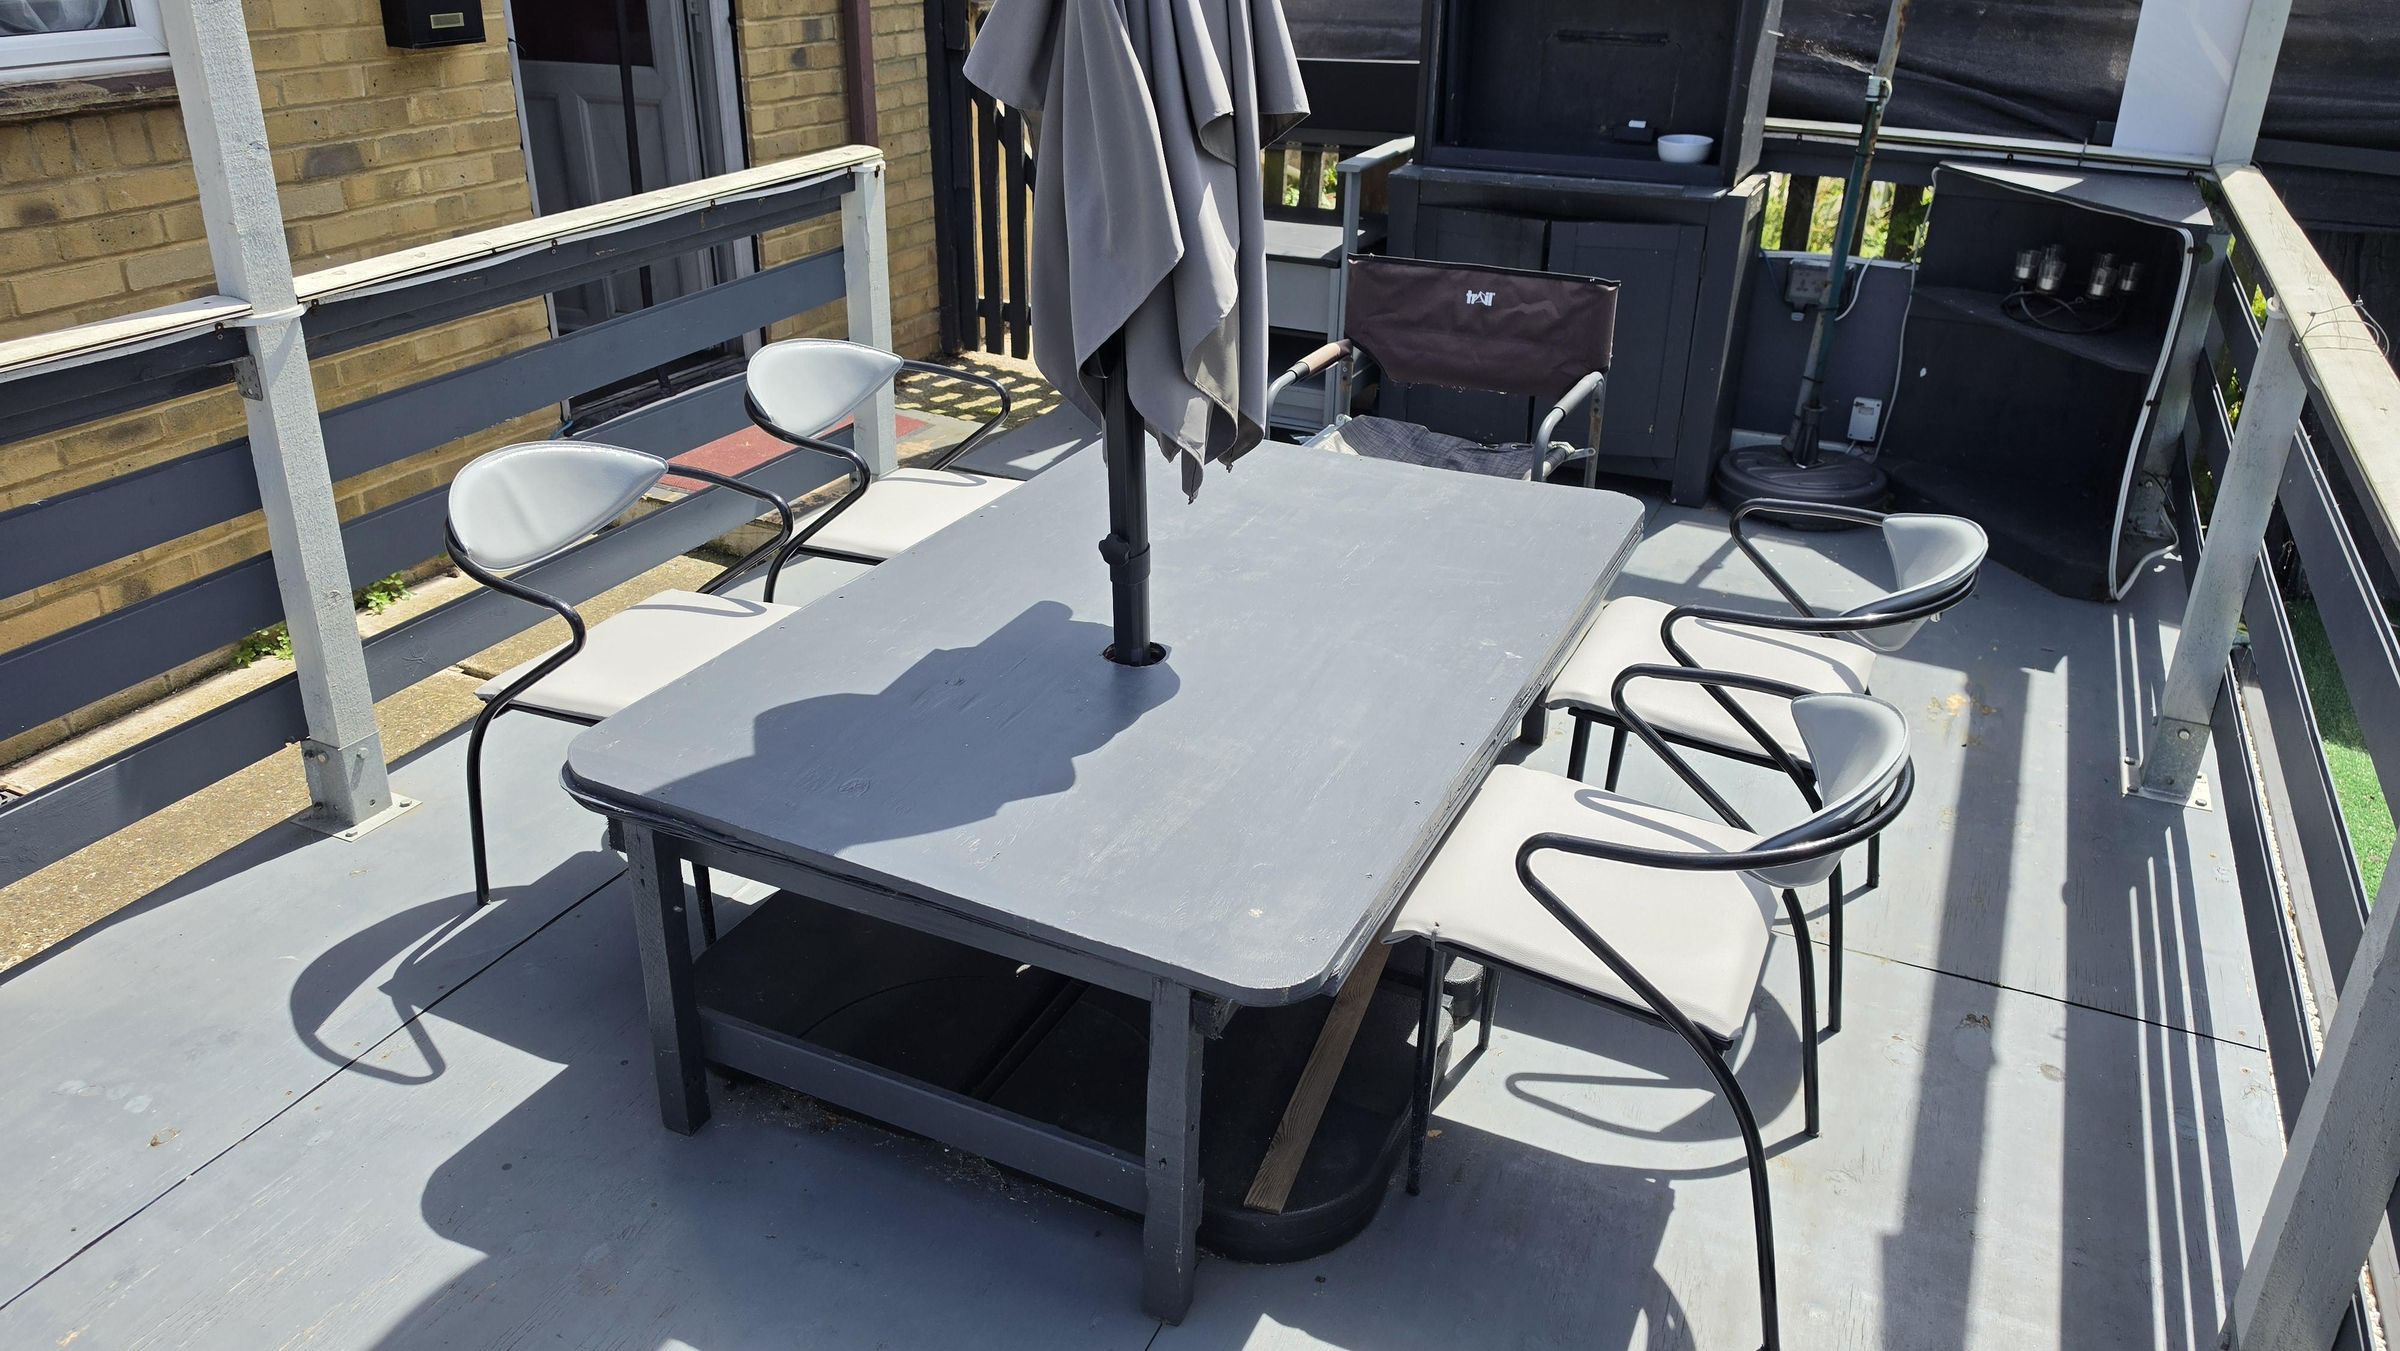
A nice and relaxing project with pleasing results using some basic tools and materials, and some chairs destined for the rubbish tip. The chairs now live on my garden decking, and guests who sit on them find them very comfortable. I hope that this Instructable gives you some ideas and inspiration to give something like this a go, and it doesn't have to be for chairs, but maybe another piece of furniture that has seen better days, but still could be given a new lease of life.
Thank you for reading, and happy making/refurbishing.