Gemini AI Assistant With Esp32
by Arduino_guy in Circuits > Microcontrollers
3324 Views, 18 Favorites, 0 Comments
Gemini AI Assistant With Esp32

As you may have used google's new AI assistant Gemini. A few time ago Gemini's api got out, so this is a project to test the gemini api
why gemini?
- there is a controvercy between google's Gemini and open ai's chatGPT while chatGPT has huge popularity it isn't free.
- where as gemini is free that means we can ask as many questions as we want.
Supplies
- ESP32 dev module
- 2.8 nich tft display
Connection
Getting the Api Key


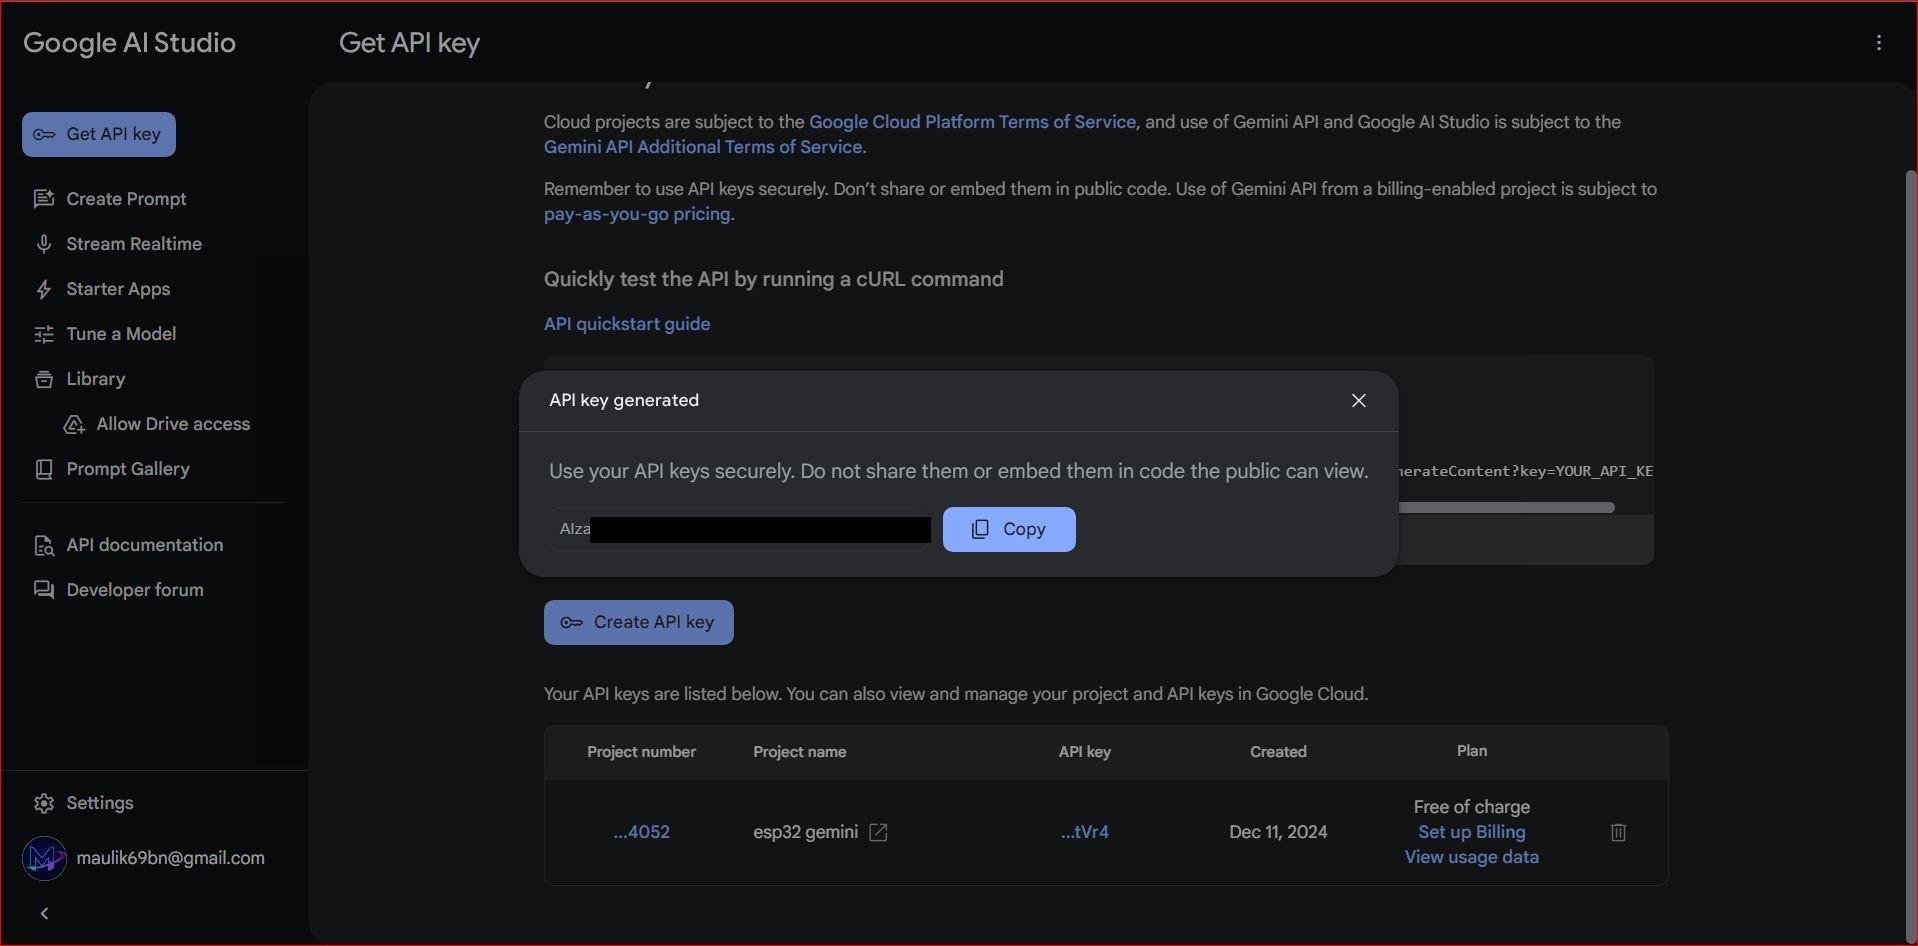
- search for gemini API docs.
- click on "get a Gemini api key".
- then "create API key".
- then click "Create new api key".
- click "copy".
And here you have the API key for gemini AI.
Setting Up the Boards


Skip this step if you have all library and boards installed.
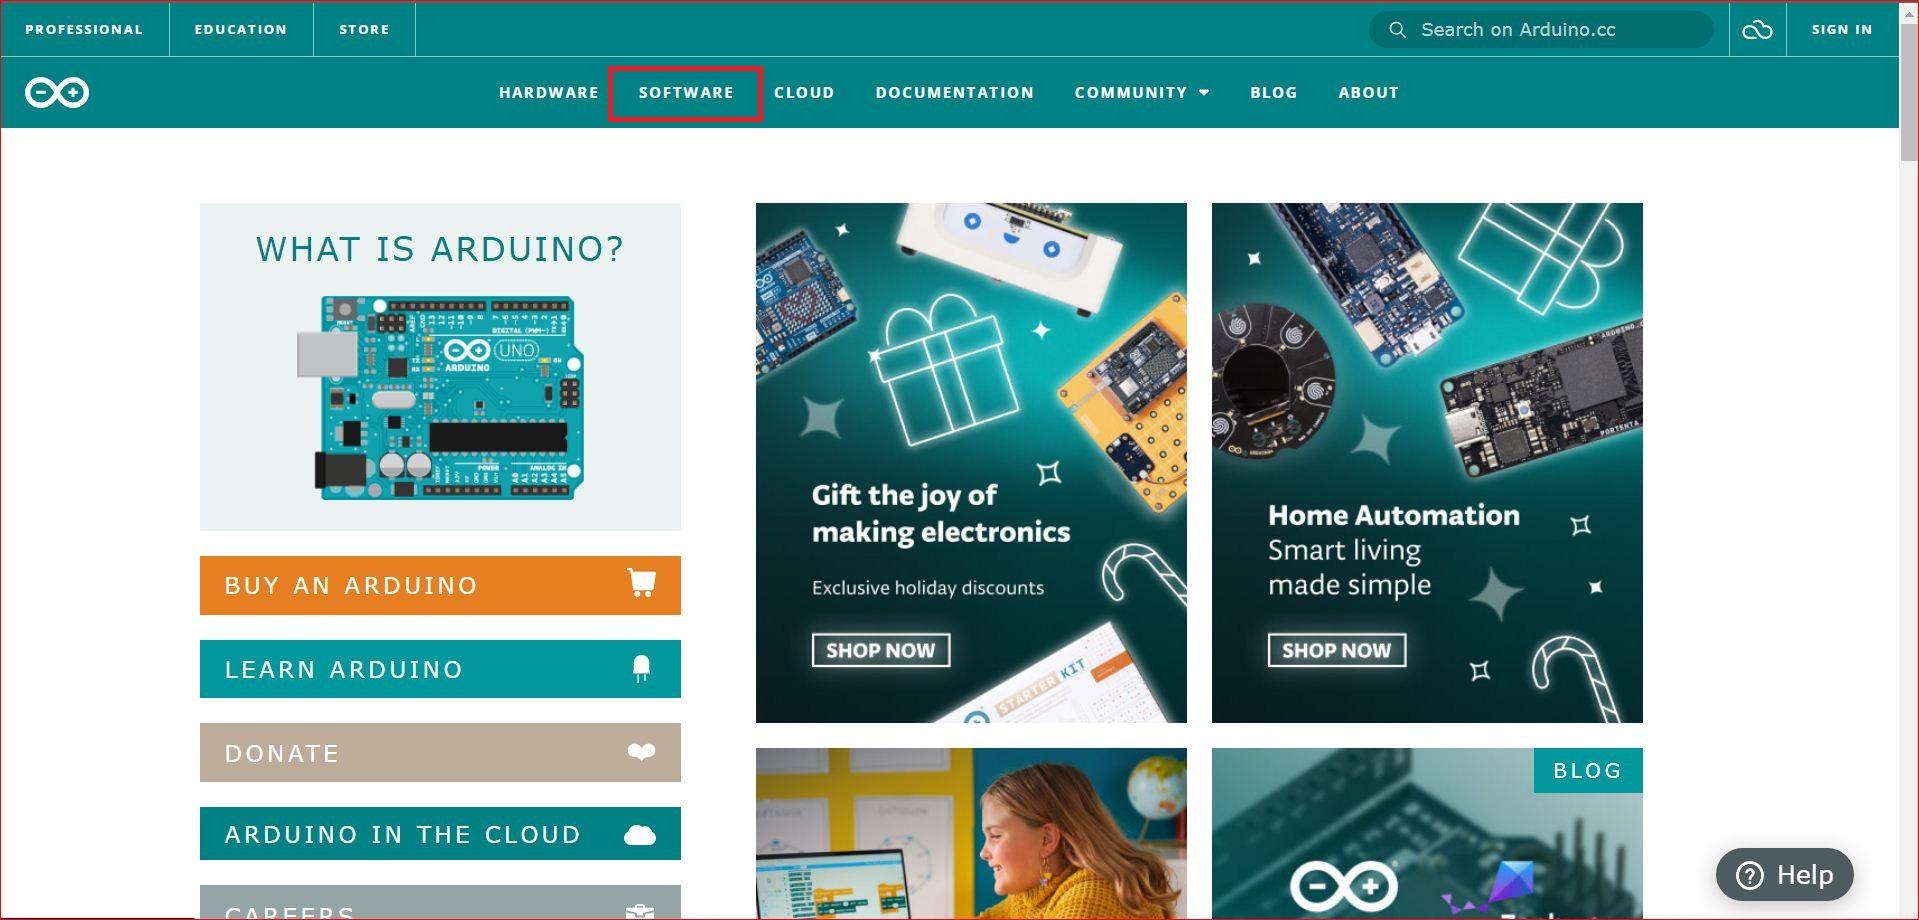
Installing arduino ide :
- go to Arduino.cc
- then click on "software"
- install the software according to your pc.
- after it gets download install it.
Installing esp32 bord manager :
- In your Arduino IDE, go to File> Preferences
- In Additional Boards Manager URL paste this url - https://dl.espressif.com/dl/package_esp32_index.json,http://arduino.esp8266.com/stable/package_esp8266com_index.json
- Open the Boards Manager, Go to Tools> Boards> Boards Manager
- search fo esp32 by Espressif Systems and click install.
All the libraries you will need for this project :
NOTE :- replace the user setup.h file of TFT_eSPI library with the file given below.
User setup file location
documents --> Arduino --> libraries --> TFT_eSPI
Downloads
Code
There are just few changes to be done and you are good to go
- replace the "ssid" with your wifi"s name.
- replace "password" with your wifi's password.
- replace "API" with the Gemini API key got in the 2nd step.
- click on upload.
and there you have the your esp32 runnig Gemini AI.
Hey code is here
Conclusion
you can aks any question using the serial monitor in the IDE press "ctrl+shift+m" keys to open the serial monitor and after it gets connected to network try asking your question
the answer will get displayed on both serial monitor and tft display.
enjoy.