Gesture Mouse - Controling Computer With a Glove
by TheRazerEdge in Circuits > Wearables
6530 Views, 44 Favorites, 0 Comments
Gesture Mouse - Controling Computer With a Glove

Hey there!
This instructable is on making a gesture-controlled mouse in the form of a glove.
The initial idea is to integrate this in FPS (First Person Shooter) games and computer pointer control, but it can also be used in other projects like a remote controlled car, mechanical hand, etc.
Hope you like the project. Leave your thoughts and suggestions in the comment section.
Thank you!
Supplies


Main Components
- Flex sensor: Sensor which detects bend in the form of resistance increase or decrease. Used for mouse buttons.
As it may seem, the flex sensors are a bit costly. Alternatively, these sensors can also be made by yourself with minimal cost. One good example is this.
- MPU-6050: Gyroscope, accelerometer and thermometer in one small module. To be used for directing pointer.
- Arduino Pro Micro: Small and compact Arduino with direct USB connectivity for communicating with host computer.
- Glove: Any normal cloth or leather glove can be used for tying the gyroscope module and flex sensors.
The glove can also be bought by your own choice based on some factors given on Step 3.
Accessories
- Jumper Cables: Cables for connecting all the components
- Resistors: Used in power connection to the flex sensors. We require 2 '10k ohms' resistors in this project.
- Heat Shrink Tubes: Best for securing cable connections.
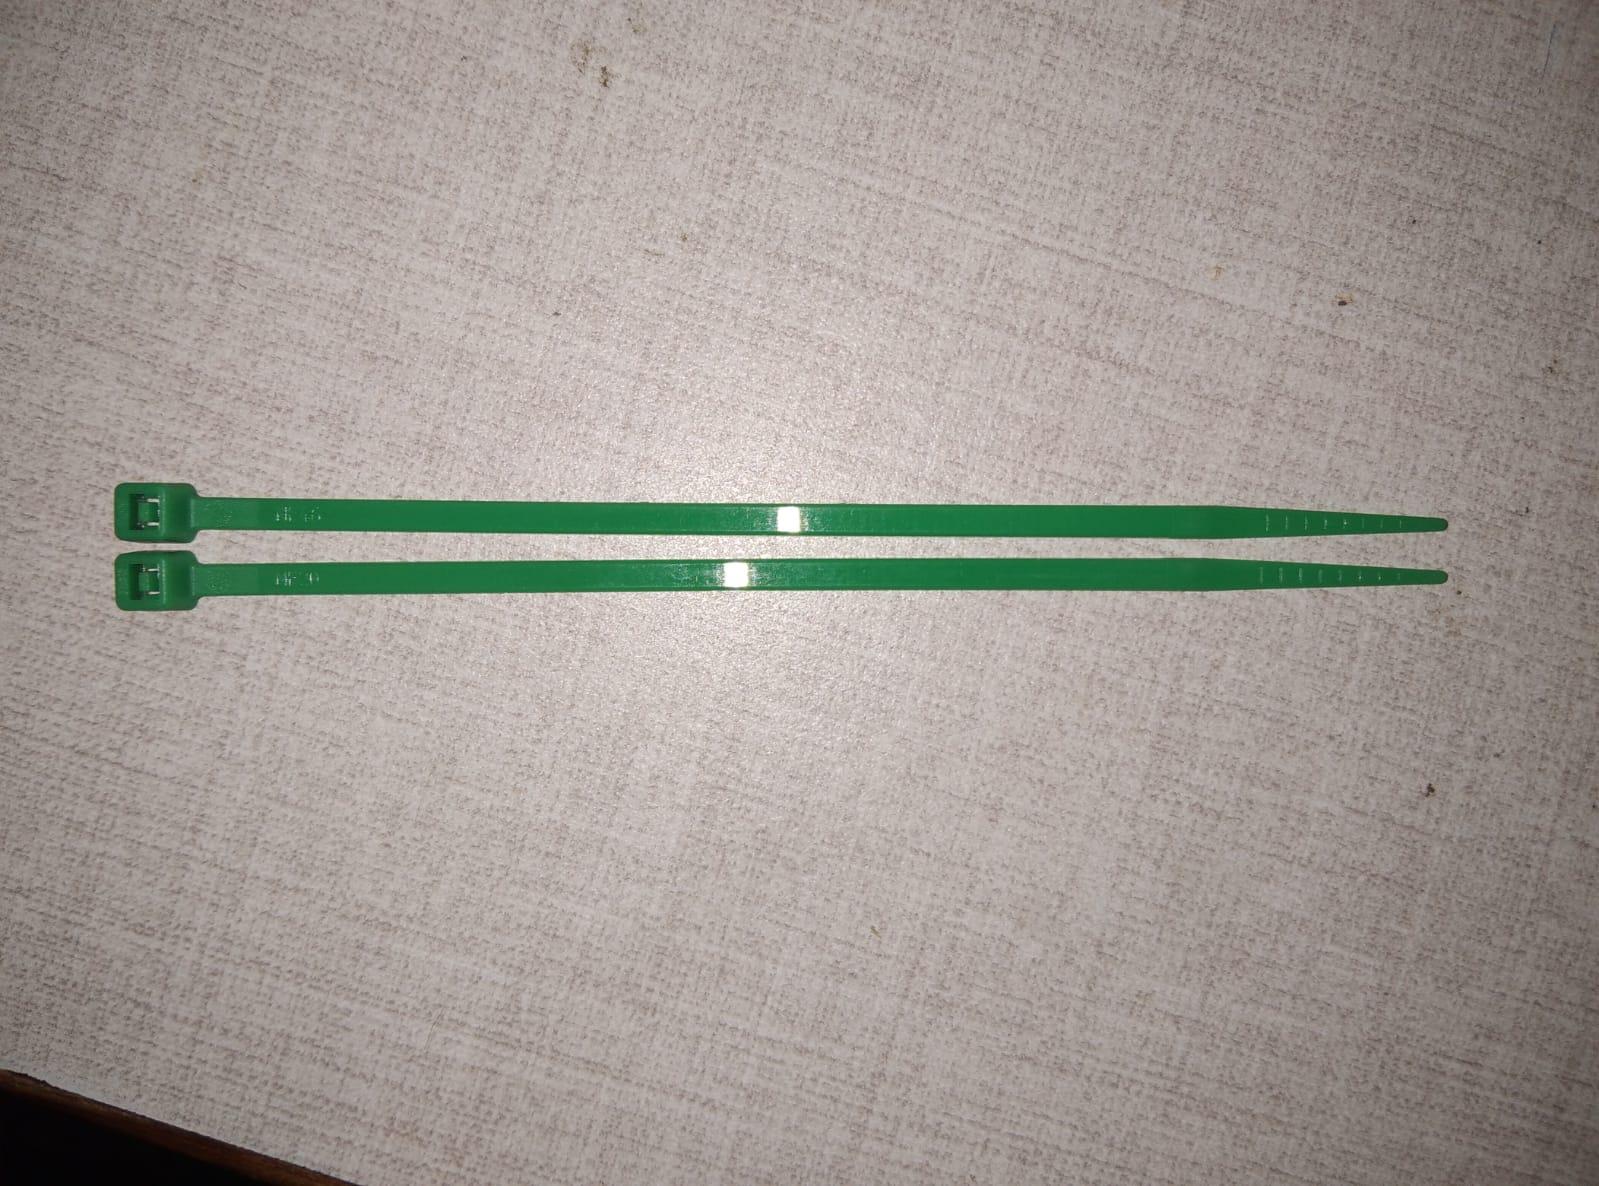
- Cable Ties: Ties for securing every component onto the glove.
Tools used
- Soldering iron with accessories
- Wire stripper
All of the above listed items can be bought by one's own choice, albeit keep care on buying the glove.
Know How the Sensors Work
The Flex Sensors
The flex sensor is generally used as a goniometer (device for measuring bend angle).
These sensors work as variable resistors. They have a polymer ink layer inside which has electrically conductive particles. When the sensor in 'flexed', these particles move further apart, therefore, lowering the conductivity and producing resistance.
This resistance is measured by a microcontroller for calculating bend angle or taking actions on the basis of the degree of bend.
The MPU-6050's Gyroscope...
The gyroscope measures rotational velocity (rad/s). This is the change of the angular position over time along the X, Y, and Z-axis (roll, pitch, and yaw). This allows us to determine the orientation of the sensor. We are using this functionality of the sensor for our project.
...And The Accelerometer
The accelerometer measures acceleration (rate of change of the object’s velocity). It senses static forces like gravity (9.8m/s2) or dynamic forces like vibrations or movement. The MPU-6050 measures acceleration over the X, Y, and Z-axis. Ideally, in a static object, the acceleration over the Z-axis is equal to the gravitational force, and it should be zero on the X and Y-axis.
Preparing the Components
.png)
.png)
.png)
Special Jumper Cables
The Arduino Pro Micro has RAW and VCC for power supply with three ground pins for power supply. So, for distributing +ve power to the flex sensors, we'll have to make custom jumpers.
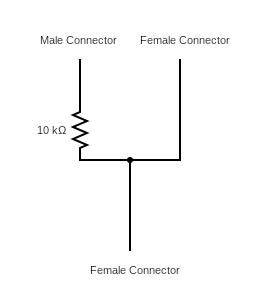
We'll make 1 'female to male and female jumper' for powering the gyro module and a flex sensor, as in pic 1.
Connect a 10k ohms resistor before the male connector.
For flex sensors, we'll make 2 'male to two female' jumper and a 'male to female' jumper with a 10k ohms resistor, as shown in pics 2 and 3.
The MPU-6050 Sensor
We would be using the first four pins - the VCC, GND, SCL & SDA.
To make tying easier, solder these pins only. Else, its your choice to solder the other pins.
The Flex Sensors
The flex sensors have two pins.
We'll solder male connector of a male to female jumper onto one pin.
Next, solder male connector from the special 'male to two female' jumper for the sensors to the other pin.
During soldering, keep the soldering iron in contact for the least time possible. The sensors have a very weak inner conductive membrane, which can deteriorate on extended exposure to heat and bend. So, caution is crucial.
Readying the Glove


The Glove
The two vital factors of buying the proper glove are as follows:
- The glove should be of the perfect size, i.e., should perfectly fit the hand of the user.
- It should be flexible enough to allow free movement of the fingers.
Using a cloth gardening glove with spaces between the threads would be best for tying the components. Making holes in the leather or any other glove may prove difficult and couldn't be reused.
Placing the Components
The Flex Sensors
In order to bring the "trigger-pulling" feeling, the flex sensors would be placed on the fingers.
It is one's choice if they want to put the sensors on inside of the fingers or the outside. It is adviced to put the sensors on the outside of the hand to maximise the movement of the fingers.
To tie these, we'll put 3-4 cable ties on equal distances through the spaces and tighten them around the sensors by looping it from inside the glove skin and zip it from outside like done in pics 2 and 3.
Ensure keeping the fingers free from ties in the middle of the finger, otherwise the ties would prickle the finger when it is fold.
The MPU-6050
The sensor is placed between the index and middle finger, at the bottom of the flex sensors.
It is apparent that in order to make the glove move the pointer by (in a way) pointing it towards the target area, the sensor would be placed on the edge of one the fingers.
Unfortunately, that is not possible due to the flex sensors. That's because in order to click buttons, the finger would have to be moved, displacing the sensor, which would in turn displace the pointer.
Therefore, the sensor is placed below the fingers to lessen the pointer displacement but also keeping the "gun effect" to a certain level.
Preferably, the sensor's y-arrow should point towards the computer screen perpendicularly to produce the effect more efficiently.
For fixing this sensor, the ties would be put through the pcb holes and through the glove layer and tightened up.
The Arduino
The board could be put straight or flipped on the wrist depending on the way its pins have been soldered.
Keep in mind that the pins need to face up to connect wires easily and the micro USB also needs to be clear of the glove for easy USB connection.
For tying, a single long tie could be used to fasten it there diagonally along the Arduino.
Stick a piece of double sided tape before tying.
Your glove should look something like pic 1 by now.
Making the Circuit
.png)
After fixing all the components in their places, now's the time for connecting everything.
MPU-6050's Connections:
VCC to VCC
GND to GND (any)
SCL to 3
SDA to 2
Use 4 female to female jumpers for connection.
Flex Sensors' Connections
Left Jumper to GND
Right Simple Jumper to A0 (index sensor) and A1 (middle sensor)
Right +ve Jumper to RAW and VCC
Connect the male connectors from the gyro module's +ve power terminal and the 'male to female' resistor jumper from the flex sensors' +ve jumpers to RAW and VCC
Ensure to tighten the female connectors for better connection by pushing in their metal strips visible from the little hole on them.
Programming the Arduino
Before we do any programing, we'll need to install Arduino IDE onto our computer along with MPU-6050 operating library.
Download the IDE from here : Software | Arduino
And the MPU-6050.h library from here : ElectronicCats/mpu6050: MPU6050 Arduino Library (github.com)
Install the IDE and open the .ino code file in the editor. Include the .zip file from the GitHub repositery into the code.
Afterwards, now lets understand the working of vital portions of the code.
The code starts off by including the following libraries.
- Wire.h : This library allows the microcontroller to communicate with I2C devices. Here, I2c device is referred to MPU-6050 module, which communicates with the SCL and SDA pins.
- I2Cdev.h : This library is used for reading and writing I2C functions.
- MPU-6050.h : Controller library for MPU-6050 module.
- Mouse.h : HID Library for mouse functions.
The Wire.h, I2Cdev.h and Mouse.h generally come pre-installed with the IDE. If not, download and include these libraries from GitHub.
// Include libraries
#include <Wire.h>
#include <I2Cdev.h>
#include <MPU6050.h>
#include <Mouse.h>
setup() initializes I2C communication, MPU-6050 module connection, HID mouse functionality and serial communication.
void setup()
{
  Wire.begin();
  mpu.initialize();
  Mouse.begin();
  Serial.begin(9600); // Begin serial communication for reading sensor readings
}
loop() executes continuously the whole functionality.
void loop()
{
 moveMouse();
 clickMouse();
 printValues();
 delay(rate);
}
moveMouse() gets rotational values from the gyro sensor and feeds them into the variable assigned.
Then, it converts the output values into pointer displacement values in the form of x and y displacement coordinates.
In the end, it calls the Mouse.move() function, which moves according to the displacement values calculated.
void moveMouse()
{
  if (flagIndex == 0 && flagMiddle == 0)
  {
    mpu.getRotation(&gx, &gy, &gz); // Get rotation values from gyroscope

    // Convert output values to pointer displacement
    vx = -(gx + 200) / sense; // Here, change the '200' & '30' values to the approximate +ve values
    vy = (gz + 30) / sense;   // of the values shown by the gyroscope when in rest on the serial monitor.

    Mouse.move(vx, vy); // Move mouse according to gyro rotation
  }
}
clickMouse() uses values from the flex sensors to detect change in bend and take actions defined in the clickIndex() and clickMiddle() functions. Both functions are assigned to the respective flex sensor.
void clickMouse()
{
  // Read flex sensor values
  valIndex = analogRead(indexPin);
  valMiddle = analogRead(middlePin);

  // Perform mouse functions
  clickIndex();
  clickMiddle();
}
clickIndex() makes sure of left mouse clicks based on state of the flex sensors. clickMiddle() also works in a similar fashion. The only difference is of mouse button.
void clickIndex()
{
  if (flagIndex == 0)
  {
    if (valIndex > buffIndex)
    {
      flagIndex = 1;
      Mouse.press(MOUSE_LEFT);
      Mouse.release(MOUSE_LEFT);
    }
  }
  else if (flagIndex == 1)
  {
    if (valIndex < buffIndex)
    {
      flagIndex = 0;
    }
  }
}
After understanding the whole code, now just plug the arduino in, compile the code and upload it.
Open the serial monitor afterwards for viewing the sensor outputs.
Downloads
Check the Result
And THATS it. Your gesture mouse is ready. Kudos to you. 🎉
Here is a demonstration clip of the finished project.