Getting Started With the MBot 2 Robot in STEM Education
by MrErdreich in Teachers > 4
10183 Views, 19 Favorites, 0 Comments
Getting Started With the MBot 2 Robot in STEM Education


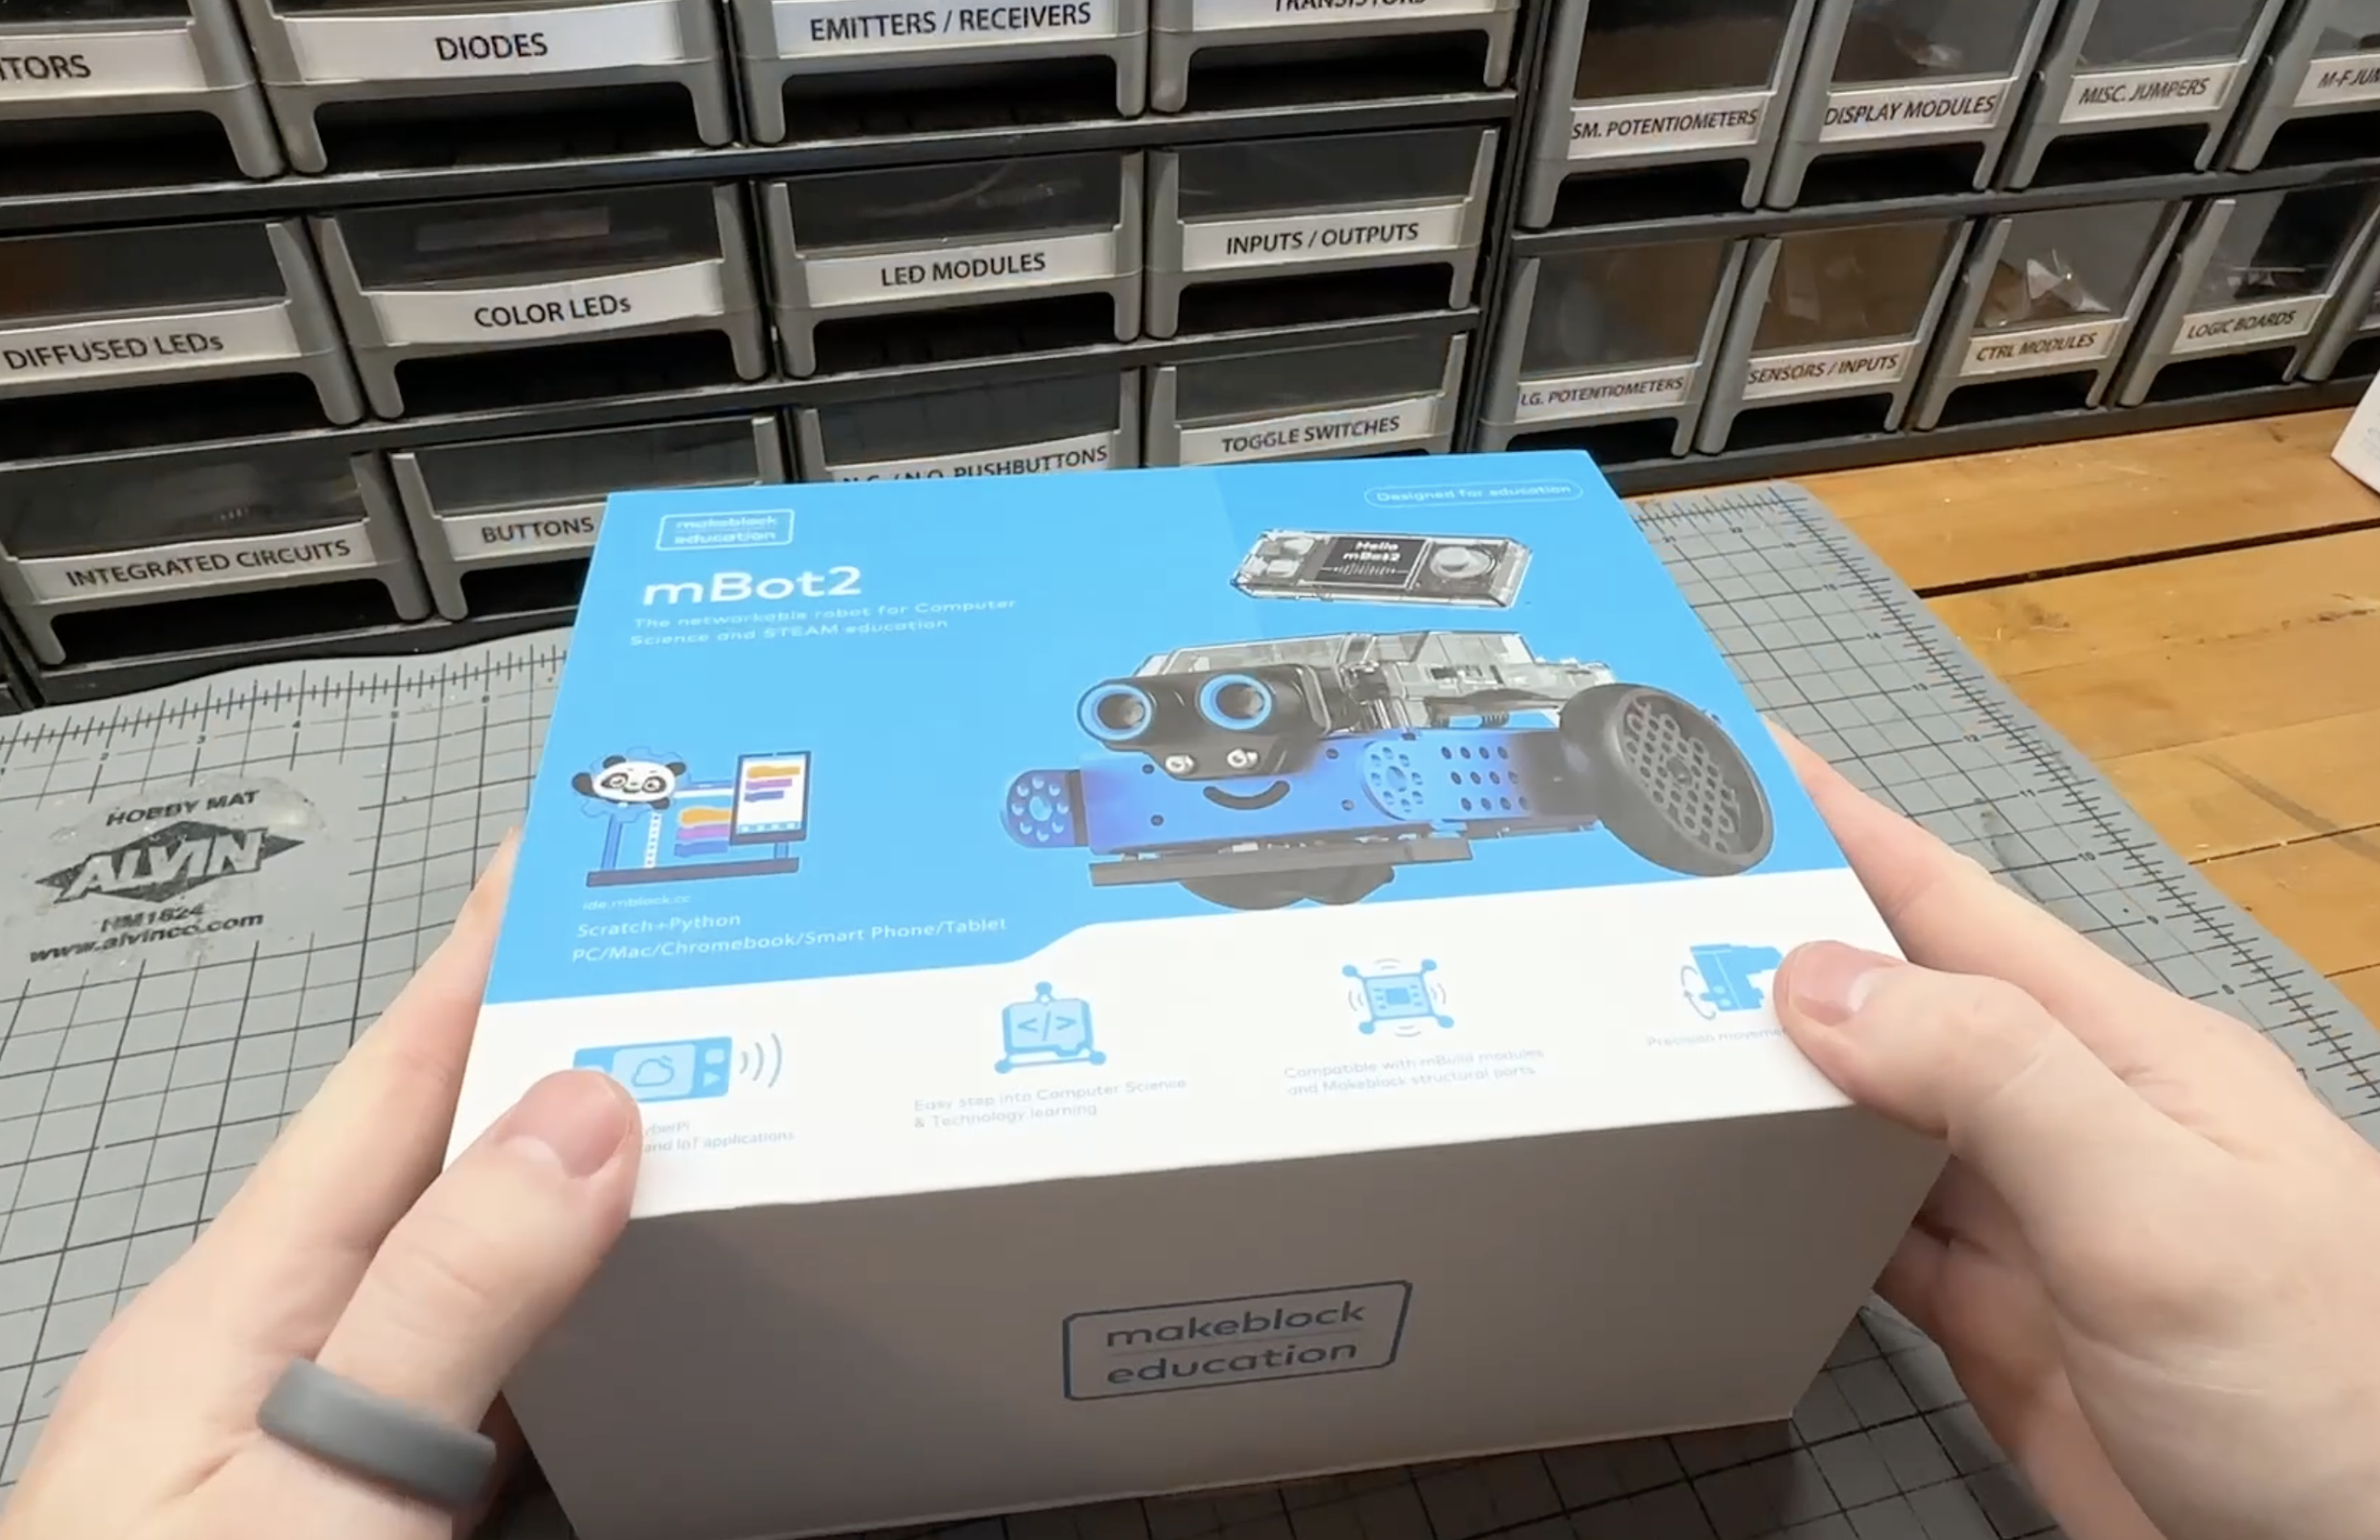
In this Instructable, I look at the mBot 2 Robot by Makeblock as I share why I think its a great option for STEM education programs. There are a ton of great robotic and computer science resources available, and you can find my favorites for all ages under the Resources Page of my website, but the mBot 2 is a unique one for a number of reasons.
Through this Instructable and my supporting tutorial videos, I share the mBot 2's key features, as well as what it takes to get started with this robot from unboxing, building, programming, and sorting through all of the curricular resources available. But in short, I think this robot is a great option for the upper-elementary or middle school age range, and for educators or makers who want to not only cover coding skills, but building and mechanical skills too.
Supplies

On the mBot 2's strongest features is that there are a lot of different configurations and options. In this guide, I look at the mBot 2 Robot, with the CyberPi included. We'll also look at a number of add ons and accessories for the mBot 2 as well.
But you may also be interested in the more advanced mBot 2 Rover, or the simpler and more affordable mBot robot instead.
And again, there are a lot of other great robot resources out there, from Makeblock and other manufactures, check out my website for more recommendations and guides.
To program the mBot 2, you will need to run or install the mBlock app, which is free and available on a range of devices.
Lastly, educators who need funding support should also check out Makeblock's STEM grant guide. Additional grant and funding opportunities can also be found on my website here.
Why Choose the MBot 2?

As I've already alluded to, there are a lot of great robots available for this age range, and also within the same price point. So why would you choose the mBot 2? Well, we'll dive deeper into a lot of these reasons throughout this guide, but I thought it would be helpful to first summarize them here.
- Affordable: At the time of writing this, the mBot 2 costs $149.99
- Versatile: Included within this price, you get precise motors with motor encoders, a distance sensor, a color / line sensor, and also the CyberPi which is a pretty great coding resource on its own.
- Buildable: Unlike a lot of robots around this price point and for this age range, the mBot 2 needs to be build. Additionally, it isn't built using plastic parts, but instead high quality metal parts secured with nuts and bolts. While the mBot 2 needs to be assembled using tools, its rather easy to do based on how the parts are designed and made.
- Programmable: You can program the mBot 2 in a block-based environment similar to scratch using mBlock, or you can program it in Python too. There are also gamification style programming apps available, and remote control apps too if you want to use the mBot like a RC instead.
- Modular: There are a lot mBot 2 add ons and accessory kits, allowing you to expand on the base chassis and components to offer more of an open-ended building environment.
- Resources: Makeblock offers an extensive collection of tutorials, example programs, lesson plans, case studies, and more!
Accessing the Curriculum


Makeblock offers a lot of resources and tutorials to support learning how to use the mBot 2, though I think they can sometimes be hard to find across their website. See below:
- General Information and resources about the mBot 2, and a downloadable course (if you scroll down this page)
- Afterschool STEM Education Guide for the mBot 2
- mBot 2 How-To Tutorials
- mBot 2 Guides and Cases
- Classes, Lessons, and Projects
- Webinars and Training for Educators
- Example Programs available in mBlock
You can find more tutorials and guides on my YouTube Channel, or the Projects Page of my website too.
Assembling the MBot 2


Assembling the mBot 2 is pretty straightforward, as shown in the instructions here. A paper instruction guide is also included in the mBot kit, which is handy because of the scale drawings for the screws that are included with each step. This allows you to hold the screw up to the picture to make sure you have the right one. The assembly for the mBot 2 is overviewed in my getting started video, and also outlined below:
- Unbox all of the components
- Plug the motor connectors into each motor / motor encoder
- Wrap the rubber tires around each wheel
- Attach the motors to the chassis
- Attach the RGB sensor and guide wheel to the chassis
- Attach the Ultrasonic sensor to the chassis
- Attach the controller board to the chassis
- Wire the sensors to the controller board, connect the motors to the controller board
- Attach the CyberPi
I was able to assemble the mBot in about 10 minutes, and I would anticipate it taking a group of students 30-40 minutes, or about one class period to do this.
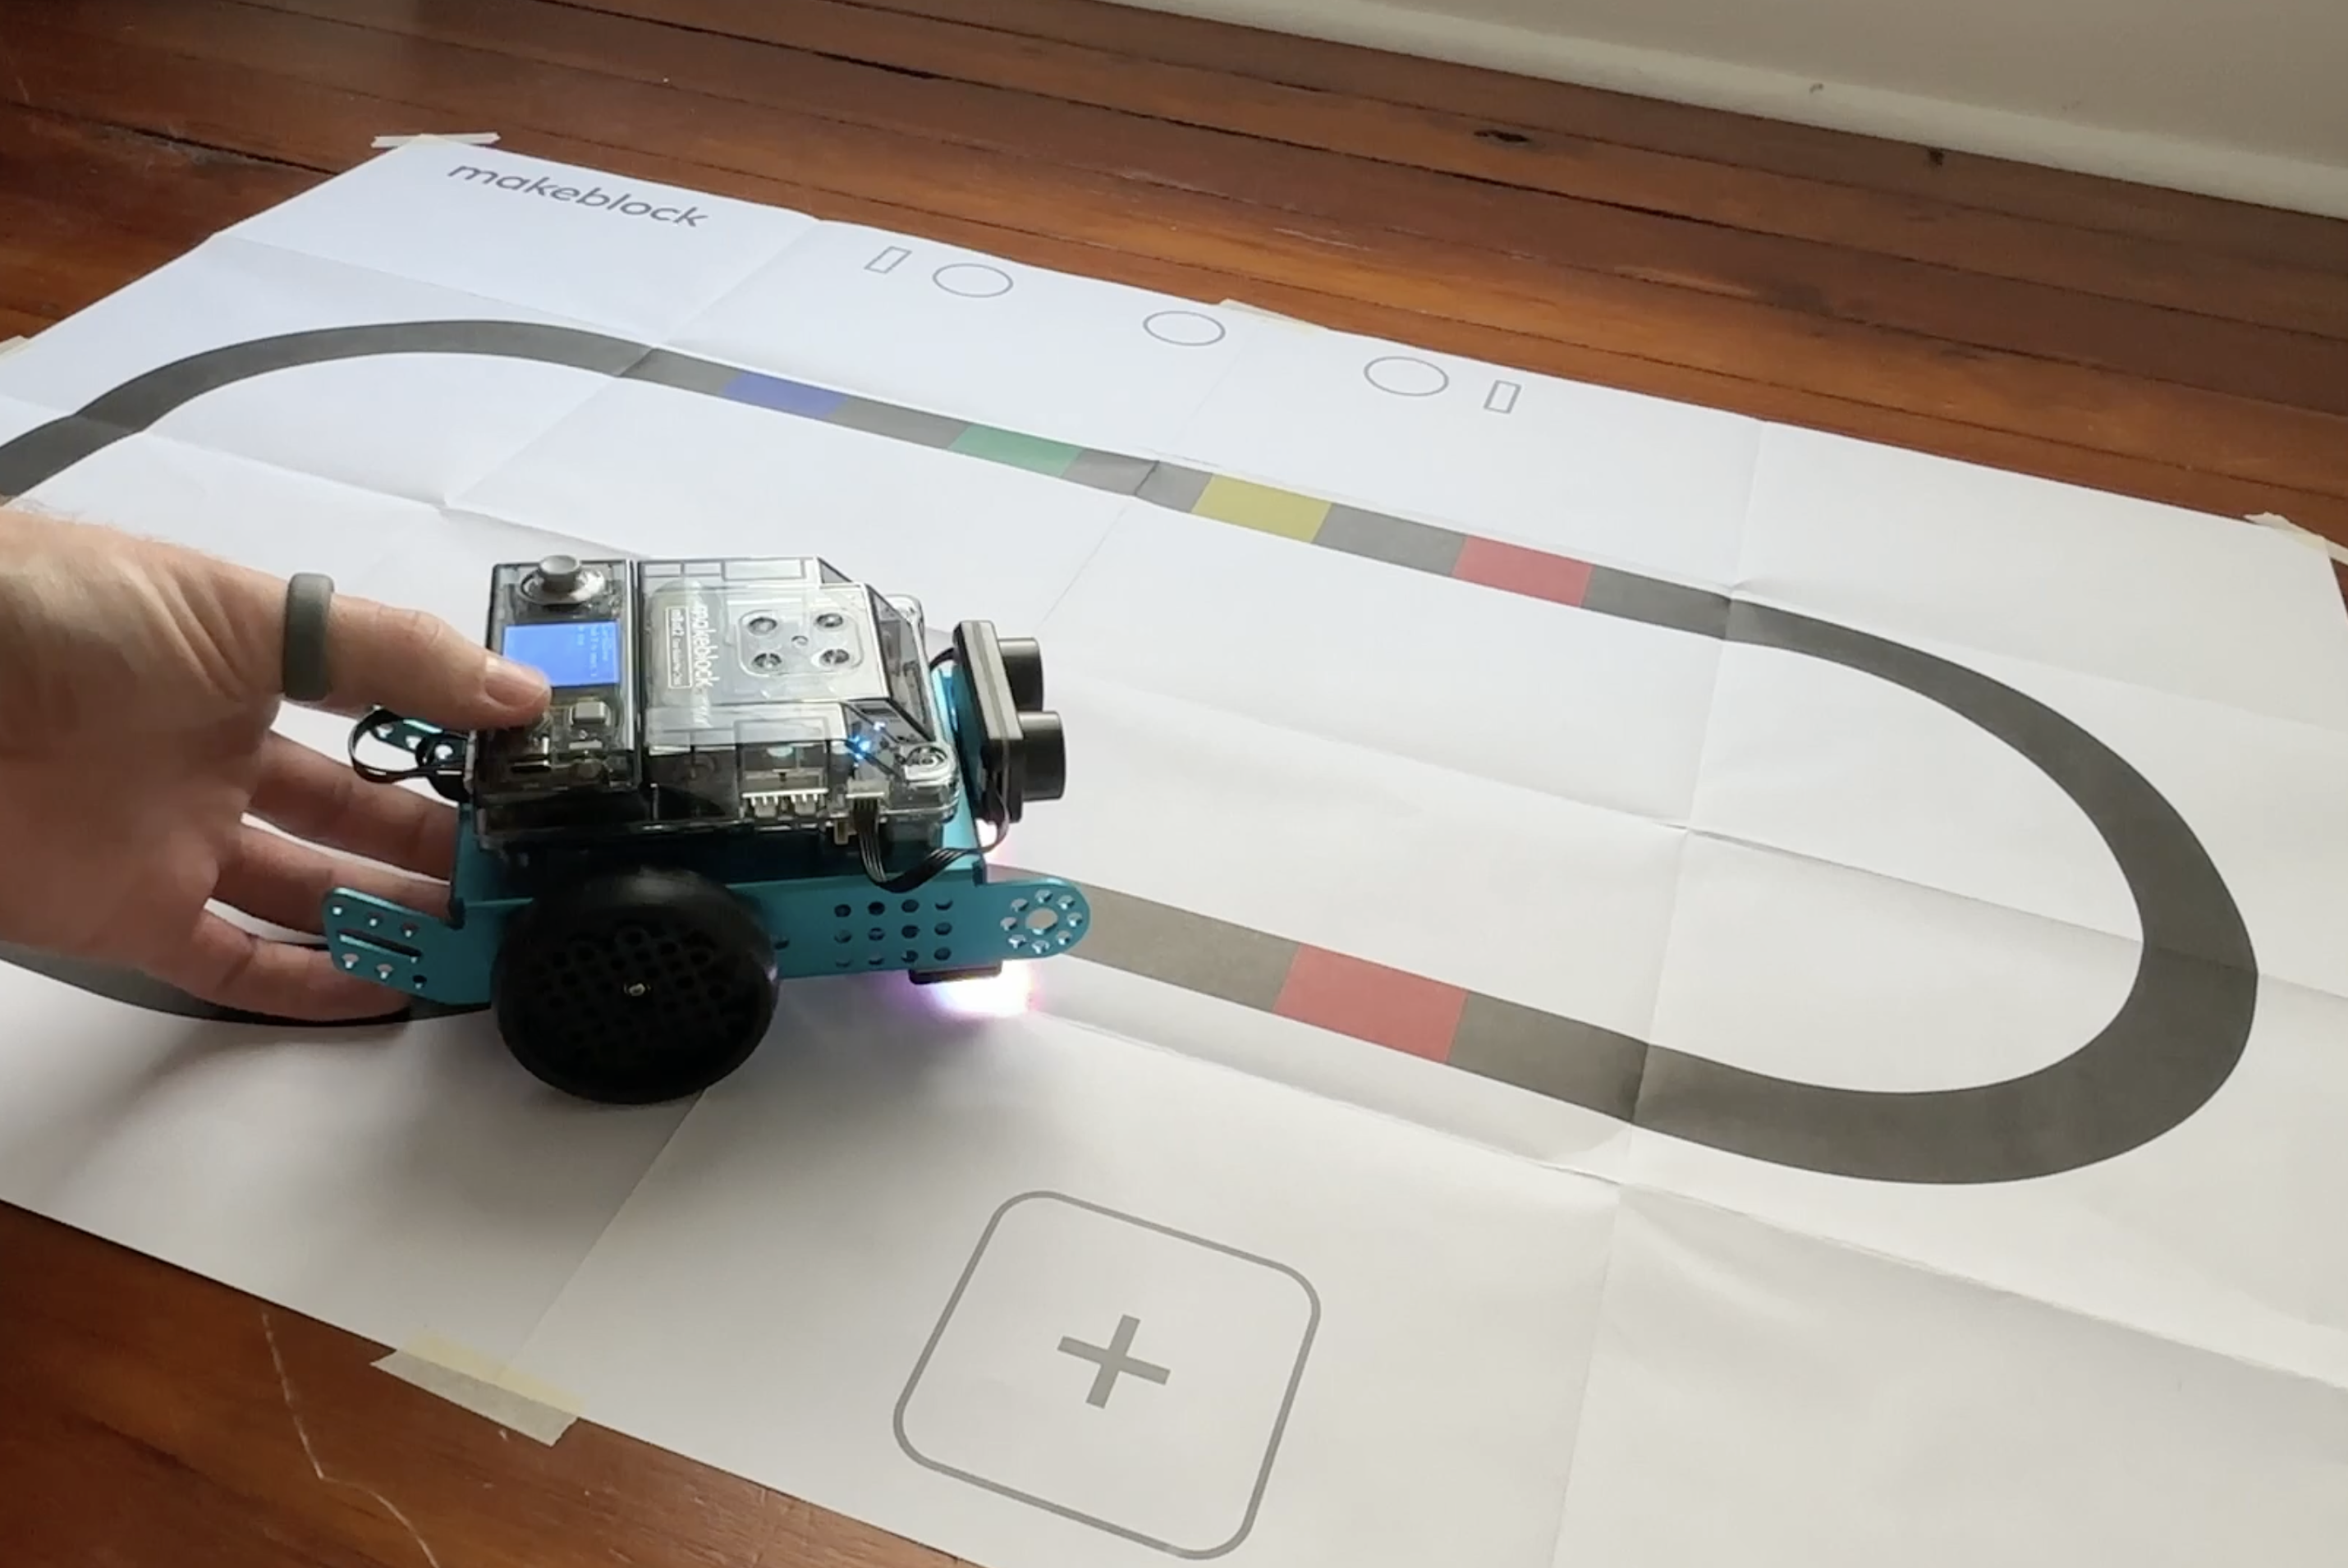
After assembling the mBot 2, you can test it out using the example programs pre-loaded on the CyberPi. There are three programs to test navigation, line tracing, and obstacle avoidance. A line tracing mat is also included with each mBot 2 kit which can be used for testing.
My mBot 2 arrived almost fully charged. Charging takes 3-4 hours to allow for 4-5 hours of run time. A USB-A to USB-C cable is included for charging or uploading your code, but no charger is included.
Connecting to the MBot 2

The mBot 2 is programmable, meaning that you can write code and upload it to the mBot 2 so that it can operate autonomously. This is all done through Makeblock's programming environment, called mBlock.
mBlock is completely free and no account is necessary to use it, though you can sign in using a free account, or a google or apple account. If you don't sign in, you will need to save to your device (offline), but if you do sign in, you can save to your mBlock cloud account.
mBlock can be installed on a Windows or Mac computer, and a Chrome app is also available. You can also run mBlock through a web-based environment on virtually any device, and an iPad and Android app are also available too.
Depending on your device, you may also be able to access two different versions of mBlock. One version, and the version I recommend is the block-based editor. The other version is the Python-based editor. I am recommending the block-based editor because you can actually use it to program in a block language or a python language, while the python editor is python only. Additionally, the python editor really appears to be only for the CyberPi, with few example programs included. The block-based editor allows you to program the CyberPi, mBot 2, and a wide range of other robots made by Makeblock and others too. You can actually use this app to program an arduino, raspberry pi, Lego mindstorm, Lego WeDo, and more! In mBlock, you need to select the device you are programming, and the CyberPi is selected by default. You can program the mBot 2 this way, but you need to add the mBlock 2 extension. I recommend you instead remove the CyberPi device and add the mBot 2 as the device you want to program as all of the extensions needed will be included.
To connect to the mBot 2, you can either use the USB C port on the CyberPi, or via Bluetooth, or via WiFi. But to connect via USB, you also may need the mLink app to be installed and running. And to connect via WiFi, must first connect via USB or Bluetooth so that you can place the mBot 2 on your wifi.
Once we've installed mBlock, selected our device, and connected to our robot, its time to program!
Programming the MBot 2

Programming in mBlock using the block-based language is very similar to Scratch by MIT, or blockly. You will find code blocks for the CyberPi which let you adjust the display, play tones, or adjust the CyberPi's lights or interact with its buttons and sensors. You will also find code categories for the mBot 2 where there are commands for programming it to move, or interacting with its sensors and expansion ports.
And then there are commands which build the foundation of your programs which include events, control, operations, and variables. To write your programs, you will need to combine commands from each of these categories. And as mentioned earlier, you can write these commands using either the block-based language, or python. But its important to note that you can not go back and forth between the two. Meaning that if you write something in block, it will not appear in python, and vice versa. Though there is a python previewer which will automatically generate your block-based code into python which you can then copy and paste into the python editor if you would like to work from it.
All of your code needs an event, or a function, in order for it to run. The two most common events that you will use are the "When the CyberPi starts" and "When CyberPi ____ button is Pressed". This will allow your code to run either when the program is started, or on a specific button press using one of the CyberPi's buttons.
Personally, I like to use the "When CyberPi Starts" event to display instructions on the CyberPi screen using the print command, like "sample program, press B to start". If you don't do this, the display will just be blank. Then the rest of my program, like move or turn or detect something will start when I press B using another event, as shown in my tutorial.
Its also important to understand that you can program your mBot 2 in two different modes; Live or Upload. When programming in Live mode, what we do will run instantly on our mBot 2. In this mode, you can use the keys on your keyboard or the traditional "when green flag" functions to operate your code. But the code you write is not stored on the mBot 2.
But when programming in Upload mode, you will see that the Green Flag events and keyboard input events cannot be used, and running our code in the mBlock editor doesn't effect our robot as its connected to our computer like it does in Live mode. When in Upload mode, we have the option to upload our code to the mBot 2, where it is stored even after the mBot 2 is disconnected from our device. Your program will remain on the mBot 2 until it is deleted or overwritten, and can be selected to run using the CyberPi.
In general, you might consider using Live mode to experiment and prototype, or control your mBot 2 using your computer in real-time. But more commonly upload your code to your mBot 2 so you can test it in the correct environment.
MBot 2 Add Ons and Accessories

There are a lot of great accessories and add ons for the mBot 2, and more on the way. Some of my favorites are:
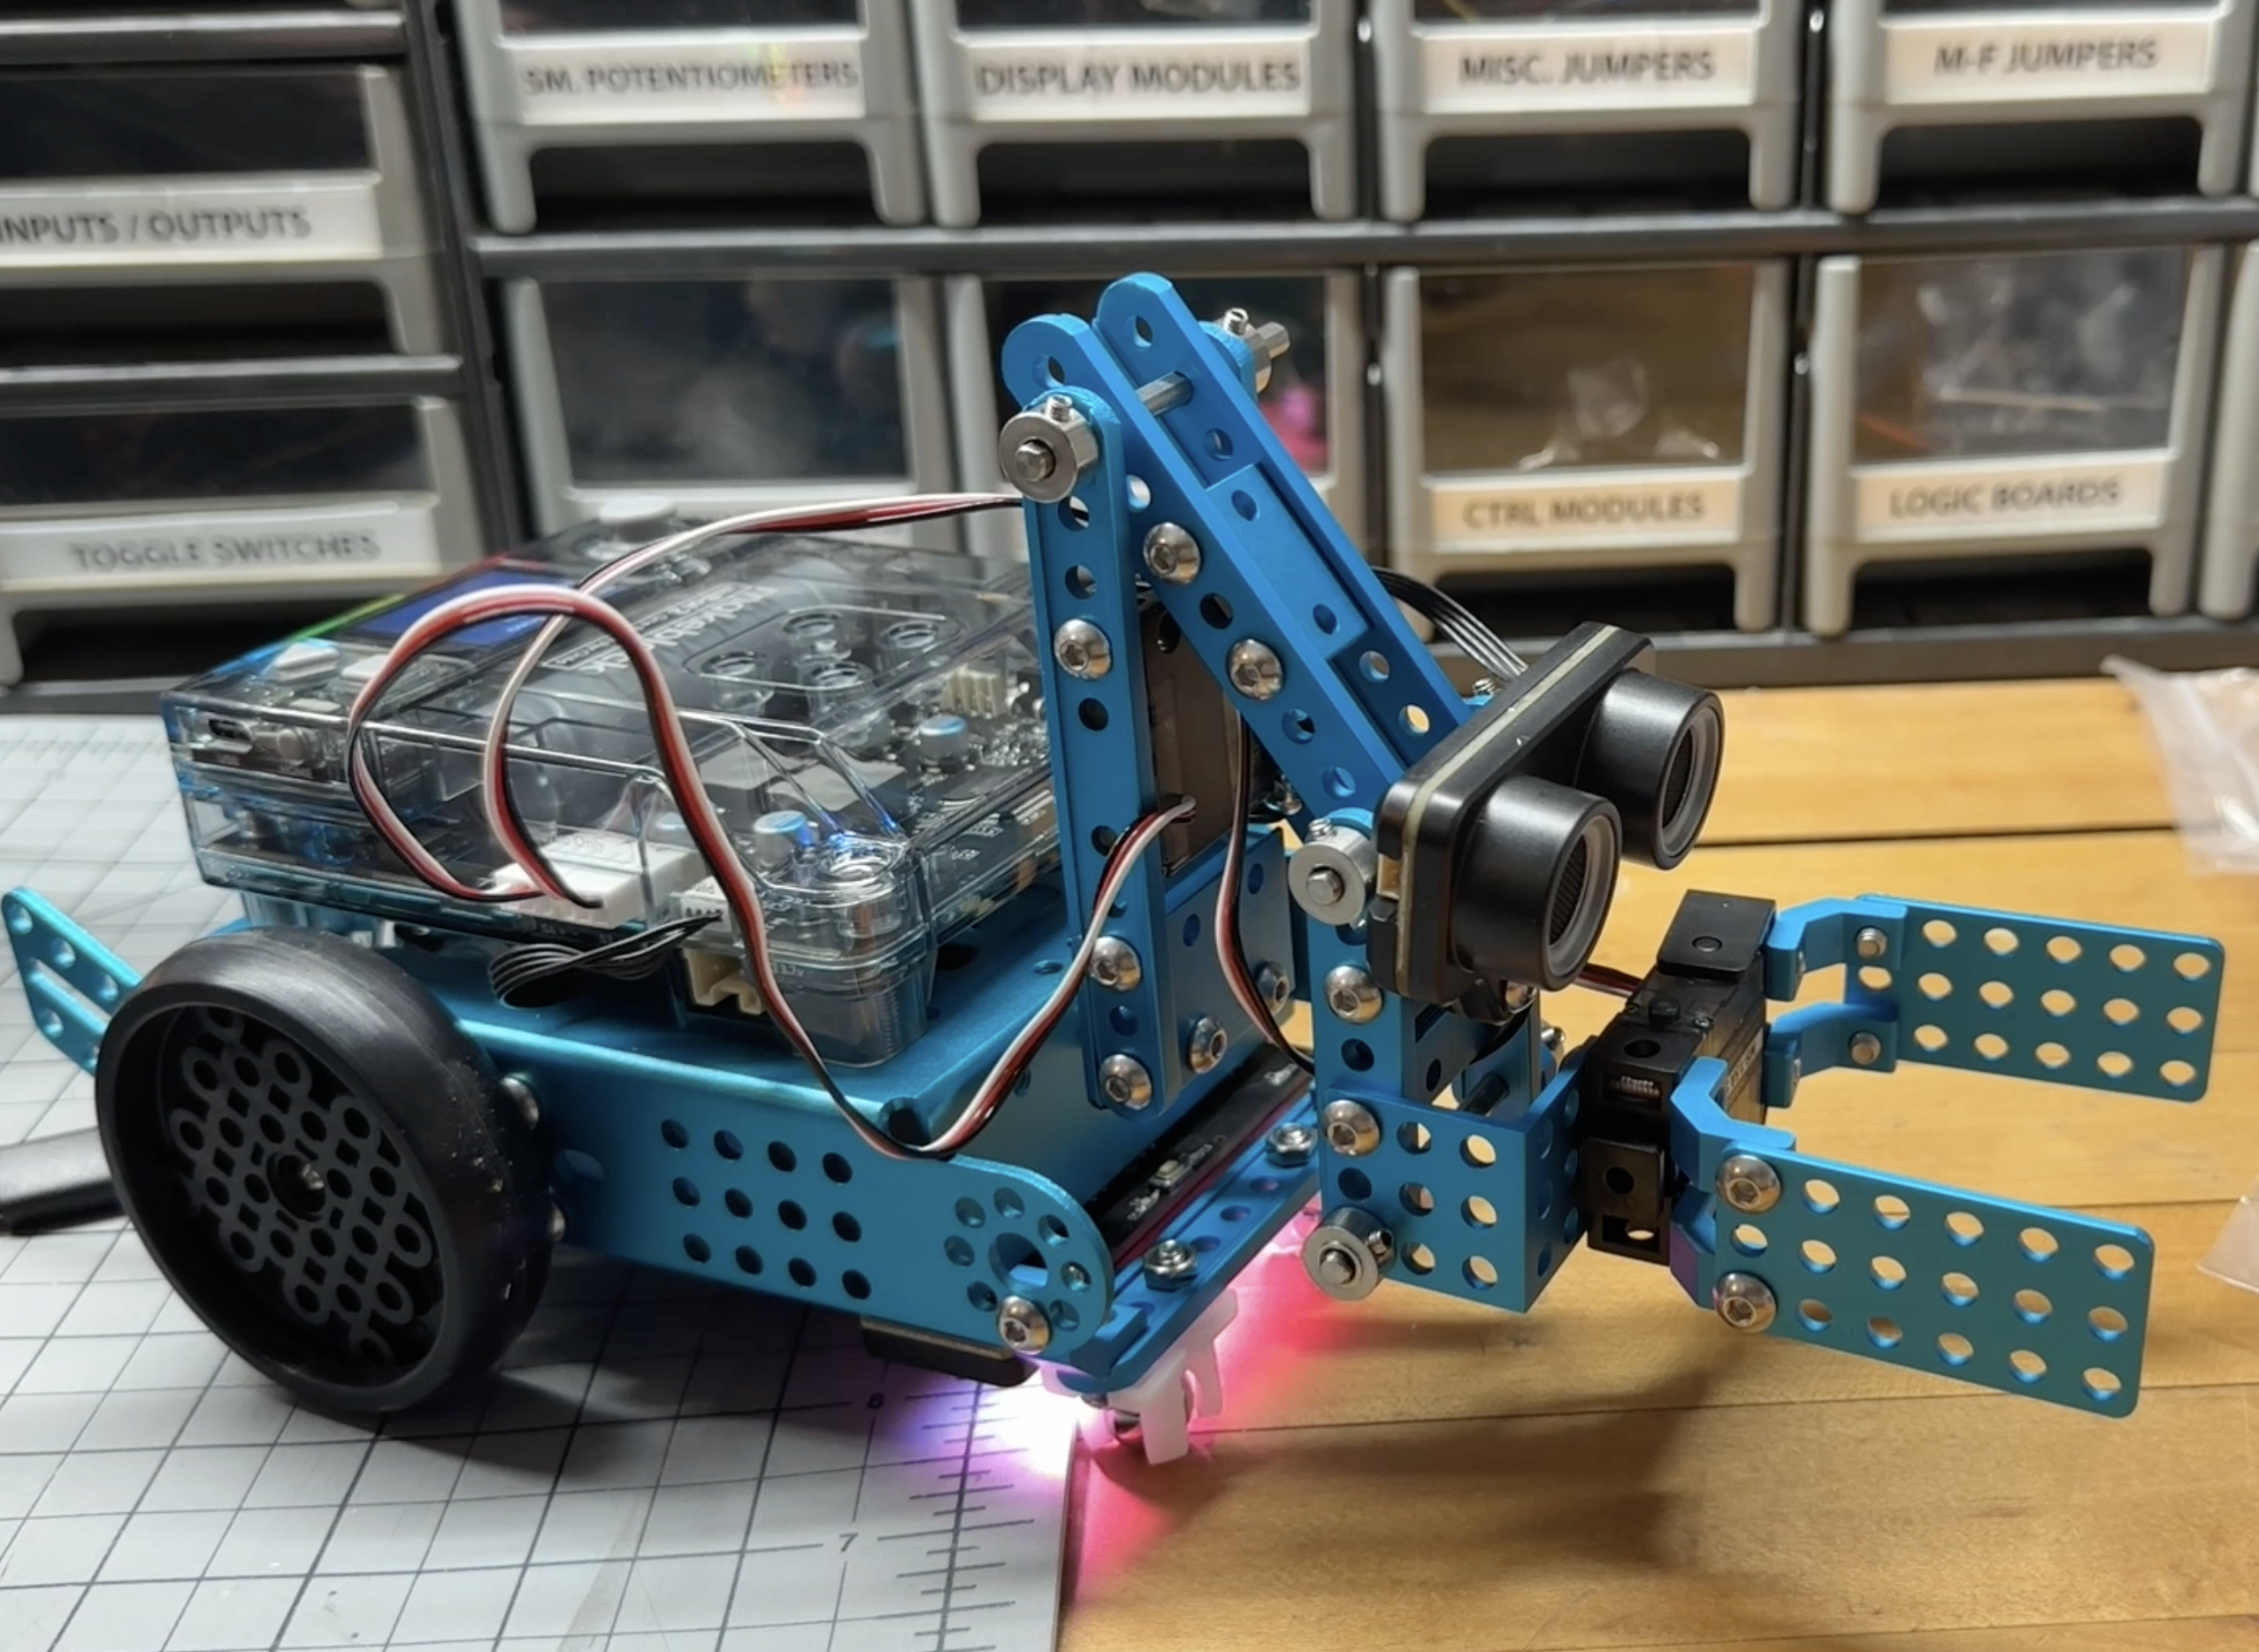
The Smart World Add On is my personal favorite, especially for a STEM education program. This add on pack allows you to build one of three different add ons for your mBot 2 including a robotic arm, a carrier platform, and a surveying tool. These are all a bit more challenging to build than the mBot 2, and I suggest them for an older age group. mBot shows how this can be used in a real-world setting, where the surveying robot inspects something which is then retrieved by the arm robot which is then delivered by the carrier robot, and I think that is a great series of challenges for a team-building environment in a robotics education program. Additionally, I think the robotic arm from the smart world pack in particular is a great add on that brings the mBot 2 to a whole new level, one more suitable for the middle-school to high-school age range. You can find my review and tutorial video for the smart world add on pack here.
The mBot 2 Rover Add On offers additional parts and linkages to turn the mBot 2 into an off road capable robot. This is a bit more challenging to build, making it more suitable for the middle-school to high-school age range. In addition to adding suspension and tracks for the drive system, this add on also adds a front-facing gripper to the mBot 2, and includes a bluetooth controller for RC functionality. I don't think this add on suits education environments as well as building robots at home, but its a great expansion kit for more advanced young makers and robotic enthusiasts!
Lastly, the Smart Camera Add On can replace the mBot 2's ultrasonic sensor to not only detect when the mBot 2 approaches an object, but also what that object is. With mBlock's AI coding tools, students can use machine learning to allow the mBot 2 to learn about its environment and interact with it autonomously. Makeblock makes these high-level concepts rather easy to do, meaning that even the youngest students can interact with these tools, though the concepts are more suitable for middle-school to high-school aged students.
Conclusion

So is the mBot 2 the right robot for you? Personally, I think its certainly one to consider. This robot offers an exciting learning experience that not only teaches computer programming skills, but building and mechanical skills too. I like that it offers a more real-world approach to building, using tools and screws and things rather than snap together plastic parts. Though plastic and easy to assemble robots are definitely great resources too, the mBot 2 just fits in a slightly different space.
And the flexible programming environment, the gamification apps, and the extensive curricular resources offer a lot of support for a wide range of learners and learning environments. Its perhaps not as smooth as Scratch or MakeCode, but I find it to be less glitchy and more compatible than a lot of the other robot programming apps out there these days.
Makeblock is also a brand that has been around for some time, but is growing. They, and their sister company xTool, are continuing to expand their education and learning resources, so I am confident that this robot and all of the resources provided to support it will only continue to improve.
I hope you found this guide to be helpful, and thanks for reading!