Global Weather Station


Hello, in this project I describe the construction of a weather station with global coverage with data obtained from a dedicated online server. 51 from different locations around the world are included. The data is automatically updated every 5 minutes. Any point of interest can be replaced with another location, from any point on earth, as you will see below. Also, the data indicated on the display are accompanied by graphic animations depending on the weather conditions at that moment.
Supplies


.jpg)

.jpg)

1.ESP32 LOLIN Lite
2.64X128 Oled display
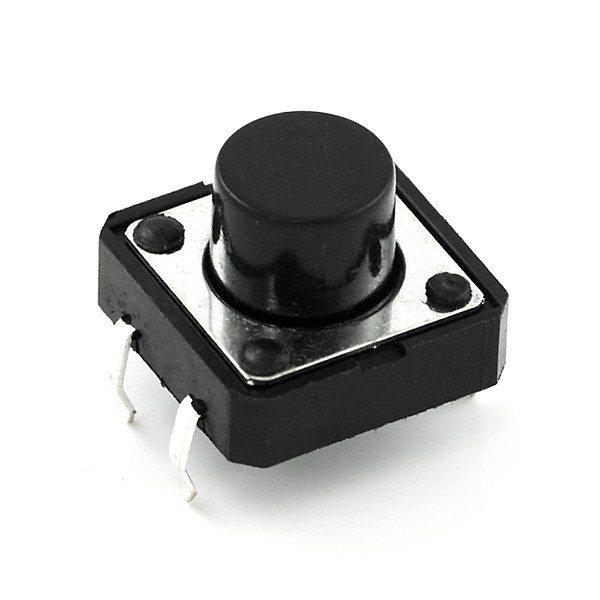
3.push buttonsx3
4Led'sx2(optional)
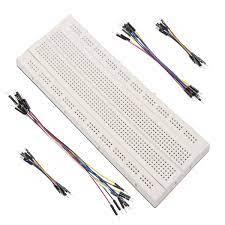
5.Breadboard and jumper wires
6.Visuino software or Arduino IDE
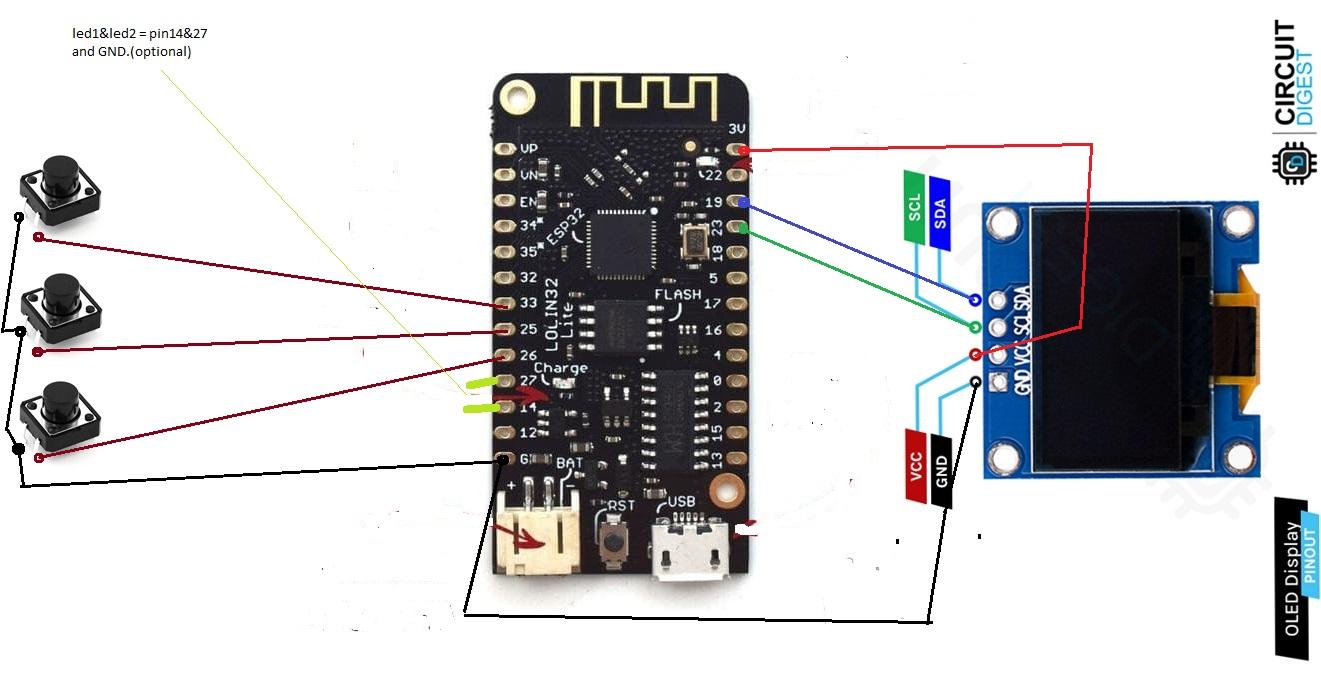
Schematic Diagram

The electrical diagram is extremely simple and does not require additional explanations. The two LEDs are optional. They may be missing.
Connect the SDA pin of the display to the GPIO19 pin and the SCL pin to the GPIO23 pin. The power supply pin is connected to 3 volts.
Used Libraries


- The code is developed in the Visuino program, but I will also detail it for the IDE program. You can find both codes in the attachment, both for Visuino and for the Arduino IDE. If you want to use only the Arduino IDE, you will have to copy the "Mitov" folder to the location where the Arduino libraries are. The folder contains the libraries used in this project.
- Download libraries folder from here: https://app.box.com/s/aynowhr3pwuut4y9otc2zcw6vy3oa7u2
The Code


- The project requires connection to an Internet server using an API key. Therefore, you will have to create an account on the website https://openweathermap.org/ to obtain an API key. It takes a few moments. The code includes a key that is disabled, you will have to replace this key with the one obtained after creating your account
- Replacing the key value in the Visuino program will have to be done in turn for all 51 locations, a rather difficult task, that's why we will change the key value in the Arduino IDE because we will replace the value at all 51 points of interest, once.
- The "Change all occurrences" option allows us to change the value of all 51 API key values with a single Copy-Paste option.
- You can replace any point of interest with any other location by replacing the city name.
- In the Visuino program, replacing the name in the two "Text value" code blocks. The "Text value 1" component sends the data in the form of text to the HTTP server, the name must be written correctly, otherwise the data will not be sent by the server. The "Text value 2" component refers to the text that will appear on the display, that is the name of the location (city). You will have to do the same in the Arduino IDE, as seen in the attached images or video. If you don't want to change anything, skip this step.
- The last step is to connect to your Wi-Fi network. For this you will have to enter the password and the name of your network. In Visuino: click on ESP32-Modules-Wi-Fi-AccessPoint and fill in password and SSID with your network data. For the Arduino IDE you will do the same, as illustrated in the attached images or video.
- Choose the correct board type and port and upload the code to the esp32 board
Download Visuino program from here: https://www.visuino.com/downloads/
Construction


Building the device should take a few minutes if you use a breadboard. If you wish, you can mount the device in different cases according to your taste.
Operation and Testing


- The operating mode of the device is simple: From the two side buttons the desired location is selected, and from the middle button, the blue one, the request is made to the server to receive the data. At the same time, the green LED will light up and the red one will go out, confirming that the request to the server has been made. The Wi-Fi network symbol will appear and disappear from the screen.
- In a few moments, the data will appear on the screen accompanied by the graphics corresponding to the weather conditions at that moment.
- The data from the server is updated every 5 minutes, automatically, when the blue request button is not pressed.
- Thank you!