Glowing Graduation Cap
Built From Old Clothes and Whatever Was Lying Around
Why I Even Started This
Okay so here's the thing. Graduation was coming up, and every cap I saw was basically the same — a bit of glitter, a quote written in marker, maybe a fake flower glued on. All nice, but I wanted mine to actually do something. Light up. Move. Catch people's eyes from across the hall.
And I'm the type of person who has a box of random electronic parts sitting in the corner of the room "just in case." So instead of buying a decoration, I figured — why not just build one? Turn the graduation cap into a tiny glowing screen sitting on my head.
That's honestly how this whole project got started. No grand master plan. Just a maker itch and a pile of parts I already owned.
The Whole Idea: Use What You've Got
Here's the bit I'm most proud of, and honestly the real heart of this whole project: I didn't spend a single extra dollar buying materials just for the look of this thing. Almost everything came straight from around my house.
That's the mindset I really want you to take away from this more than anything. Before you go add-to-cart on a pile of new supplies, dig around your own place first. Open the drawers, check the closet, raid that box of "might-need-it-someday" stuff. You'd be surprised how much of what you need is already sitting around you — you just have to get a little creative and look at your things differently. And of course, if there's something you genuinely don't have, then go ahead and buy what's necessary. But start with what's already around you.
Take the cloth. Instead of buying a proper LED diffuser, I raided my old clothes and grabbed an old black breathable shirt. The trick is picking the right fabric — it has to be breathable. You want the cloth to block just a little bit of the light, but still let something like 90% of it shine through. When you get that balance right, the LEDs stop looking like harsh little dots and start looking like a soft, glowing surface. Same idea as putting a diffuser sheet over a light, except mine used to be something I wore.
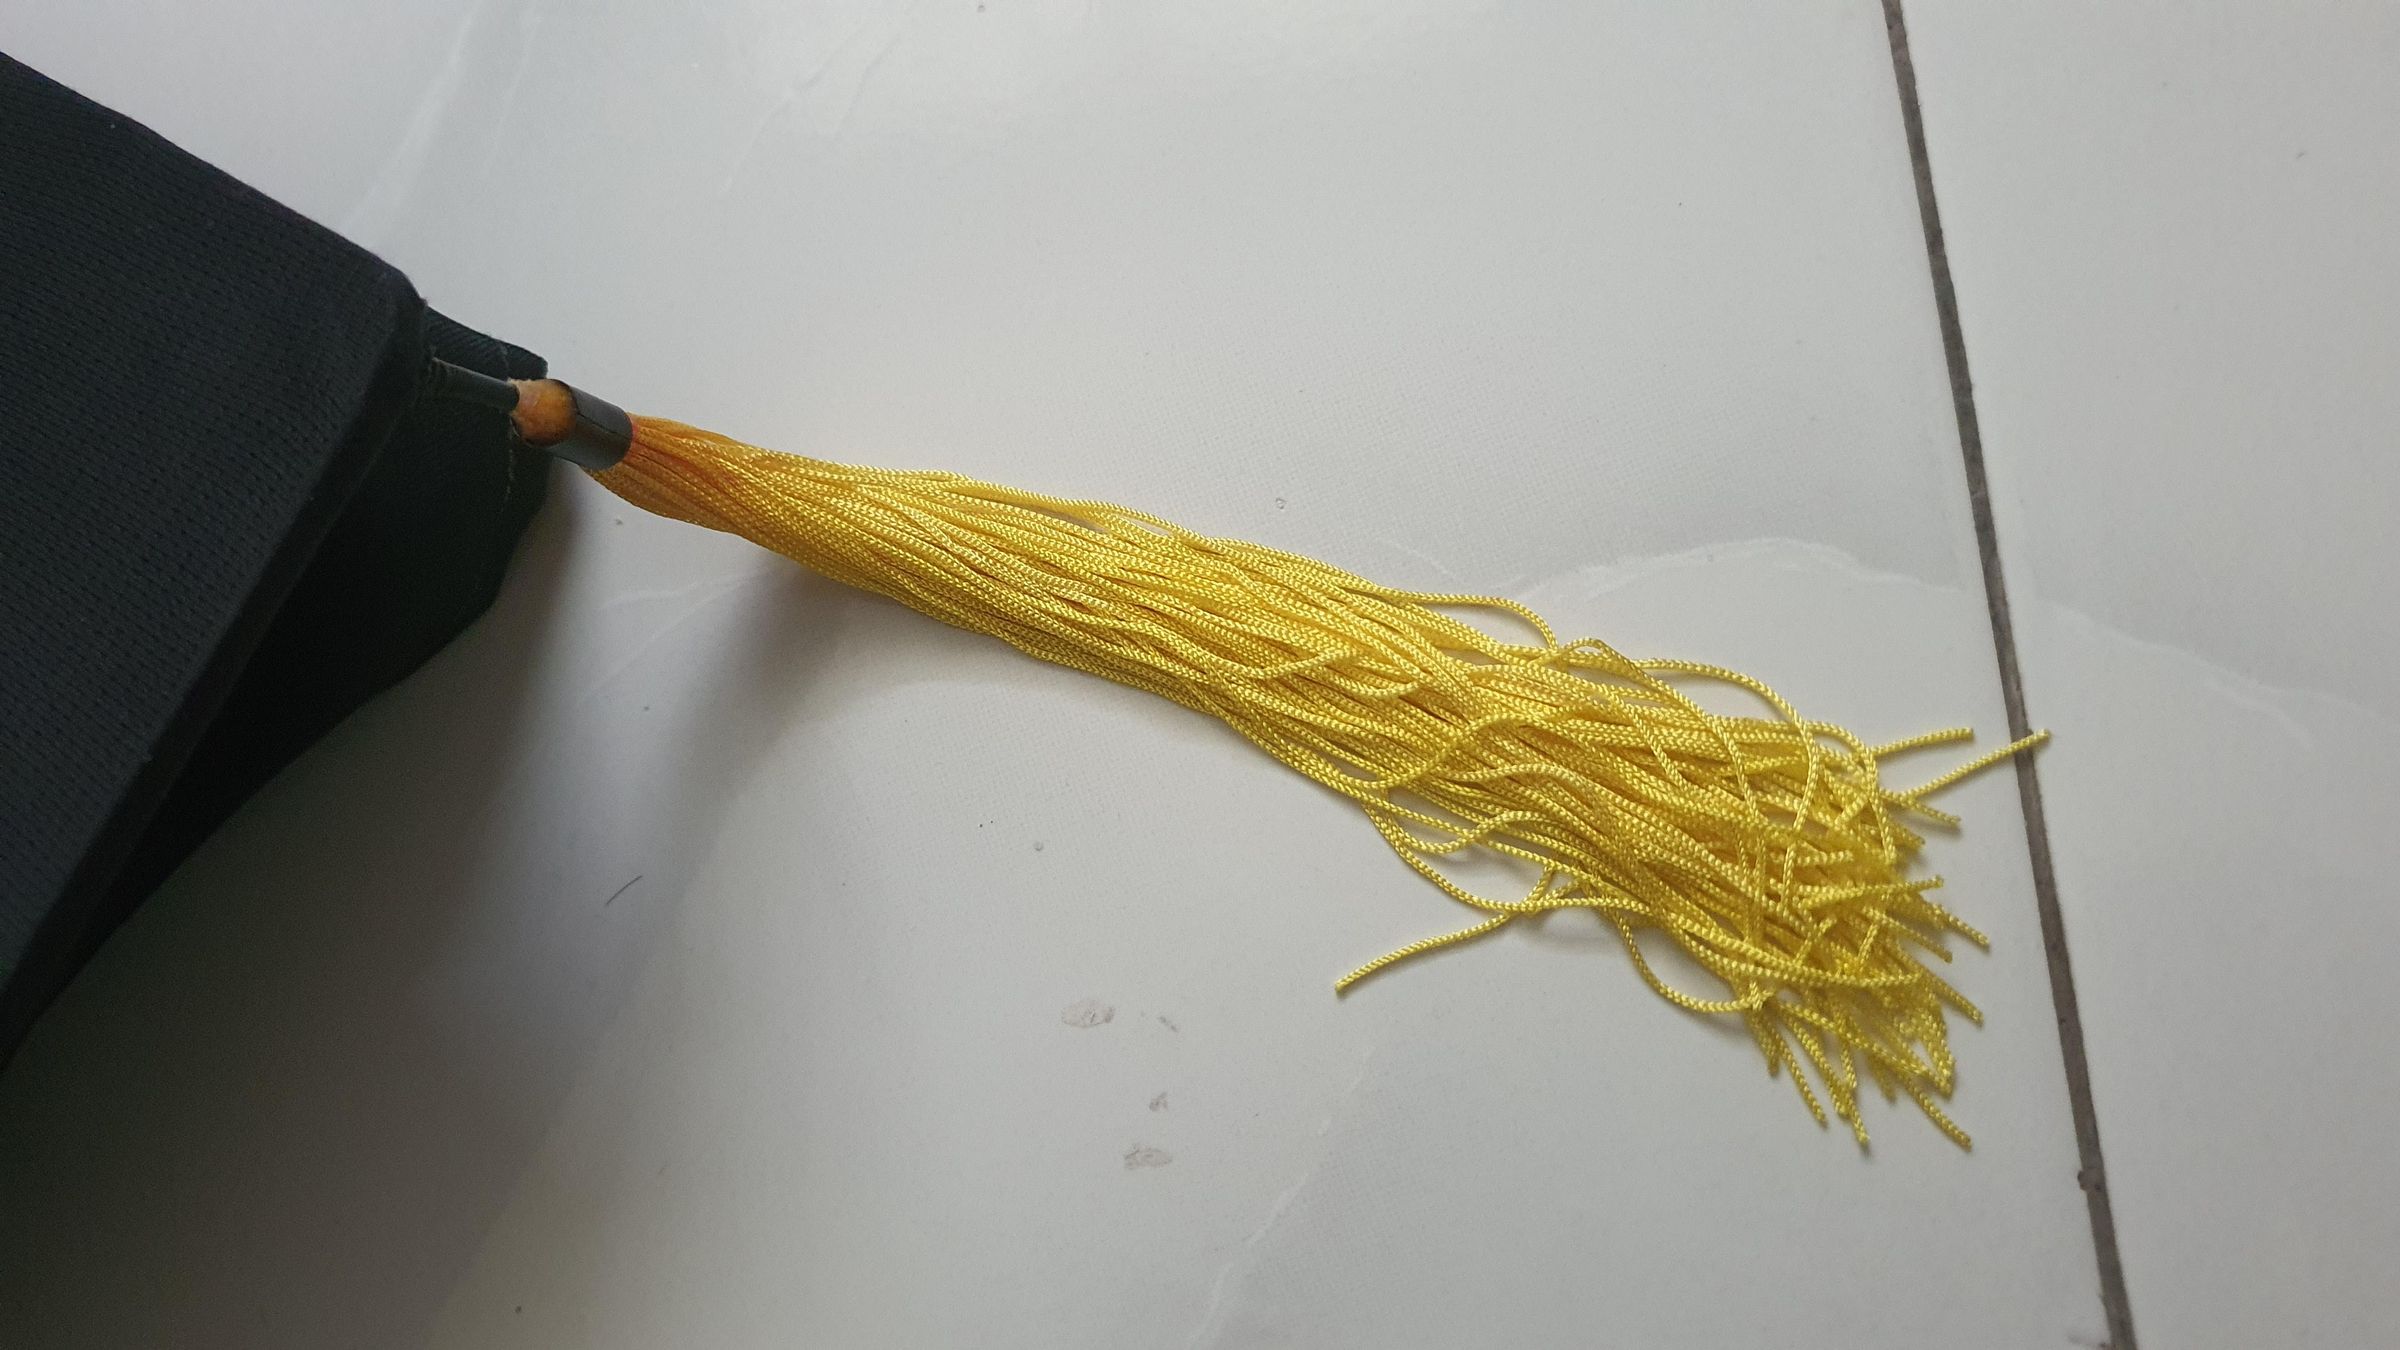
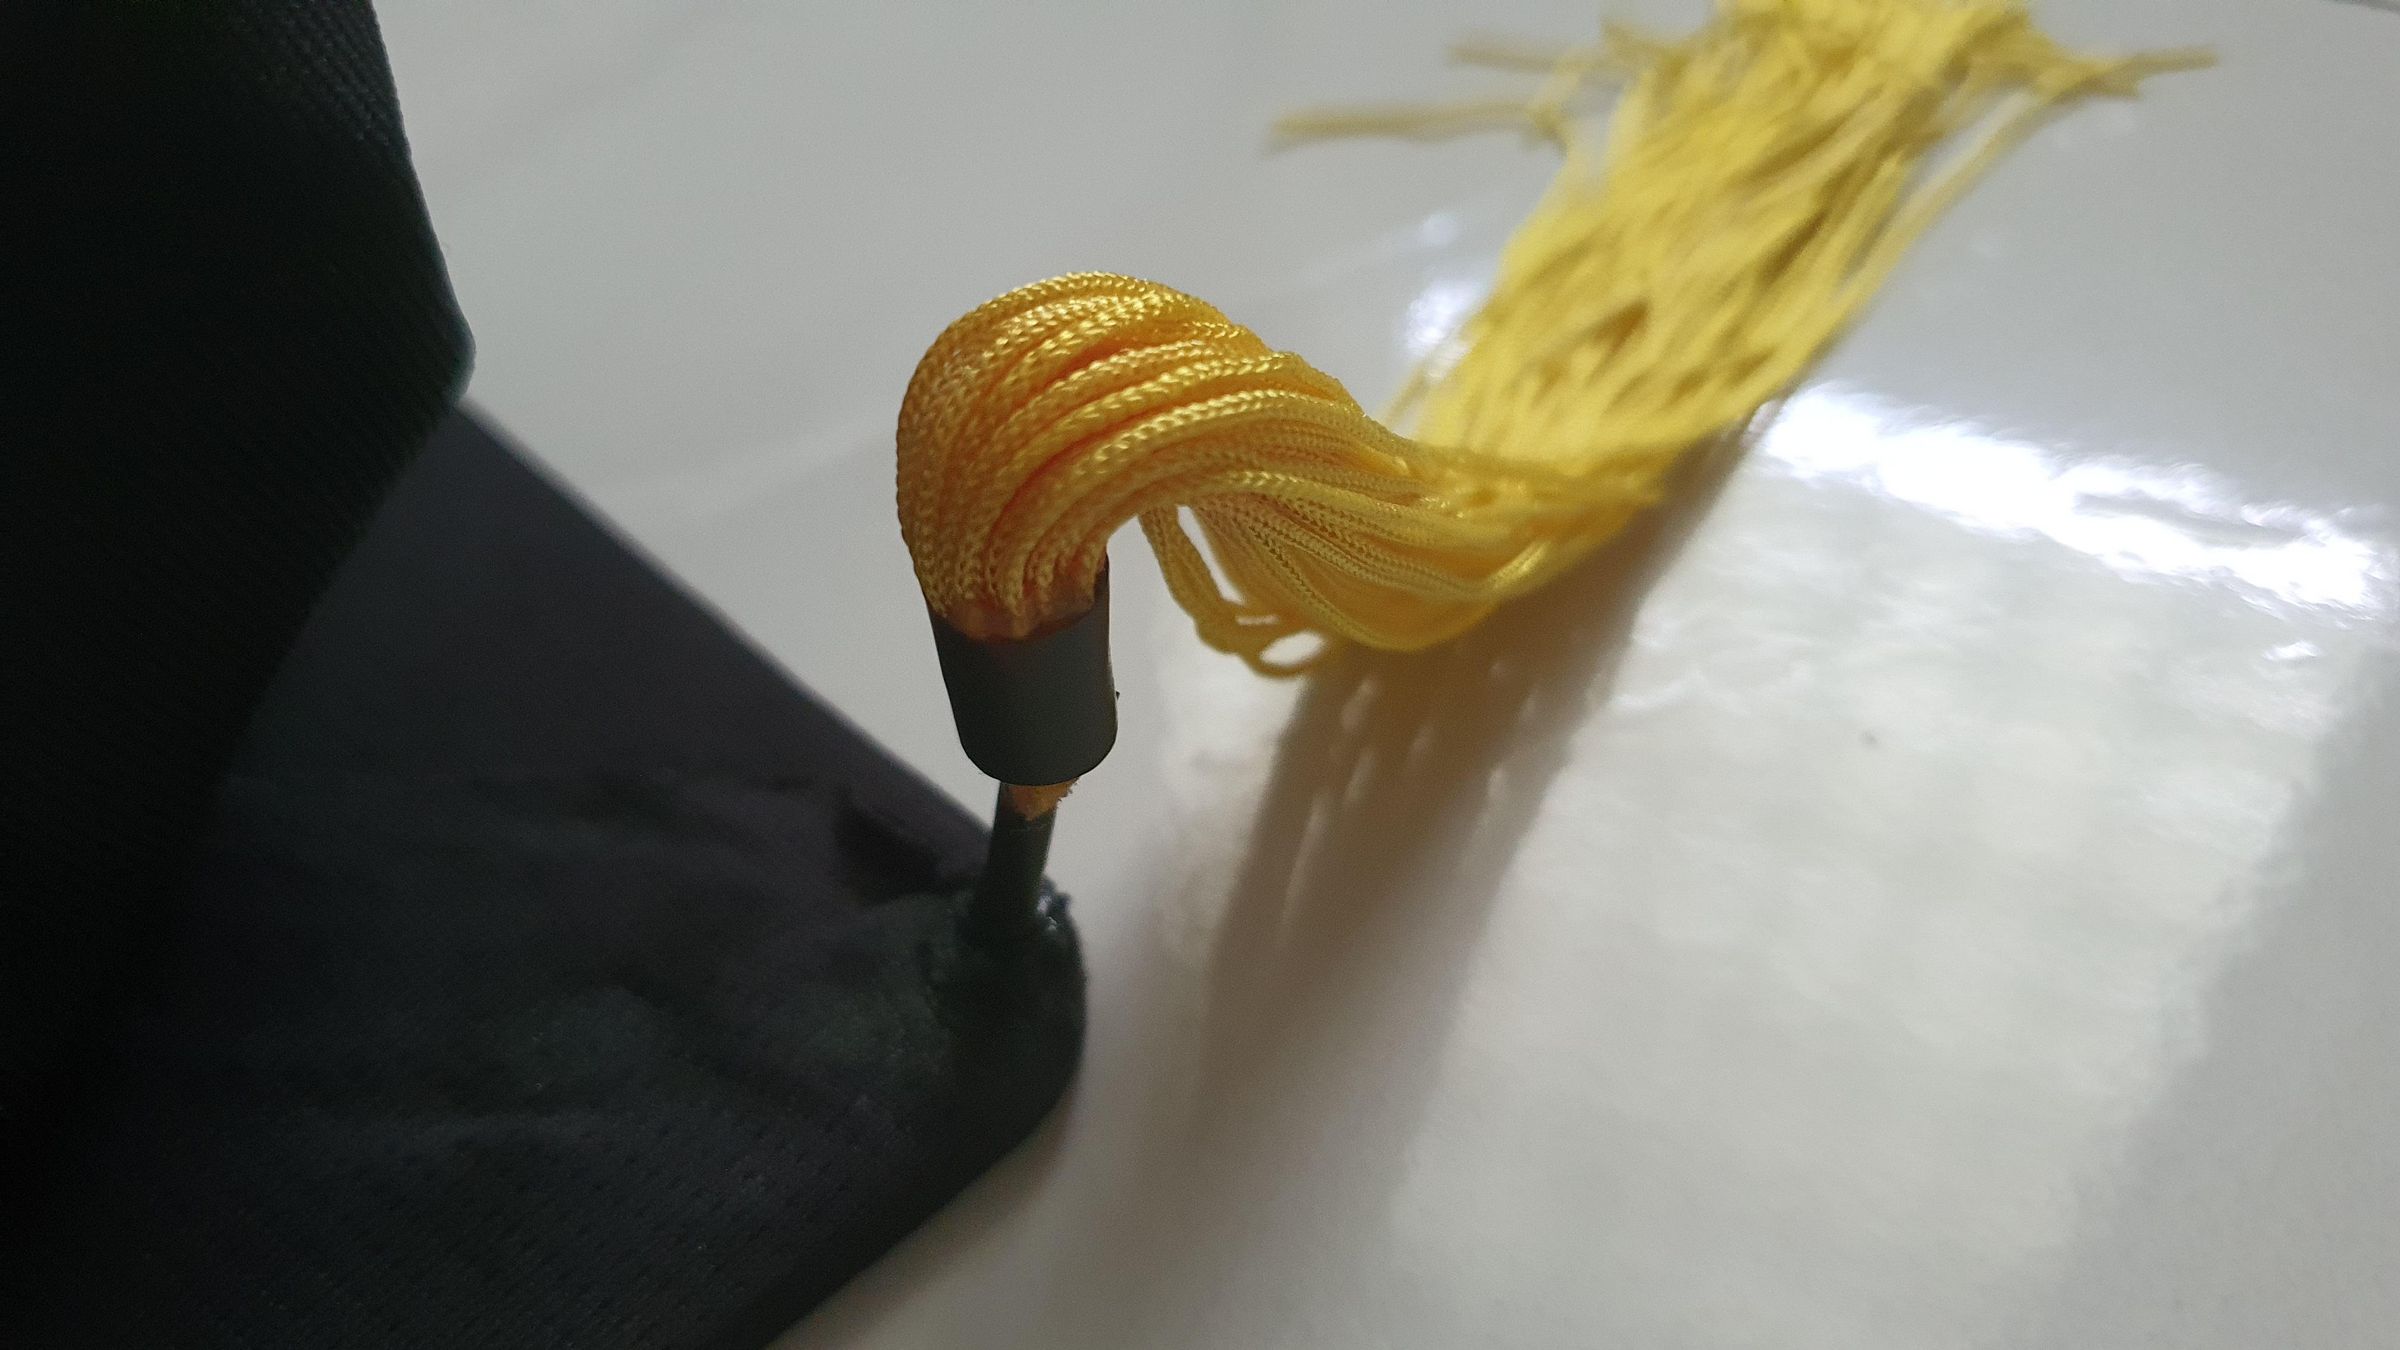
The tassels are another perfect example. I didn't go buy cotton thread — I looked around, found some Chinese lantern tassel fringes in yellow that I already had, and just used those instead. Same festive look, zero extra spend. If you do happen to have cotton thread lying around, you can make your own and pick whatever color you like. I just didn't have thread on hand, so yellow lantern tassels it was. Whatever you've got, make it work.
So yeah — an old shirt, leftover tassels, parts from the box in the corner. The whole spirit of this build is use what you've got and get creative with it.
What Actually Went Into It
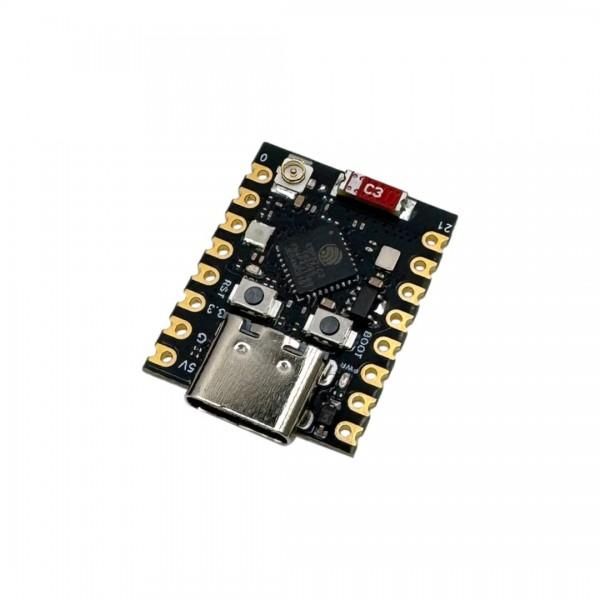
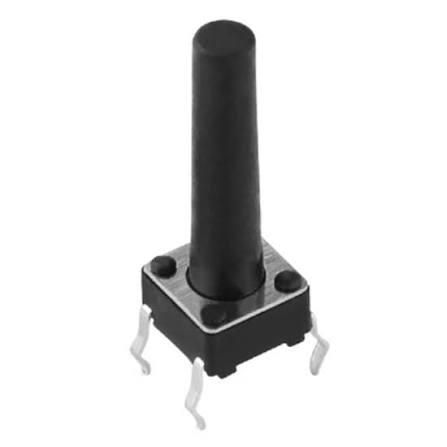
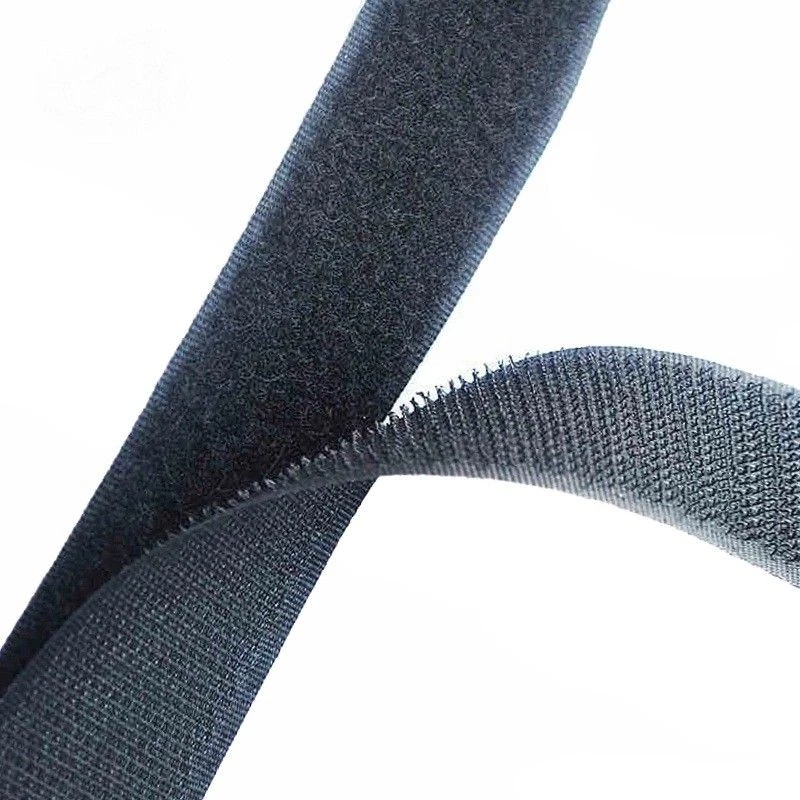
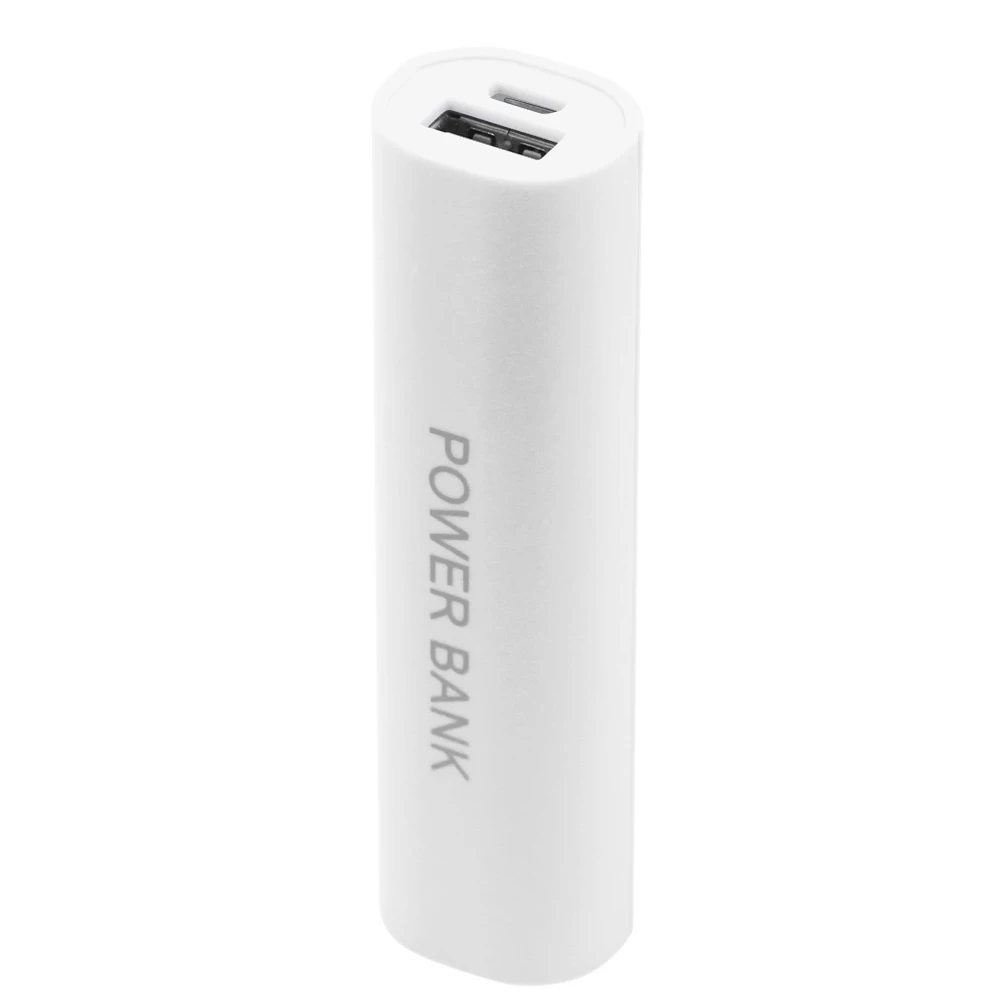
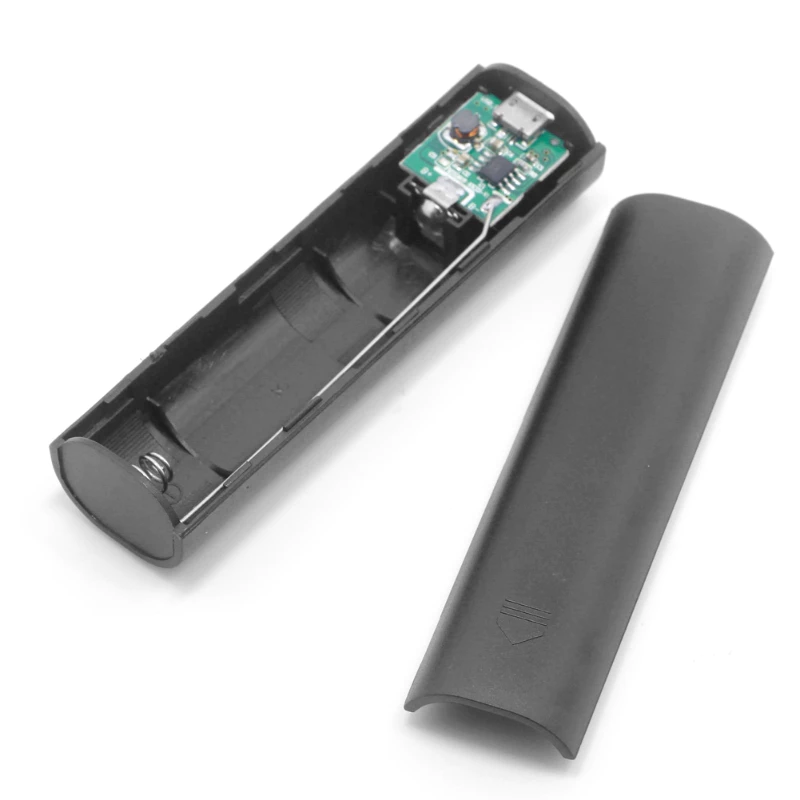
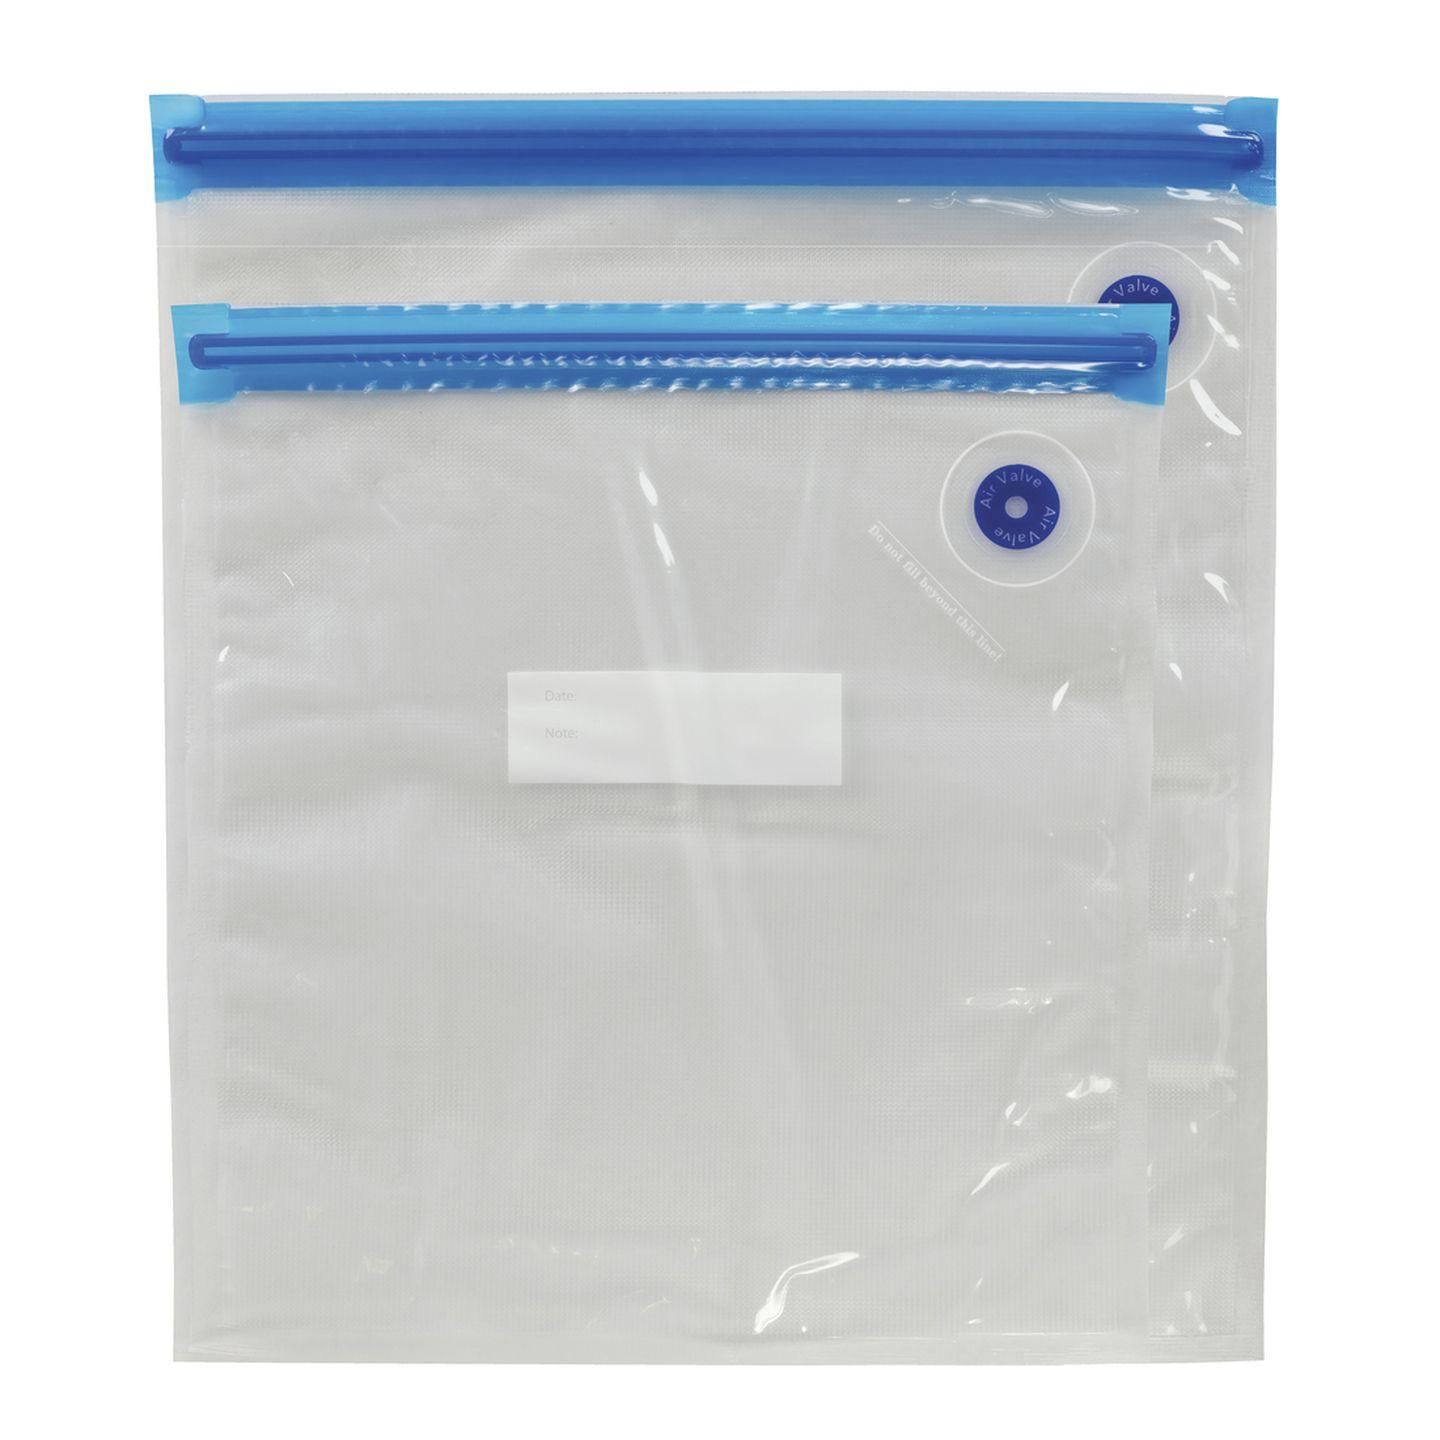
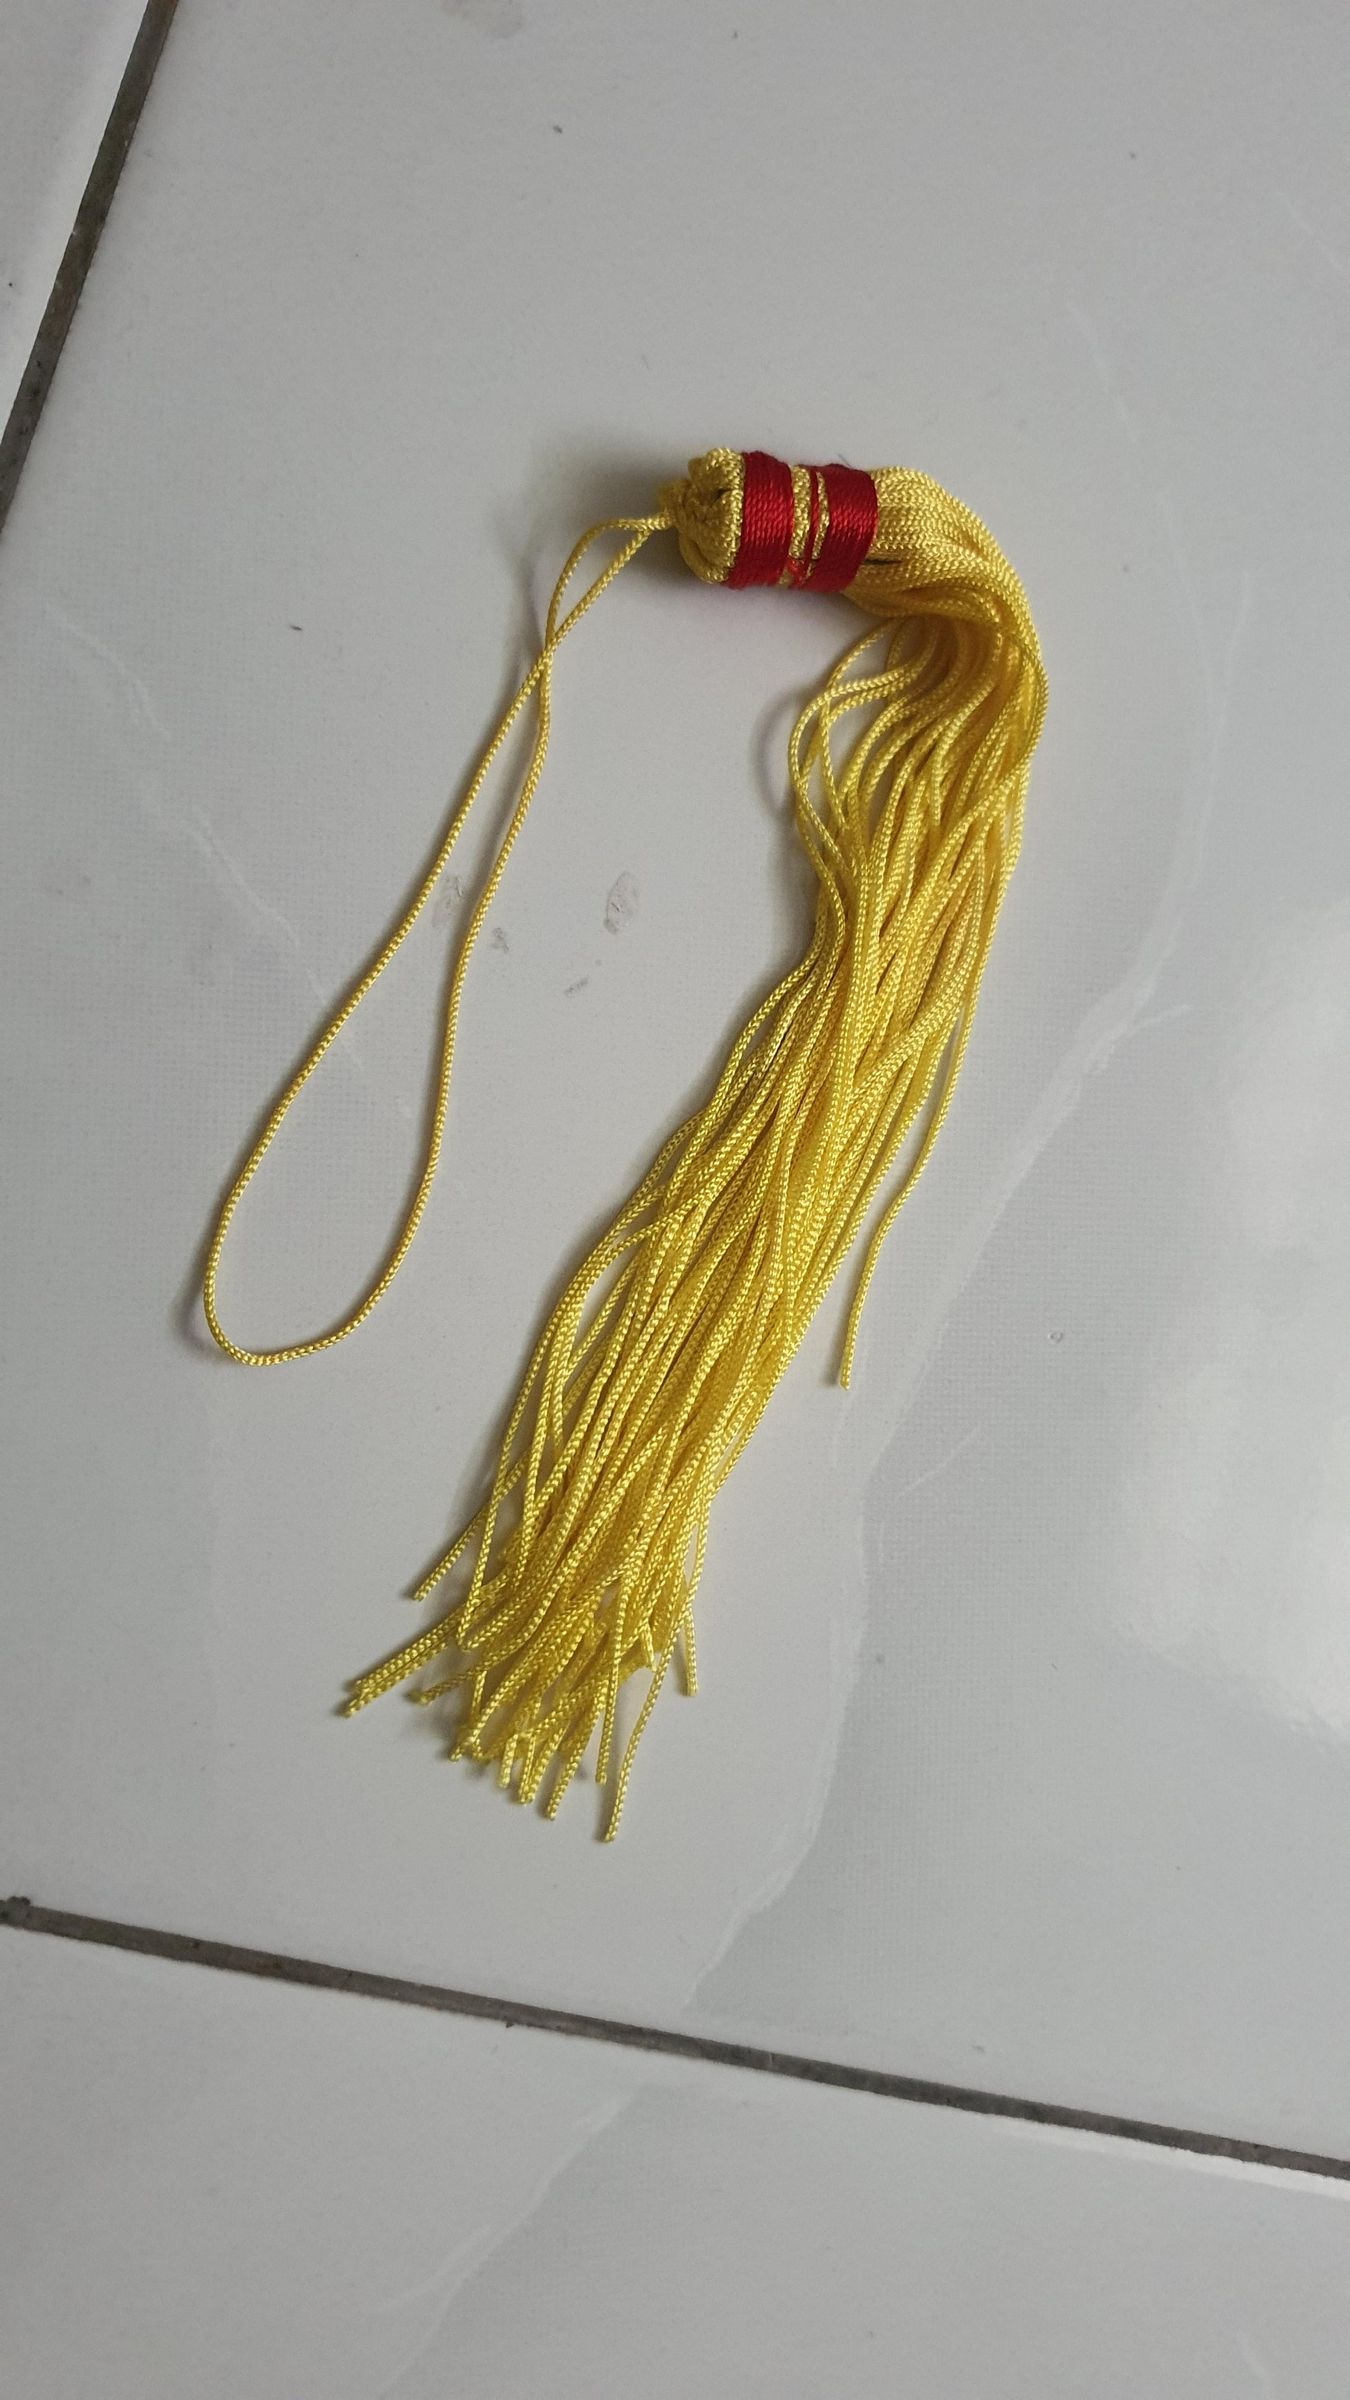
Here's the quick rundown of the ingredients:
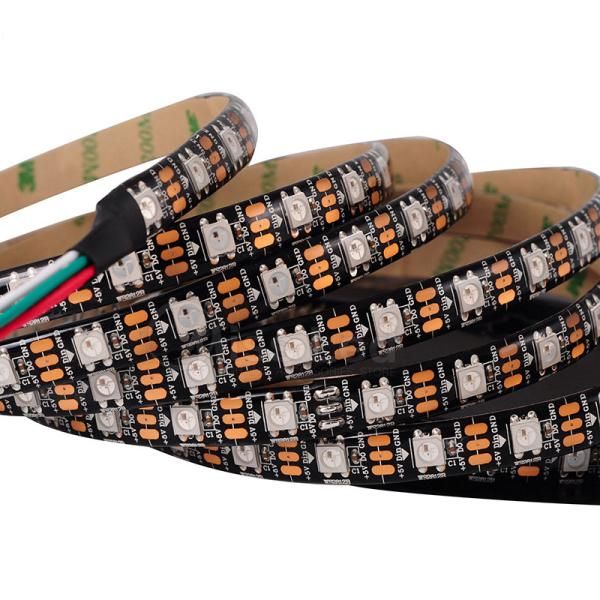
- WS2812B LED strip — the IP65 waterproof kind, black strip, RGB (as you probably already know these). Mine is 60 LEDs/meter. You can grab these off AliExpress or your local store easily.
- ESP32-C3 Super Mini — the little brain of the whole thing. Has WiFi and Bluetooth built in.
- A tiny through-hole push button — for switching patterns.
- An 18650 Power Bank Battery — the ultra low-cost kind with a charger board built in.
- Hot glue — my best friend for this entire build.
- Velcro (hook and loop) — for the adjustable fit.
- A 3D printed base + battery holder — designed in Fusion 360, this is the physical body of the cap.
- A scrap of Filament Vacuum Storage Bag — cut into an oval, it becomes a sweat barrier between your head and the electronics.
- Old black breathable shirt + yellow Chinese lantern tassels — the recycled goodies from around the house.
A quick note on the LEDs: I went with 60 LEDs/meter simply because that's the strip I already had around, and I didn't want to spend extra just to get something denser. But if you do want crisper, more detailed patterns, a denser strip will absolutely give you more to work with. And if you really want to go all out — the ultimate version of this project would be a custom-made PCB using 2020 RGB LEDs, where you could pack in something like a 100x100 matrix. That would look genuinely stunning, way more contour and detail in the patterns. But that's a whole different rabbit hole, so I'm keeping it out of scope for this build.
Designing It in Fusion 360 (and Printing the Whole Thing)
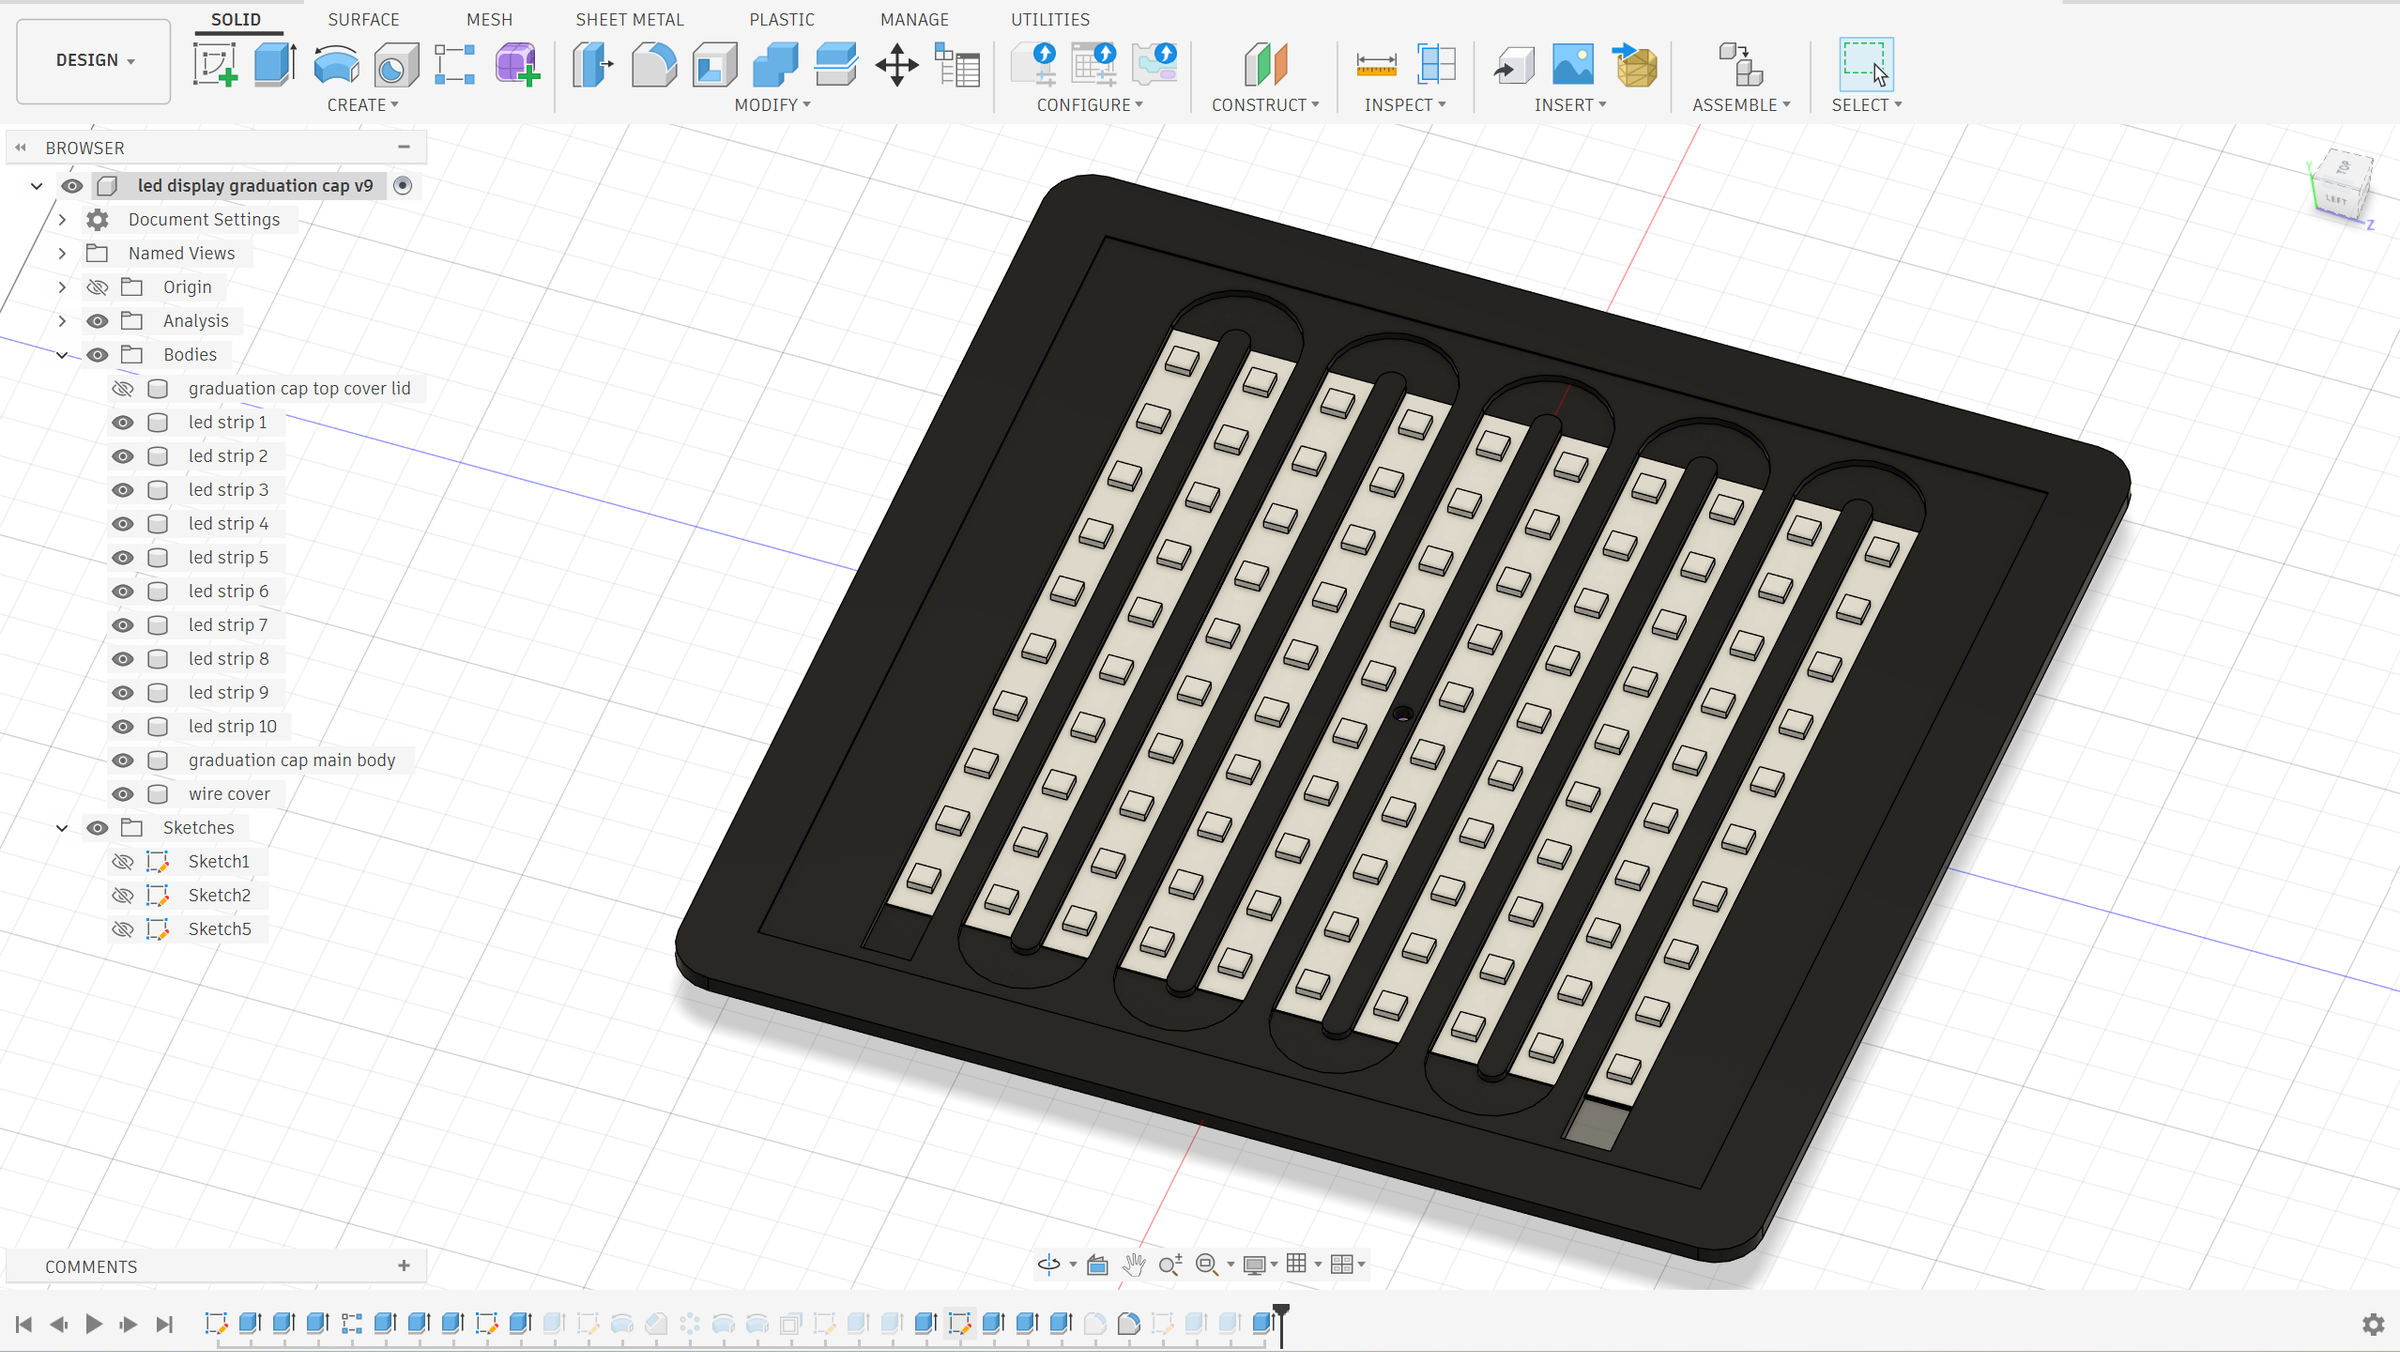
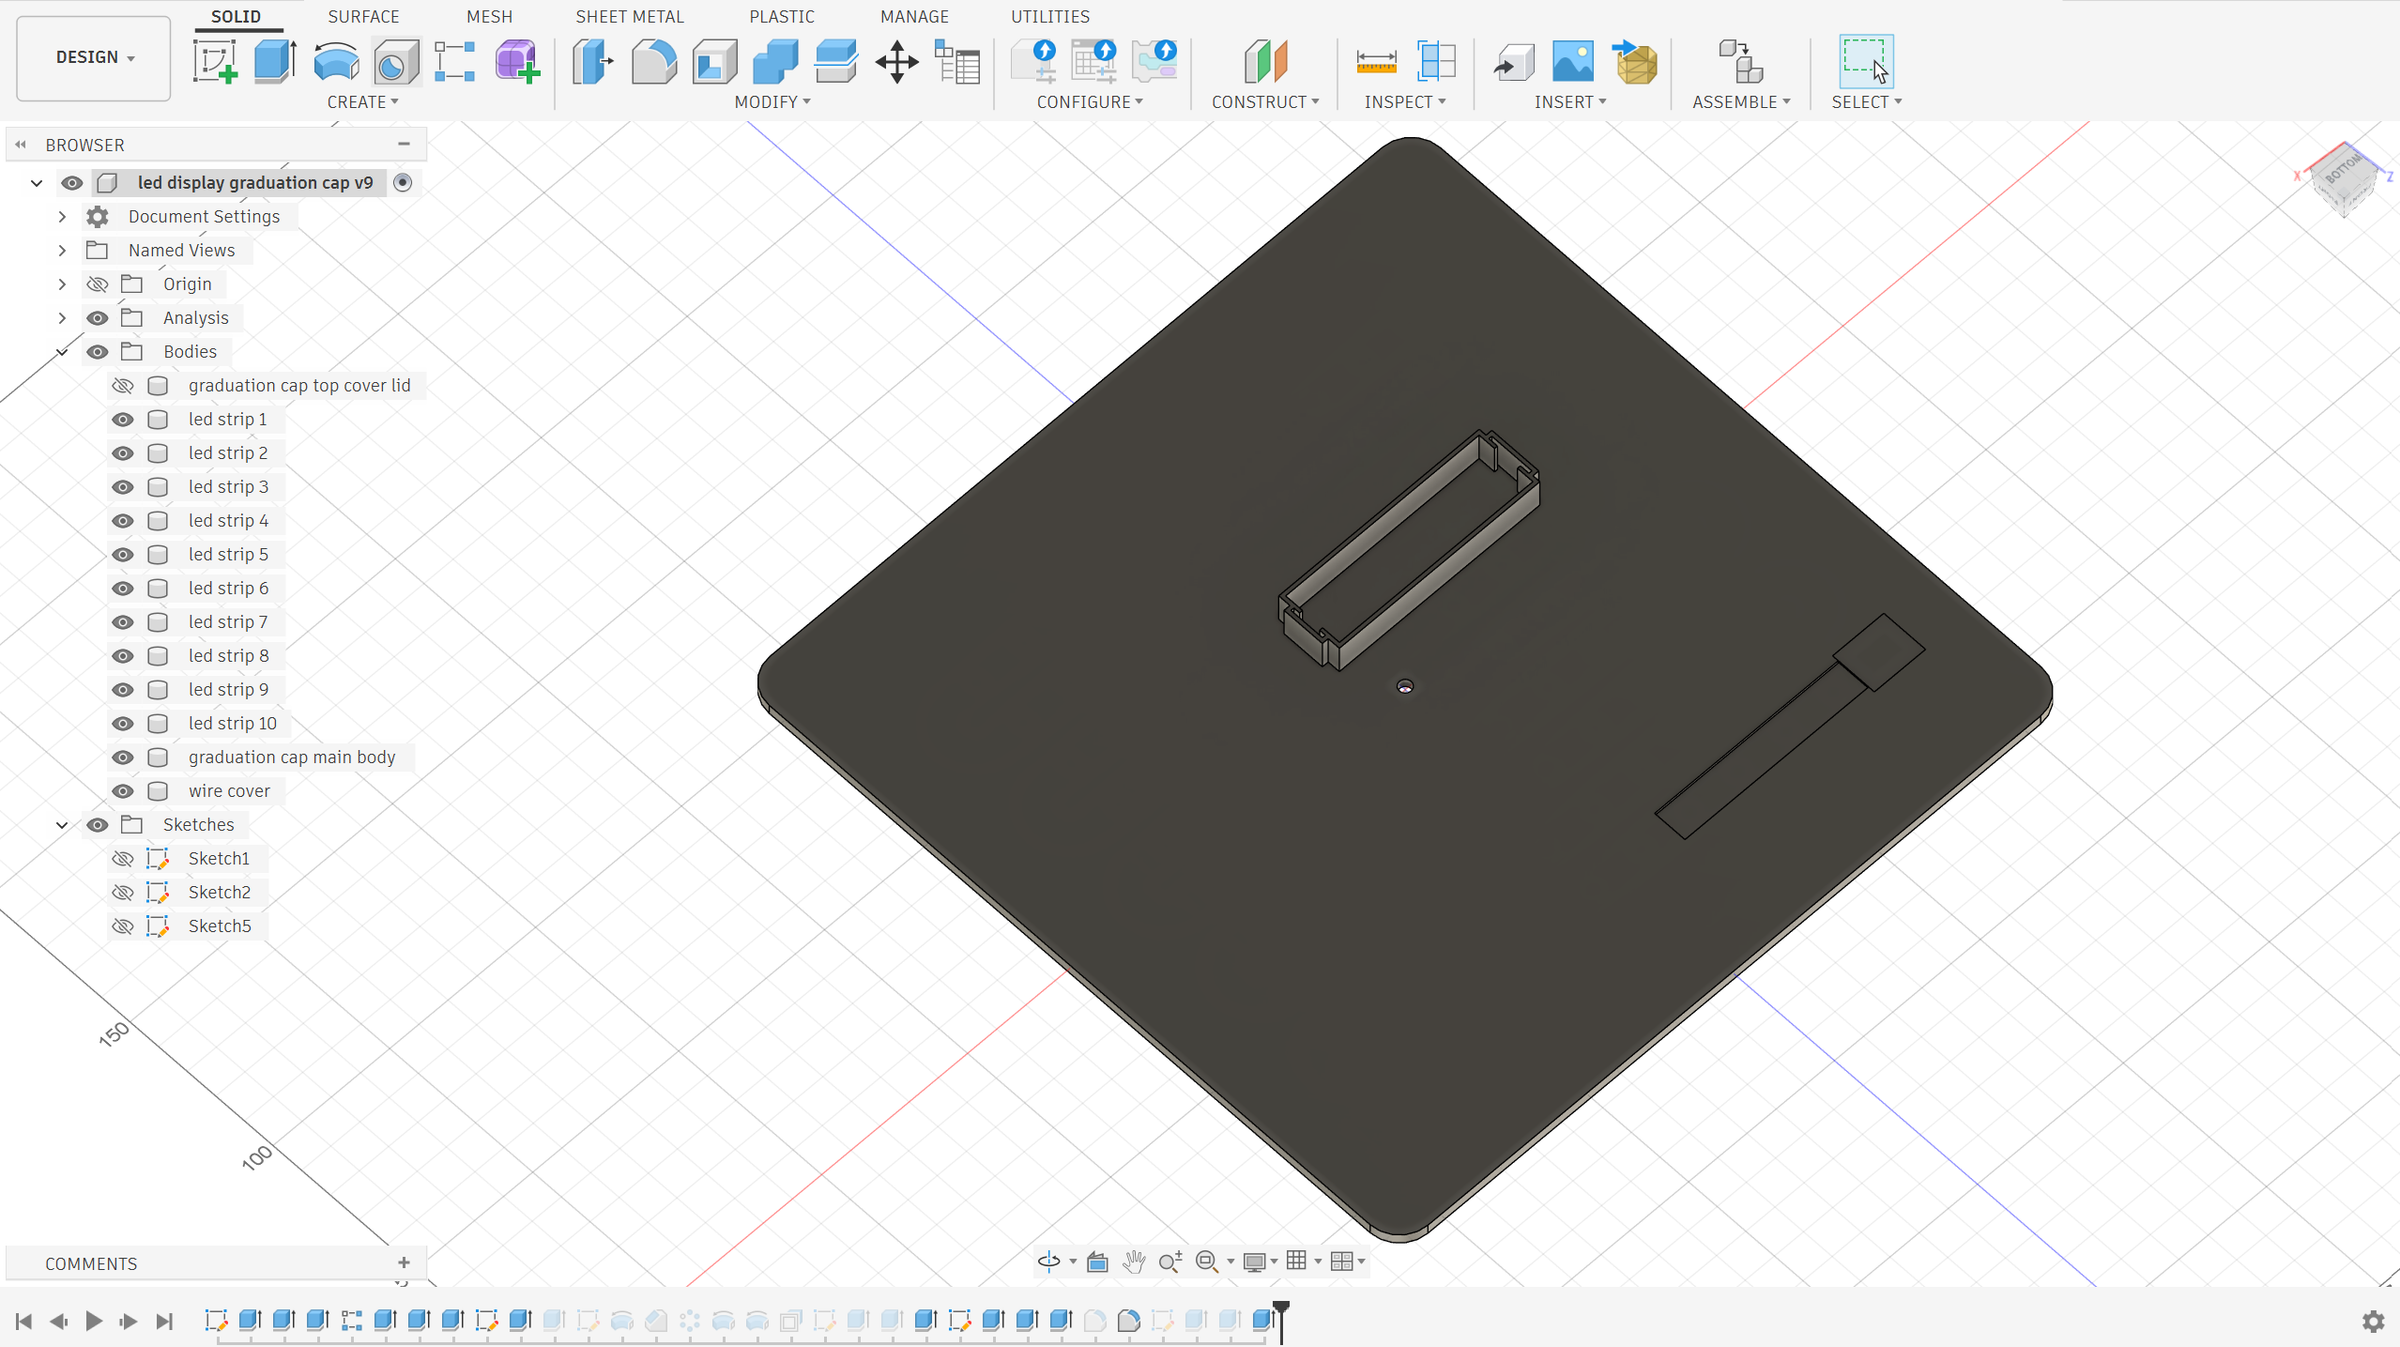
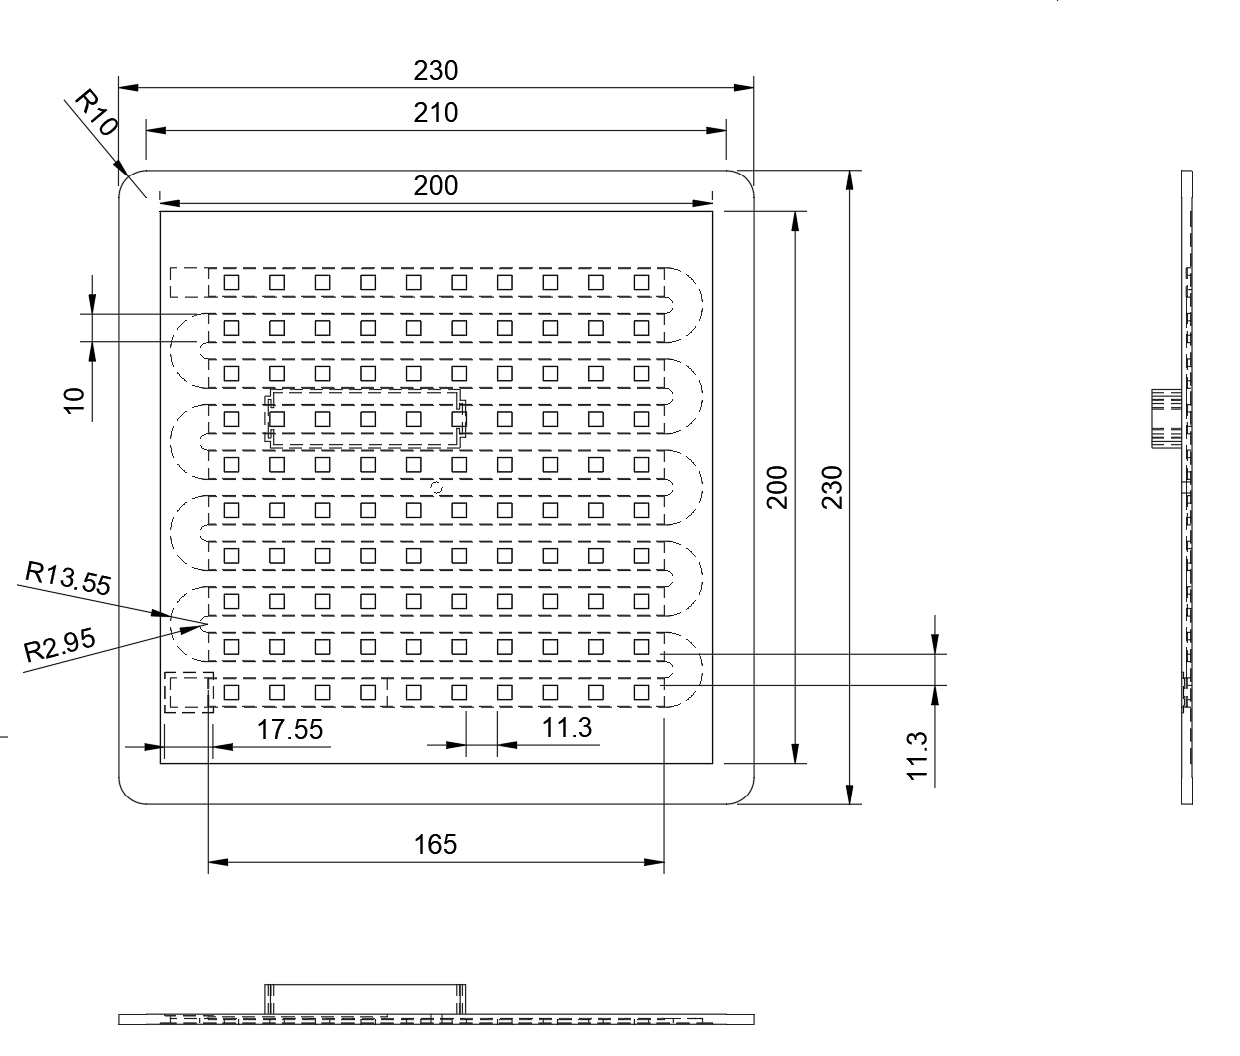
Oh, and one thing I glossed over — the actual body of the cap is fully 3D printed. I designed it in Fusion 360, and honestly it's one of the simplest designs I've ever put together. There's really not much to it at all.
The main piece is just a big 230mm × 230mm square base — that's the flat top of the cap, and it's what all ten LED strips sit on. That's basically the whole "screen" part right there: one flat square to hold the grid.
The only other bit of design work was the holder structure for the 18650 battery. Instead of modeling a battery mount from scratch, I just duplicated the internal structure of the original 18650 power bank — same shape, same layout — so the charger board and the 18650 connector I pulled out earlier drop right back in and sit snugly. Design it once, reuse the shape, done.
So if you've got a 3D printer, this part is dead easy. A flat square and a little battery cradle — nothing fancy.
Building the Thing
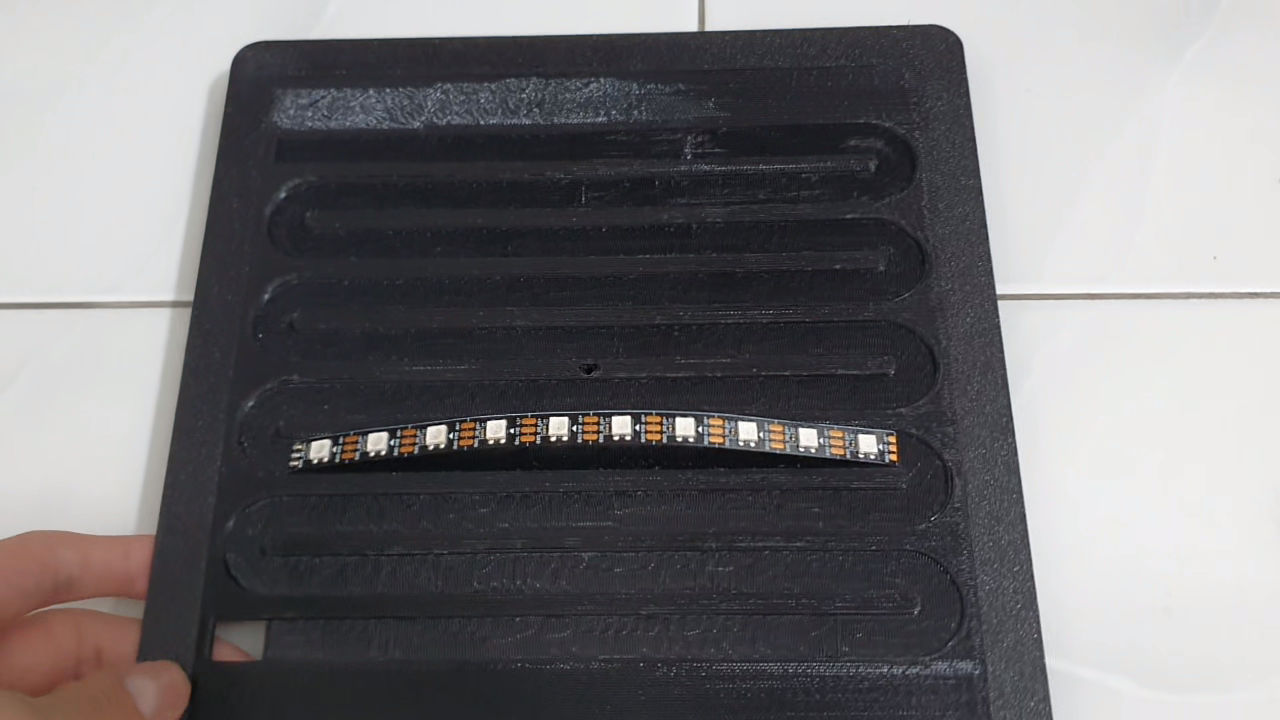
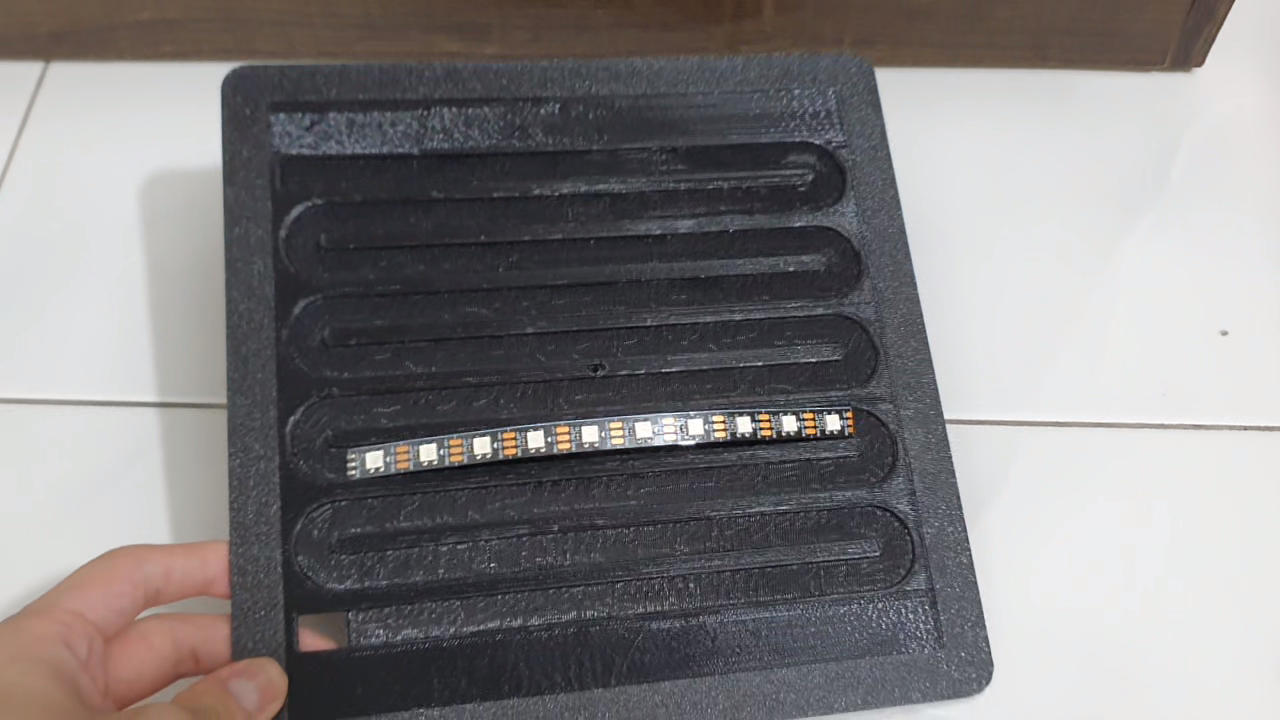
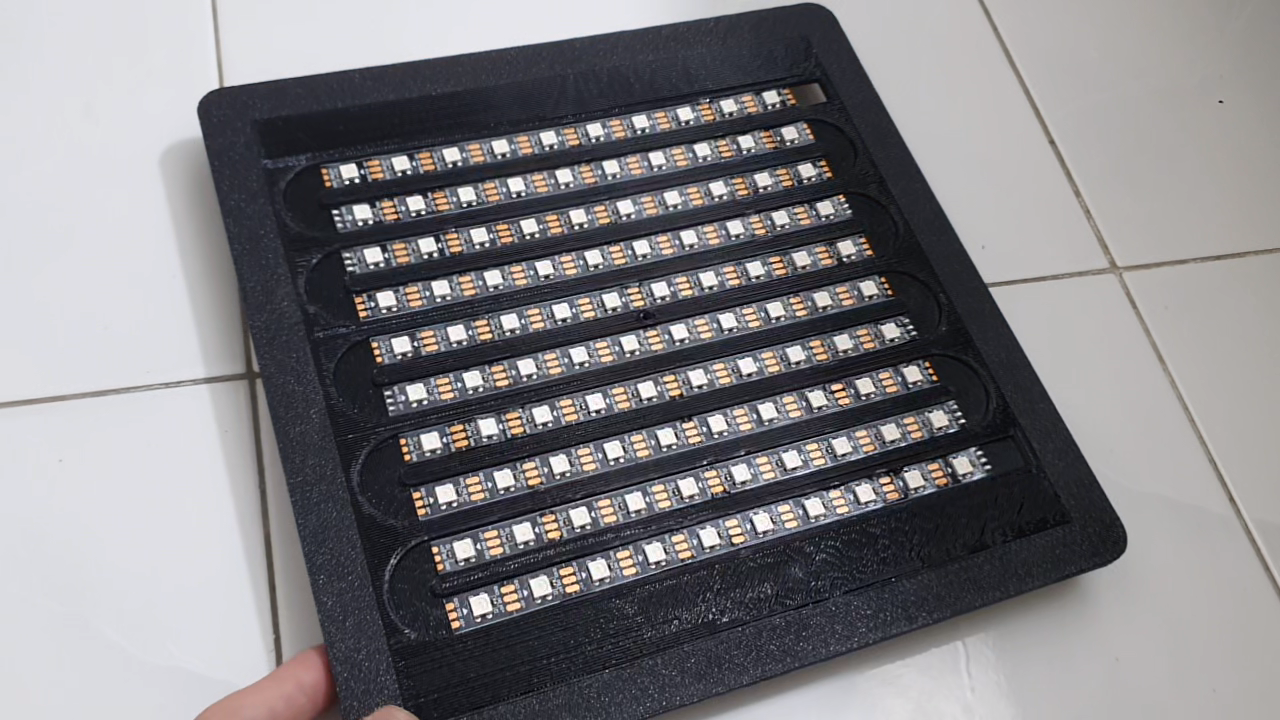
The layout is dead simple. I cut the strip into 10 strips of 10 LEDs each, and lined them up to form a 10x10 matrix. That's 100 LEDs total sitting on top of the cap.
For holding everything together, hot glue did all the heavy lifting. I used it to seal and secure basically every component in place so nothing rattles around or comes loose when I'm walking.
With all the electronics mounted and glued down, the next job was wrapping the whole thing in cloth and building the part that actually sits on your head.
Covering It in Cloth & Building the Head Part (Songkok-Style)
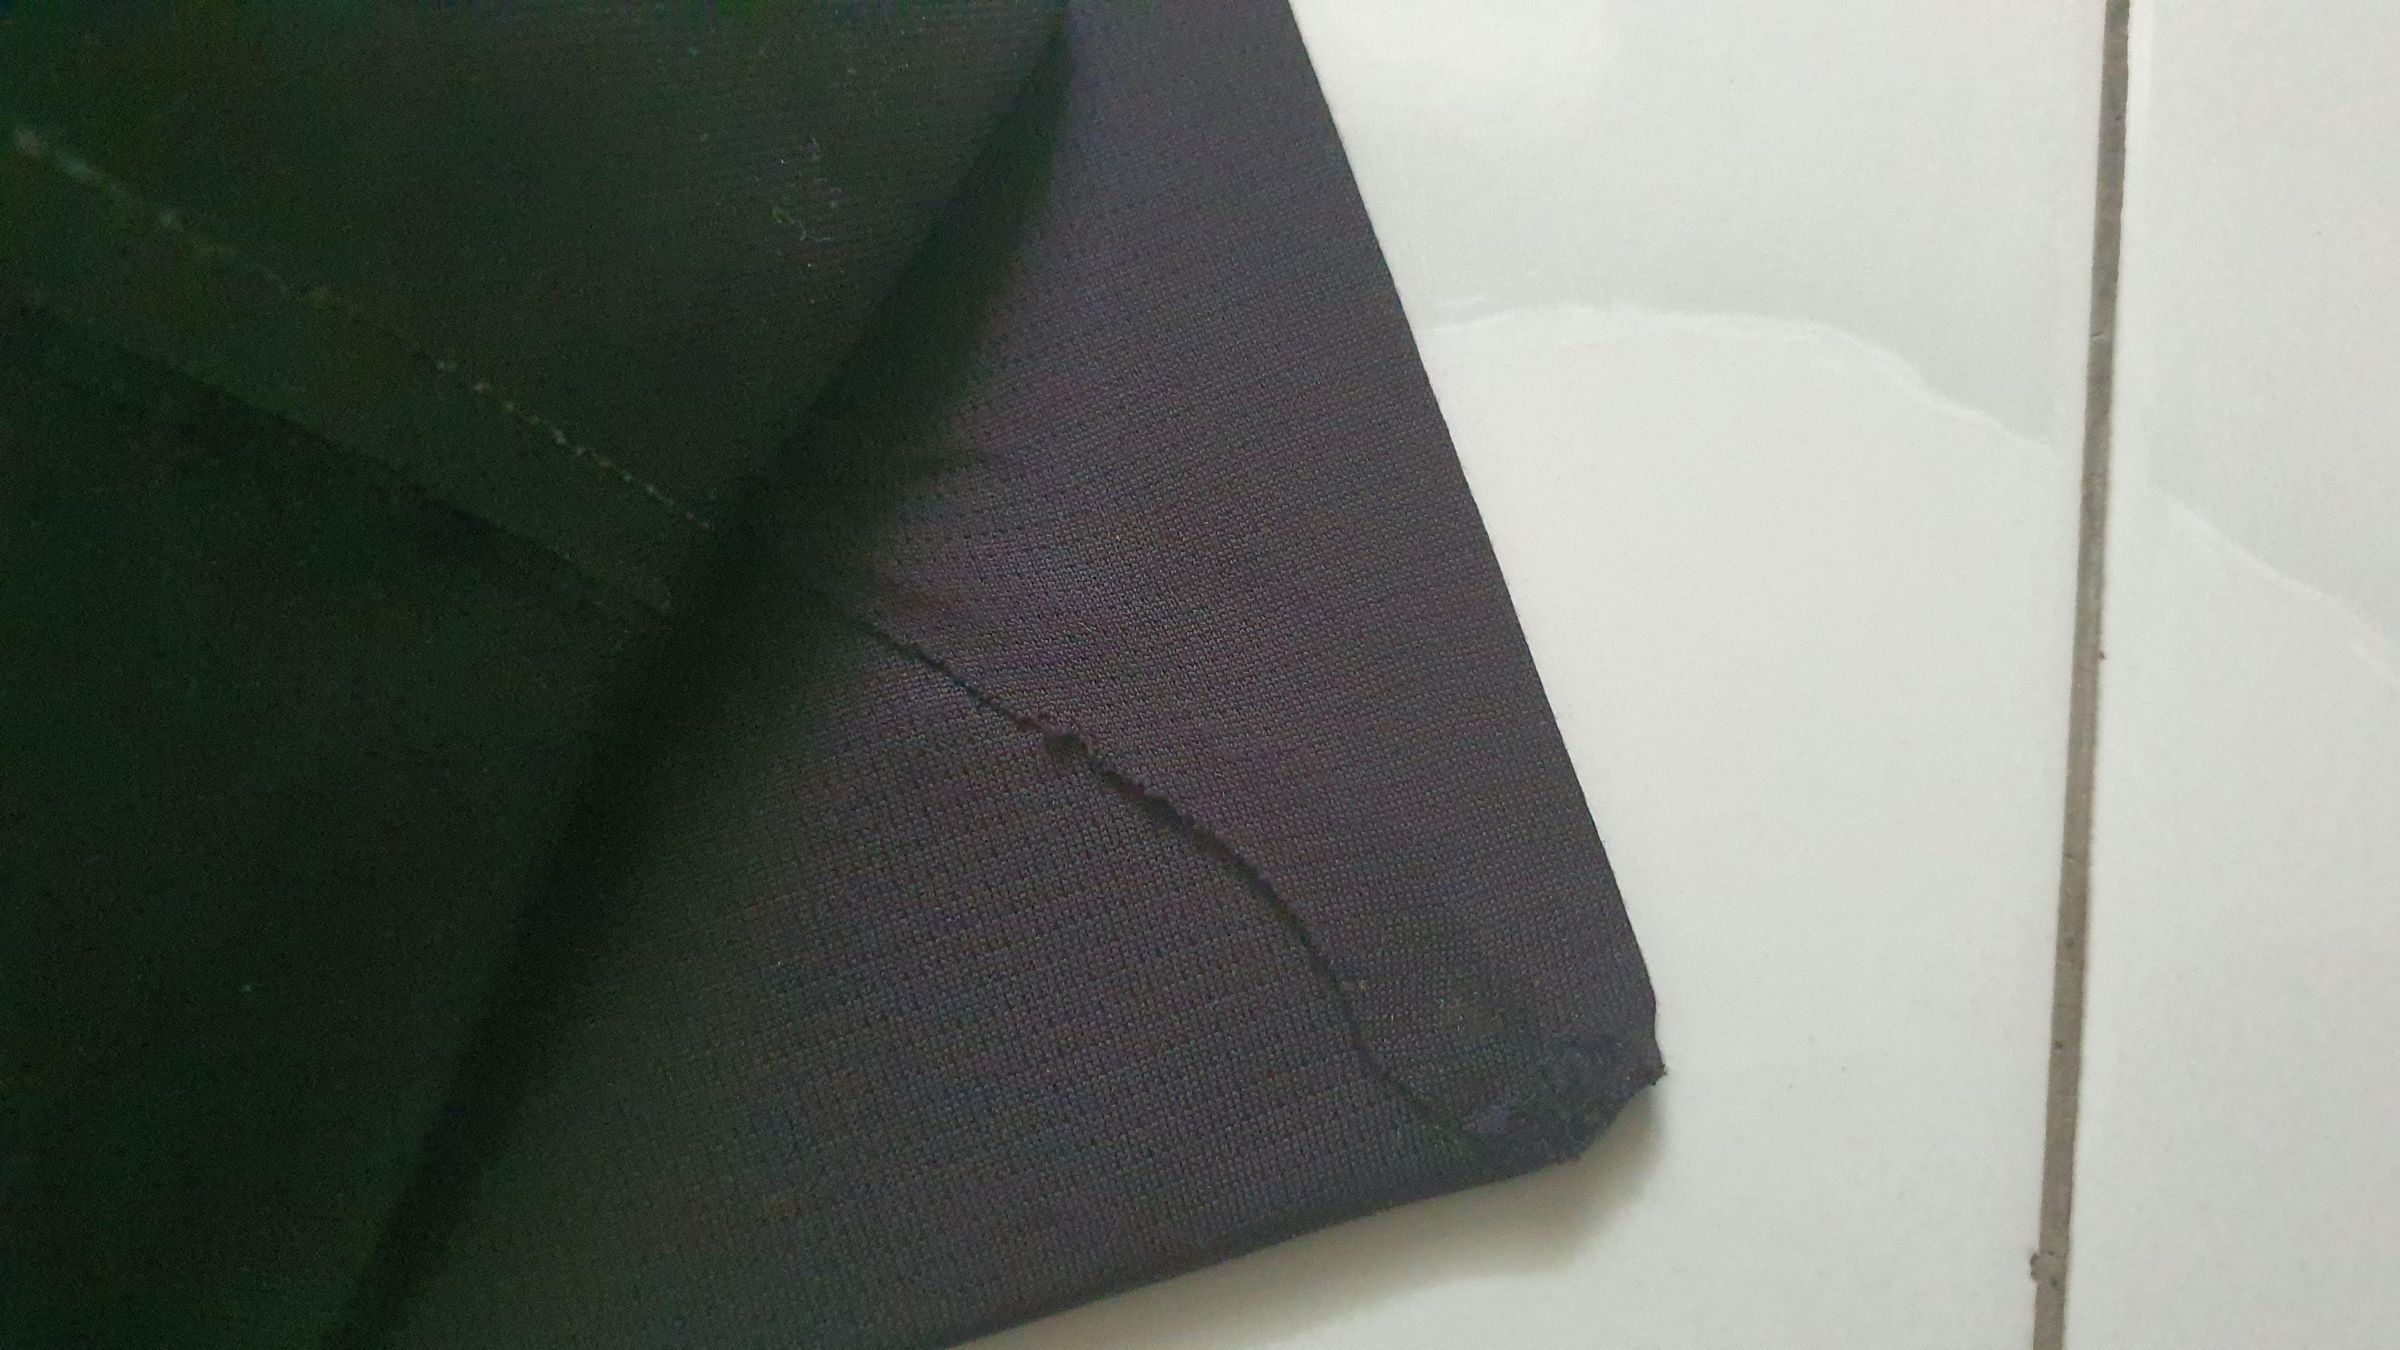
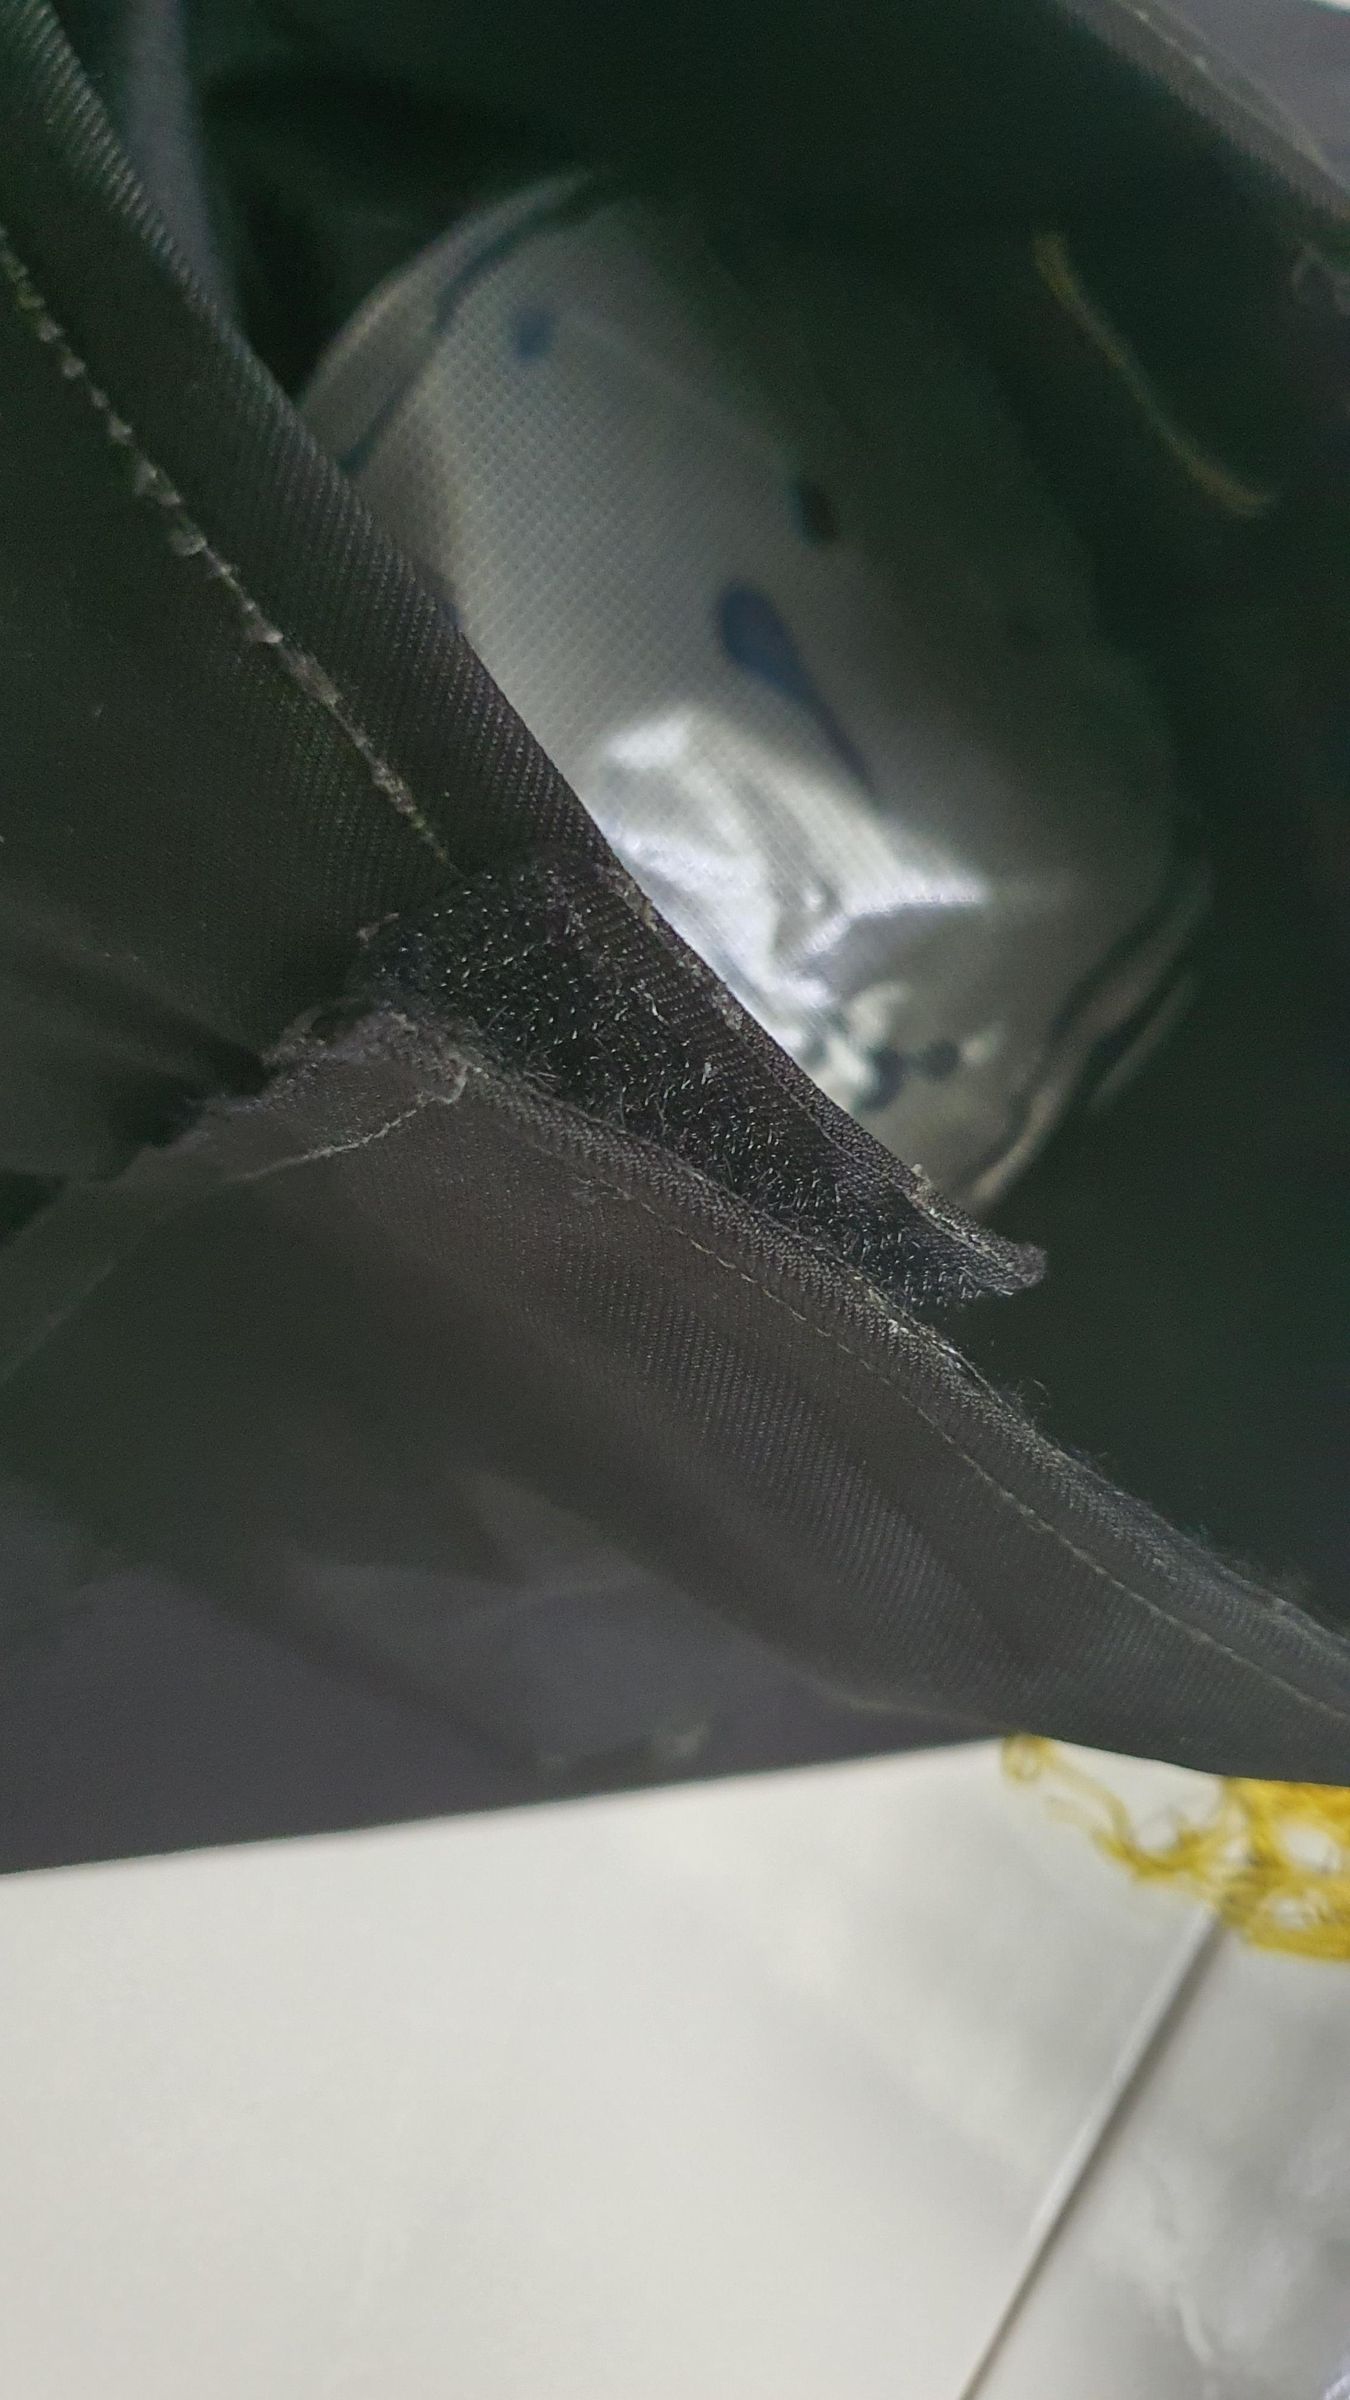
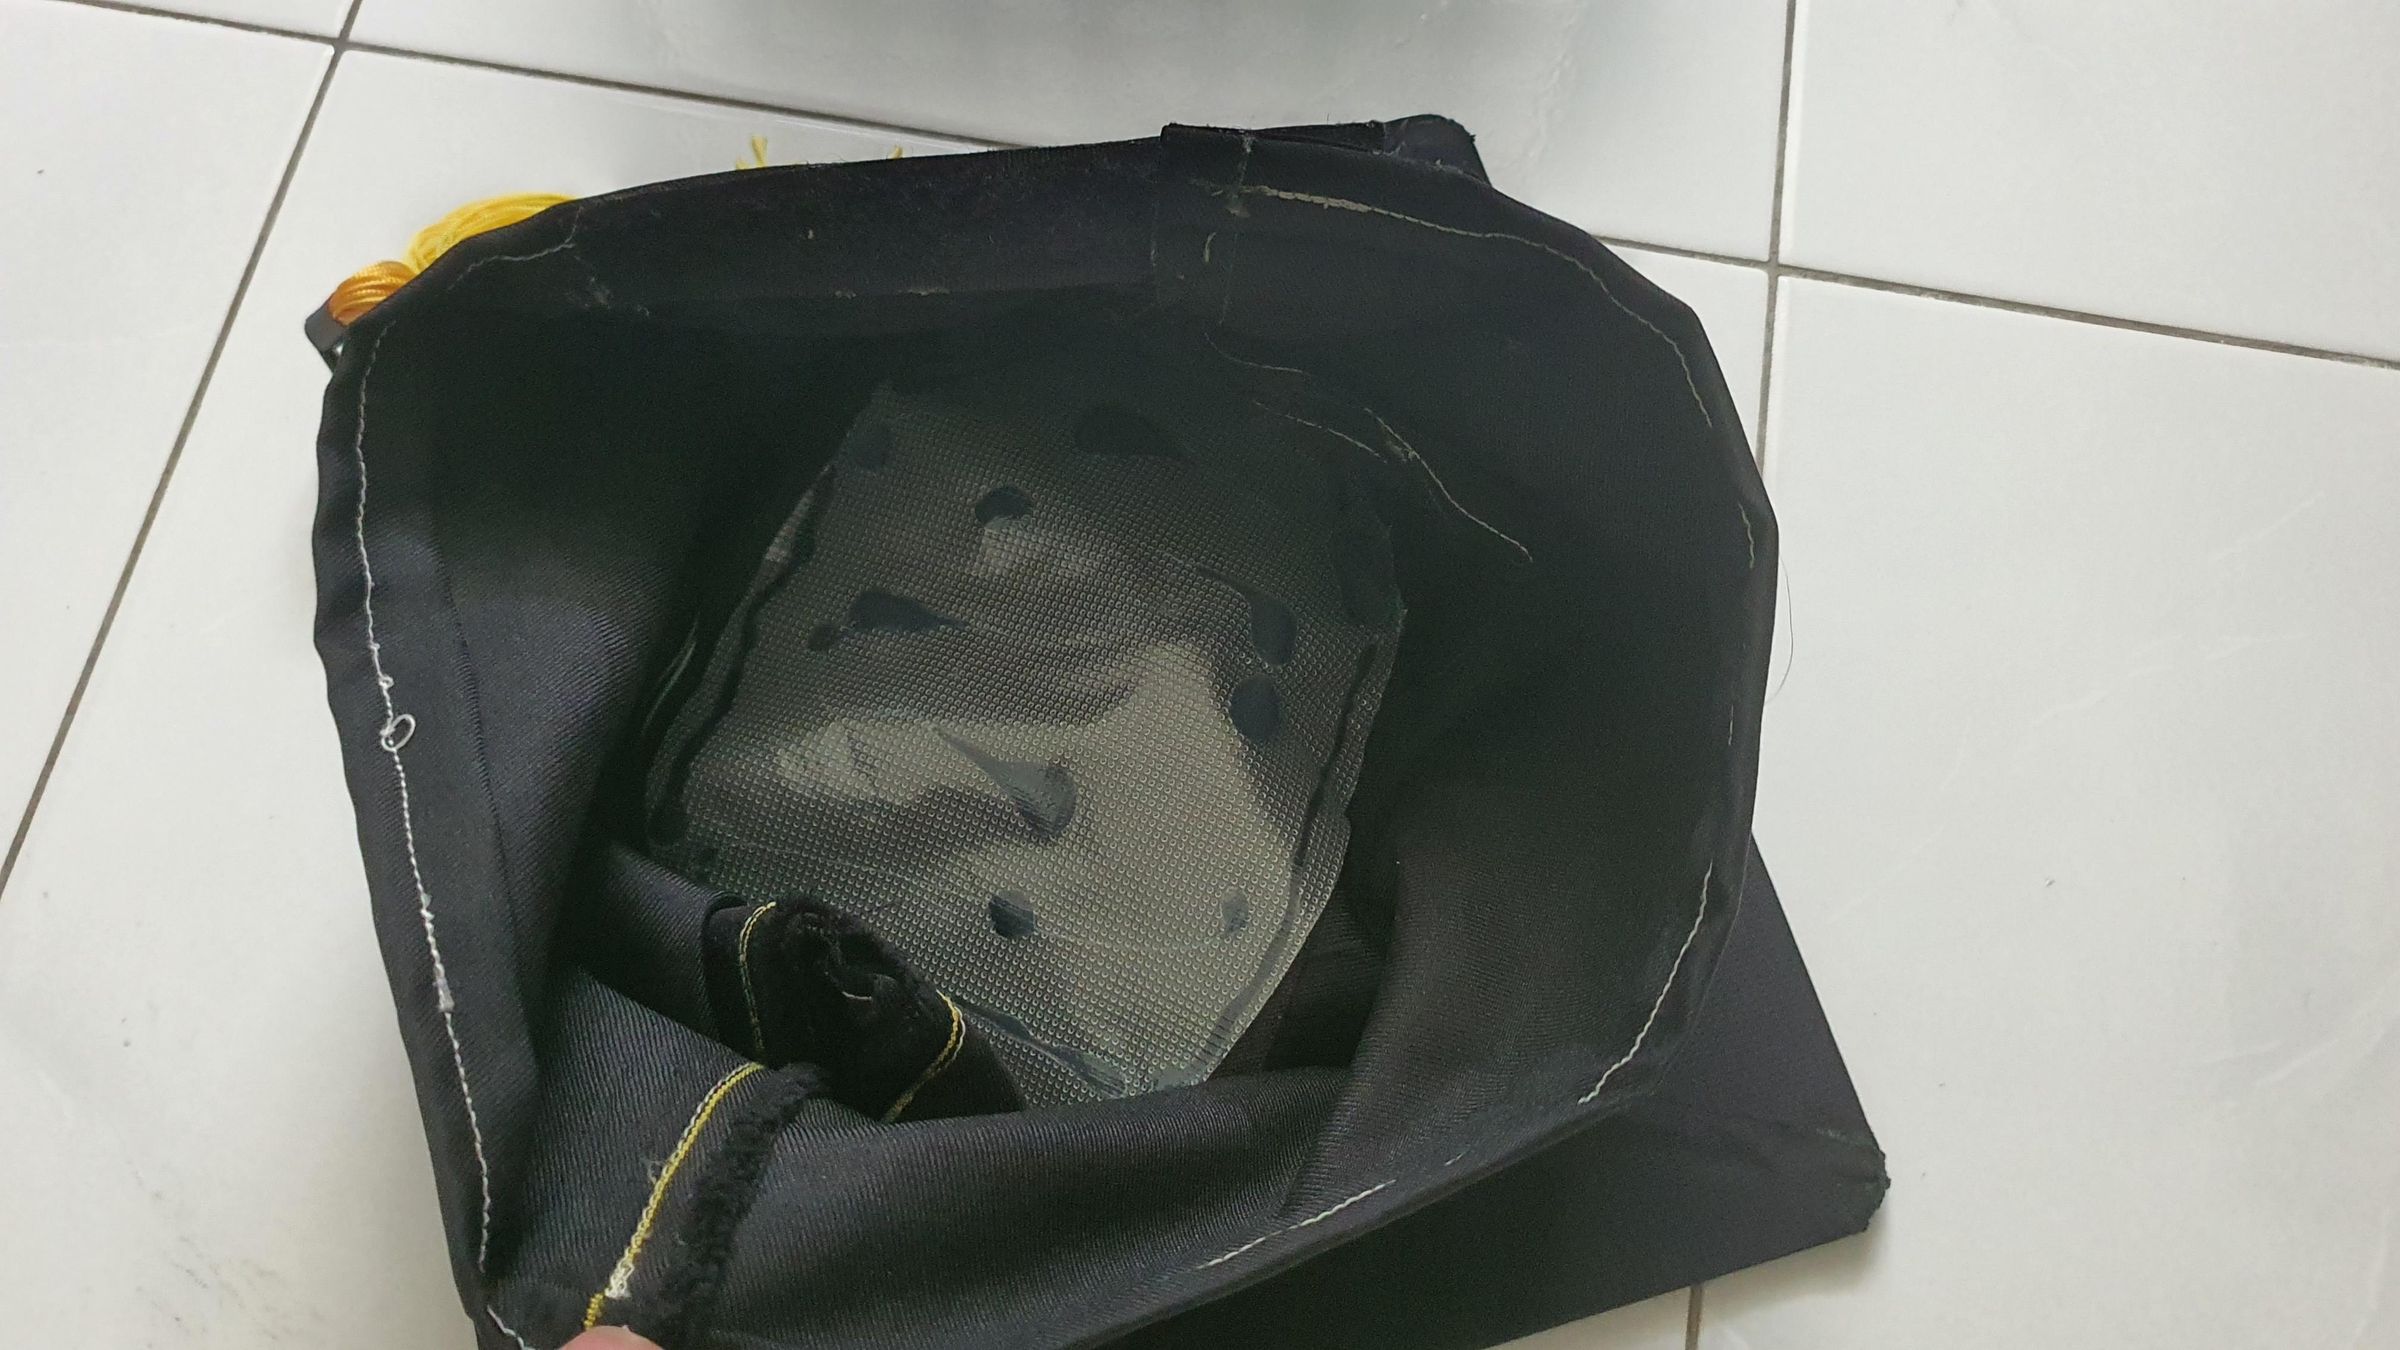
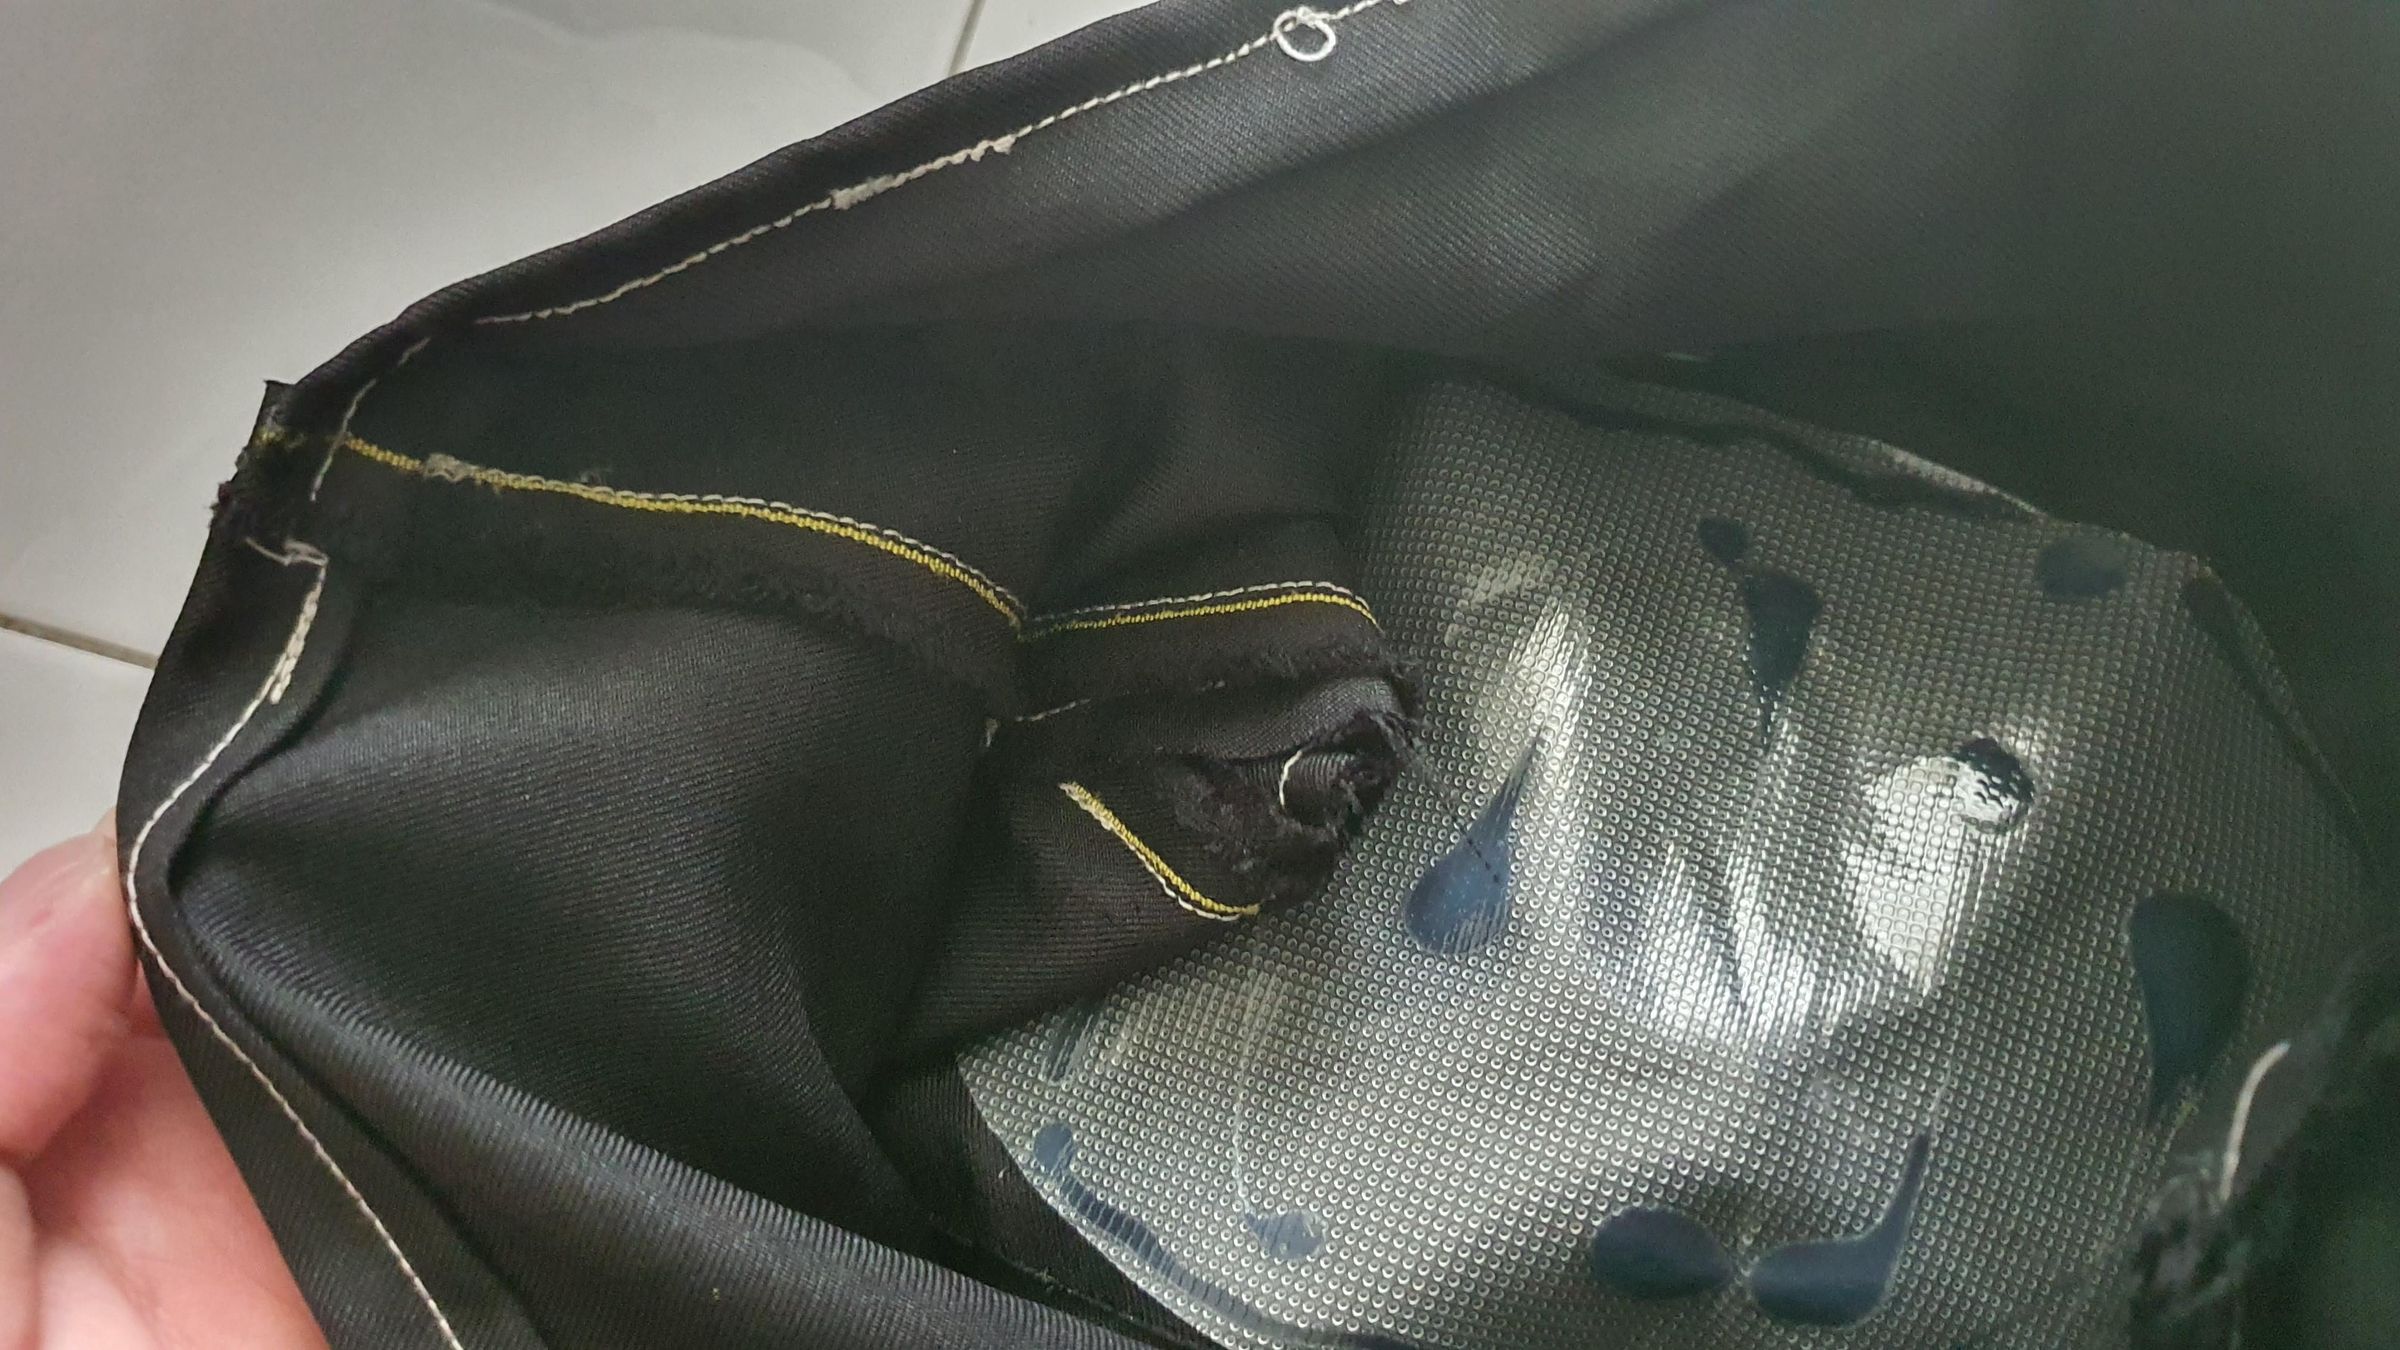
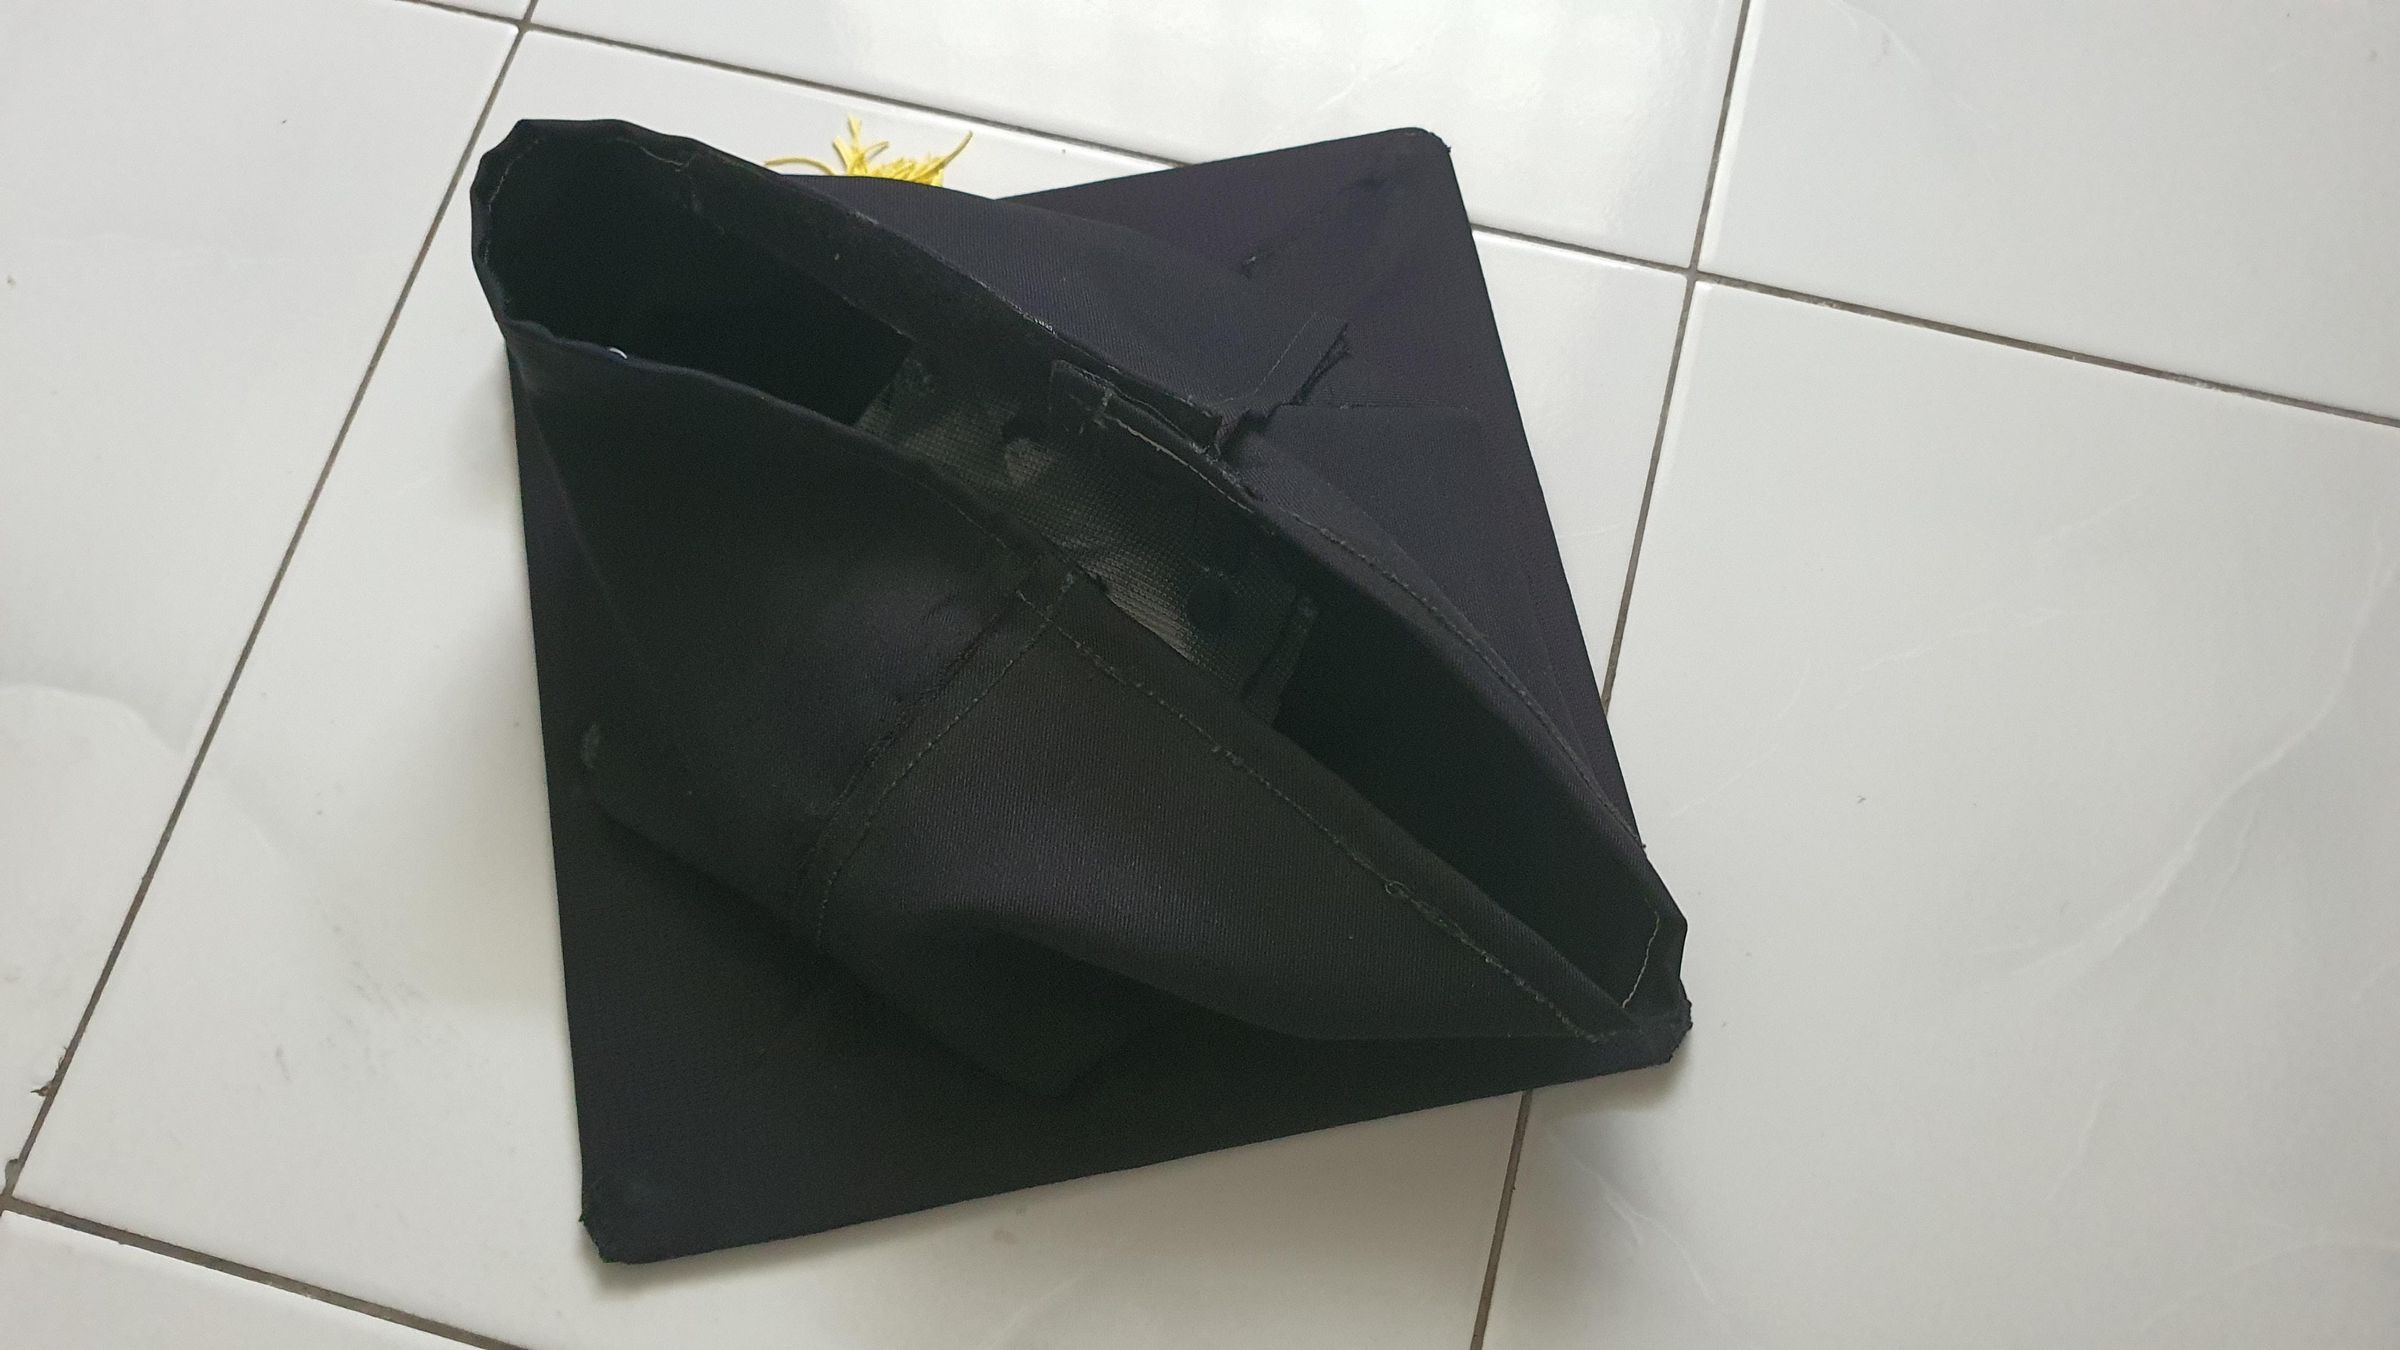
Fair warning: this is the part I have the fewest photos of, so bear with me — and you'll probably need to get a little creative and work some of it out yourself. That's half the fun anyway.
First, the cloth over the base. Once the LED matrix was mounted and glued down, I wrapped the old black breathable shirt over the whole 3D printed base. That's the bit that turns a grid of harsh bright dots into the soft, diffused glow I keep going on about.
Now here's the thing — if you use up all your cloth covering the base, just grab a second piece for the head part. That's the bit that actually sits on your head, kind of like a Malaysian songkok. Here's how I made mine:
- Fold a piece of cloth so it's 15cm tall, then cut it to 30cm long. Do this twice, so you end up with two 30cm × 15cm pieces (that 15cm is the folded height — unfolded, each piece is really 30cm × 30cm). You need two of them.
- Overlap the two pieces in the middle and slide them until the loop matches your head. To get the size right, wrap a bit of rope or a flexible measuring tape around your head first, then match the cloth to that. Once it fits, hot glue the overlap in place.
- Then wrap the two matching sides together so it forms a little bowl shape — and just like that, you can start to see an actual cap taking form.
- On the closing side, glue down the long strip of Velcro hook-and-loop. That's what lets you tighten or loosen the band so it sits snugly on your head.
A couple of finishing touches that make a real difference:
- I cut a rounded oval out of a Filament Vacuum Storage Bag and hot glued it right at the center of the cap, where your head sits. It's a simple sweat barrier — it stops sweat from your hair reaching the electronics underneath.
- Once the cloth fully covered the cap and the songkok base was glued in, I cut a small hole in one corner, straight through the cloth. That's my little access point to the hardware underneath — handy for reaching the button or plugging in to charge.
- One orientation tip: keep the lantern tassel fringes on the left side of your head. That's traditionally the side it hangs on, so glue it there and remember which way is "front" when you put the cap on.
- And that's the cap taking shape. Notice that every single step here is hot glue, not sewing — I'll come back to why right at the end.
Powering It
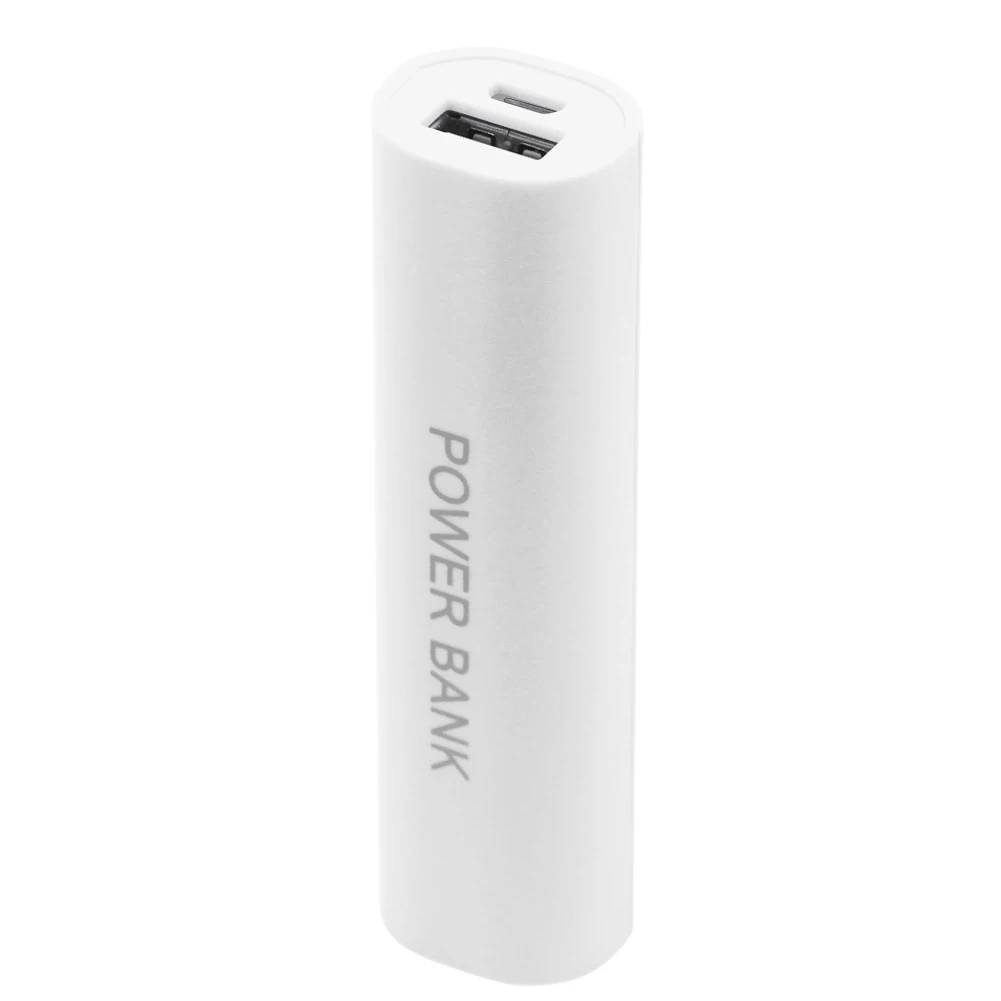
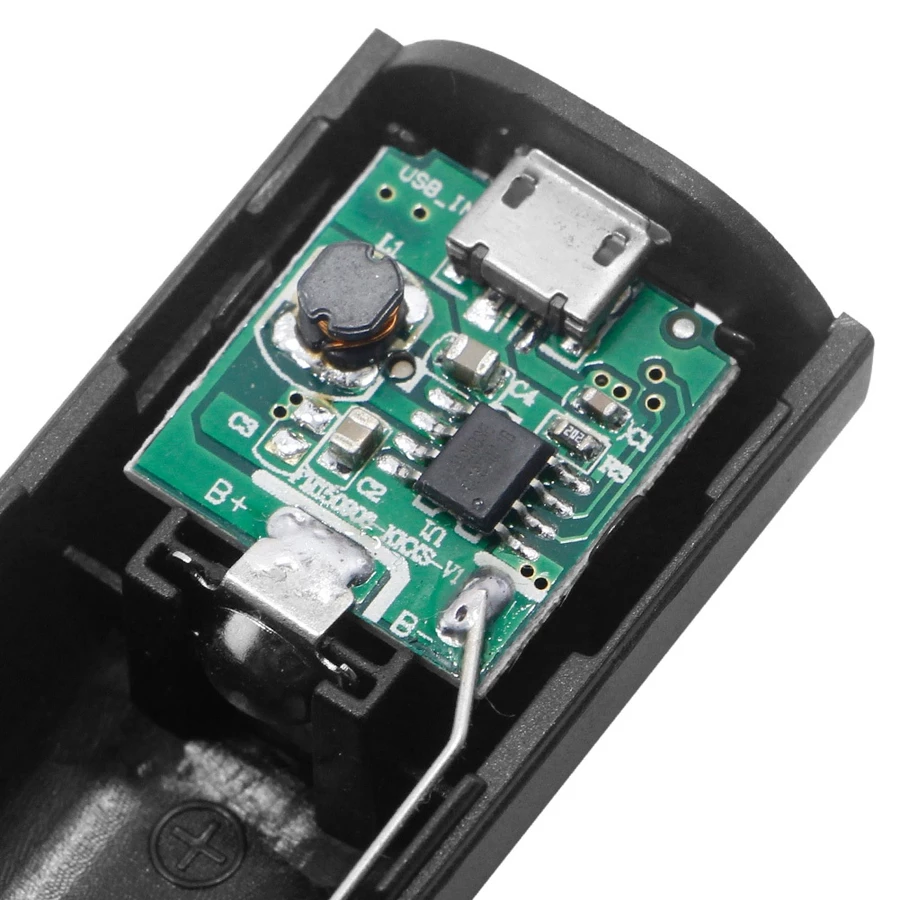
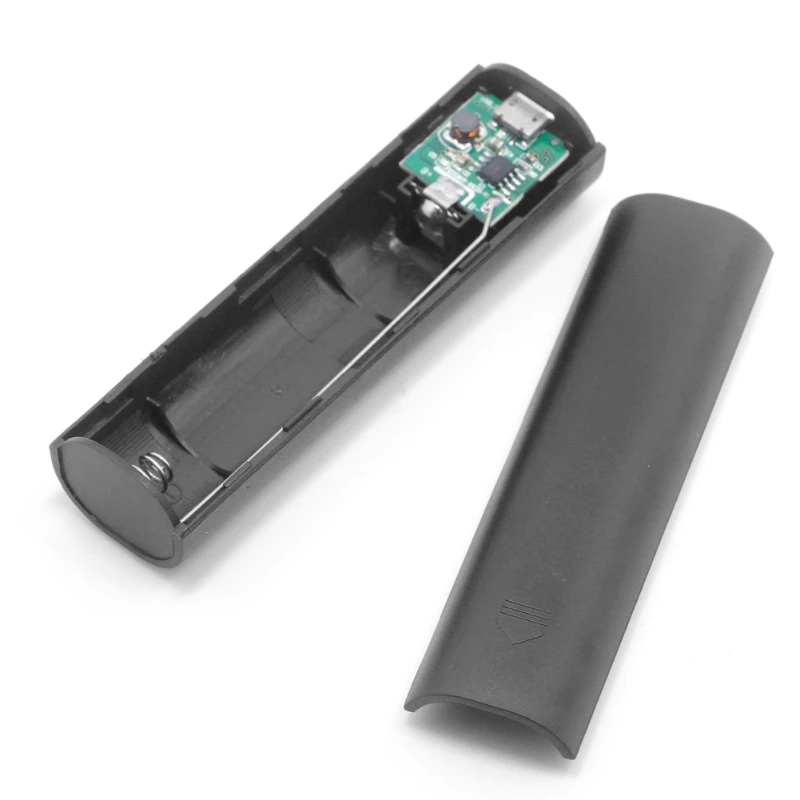
This is where the power bank comes in. For juice, everything runs off that ultra low-cost 18650 Power Bank Battery. Instead of using it as-is, I cracked it open, took out the charger board and the 18650 connector from inside, and built the 3D-printed holder around those guts so the structure matches the original power bank shape.
The power path itself is really clean:
- The board runs on 5V straight from the USB-C connection on the ESP32.
- Since the WS2812B strip is the 5V type, I just feed the LEDs directly from the 5V pin on the ESP32.
So the ESP32 sips power from the USB-C, and the LEDs sip 5V off the ESP32's pin. No complicated power circuitry needed.
And here's a little confession about the 10x10 size — it wasn't only about keeping the build simple. It was also about saving power. Every extra LED you add pulls more current, and I really didn't want the battery draining so fast that the cap dies halfway through the day and just turns back into a boring, ordinary graduation cap. 100 LEDs hit the sweet spot for me — bright and lively enough to turn heads, but easy enough on the battery that it keeps glowing the whole time. So 10x10 works great for me.
The Brains — and Why I Skipped WLED
Now, the ESP32-C3 has WiFi and Bluetooth, which means I could have used WLED to control the patterns from my phone. A lot of people go that route and it's great.
But honestly? I didn't want that. The idea of having to connect to the ESP32's network, open up the WLED app, and fiddle with settings every single time I want to change a pattern sounded like a pain. That's not the vibe I wanted for something I'm wearing around all day.
So I went the old-school (but still modern, in its own way) route: hard-coded patterns. And yes — I used AI to write the code for me, no shame in that. It got me exactly what I needed.
To switch between patterns, I soldered two wires onto that tiny through-hole button — one wire to ground, one wire to an input pin on the ESP32. Now I just tap the button whenever I want to jump to the next pattern. No app, no network, no waiting. Just press and go.
The Patterns
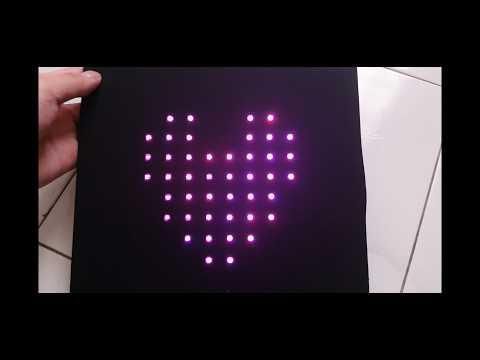
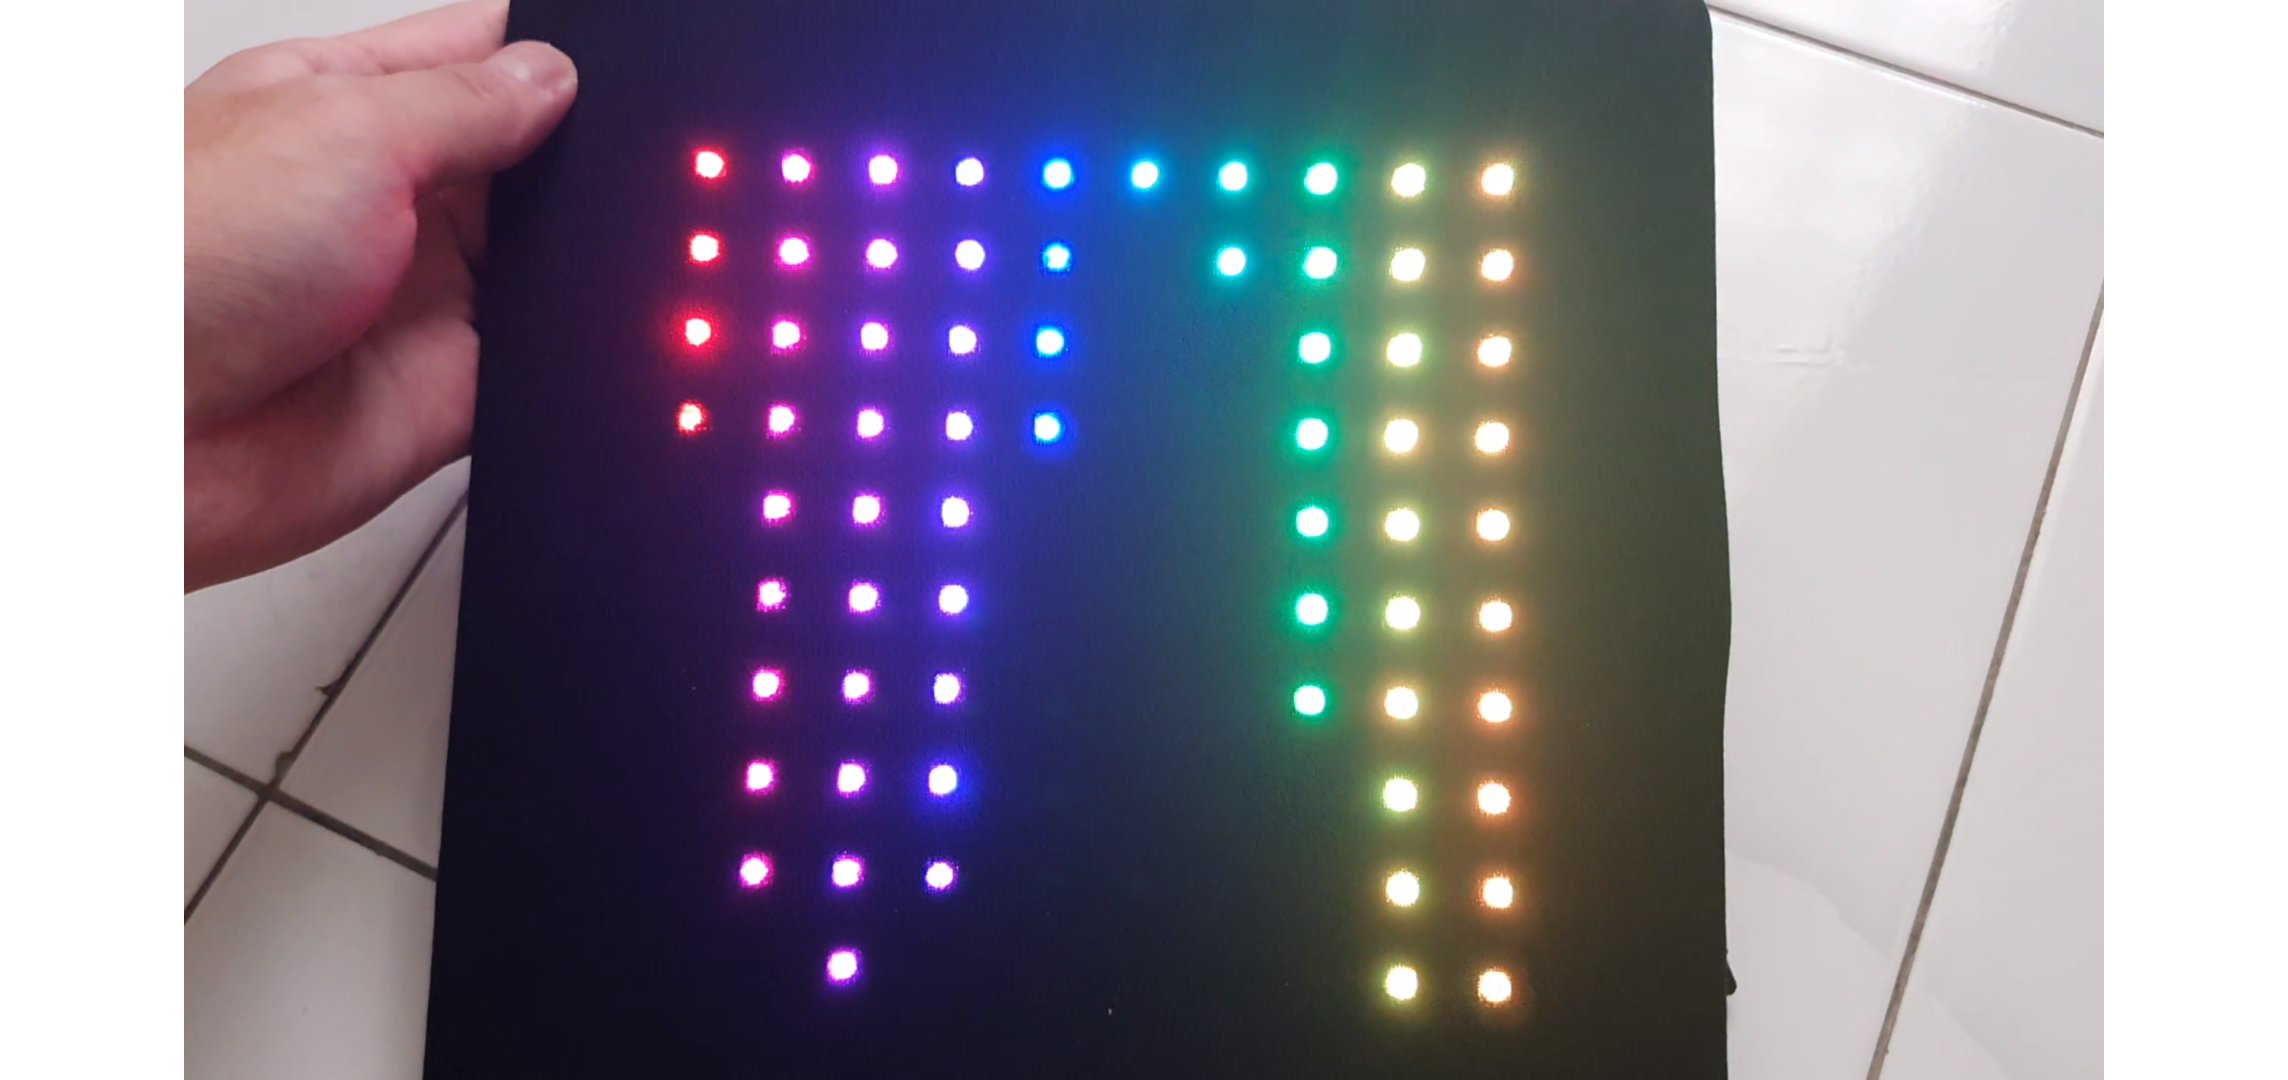
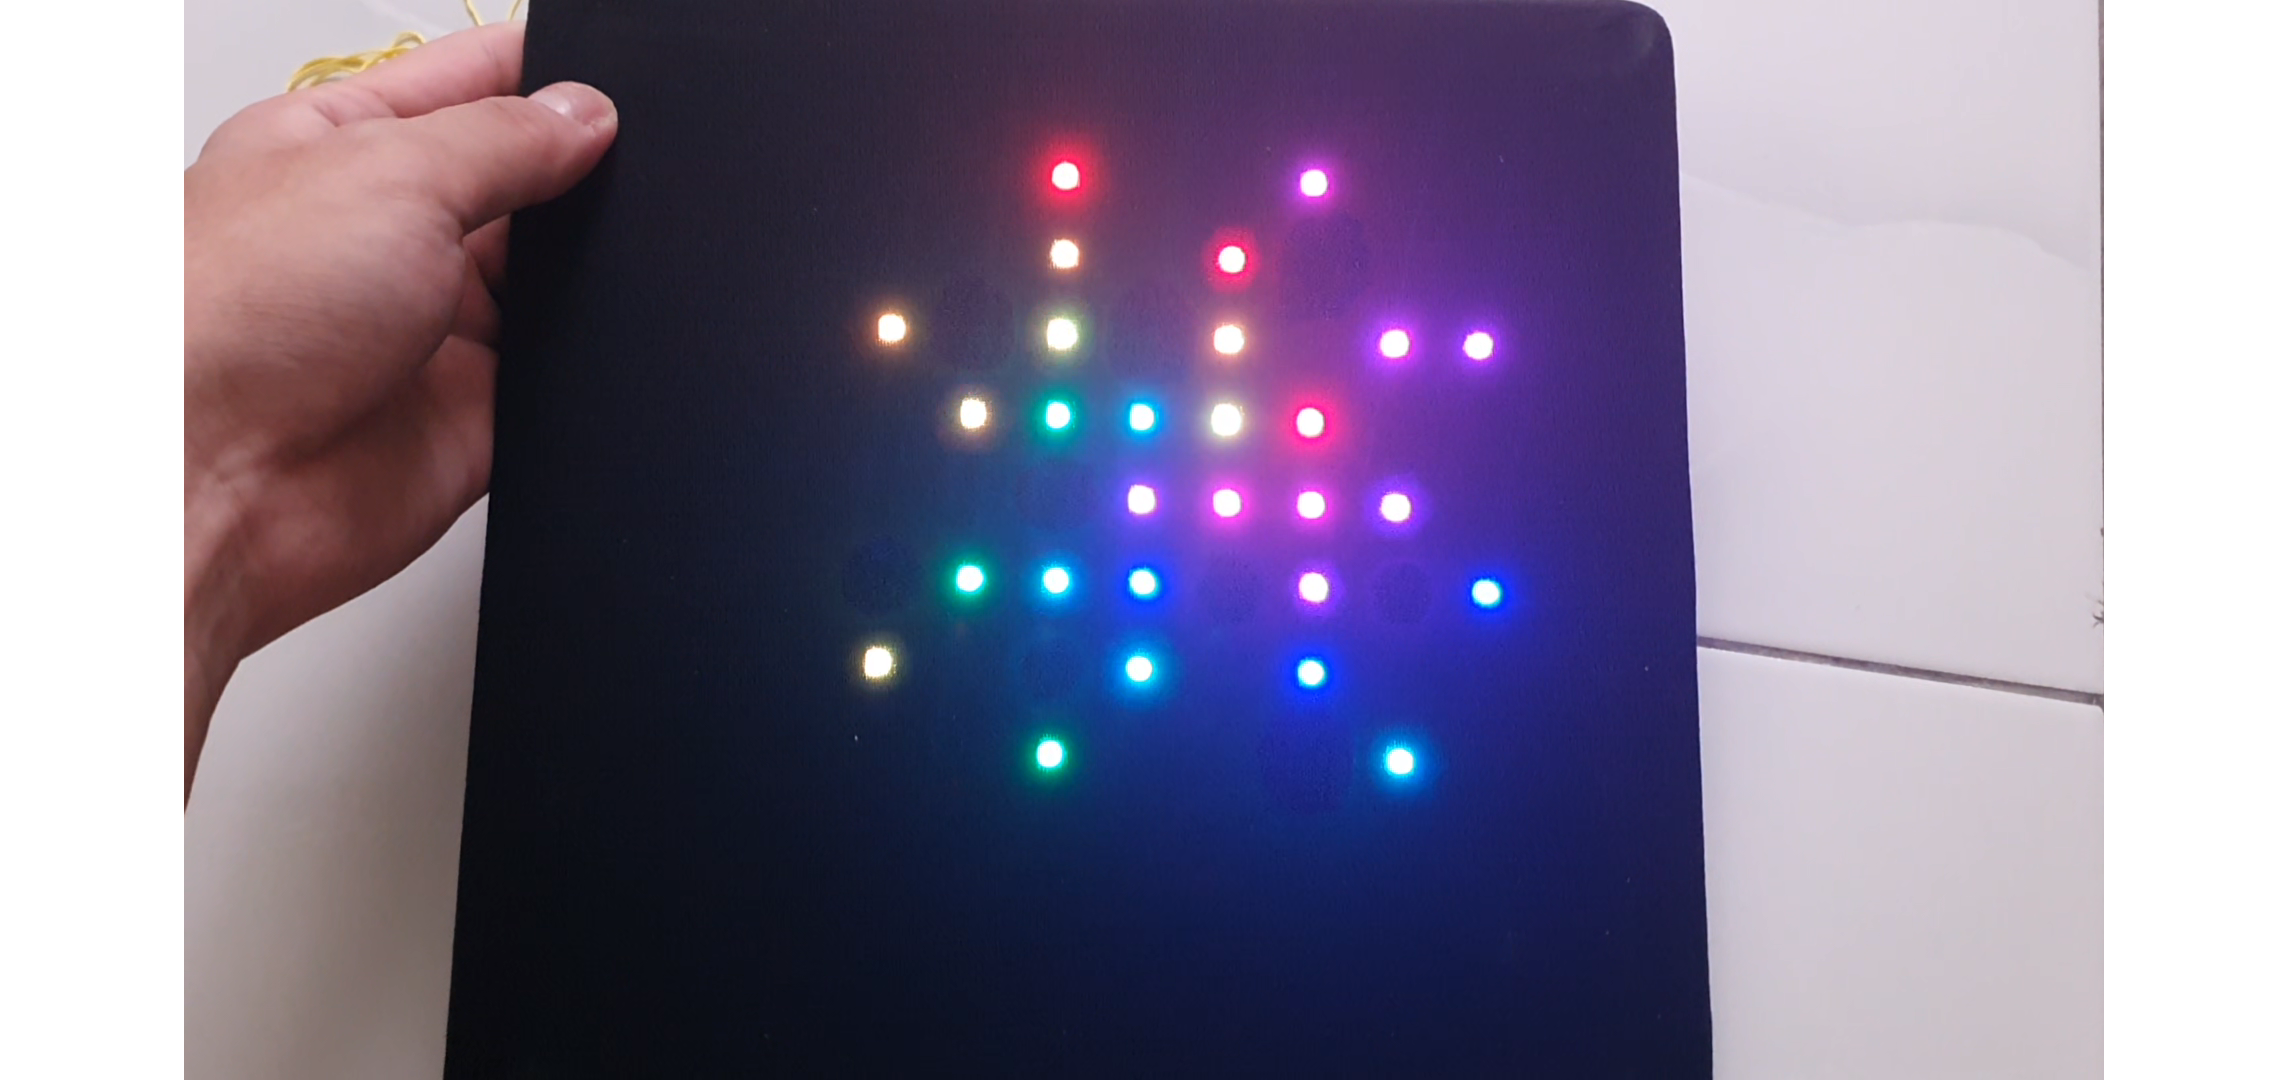
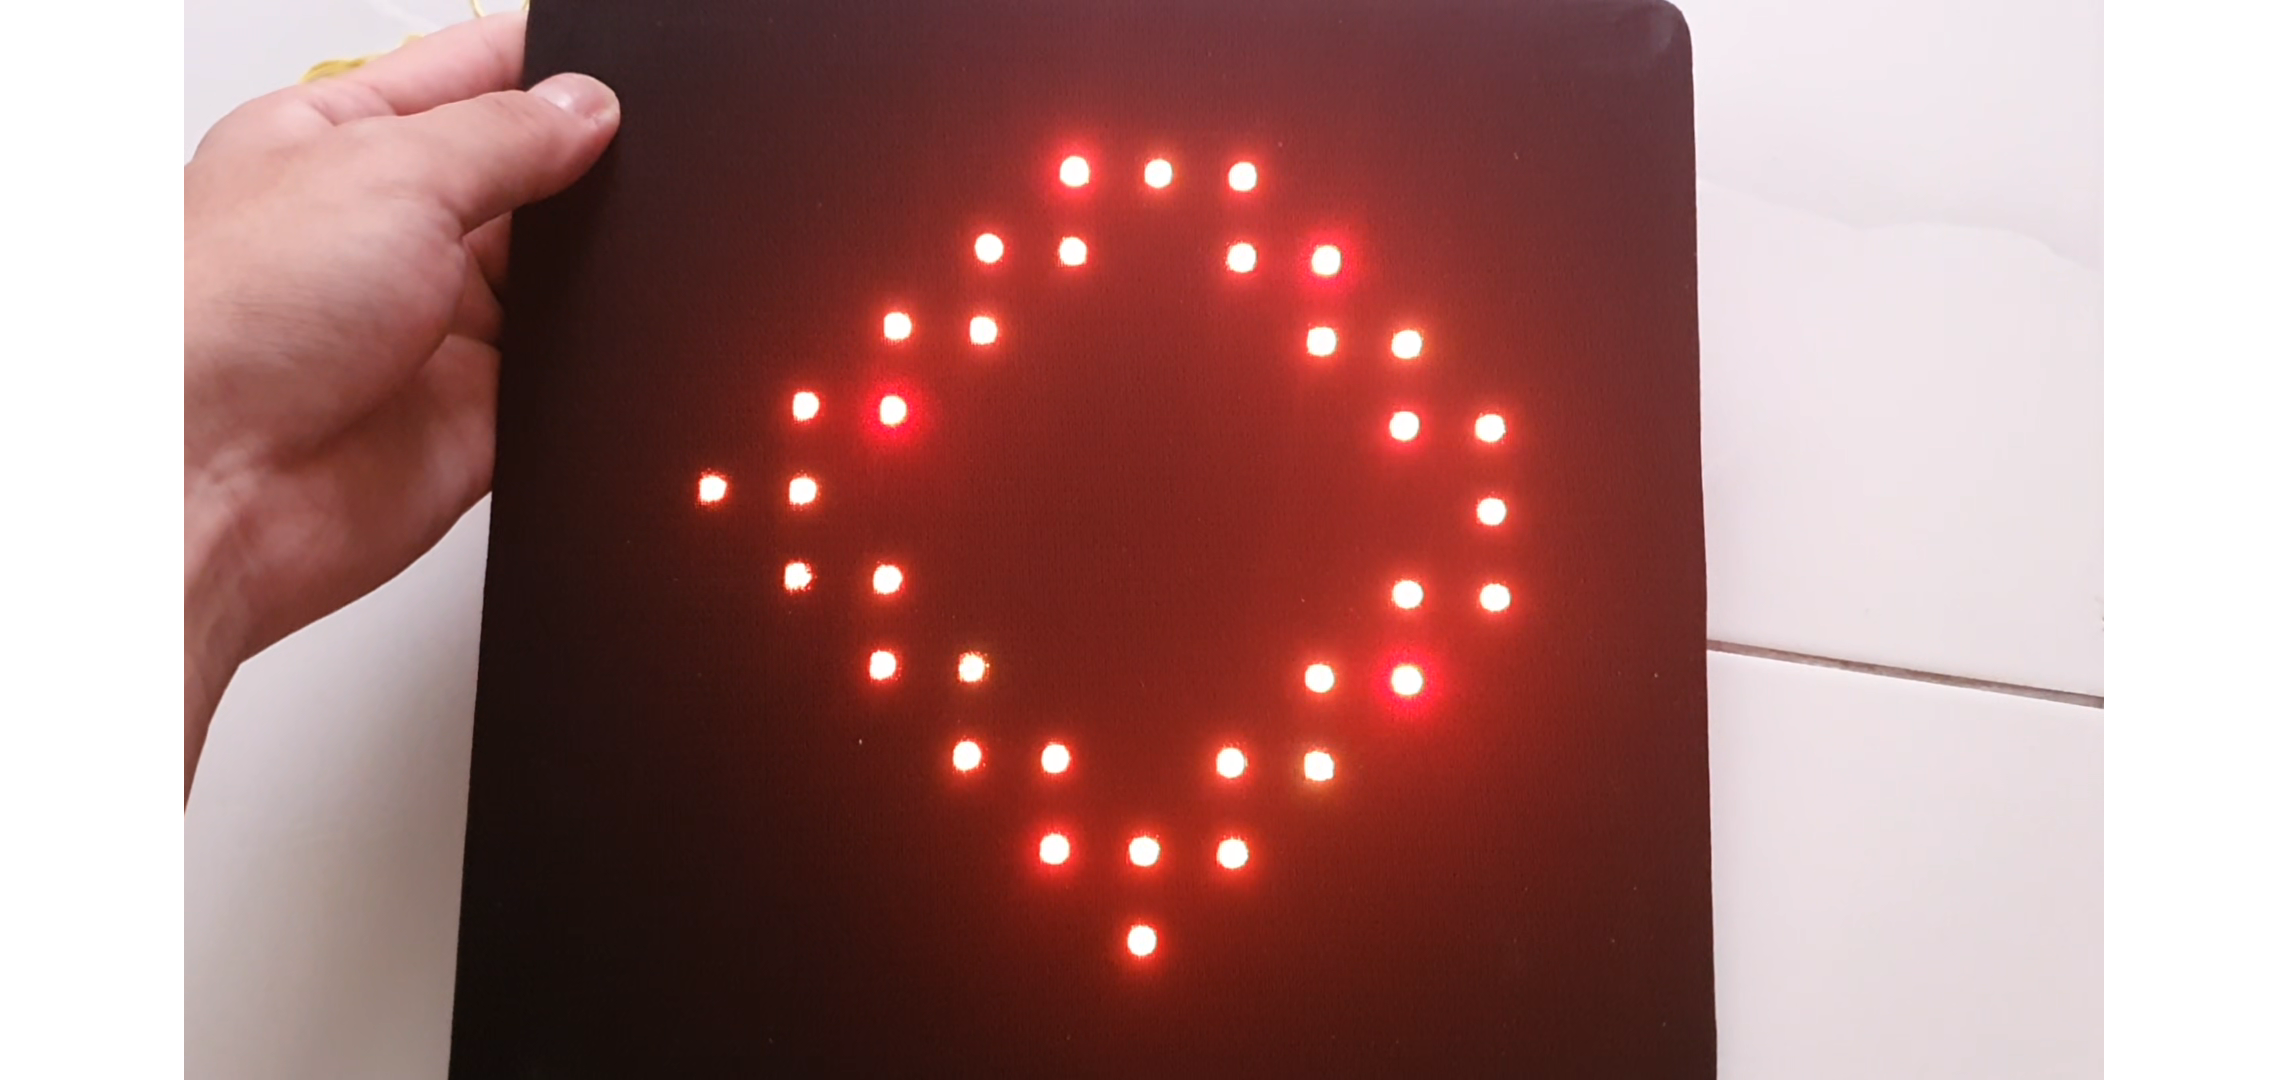
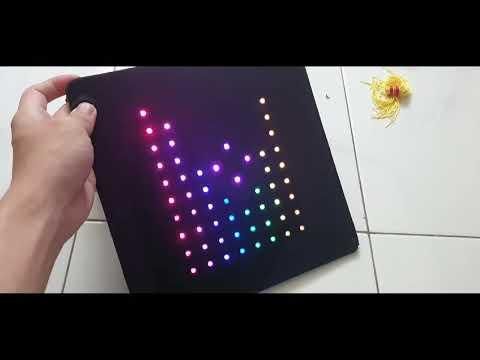
Since my matrix is only 10x10, there's a limit to how detailed things can get — you're not going to render a photo on 100 pixels. But there's still plenty you can do to feel festive and graduation-appropriate. Here's the lineup I landed on:
- Pulsing Heart
- Rainbow Wave
- Fireworks
- Plasma Effect
- Pulsing Rings
- Color Rain
- Spiral Spin
- Smiley Face
- Border
- Pulse Ring
- Equalizer
- Expanding Ring
- Confetti Burst
- Checkerboard Pulse
Fireworks and confetti burst for the celebration energy, a pulsing heart and smiley face for the fun of it, rainbow wave and plasma for that eye-catching color flow. Each tap of the button cycles to the next one.
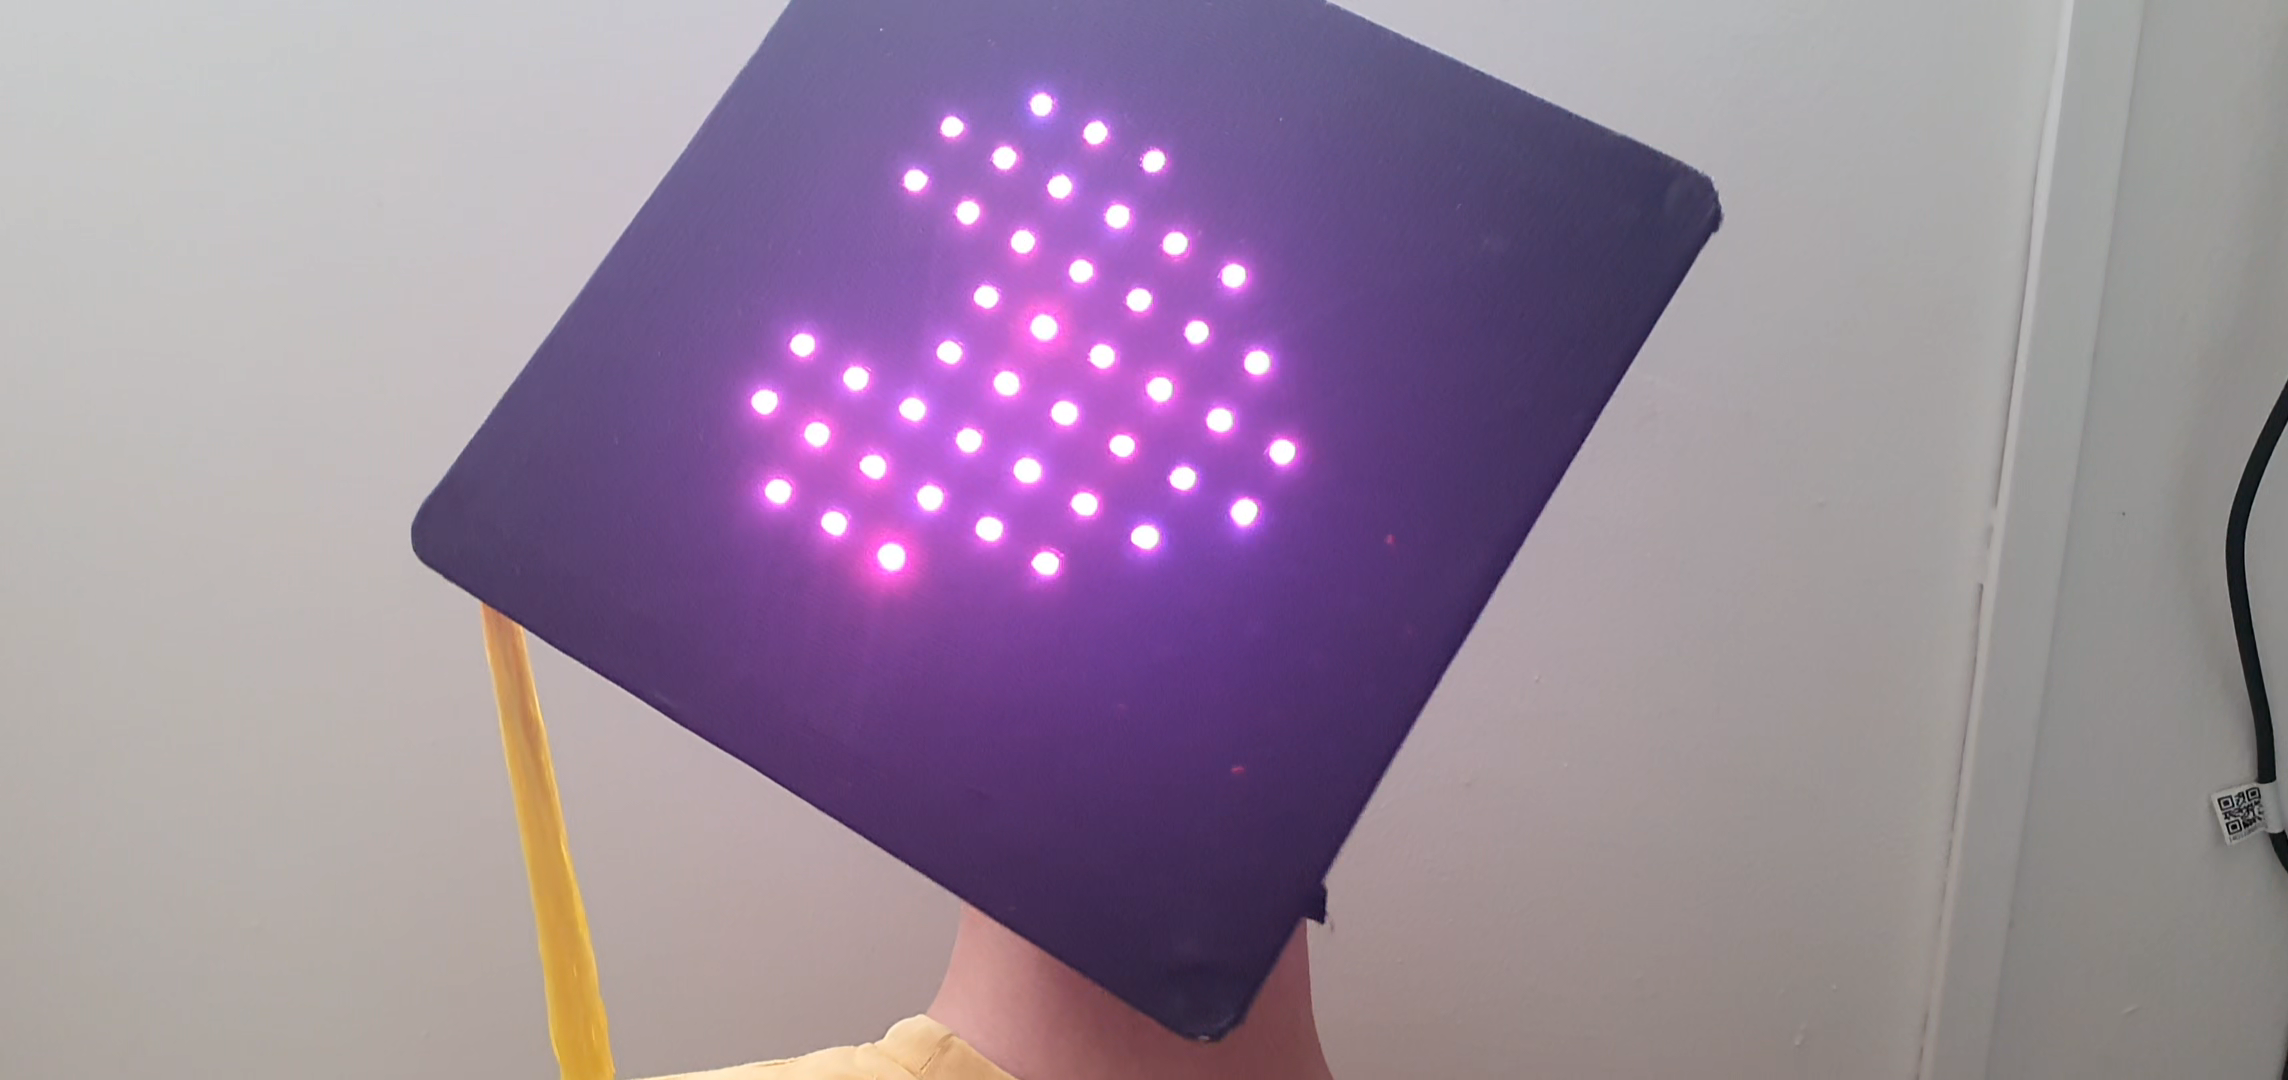
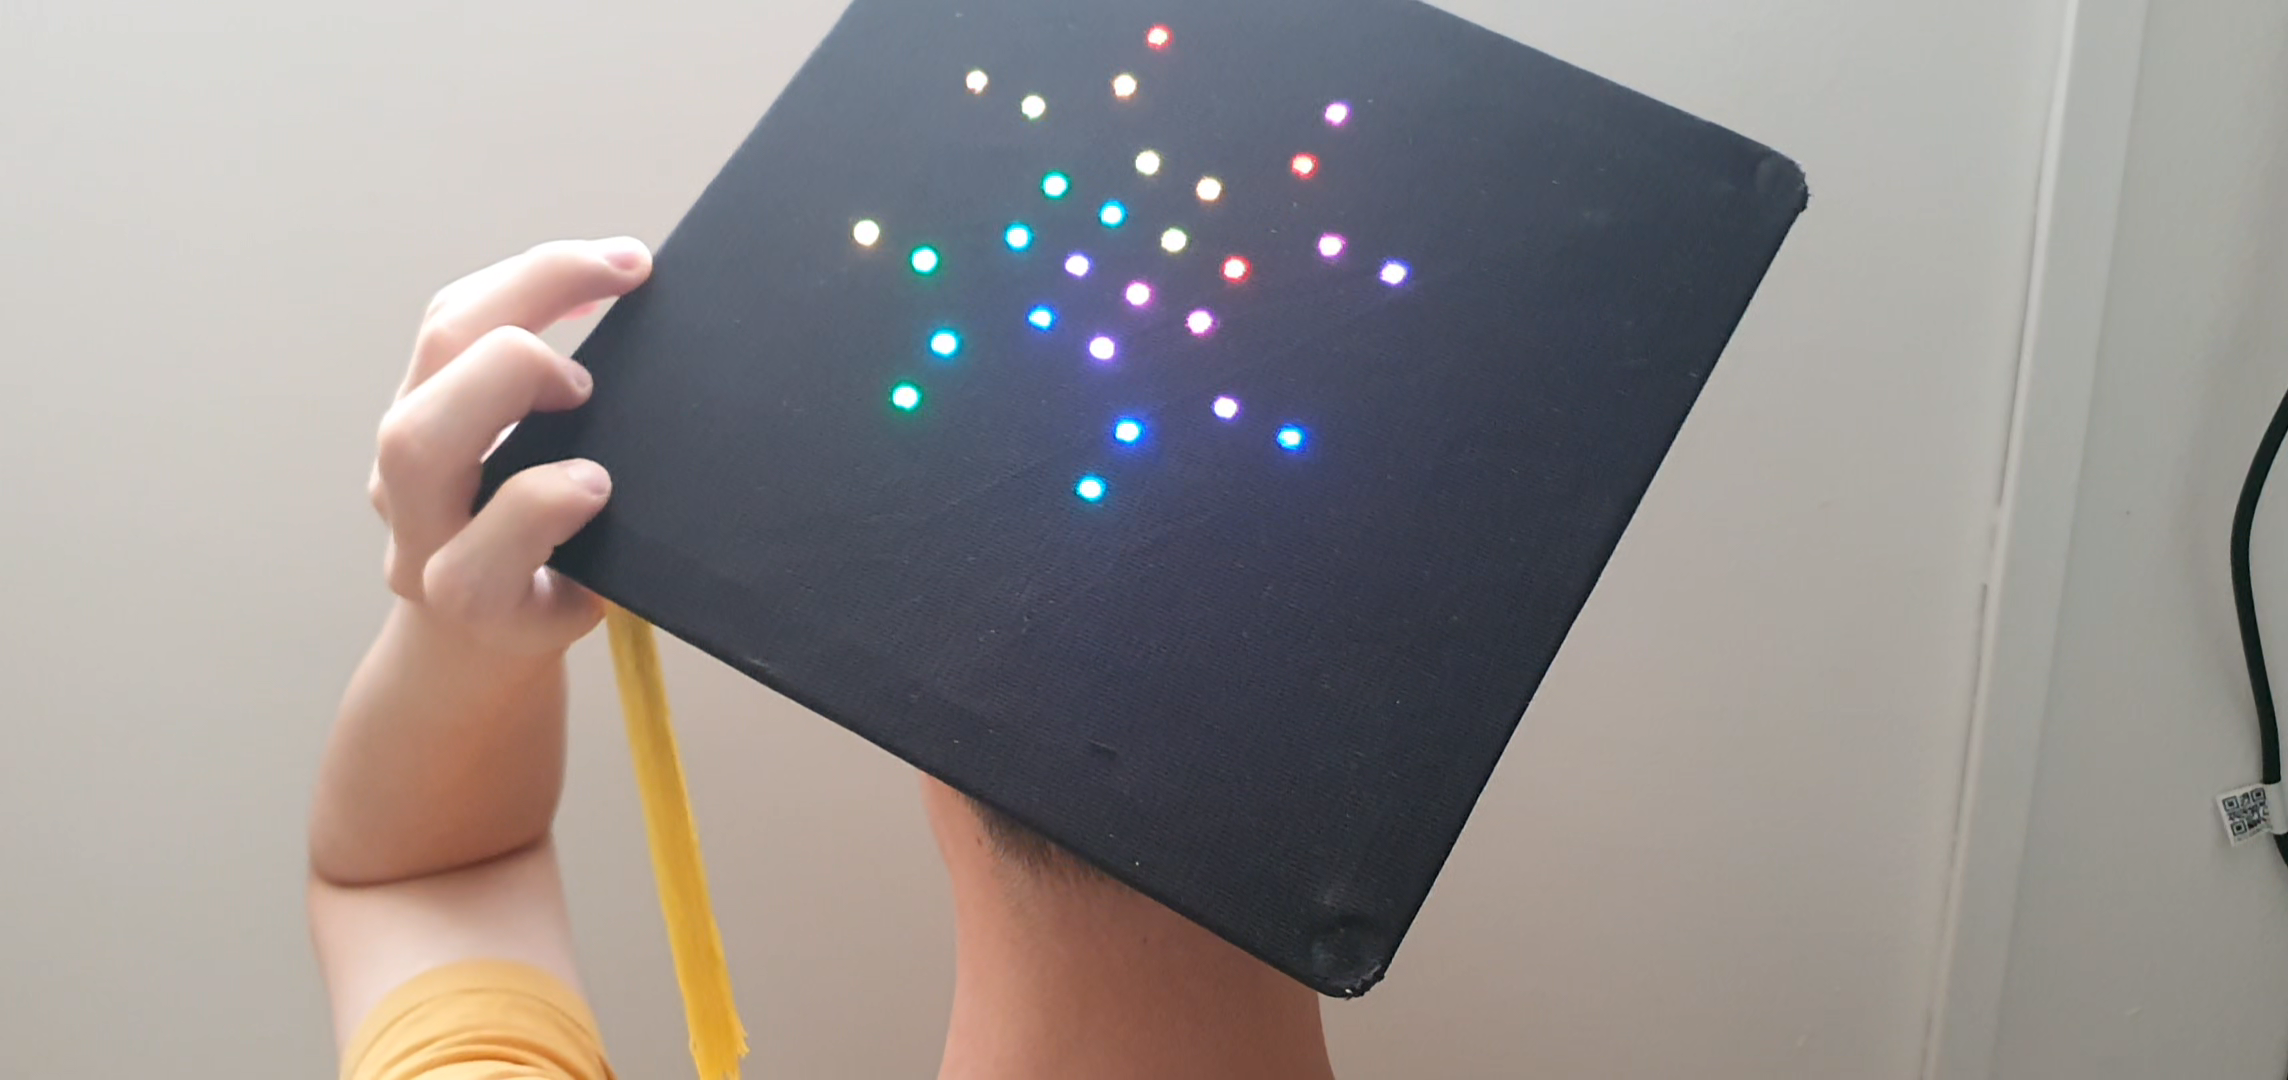
And I have to be honest — the moment I powered it up and watched the patterns come alive, I was completely sold. The rainbow wave rippling across the cap, all of it shiny and glowing softly through the cloth... it's colorful, it's beautiful, and I genuinely love how it turned out. That was the moment all the hot glue and soldering felt 100% worth it.
The Results — Me Actually Wearing It
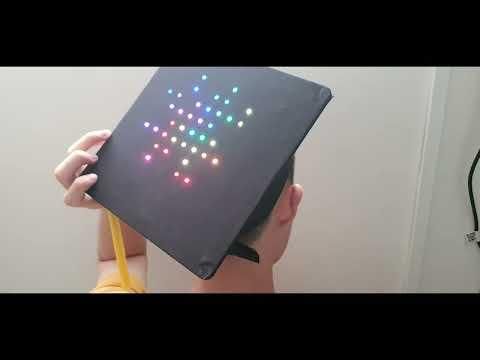
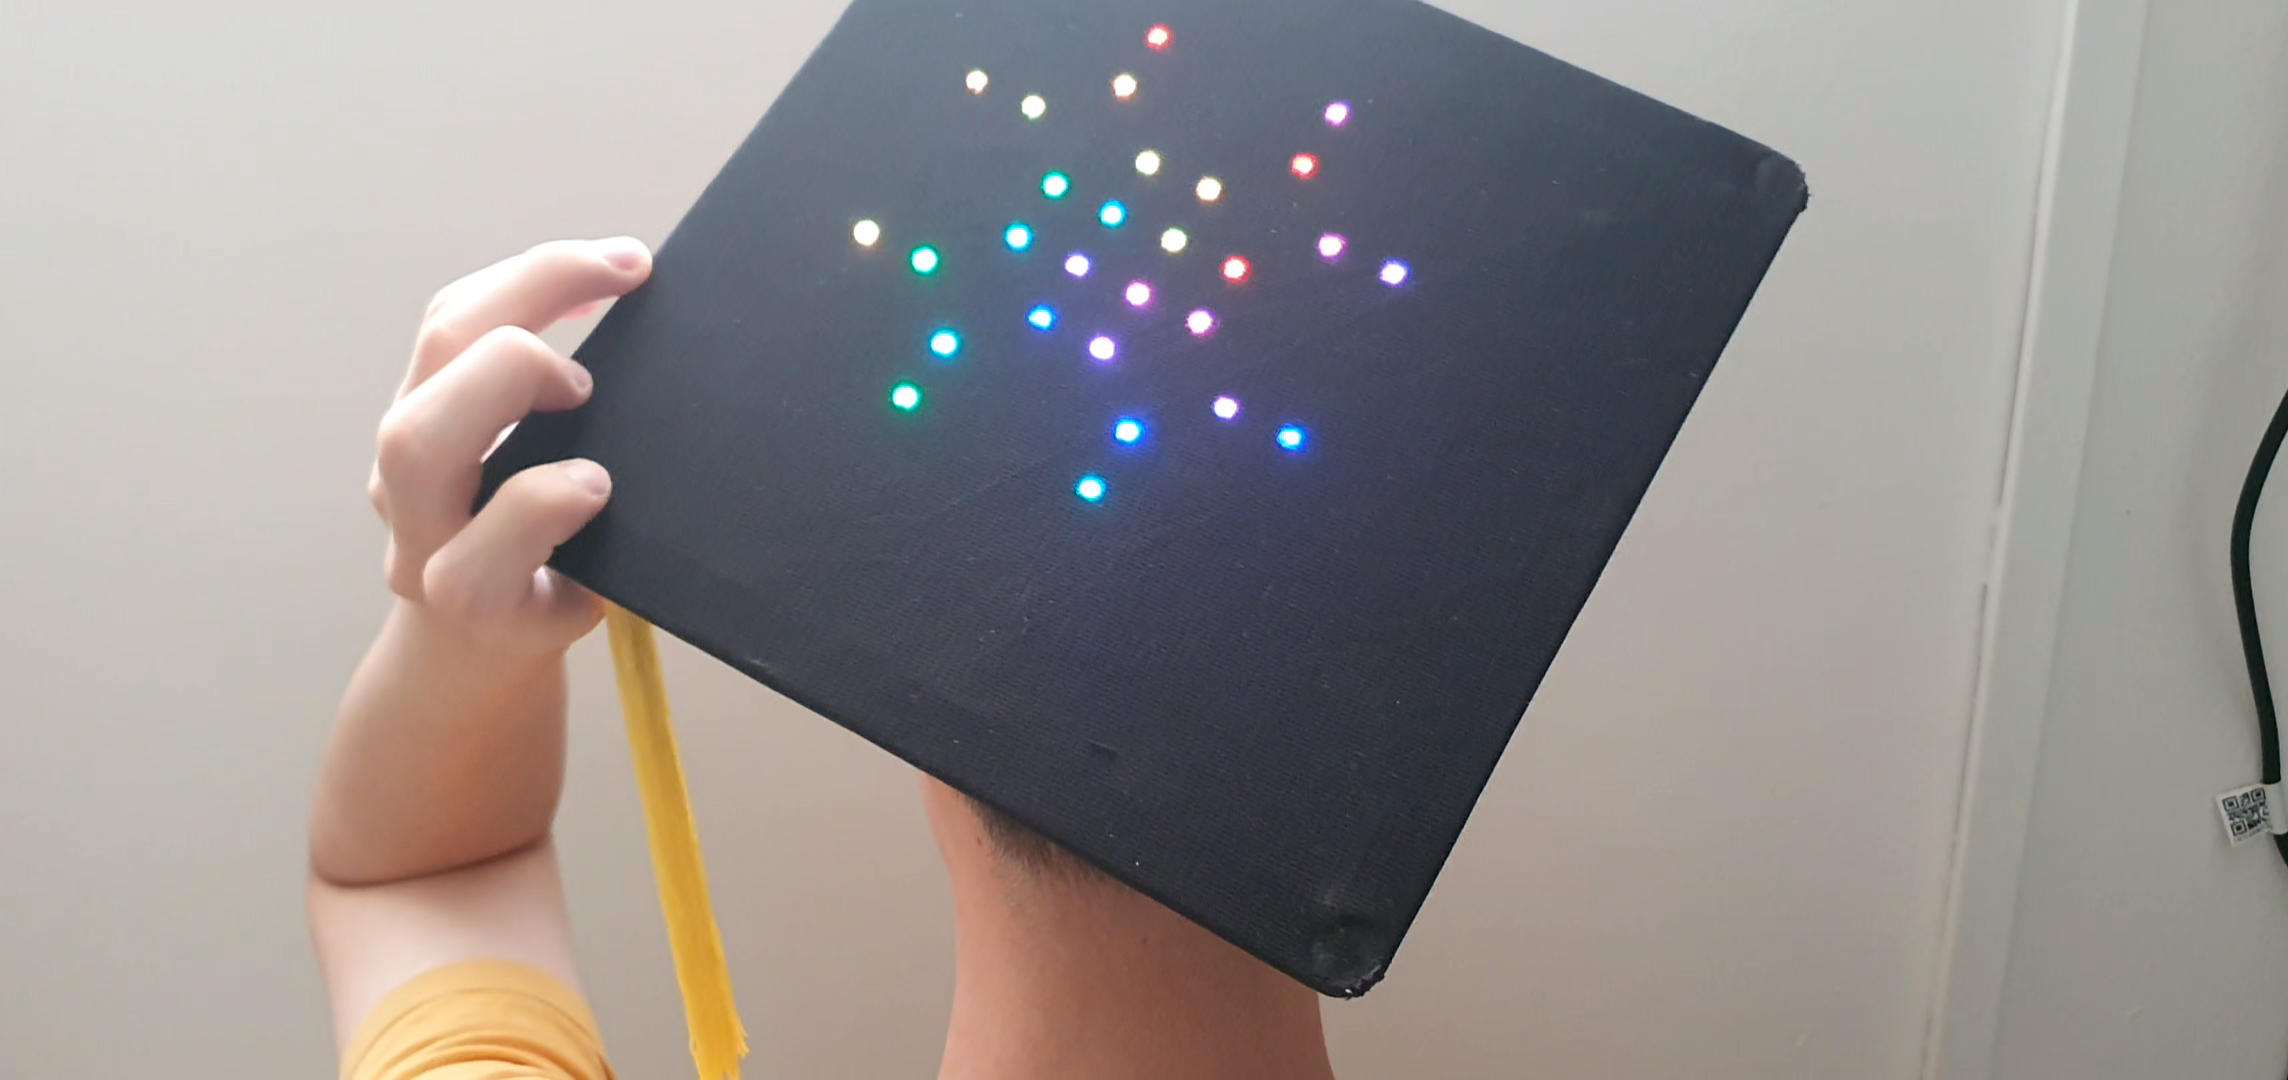
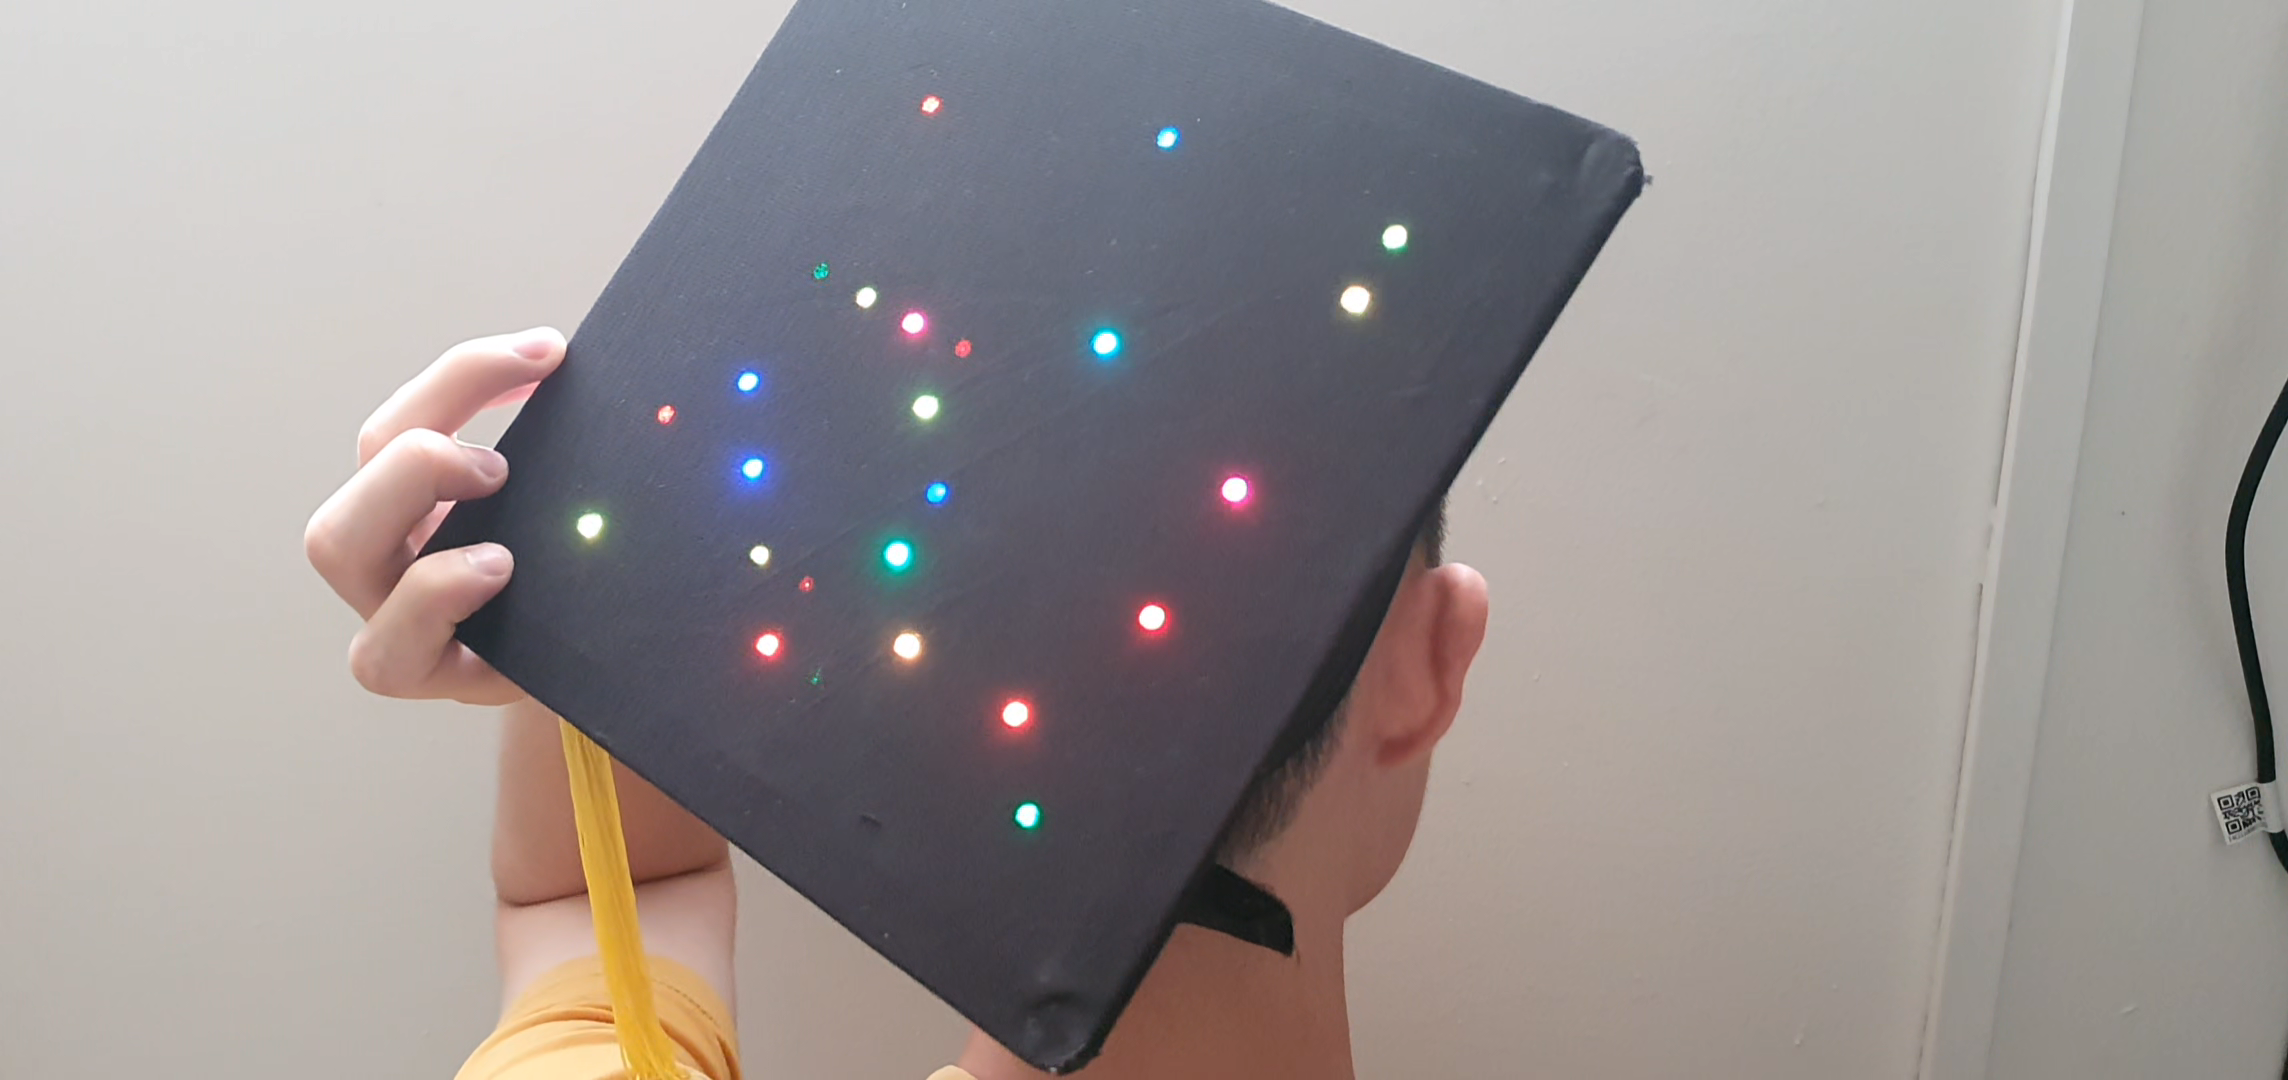
Okay, this is the part I'm most excited to show. After all the printing, gluing, soldering, cutting, and folding — here's what it actually looks like sitting on a real human head. Mine.
This is the one that got people turning their heads at the convocation. Mission accomplished.
What's Next (if I Ever Revisit This)
Like I mentioned, the 10x10 matrix is the main limiter. If I picked it up again, going with a denser LED strip — or that dream custom PCB with 2020 RGB LEDs for a 100x100 matrix — would open up way more detailed and meaningful patterns. Imagine actual text scrolling, or smooth contour animations. That's the ceiling for this concept.
But for this round, I wanted to keep it simple, cheap, and buildable with what I already owned. And I think it hits that goal.
Wrapping Up
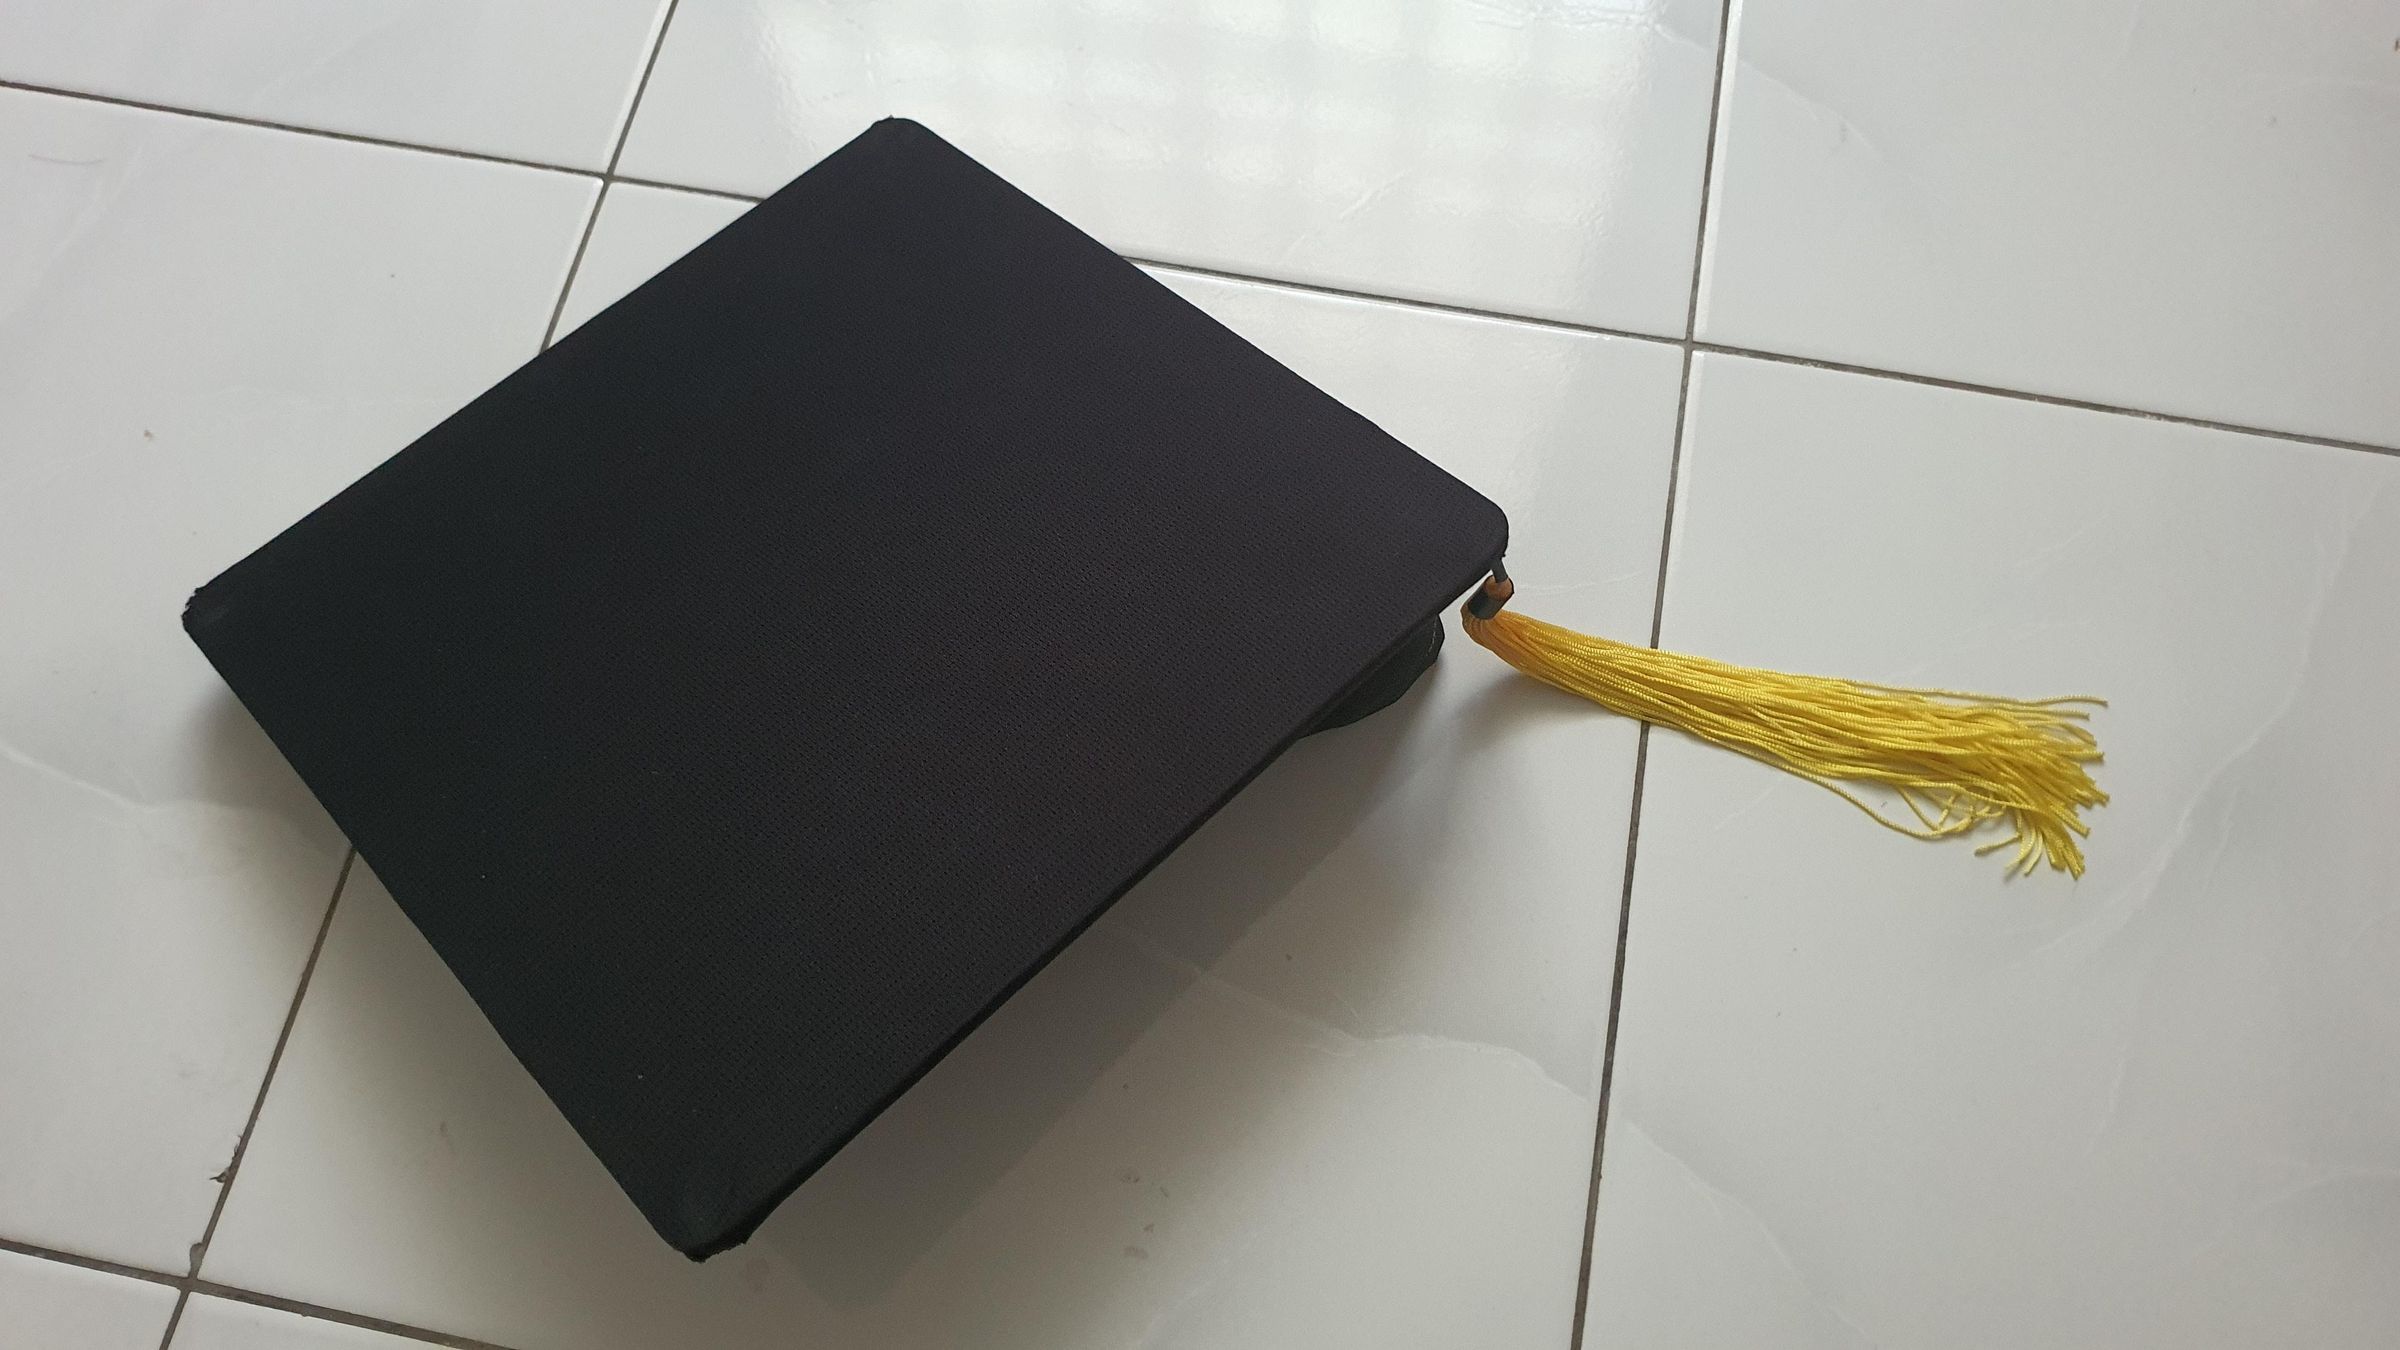
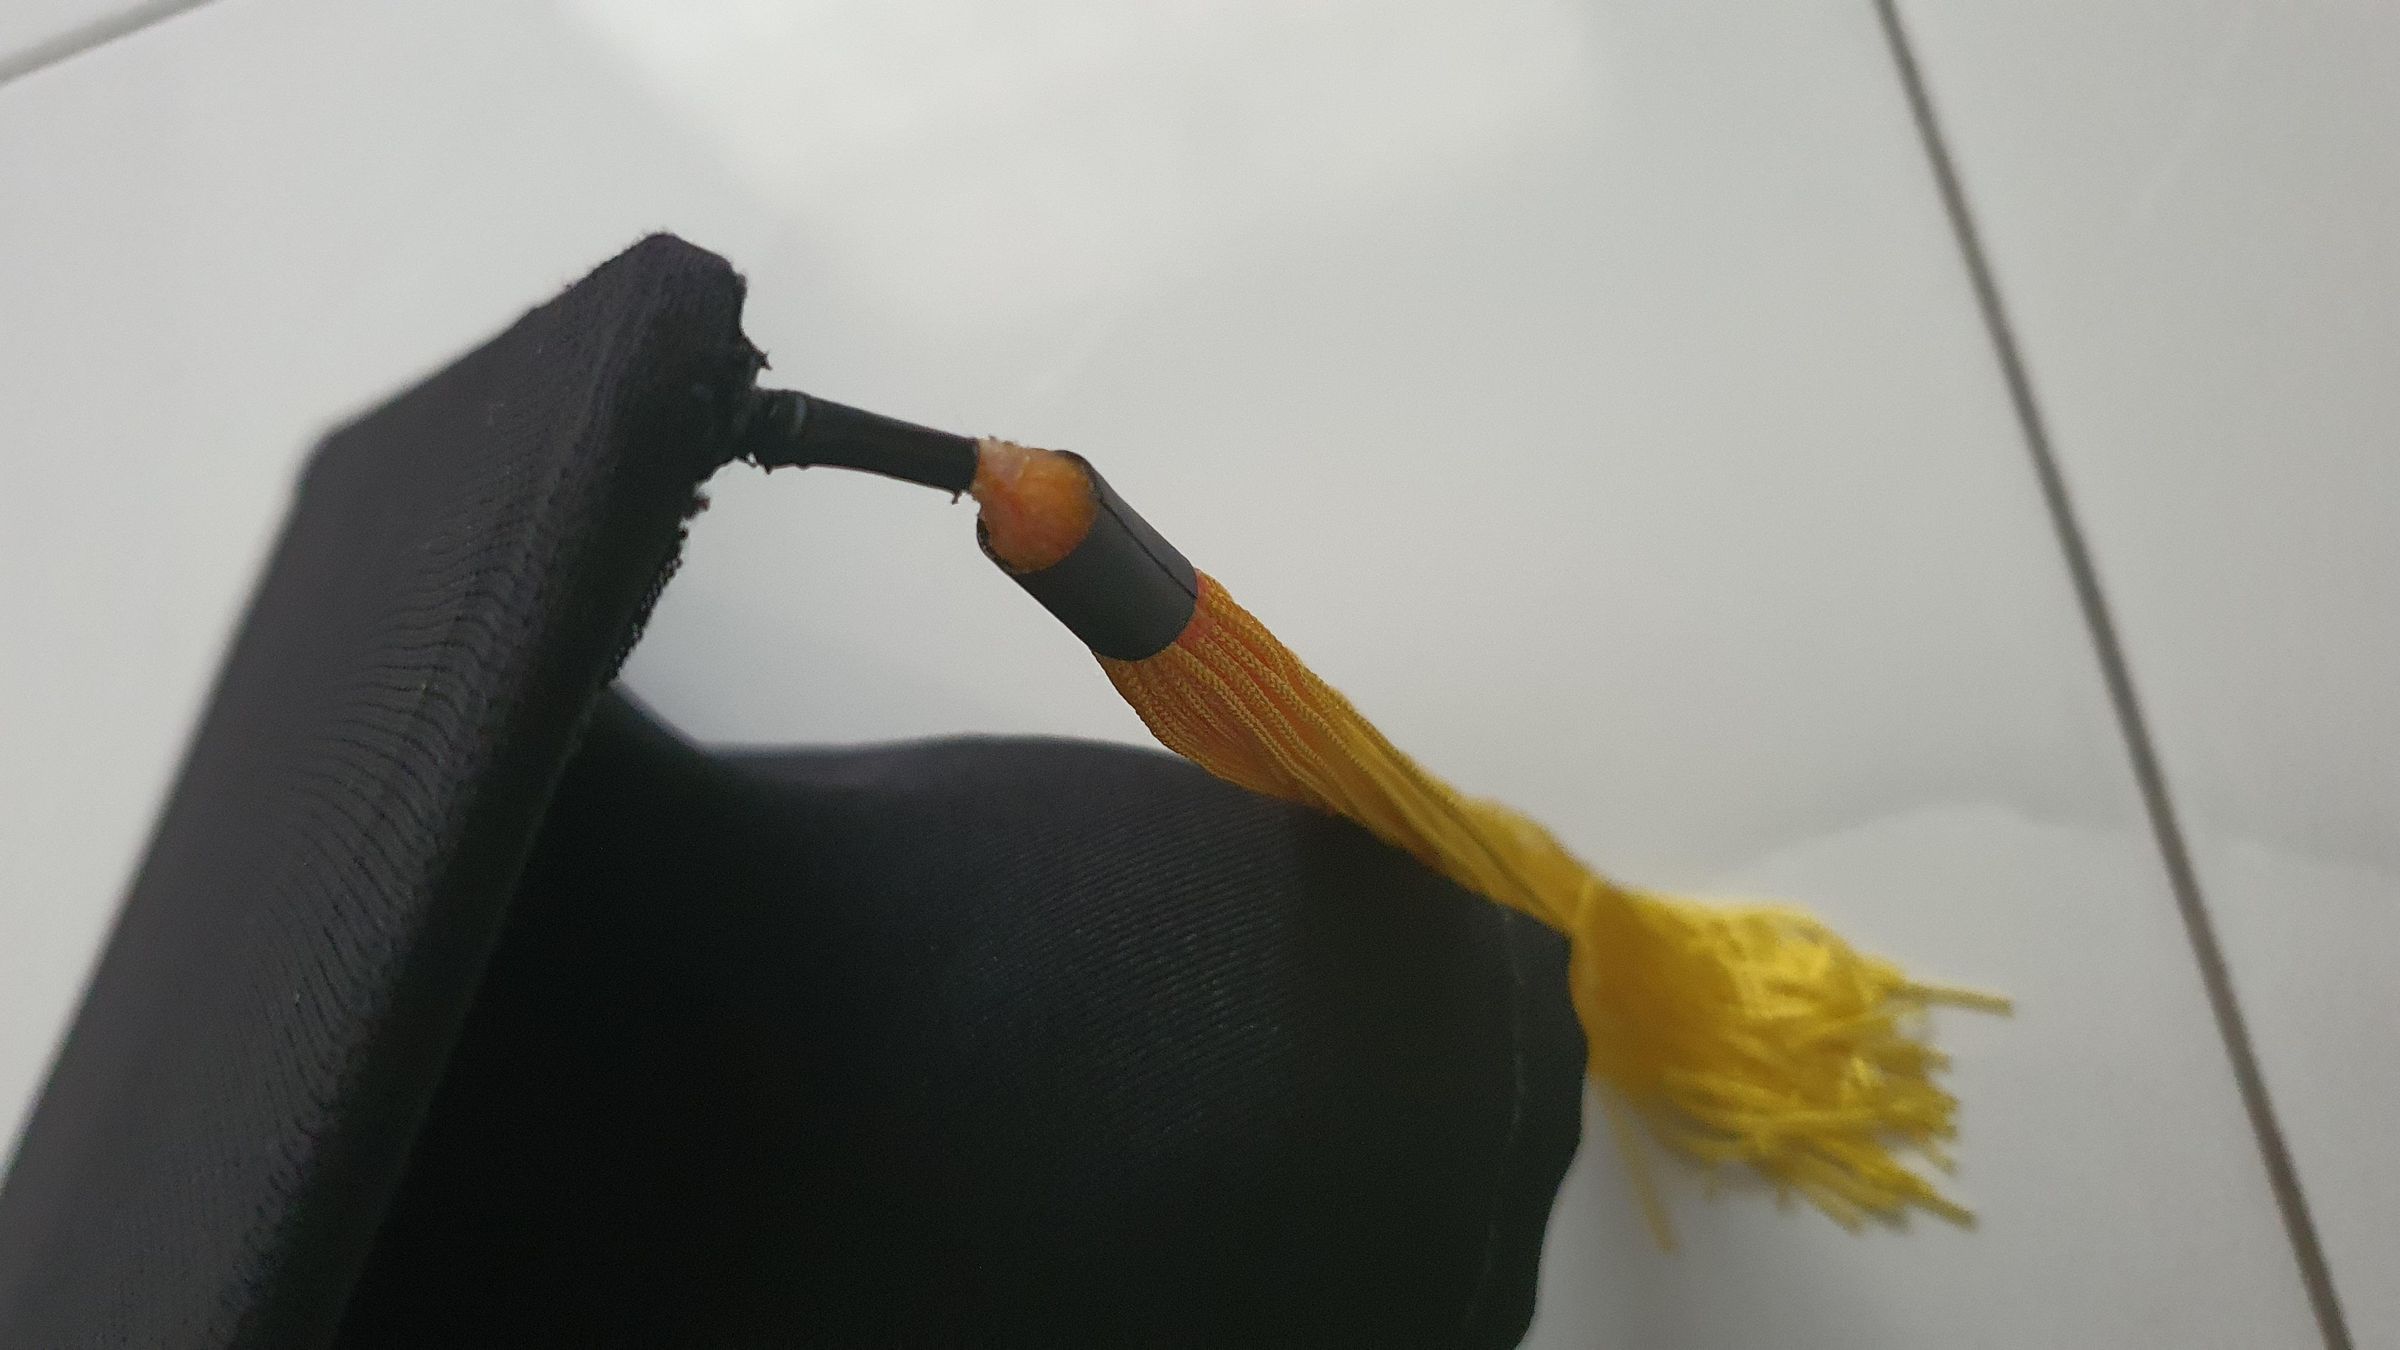
So that's the whole thing — an ESP32-C3 Super Mini, a power bank with a charger, a button, and ten strips of ten LEDs. That's it. Simple circuit, simple idea.
But what makes me happy about it isn't the tech — it's that almost all of it came from stuff I already had at home. An old black shirt turned into a light diffuser, leftover lantern tassels, a gutted power bank, parts from the box in the corner. It's a glowing, personal, one-of-a-kind graduation cap that cost me almost nothing extra to make, and it carries a little message about recycling and getting creative with whatever's already around you.
Two last things before I wrap up. Every part of this cap is hot glued, not sewn — that was a deliberate call. You only graduate once, and my convocation lands around 4 July 2026, so I wasn't about to teach myself tailoring for a cap I'll wear for a single day. And I'll be upfront: I wasn't thinking about documenting this while I built it, so I'm short on process and final shots, and a few steps are ones you'll have to poke at and figure out yourself. But that's part of the learning — and part of the fun.
And that's kind of the whole point. It doesn't need to be perfect — mine definitely isn't. But it's mine, and it stands out from everyone else graduating alongside me. If there's one thing I'd want you to take from this, it's this: be yourself. Use what you've got, make something that's actually you, and don't stress about it being flawless. Standing out beats blending in, every single time.
And me? I'm really happy with how it turned out.