Glowing Heart Ornament: Emits Light in 7 Colors
by Casper Sky in Circuits > LEDs
422 Views, 0 Favorites, 0 Comments
Glowing Heart Ornament: Emits Light in 7 Colors
.png)
)
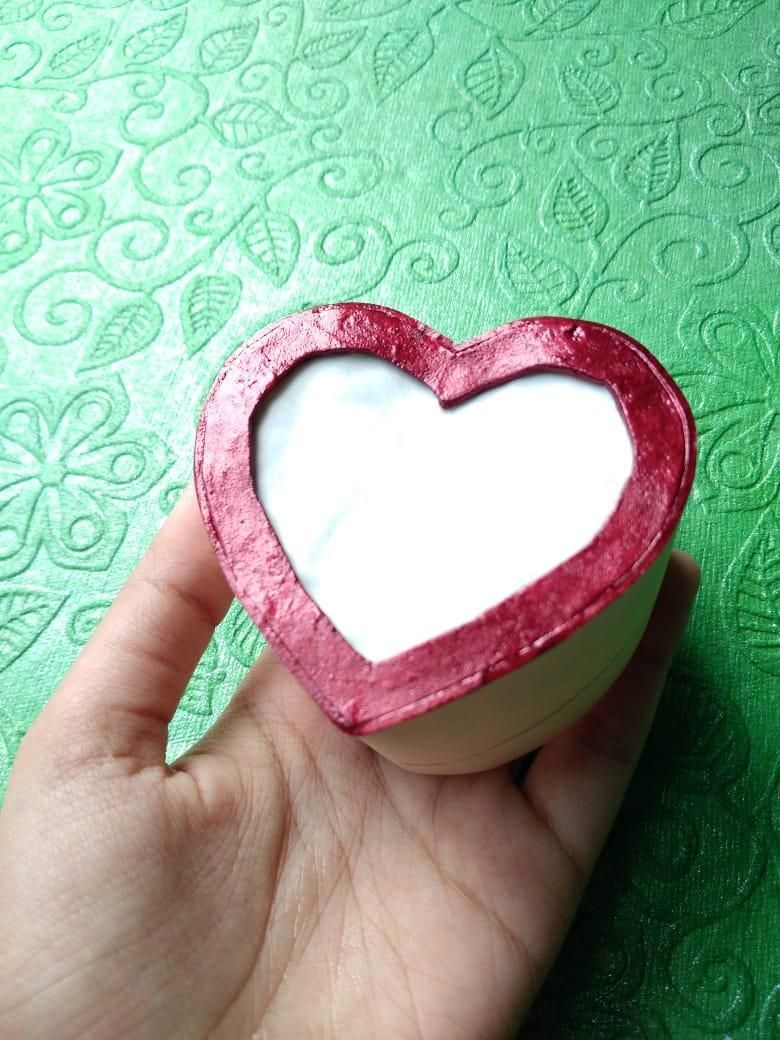
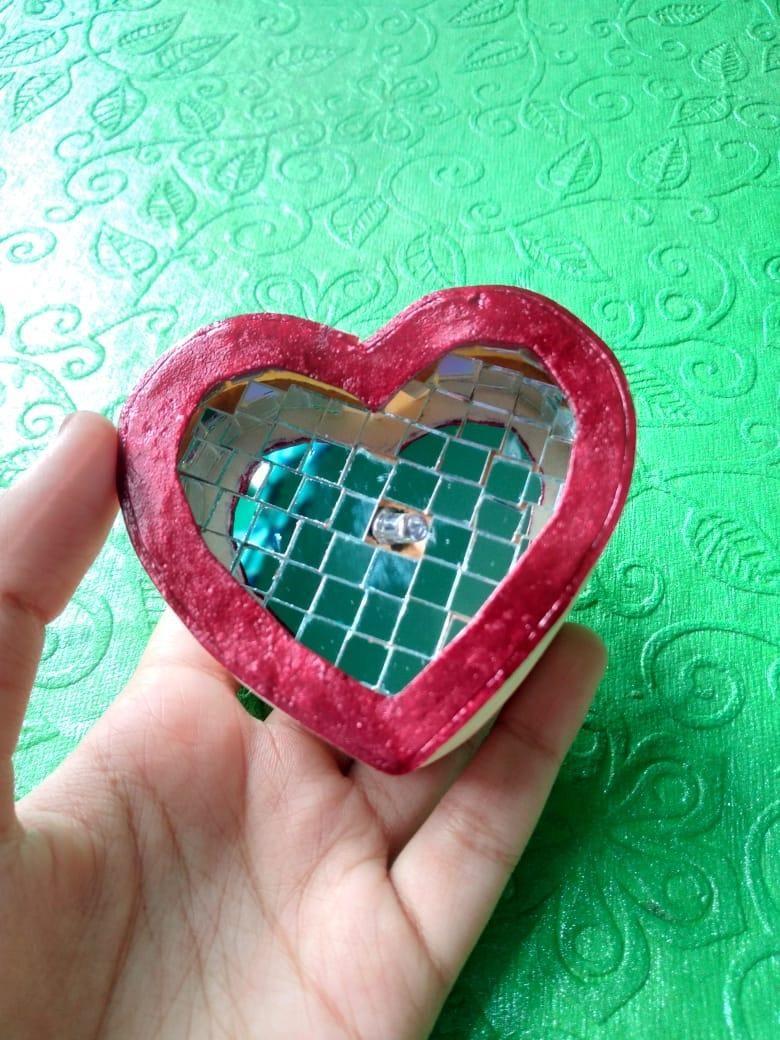
This project is a fun, easy-to-make heart-shaped light powered by a colorful RGB LED. Using a simple DIP switch and a small coin cell battery, you can toggle between 7 different vibrant colors without needing any microcontroller or coding! The main body is crafted from foam, lined with mirrors for extra glow, and finished with paint.
It’s the perfect project for beginners who want to combine basic electronics with creative handicrafts. Whether you're looking for a thoughtful handmade gift for Valentine's Day, a birthday, or a fun weekend craft, this glowing heart ornament brings art and technology together in a lovely gesture!
Supplies
Electronics:
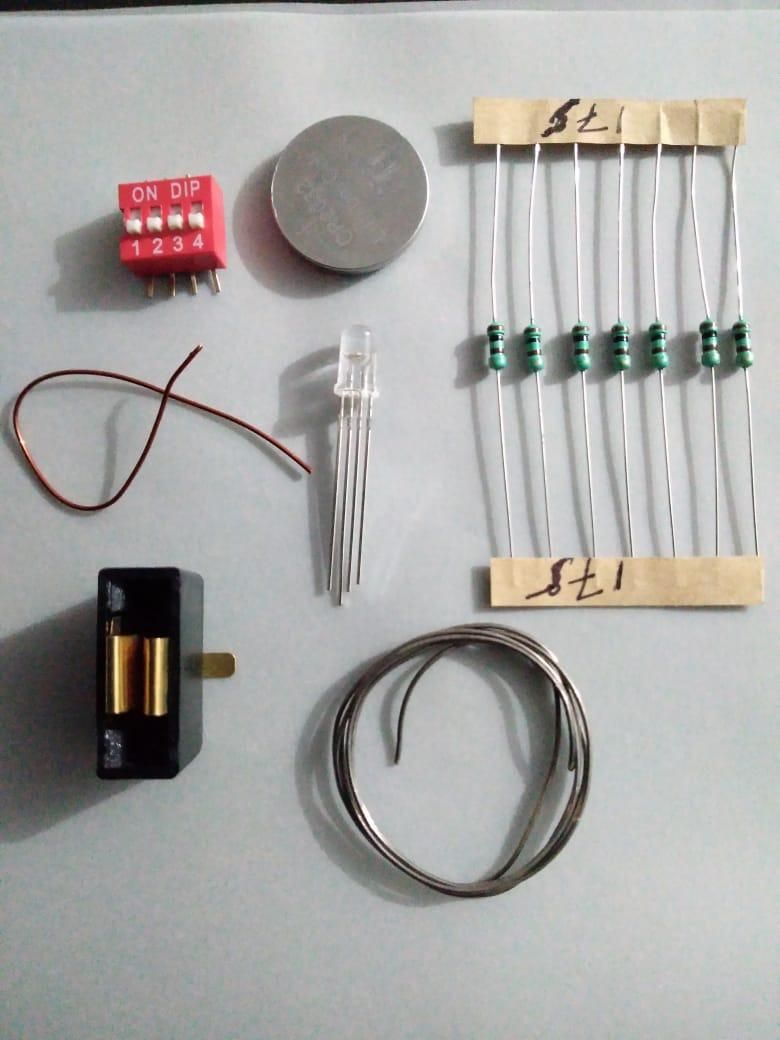
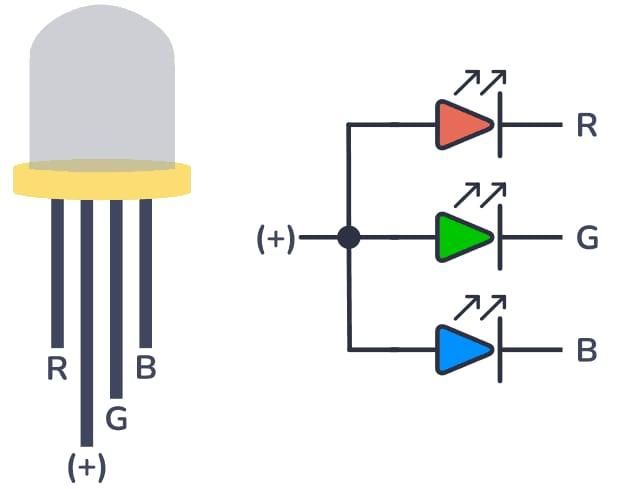
- RGB LED 5mm 4pin common anode ~ 1 quantity
- Resistors 100ohms ~ 3 quantity
- 4 positions DIP switch ~ 1 quantity
- 3 volts coin cell holder for pcb ~ 1 quantity
- 3 volts coin cell CR2032 ~ 1 quantity
Craft Items:
- Hard paper
- Foam sheet
- Butter paper
- Craft mirrors
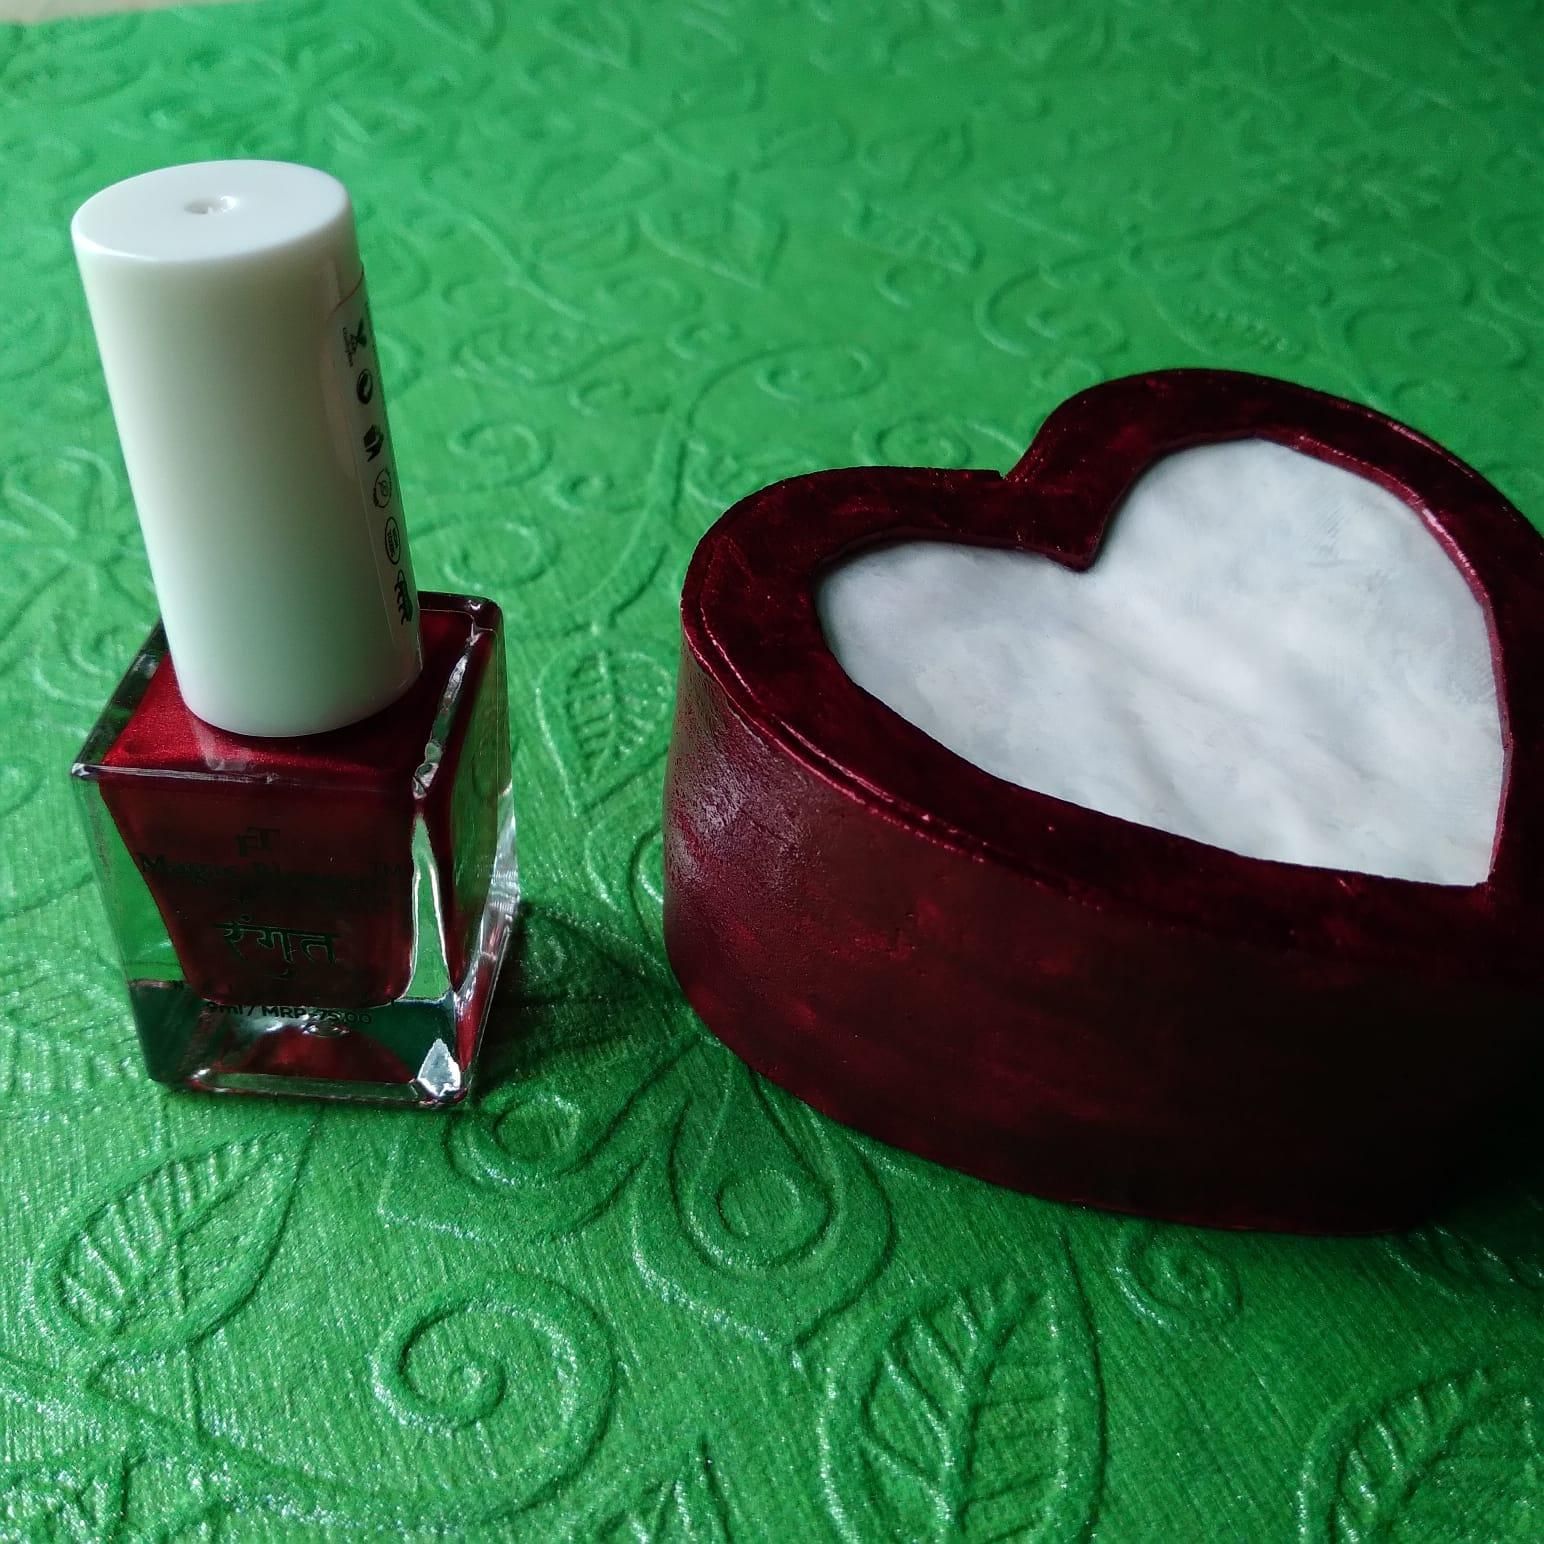
- Nail paints to color the heart
Tools:
- Scissors
- Glue
- Soldering iron & wires
- Glue gun if you require
Circuit Diagram
.jpeg)
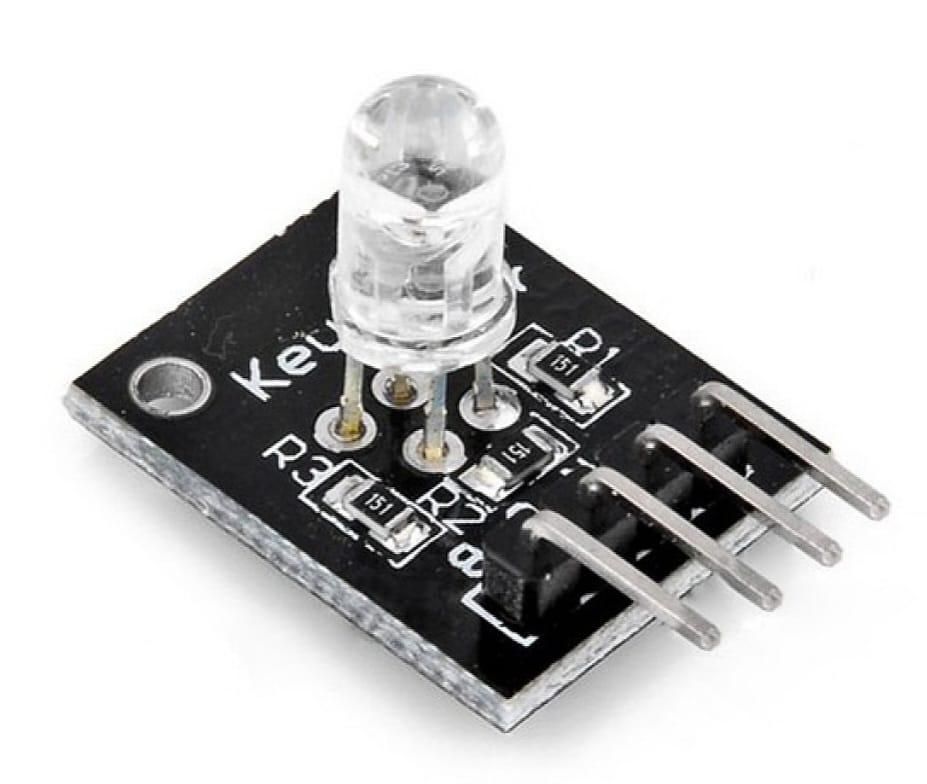
(This module in the figure can also be used to make it more clean as it has onboard resistors already)
- The DIP switch controls which colors of the LED.
- When you flip a switch to "on", it makes the LED show a specific color (Red, Green, or Blue).
- By turning on different combinations of switches, you can create different colors.
- The resistors help protect the LED from getting too much power.
Circuit Working
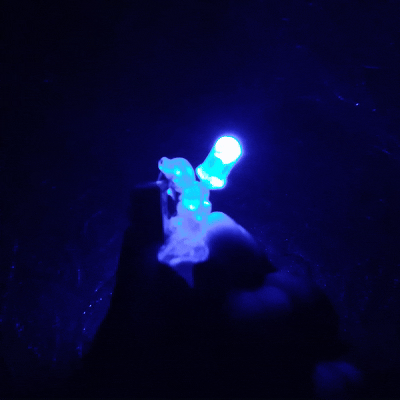
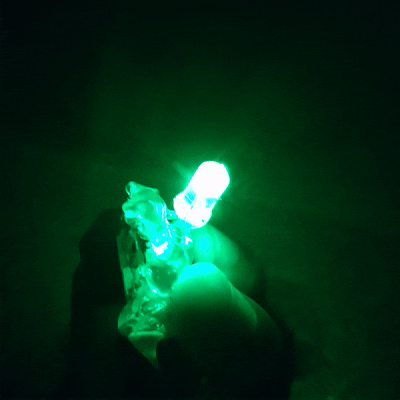
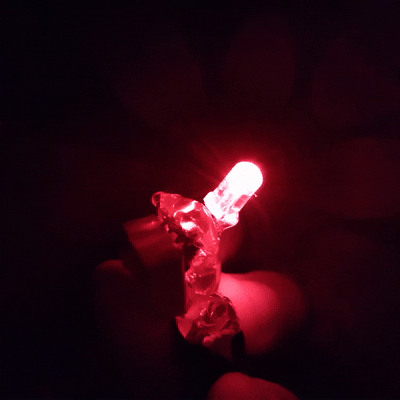
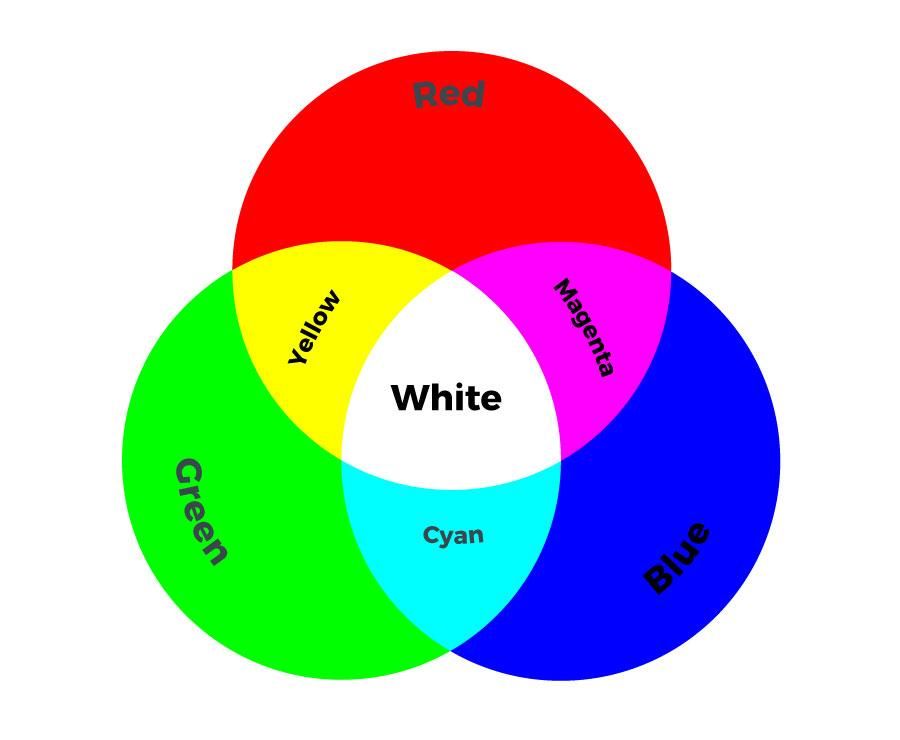
By turning on the switches one by one or in combinations of two, you can create different colors. That's a clever design!
It means the color combinations are:
- R (Red)
- G (Green)
- B (Blue)
- R+G (Yellow)
- G+B (Cyan)
- R+B (Magenta)
- White (R+G+B)
Solder the Electronics
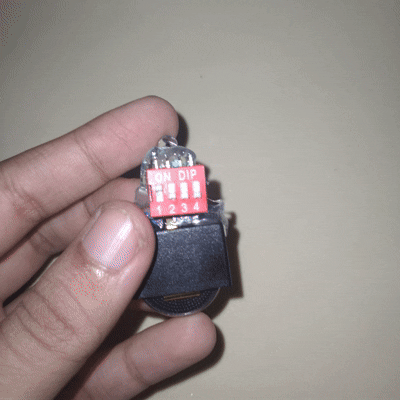
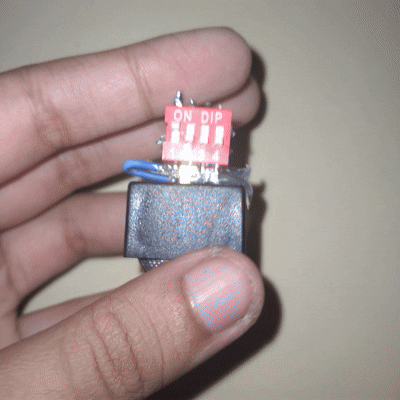
Now it’s time to bring the circuit to life! Follow the circuit diagram to solder components together neatly:
- Attach the Resistors: Take DIP switch and solder one resistor to each of the three active output pins (for Red, Green, and Blue control).
- Connect the RGB LED: Solder the free ends of those three resistors directly to the corresponding Red, Green, and Blue pins of the RGB LED.
- Wire the Battery Holder: Solder the positive wire from the CR2032 coin cell holder to the Common Anode (+) lead of the LED. Connect the ground wire to the input pin of the DIP switch.
Tip: Using a dedicated coin cell battery holder rather than soldering directly to the battery makes swapping out dead CR2032 cells super quick and hassle-free later on.
Craft the Foam Heart Housing
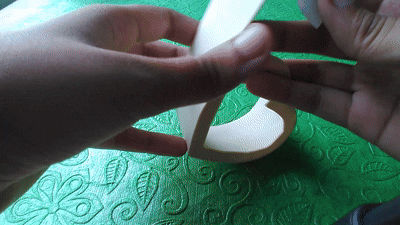
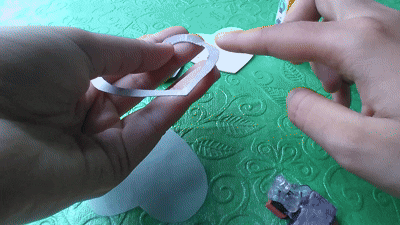
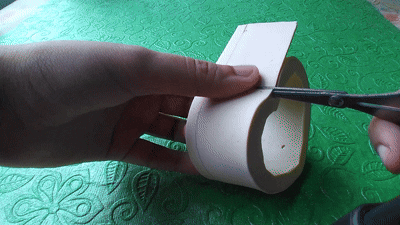
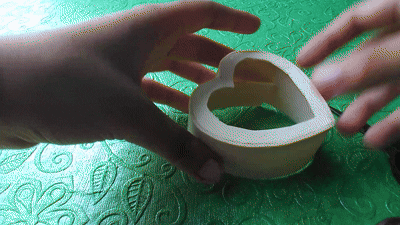
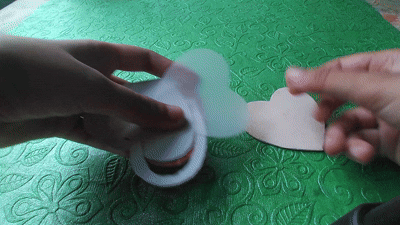
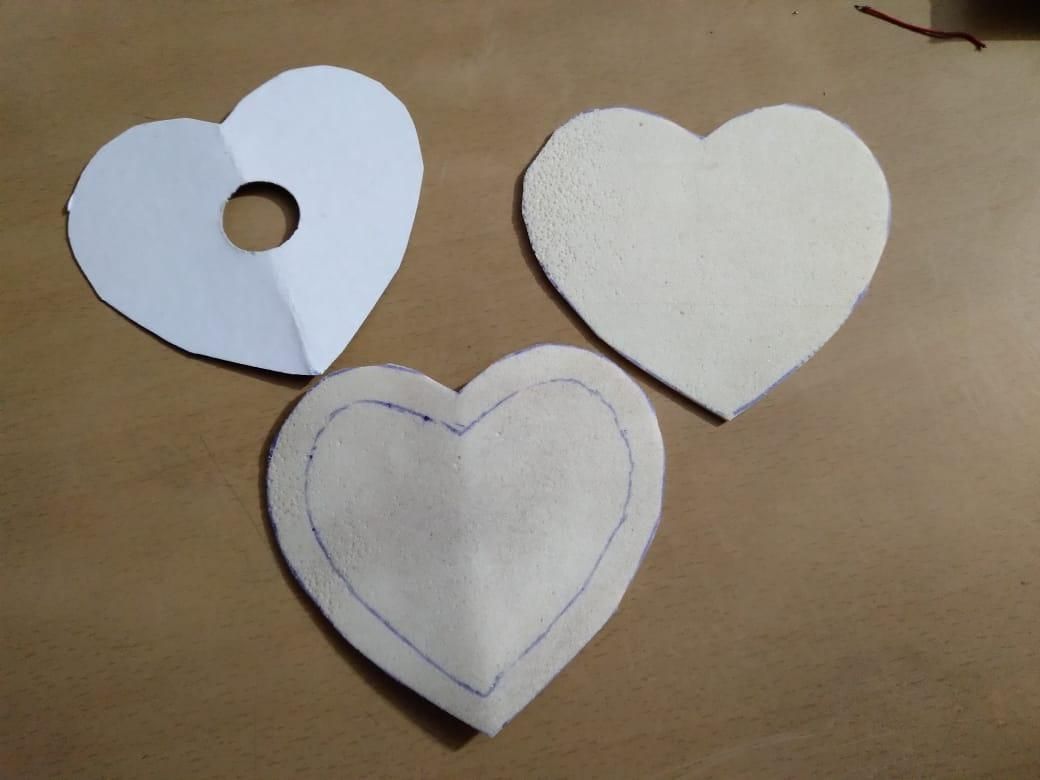
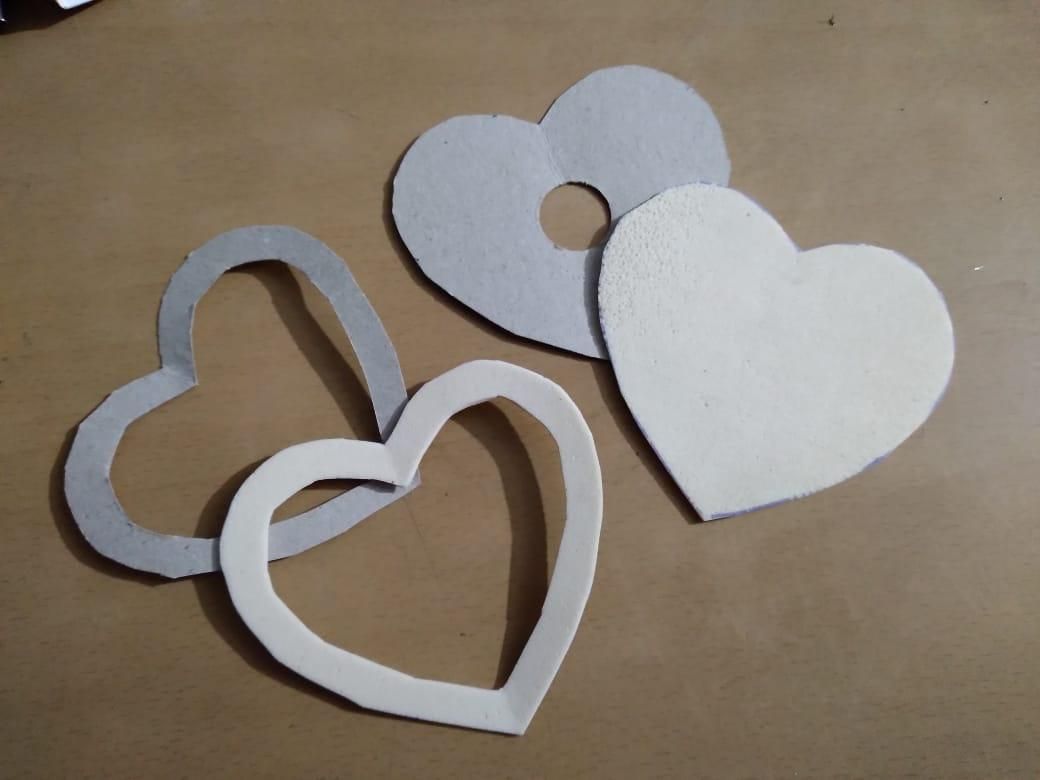
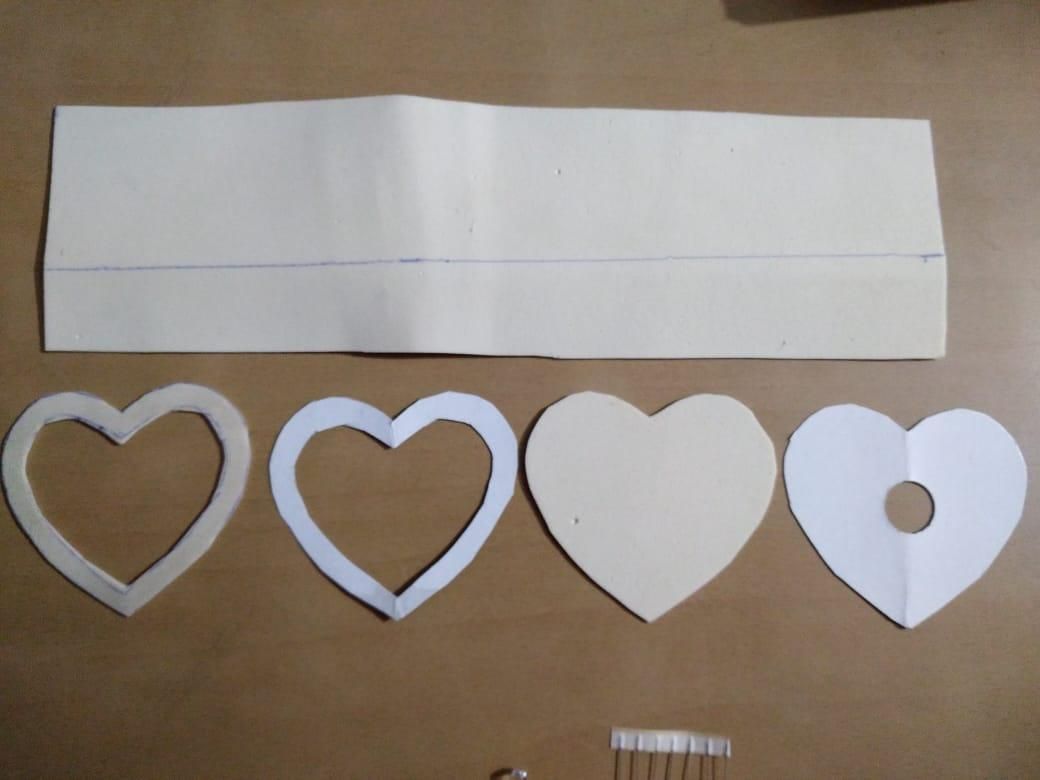
It's time to build the heart-shaped body using foam sheet and hard paper:
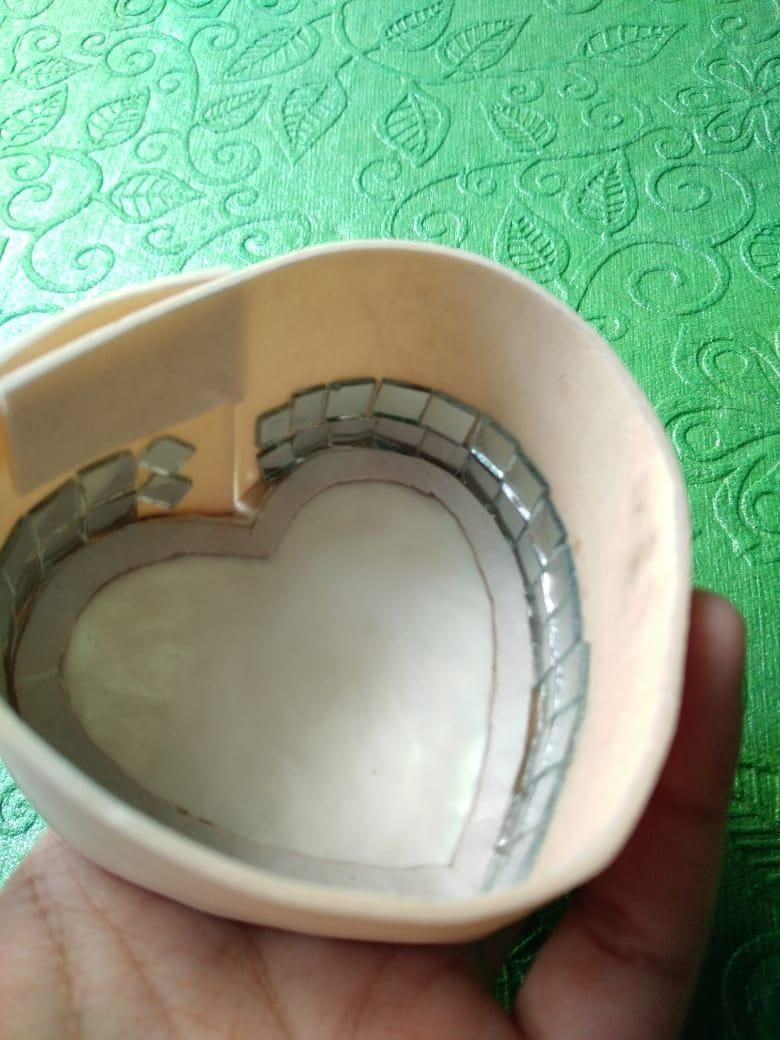
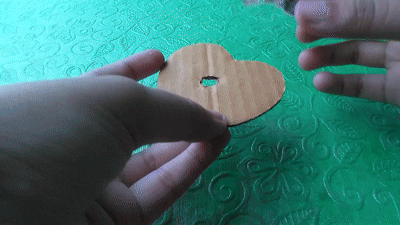
- Cut the Base & Walls: Cut out a heart shape from the foam sheet to act as the main frame. Next, cut a long strip of foam to form the outer sidewalls. Wrap and glue this strip around the border of the heart base to create a hollow 3D box.
- Add the Diffuser Screen: To ensure the bright point-source light from the RGB LED turns into a soft, romantic glow, trace the top of the heart onto a sheet of butter/tracing paper. Cut it out and glue it across the front opening. This translucent layer will evenly diffuse the 7 color combinations.
Install Mirrors & Mount the Circuit
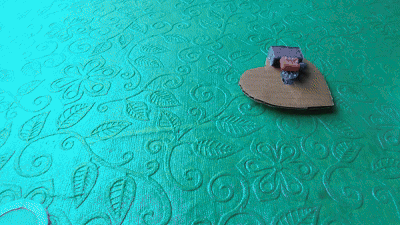
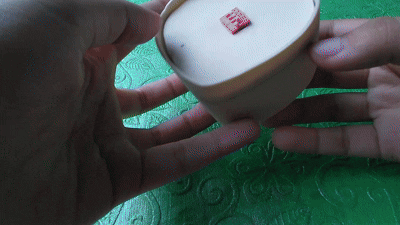
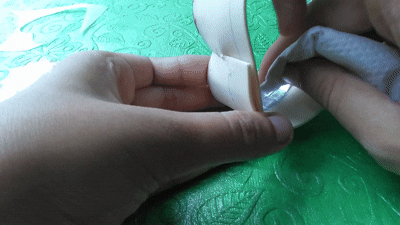
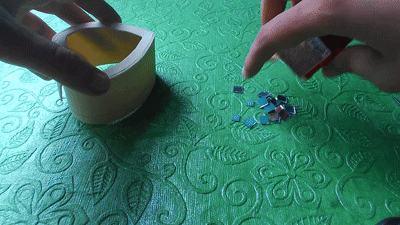
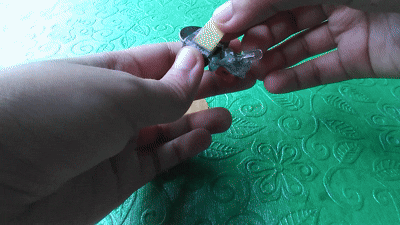
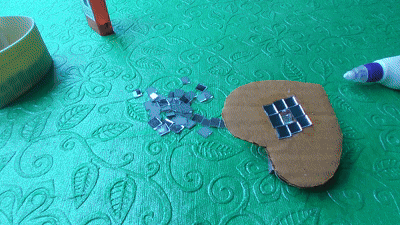
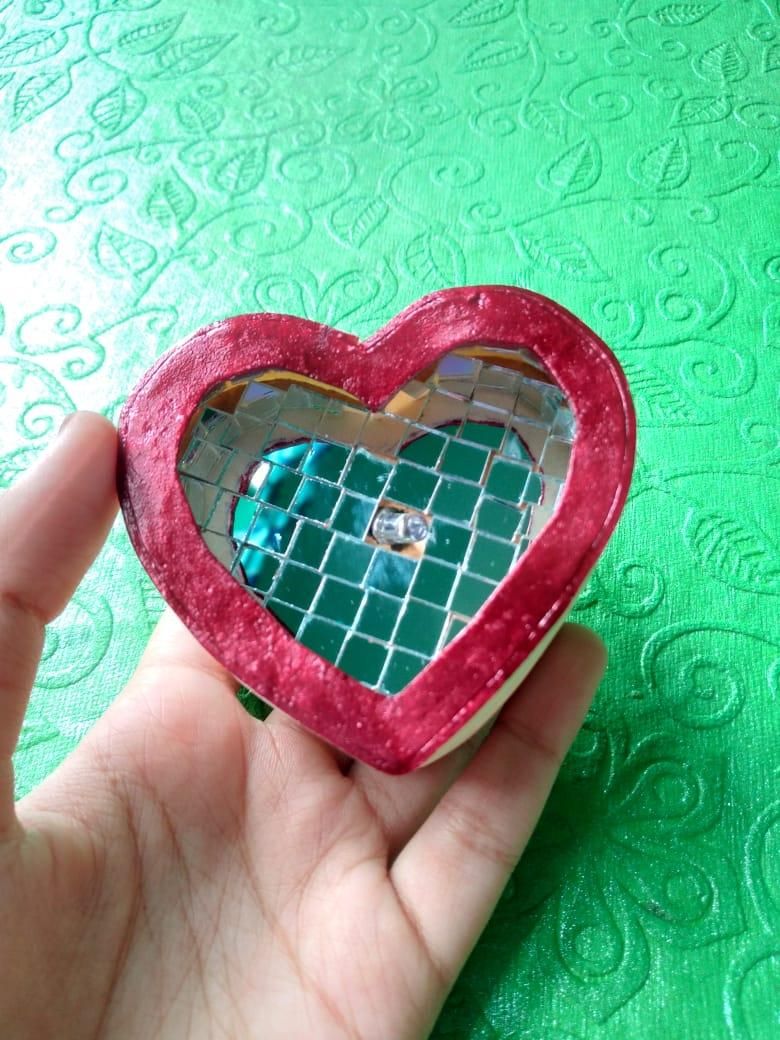
To maximize the light output and secure the wiring inside the heart:
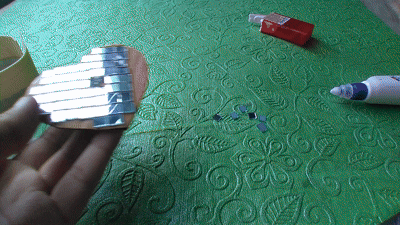
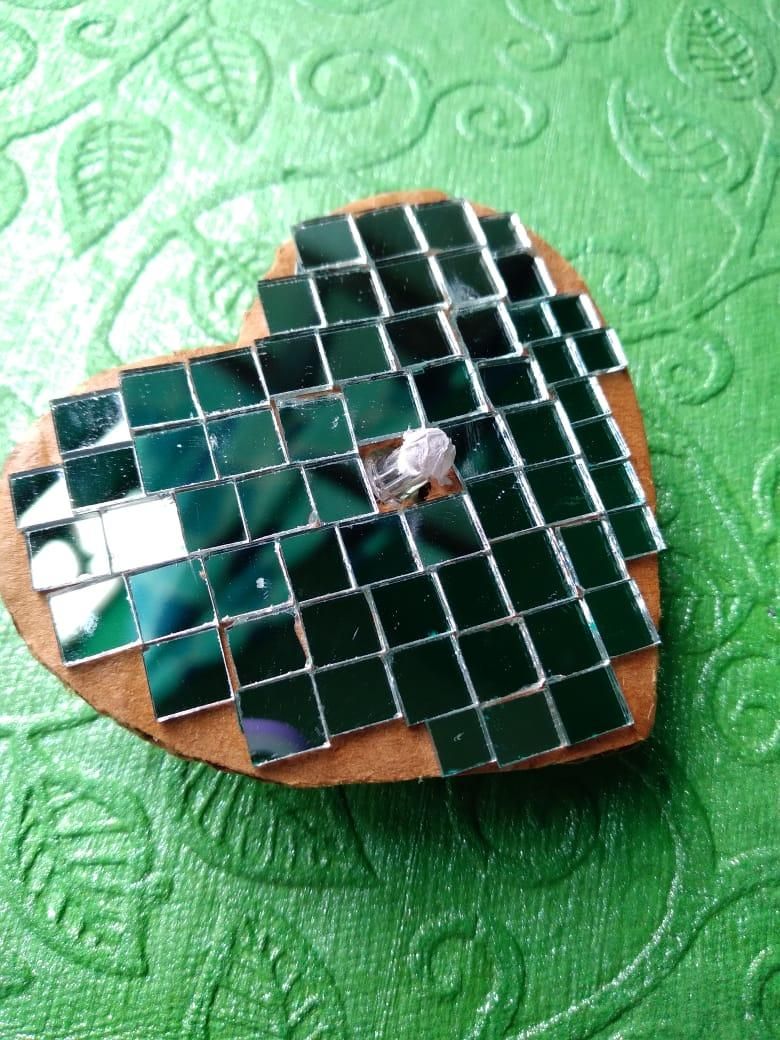
- Add Reflective Mirror Tiles: Glue small craft mirrors along the inner back and side surfaces of the foam housing. These act as reflectors, bouncing the LED light in all directions toward the translucent diffuser front. Be sure to wipe down the mirrors with a soft cloth to clean off any fingerprints or glue smudges before closing up the model.
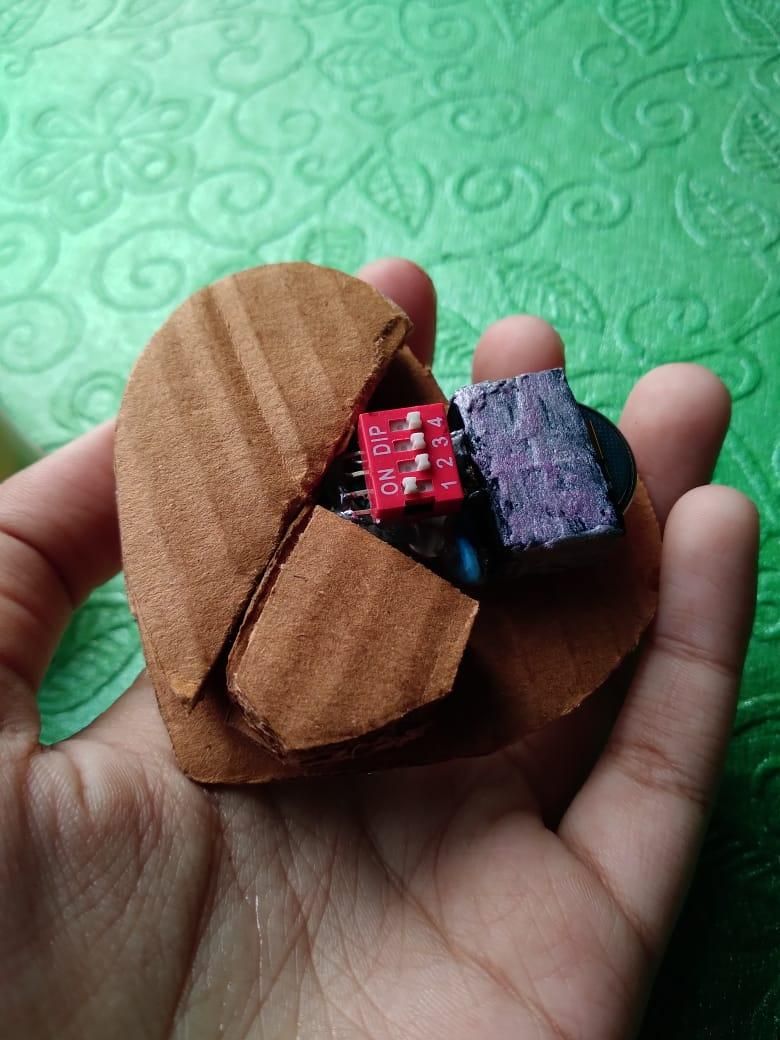
- Mount the Circuit: Cut a small piece of hard paper or cardboard to fit snugly inside the back of the heart. Mount your soldered circuit board flat onto this card using double-sided tape. This prevents short circuits and keeps your wiring from shaking loose.
Paint, Details, & Final Assembly
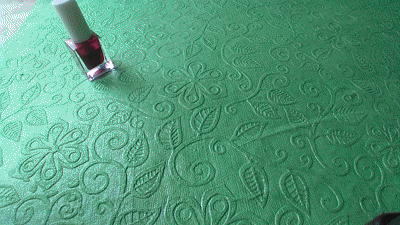
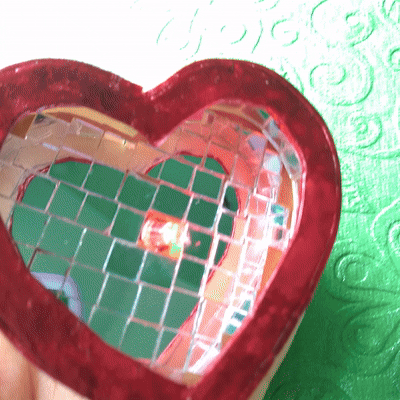
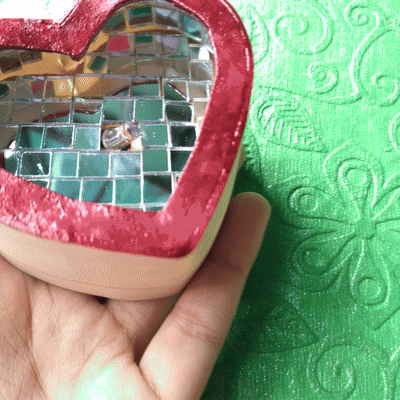
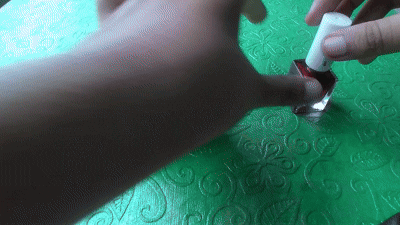
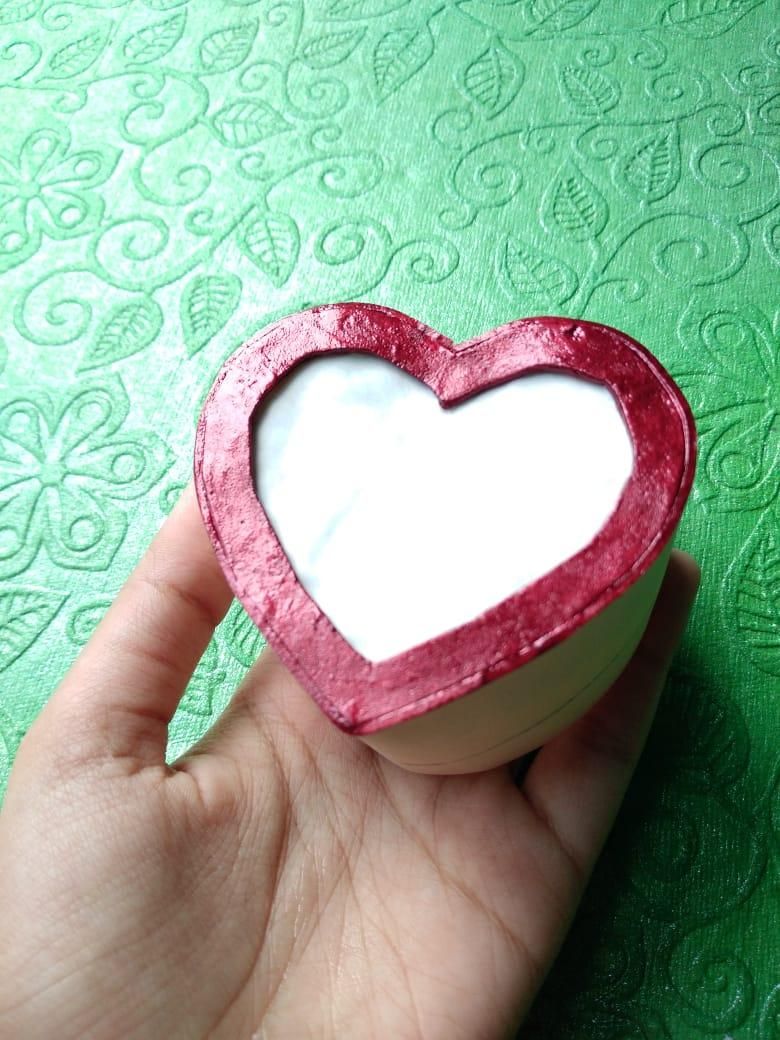
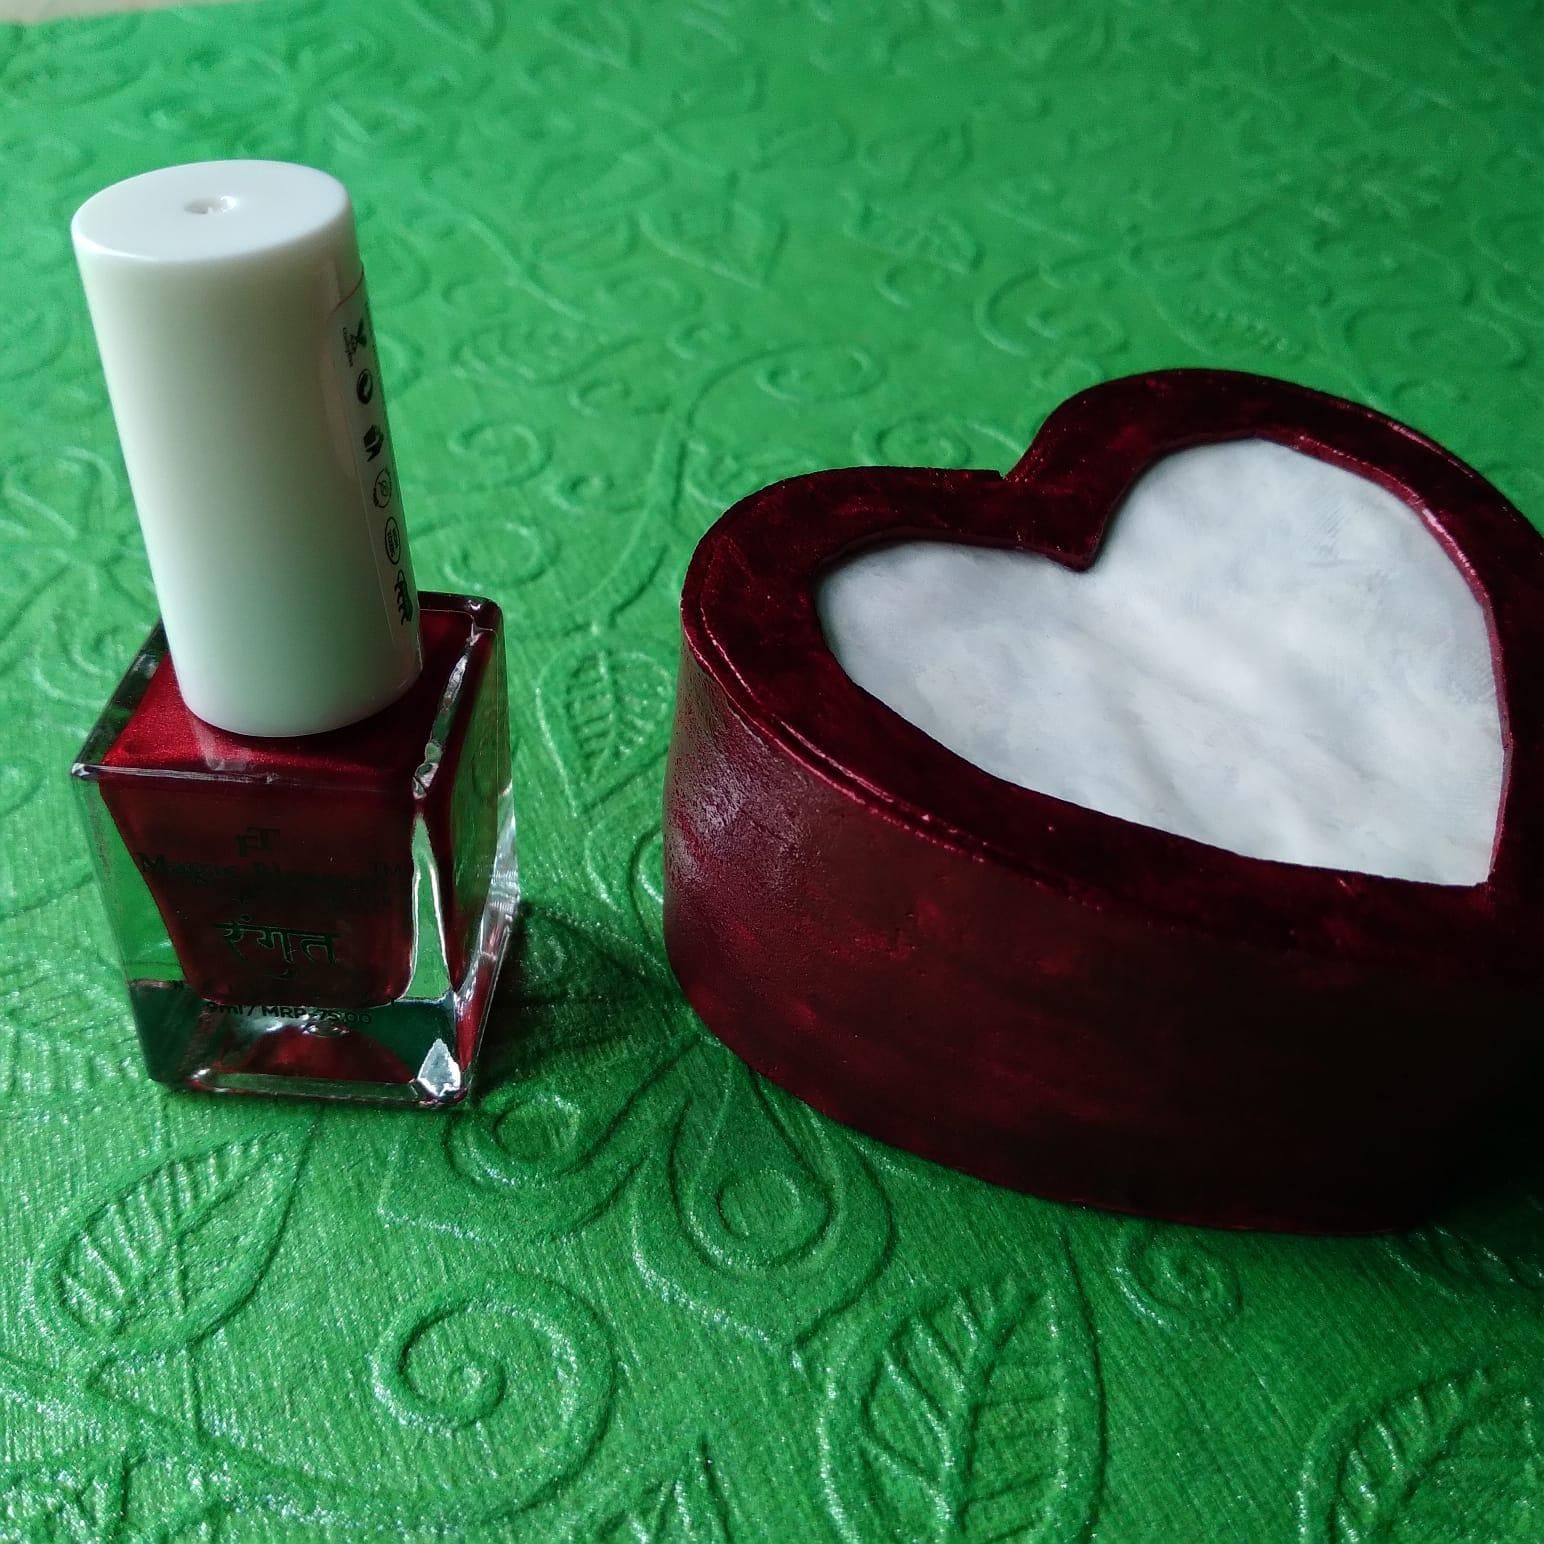
To complete the glowing ornament, give it a vibrant finish and make it functional:
- Paint the Exterior: Coat the outer foam walls using red nail polish! Nail polish works amazingly well for small craft projects like this because it adheres smoothly to foam, dries quickly with a high-gloss finish, and leaves behind a rich color.
- Create the Battery Door Flap: Design a small, discreet flap near the coin cell holder. This allows us to easily pop open the housing and slide in a fresh CR2032 battery whenever needed.
- Test Your Creation: Turn on different switch combinations to test 7 vibrant colors (Red, Green, Blue, Yellow, Cyan, Magenta, and White)