Glowing Origami Pumpkin Lantern
by emilycanhelp in Living > Decorating
341 Views, 5 Favorites, 0 Comments
Glowing Origami Pumpkin Lantern


I'm a high school student from the Lawrenceville School.
Ready to turn simple paper into a glowing, geometric masterpiece? Let’s dive in!
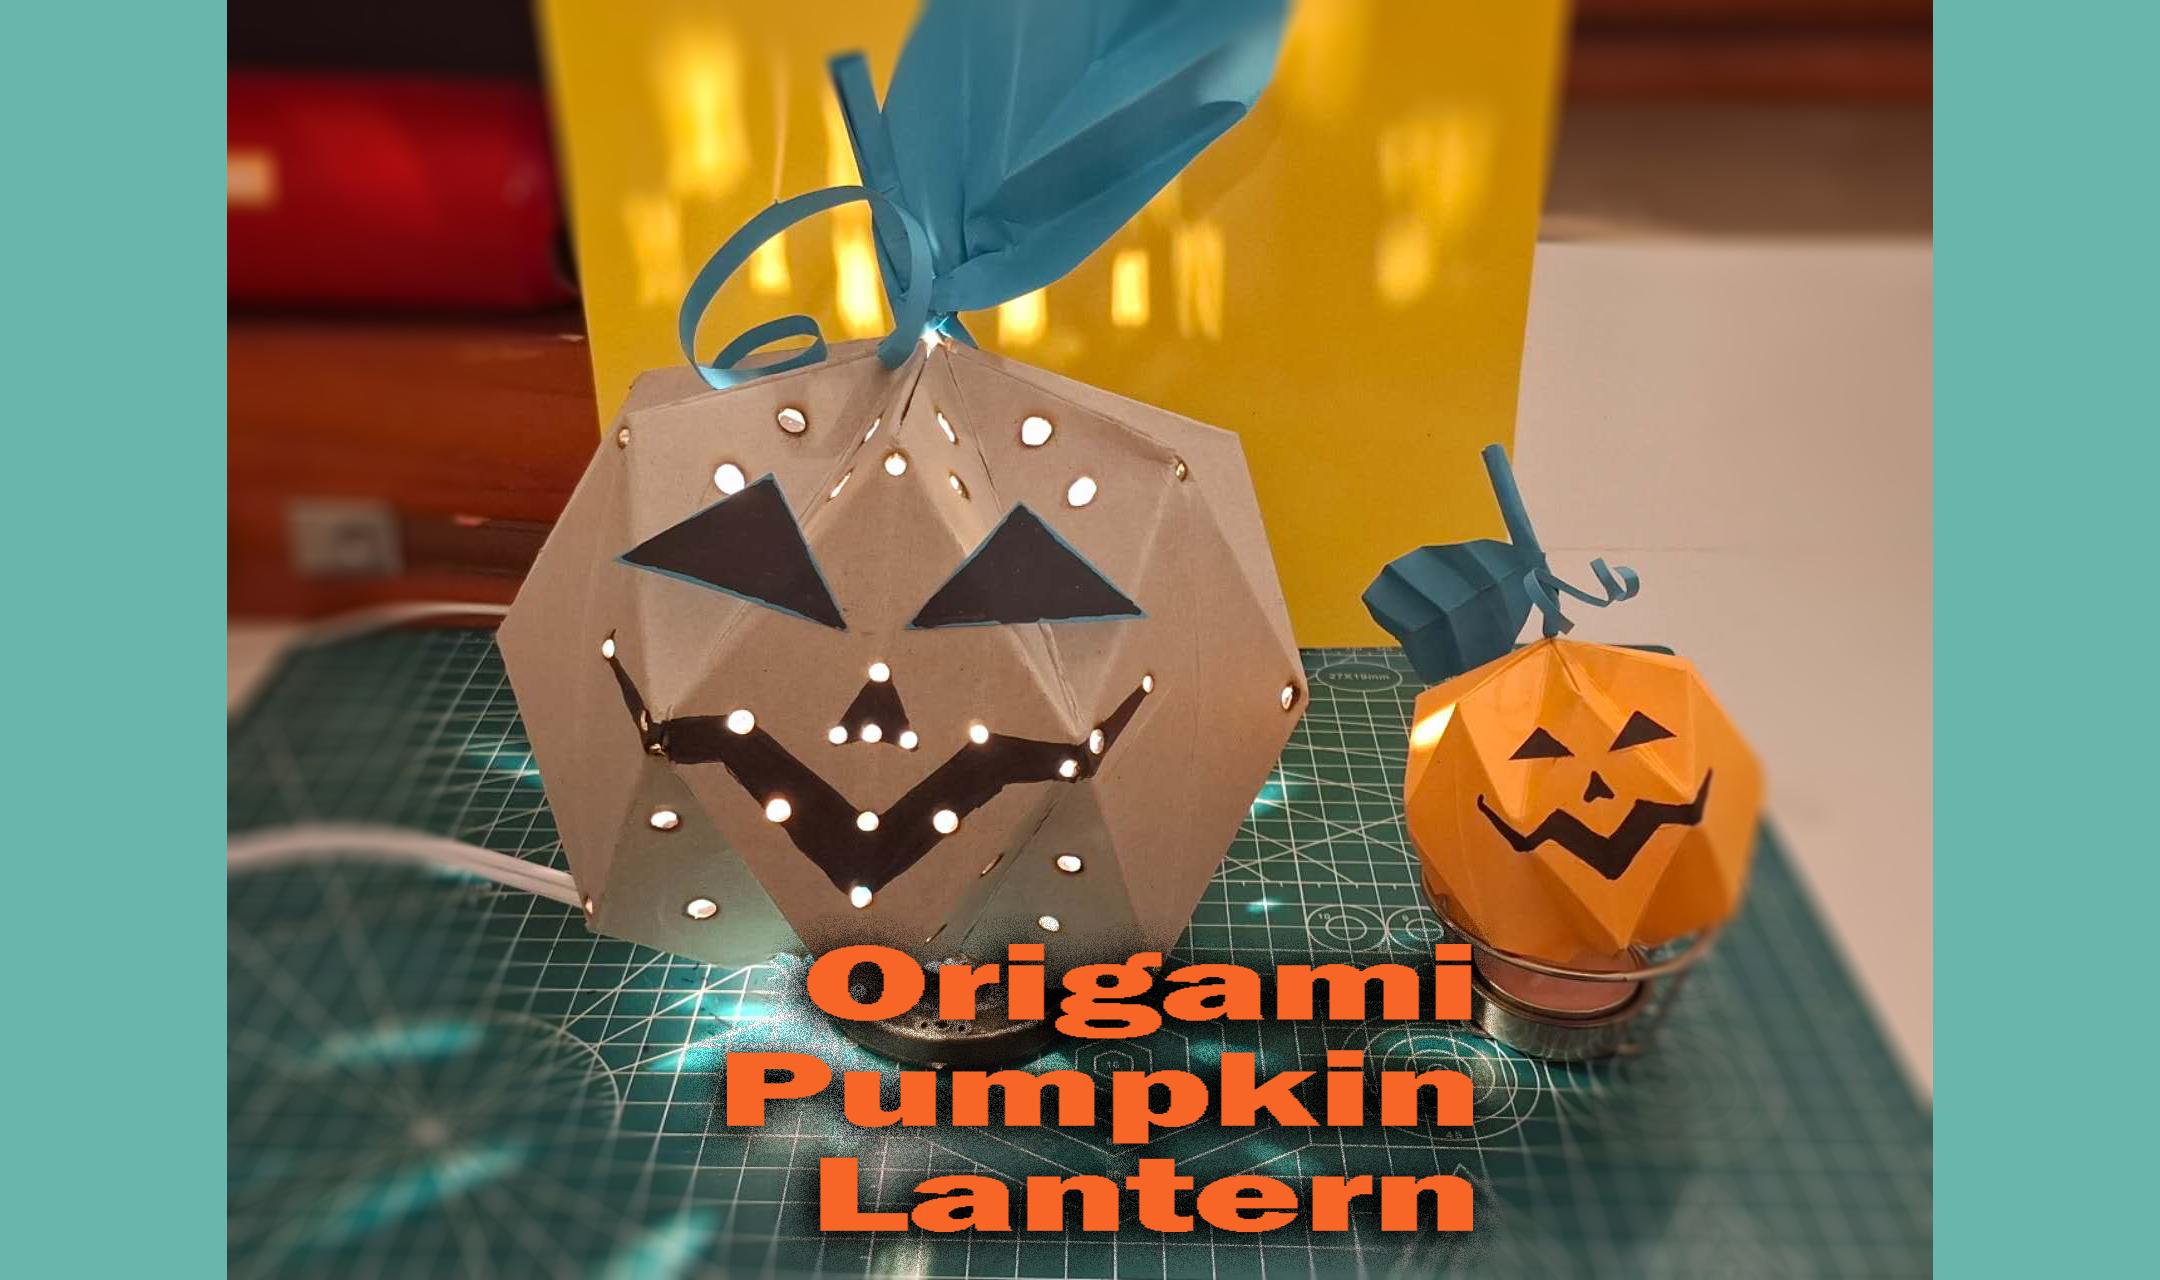
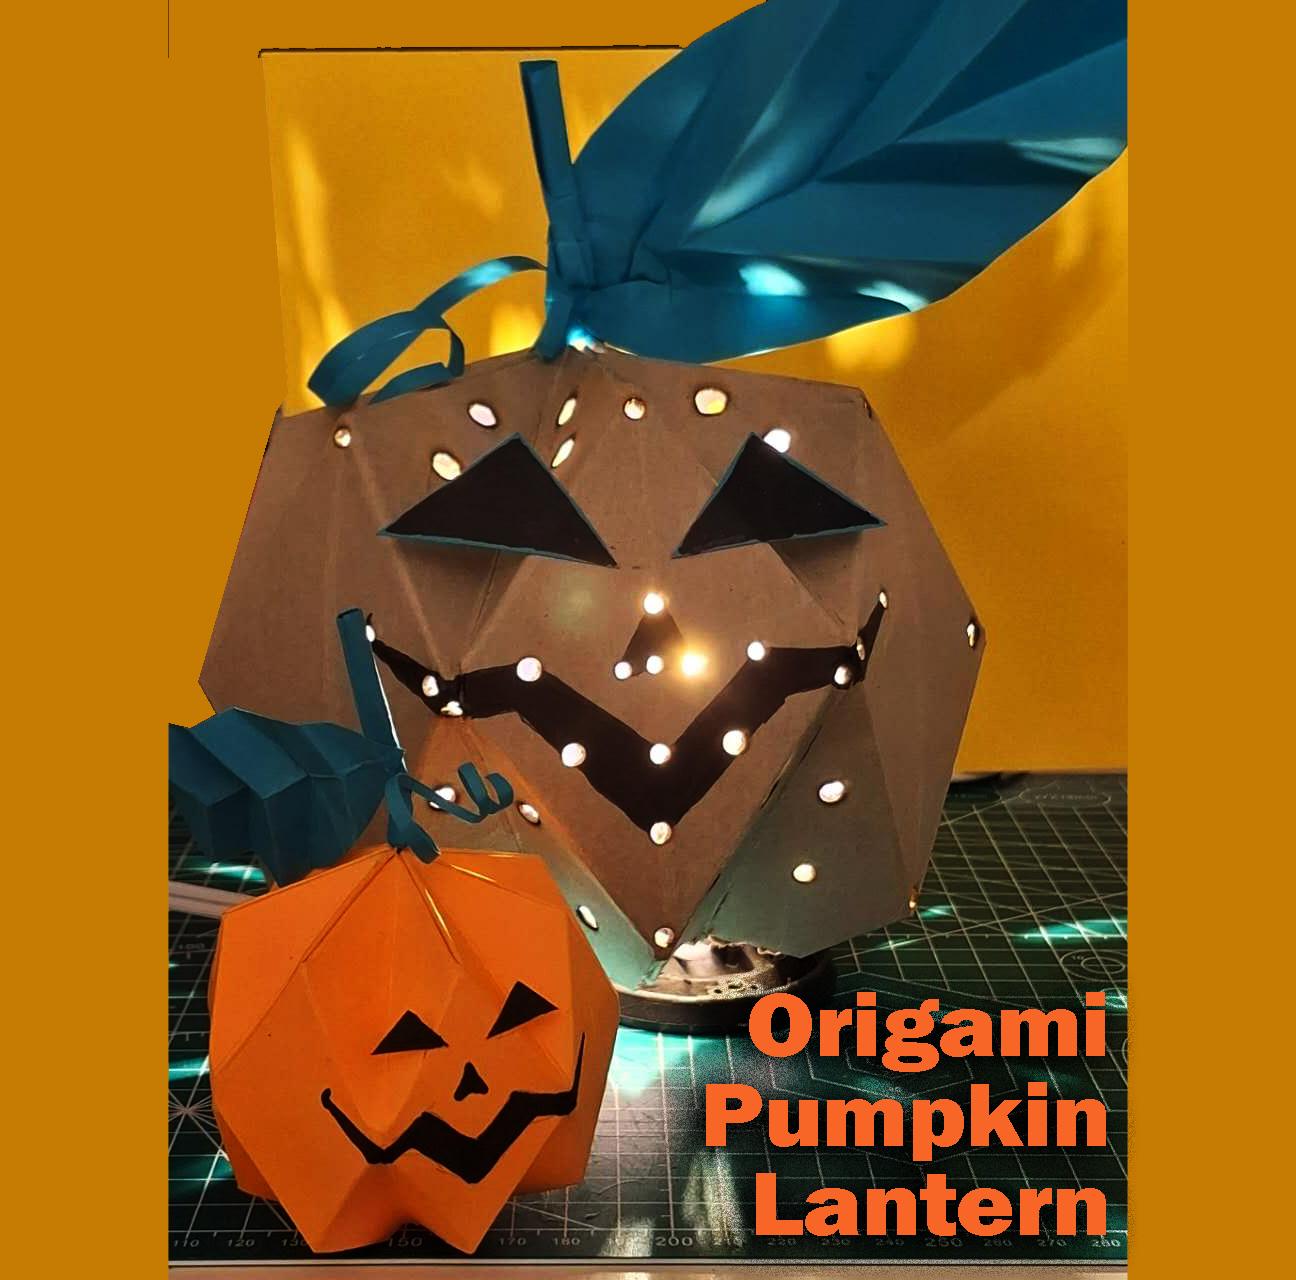
This project turns cardstock into a stunning 3D pumpkin lantern using origami techniques—no carving, no mess! It’s eco-friendly, reusable, and safe (LED lights). By playing with proportions, folds, and a little creative burning, you can make a pumpkin that glows from within. Perfect for adding spooky-soft ambiance to your space!
Supplies


- Pumpkin Body Paper:
- • Small version: Half an A4 sheet (approx. 4.13" x 11.69") in orange cardstock.
- • Large version: A bigger sheet like 26" x 9" in gray or your favorite color.
- (Tip: Use paper that’s sturdy—around 150gsm or higher.)
- Stem & Leaf Paper: Green or brown scraps.
- Face Decor: Black cardstock for eyes and mouth.
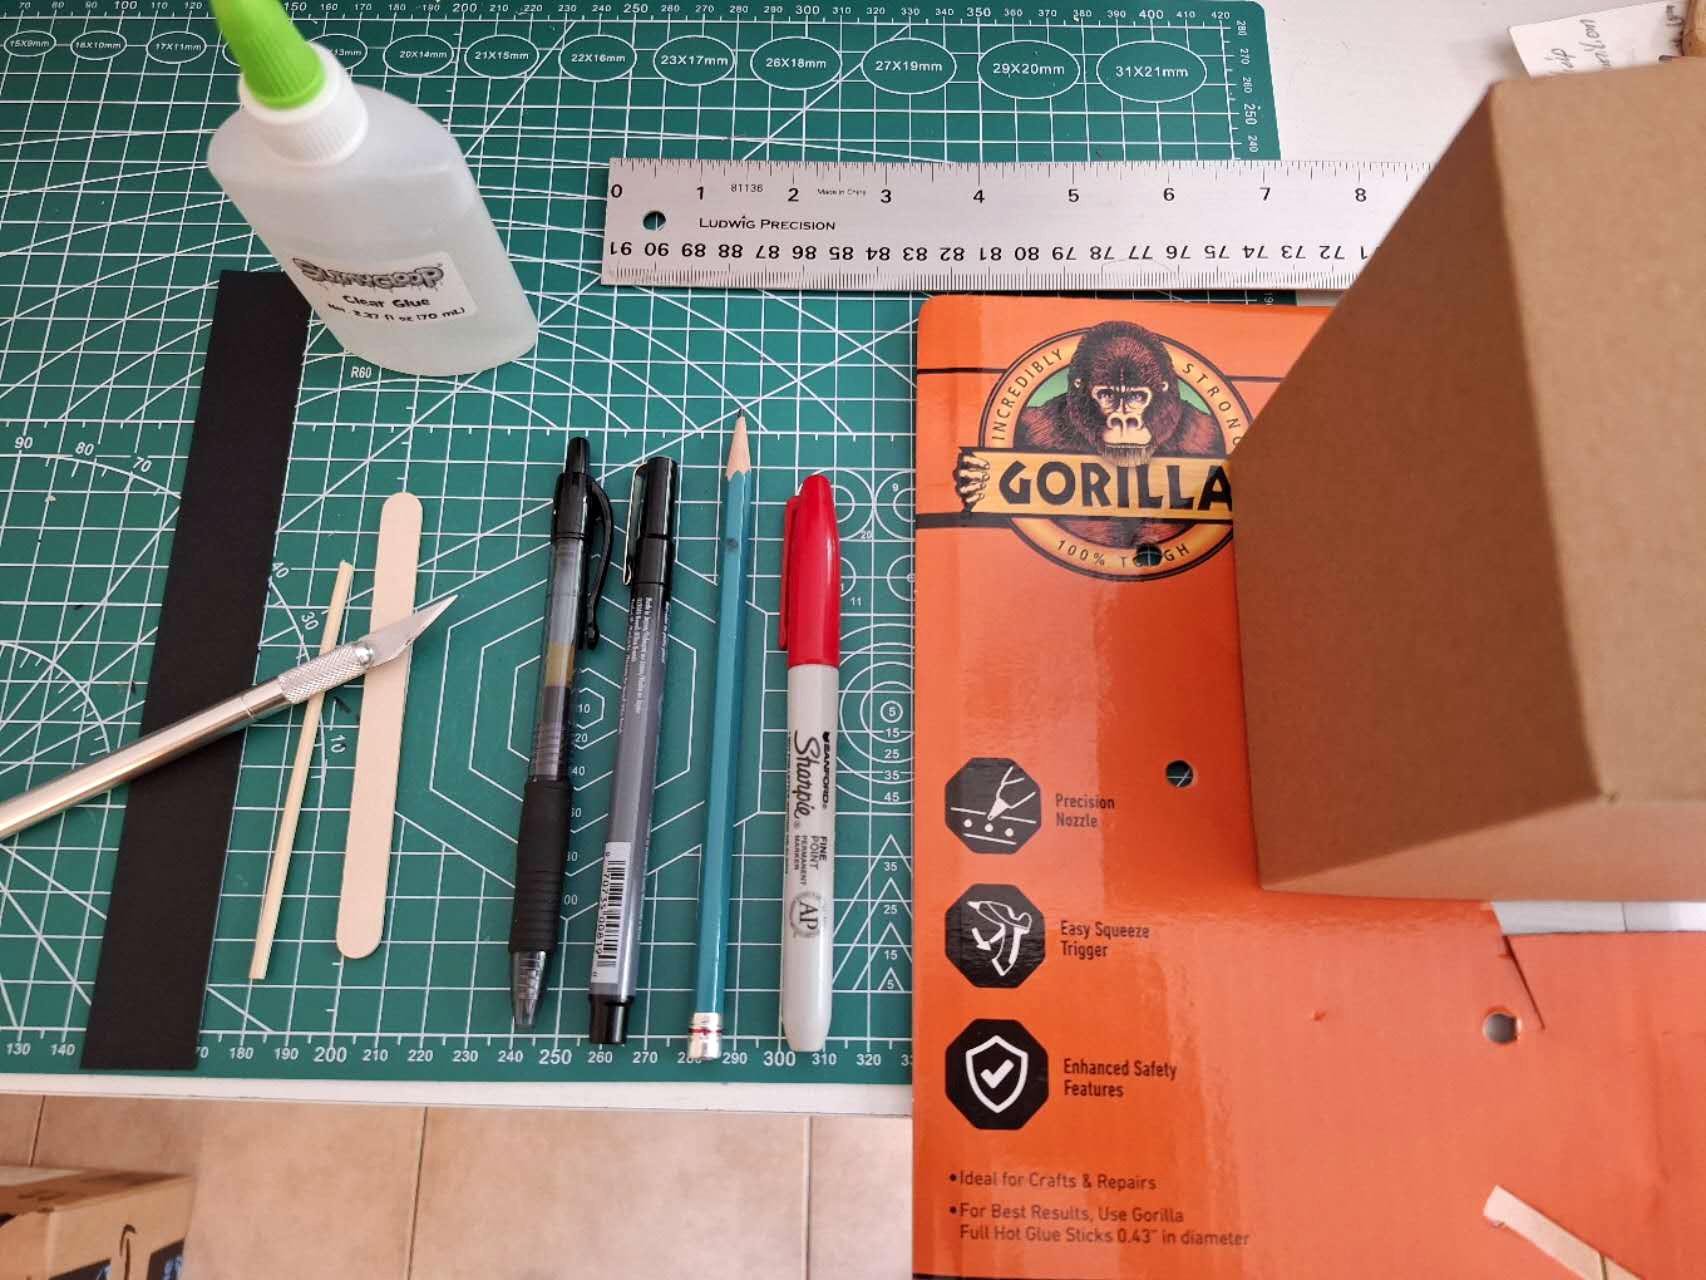
- Adhesive: White glue or double-sided tape.
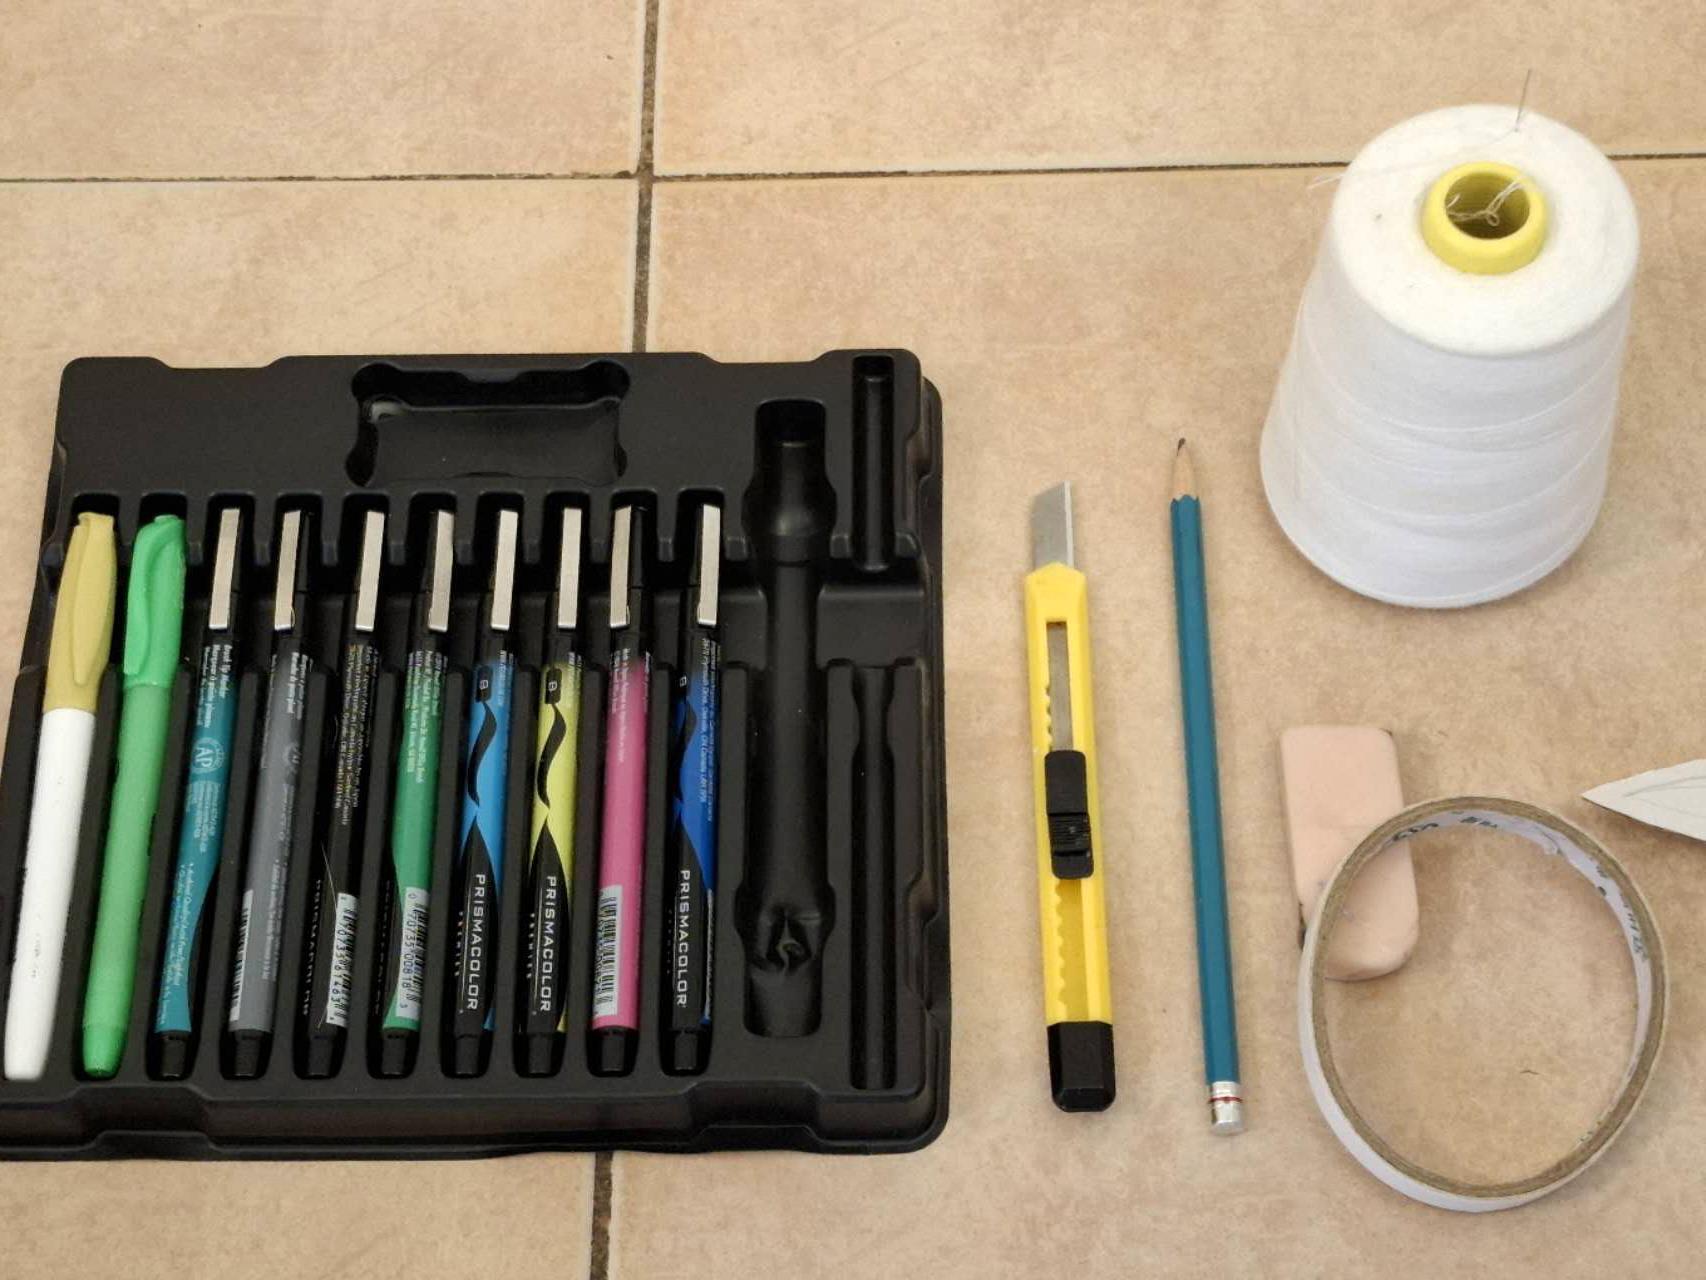
Tools to Gather:
- Ruler, pencil, and fine liner.
- Craft knife or scissors.
- Scoring tool (a bone folder or ballpoint pen works!).
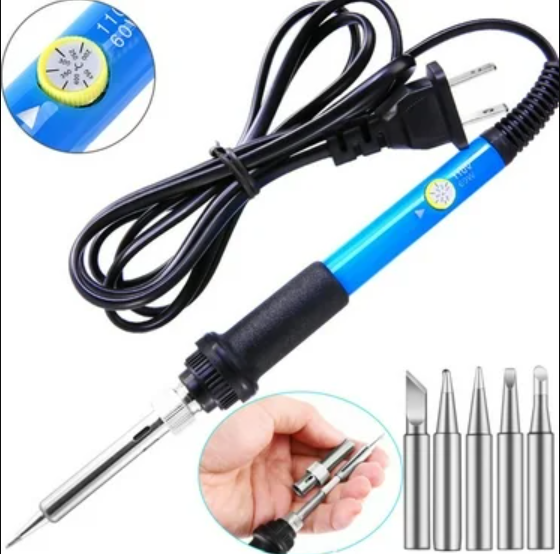
- Optional but cool: A wood-burning tool (for light holes).
- Lighting: LED tea lights or fairy lights.
Mark and Fold


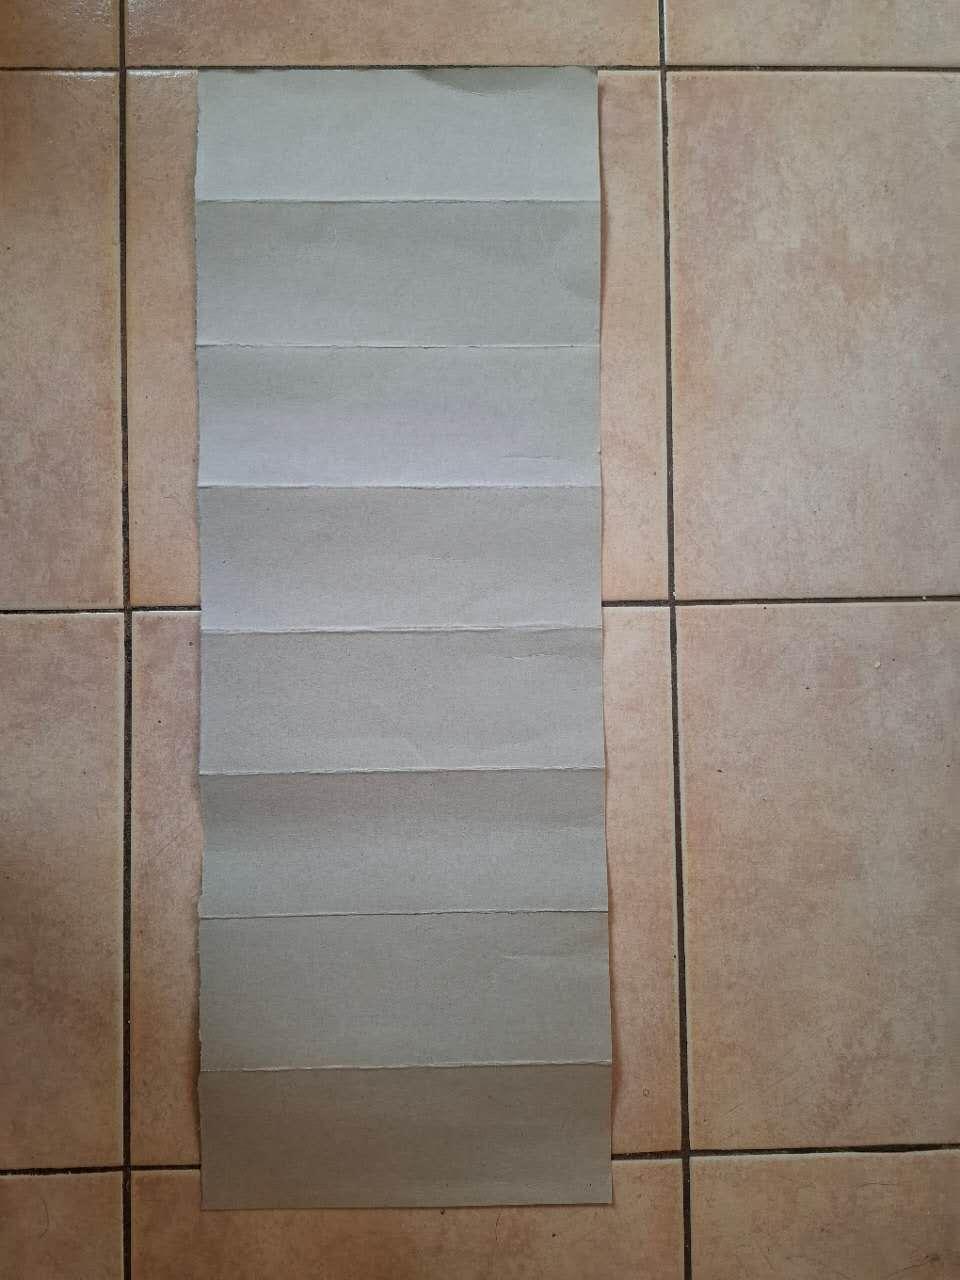
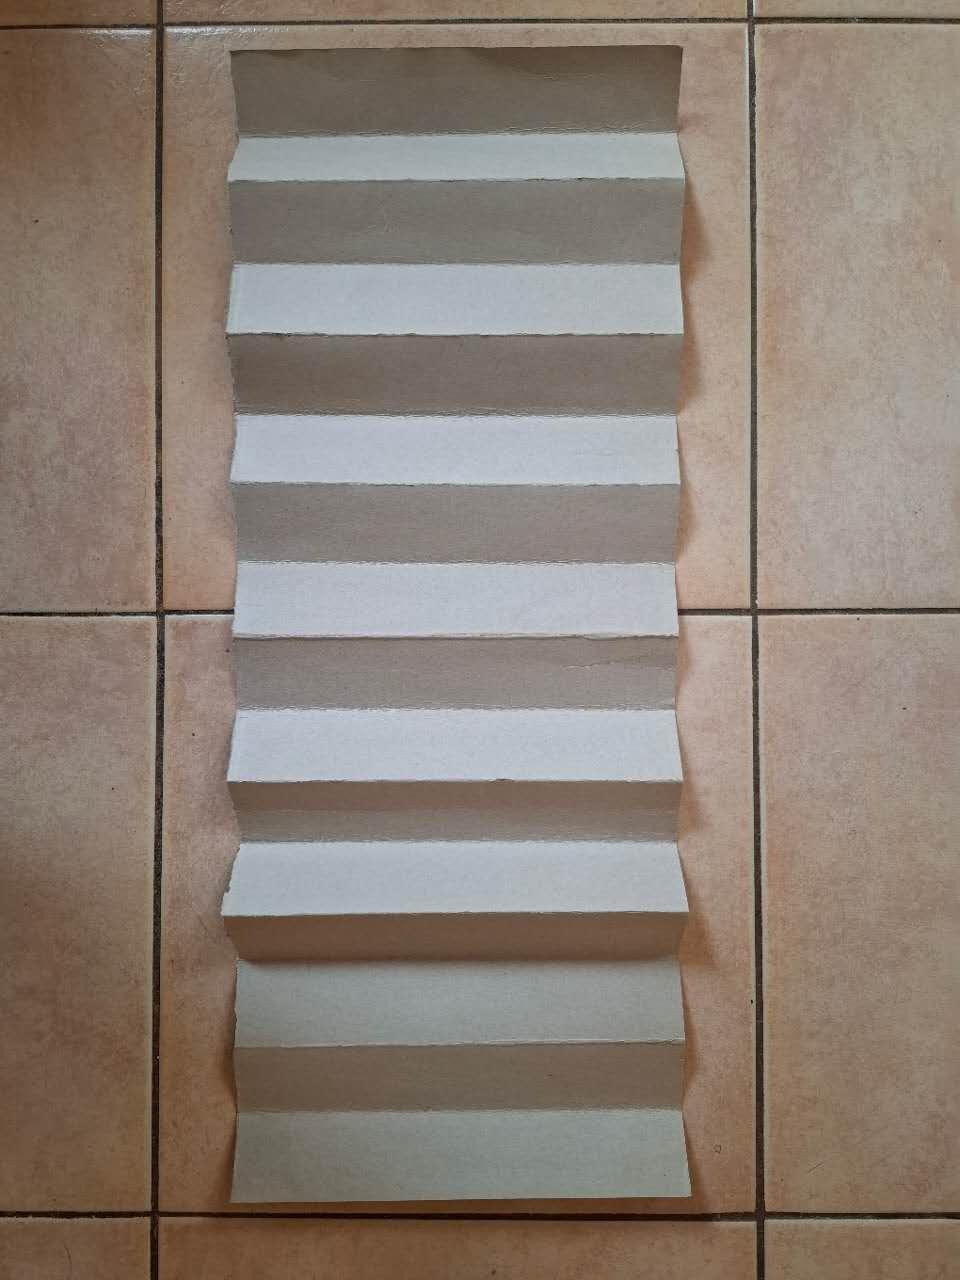
- Cut your cardstock into a rectangle with a 1:3 to 1:4 ratio.
- Make mountain folds to divide it into 8 sections. Flip, then make valley folds between them—you’ll end up with 16 sections total (15 creases).
- Mark the center point on both short edges, and mark where each valley fold meets the long edges.
Draw the Diamond Grid and Fold


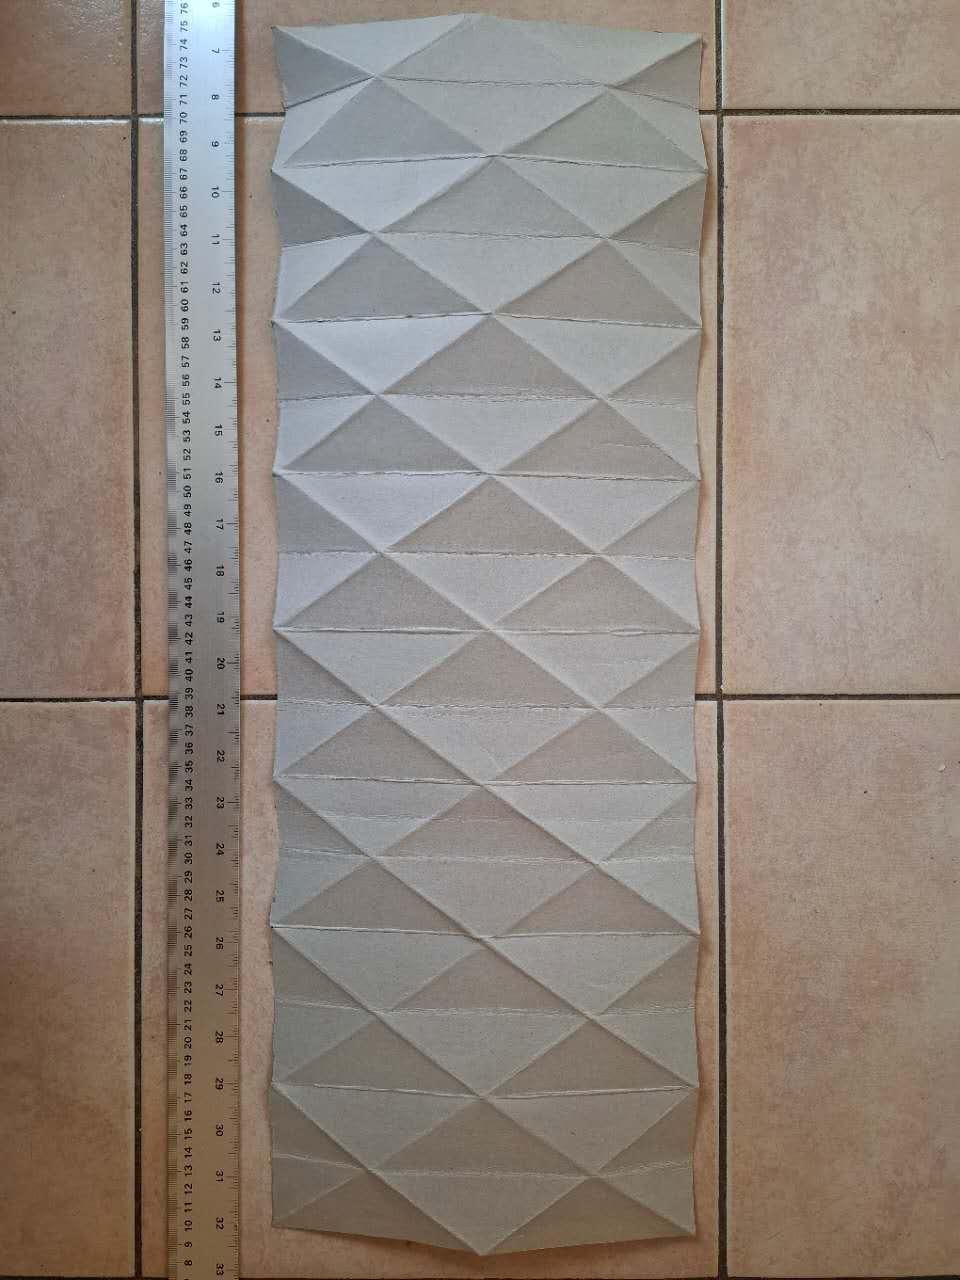
- Connect the short edge’s center to the first valley fold mark on the long edge. Repeat to draw parallel lines, creating diamond shapes across the sheet.
- Flip and repeat on the other side.
- Crease all diagonal lines, alternating mountain and valley folds. This is what gives the pumpkin its sweet curves!
Trim and Glue

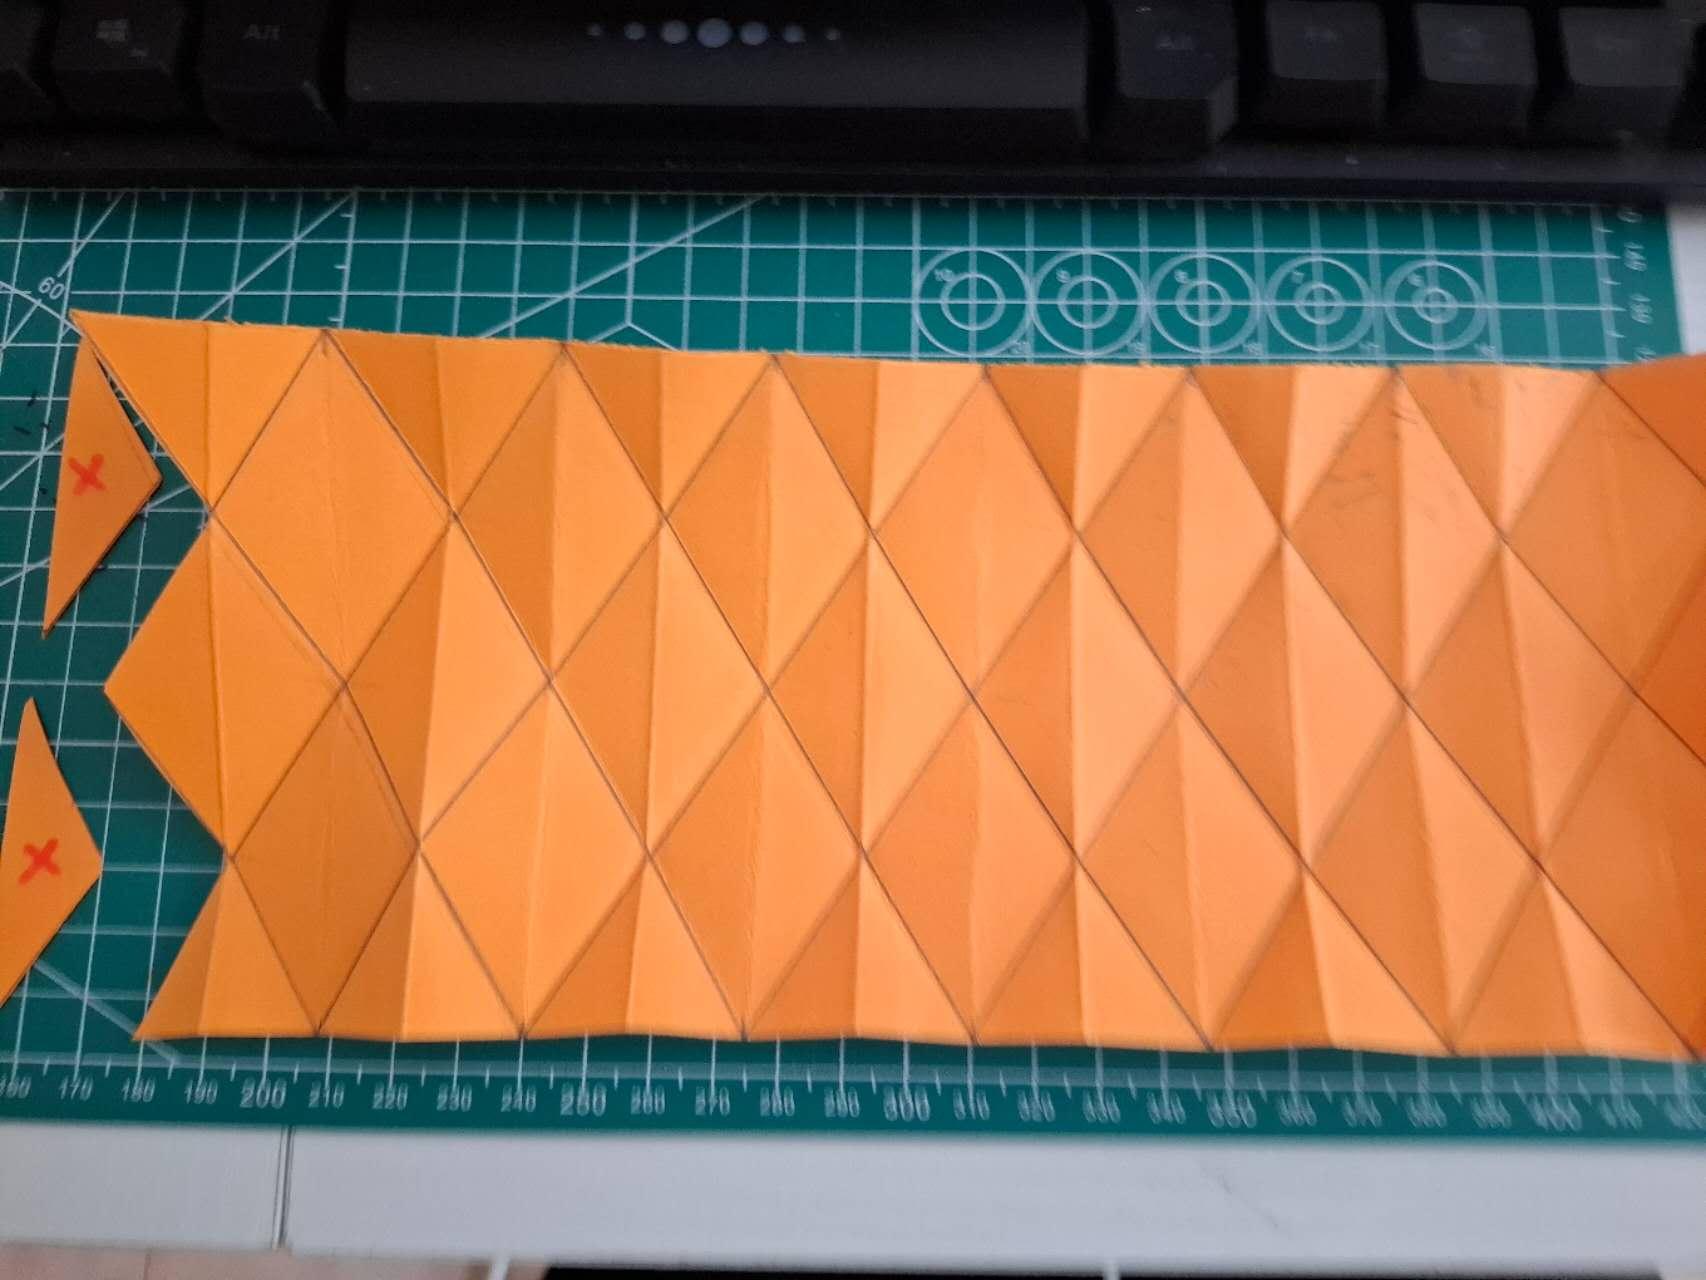
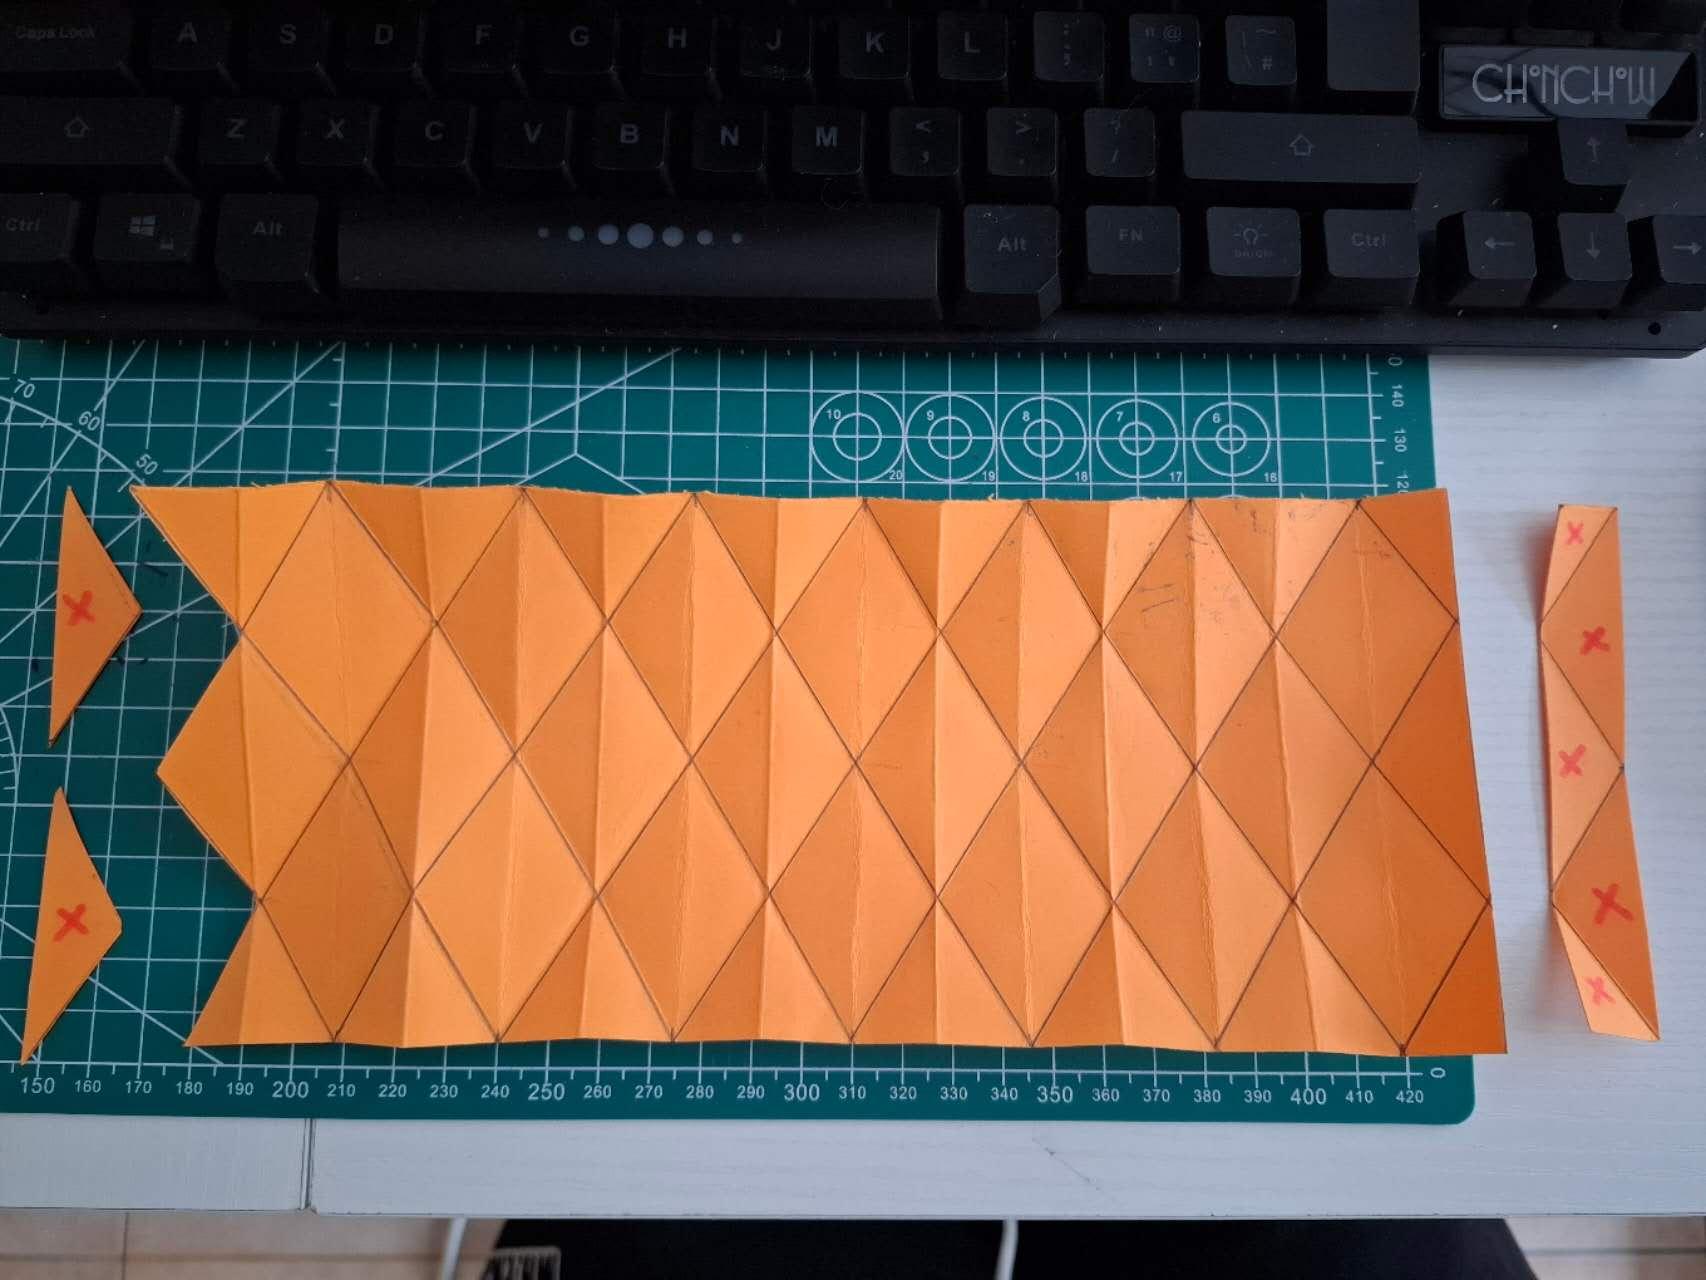


- Trim two small triangles off one short end, and one full panel off the other.
- Add glue to the flaps and join the short ends into a cylinder.
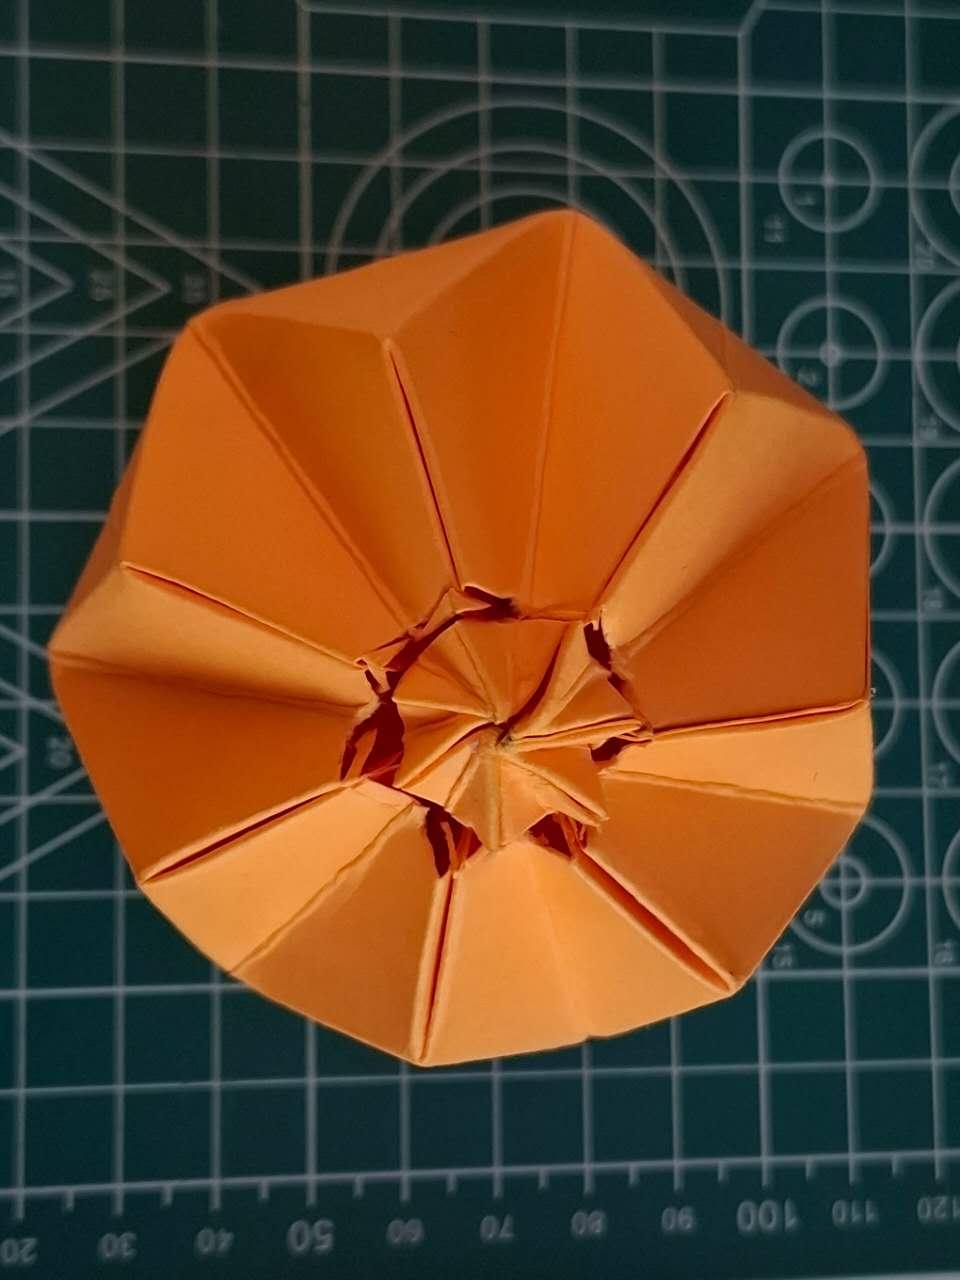
Shape Your Pumpkin
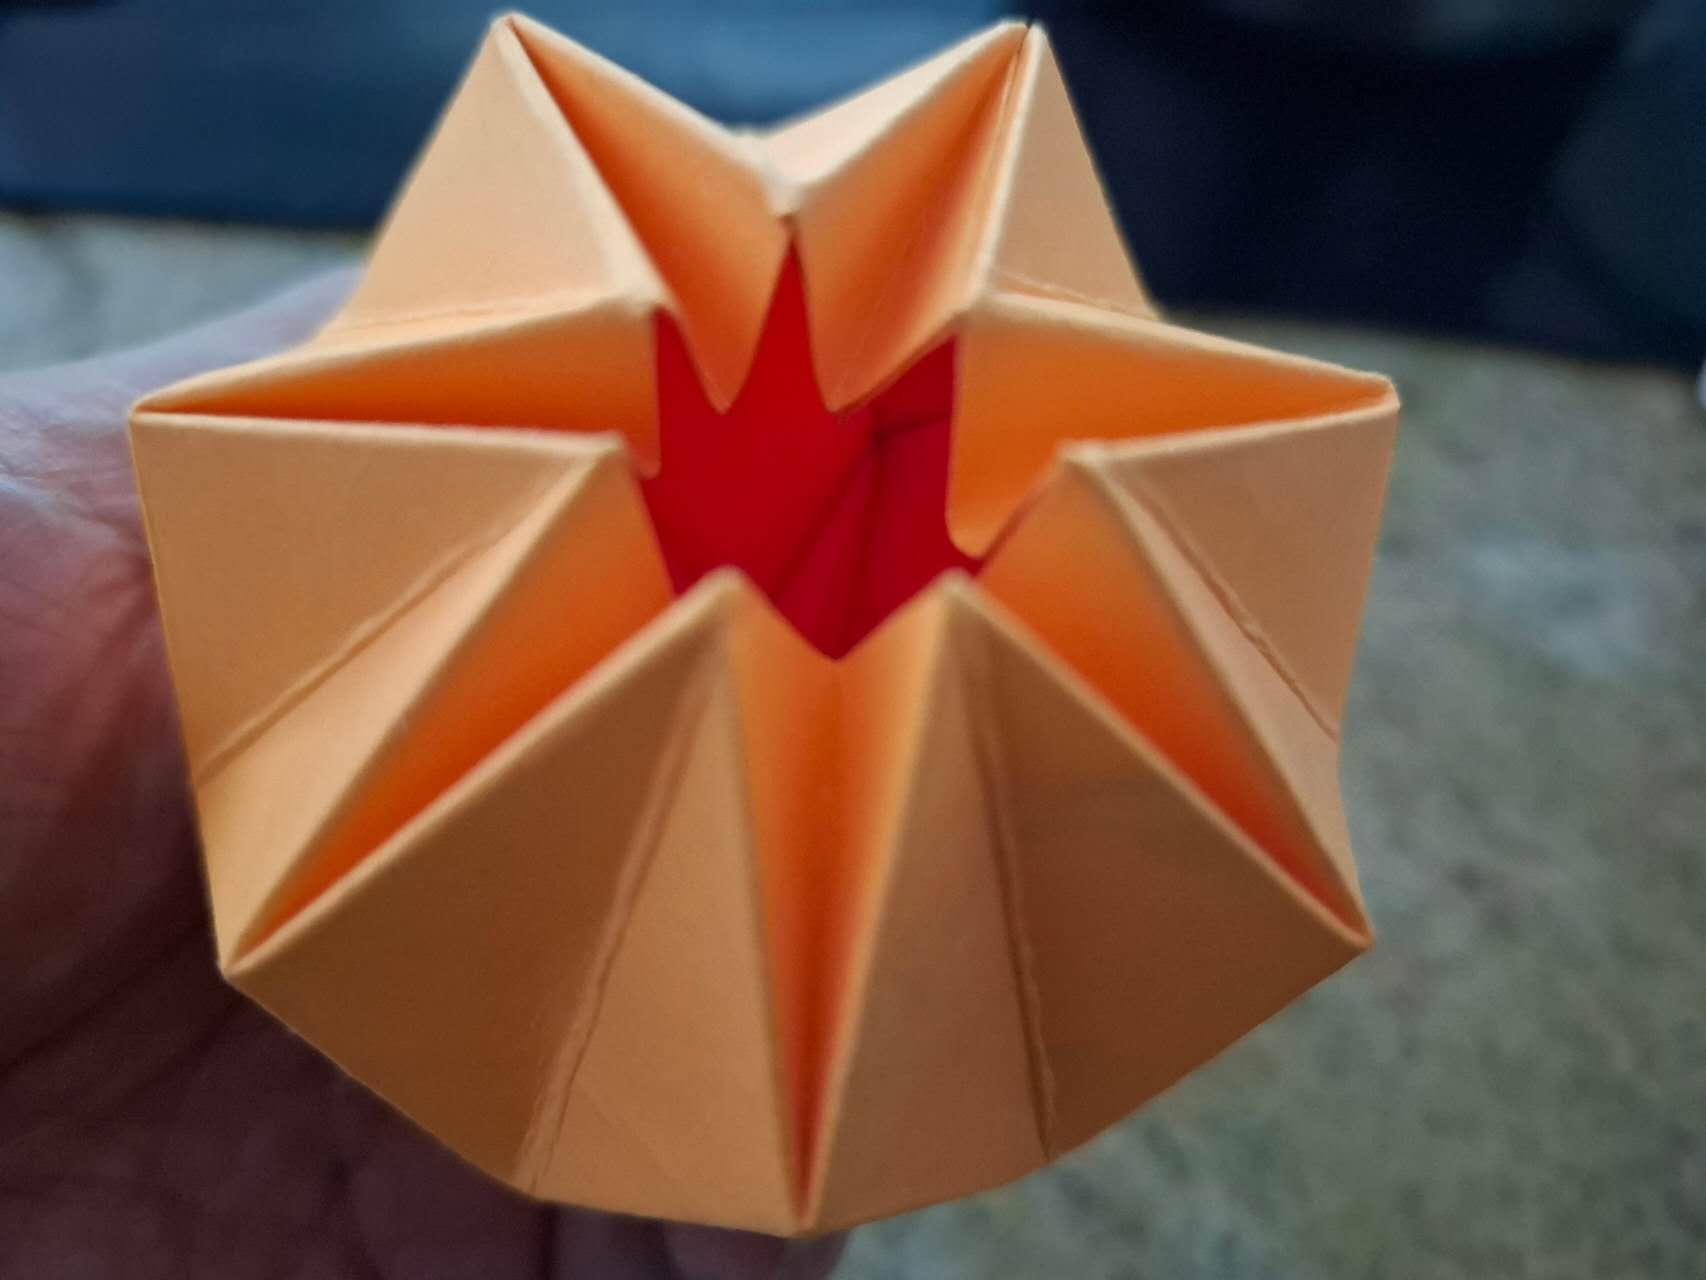
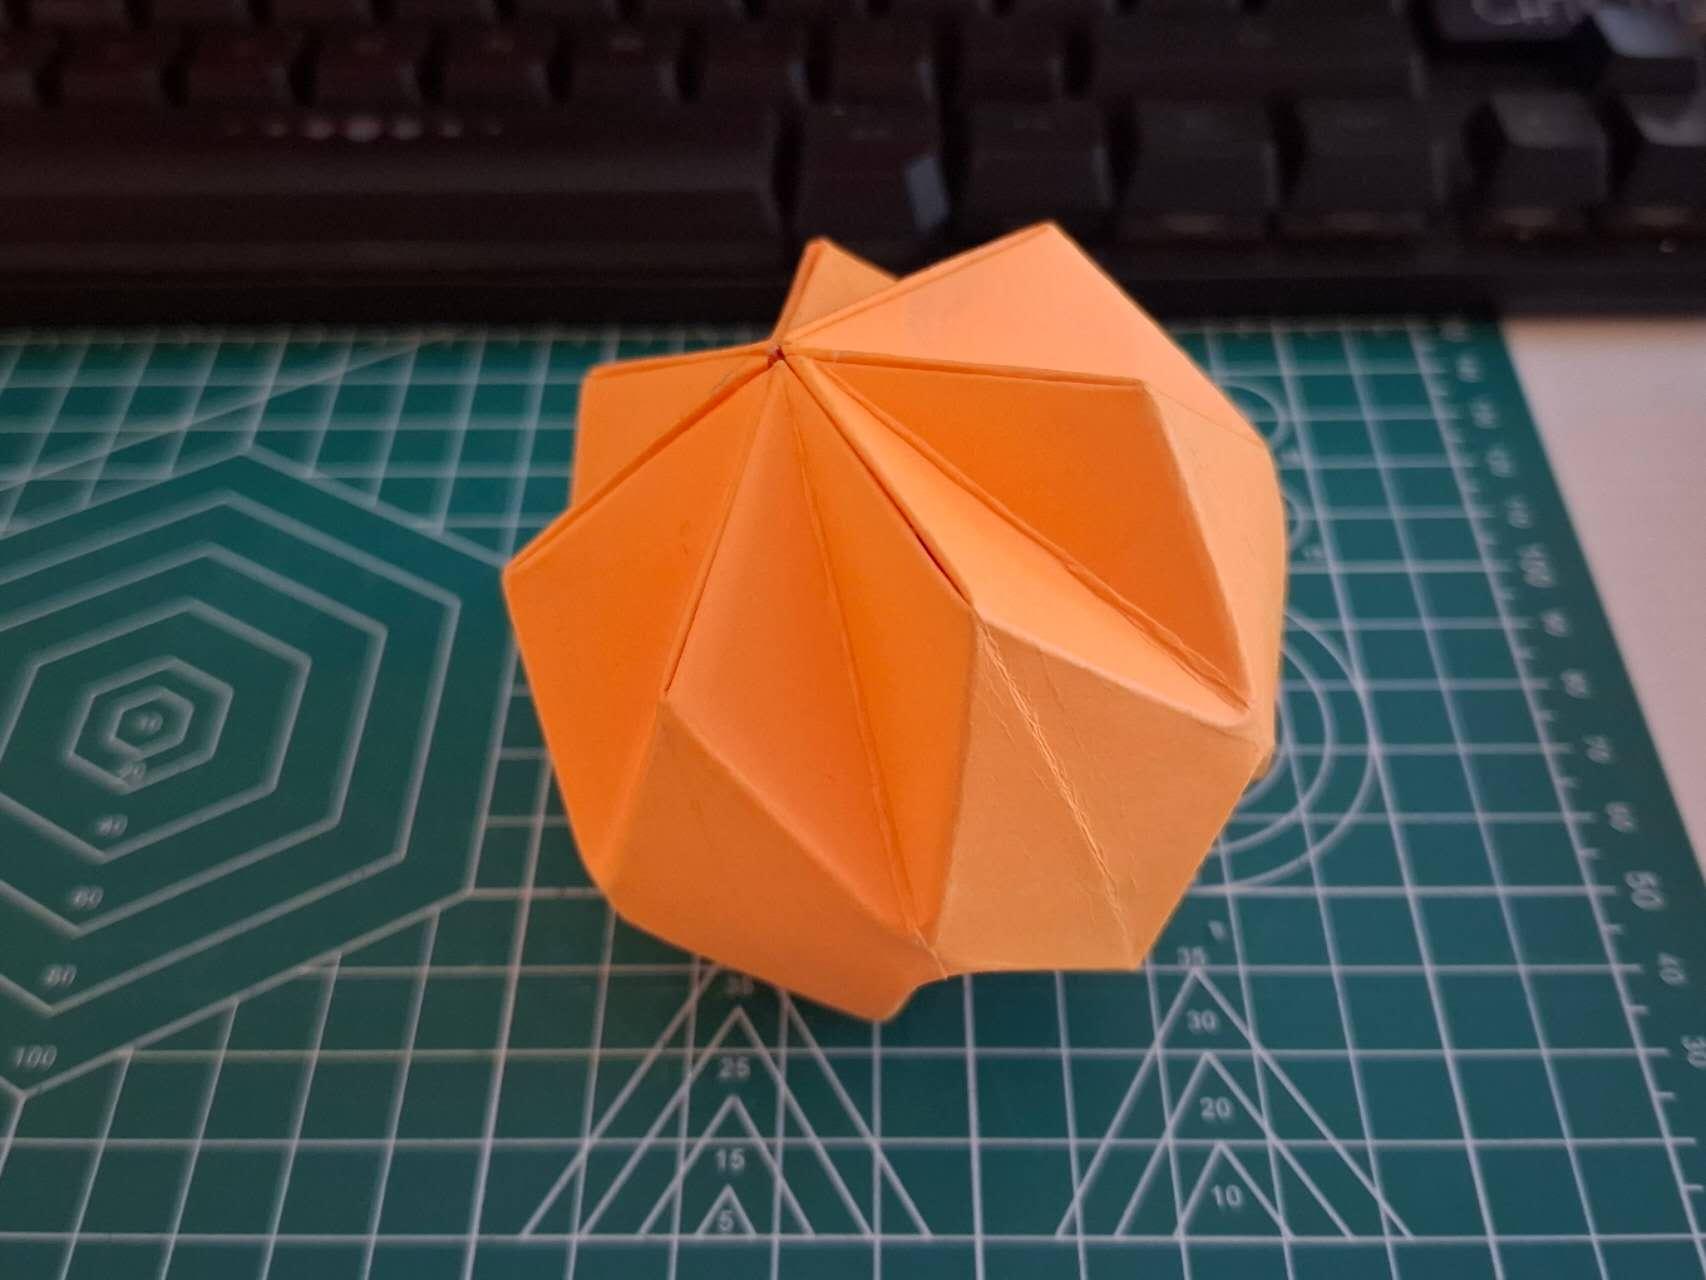
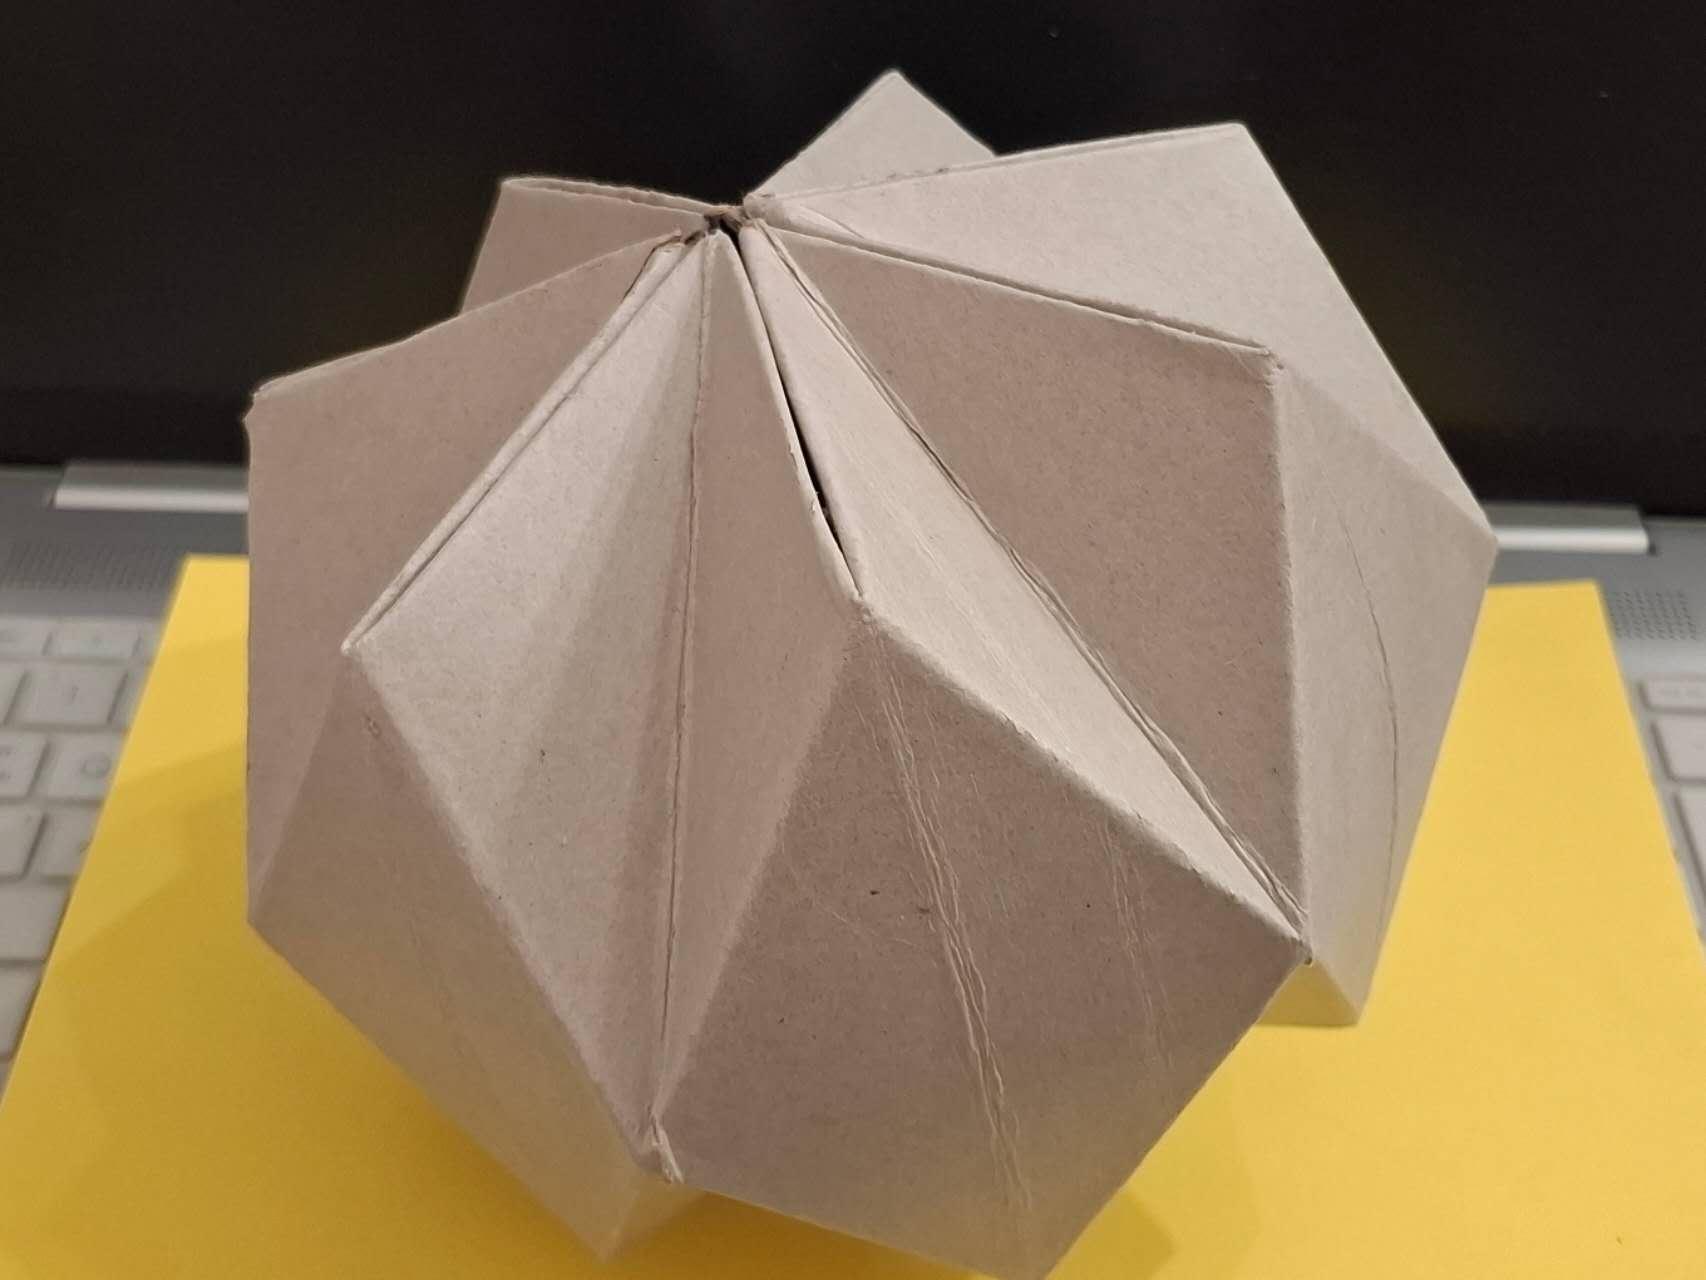
- Gently press the cylinder along the creases—it’ll magically puff into a pumpkin shape!
- Glue the top and bottom star-shaped openings to secure.
Decor & Personality


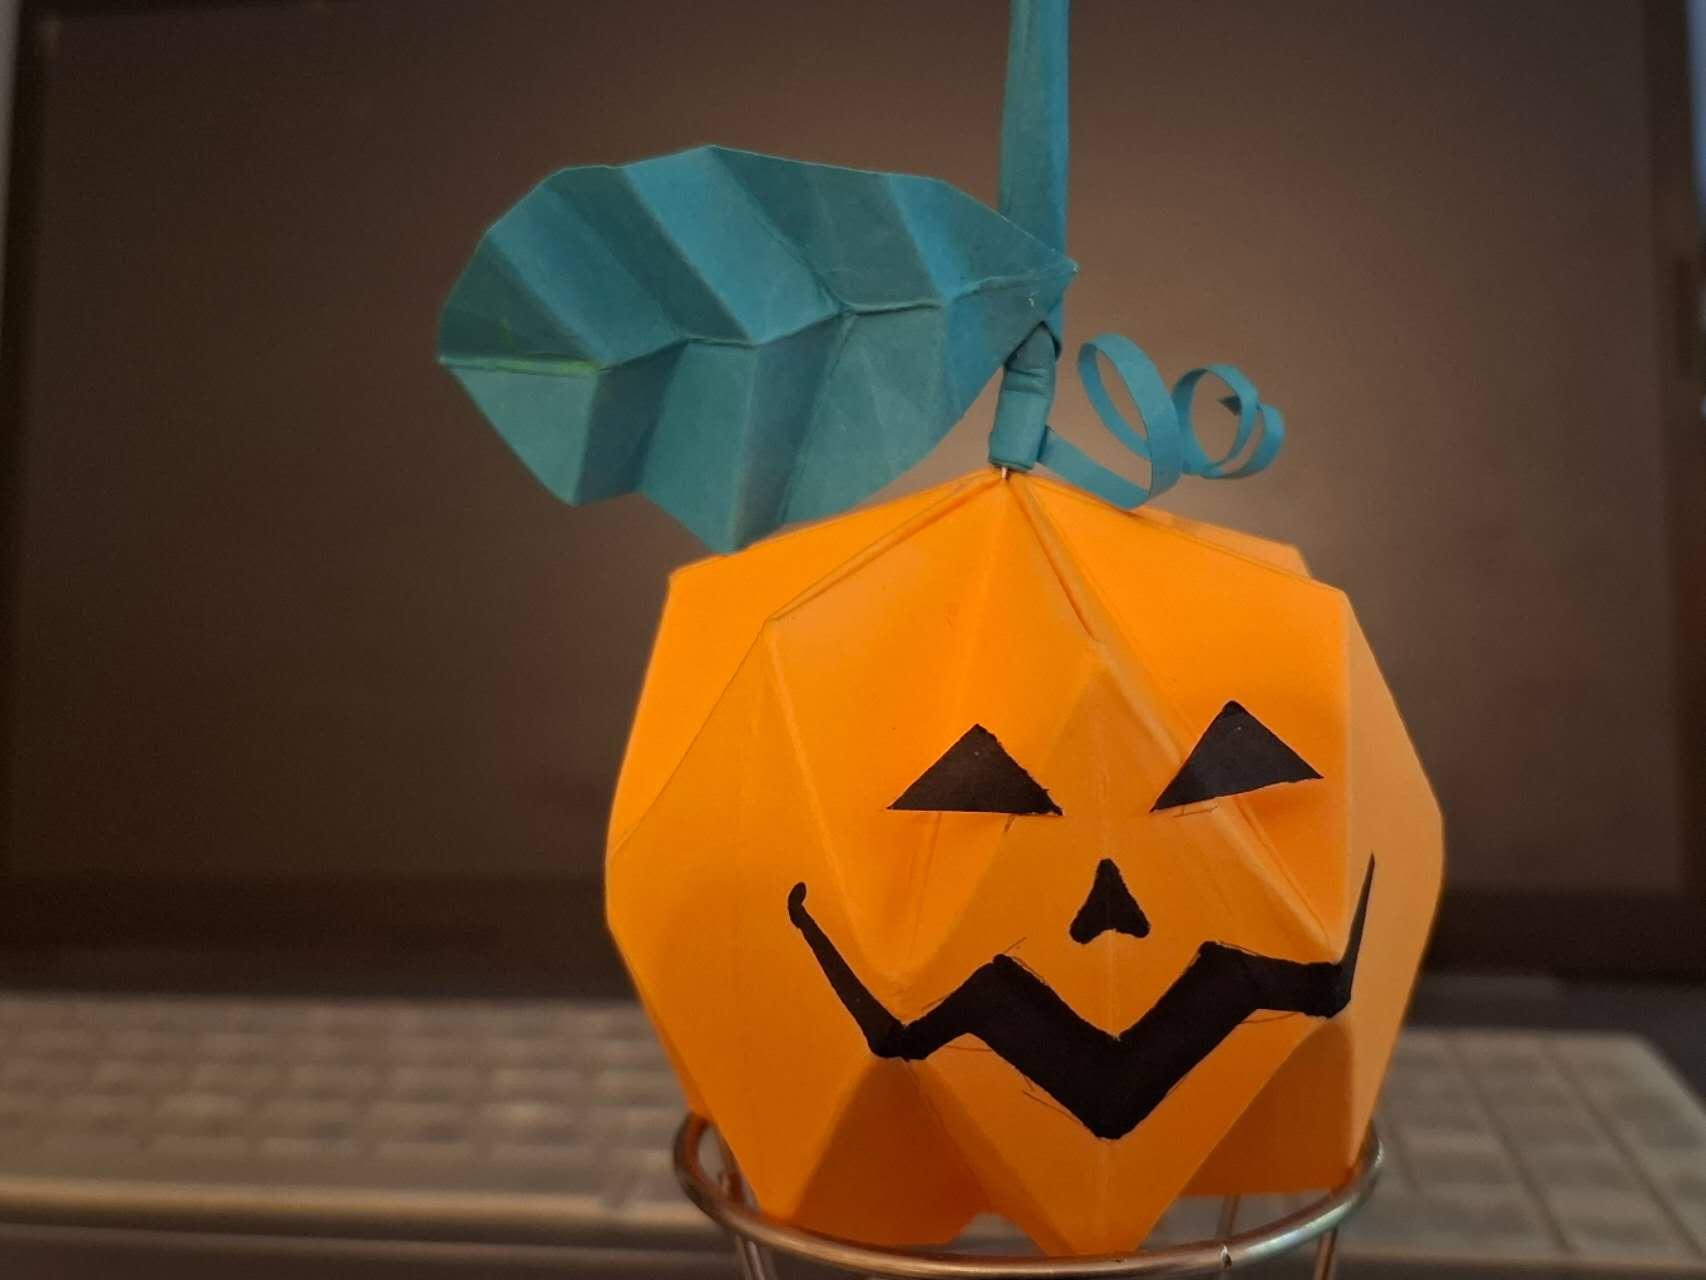

- Roll a green paper strip into a vine. Cut a leaf, fold to mimic veins, and attach both to the top.
Give It a Face
- Cut triangles and a jagged mouth from black paper. Glue on for that classic Jack-o’-lantern look.
Glow Up!


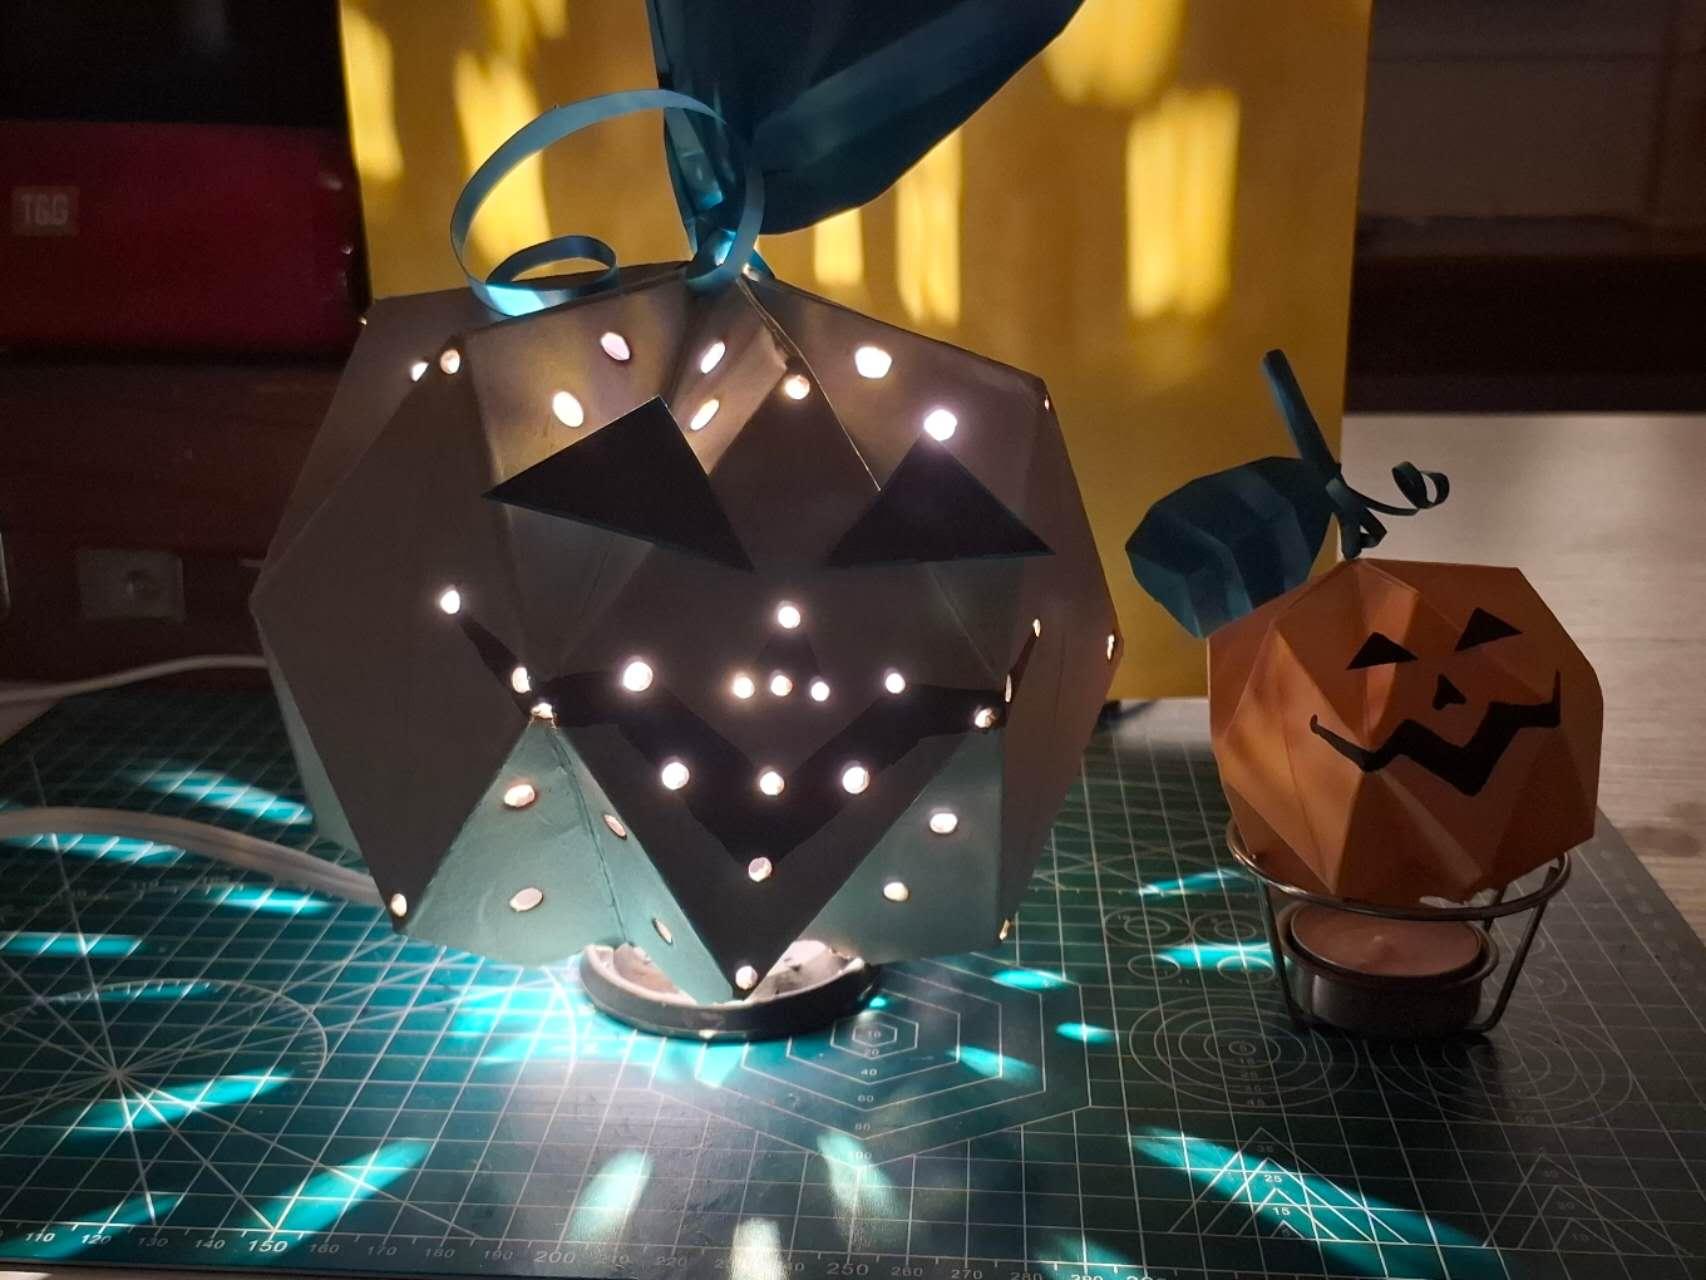
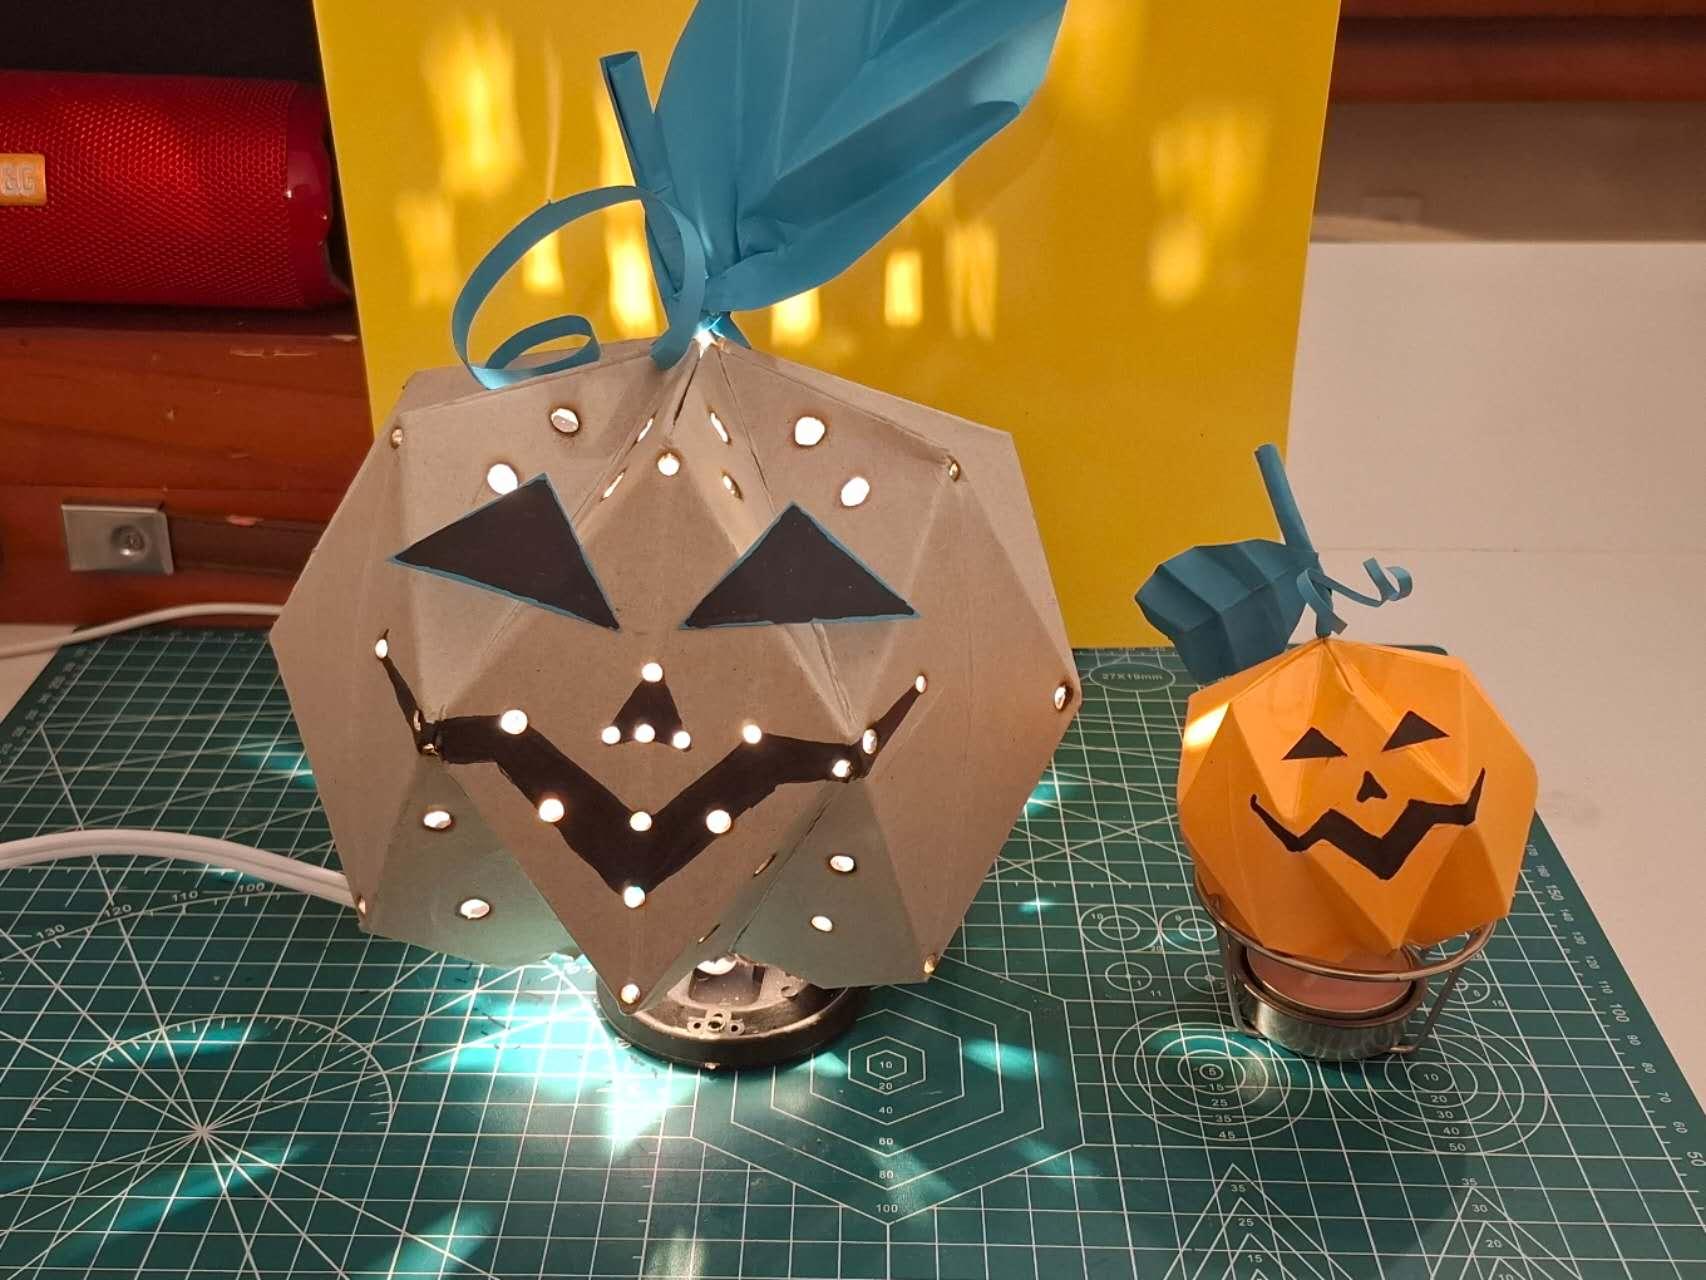
Use a wood-burning tool to poke small holes. They’ll let light shimmer through like tiny stars.
Pop an LED light inside, dim the room, and watch your pumpkin glow! Mix and match sizes and colors for a full pumpkin patch vibe.
Go Wild—Customize It!


- Try black, purple, or glitter paper.
- Make a mini pumpkin army using different paper sizes.
- Skip the face and let the burn-holes do the talking.
Gather your paper, put on some spooky tunes, and let’s fold our way to the coolest Halloween decor ever. Happy crafting