Go Monochrome! Intro to the World of Batik Dyeing
by MaskedAssassin321 in Craft > Fiber Arts
226 Views, 2 Favorites, 0 Comments
Go Monochrome! Intro to the World of Batik Dyeing
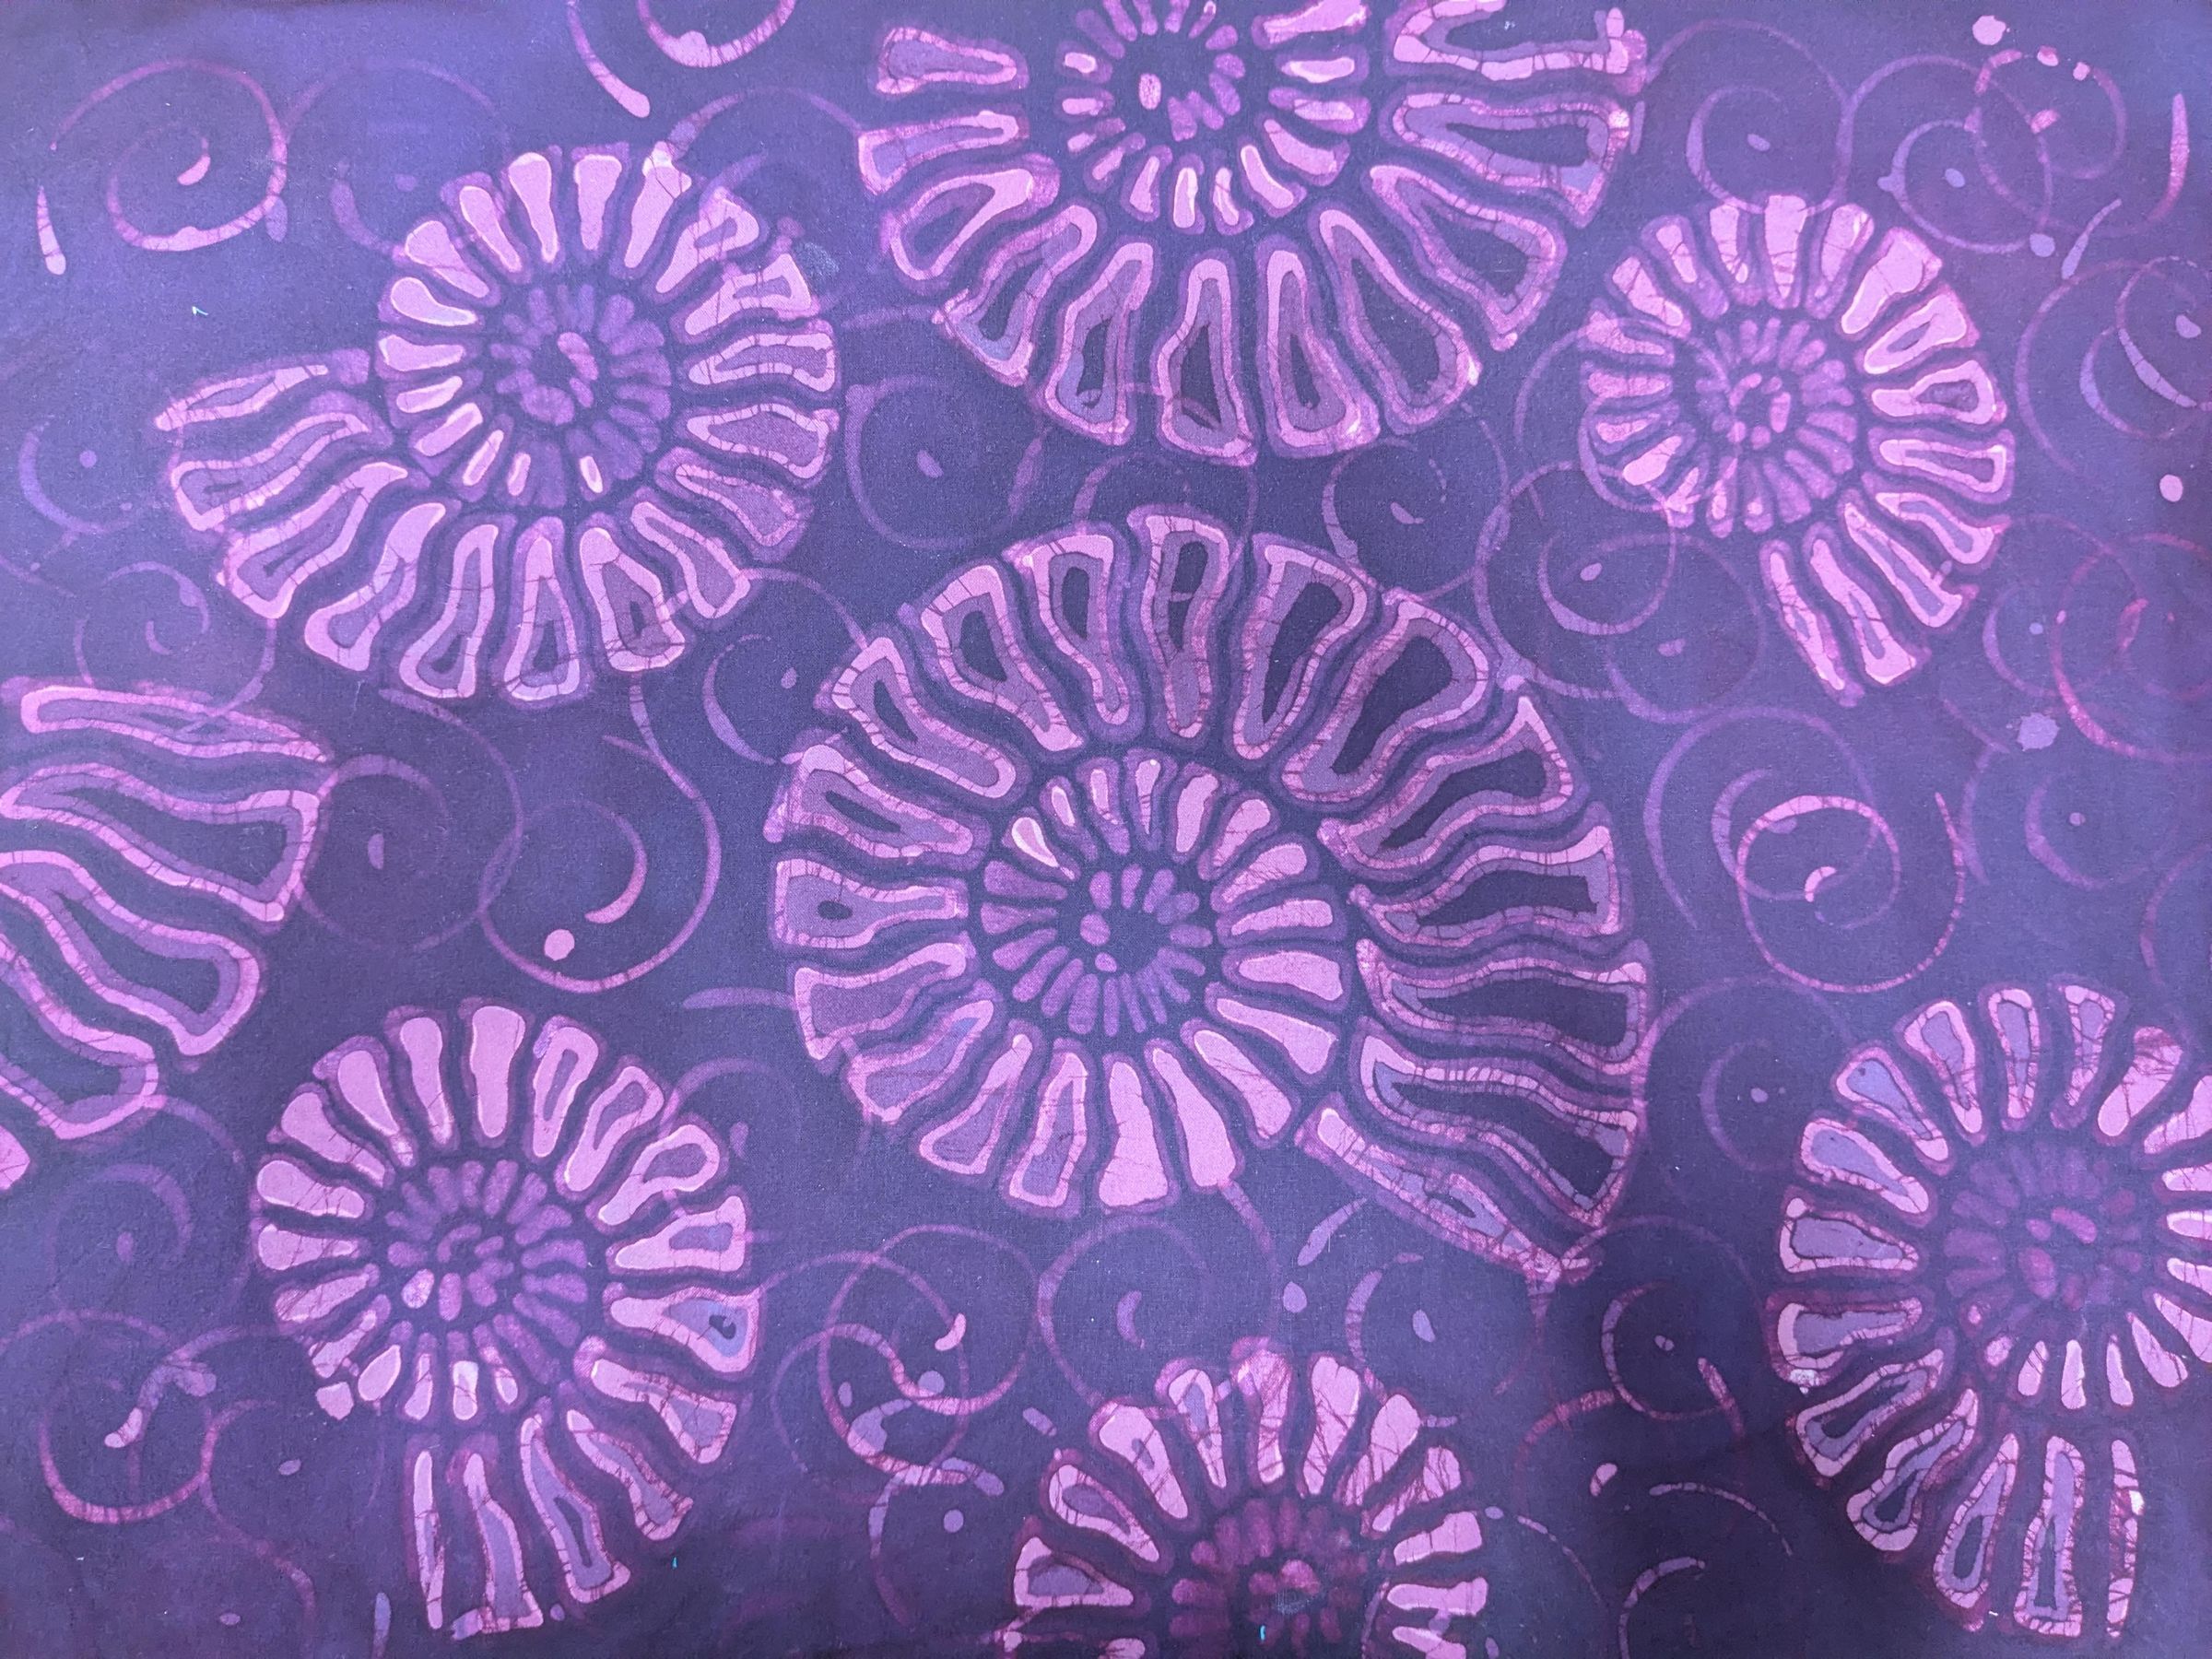
Batik is a special dying technique that uses a wax resist to create intricate patterns and designs. I have found that starting out with monochrome colors, that is using only one color in various shades, is a great introduction to Batik.
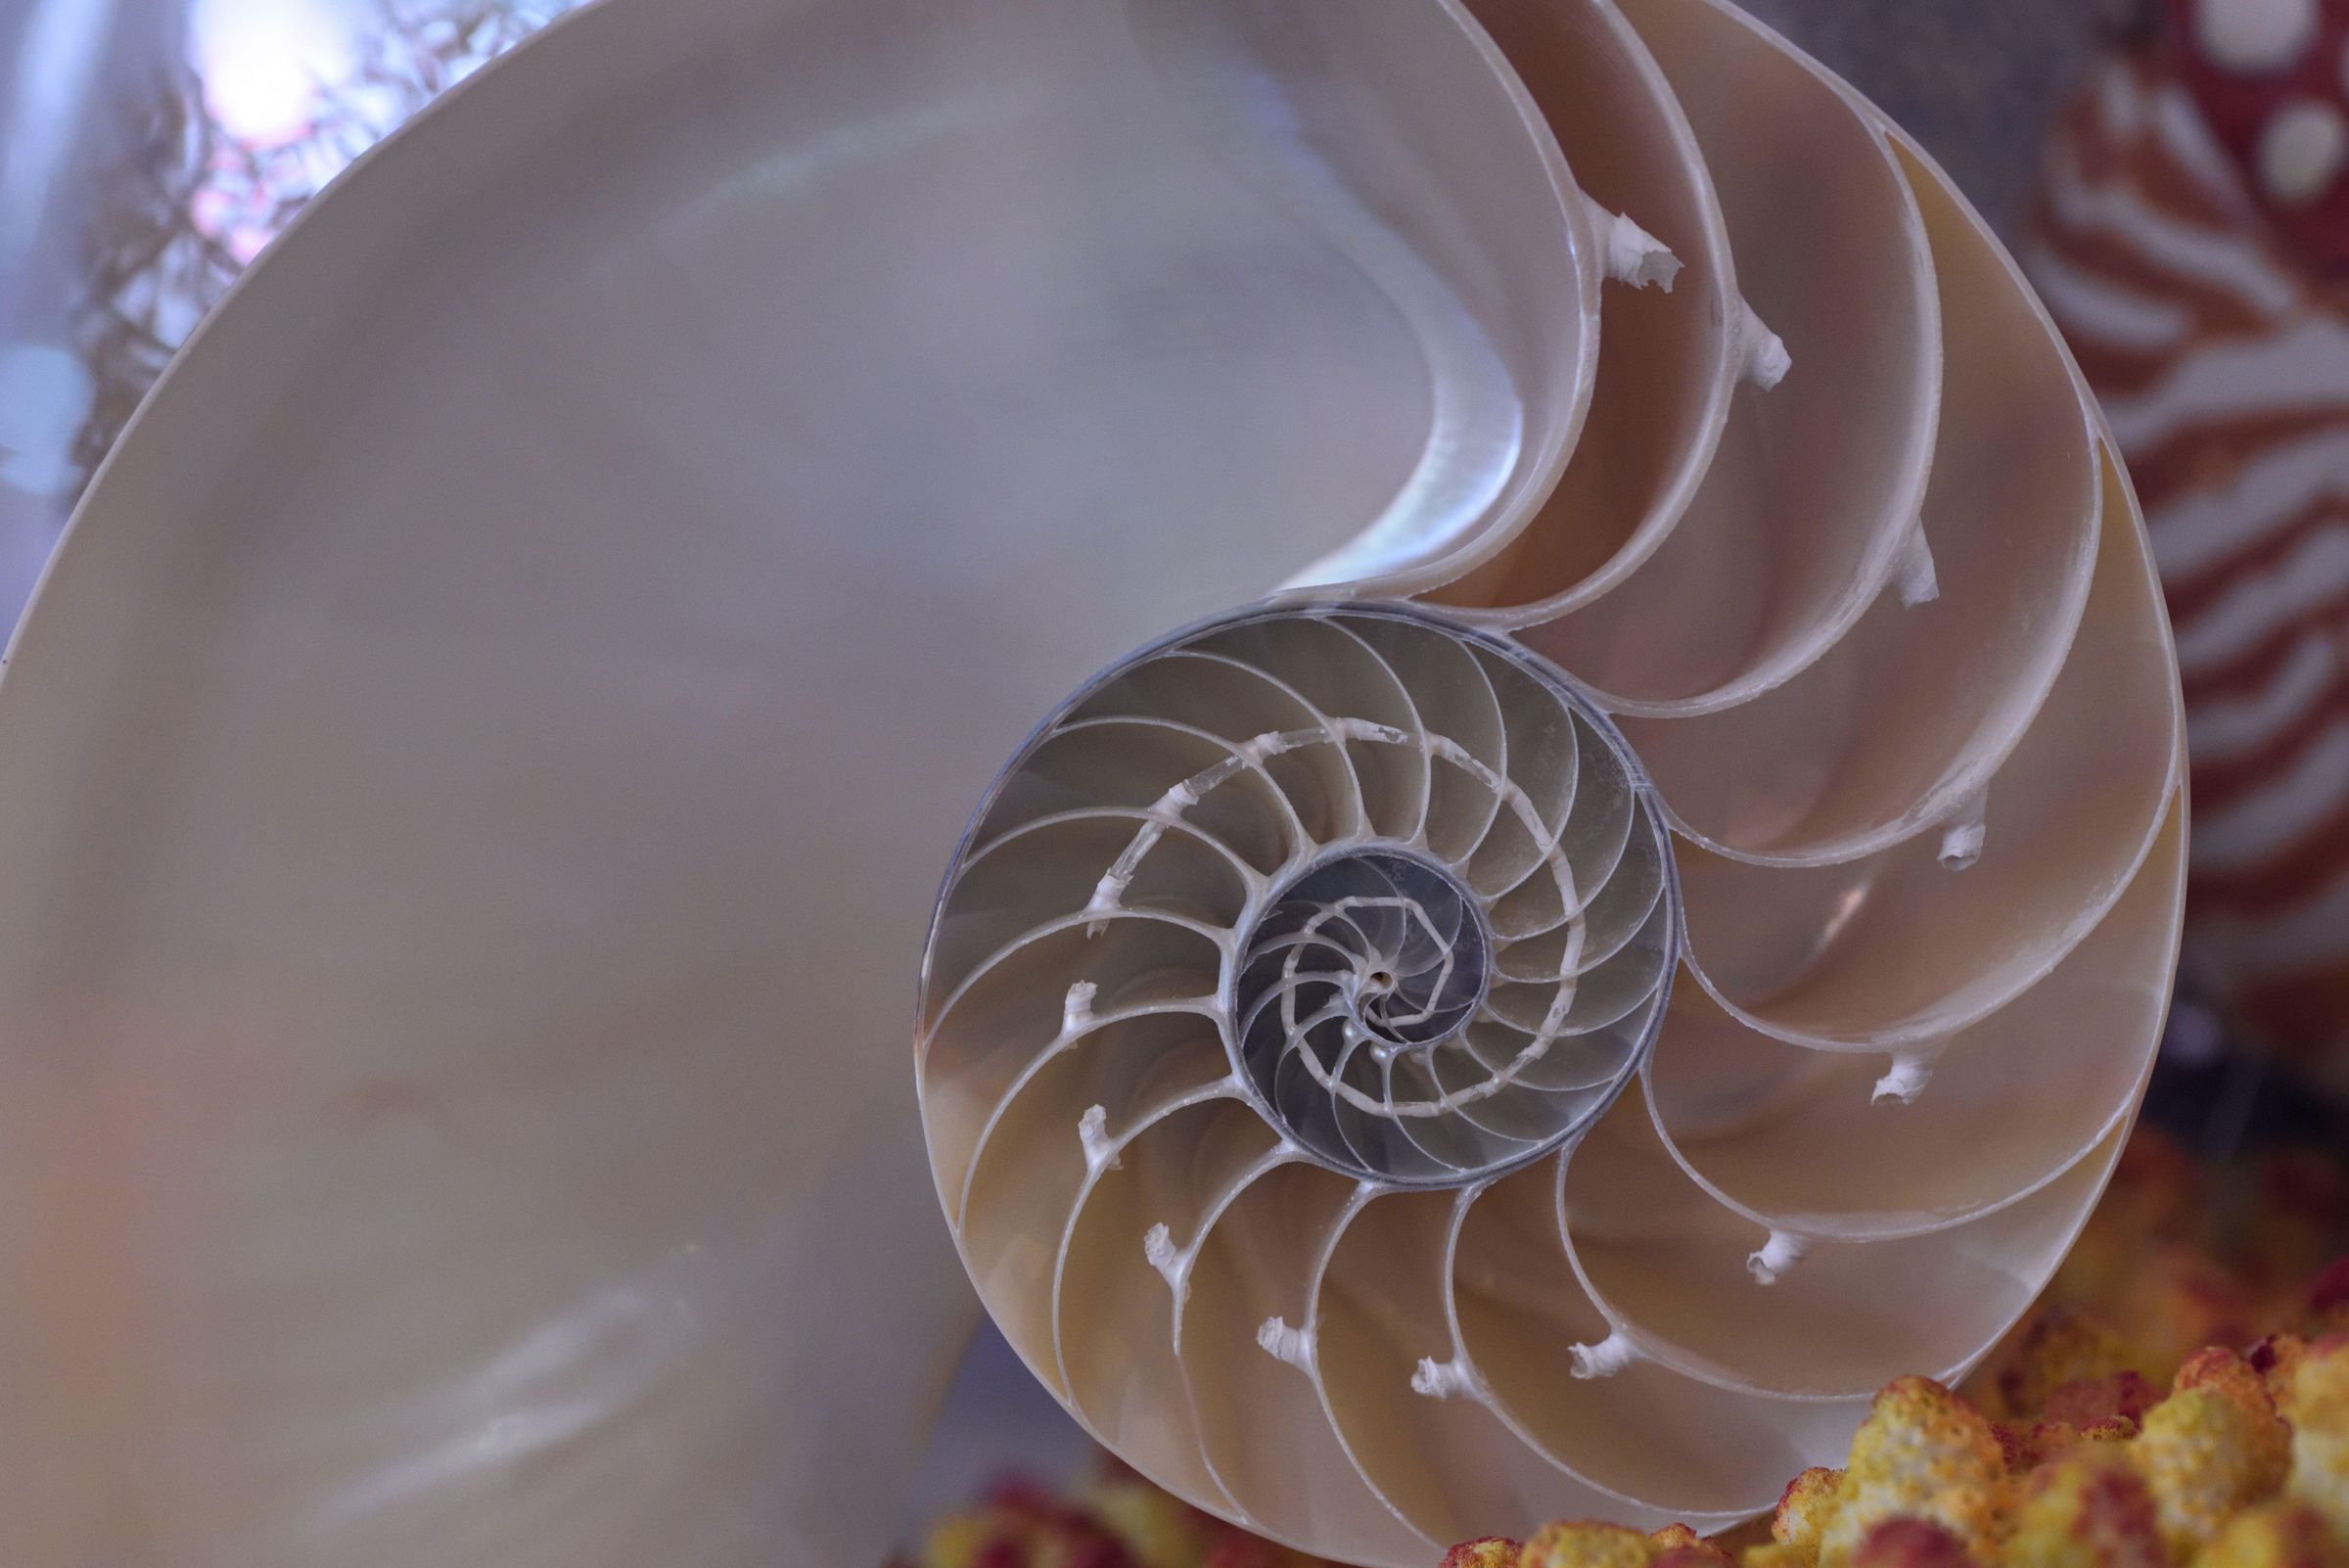
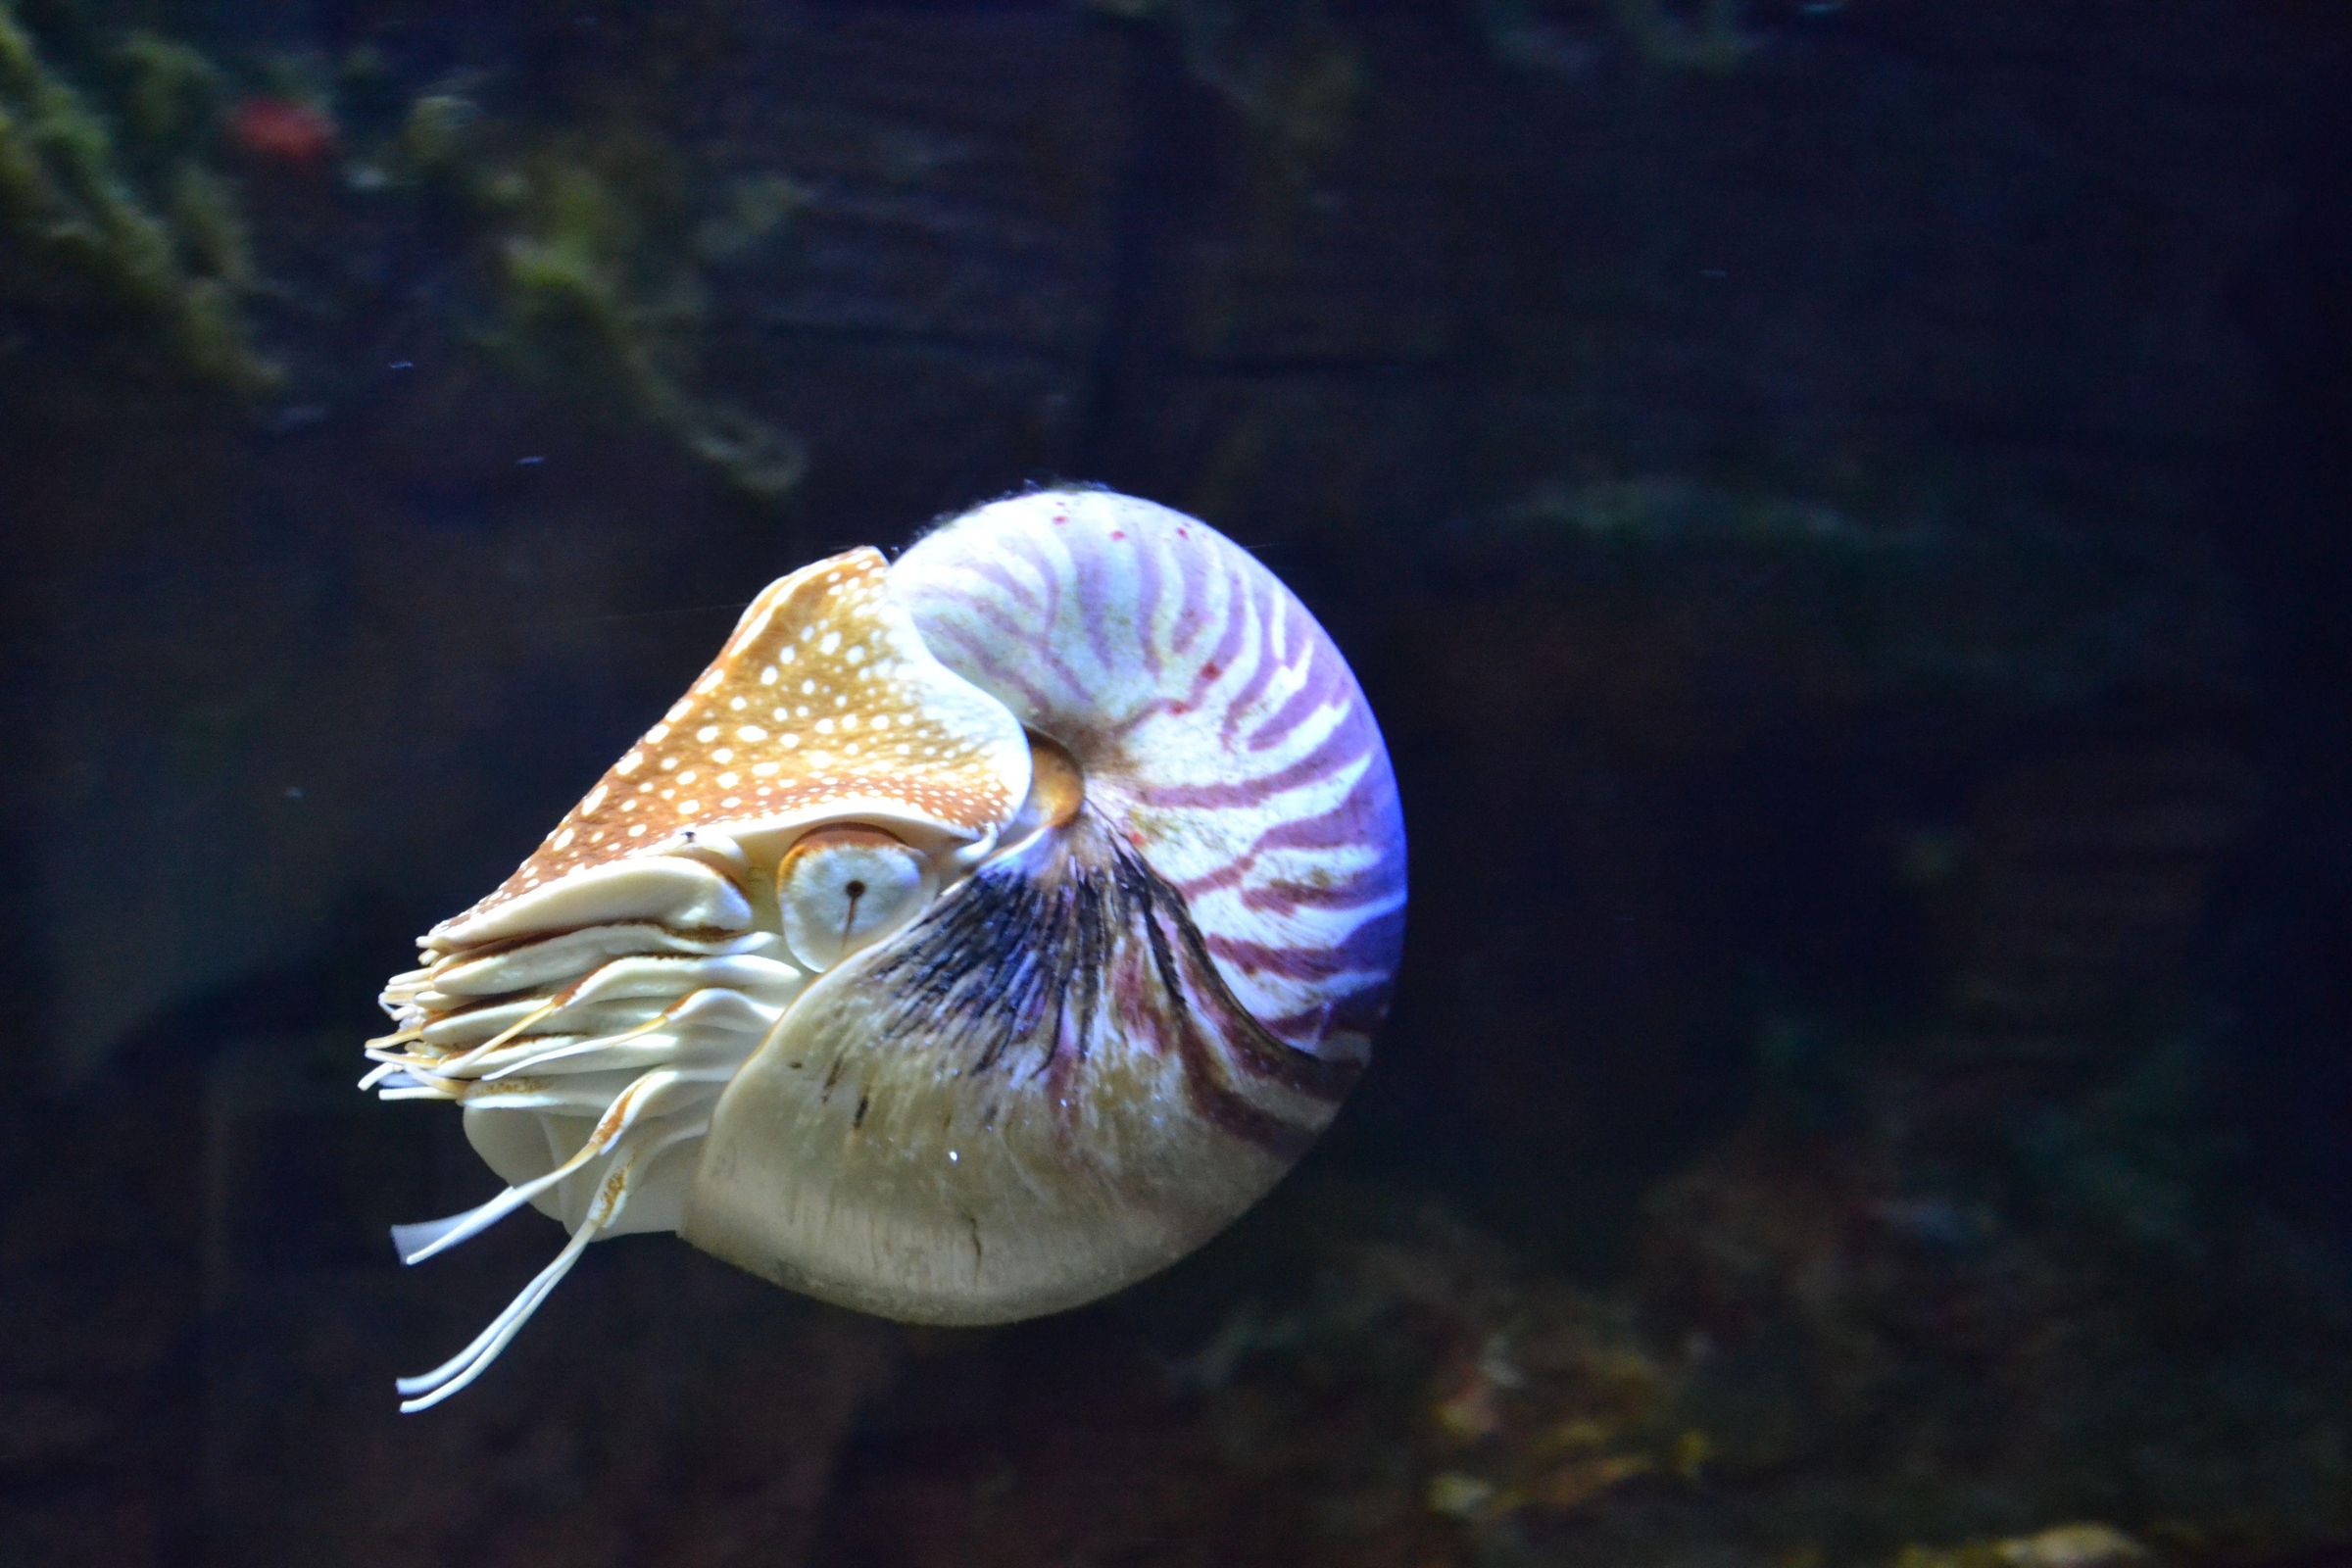
I chose the humble chambered nautilus as my muse for my Batik. I have always loved these little guys and thus decided to dedicate a Batik to them (as you do).
Why Purple? Purple has always been my favorite color, I find it both magical and calming. I also think it has a fascinating history.
Purple was once worth more than gold and was known as the most sought after color in history. The color was previously only able to be created using a rare sea snail, it would take approximately 12,000 of these snails to create just over 1 gram of purple dye. Aren't we (and the snails) very lucky that this color is so accessible nowadays?
Supplies
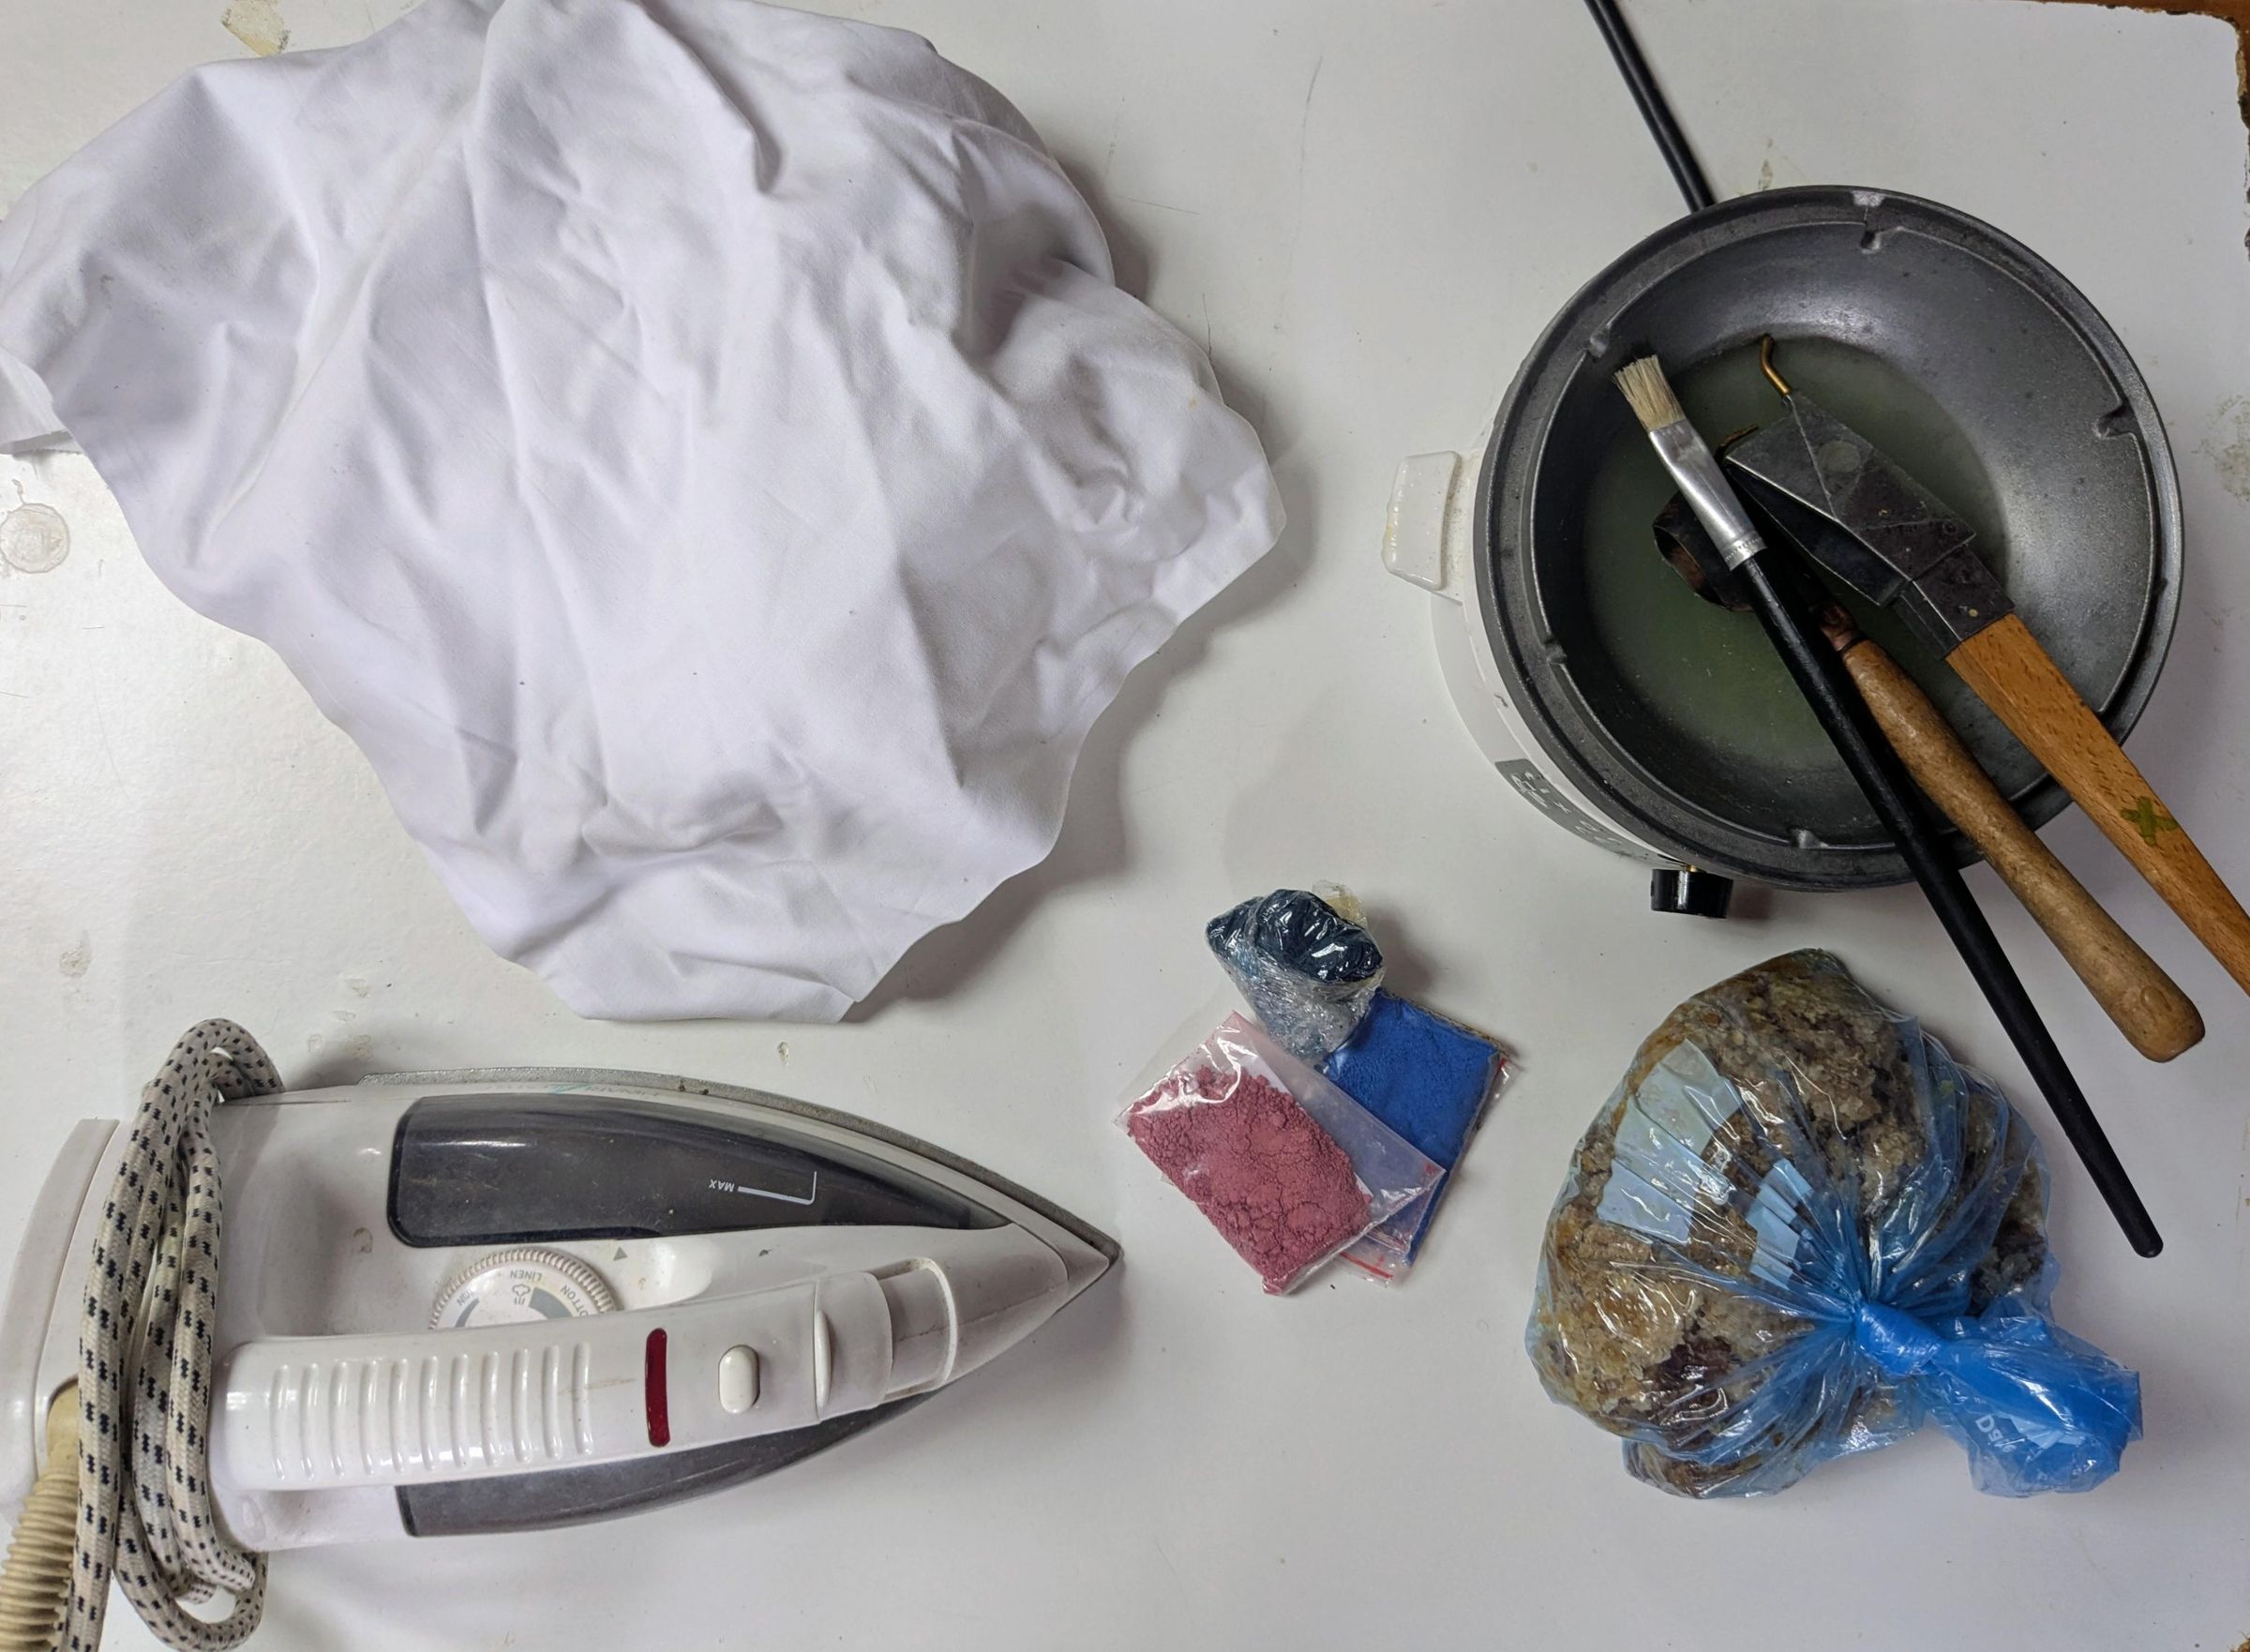
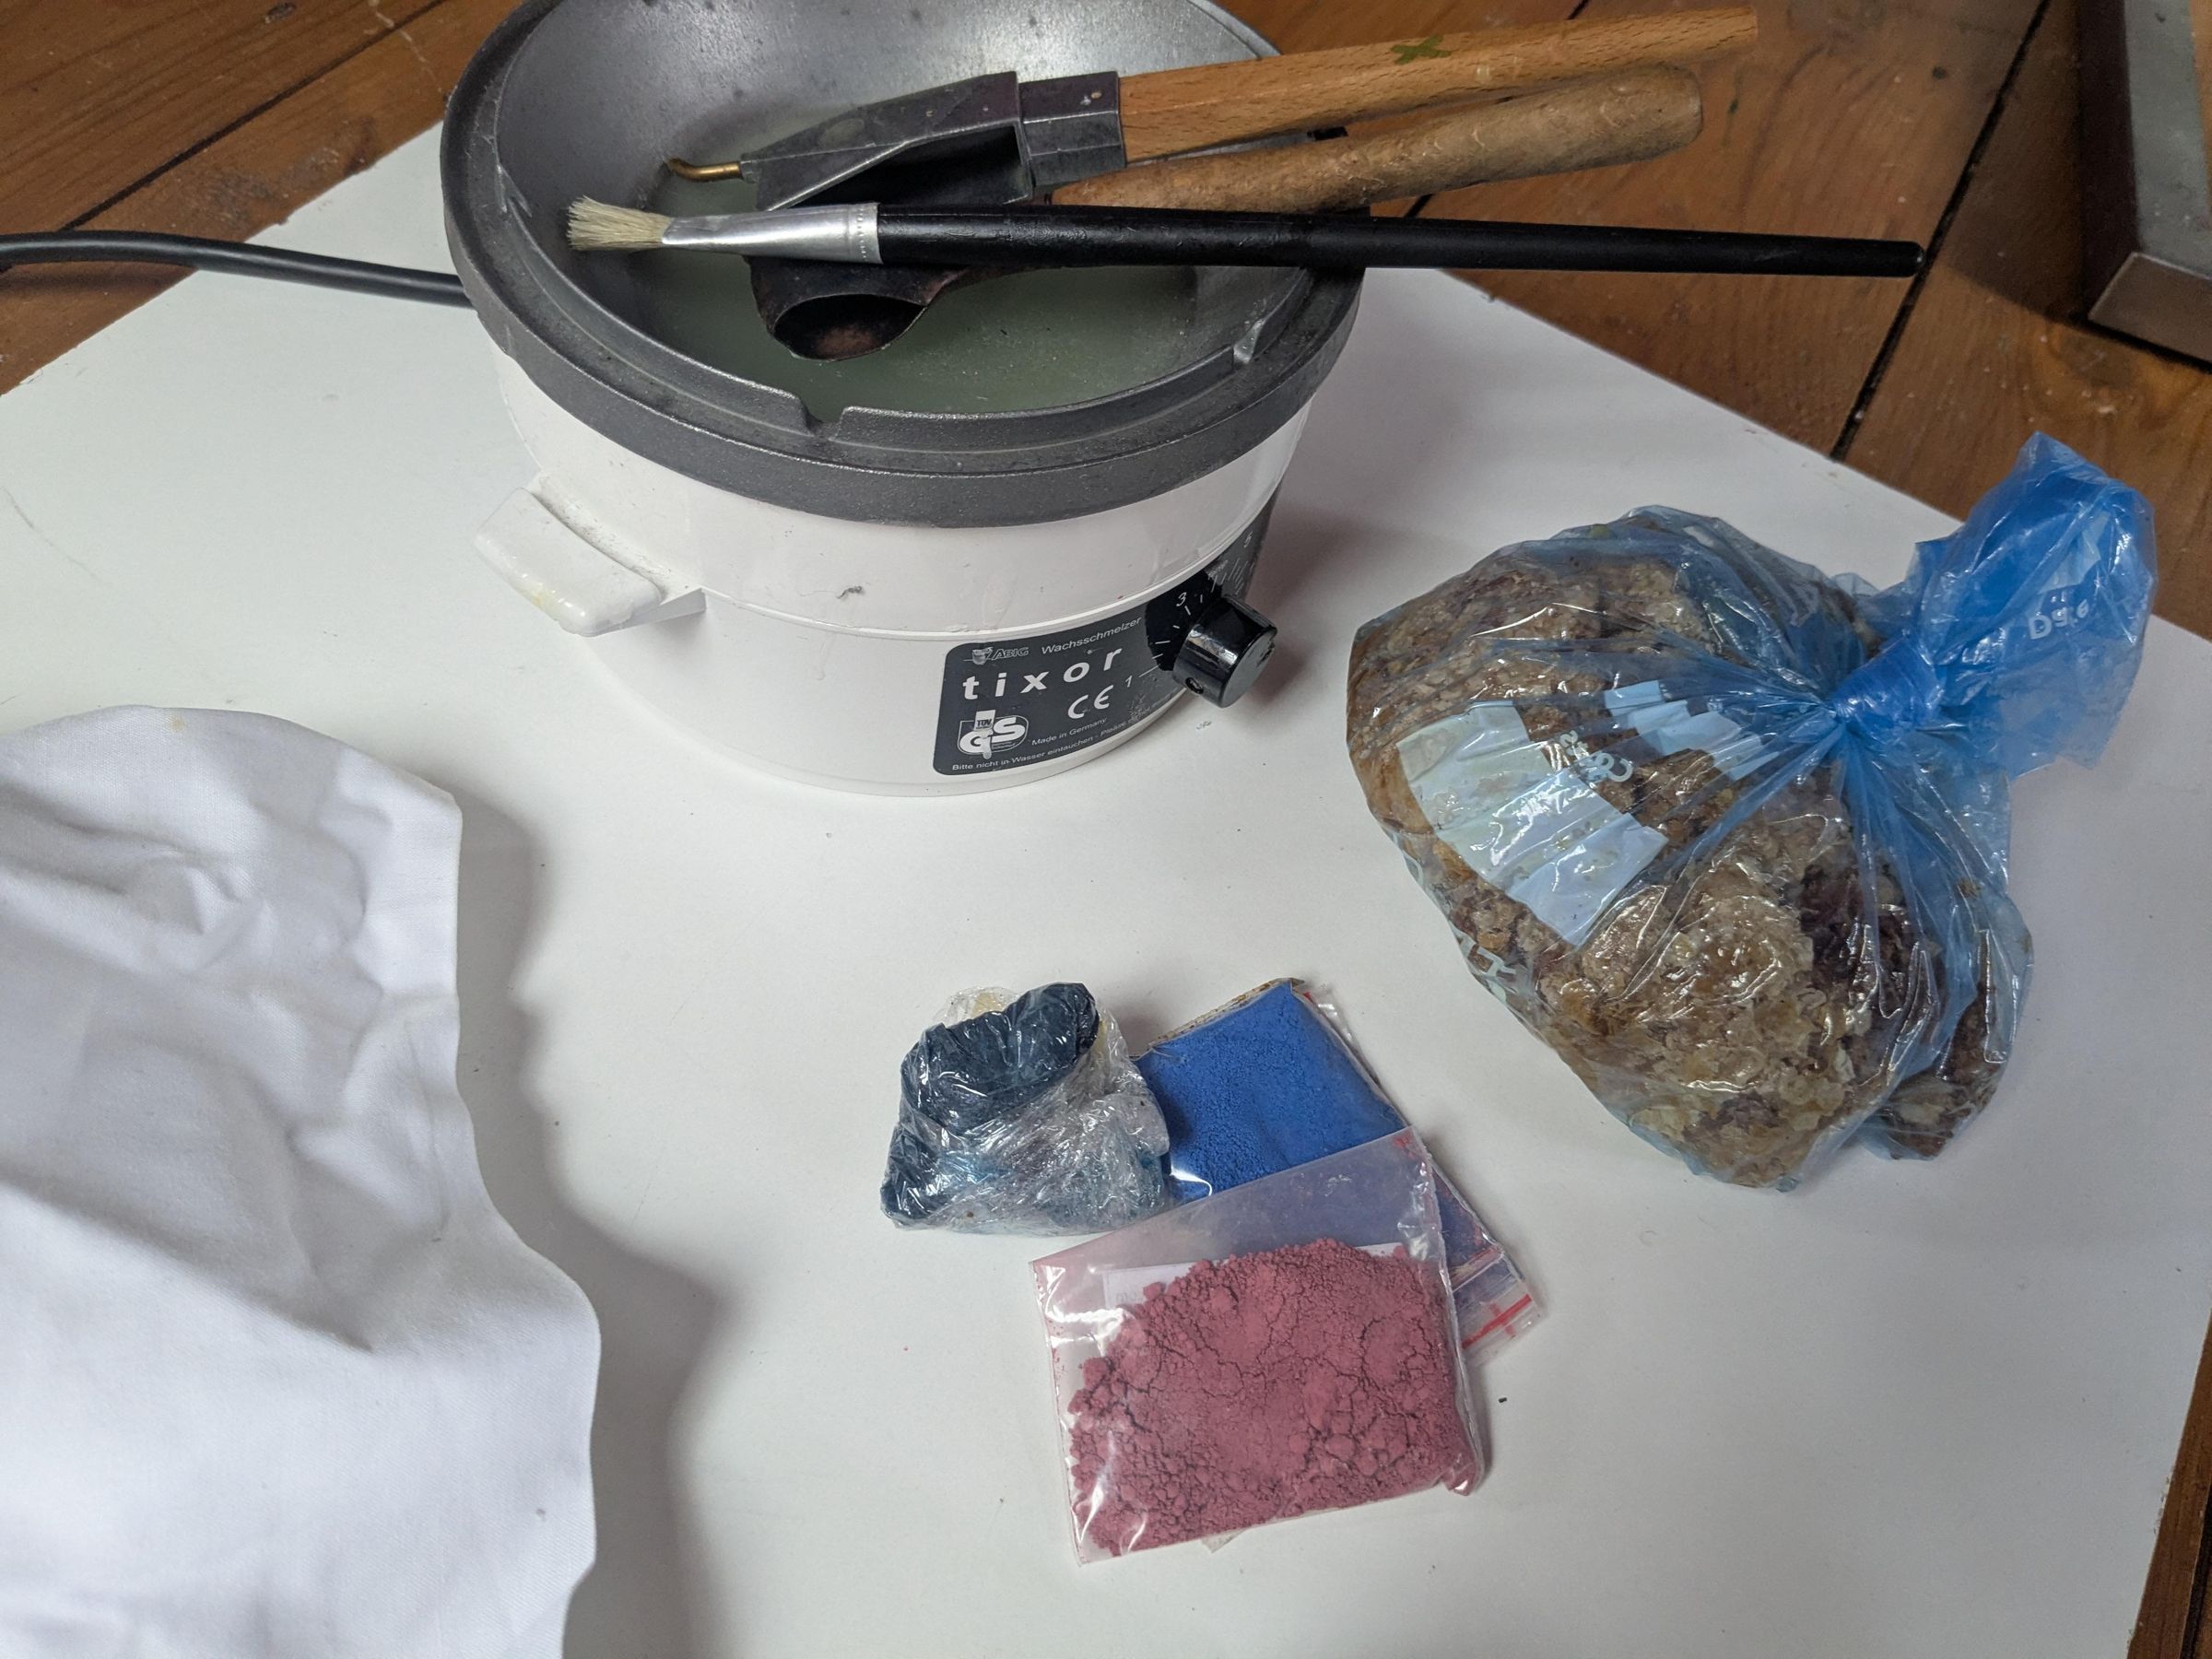
- Fabric: I am using bleached cotton but other natural fabrics such as linen and calico are perfectly fine to use. Avoid synthetic fabrics such as polyester/acrylic as the dye will not always take to the fabric. Silk can yield amazing results but requires a confidence that I do not currently possess.
- Dye: I am using powdered but pre-mixed liquid dye will work too. Dyes can also be combined to create your desired color.
- Wax-Pot
- Wax: I use 2 parts paraffin to 1 part beeswax. Beeswax helps the wax bend without cracking too much.
- Tjantings (pronounced CHAN-ting): It is completely possible to make a design without these specialist tools but they are lovely to use if you can get your hands on them.
- Fabric Pencil or Pencil
- Paintbrush (If not using a Tjanting): An unloved one, do not dip your good paintbrush into molten wax (don't ask me how I know)
- Basin for dip-dyeing: I am using a turkey tray.
- Iron
- Paper or Newsprint: To soak up the melted wax from ironing.
- Dye Fixative (optional): only needed if you are planning on washing your finished batik. I find one scoop is usually fine but I'd recommend reading the instructions on the packet.
- Copper Rods (optional): Only if you wish to create your own stamp.
- Gloves
Drawing the Design
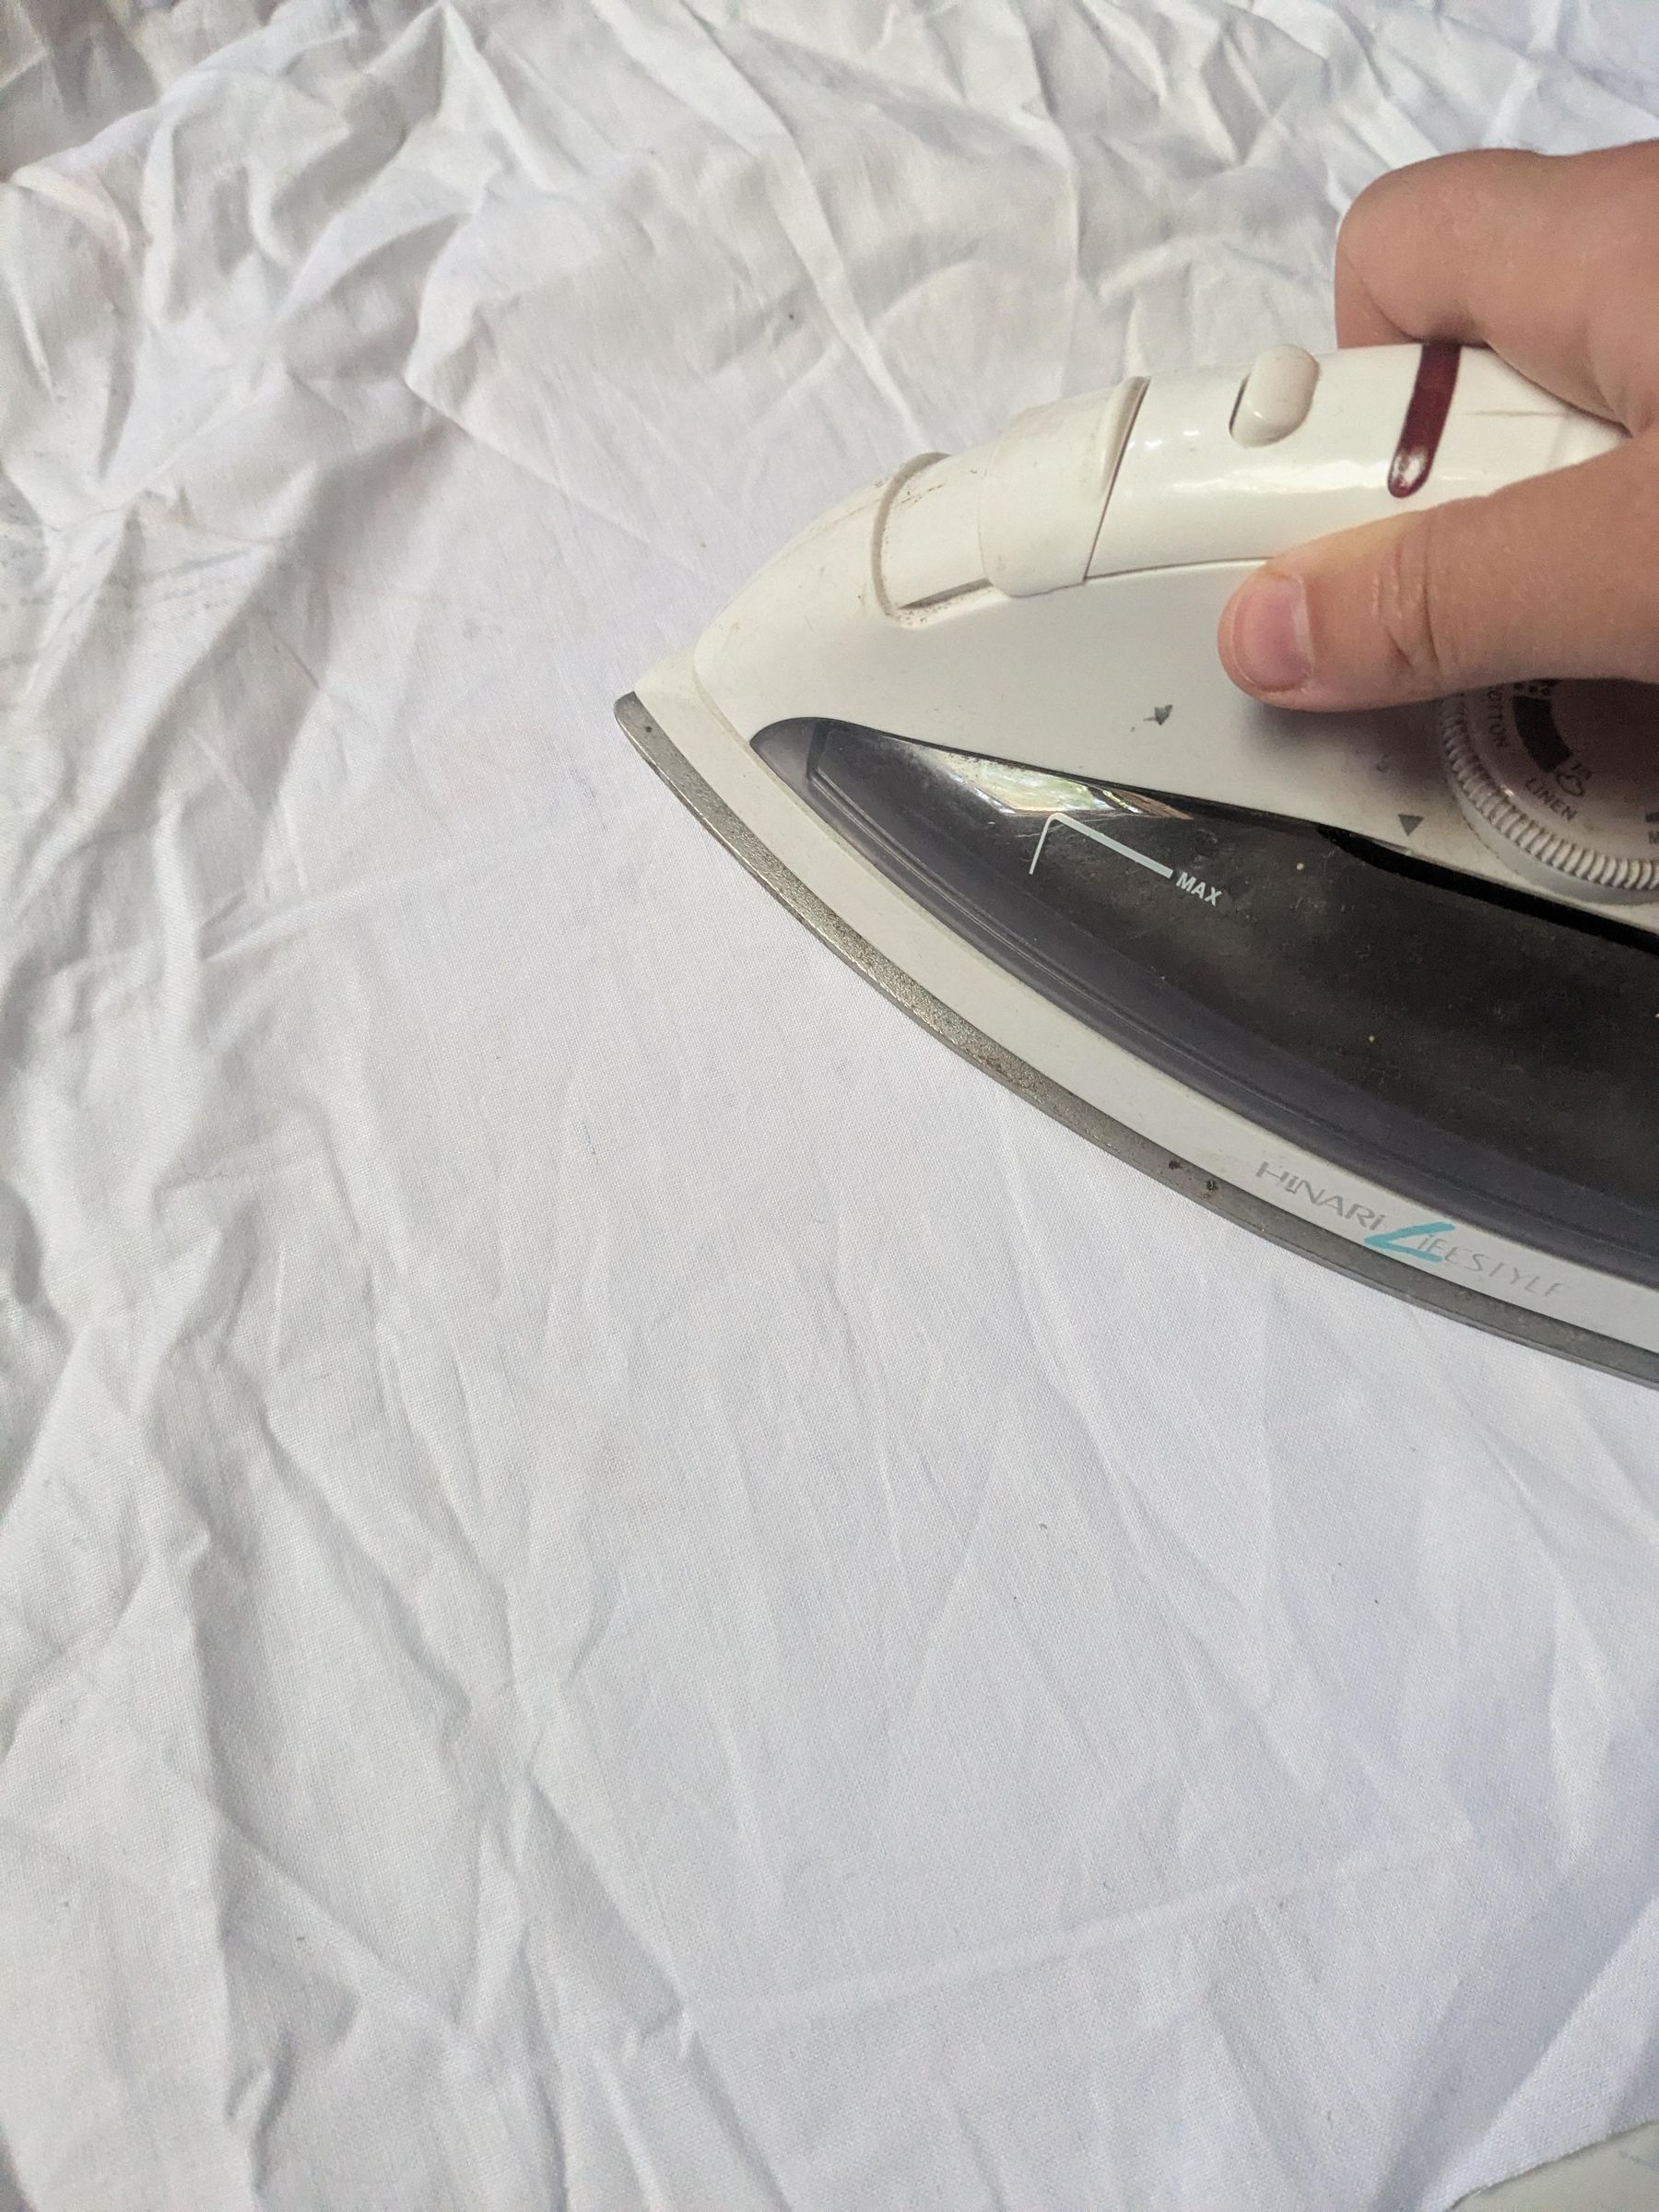
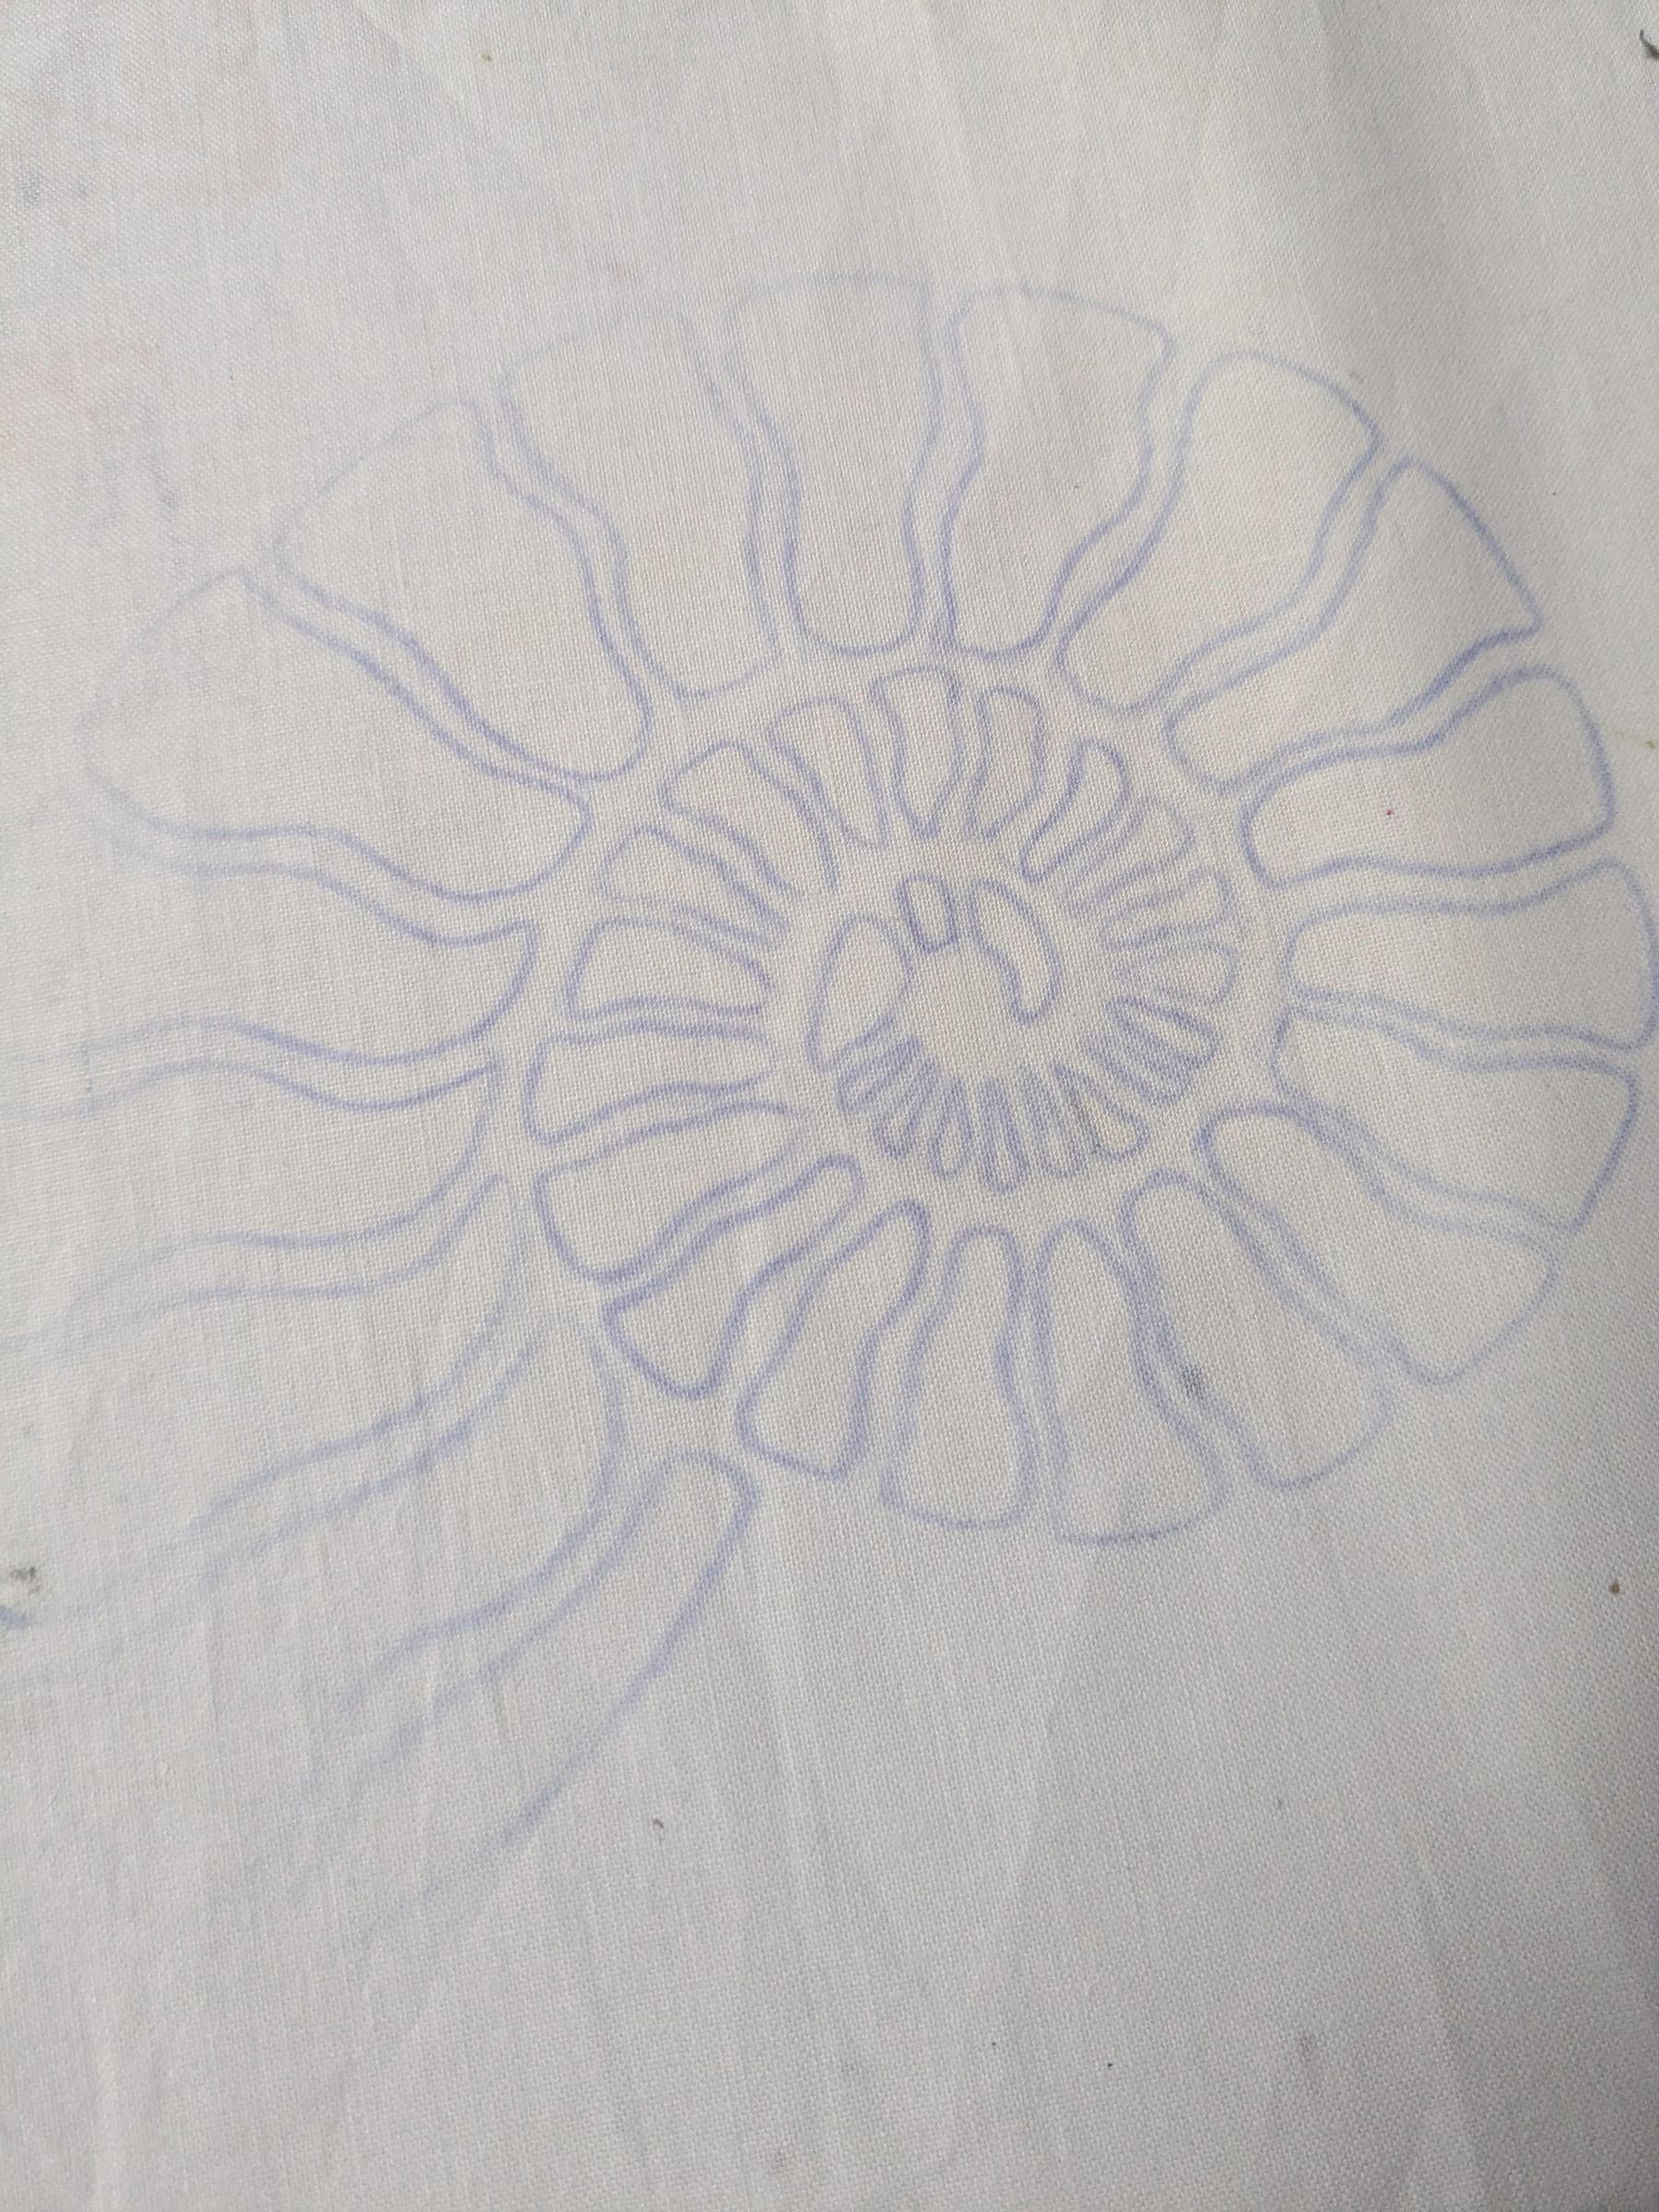
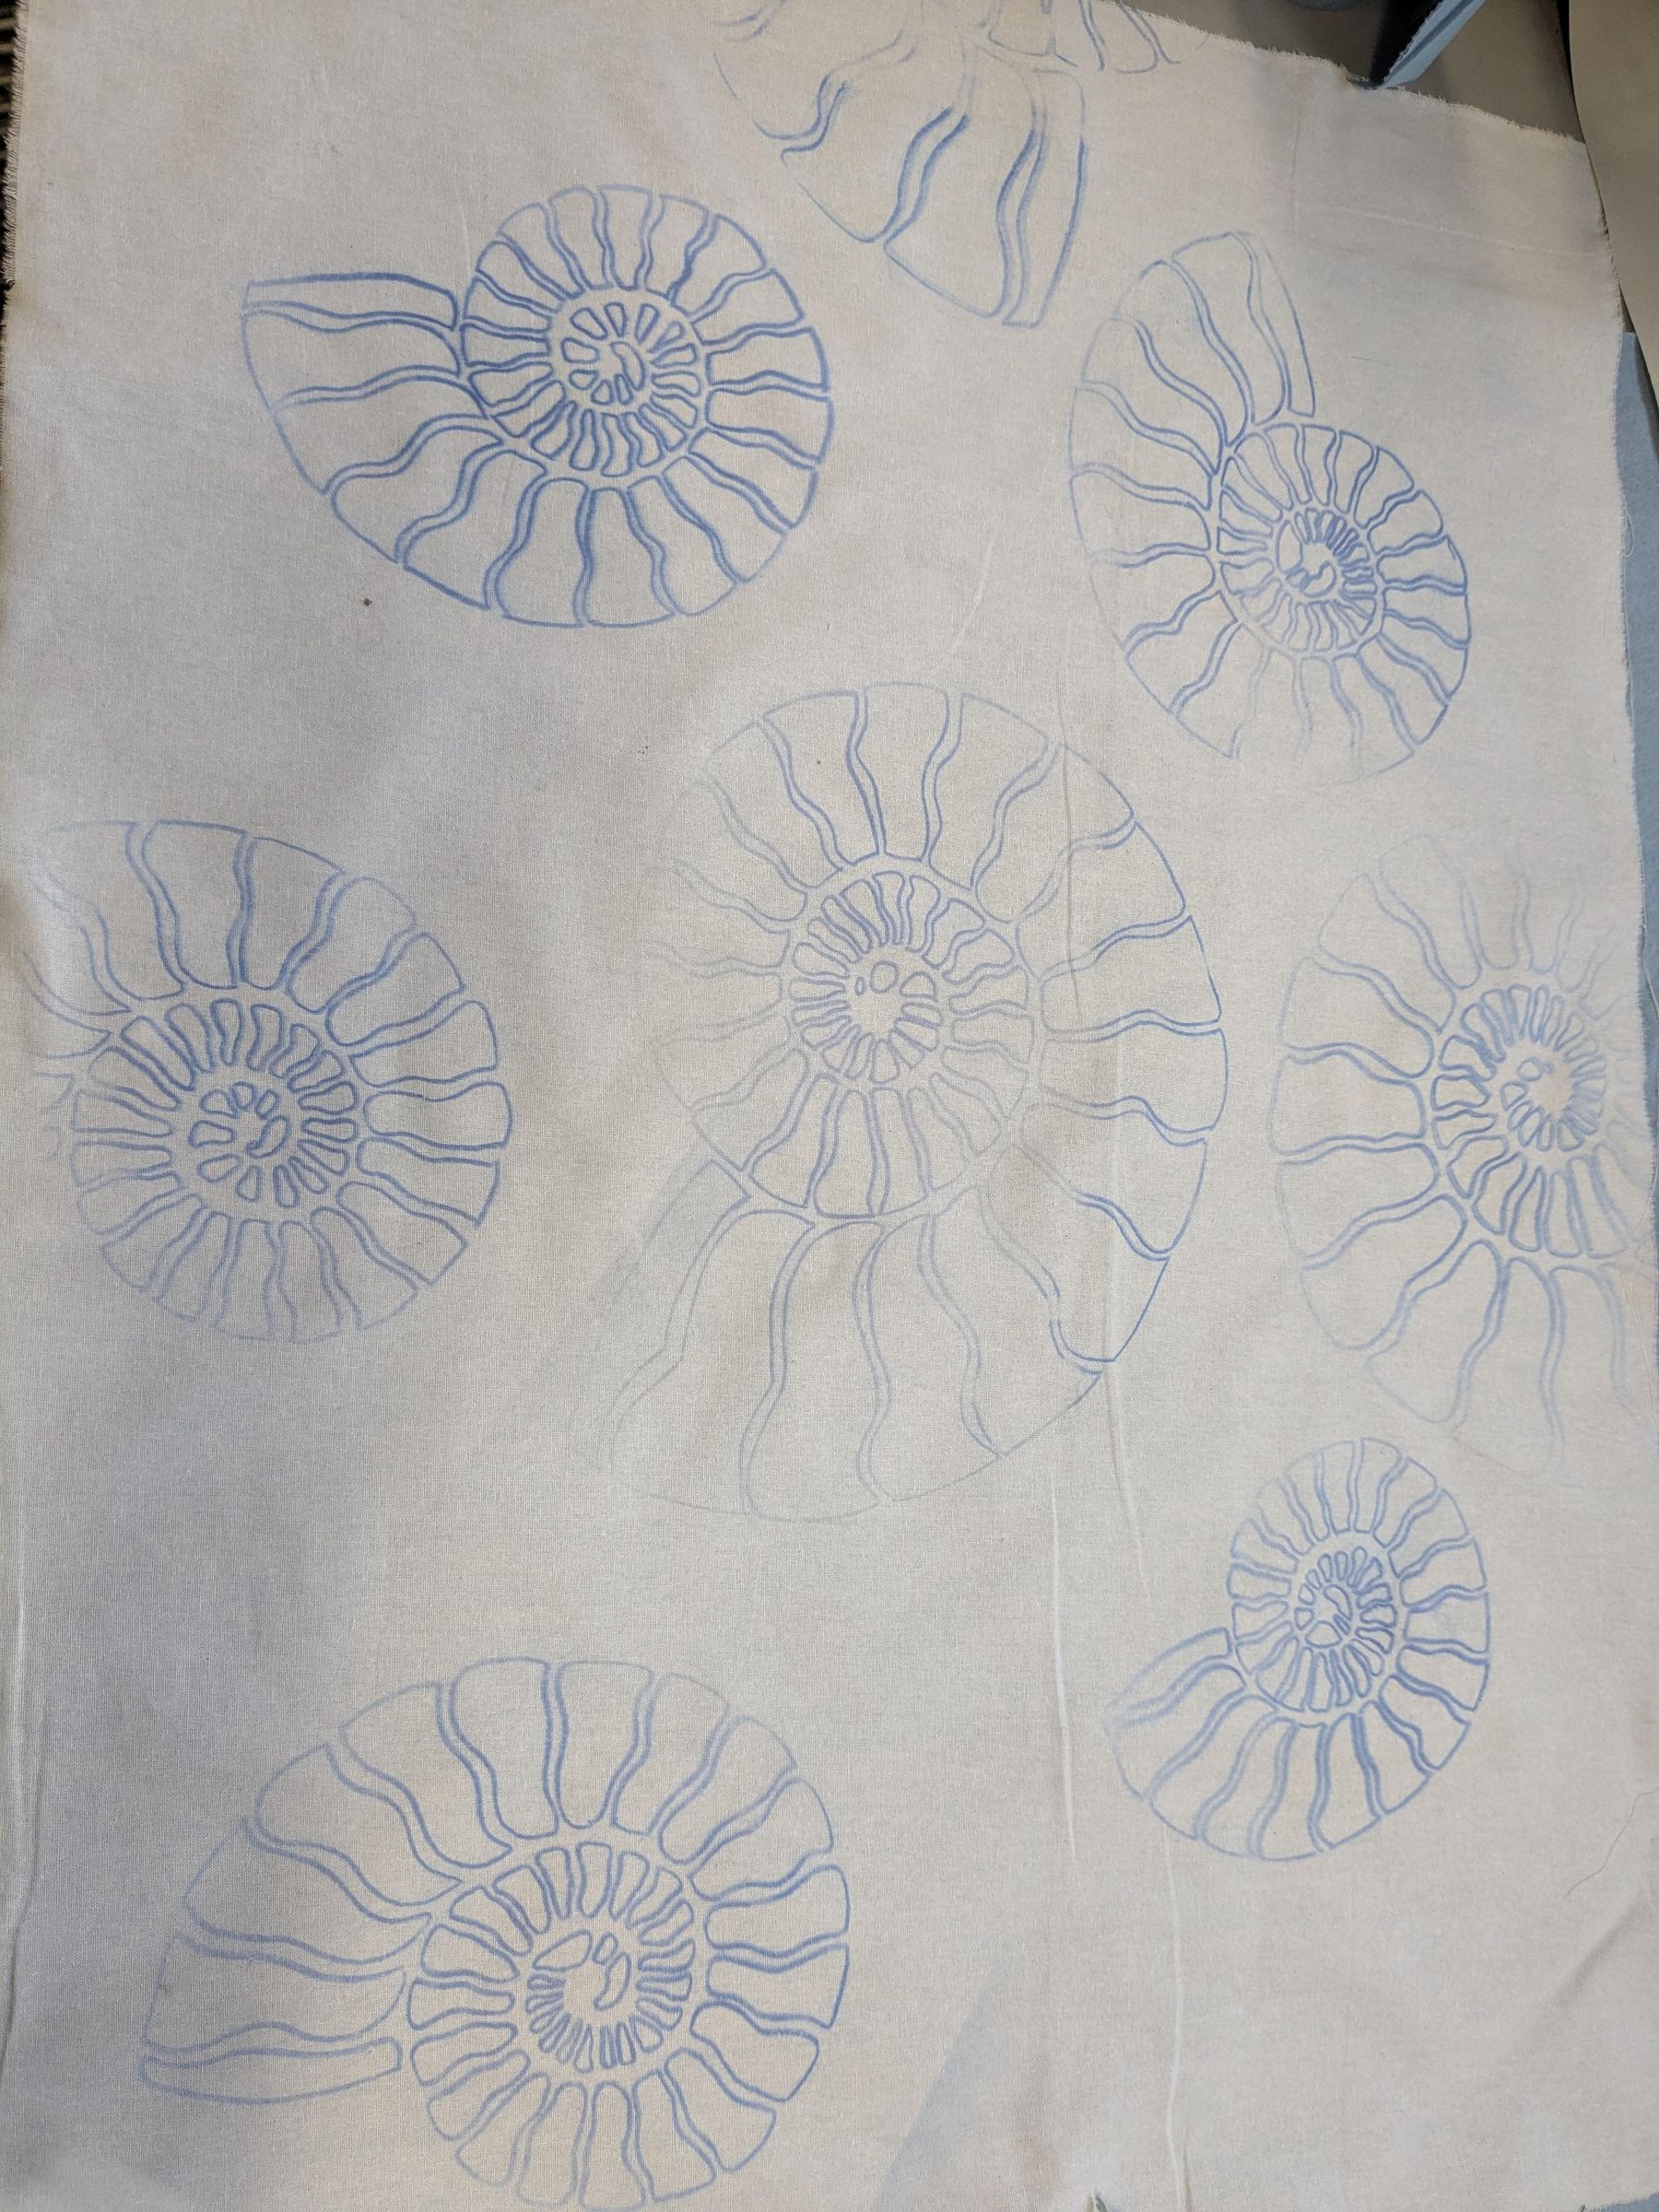
Iron your fabric before tracing your image! The crinkles are not your friends (Pic 1).
I looked at many different references of nautilus shells when drawing my design.
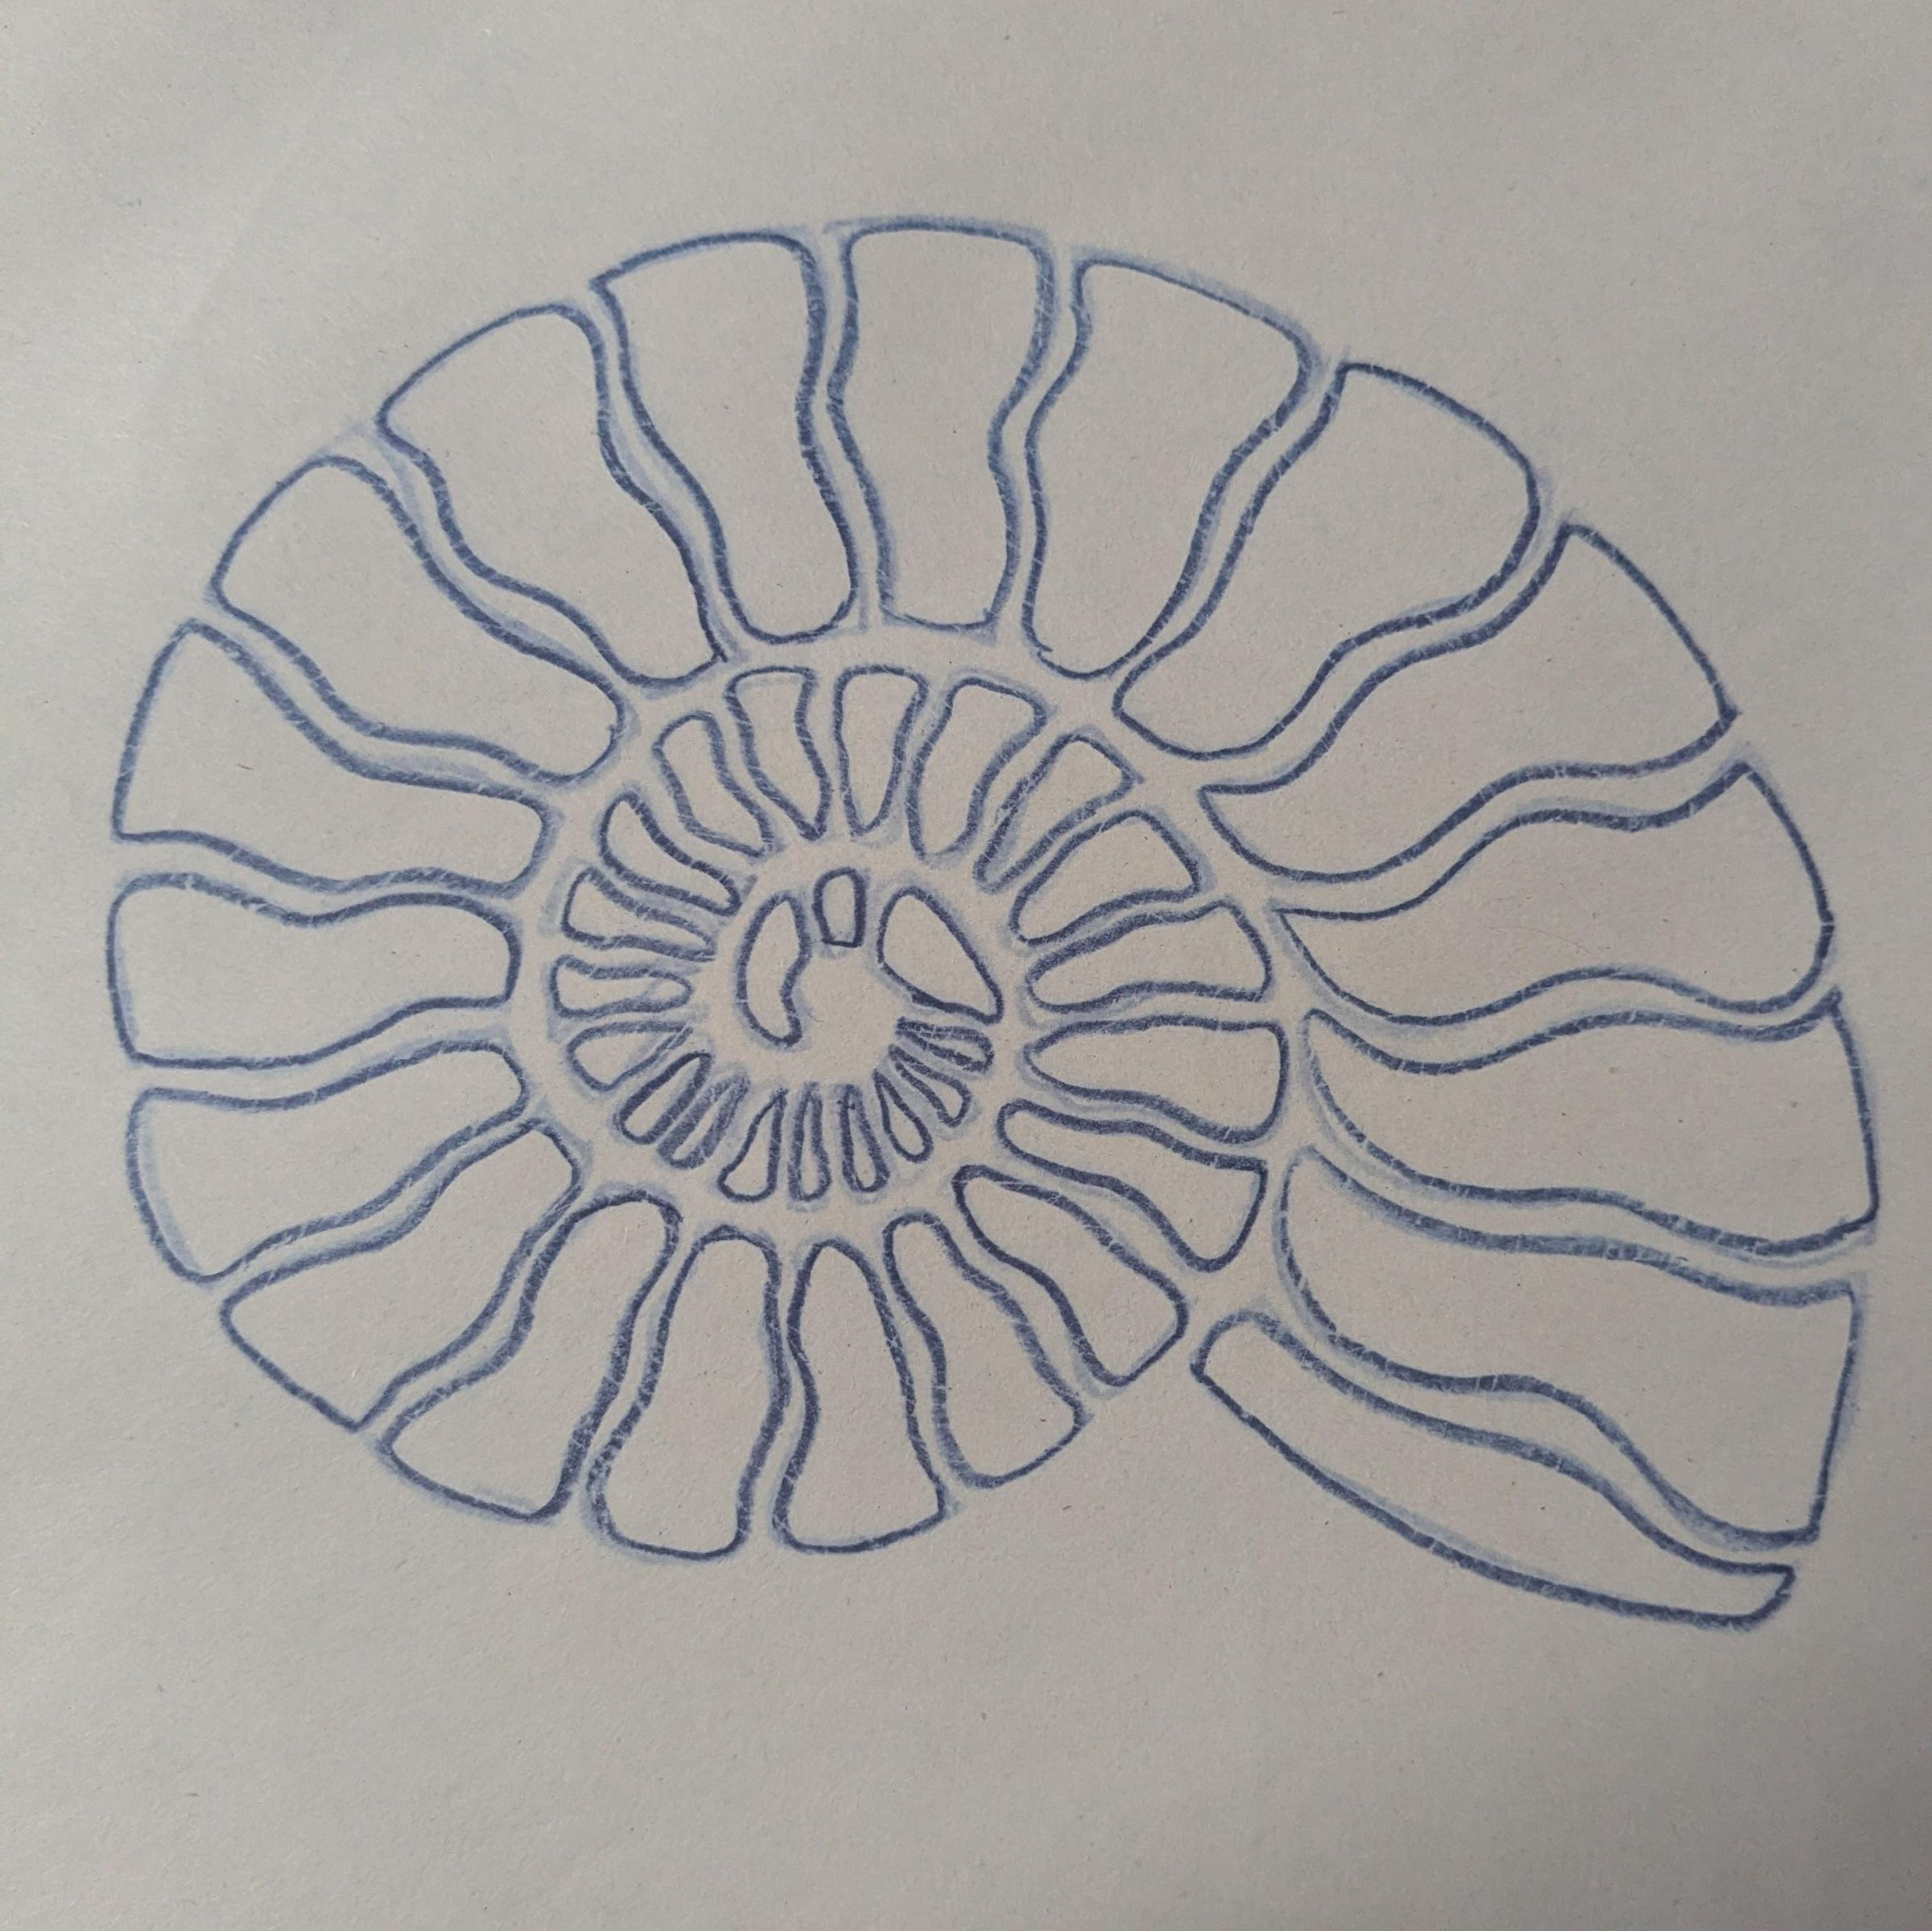
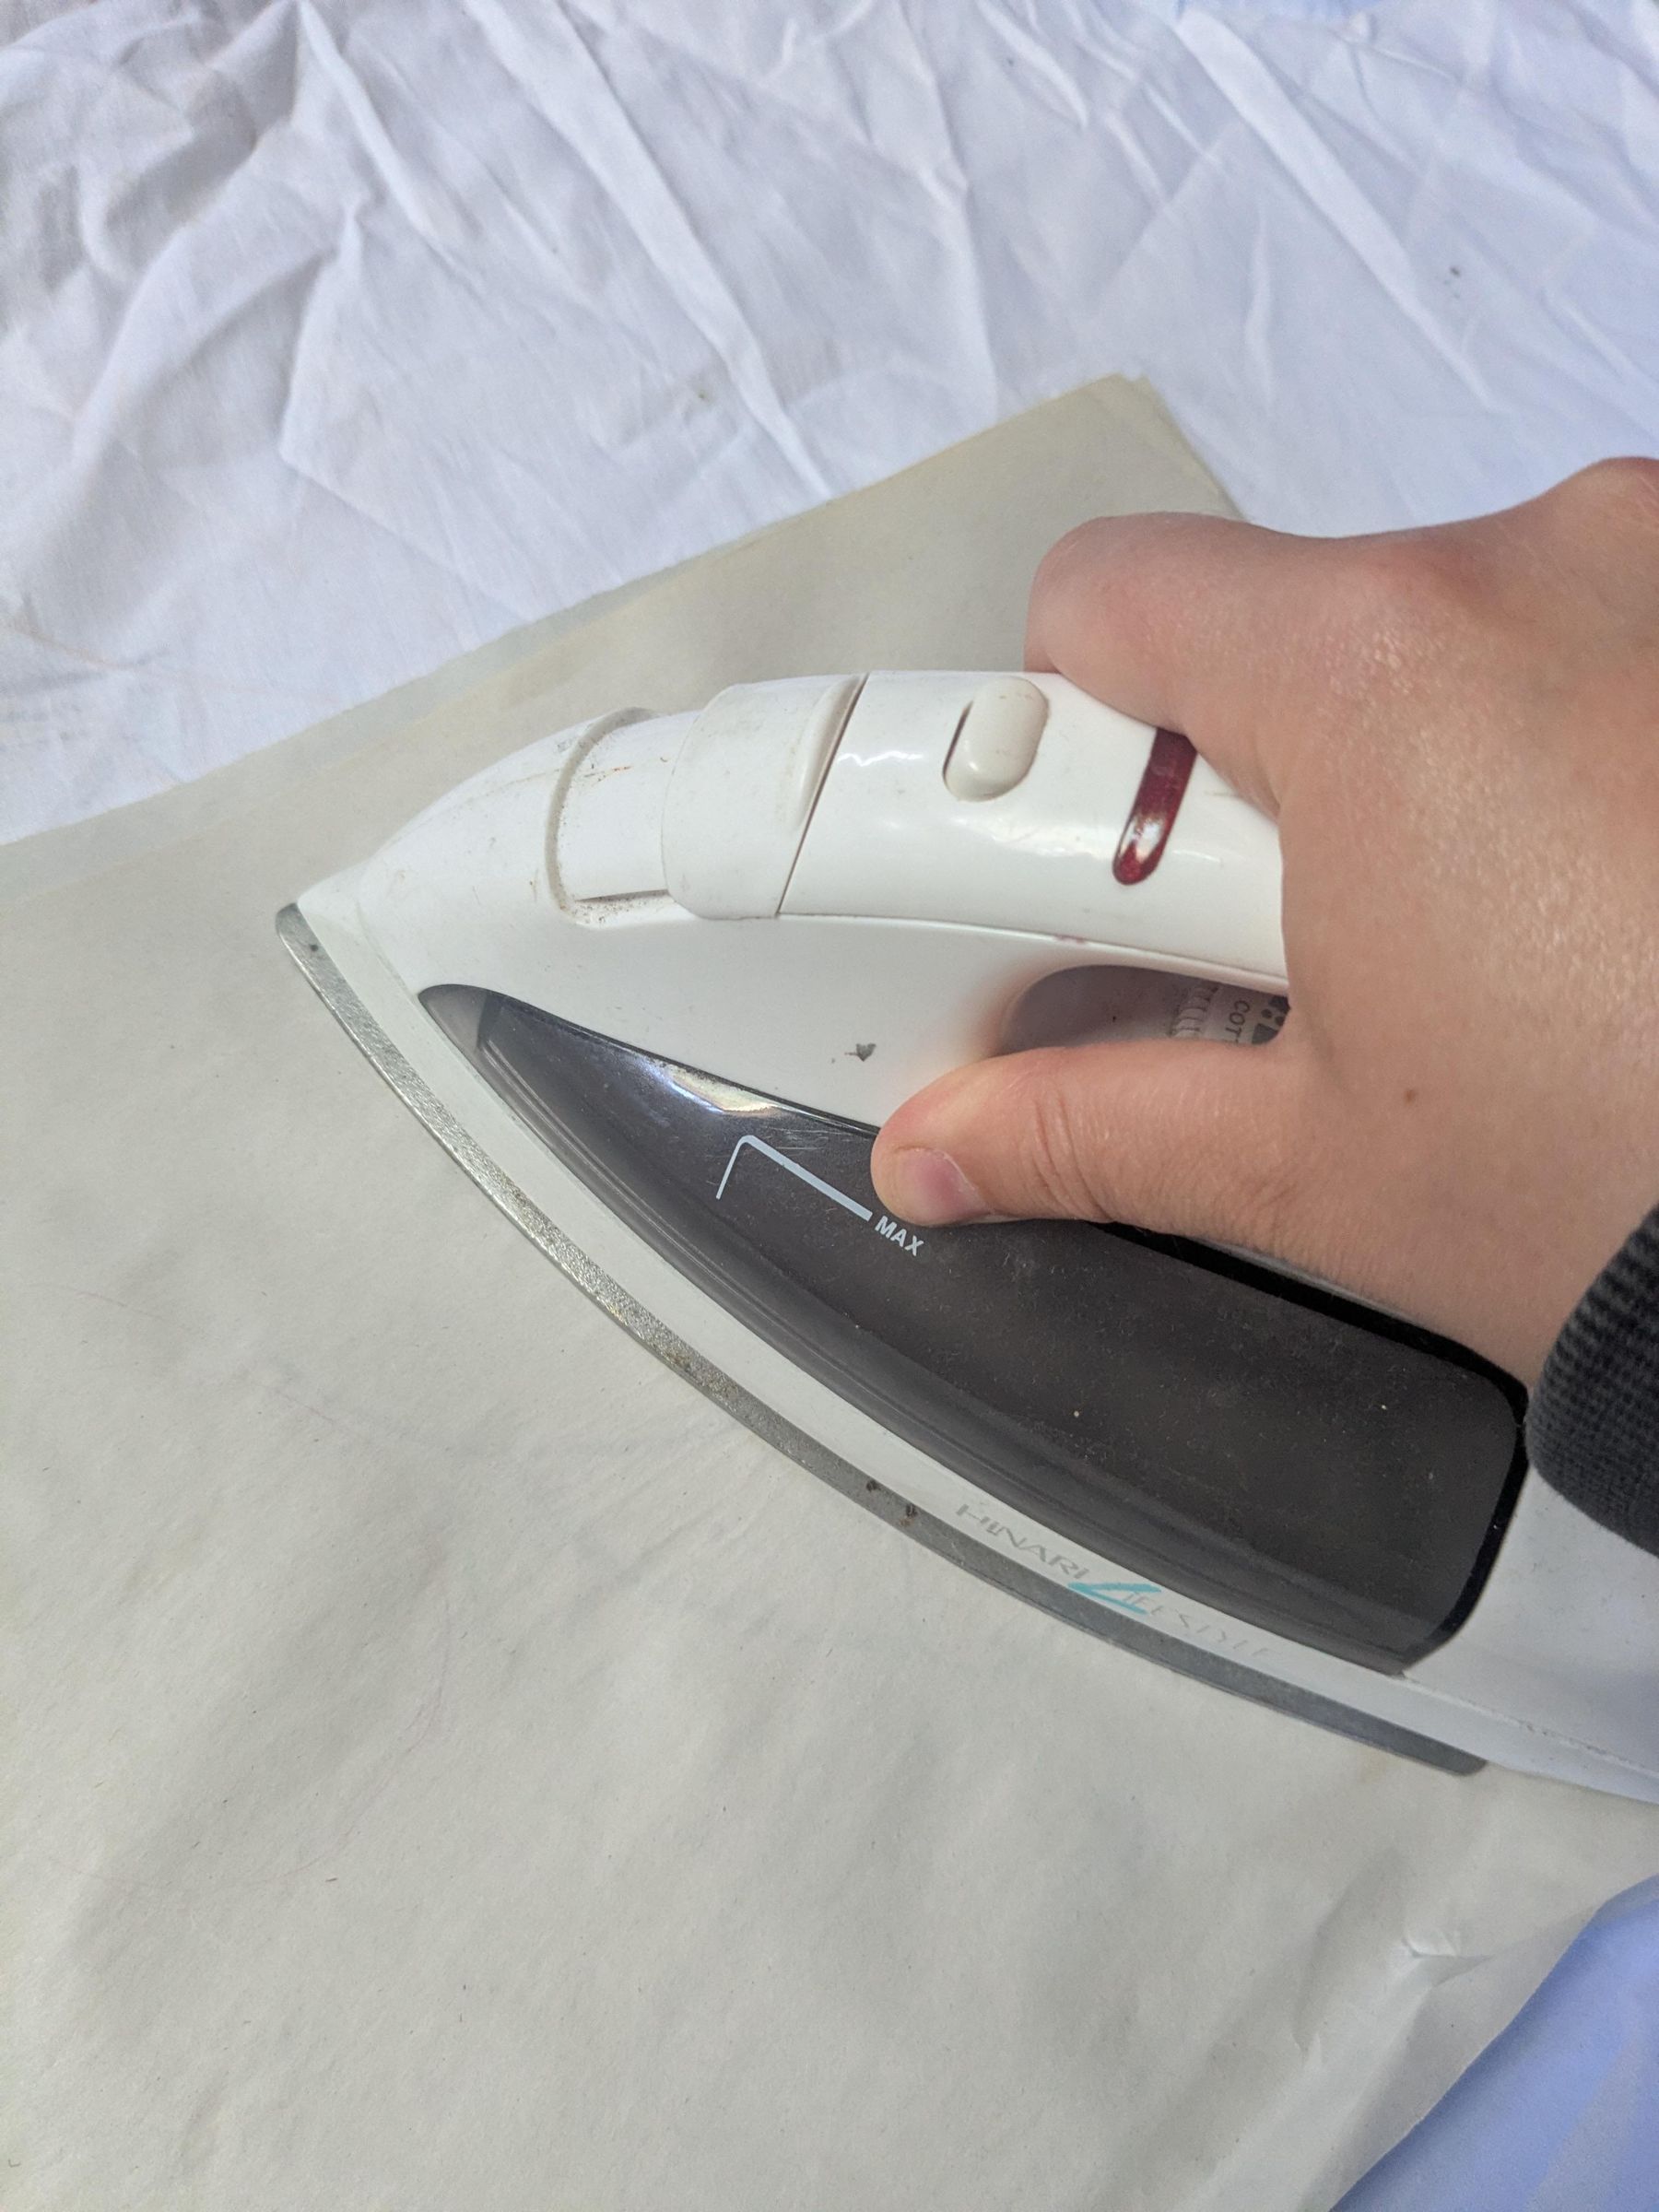
Once happy with my drawing I used a fabric pencil to transfer my design onto my piece of cotton. To use a fabric pencil you first trace your design onto some thin paper such as parchment. Use your iron on it's hottest setting and then (turning your paper design side down) iron your design onto your cloth. As you can see (Pic 4) your design can sometimes be quite faint so make sure to be vigorous with your ironing! I used a photocopier to print off various sizes of my original drawing from small to large and traced these all onto parchment.
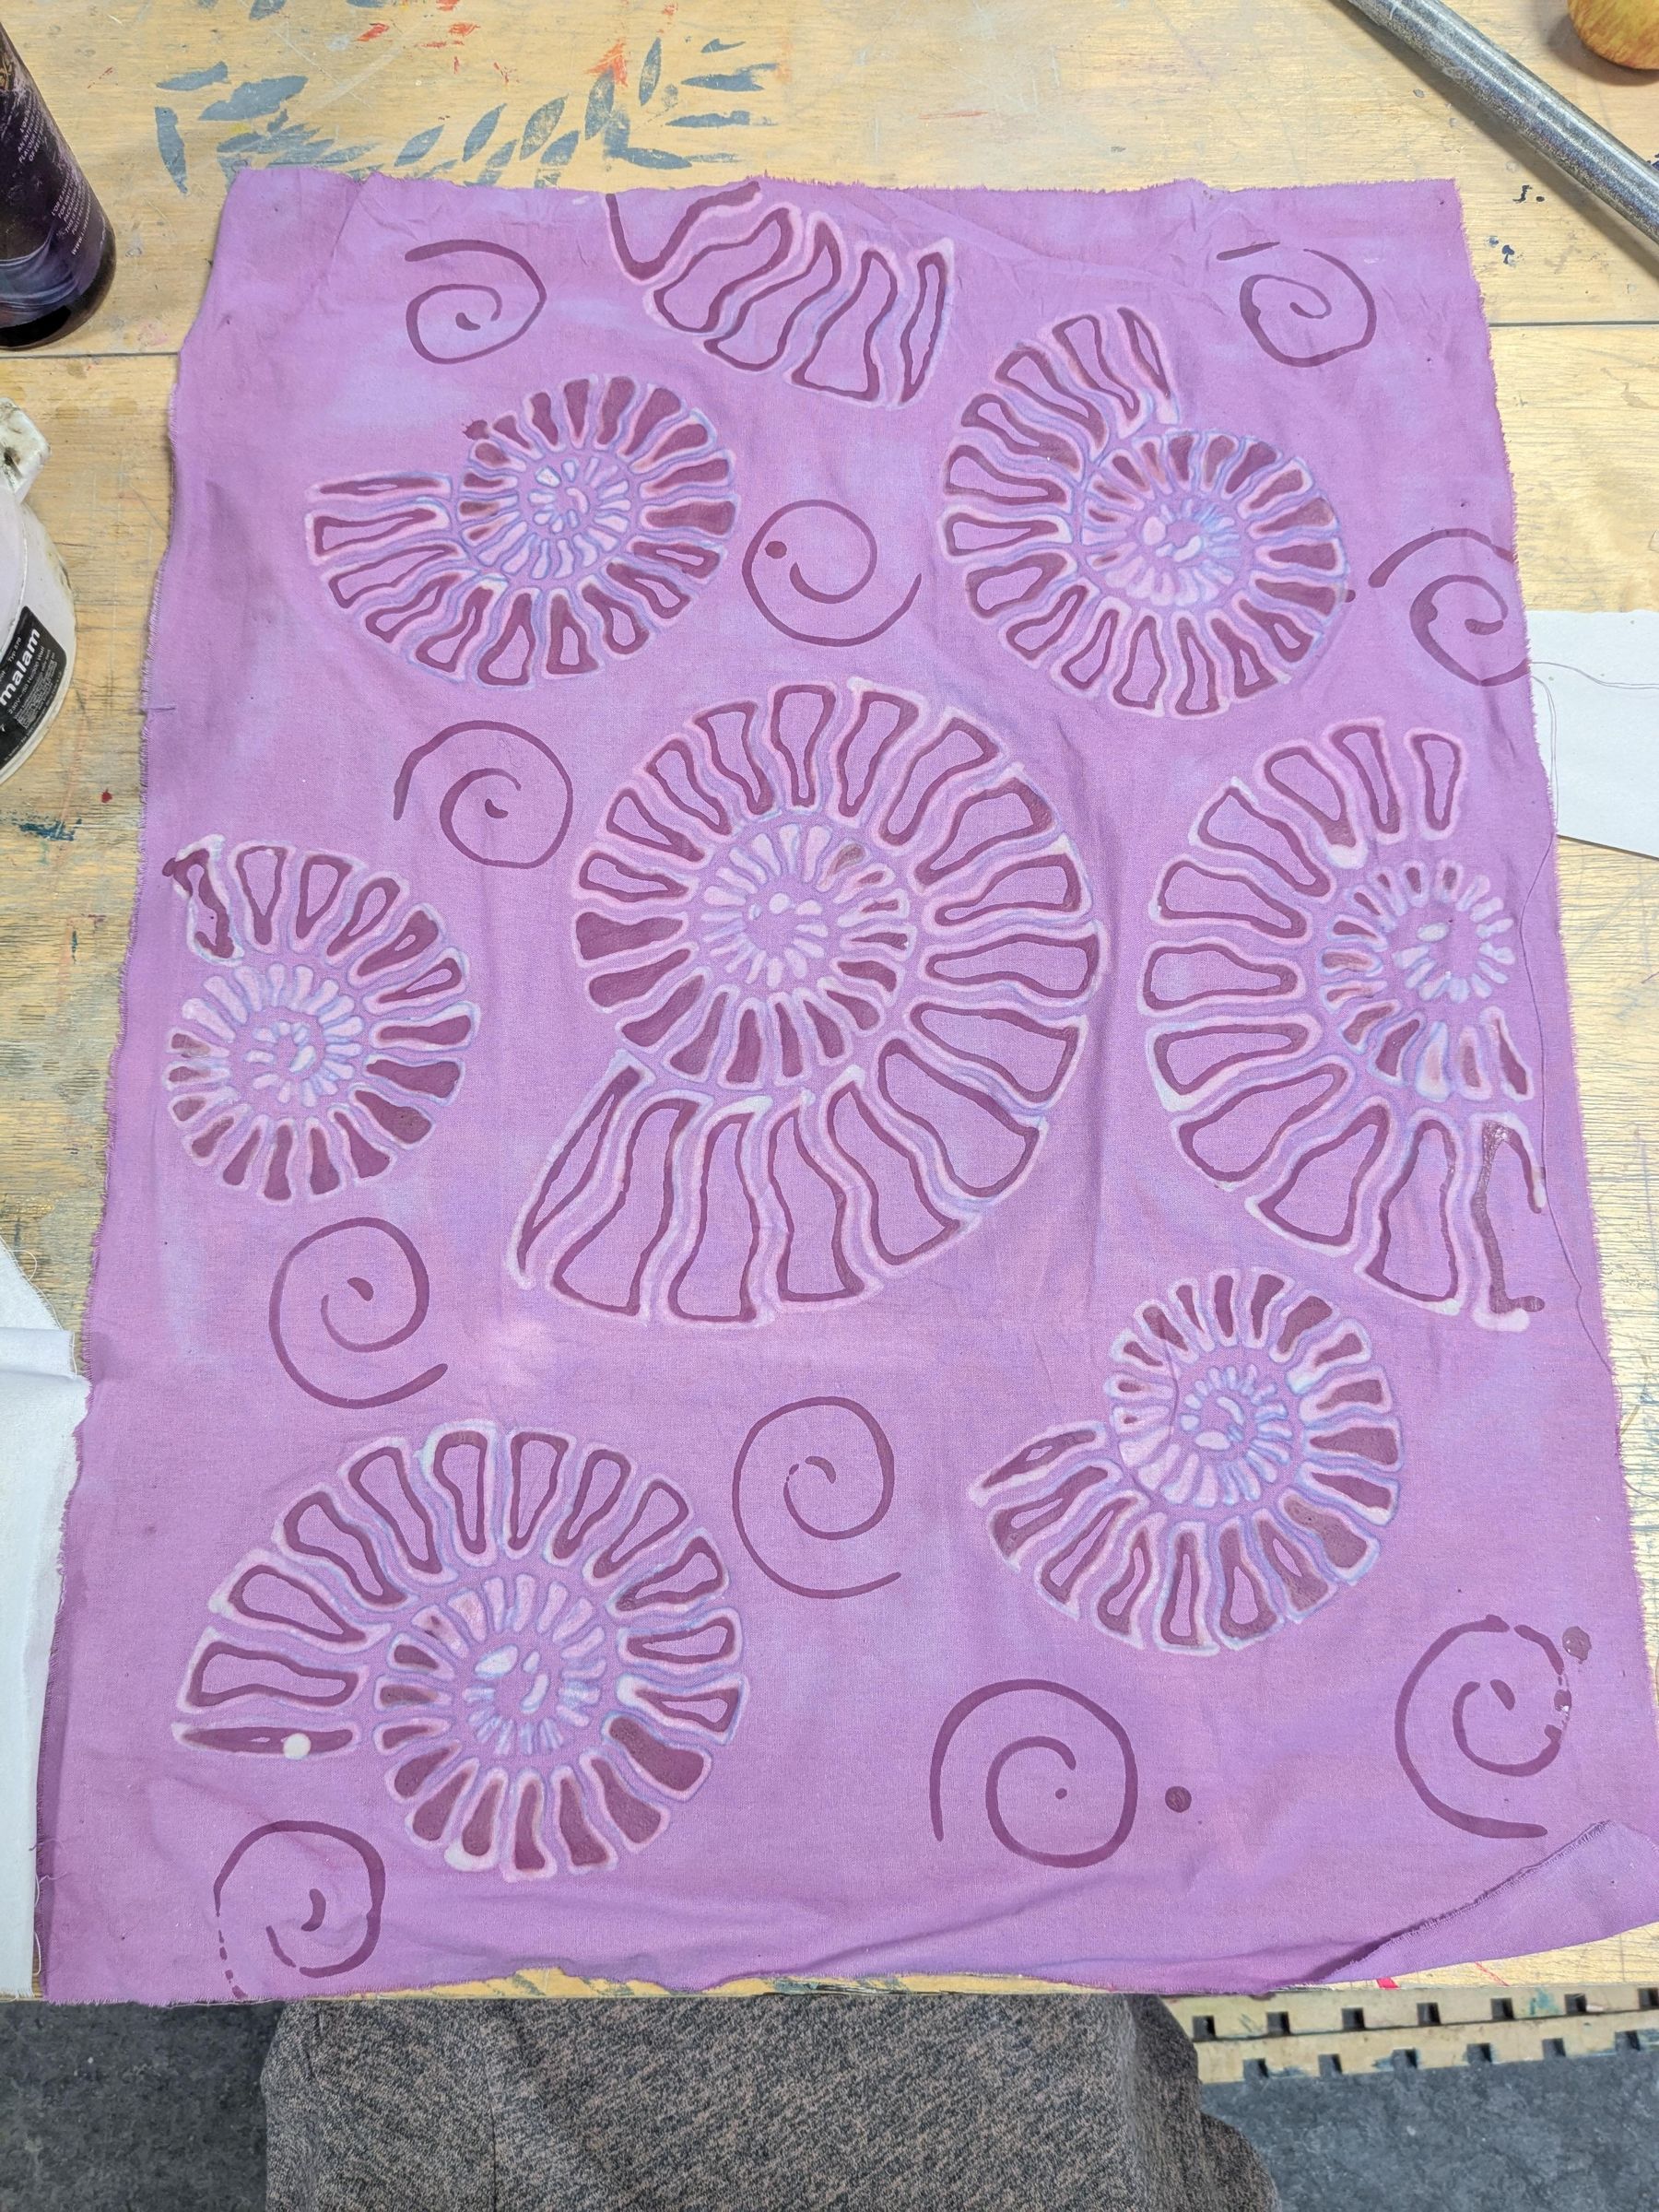
You can also trace your design straight onto your fabric using a regular pencil. I repeated my design a total of 8 times across my piece of cloth.
Heating the Wax
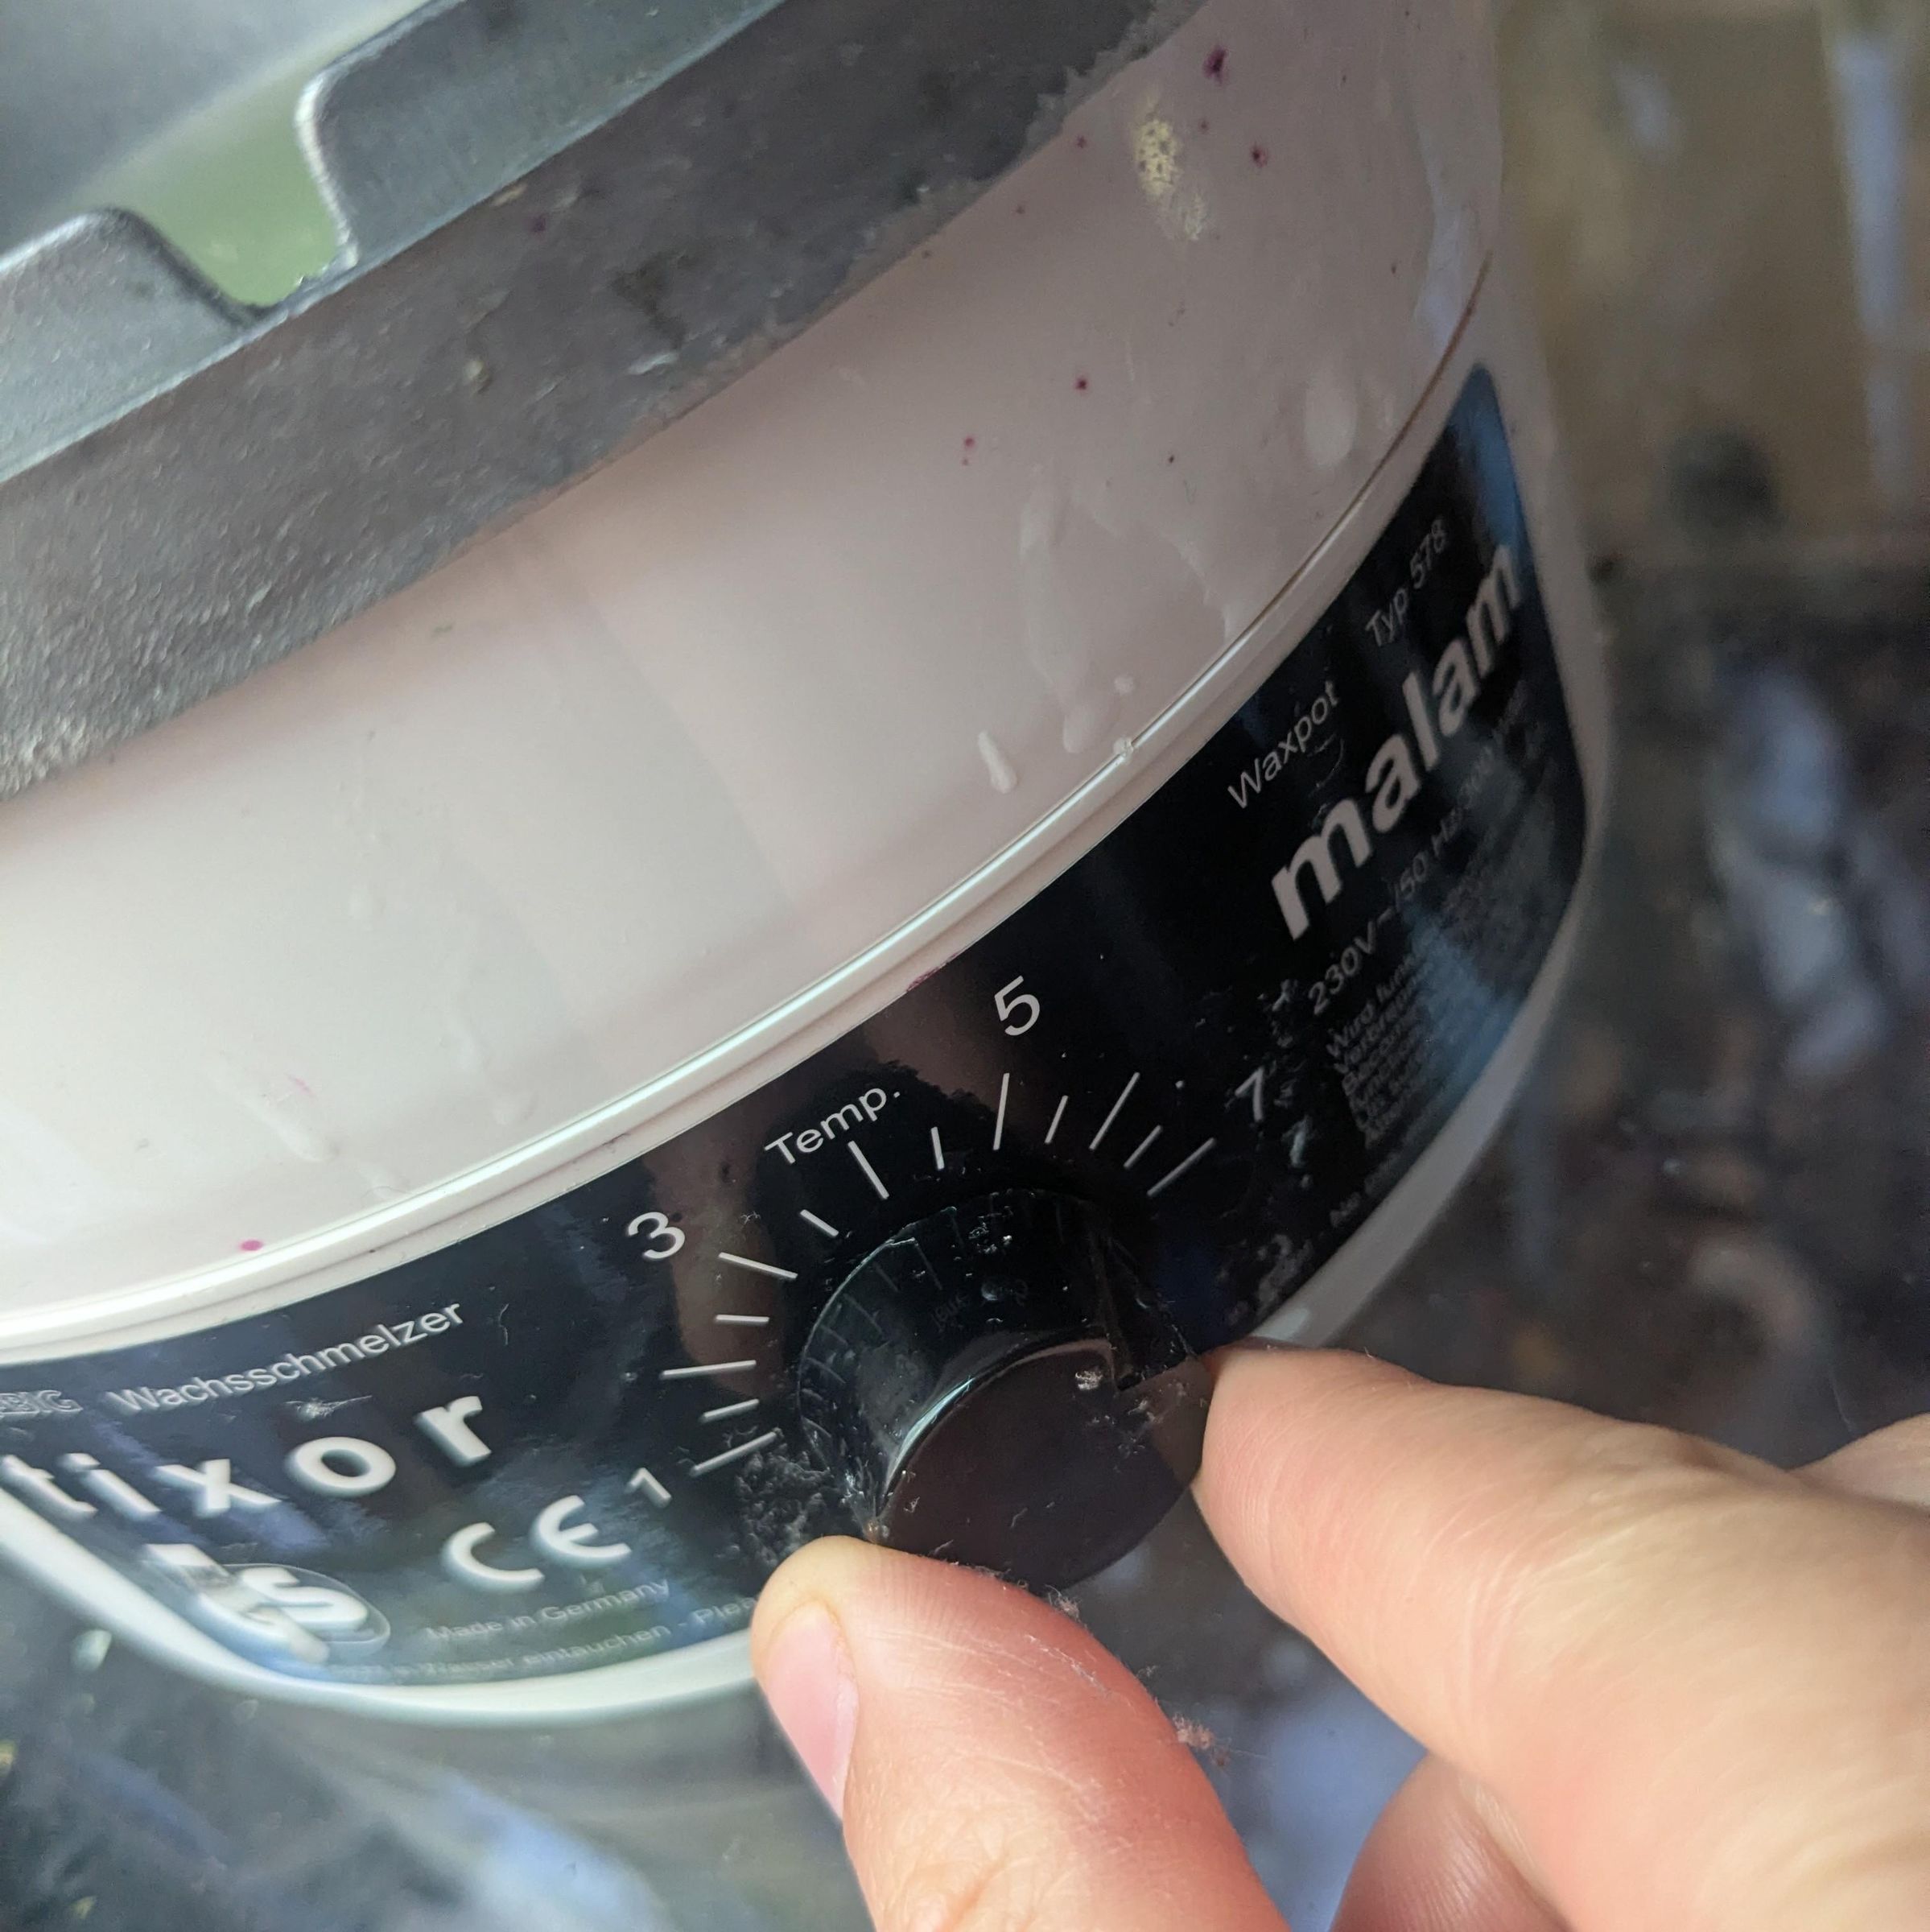
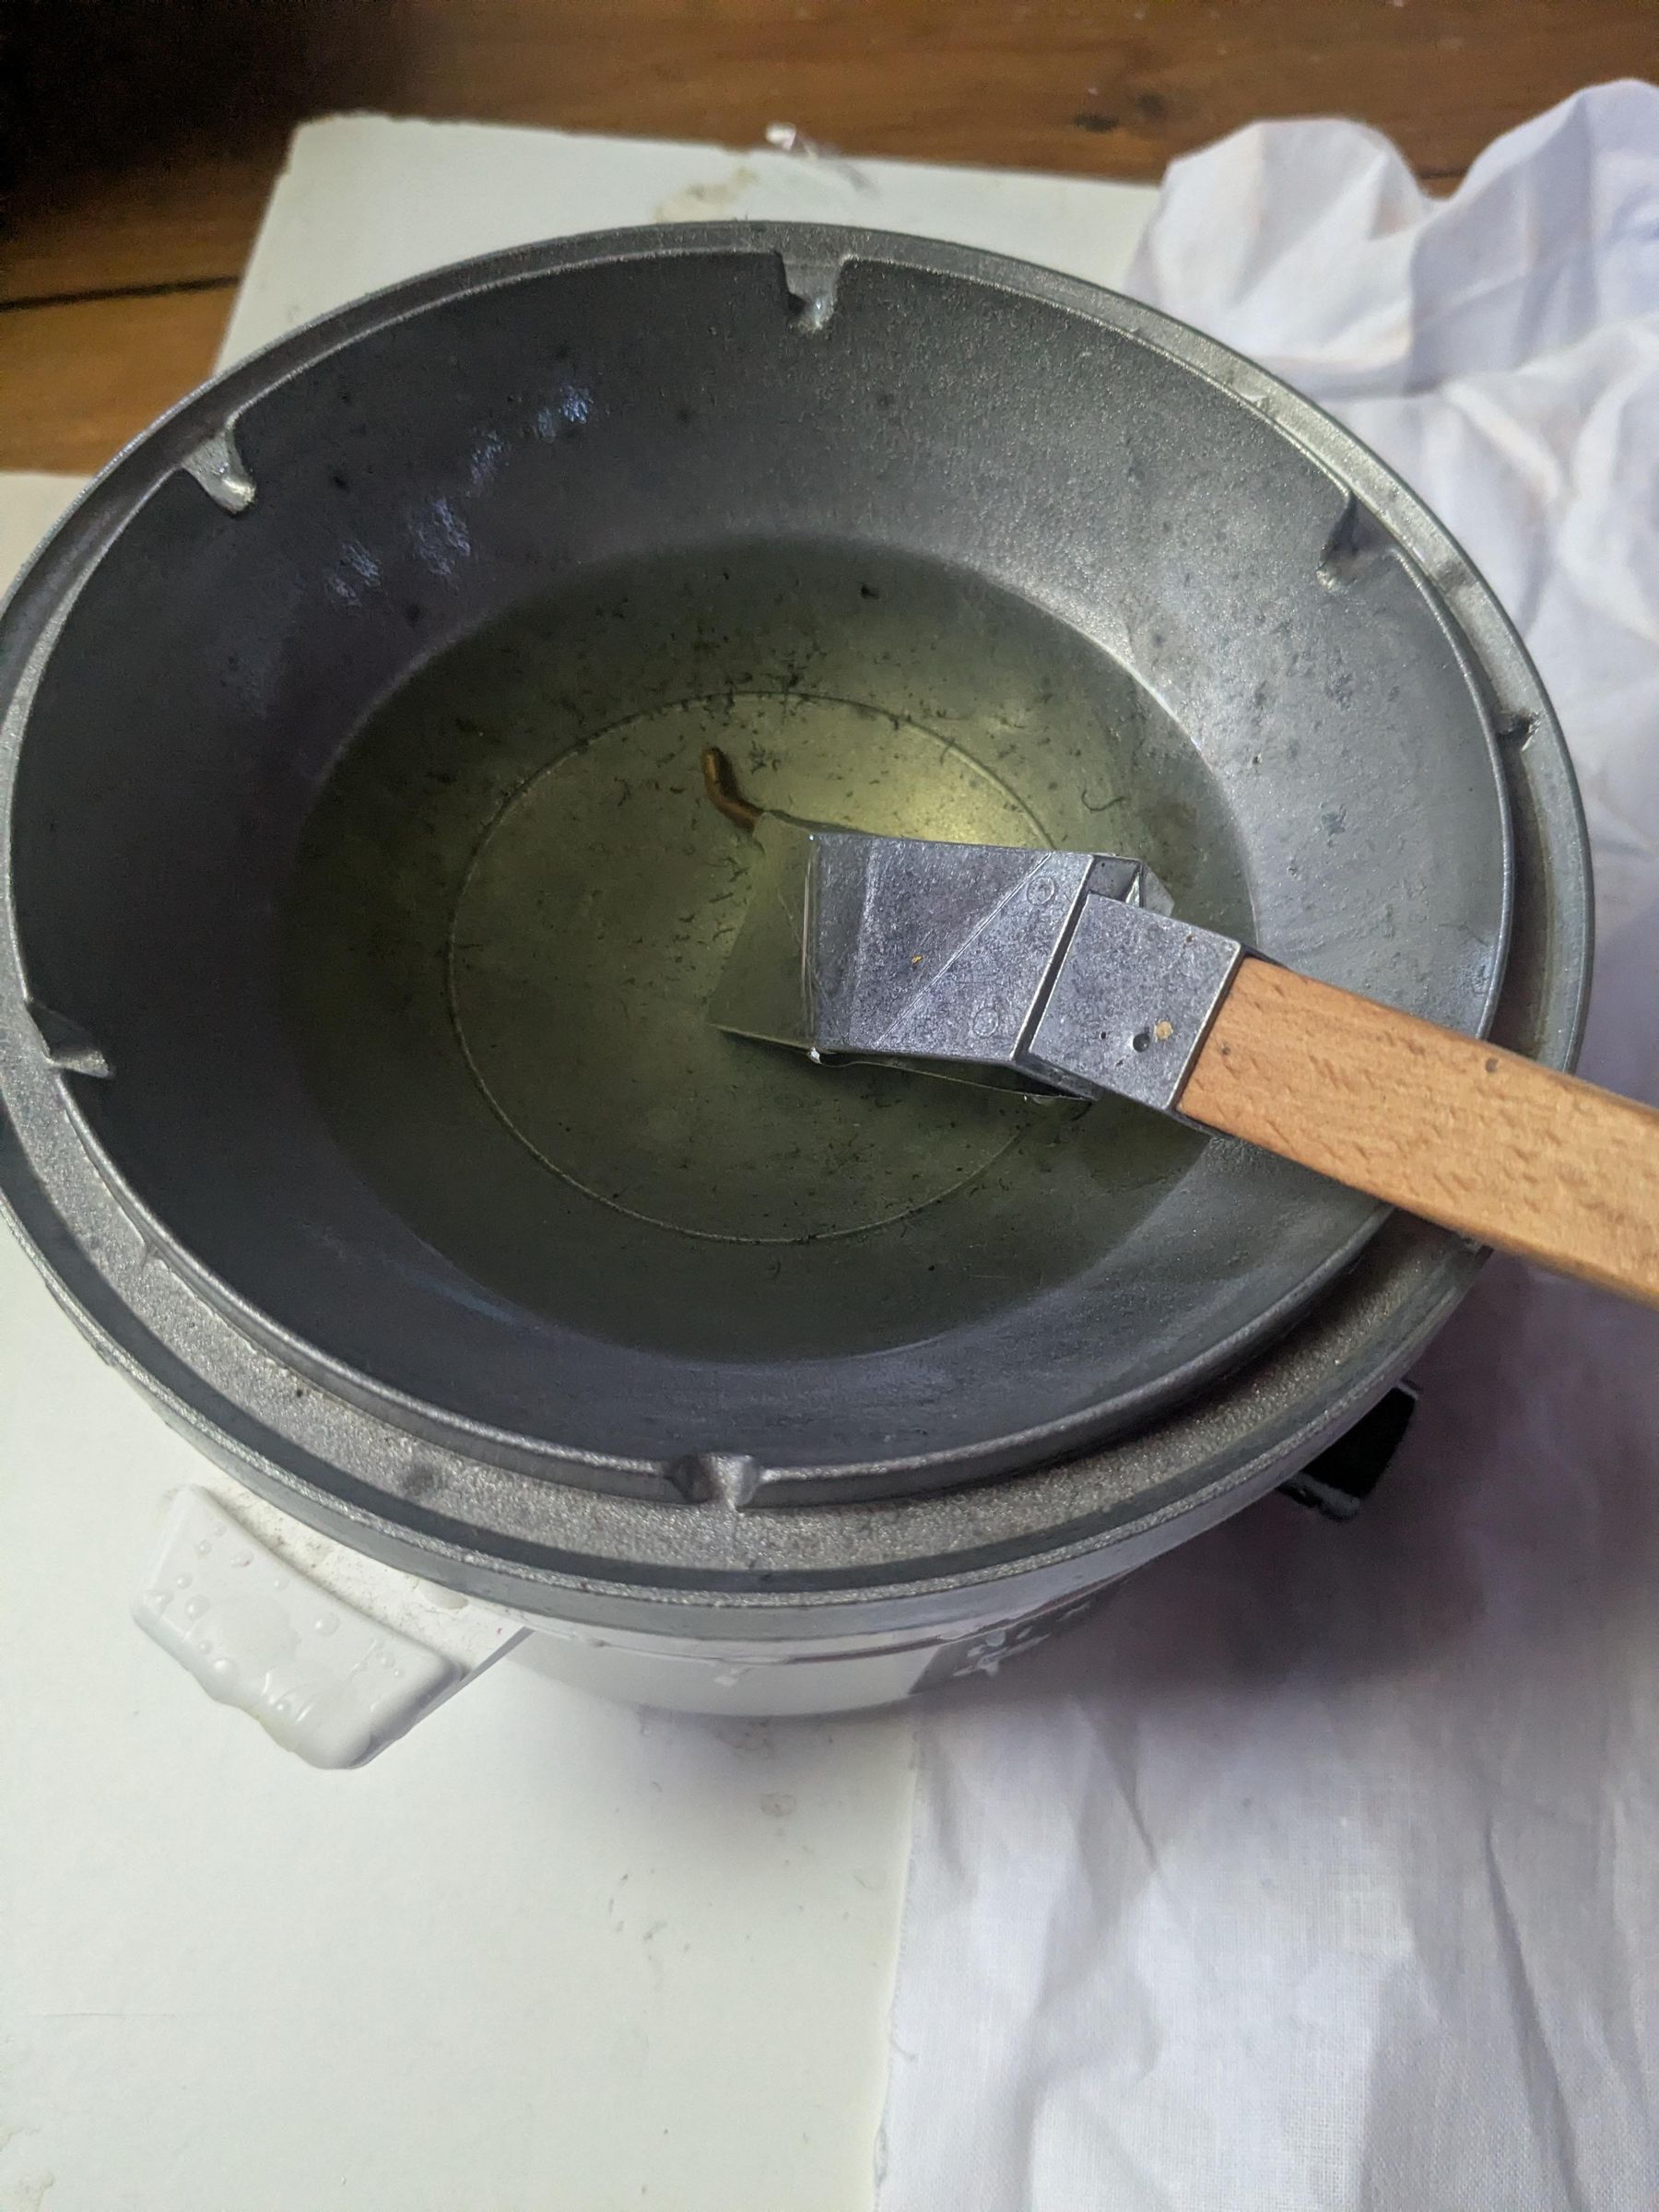
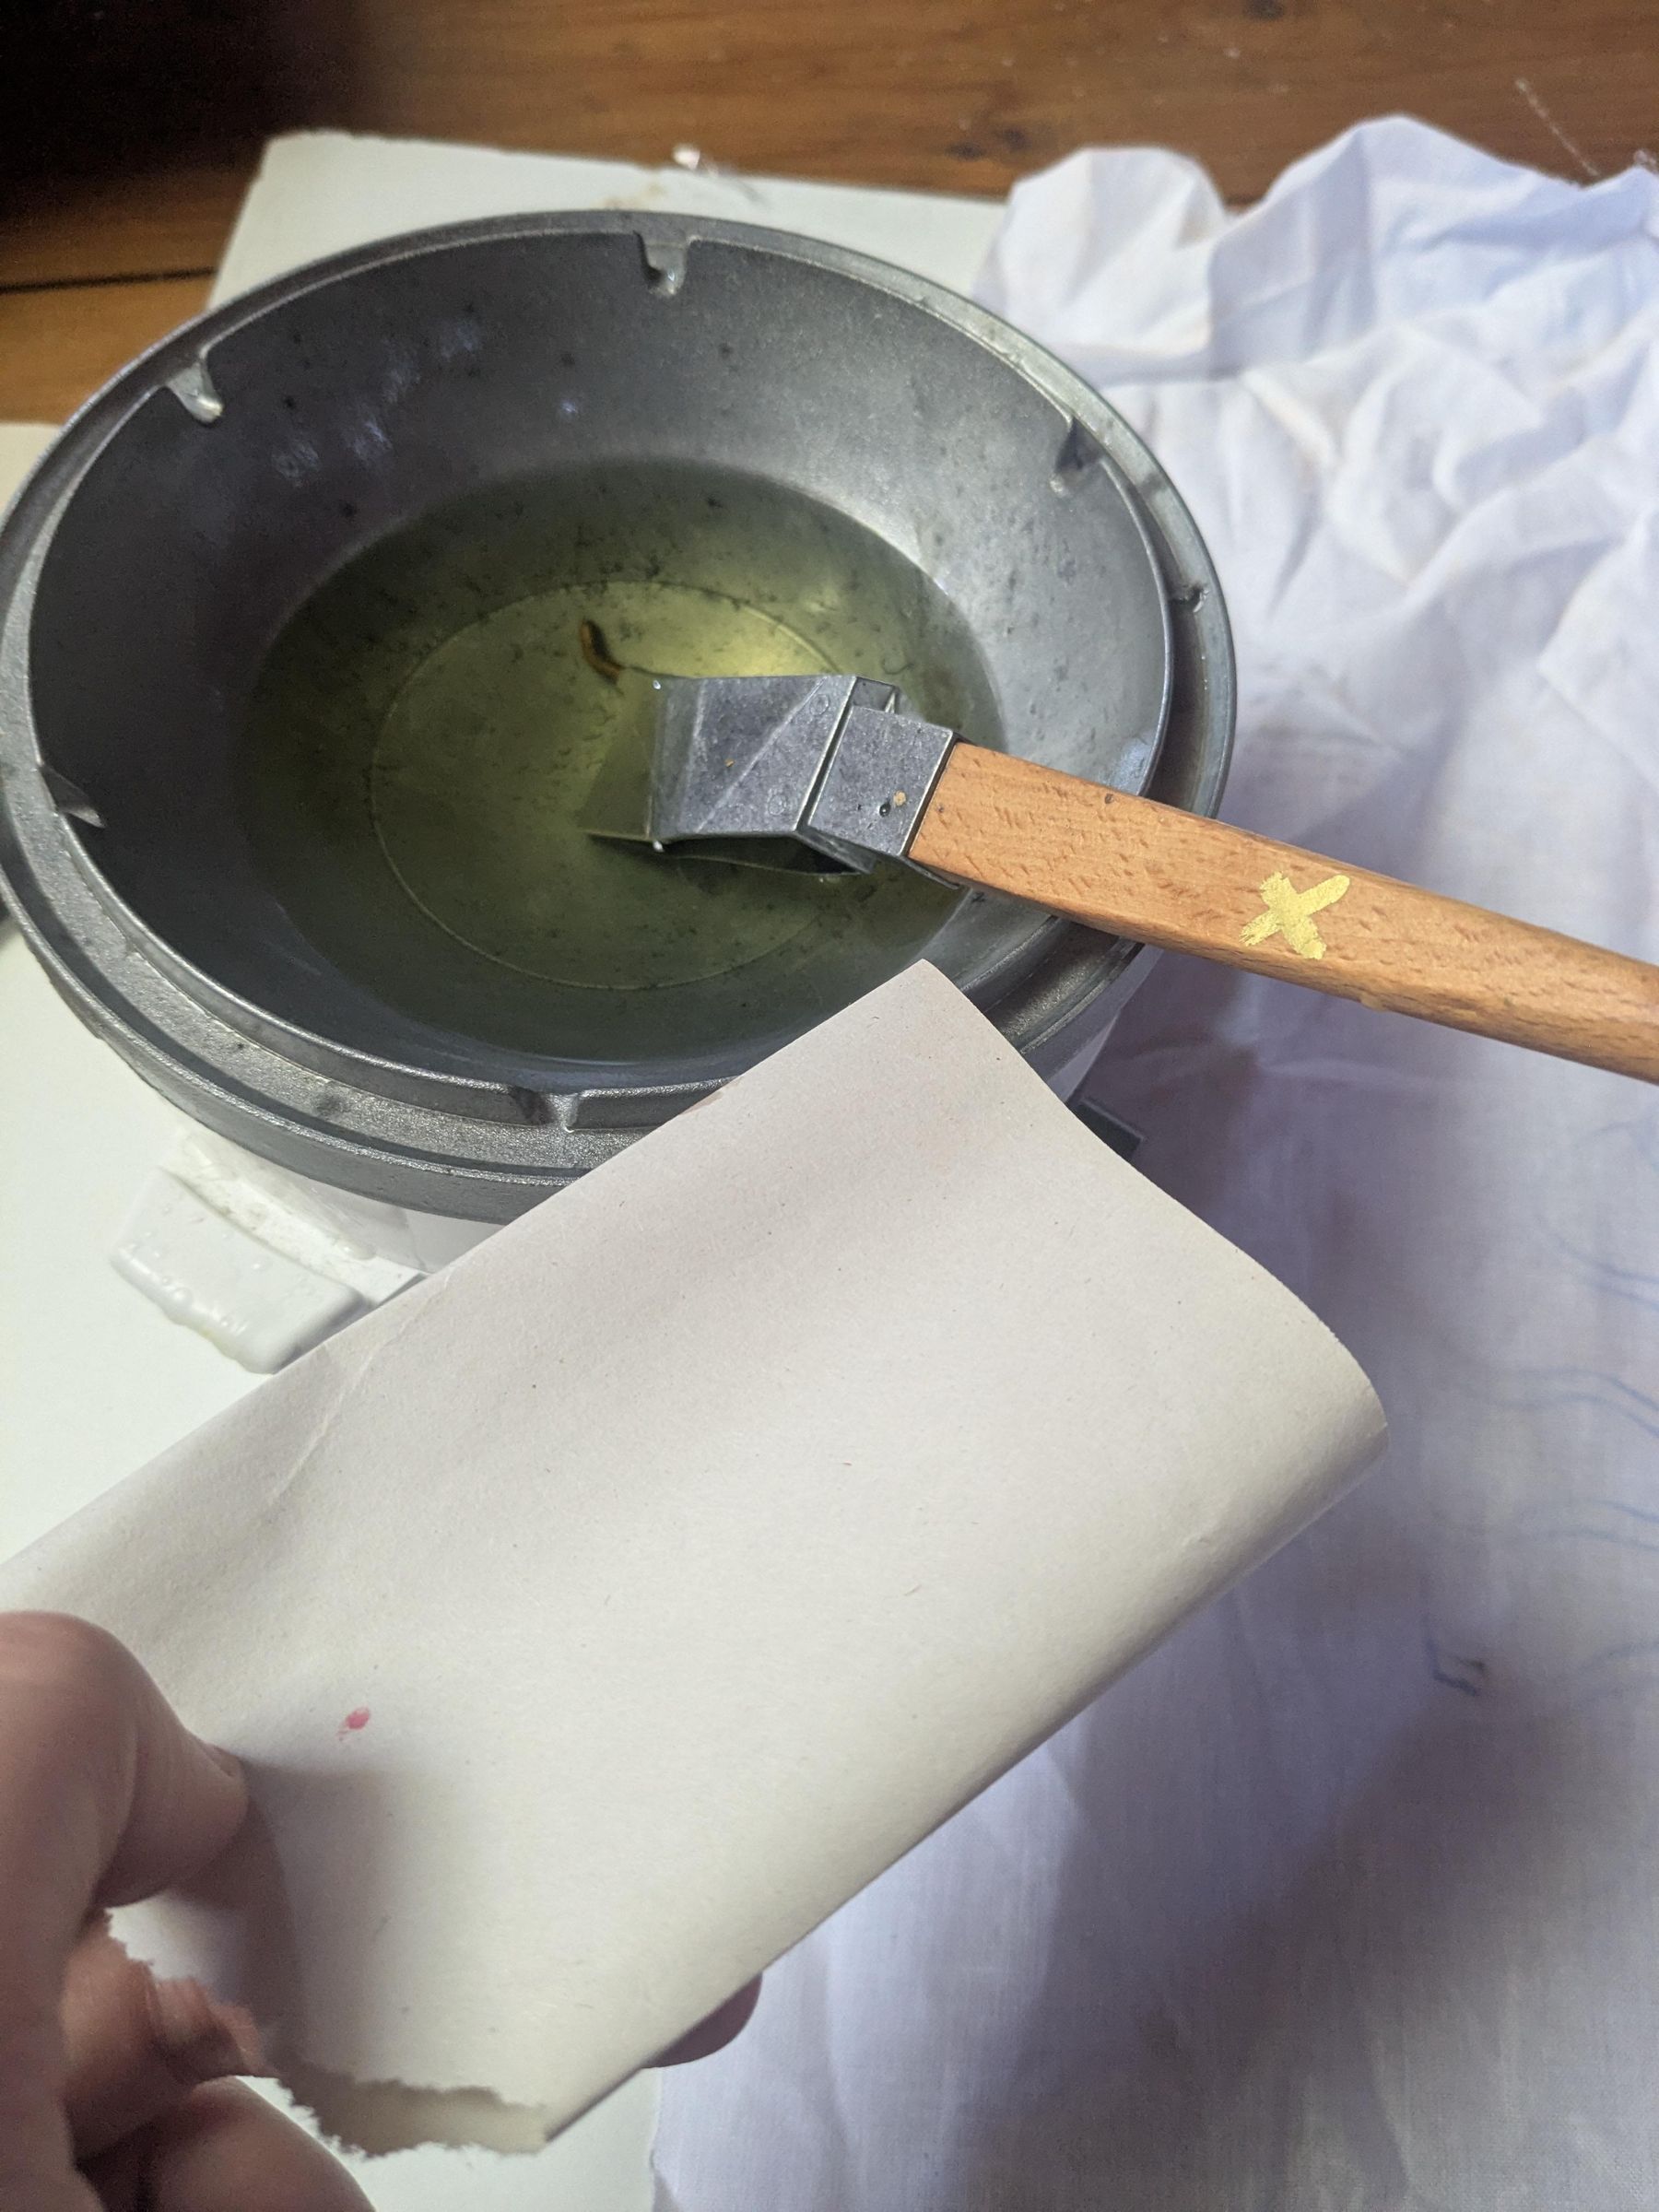
I like to set the temperature of my wax pot to around 6, if using a tjanting it is important to leave it in the hot wax first to heat up, this prevents clogging. Having a small piece of paper in your non-dominate hand to catch tiny drips under your tjanting tool is vital to stop hot wax splashing randomly on your art and your fingers (2/10, very sore, would not recommend).
Waxing the Batik
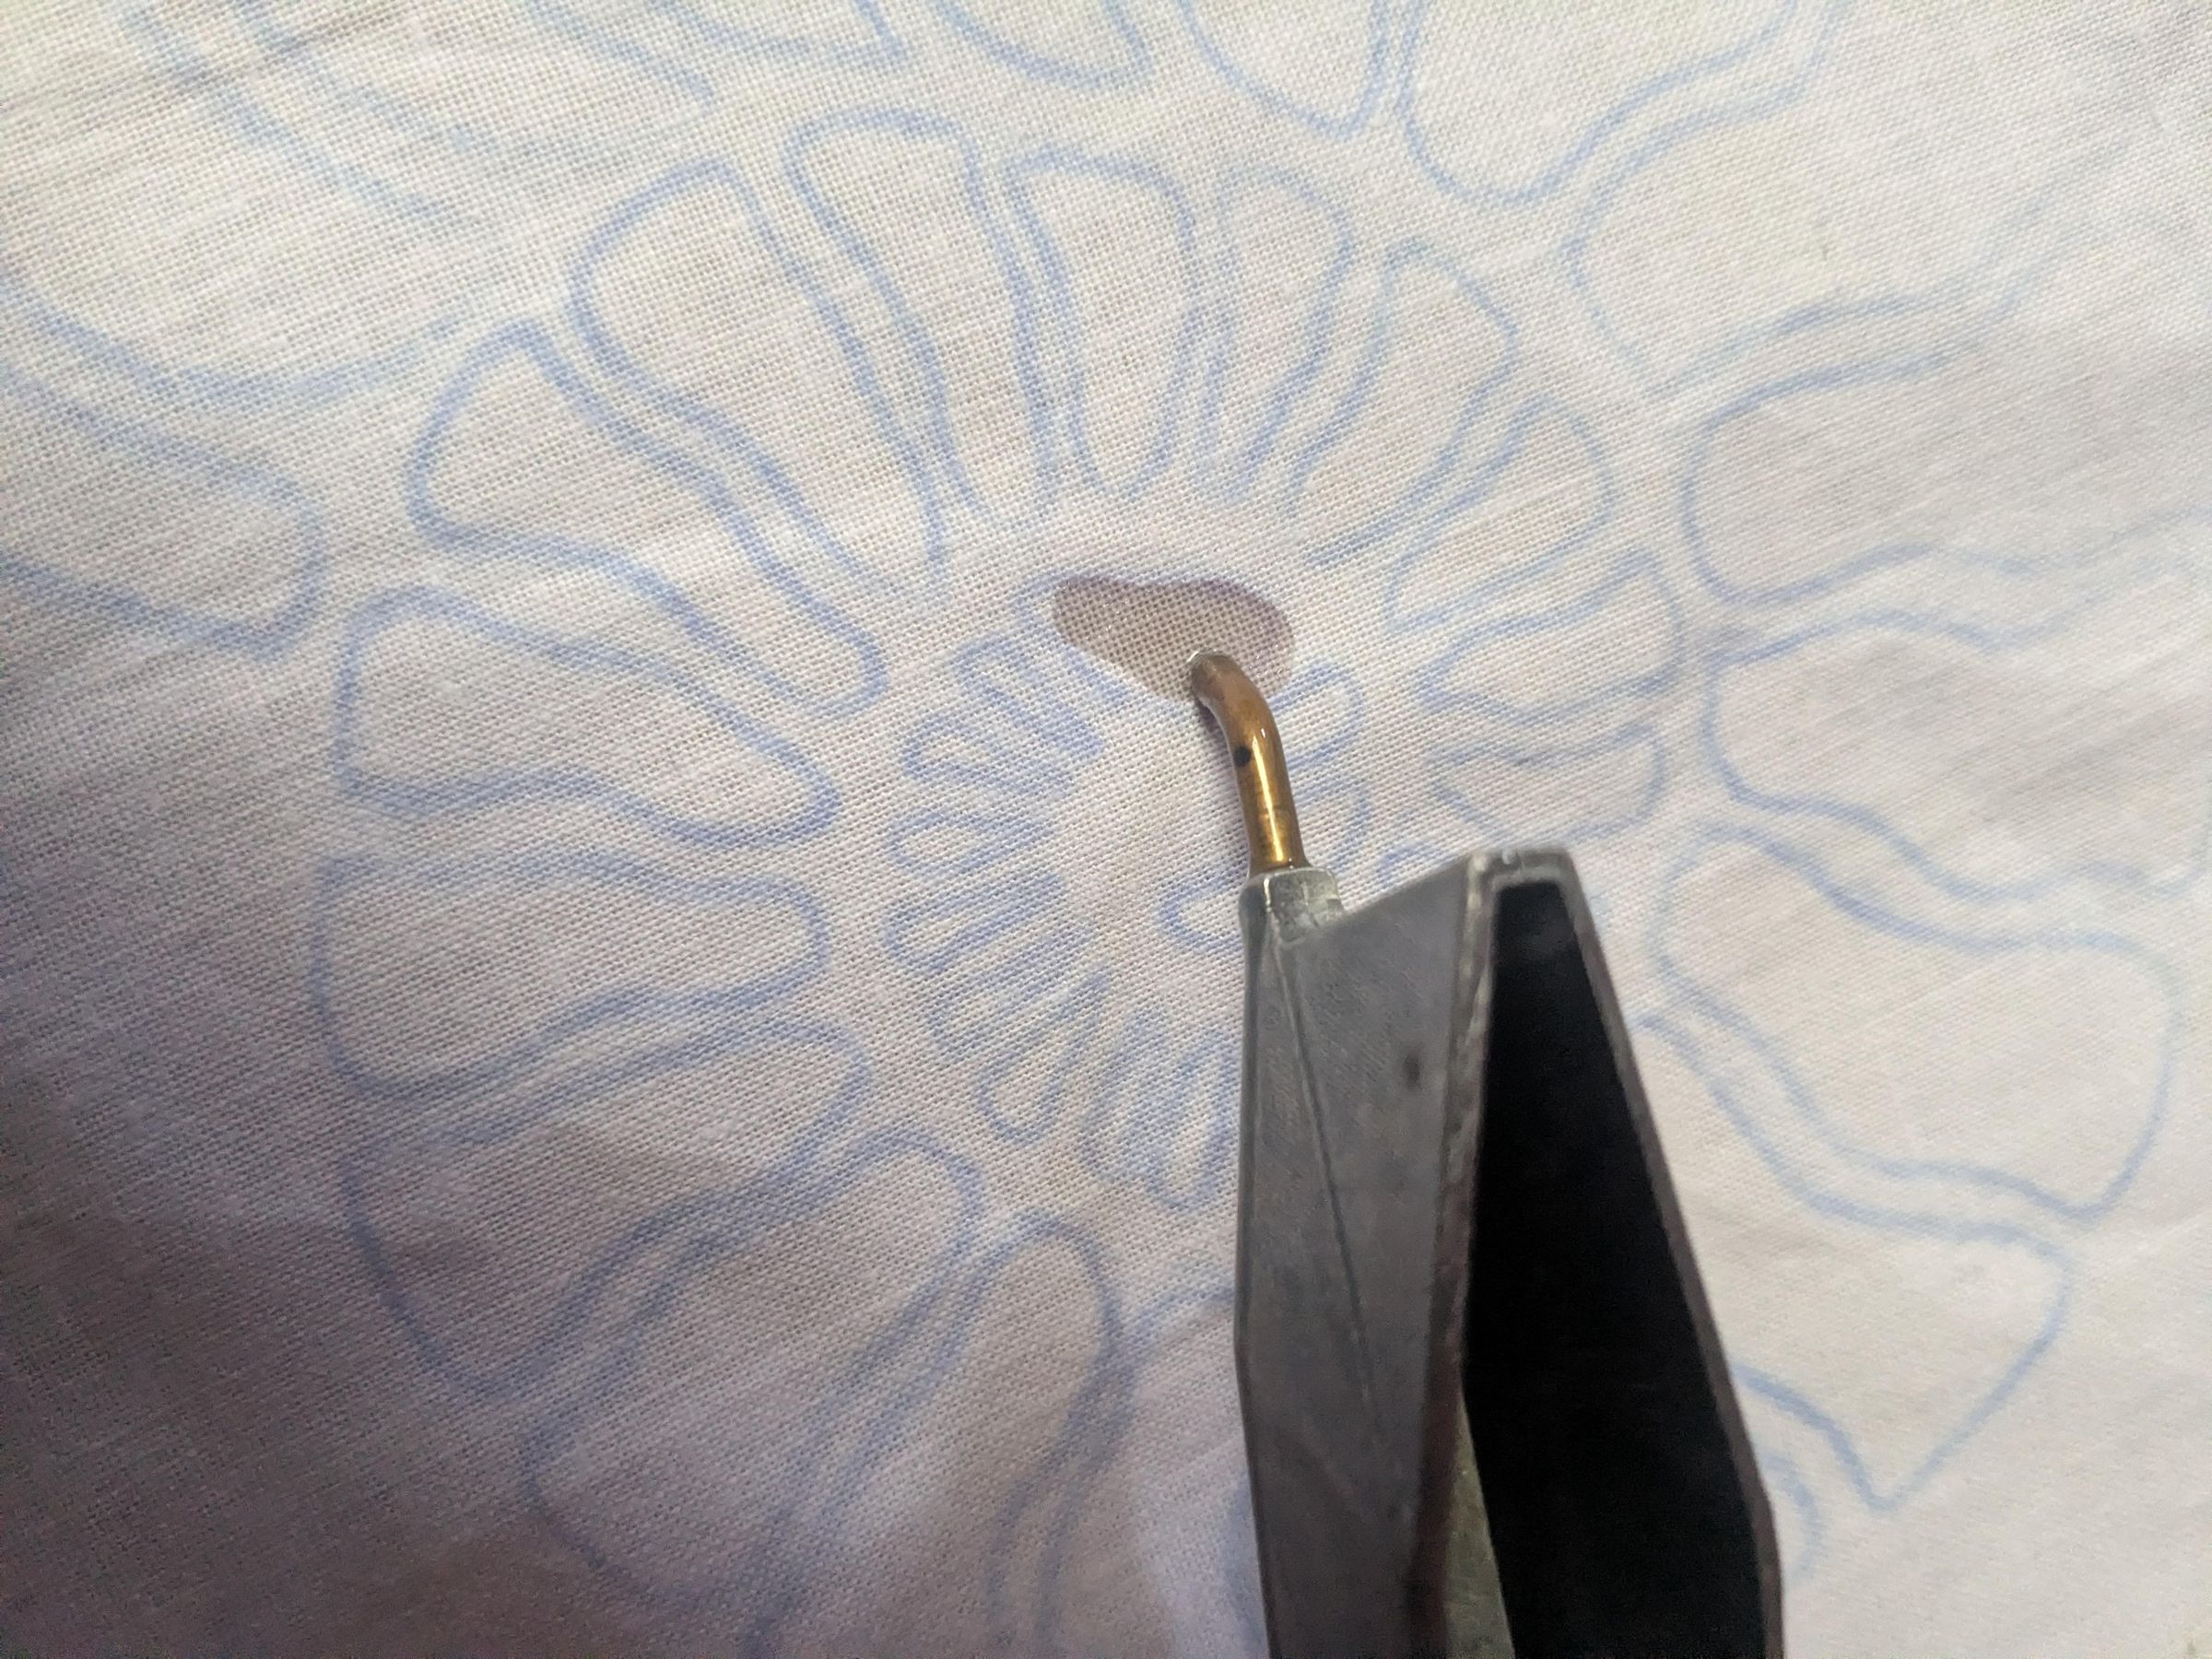
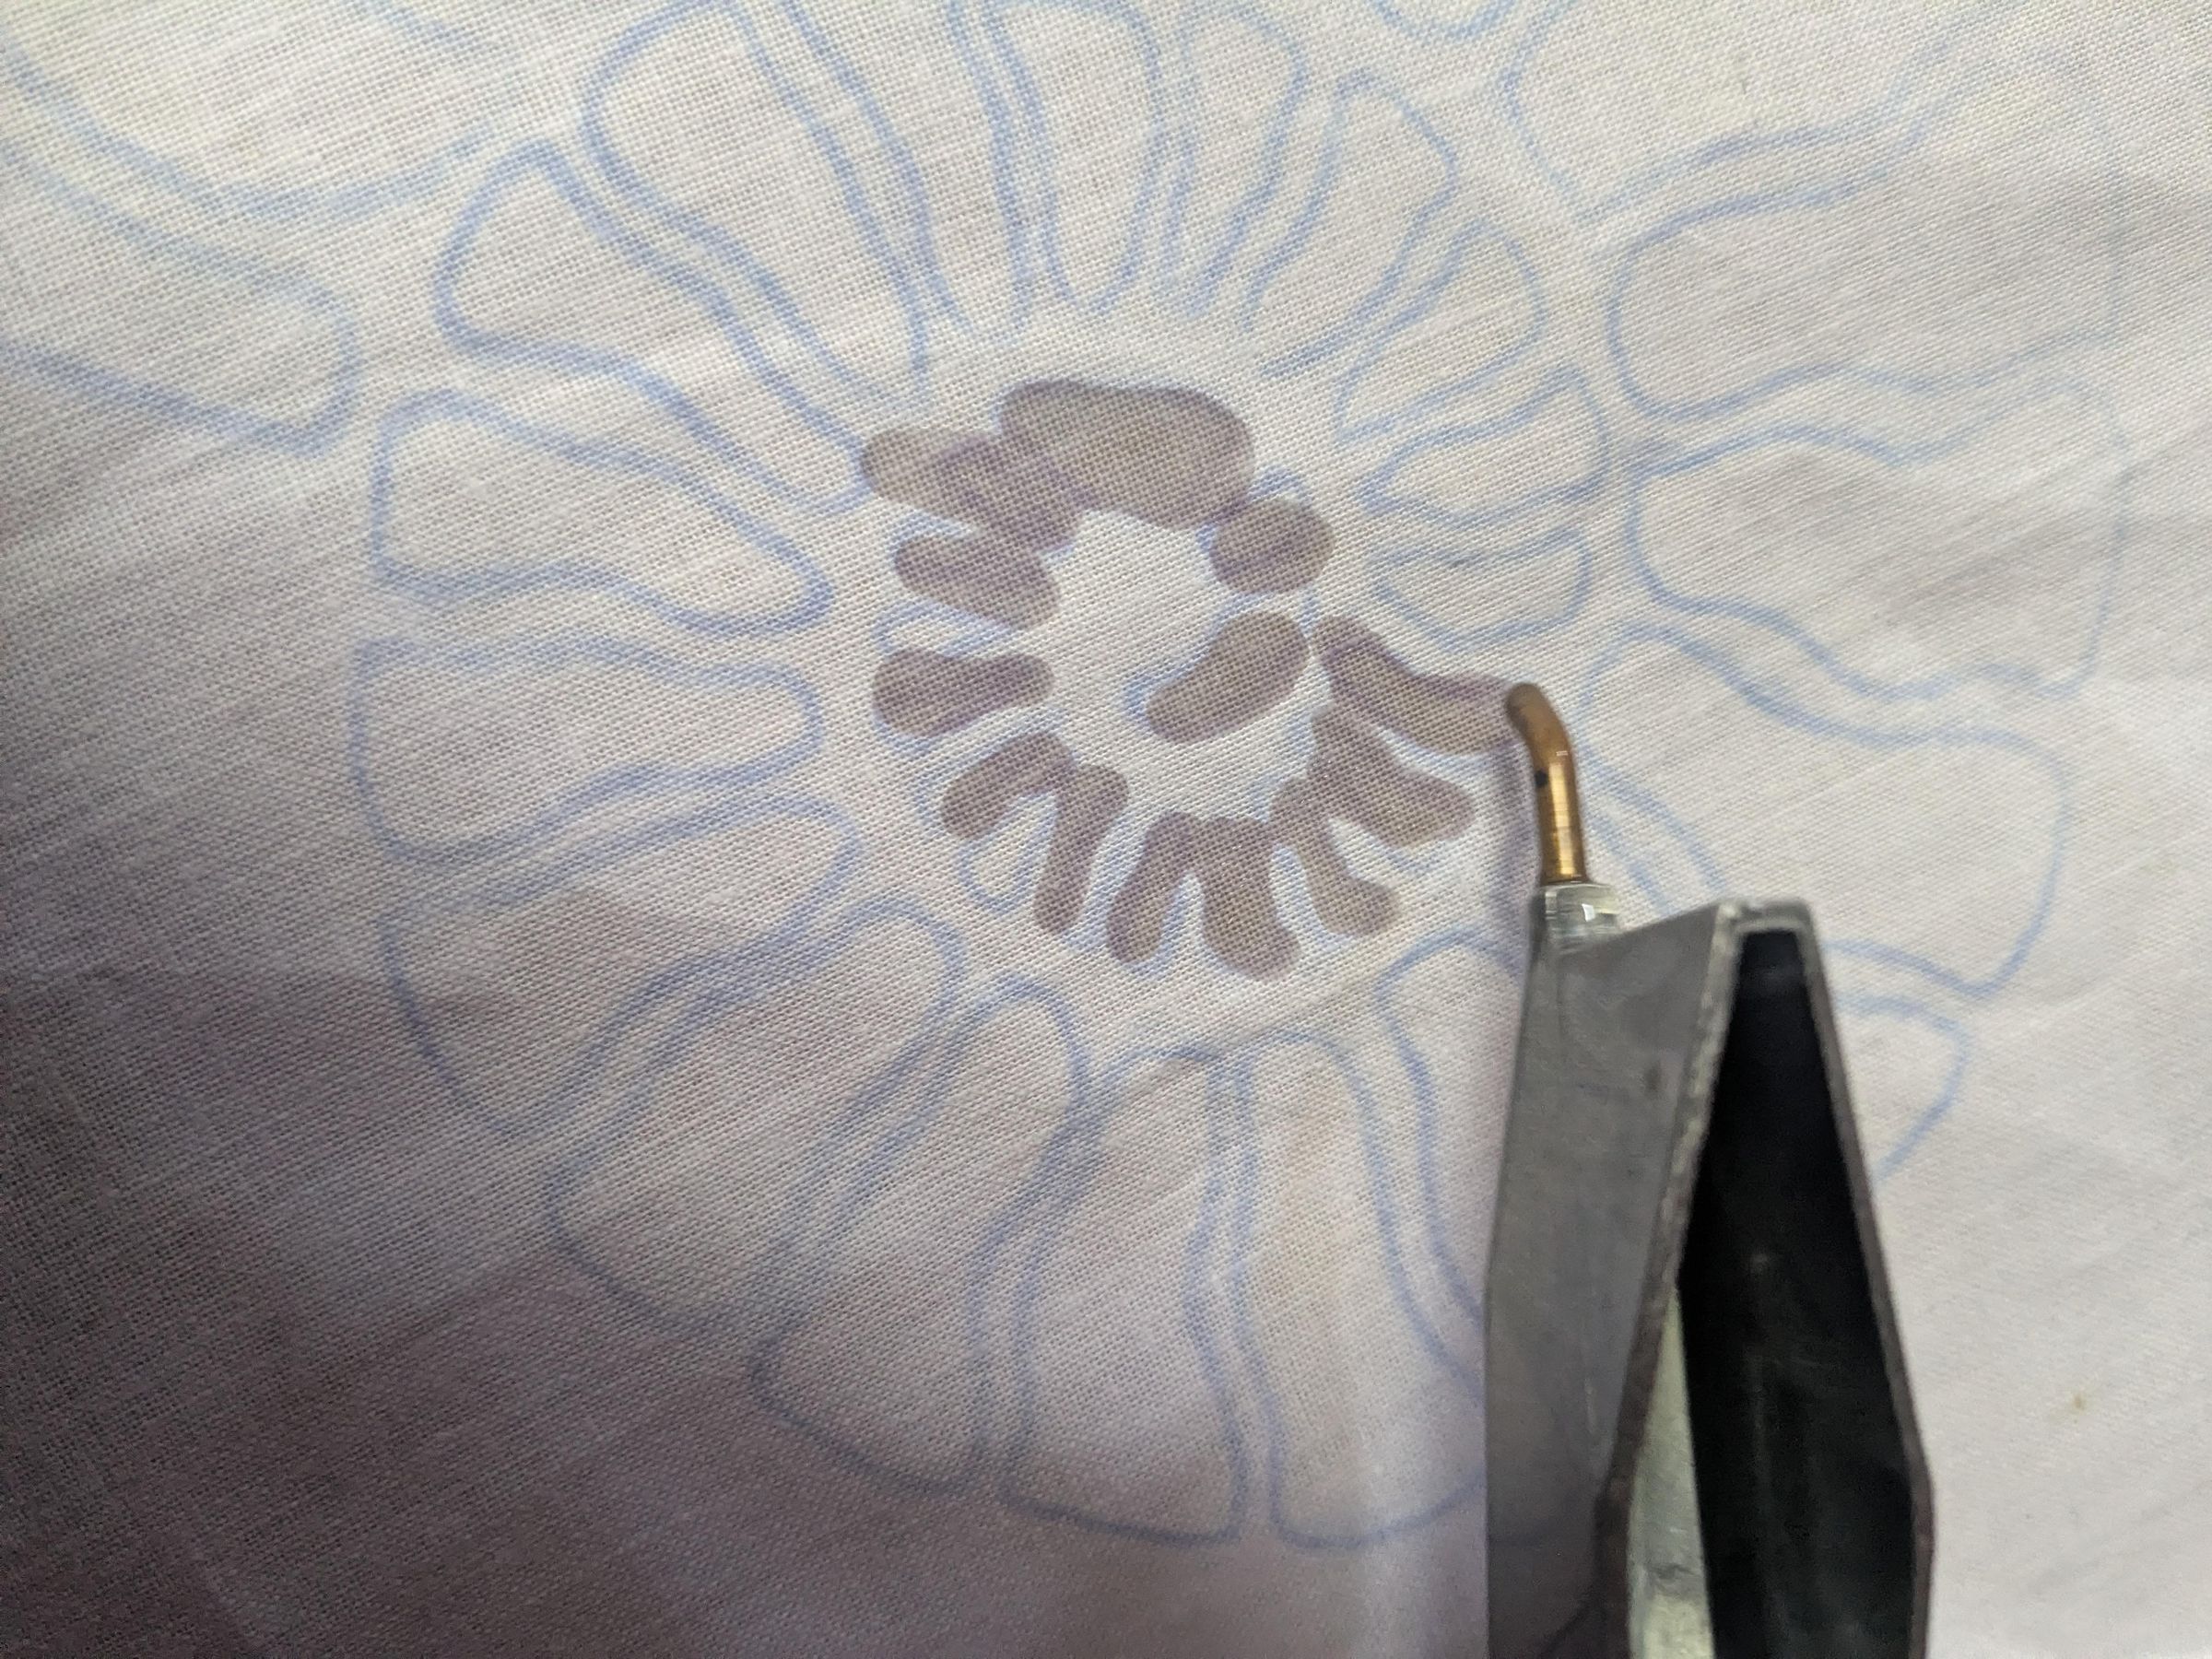
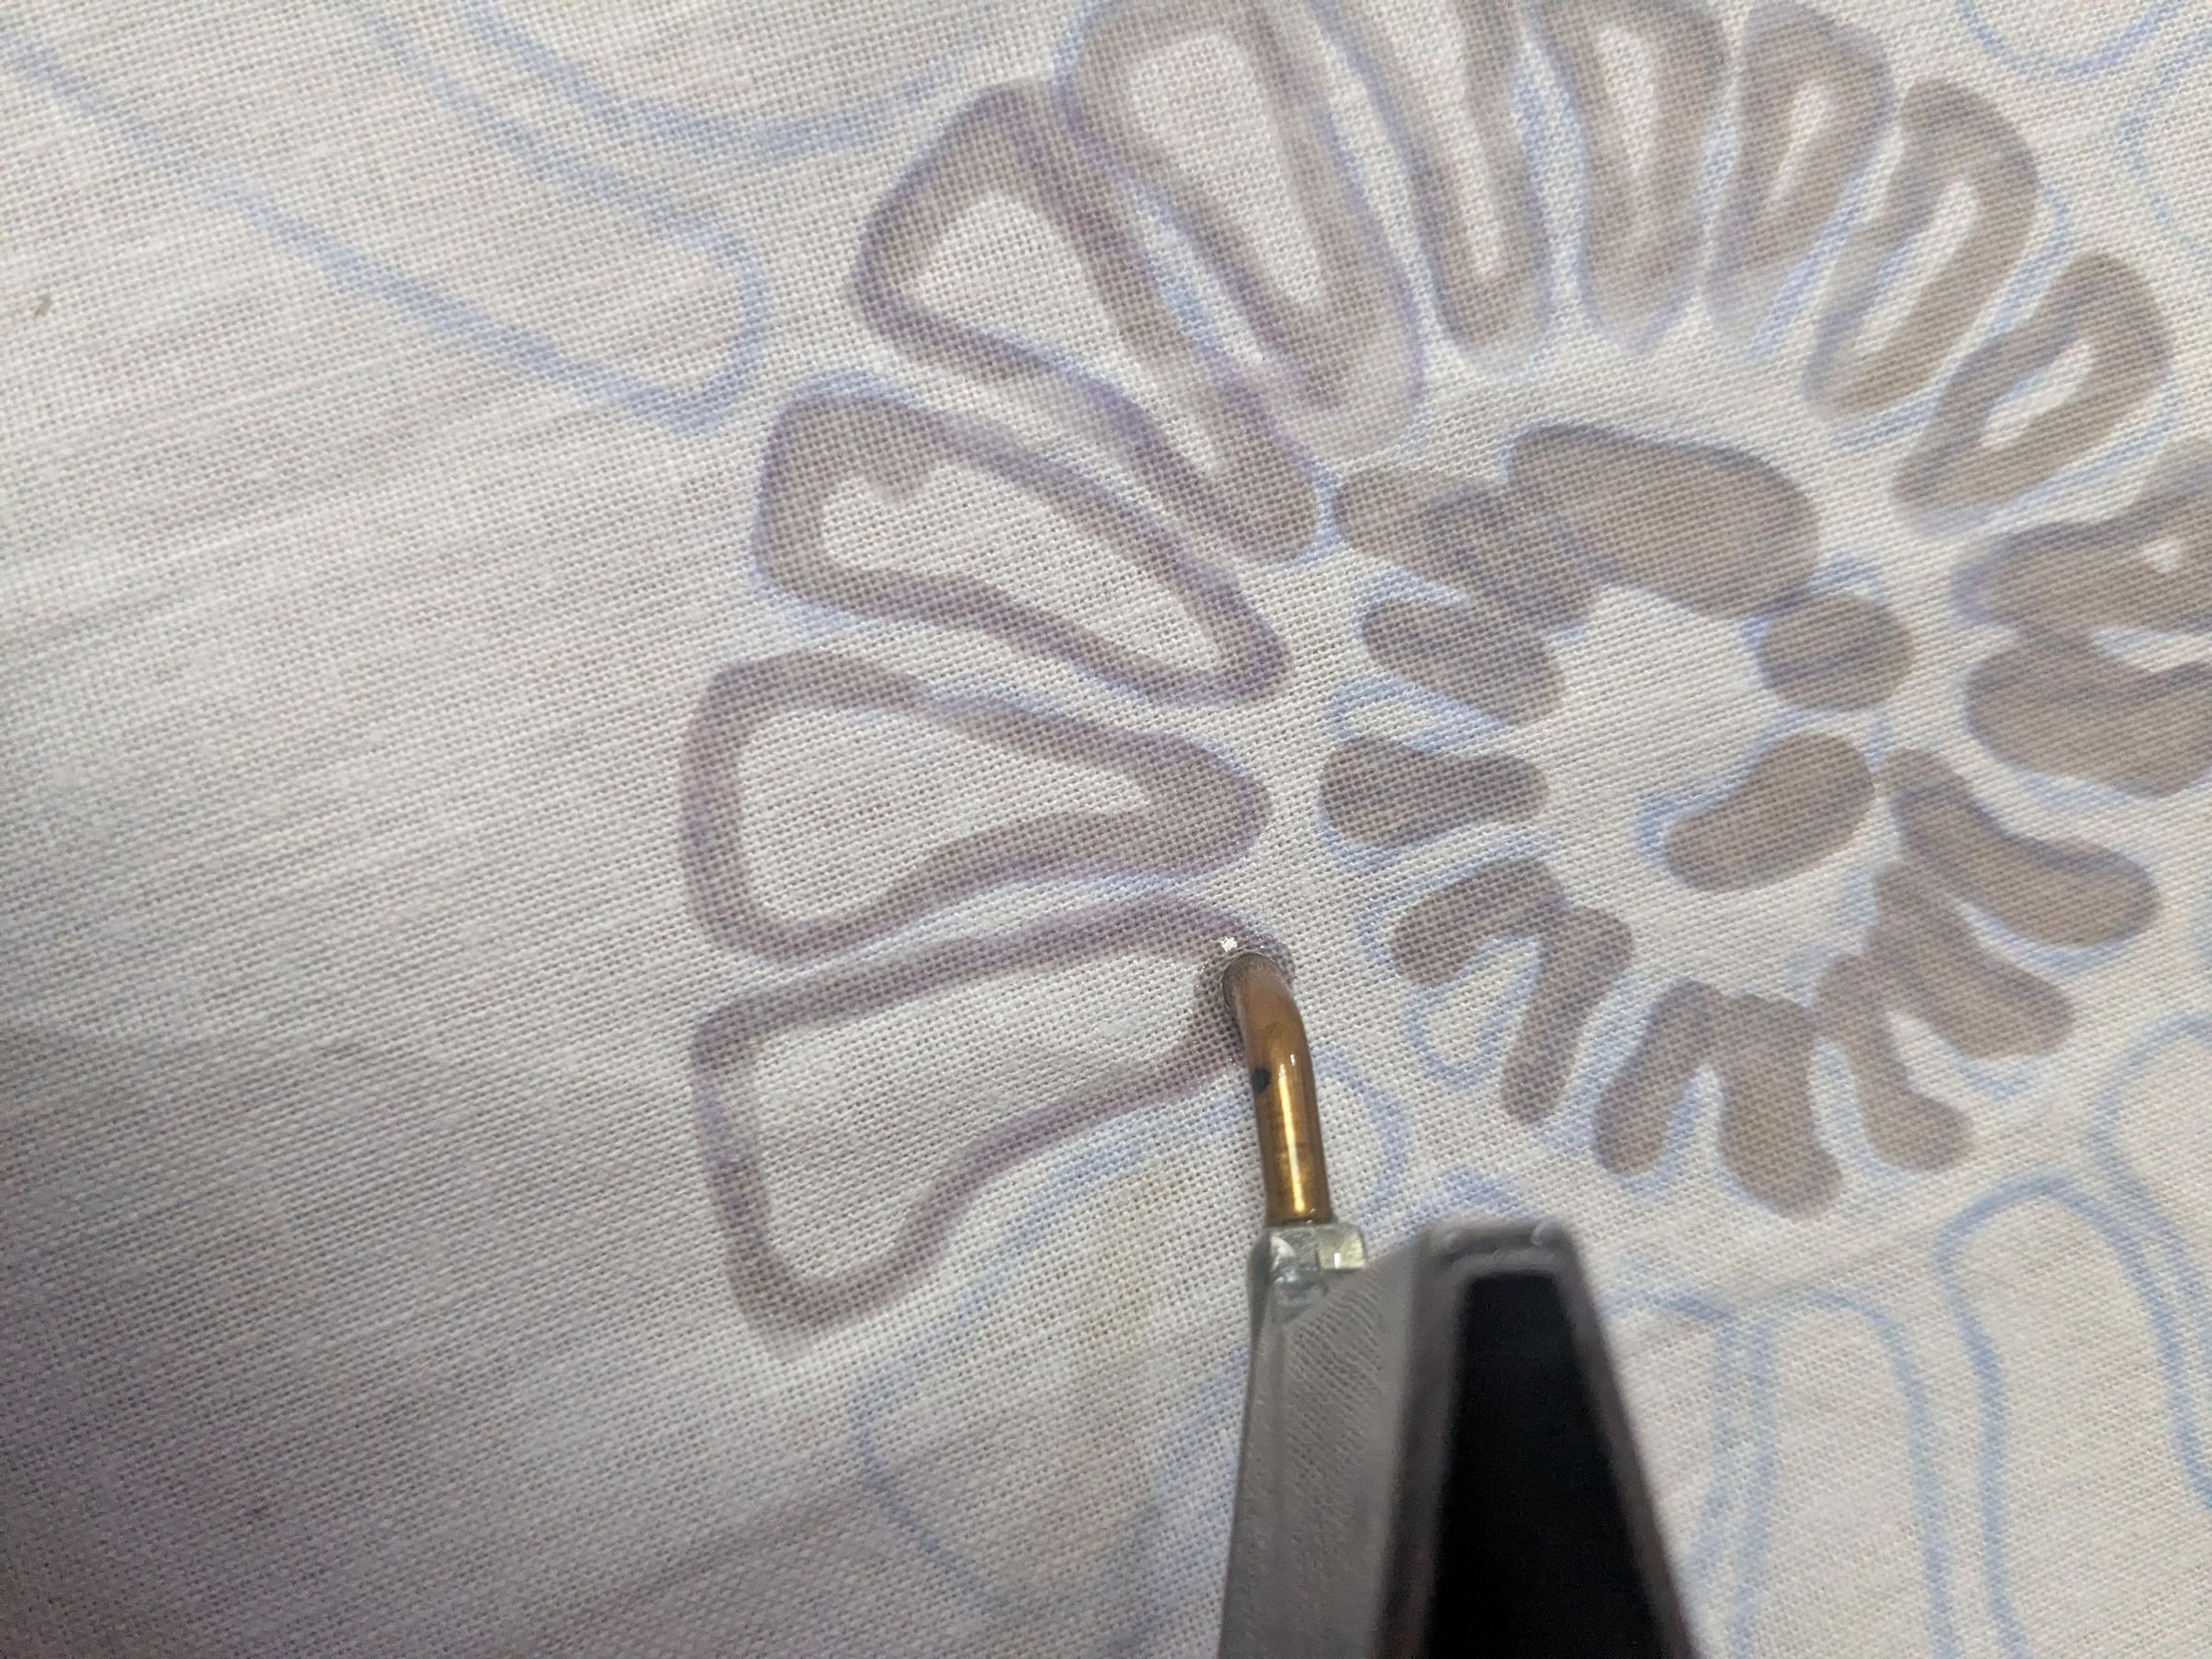
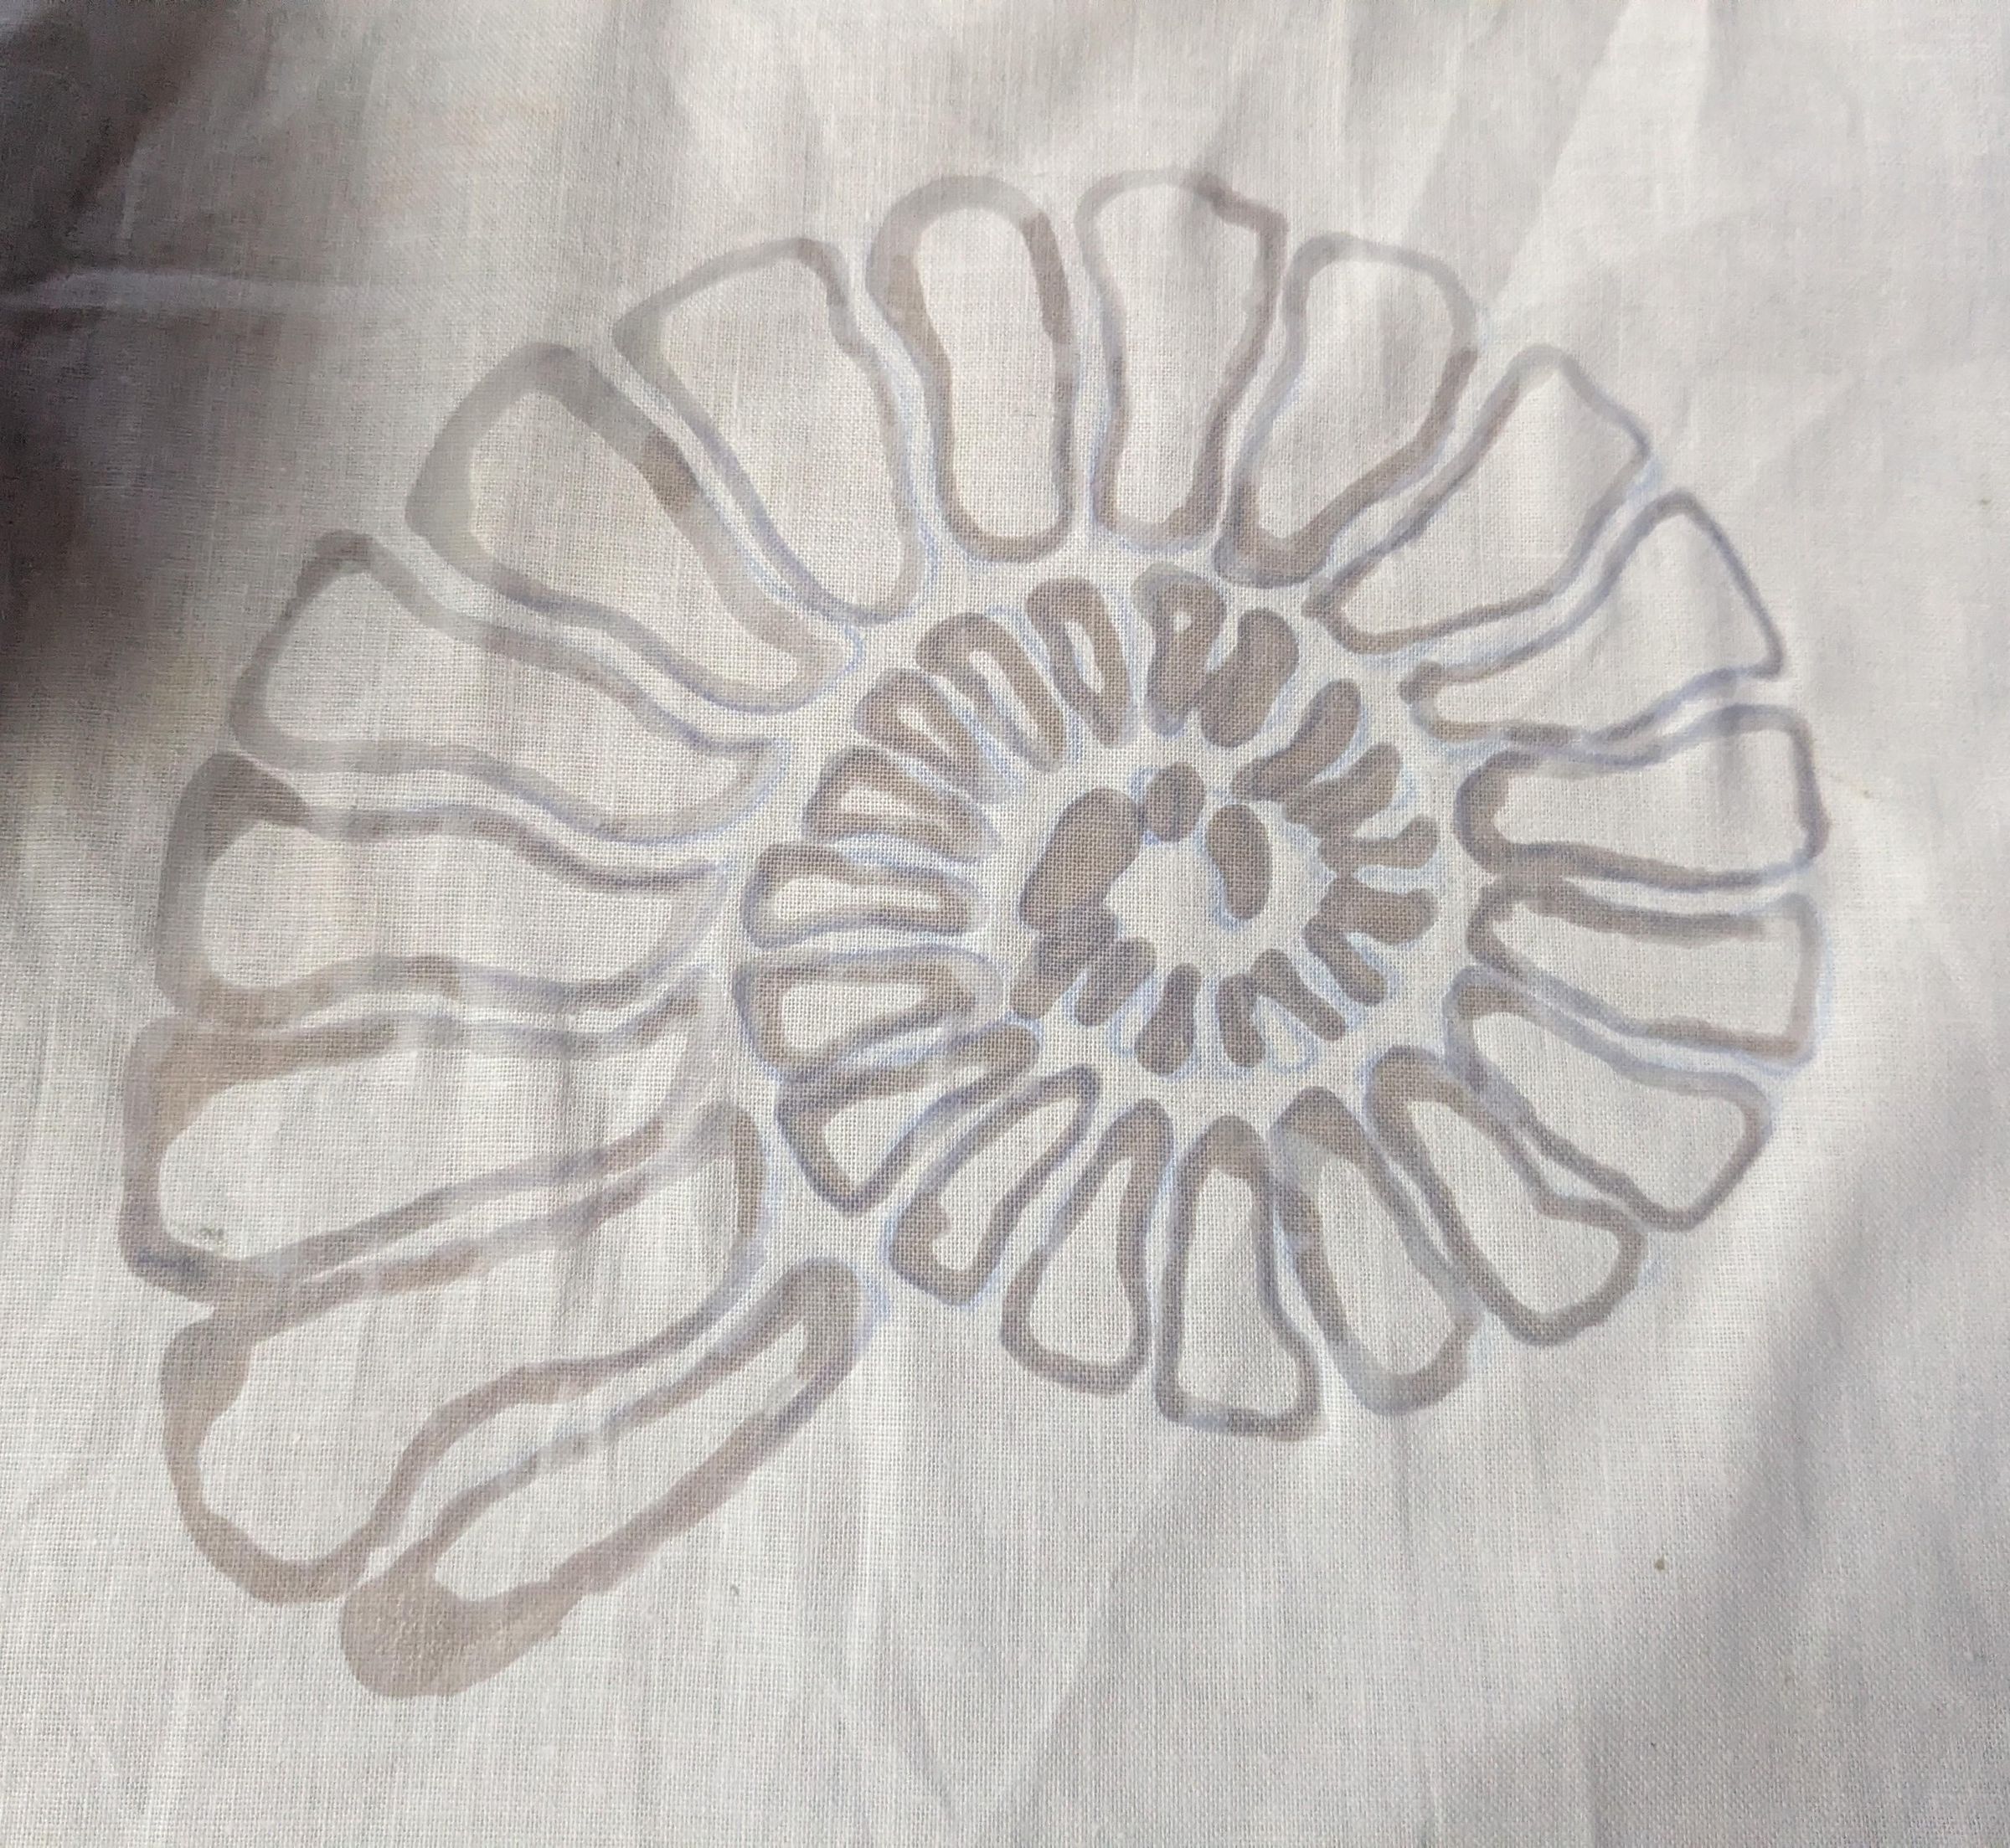
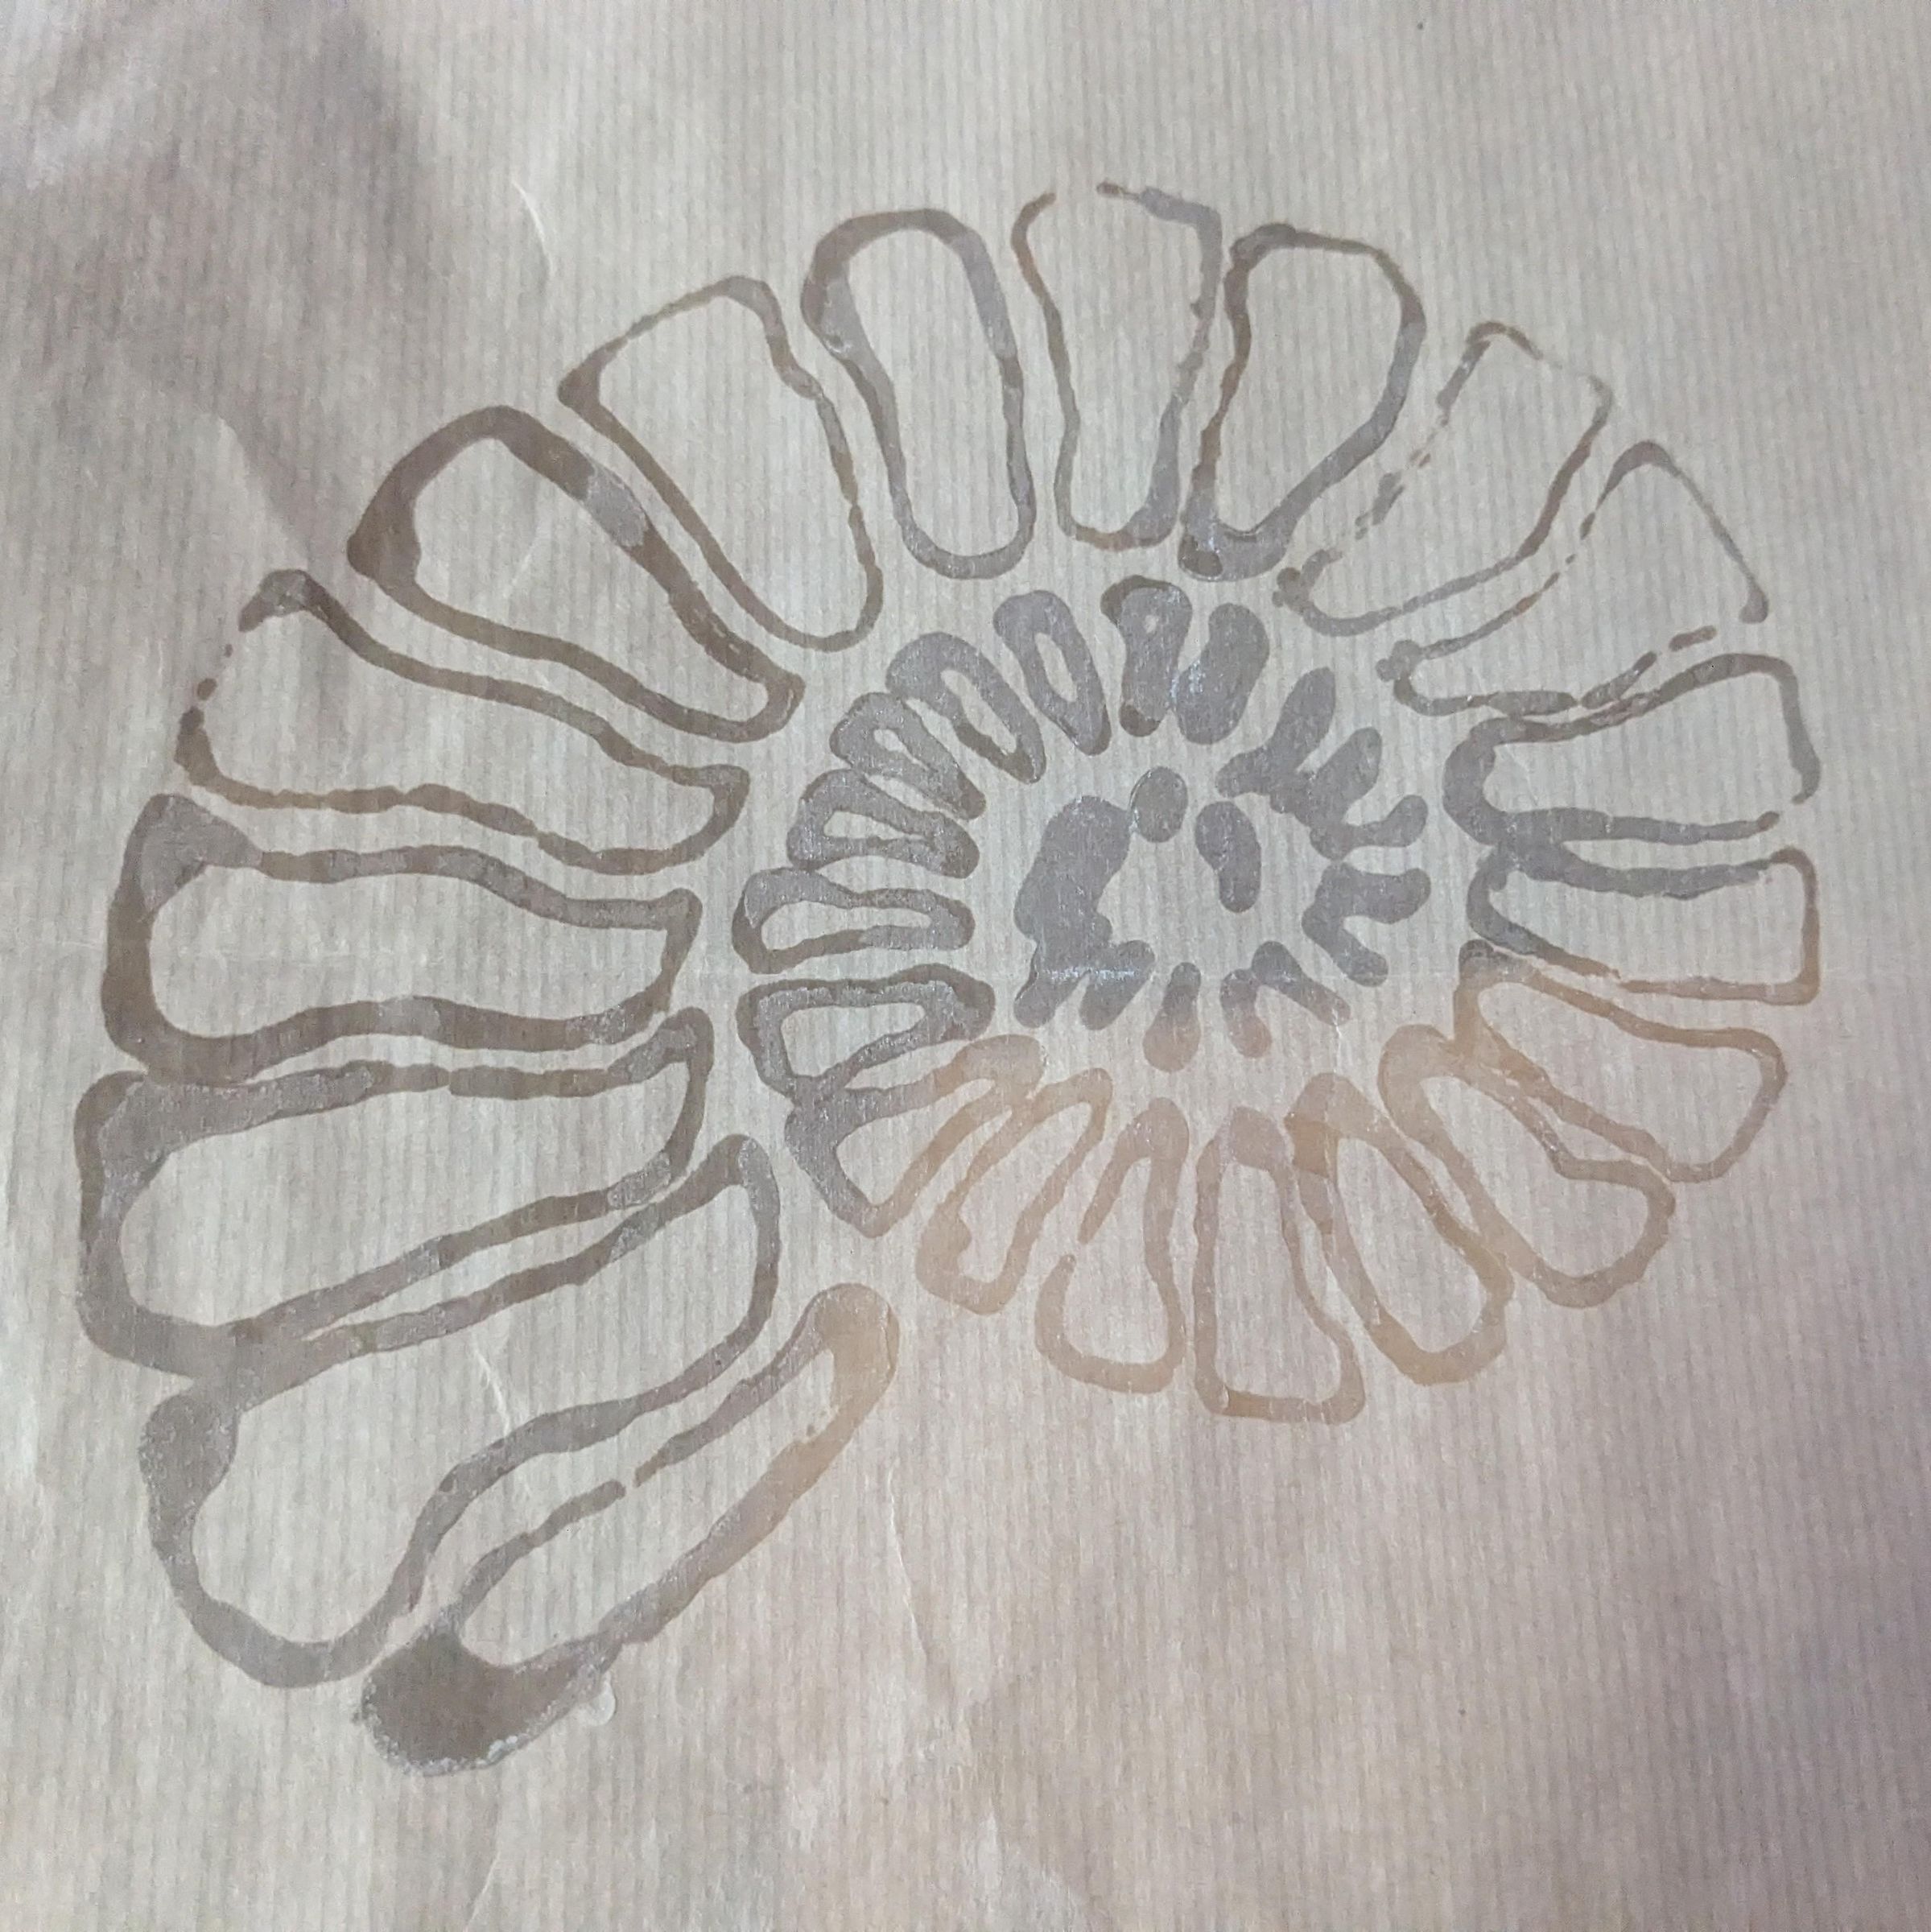
Once the wax is heated, I used a 1.0mm tjanting tool to carefully "trace" along my drawing with the hot wax. I have found that once you fill your tjanting with wax you have about 10 seconds to "draw" before needing to dip back into your wax pot. This can also be done with a paintbrush.
It is very important to check that the wax is seeping out the back of your fabric. If the wax is too cold it will sit on the top of the surface, too hot and it will start to spread. I put layers of paper under my fabric when waxing to protect the surface I am working on. It is best practice to pin your fabric taut on a wooden frame before batiking but when starting off paper is a great way to see if your wax is soaking all the way through (as you can see from the outline of my shell left behind on the paper in Pic. 5).
Yes I did make a slight mistake (Note on Pic 2) in the very center of my shell but due to artistic license I can confidently say that this blob and all future blobs are merely a part of my artistic vision.
First Dip Dye
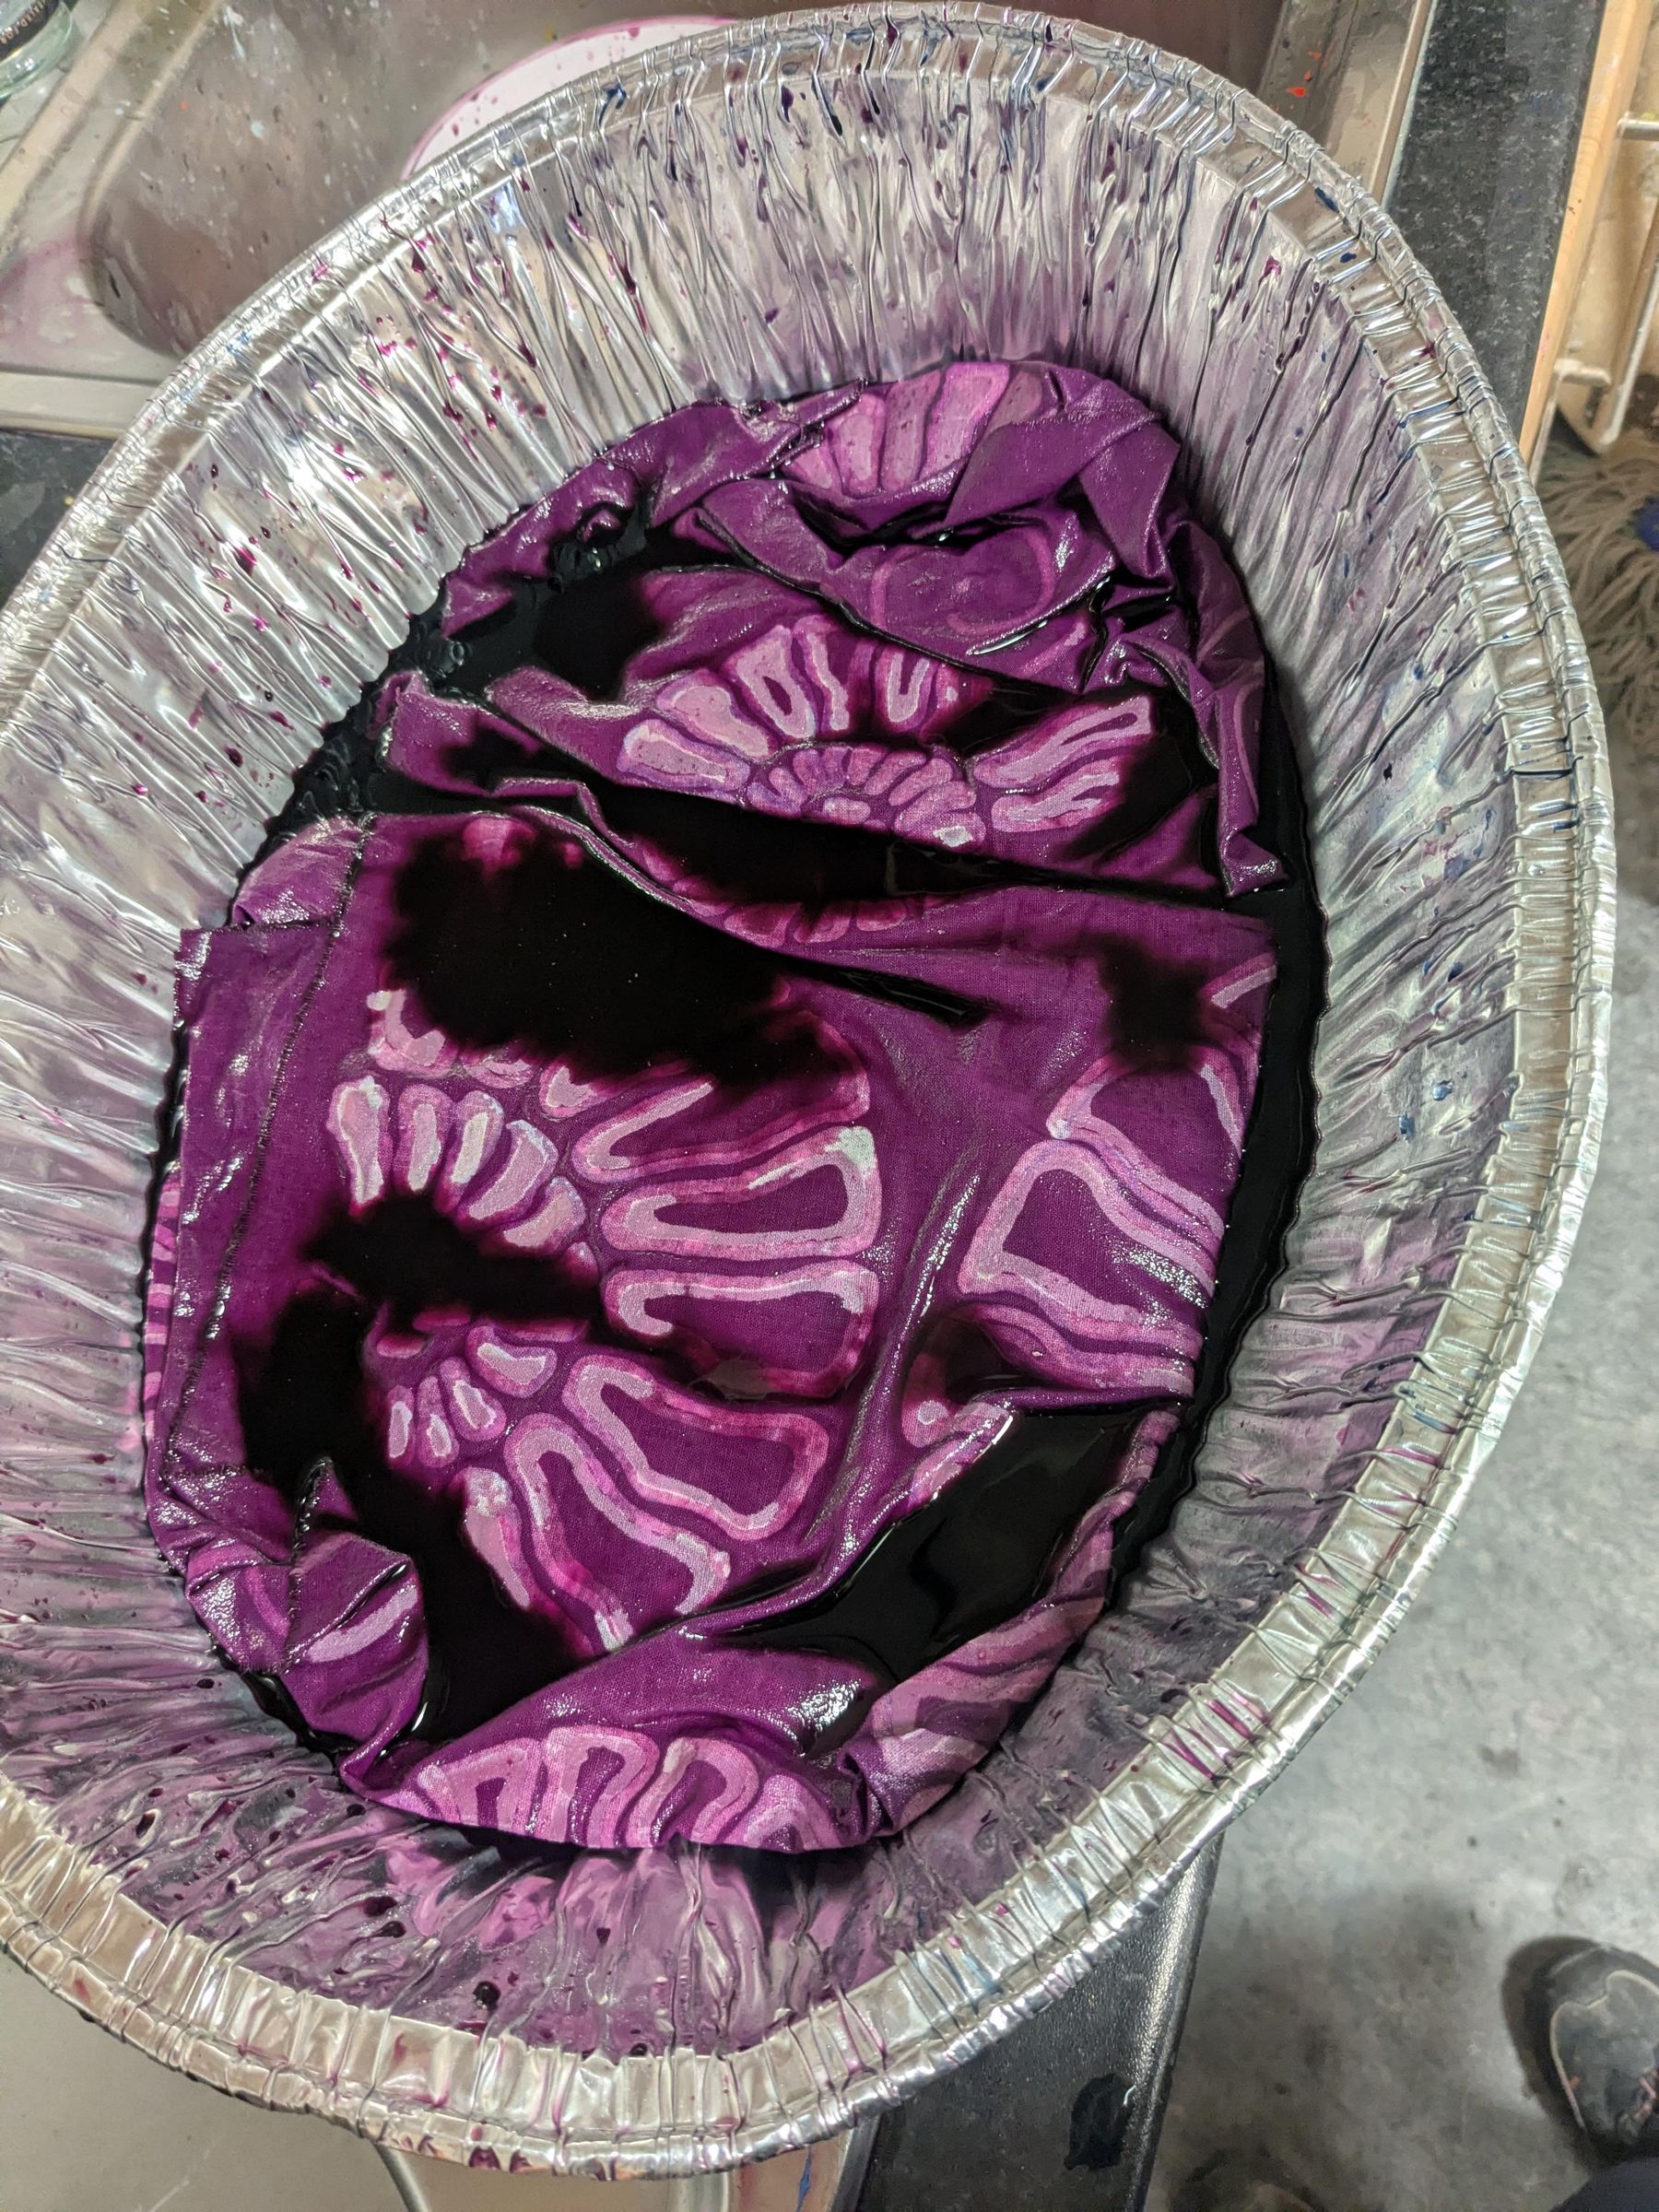
To begin the dyeing, I mixed up a large quantity of purple dye (About 1 tablespoon of powdered dye to 1 liter of water). I transferred this to my turkey tray and decided to water it down even further. It is a good habit to use small scraps of fabric to test the color before committing your Batik into the watery abyss. I left my Batik soaking in the dye for around 3 hours, stirring it a few times at the start. It was then left to air-dry completely. Make sure to keep your leftover dye after each dip in order to create your monochrome effect later on.
This process is known as immersion dyeing. Wear gloves to avoid having very colorful dye stained hands for at least 1 week.
More Wax, Stamping and Dip No. 2
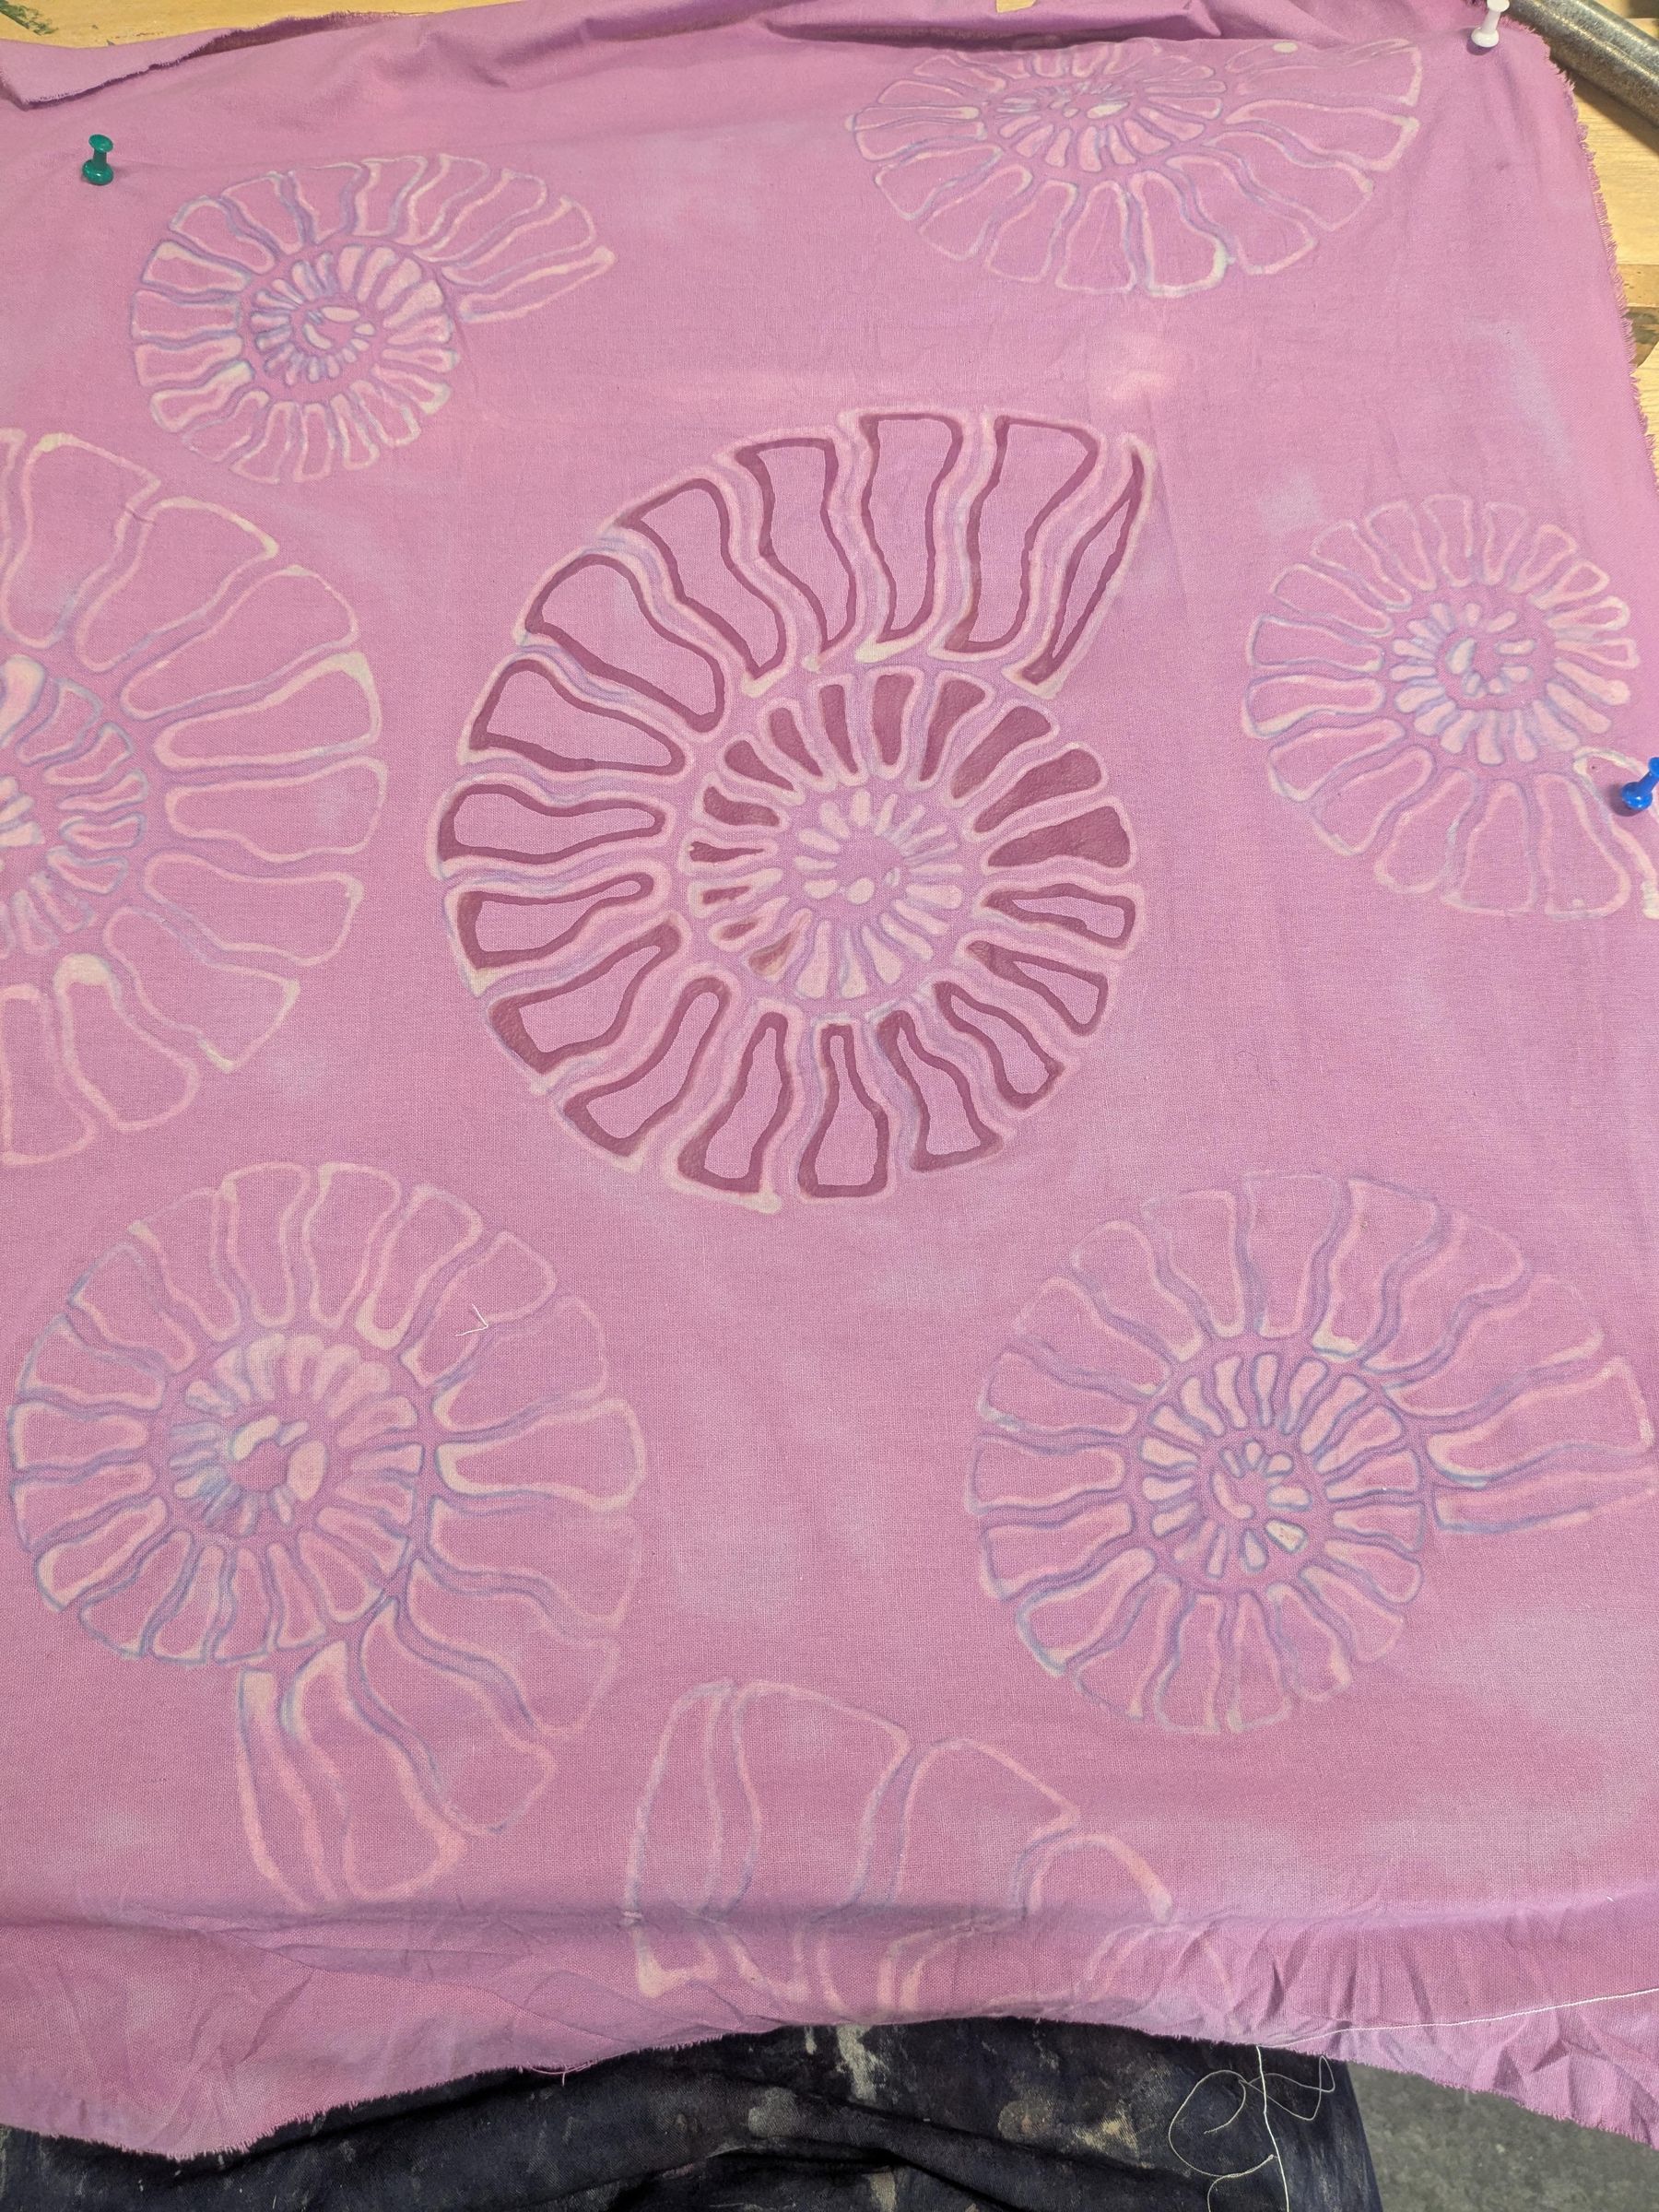
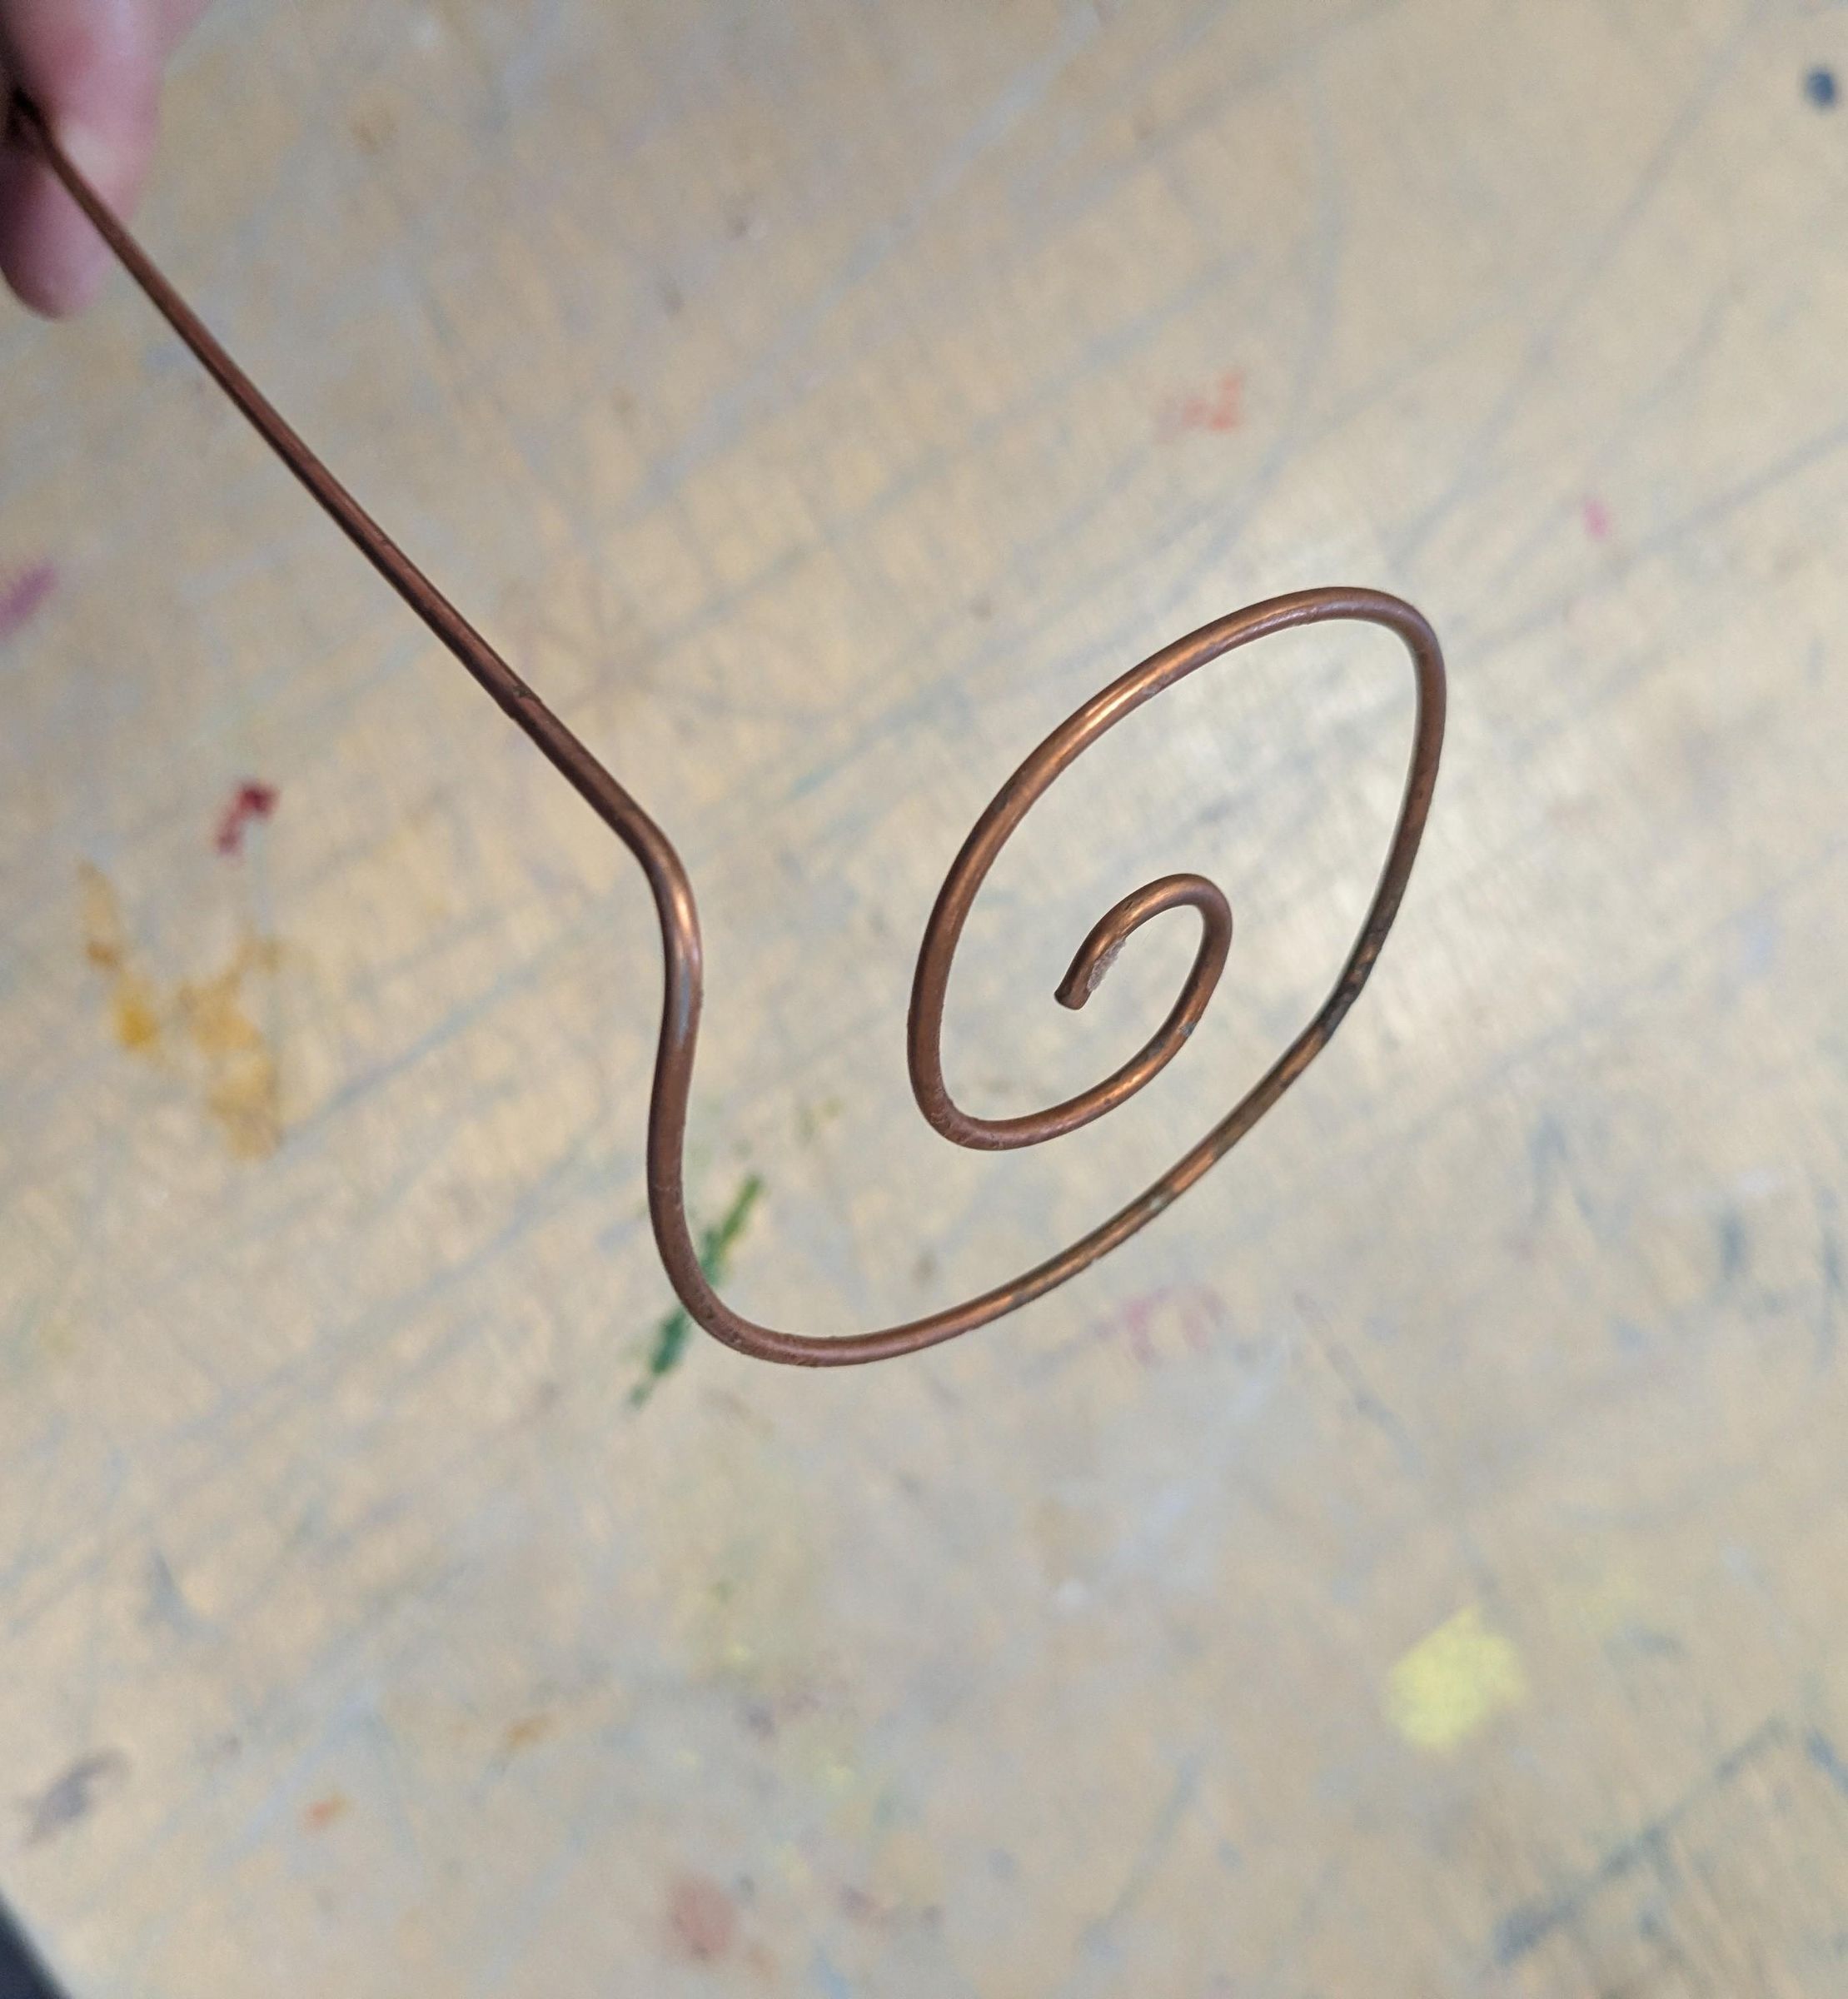
To continue, I waxed off all areas I wanted to keep light purple. I chose to wax off the center and a small outline of each of the "chambers" of my shells. I made a stamp by twisting a copper rod into a spiral shape. I dipped this into my wax pot and used it to stamp the background of my batik.
For Dip No. 2, I intensified my light dye by adding a small quantity of my concentrated powdered dye. Remember to use your scraps to check the color! Darkening a batik is always far simpler than lightning it so easy does it. This again was left to soak for a few hours and then air-dried.
Even More Wax and the Final Dip
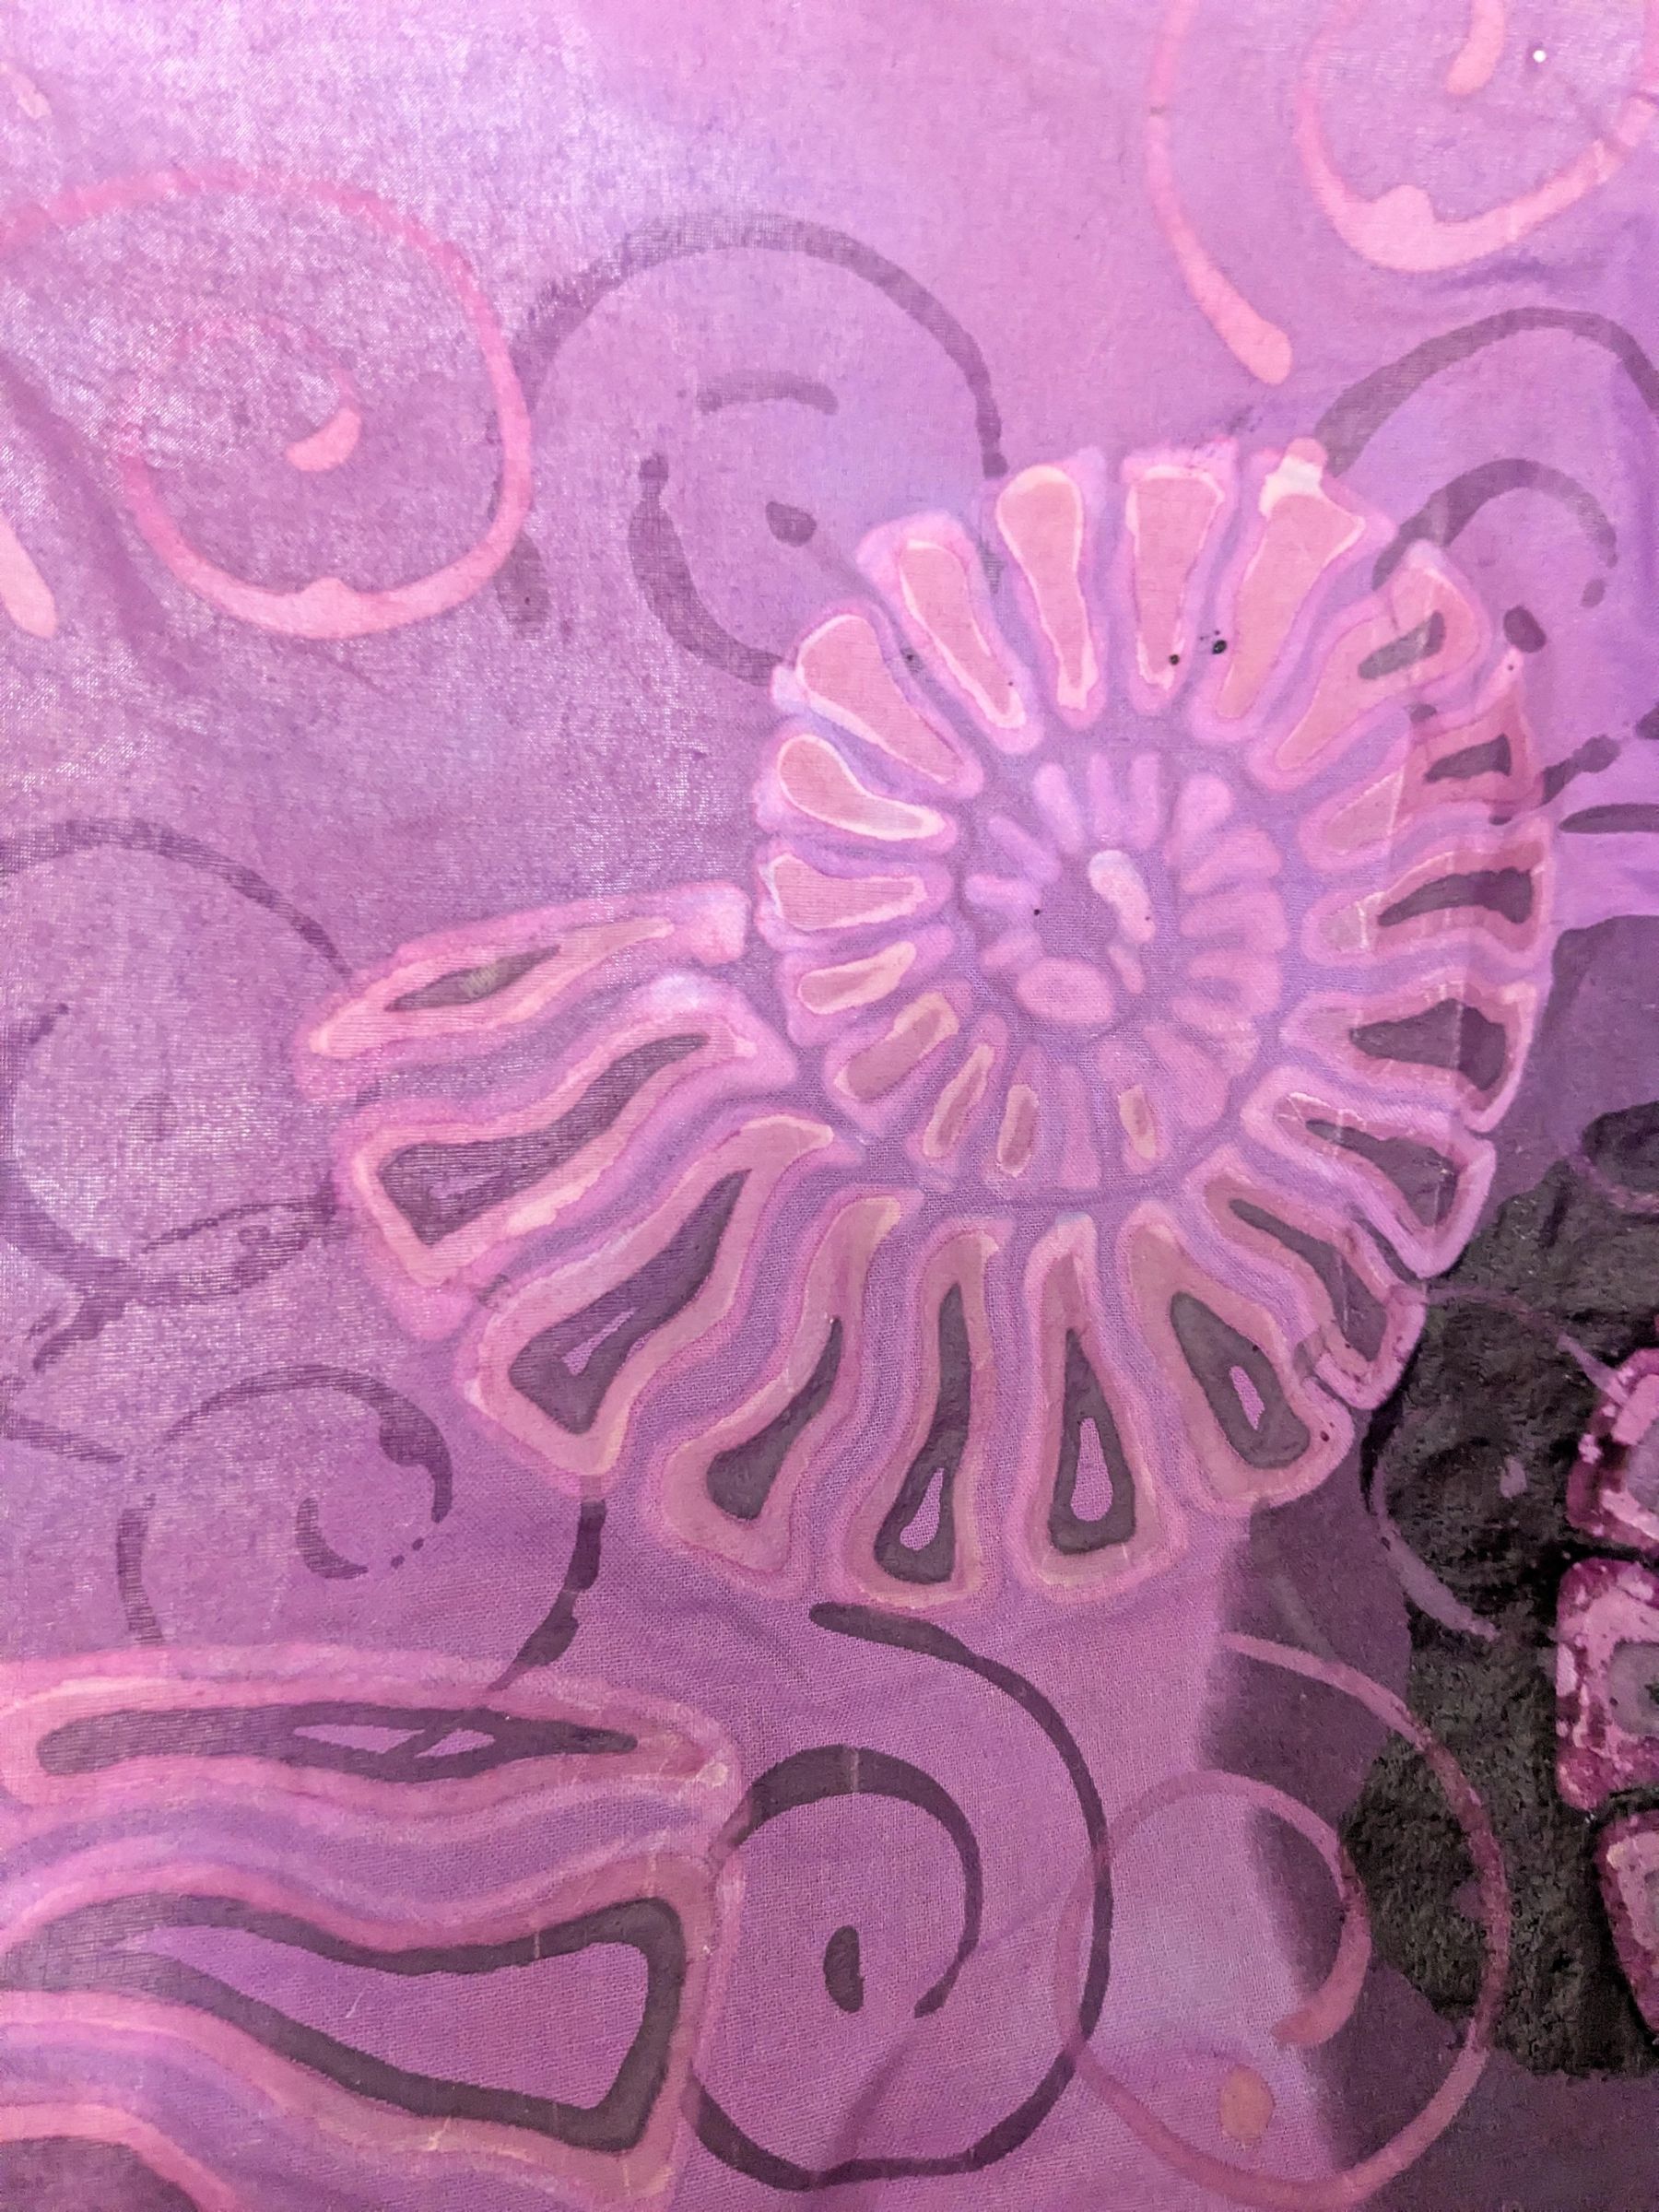
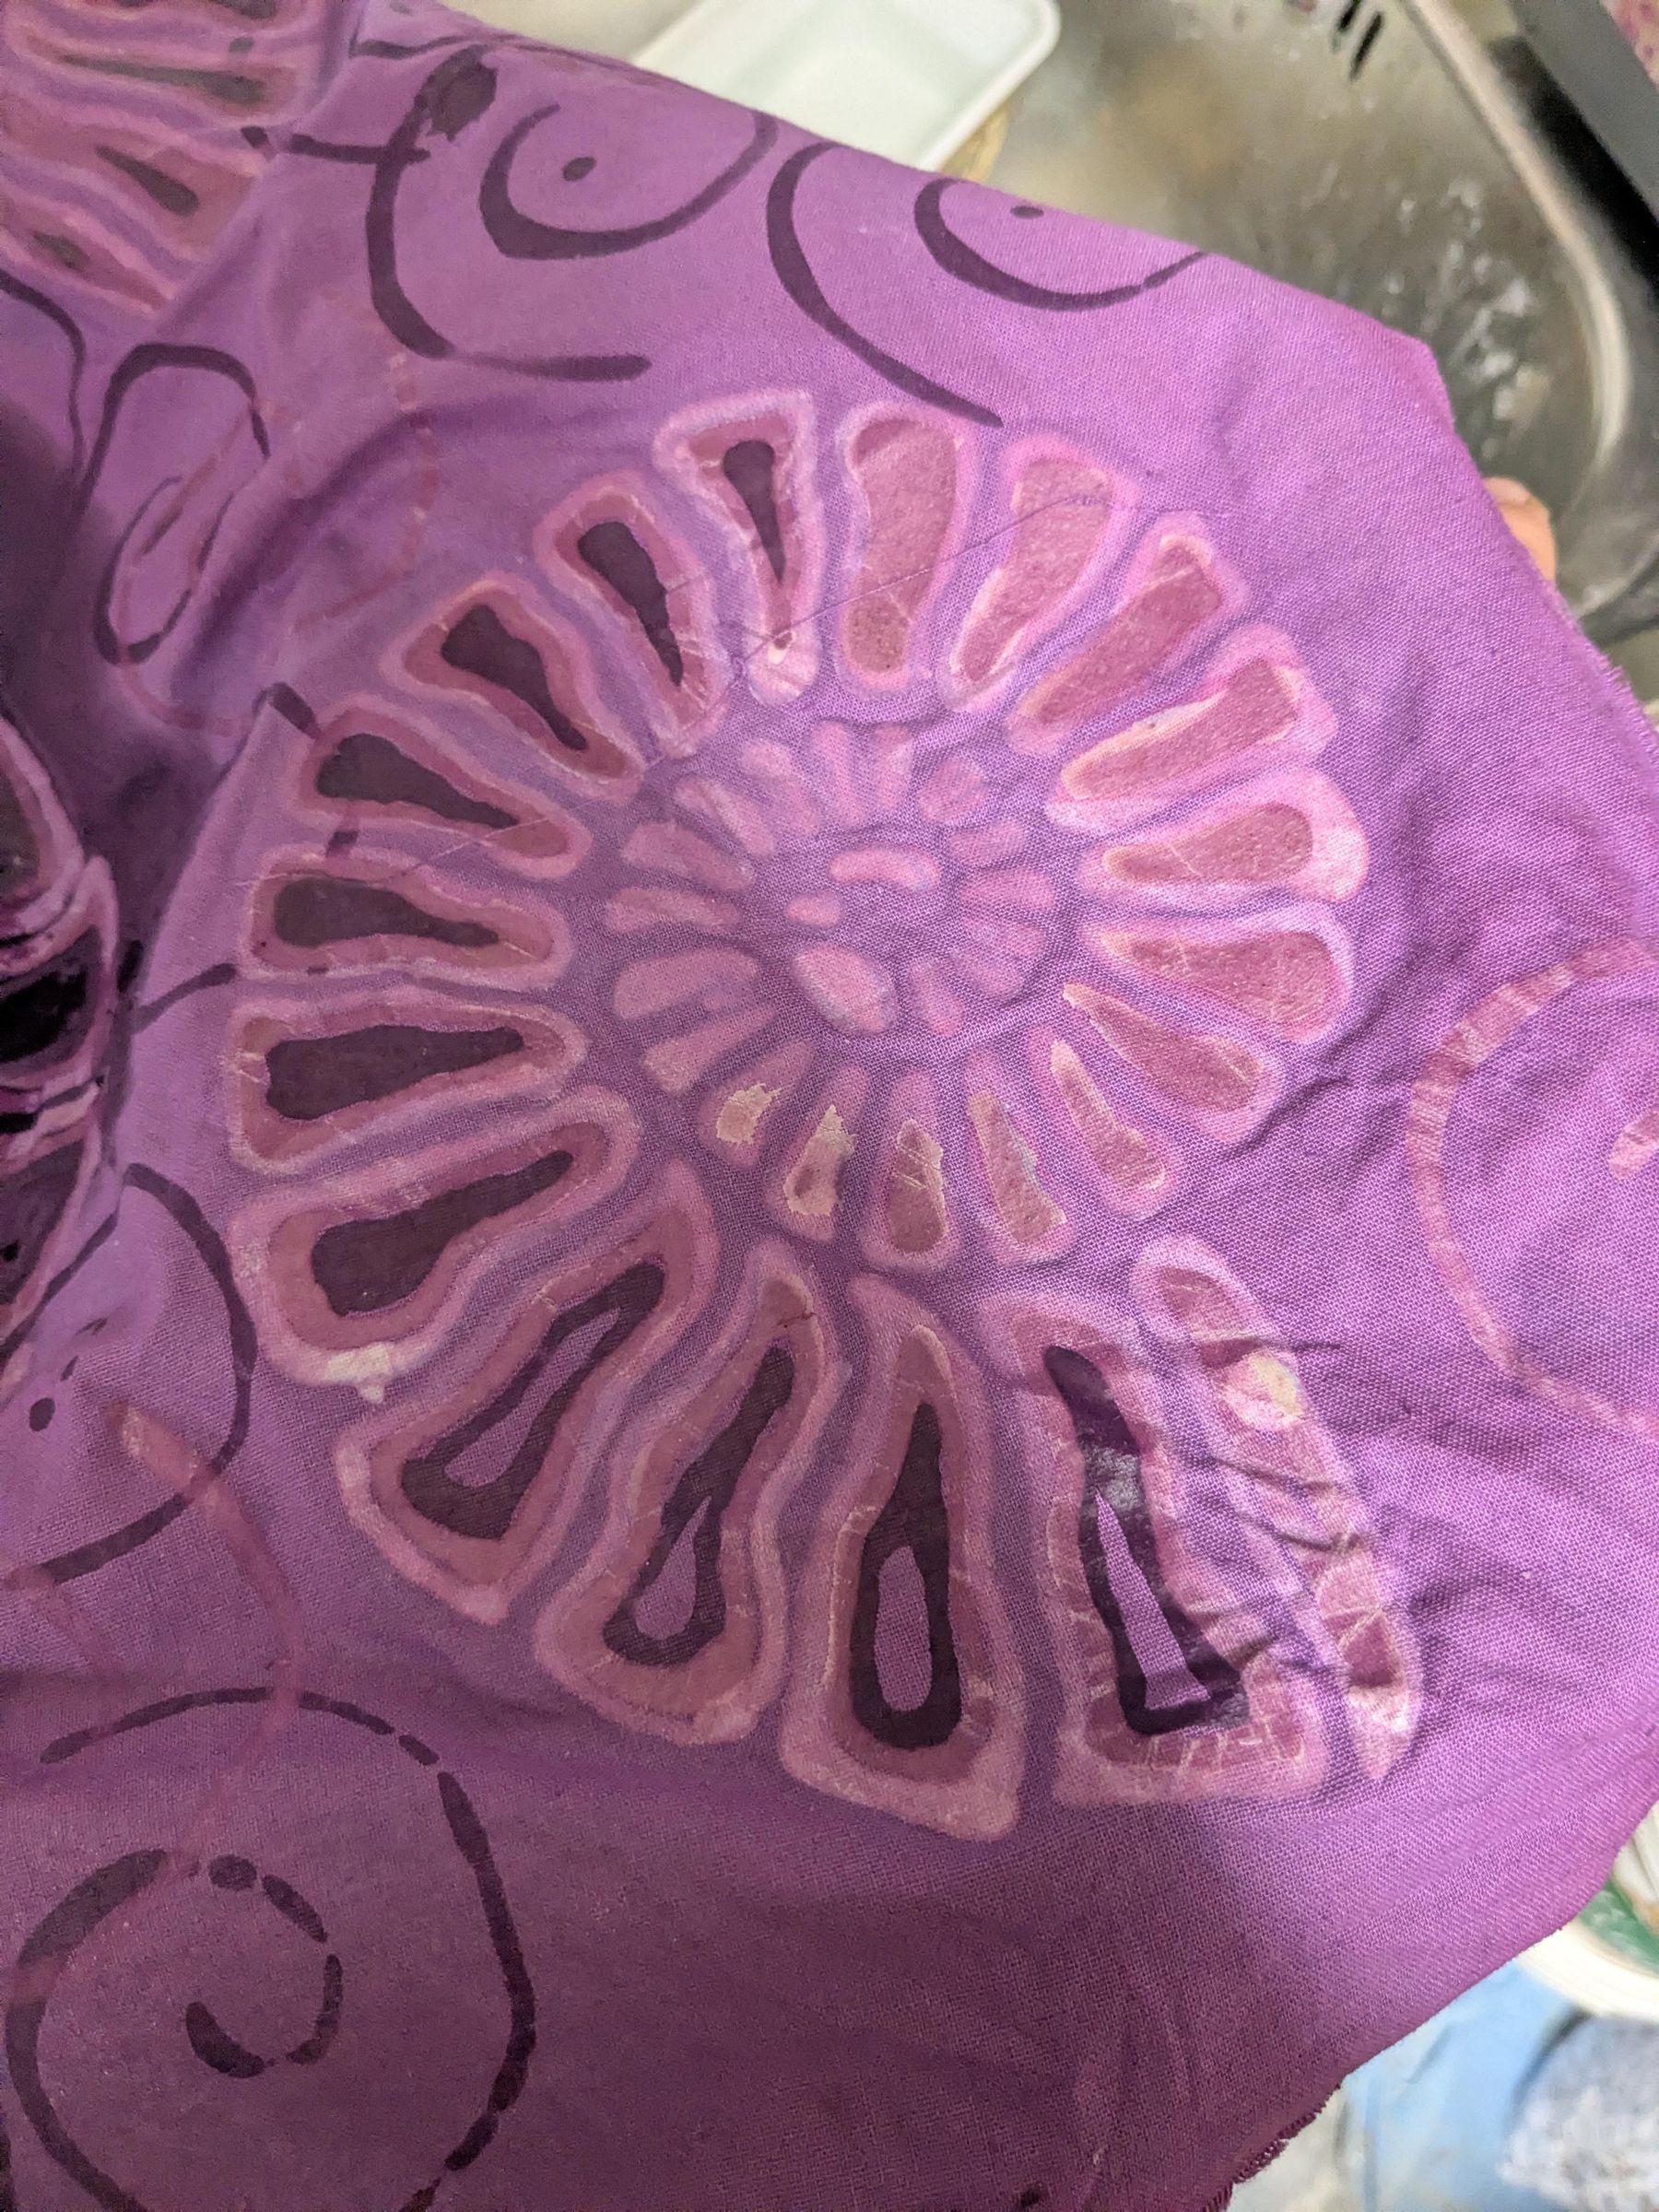
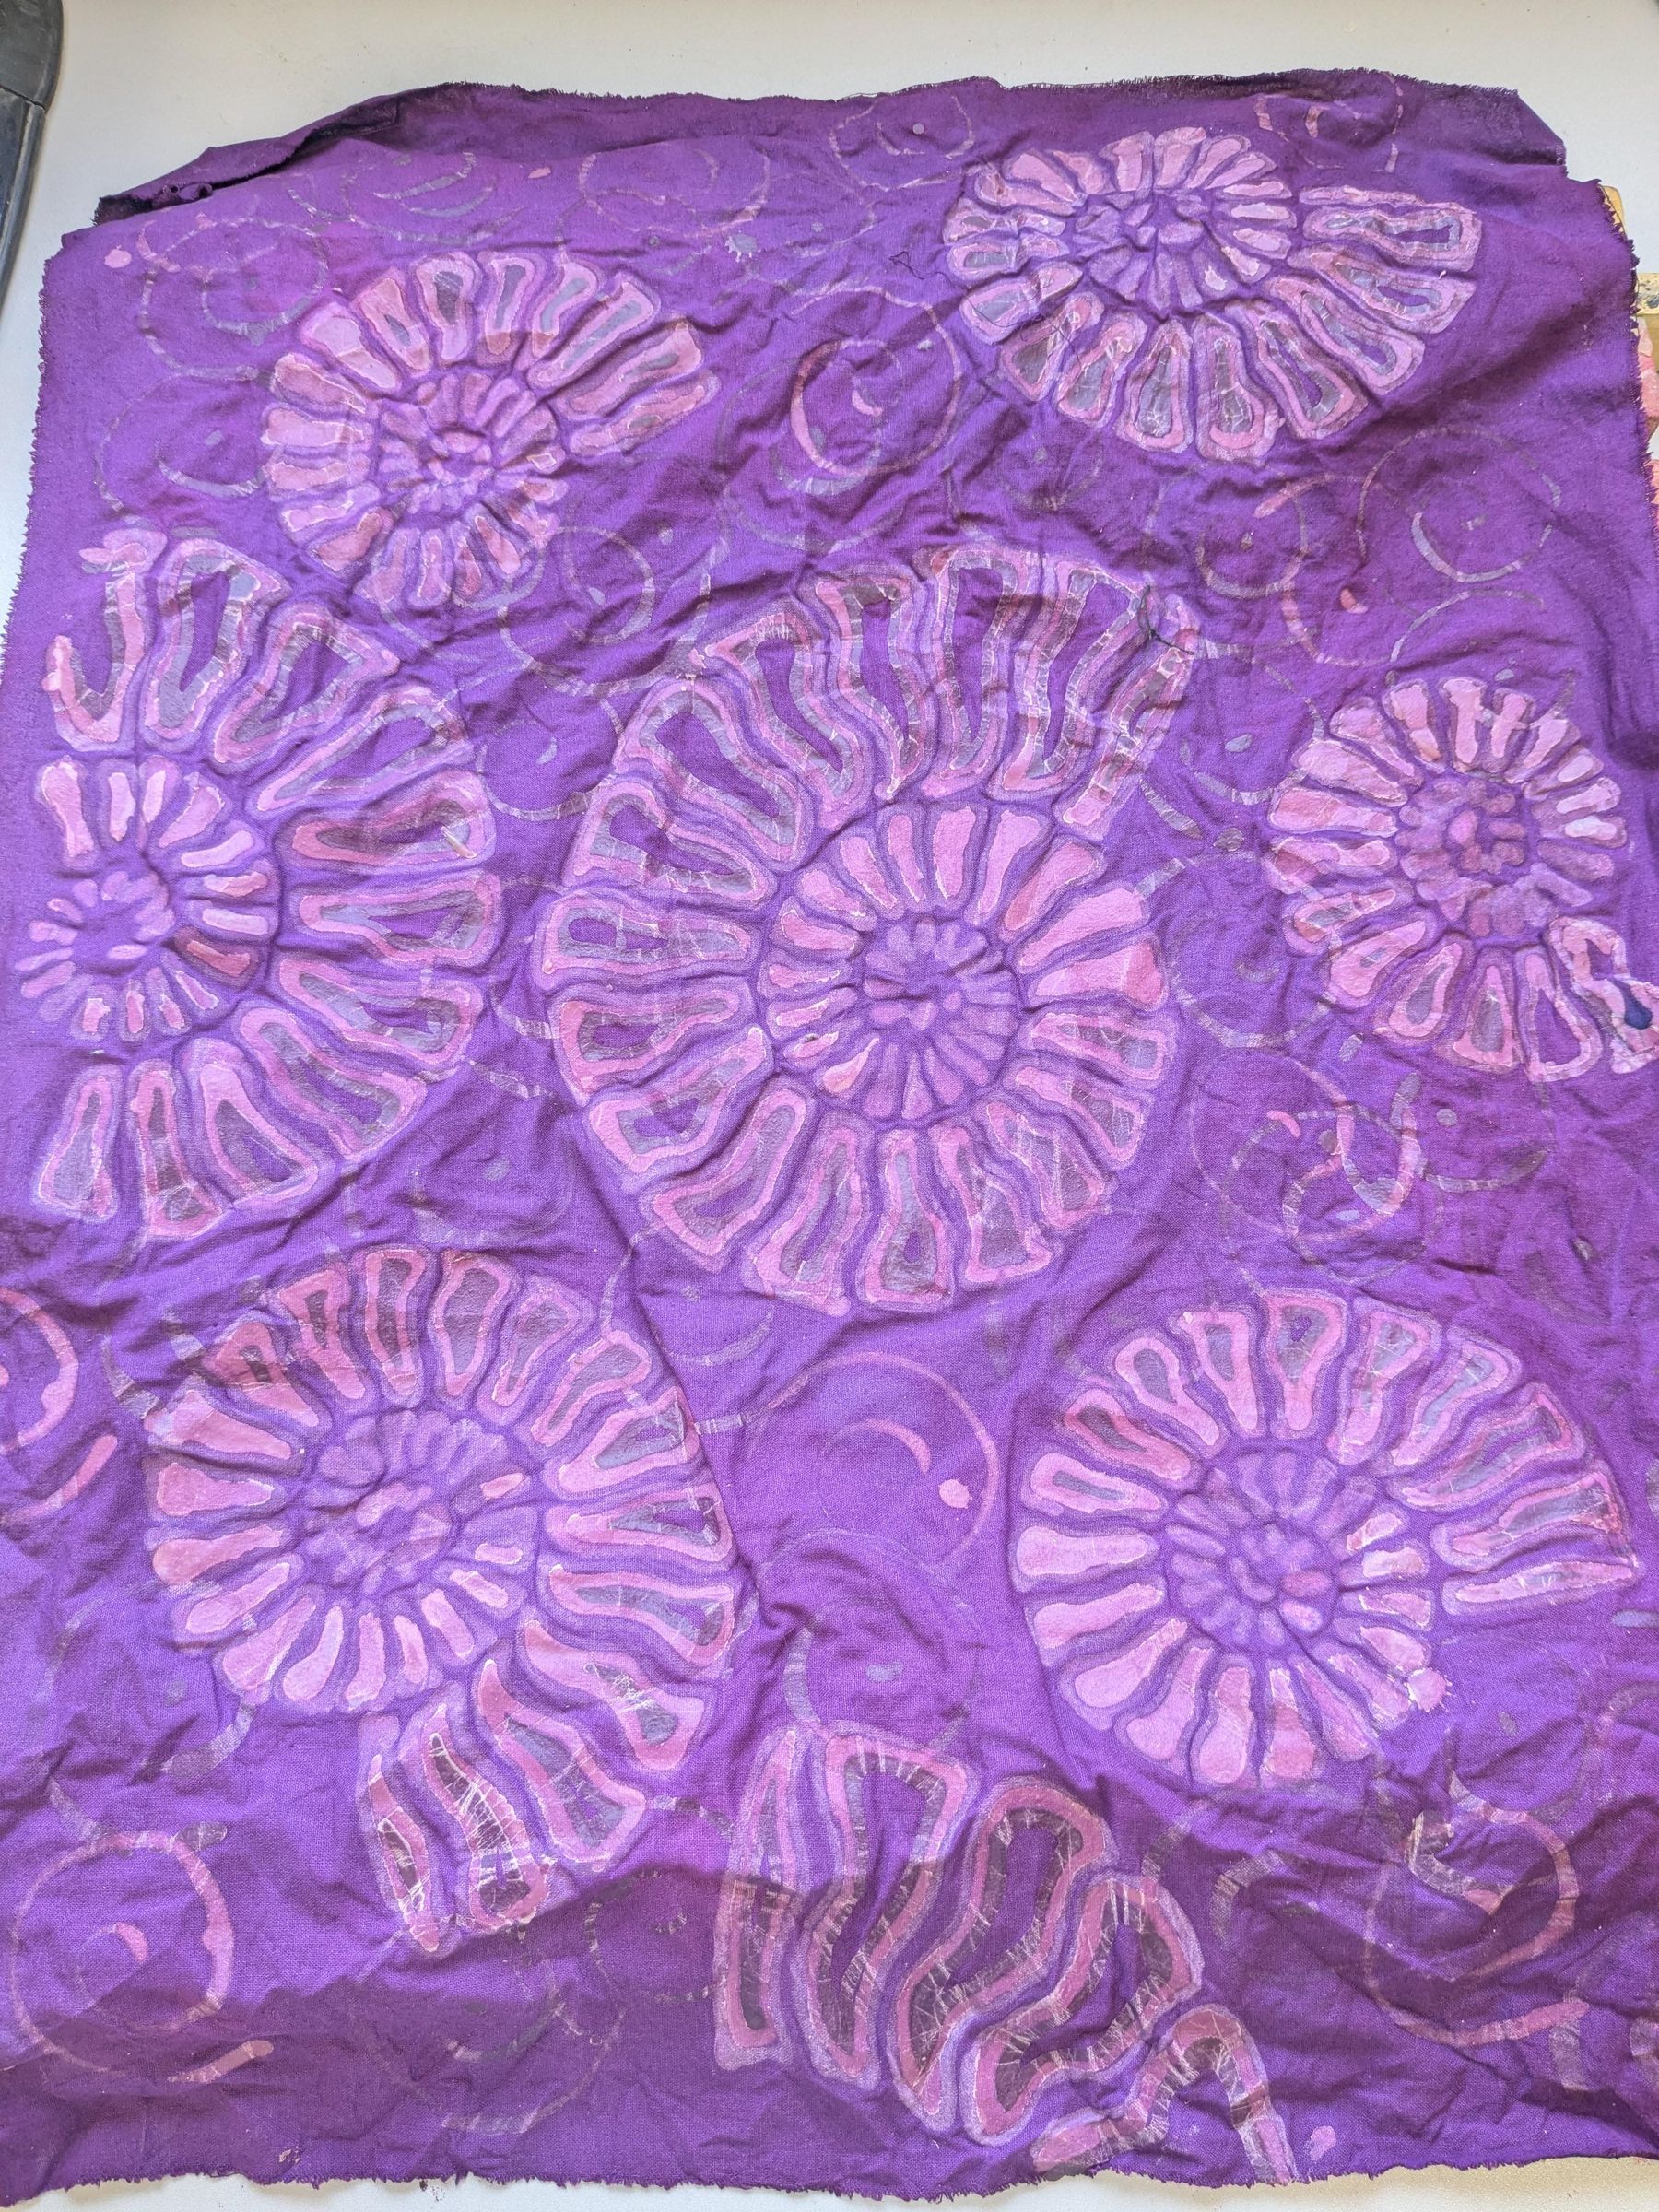
I waxed off the final parts of my batik, leaving just a small part of the shells unwaxed along with the majority of the background.
For the final dip, I mixed a teaspoon of my powdered dye into my main batch of dye to create a very intense purple dye. I left the batik to soak in this dye for a further 3 hours, it was then removed and left to dry (Pic. 3).
I almost forgot to take a picture of this step pre immersion dyeing, hence the pool of dye in the first picture (See Note Pic. 1). Not pictured is me getting said dye all over my hands and phone as I raced to take the picture.
Final Wax (promise)
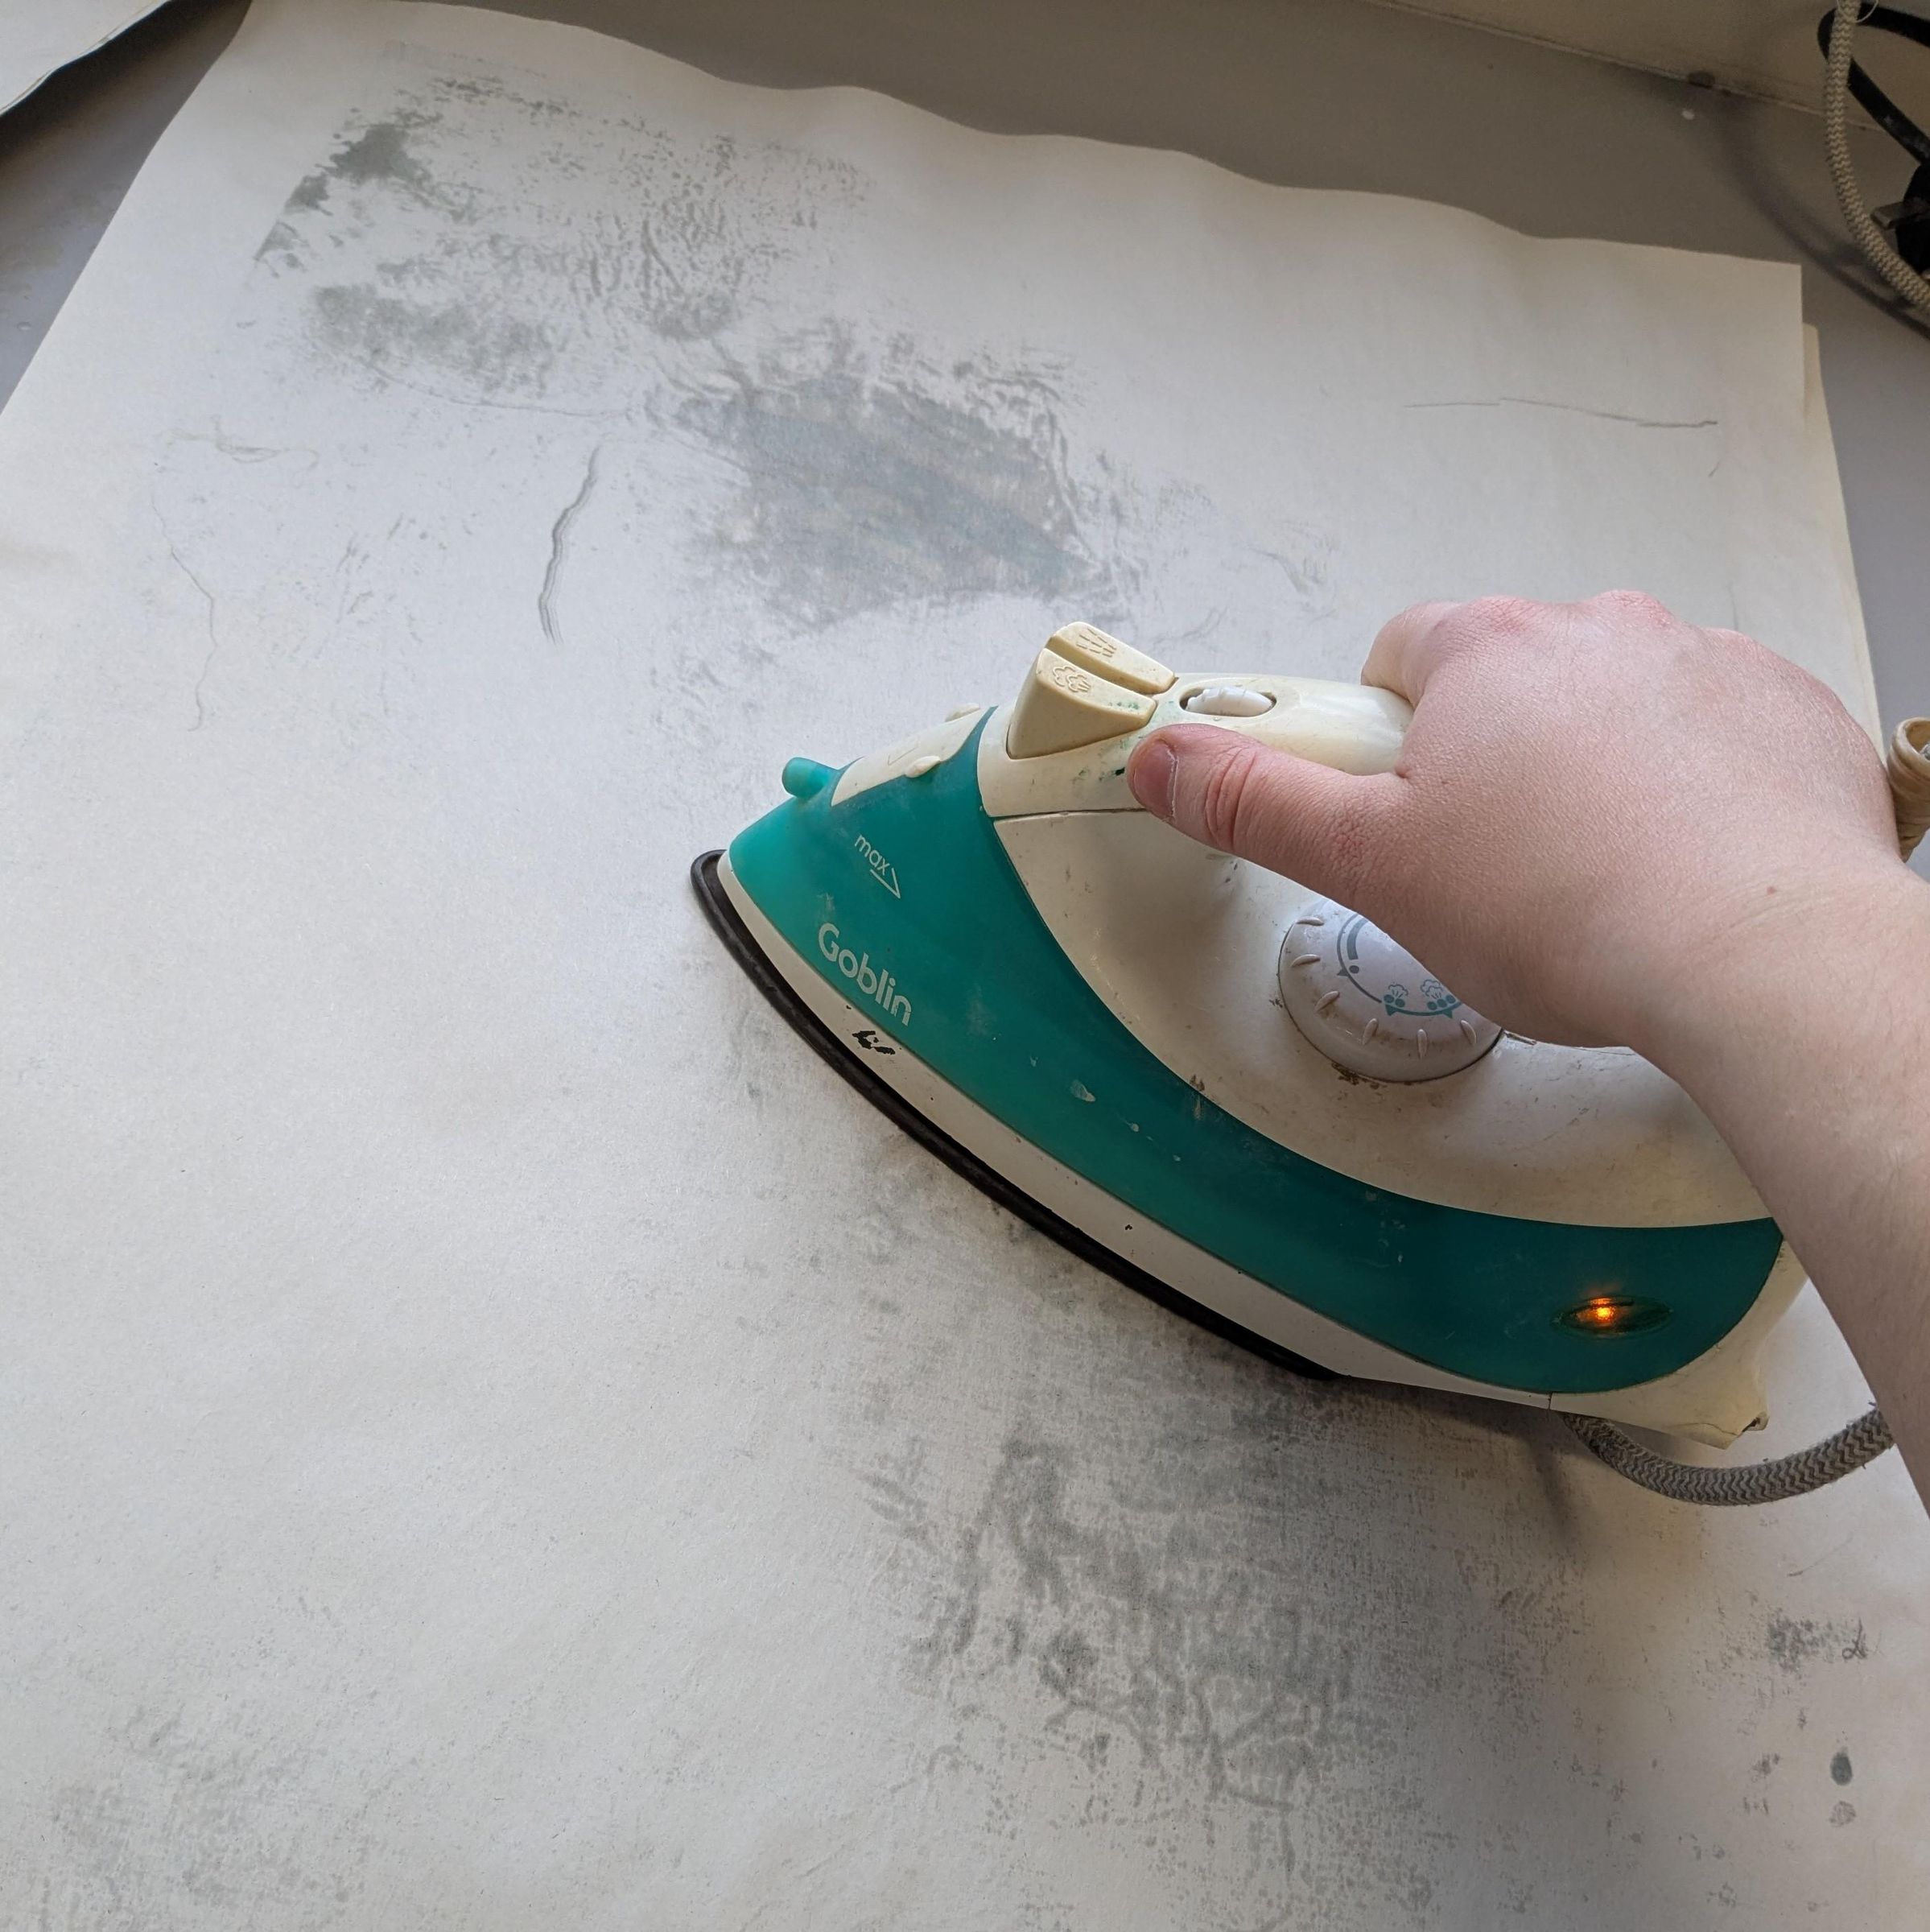
Once dry, I used a brush to coat the entirety of my batik in a thin layer of hot wax. I then layered paper on top and ironed out as much wax as possible. Although adding more wax and then taking it off may seem counter productive this step is crucial to avoid an oil-spot esque stain on your fabric. I recommend using your iron on it's hottest setting with no steam.
As much paper as you think you may need for this step I promise you it needs more. Just when you think you have ironed out all the wax you can, more will appear. Fear not! All the leftover waxed paper is great for making stencils for different crafts such as screen-printing.
The Big Reveal!
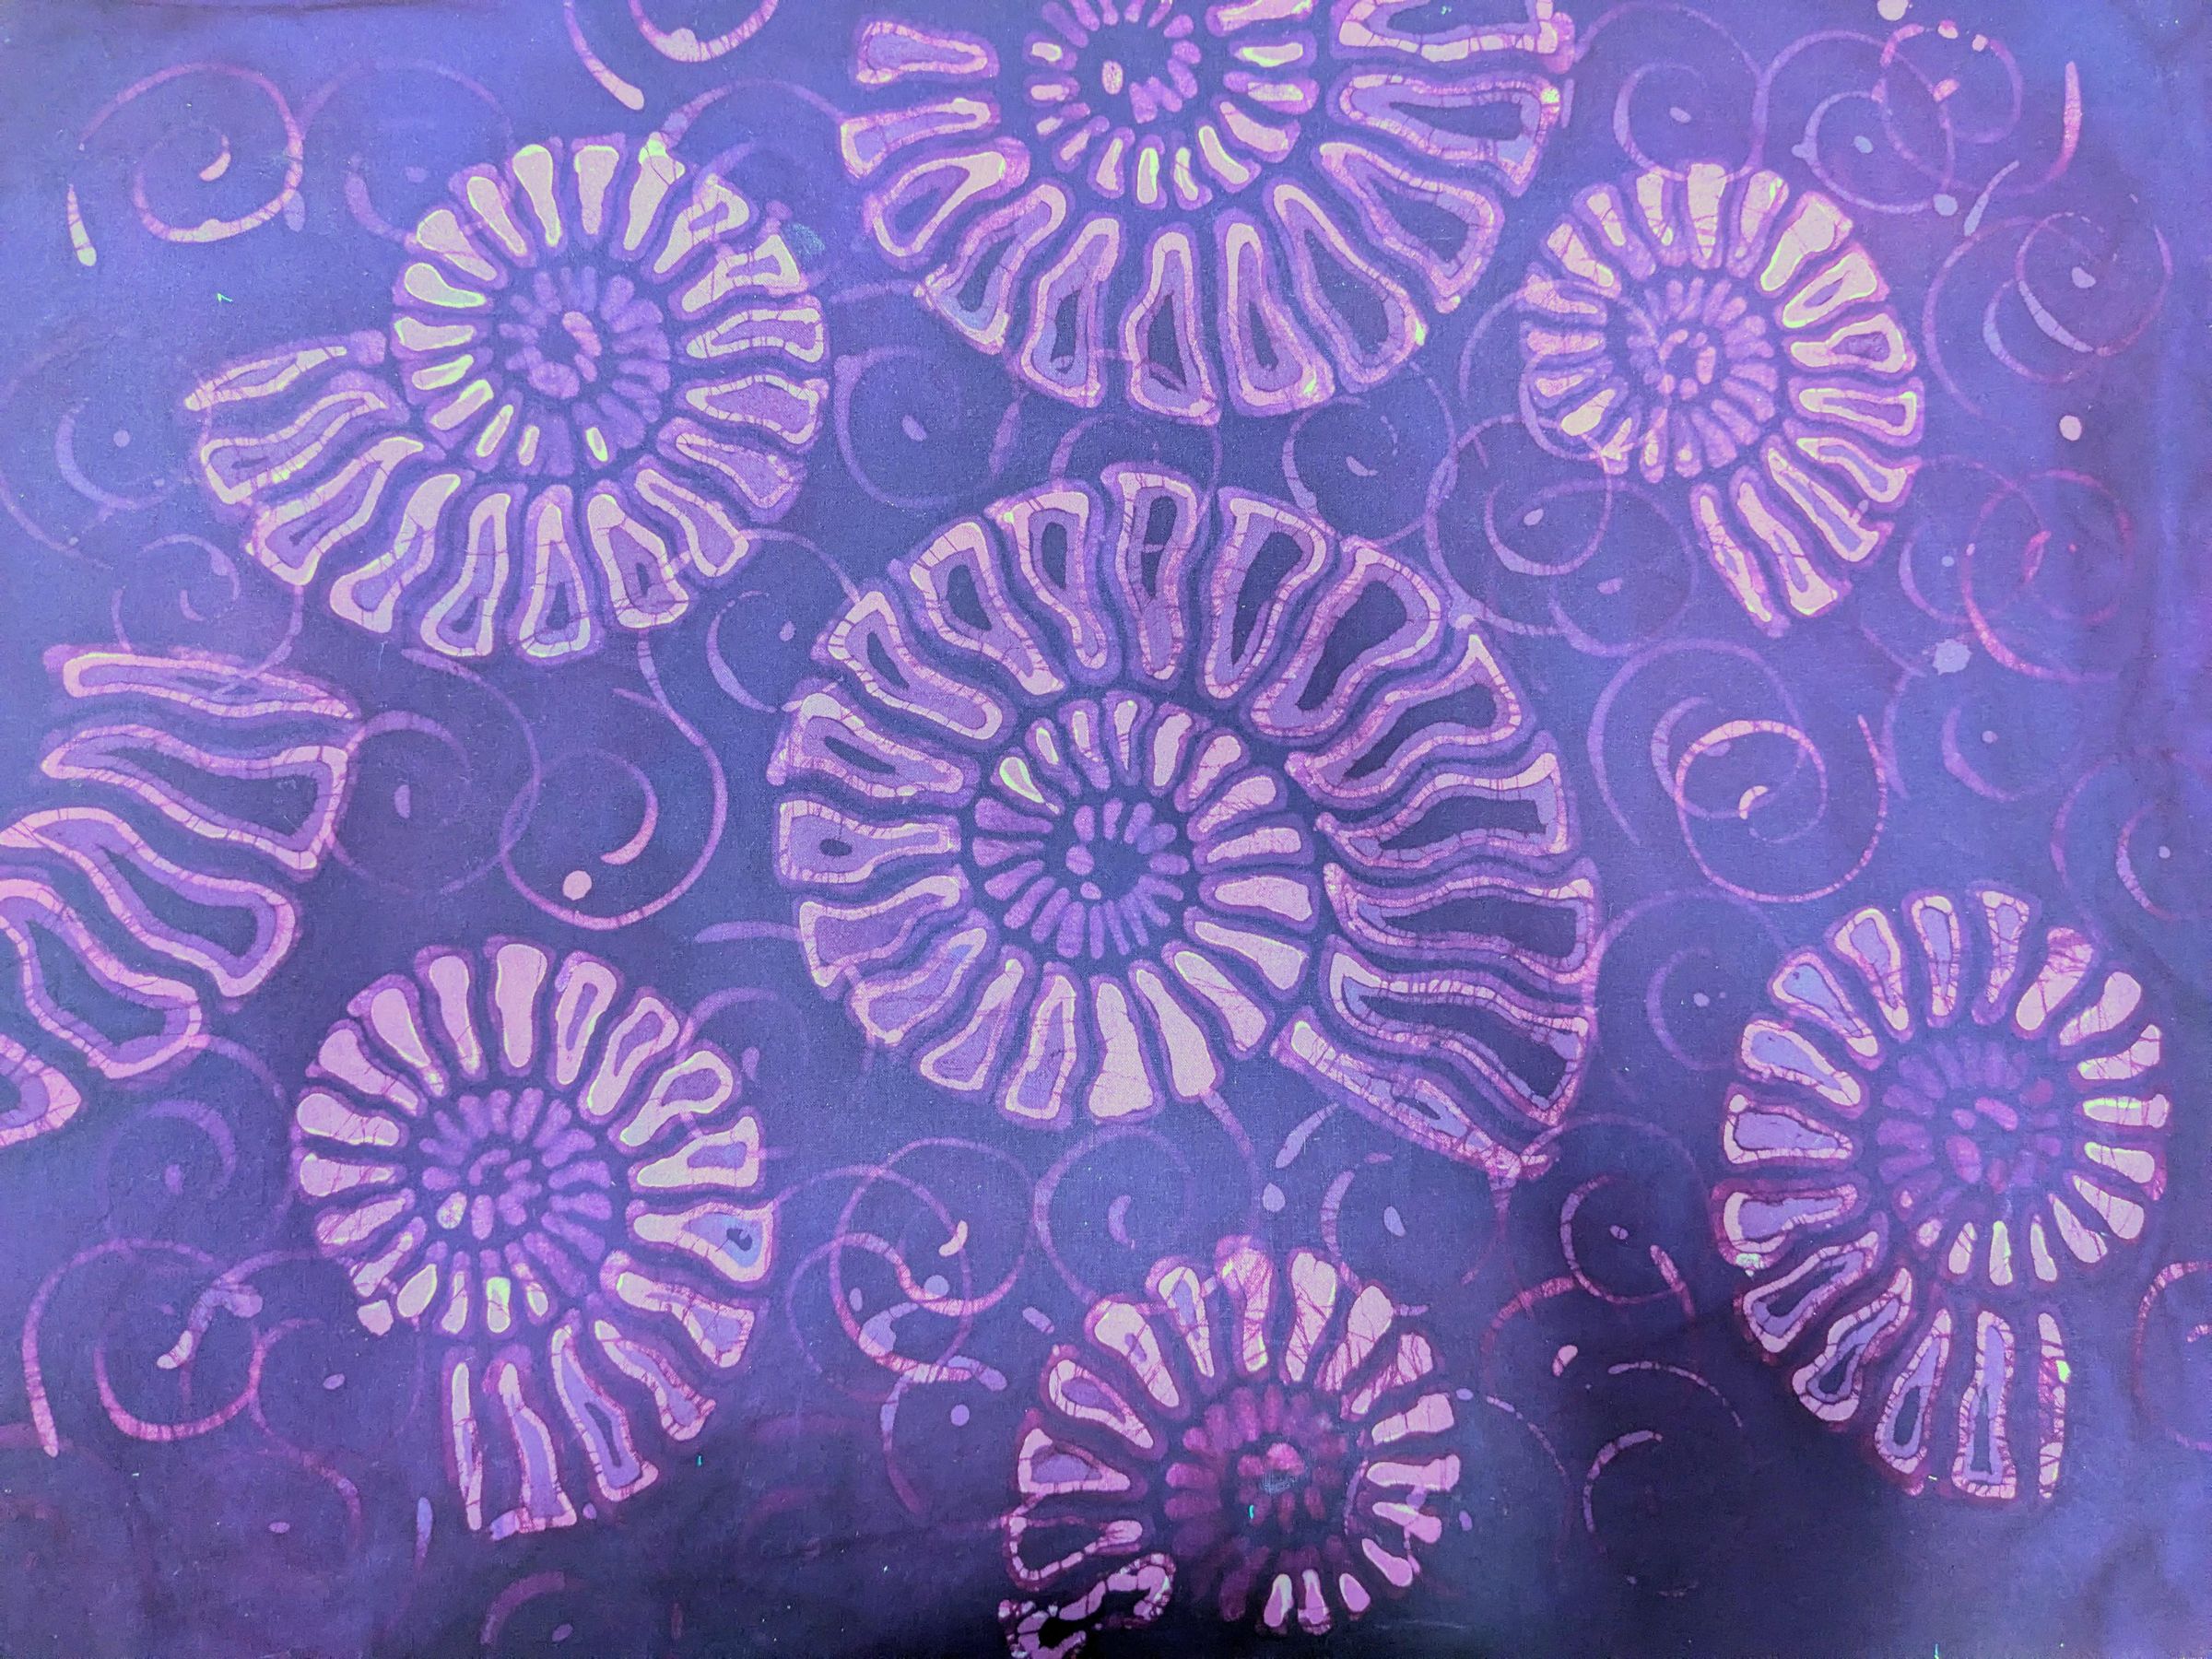
Ta Da! It always shocks me just how much the colors darken drastically once the wax is ironed out. I like to fold my finished creations around a piece of mountboard but they can also make beautiful wall-hangings and of course they can be used to create stunning garments. Enjoy creating your very own monochrome Batik and I hope you share your amazing creations below!