Going Merry Chopper Boat From One Piece
by Mr_J in Living > Toys & Games
1731 Views, 8 Favorites, 0 Comments
Going Merry Chopper Boat From One Piece
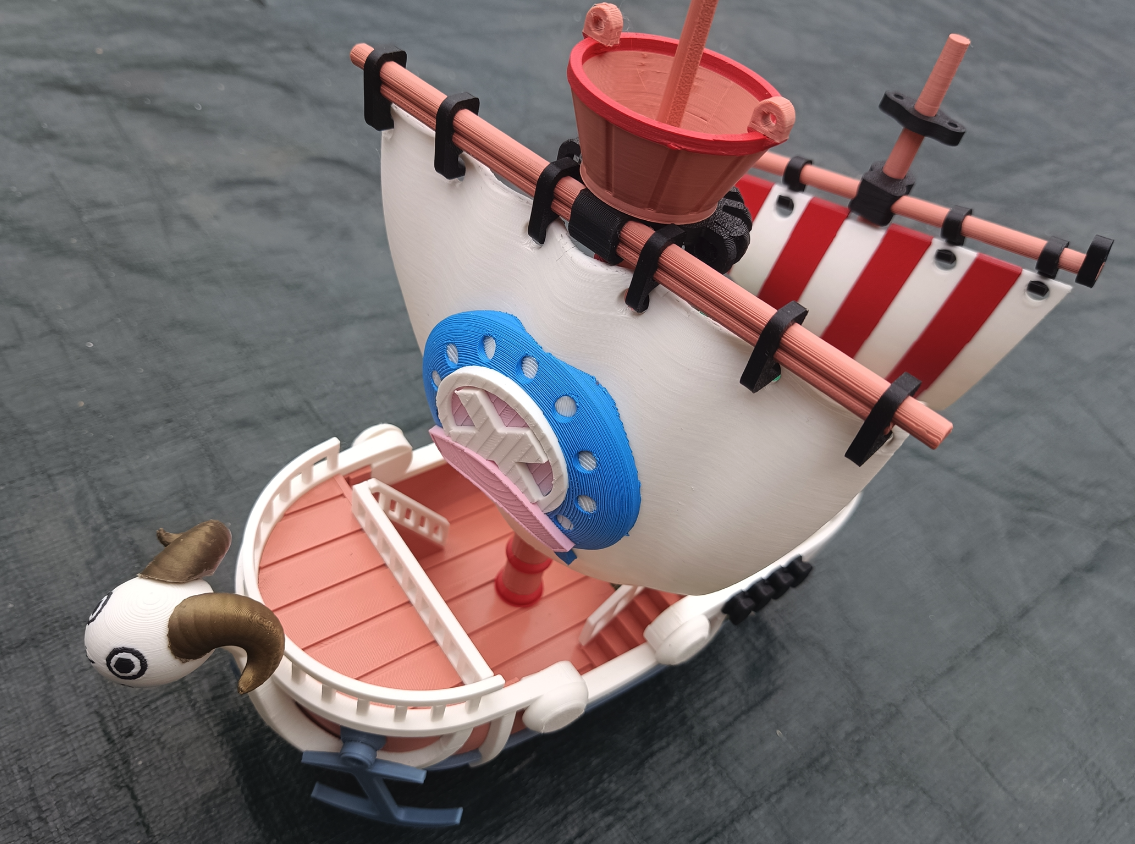
This boat is from One Piece. It's the Going Merry with a special "Chopper" sail.
The original design is from Haaland and published on Maker World.
Without explanations and missing parts and printing optimization requirements, it needed a remix I made and this page to help you build it.
In addition, I've designed a cool facehead and a boat plate published as remixes here.
The remix I've made with all these changes is published here, including missing parts, print optimization, hours of time saved, new parts, and naming.
You'll find the parts for printing this here.
Enjoy
Supplies
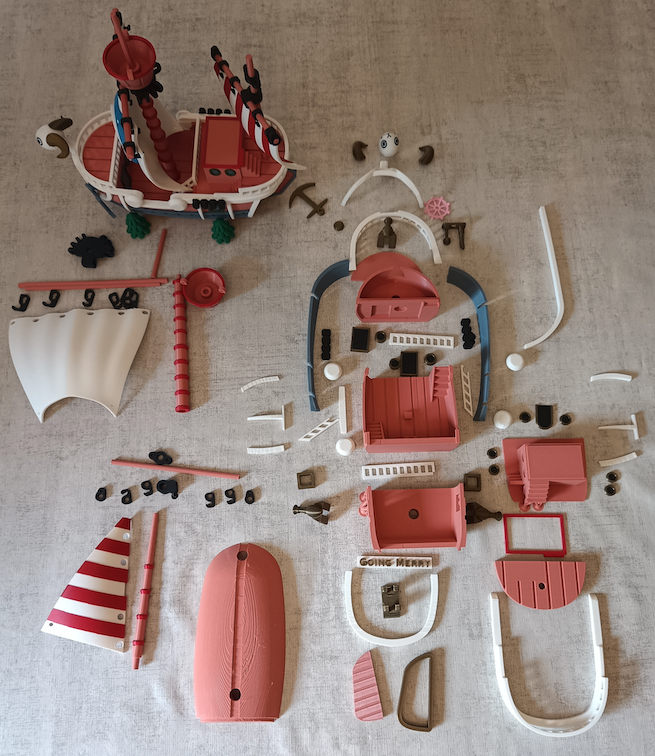
A 3D printer printer. Best multicolor one such as the Bambulab A1 or A1 mini.
PLA filament, multiple colors
Plastic glue such as UHU plast
Pliers
Clamps
Boat Hull, the Body
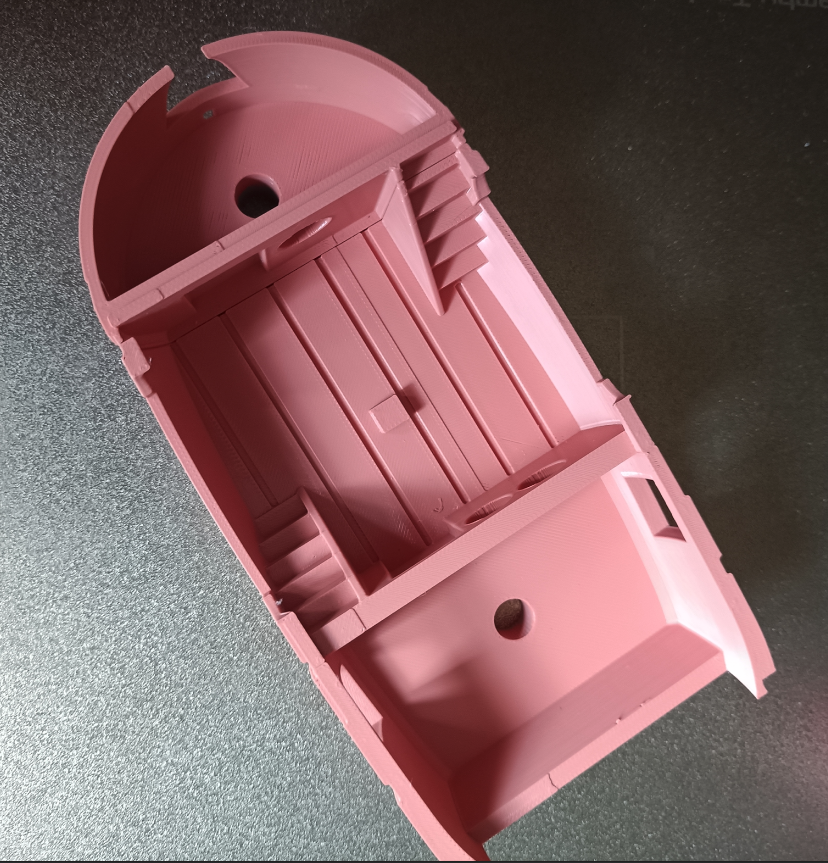
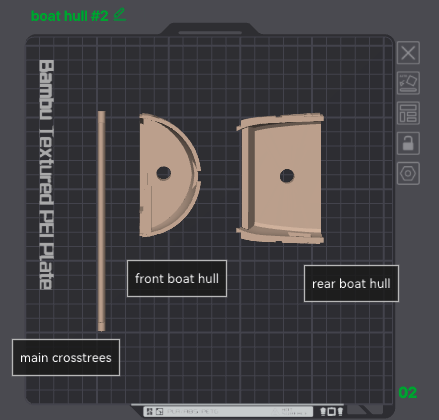
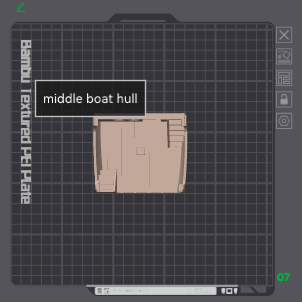
You need to print or have printed the plates named "boat hull #2" and "boat hull #4"
You need to glue the 3 pieces. Their base is flat, so you need a flat place to work on. You have just to align them.
The Rear Deck
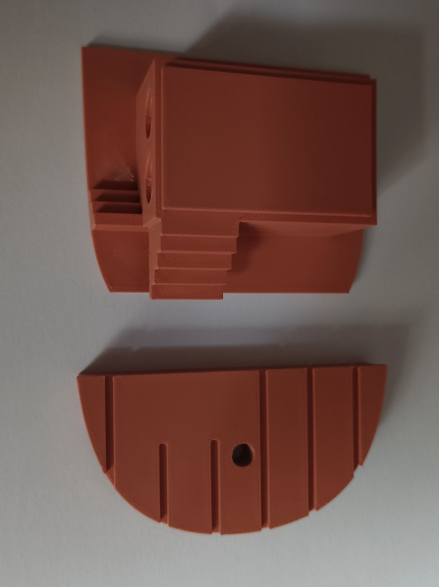
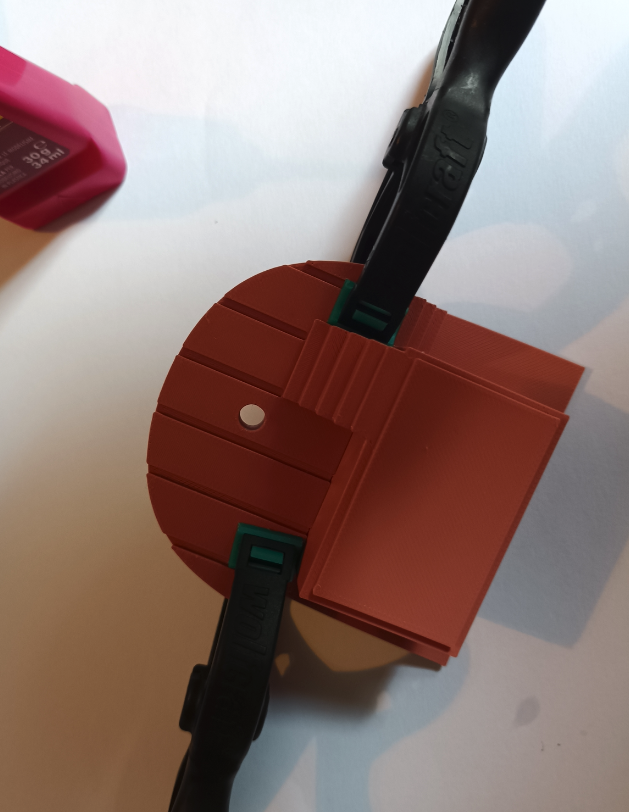
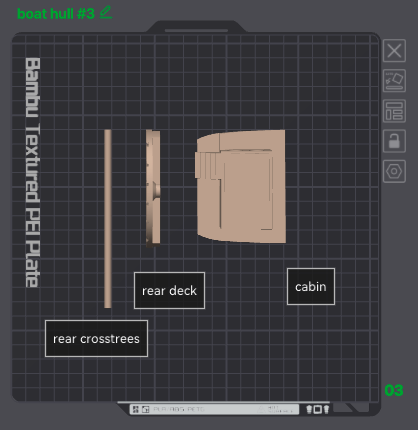
You need to print or have printed the plate named "boat hull #3".
Slide the rear deck into the cabin hole and glue them.
Canon Holes
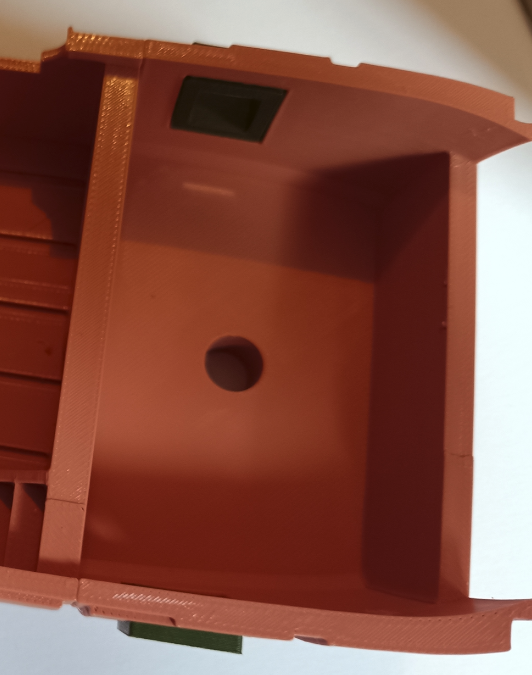
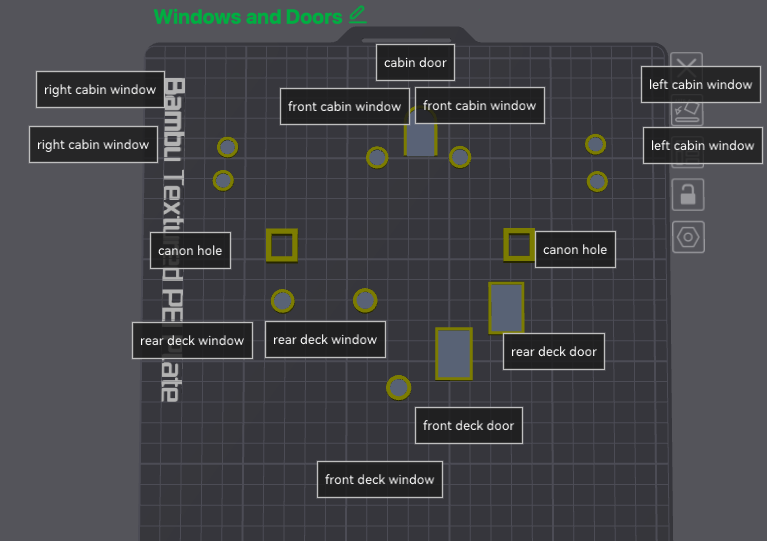
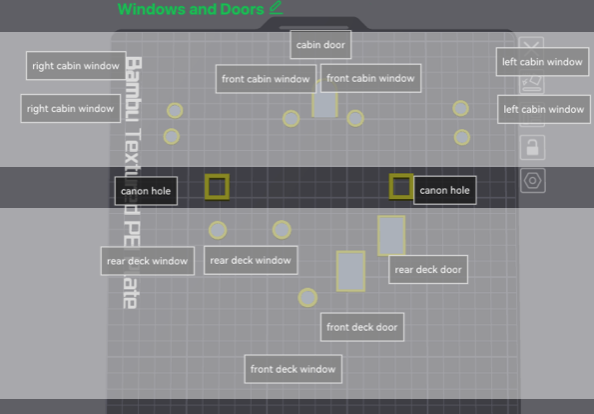
You need to print or have printed the plate named "Windows and Doors". It should have been done in step "canon holes".
Place and glue the canon windows as shown.
Rear Canons
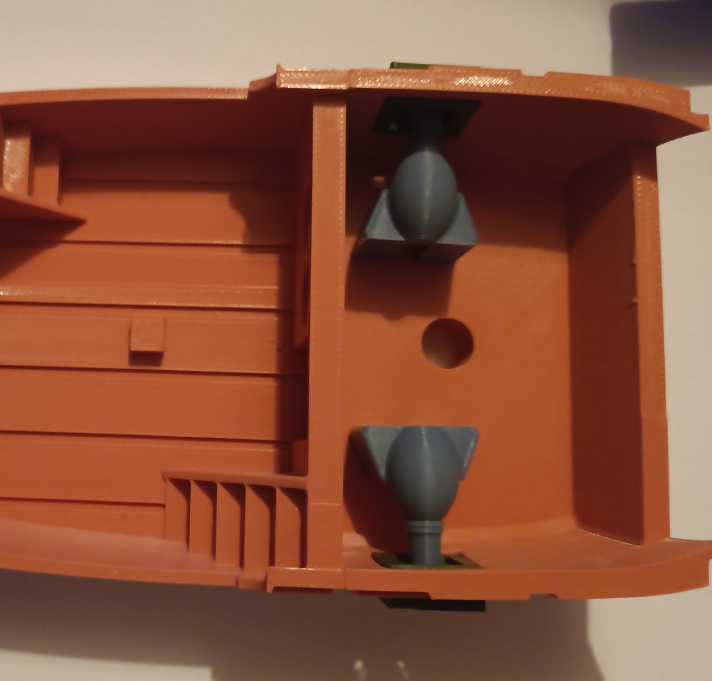
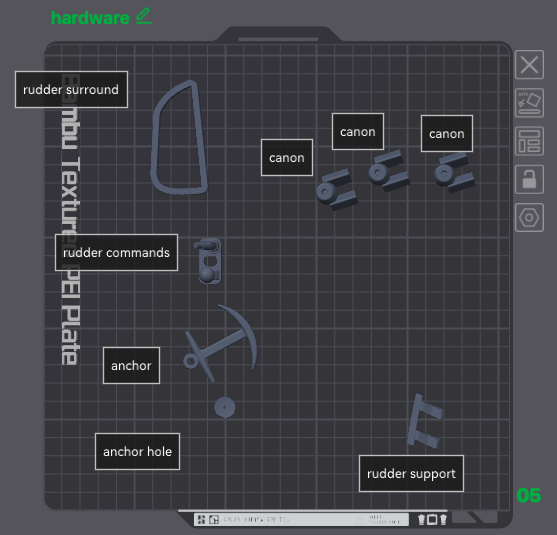
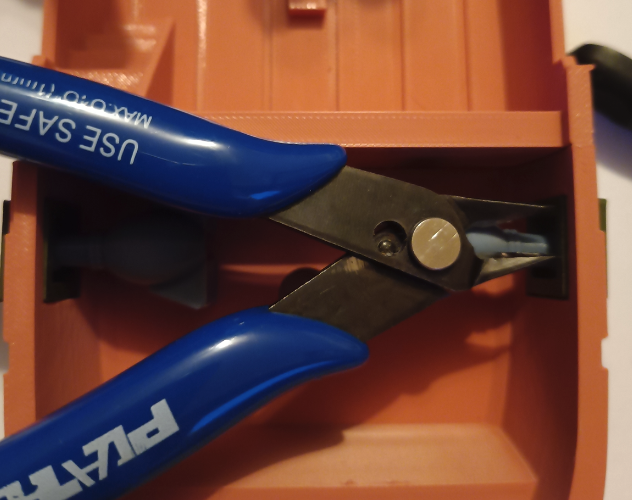
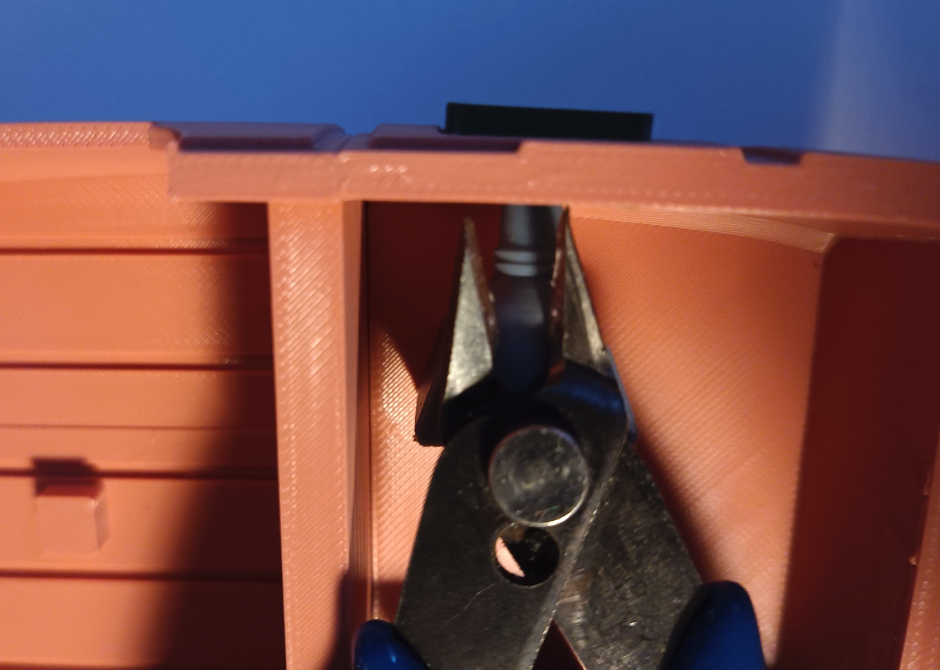
You need to print or have printed the plate named "hardware"
You need to adjust the two rear canons. They are quite hard to glue. I used a plier to stabilize them.
Don't glue the cabin before adding the canons :-)
Cabin Decorator
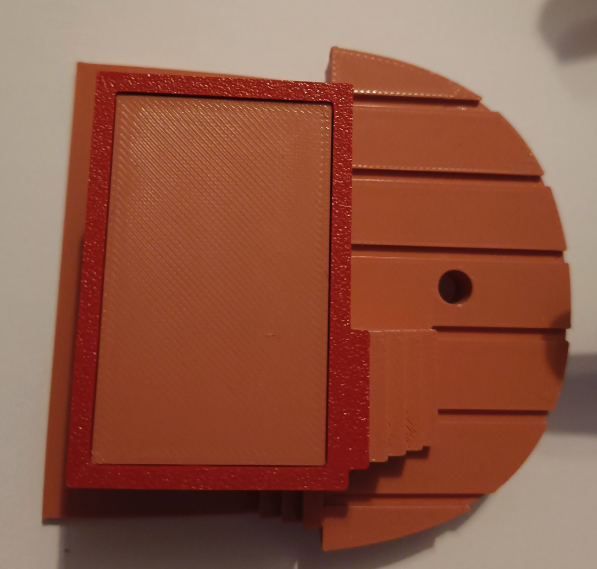
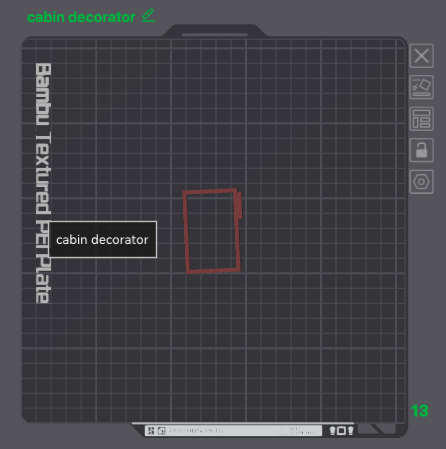
You need to print or have printed the plate named "cabin decorator" and add it to the cabin. The little piece at the bottom right on the picture is a stair.
Add the Cabin to the Boat Hull
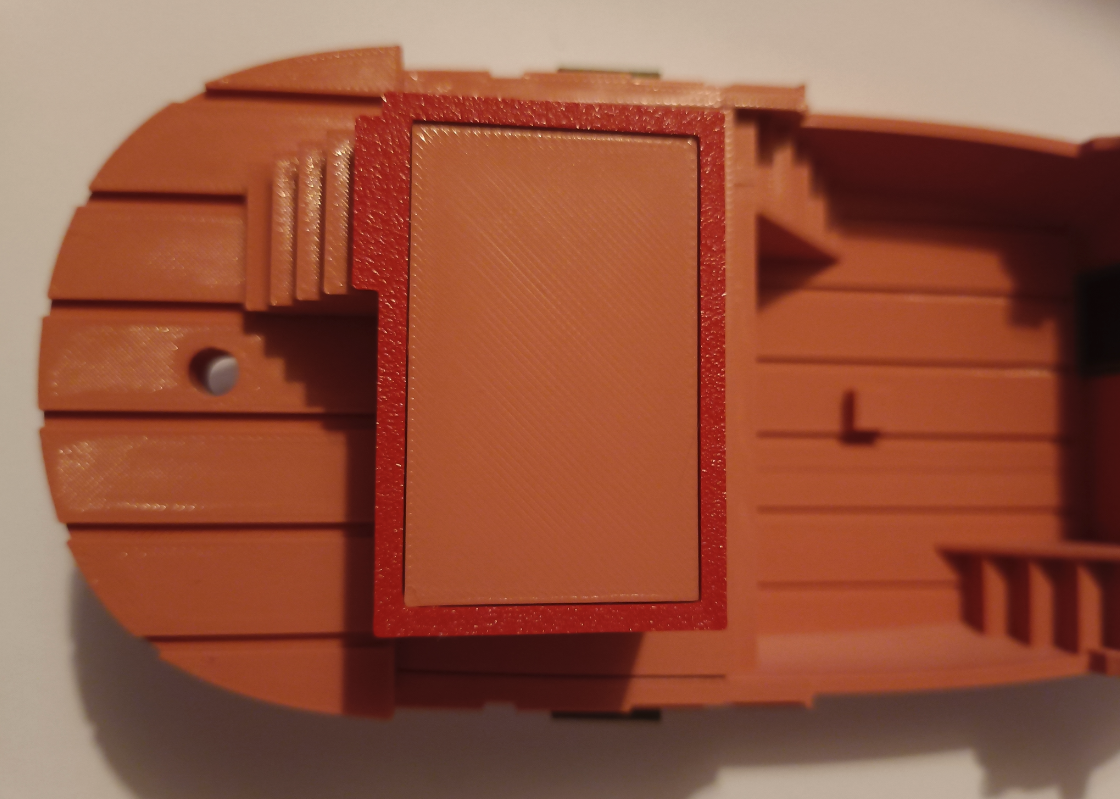
Add the cabin to the boat hull. You can use stairs to align the parts. It's important to have the rear canons in place before closing the rear deck.
Doors and Windows
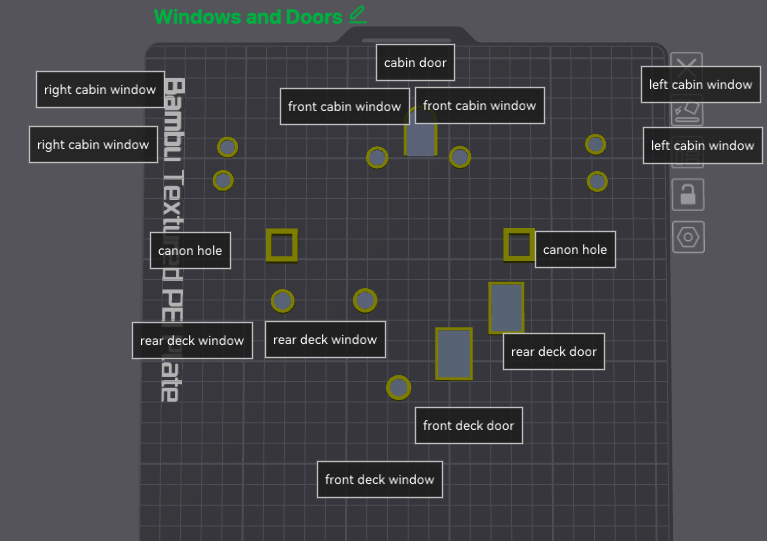
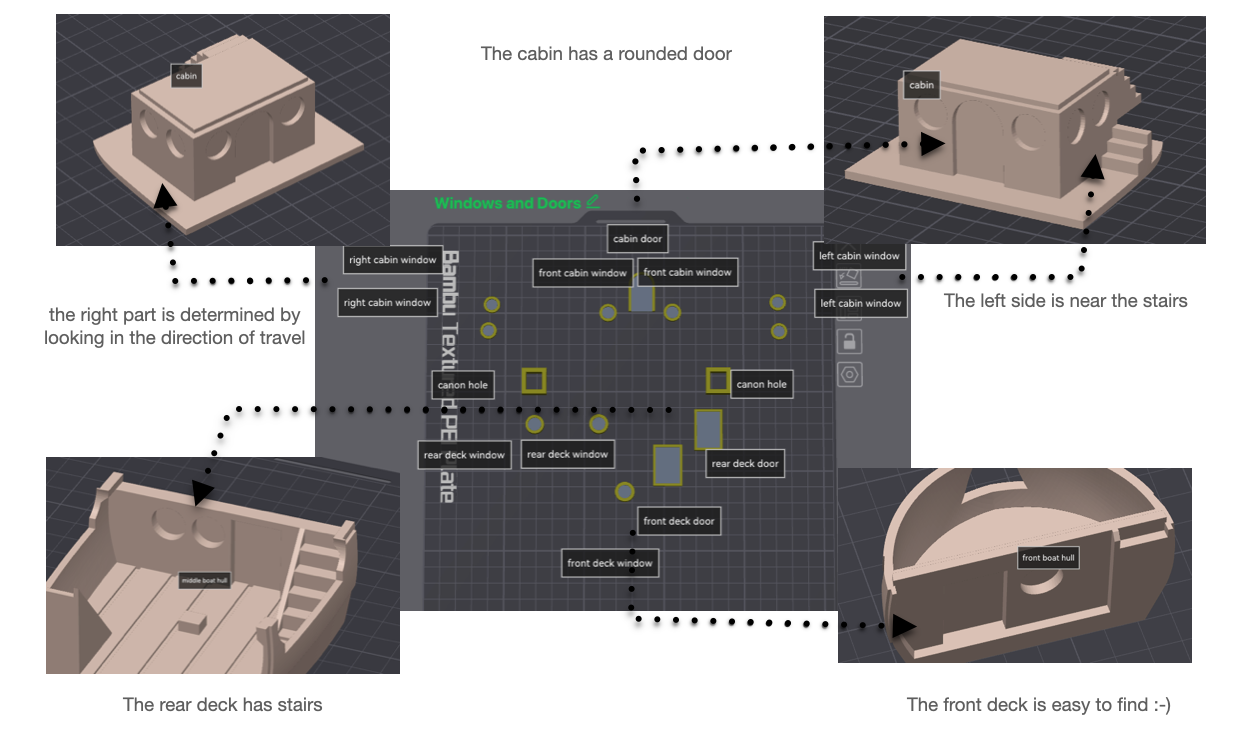
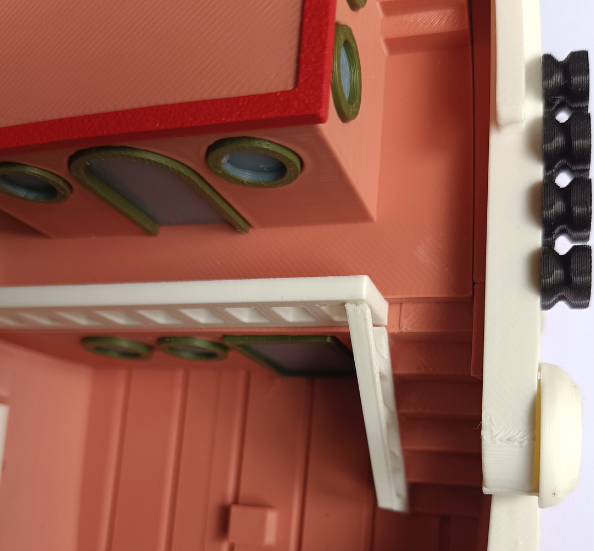
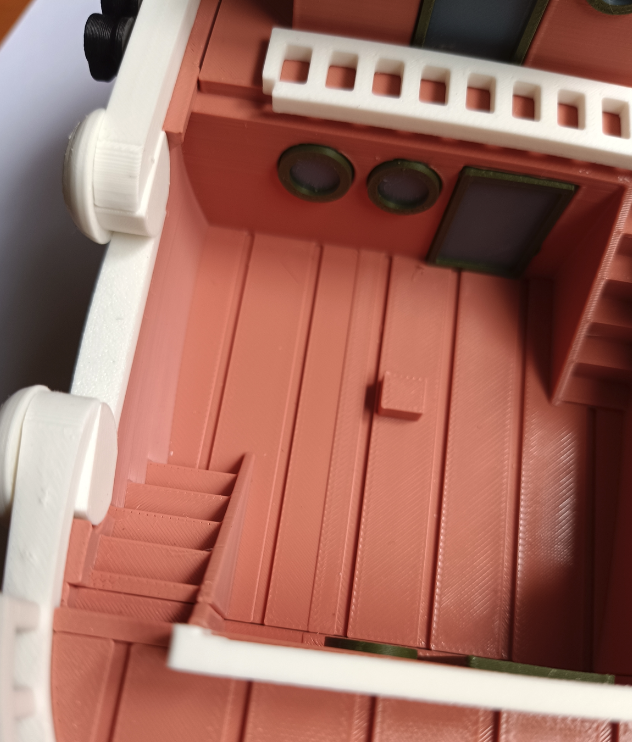
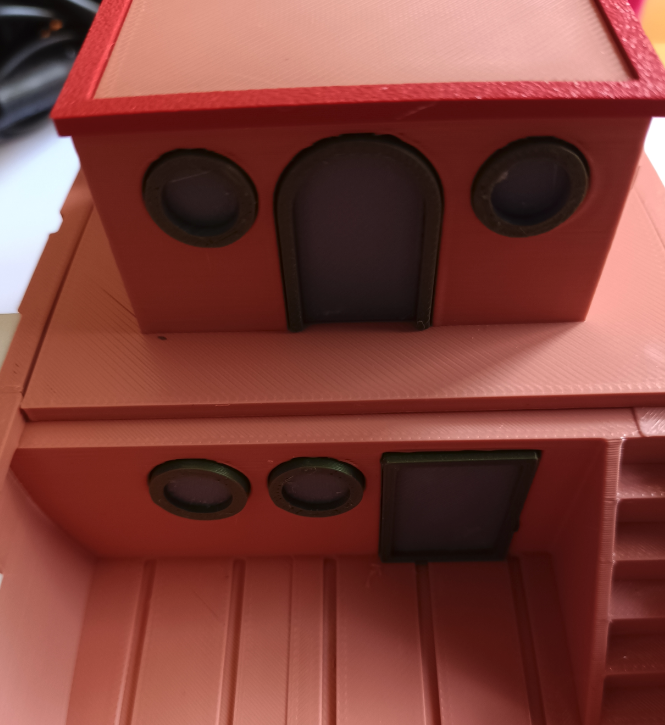
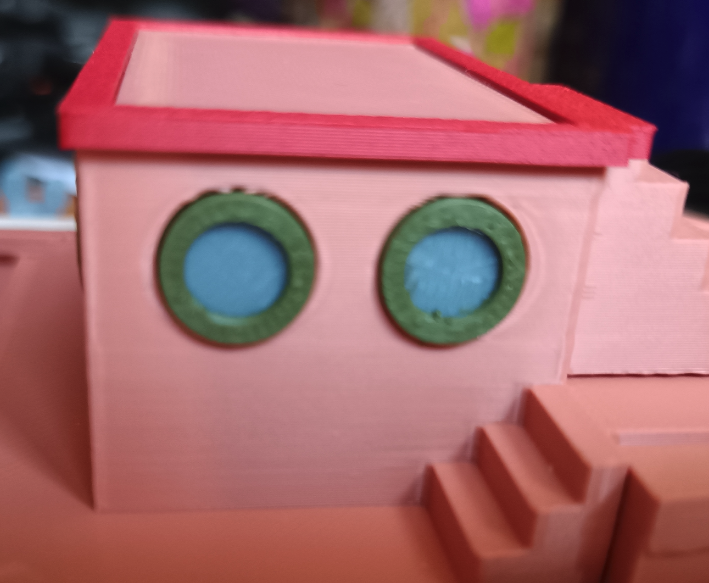
You need to print or have printed the plate named "Windows and Doors". It should have been done in step "canon holes".
Doors will fit perfectly into the holes. You need to take care of windows, as they are not all the same size and height.
The two very small windows are for the left side of the cabin.
The two small, a little more thick, are for the right side of the cabin.
The two big ones are for the rear deck.
Glue all of them
Prepare the Rear Railing
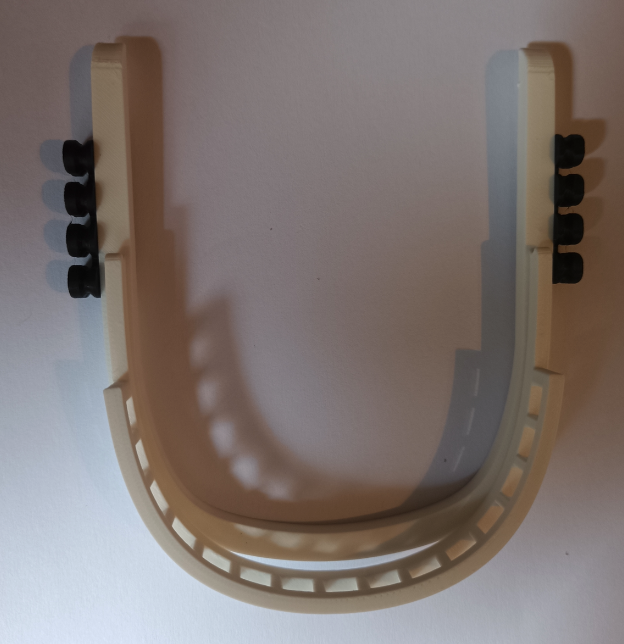
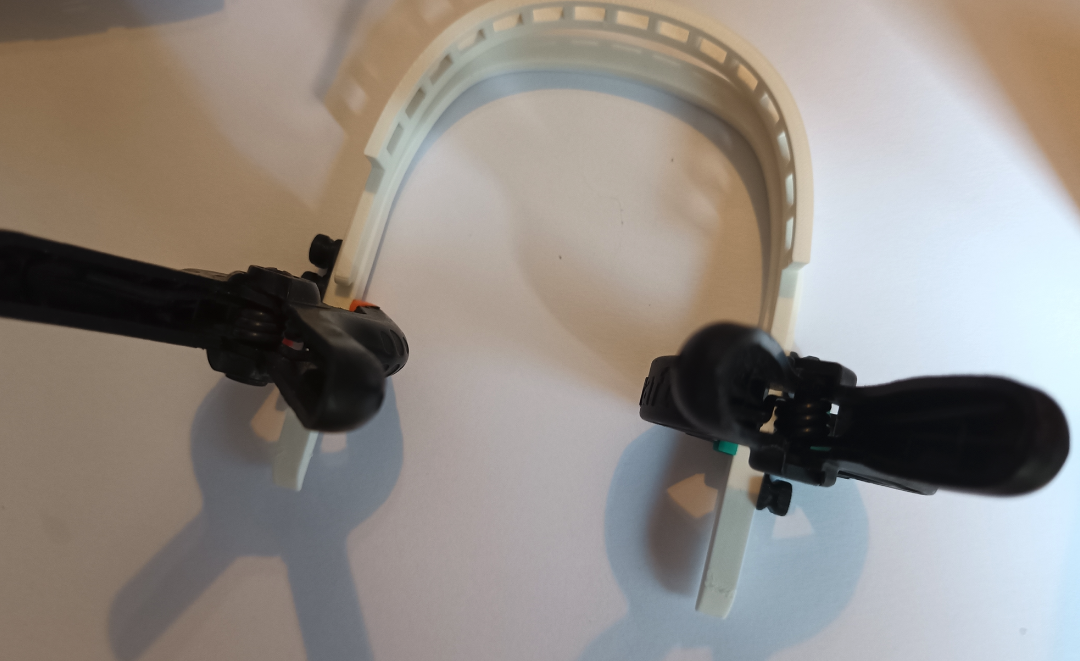
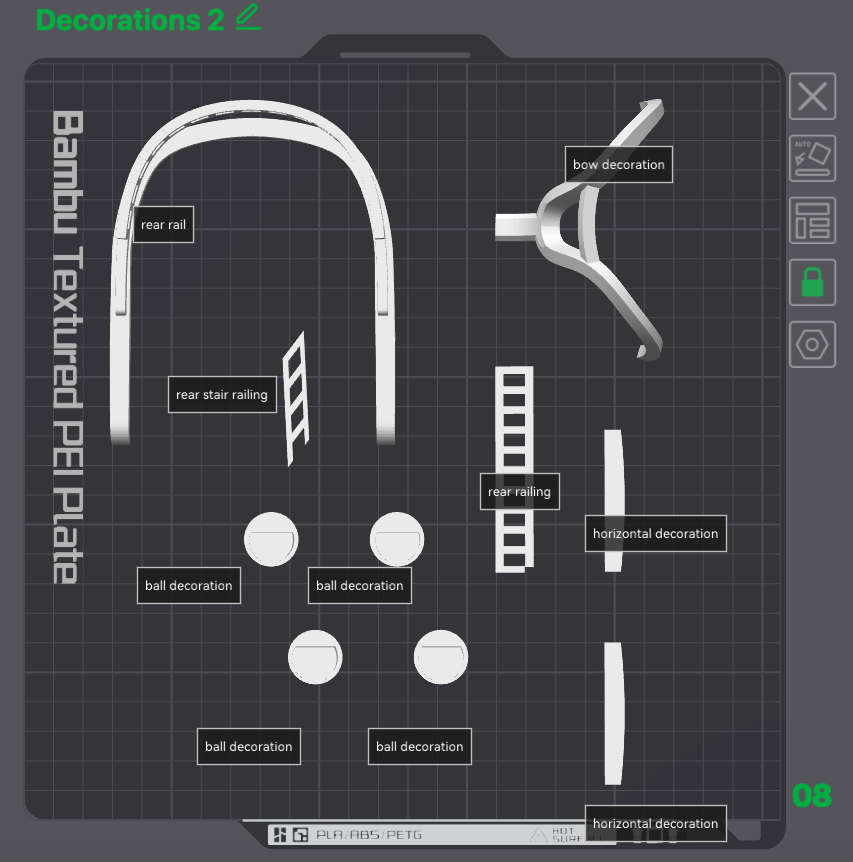
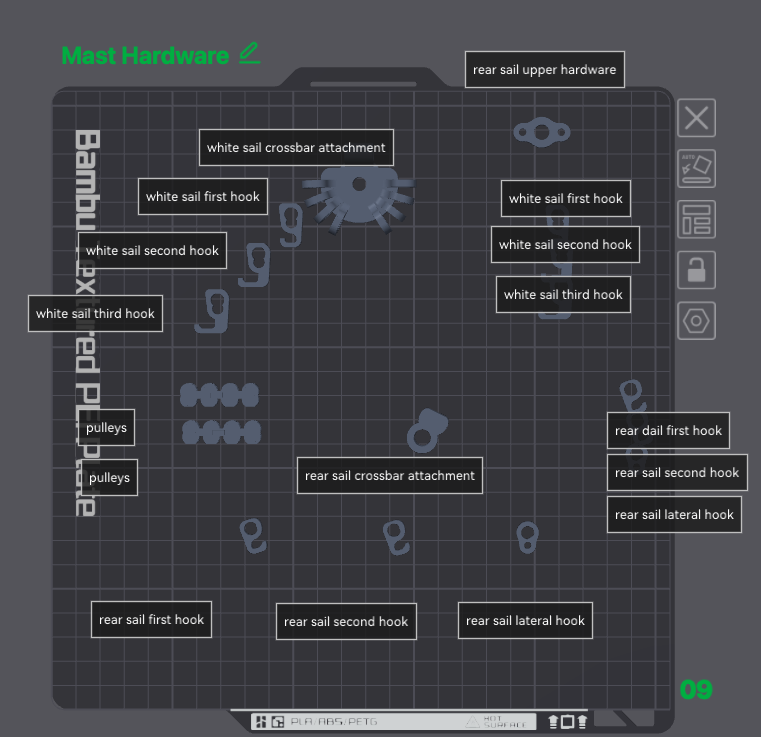
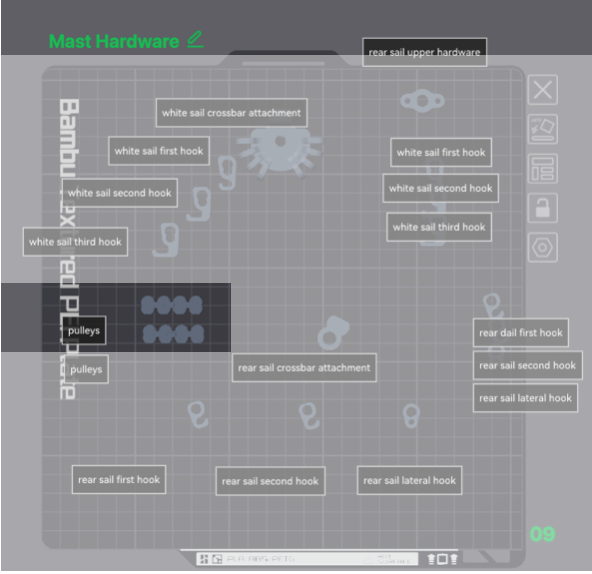
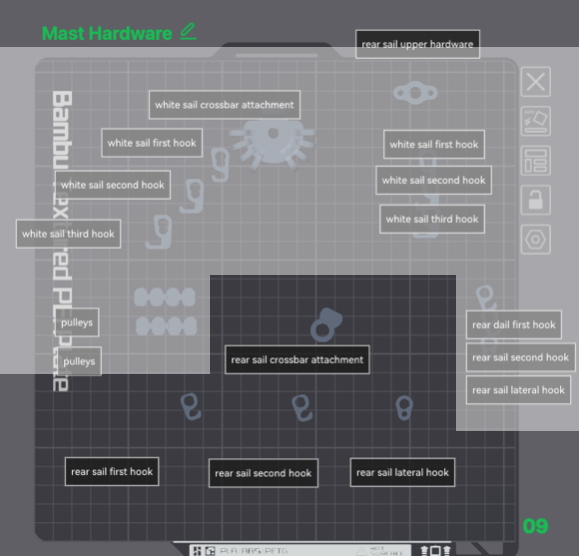
You need to print or have printed the plate "Decorations 2" and the plate "Mast Hardware".
Glue the pulleys into the railing.
The Side "T" Decorators
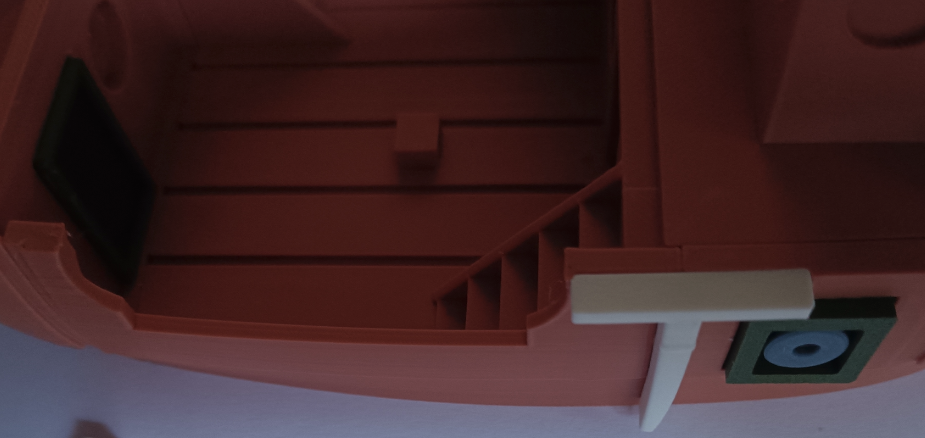
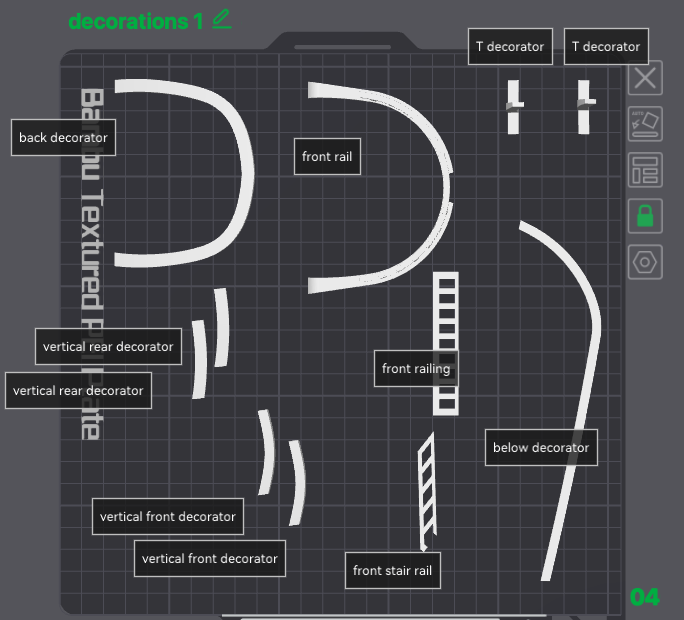
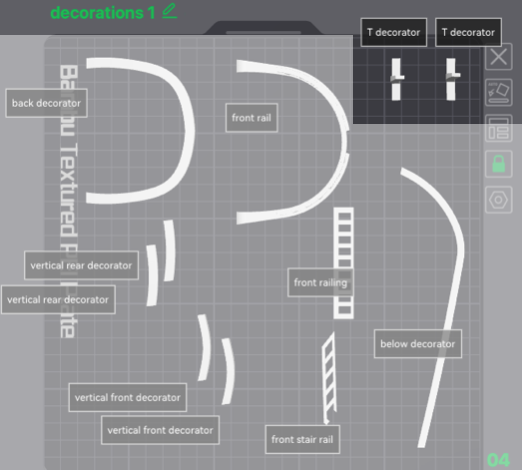
You need to print or have printed the plate named "Decorations 1".
You need to carefully adjust this piece before glueing.
The Bow Decorator
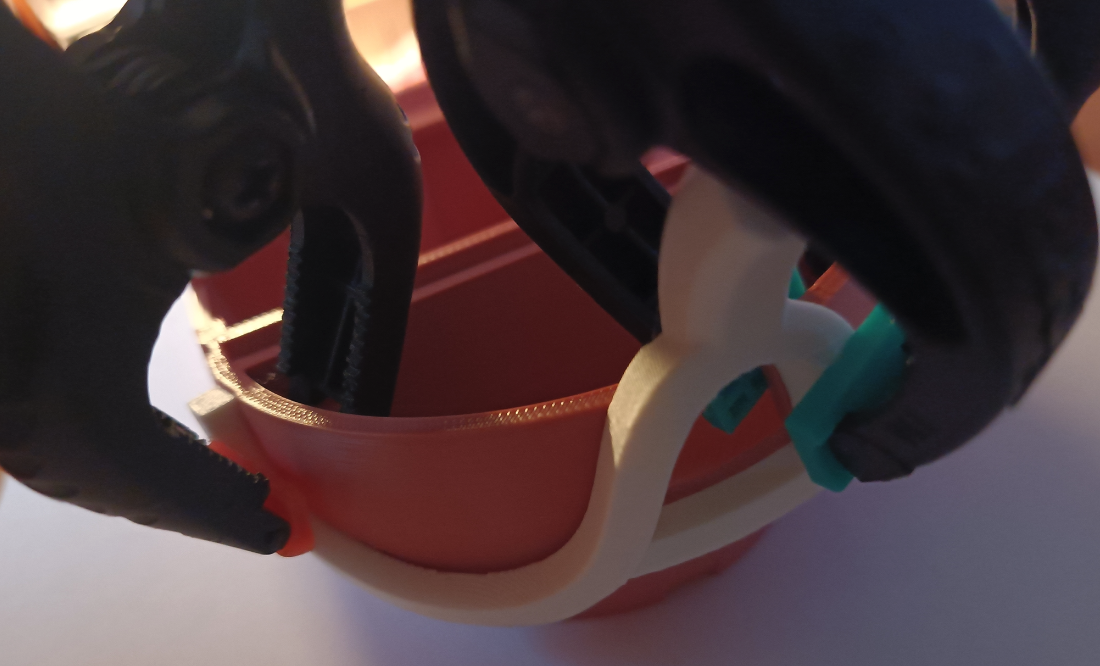
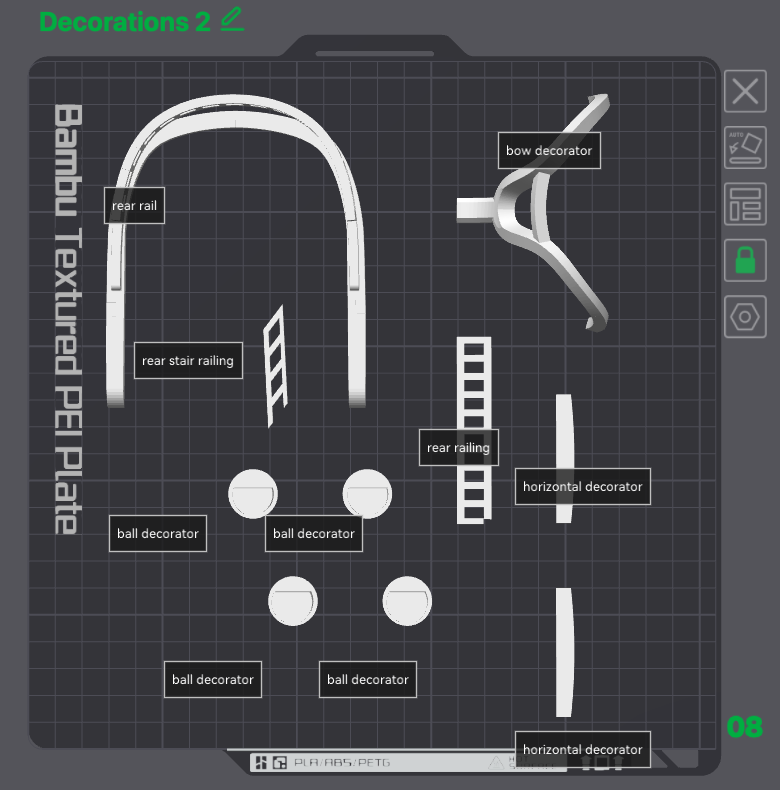
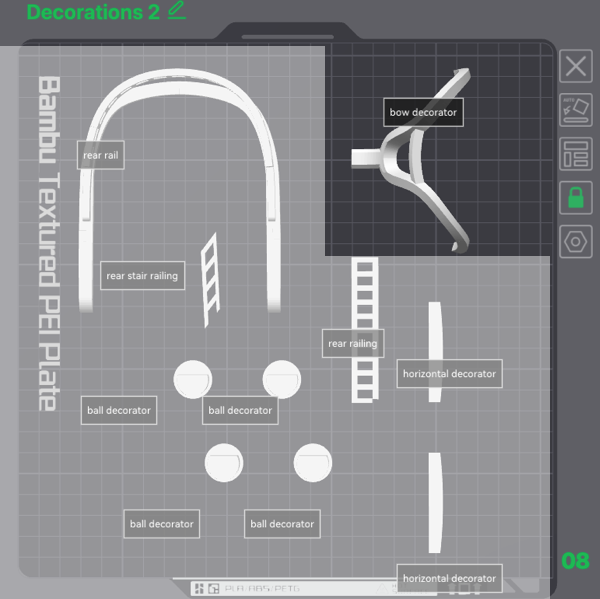
You need to print or have printed the plate named "Decorations 2" and glue the front bow decorator.
The Front Canon

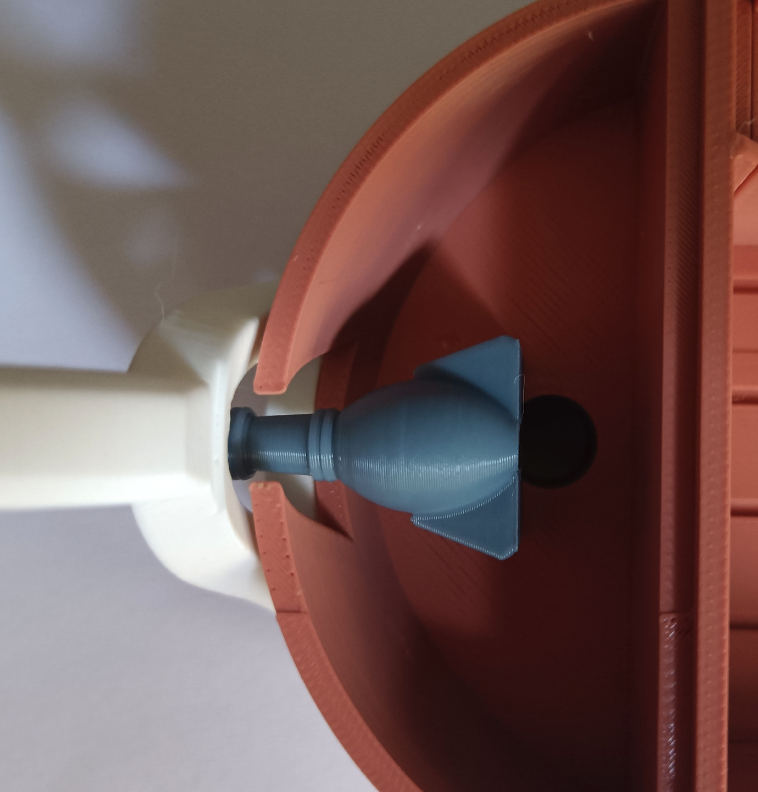
Use the same tips for the front canon as described in step 4.
The Front Deck and Front Rail

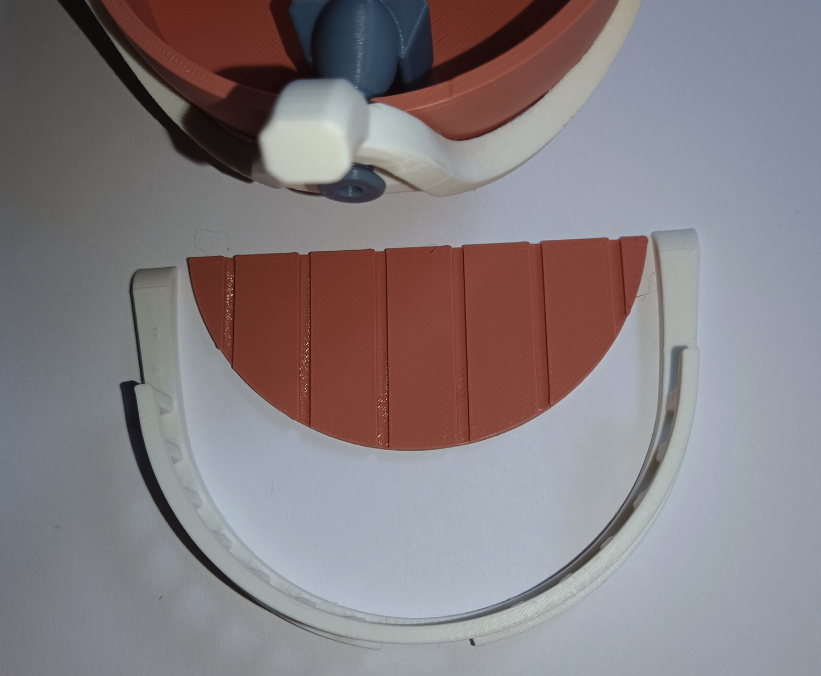
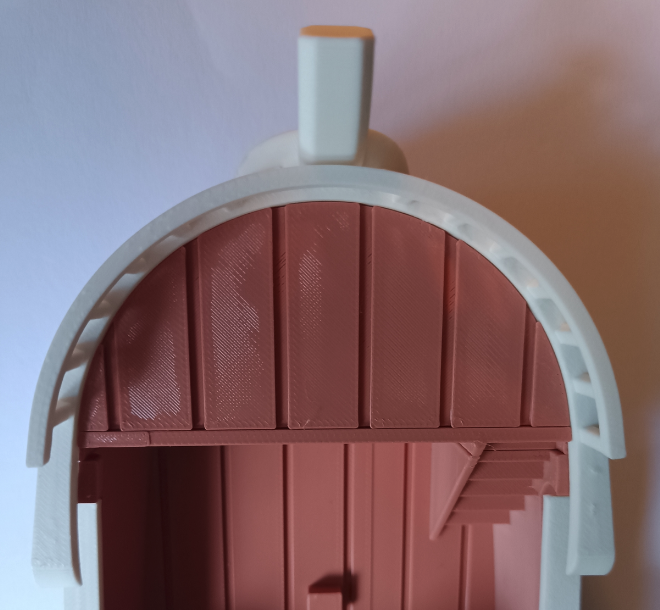
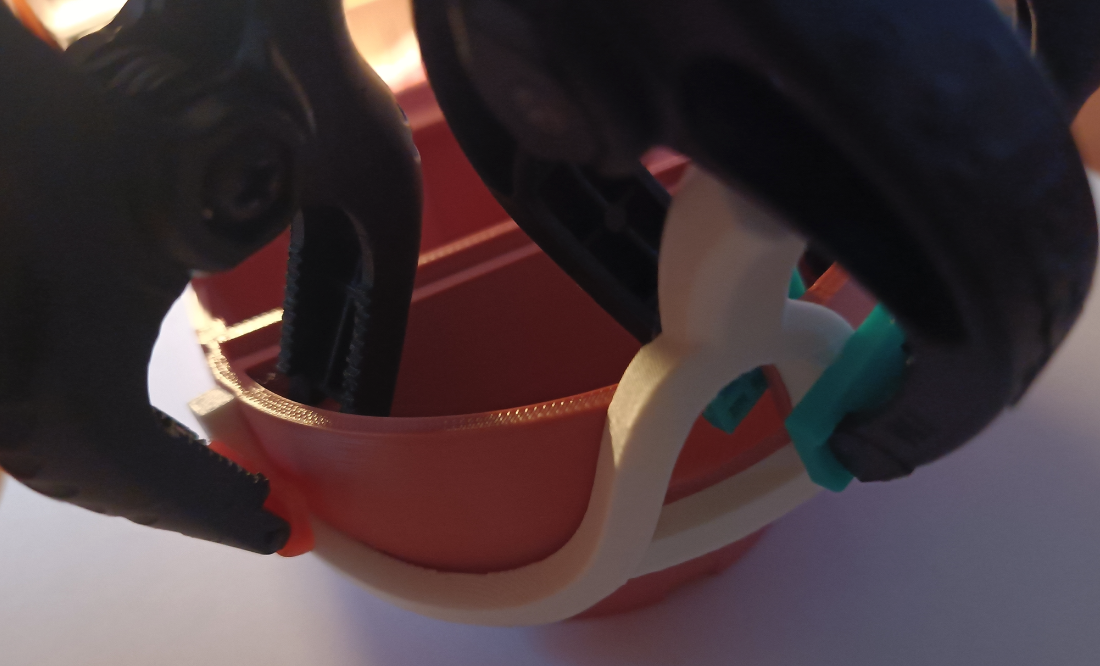
You need the front boat hull from plate "boat hull #2" and the front rail from plate "decorations 1"
They need to be glued at the same time to the boat hull.
Horizontal Decorators
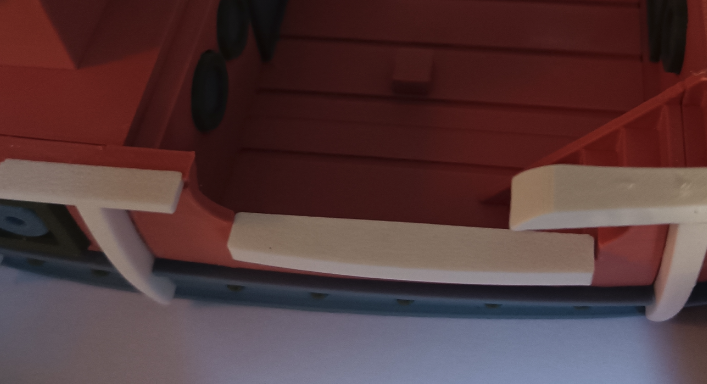
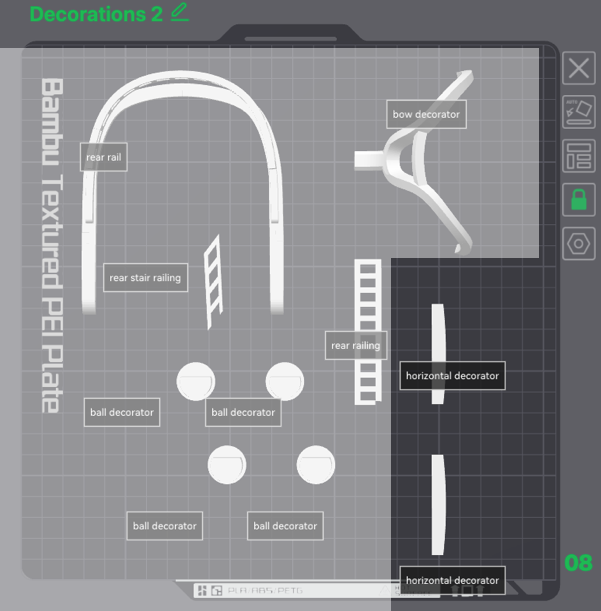
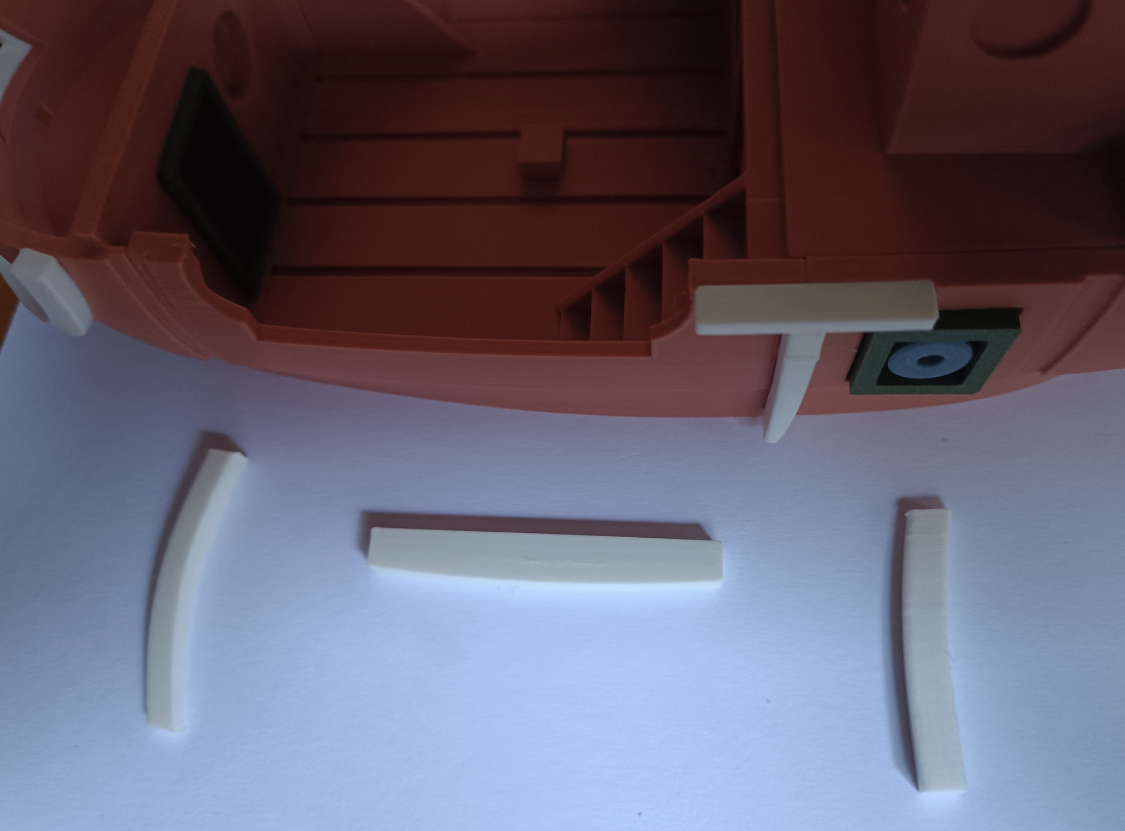
You need to glue the horizontal decorators on the left and right sides. These parts are from the plate named "Decorations 2"
Edges
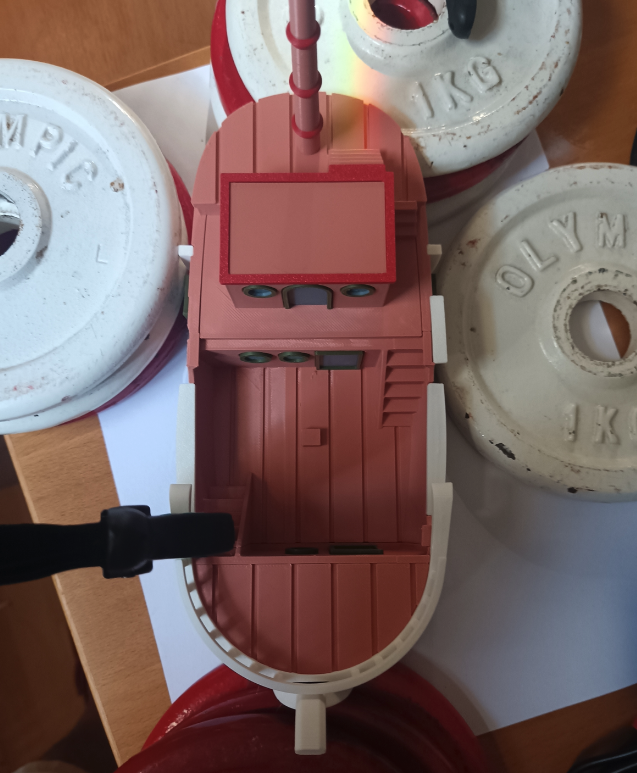
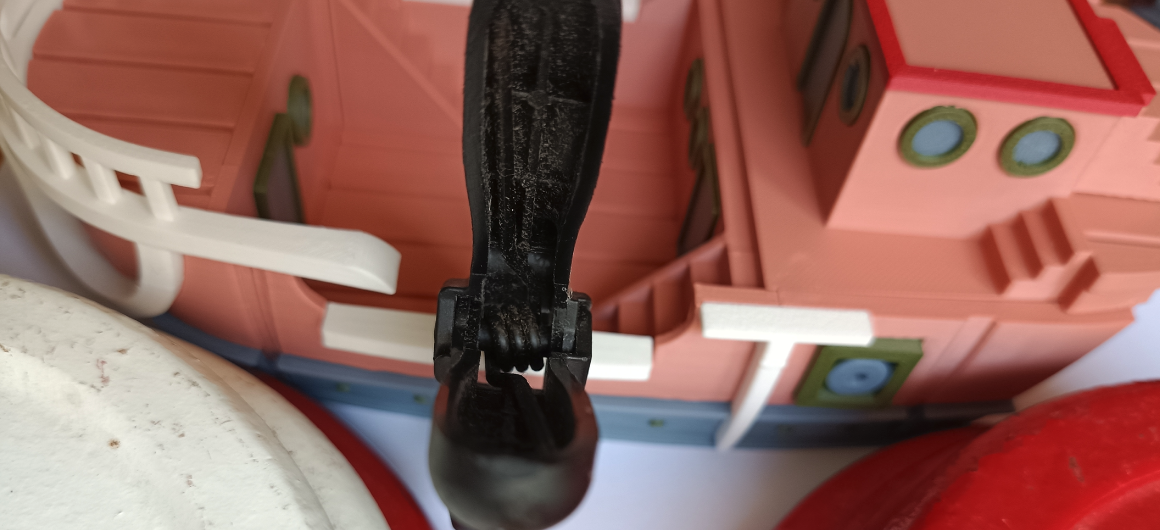
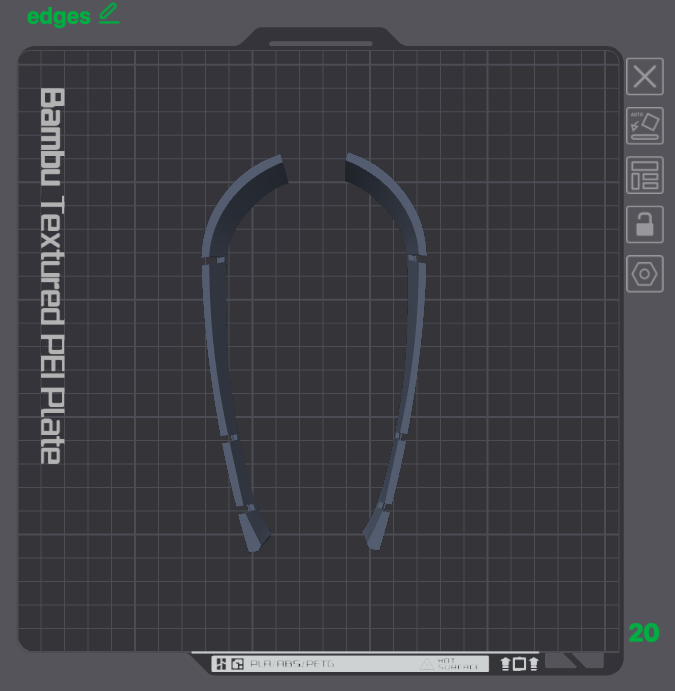
You need to print or have printed the plate named "edges."
The side edges should be glued and tightened appropriately.
The Last Rear Vertical Decorators
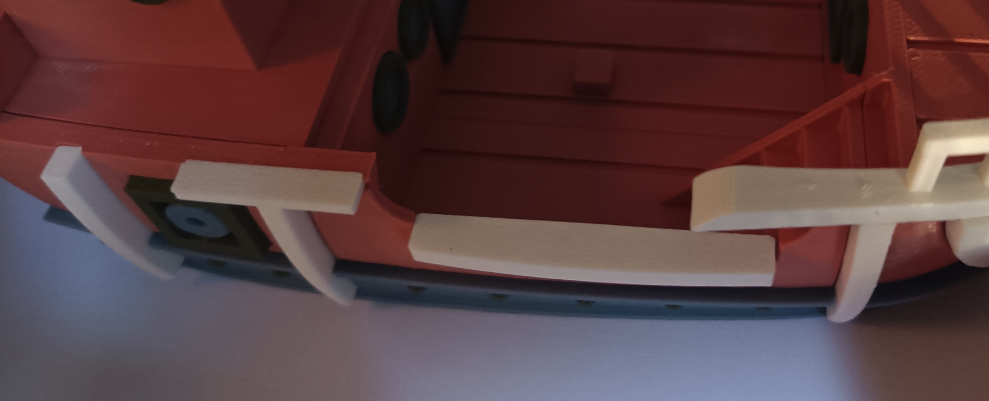
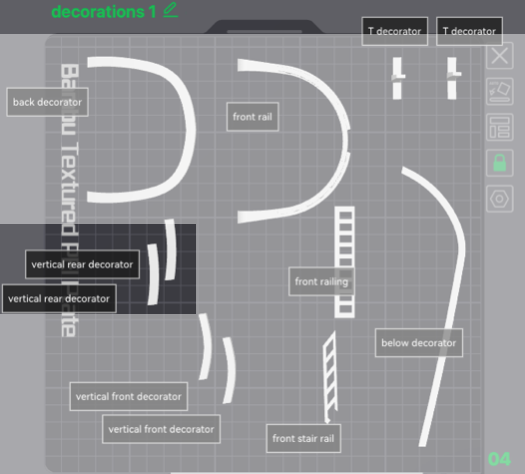
These decorators are from a plate named "decorations 1". Edges should help you adjust them.
The Boat Hull
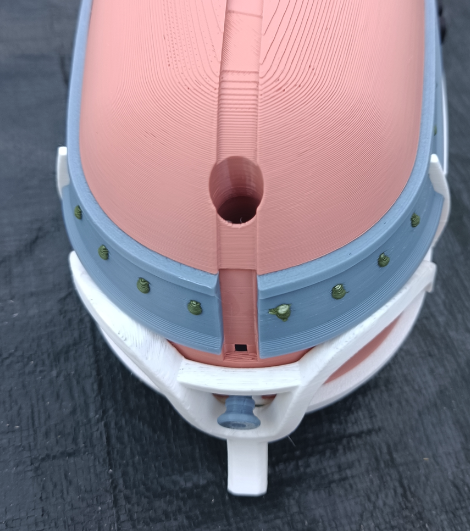
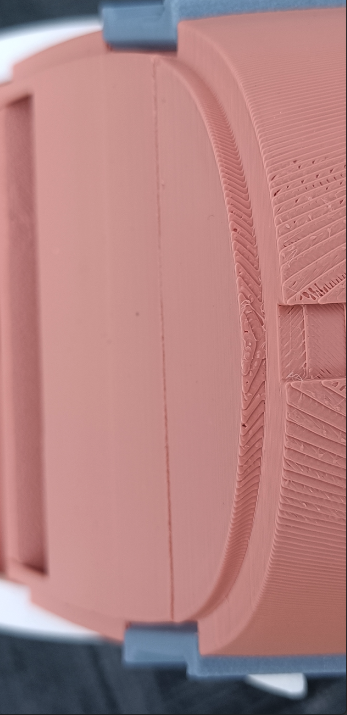
The boat hull is on a plate named "boat hull #1". Be careful when gluing to adjust it. I used the rear view for that.
The Below Decorator
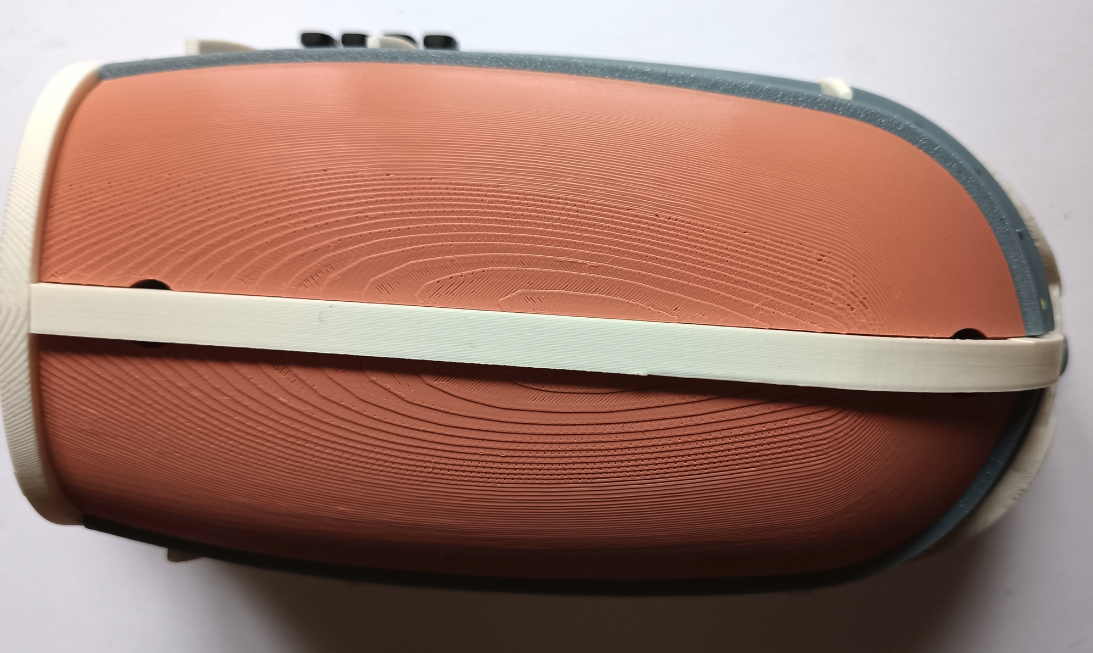
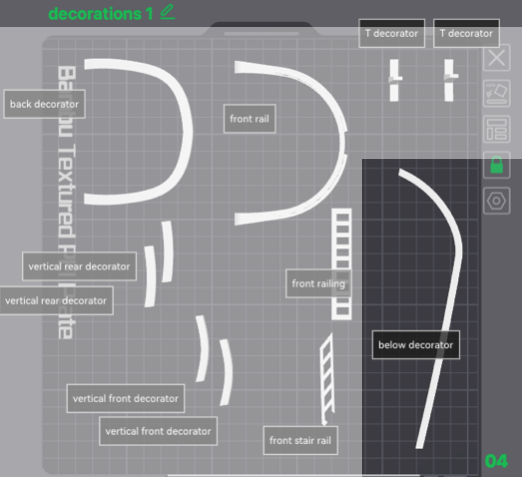
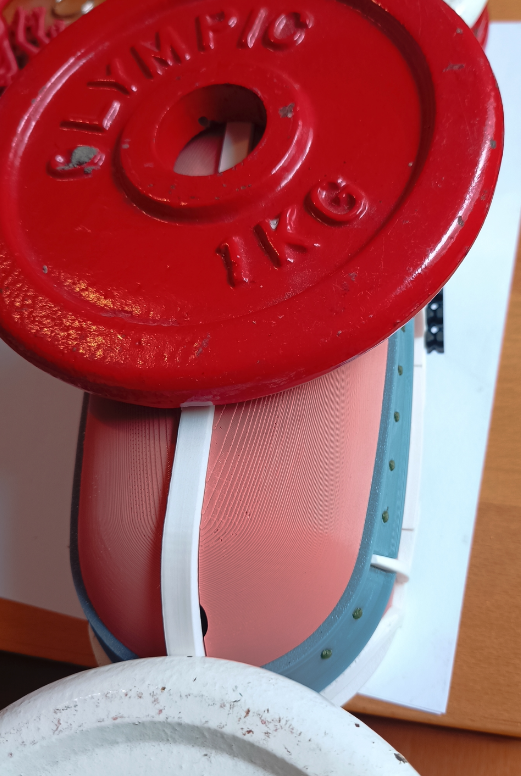
This decorator is from the plate named "decorations 1". It has to be glued below, under the boat hull, in an appropriate way to let it stay in place :-)
The Decoration Balls
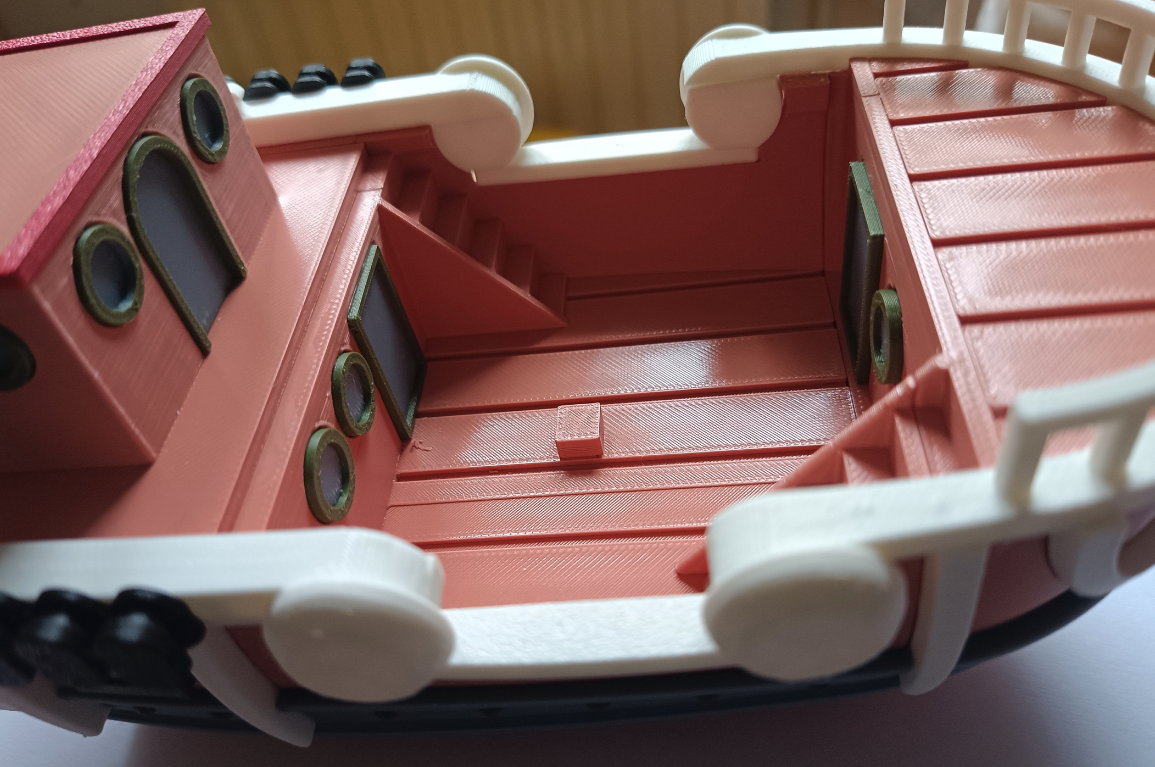
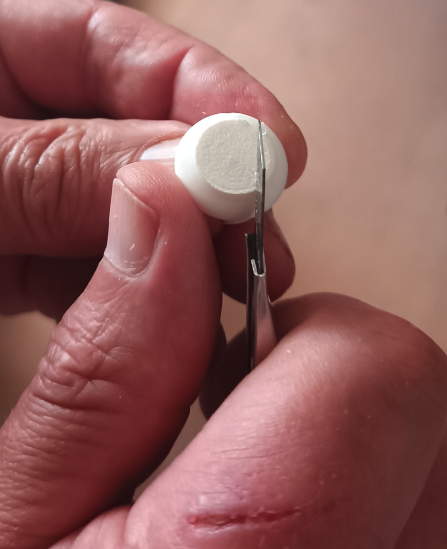
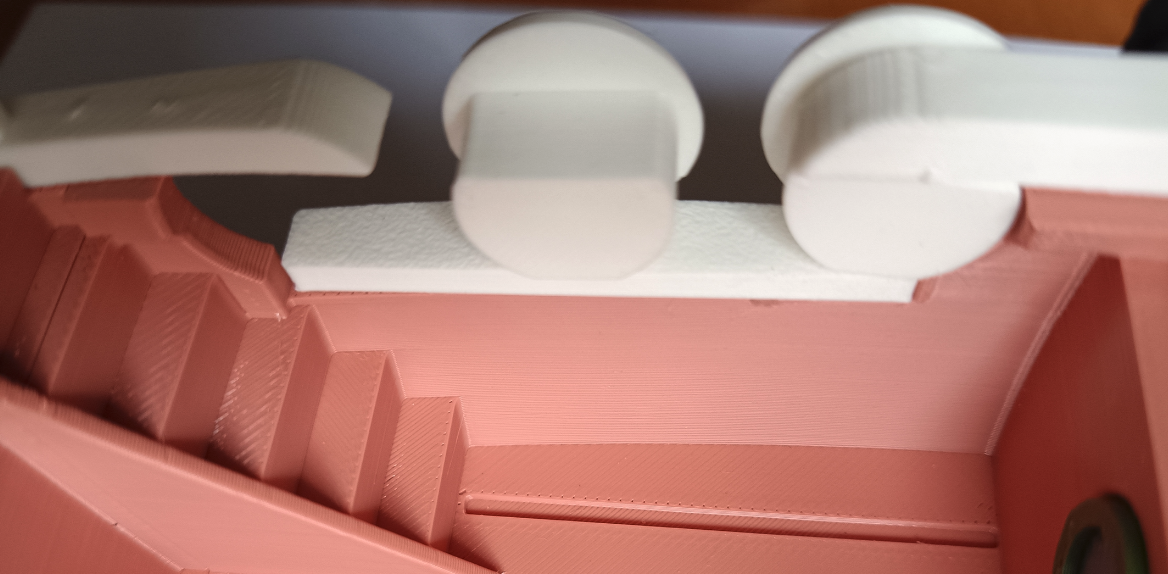
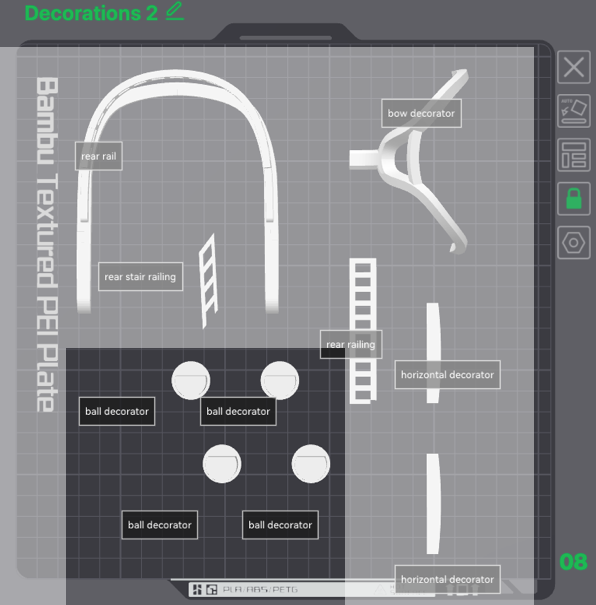
The four decoration balls are from a plate named "Decorations 2". You probably have to prepare them as shown.
Beware of your fingers !
Use the picture to see how to put them together and glue them.
The Rear Rail
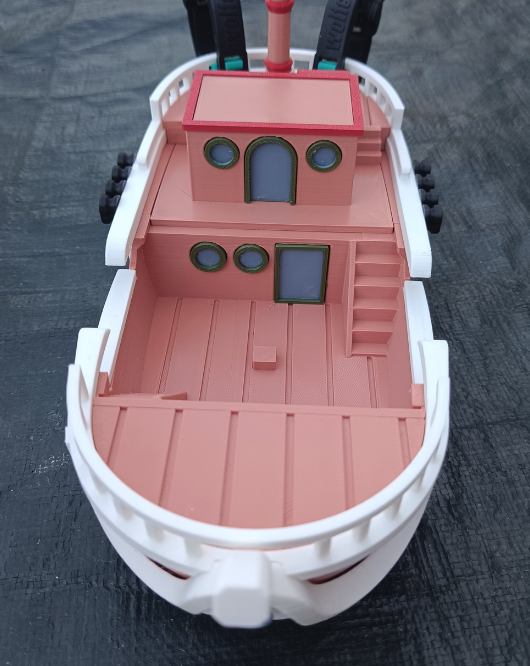
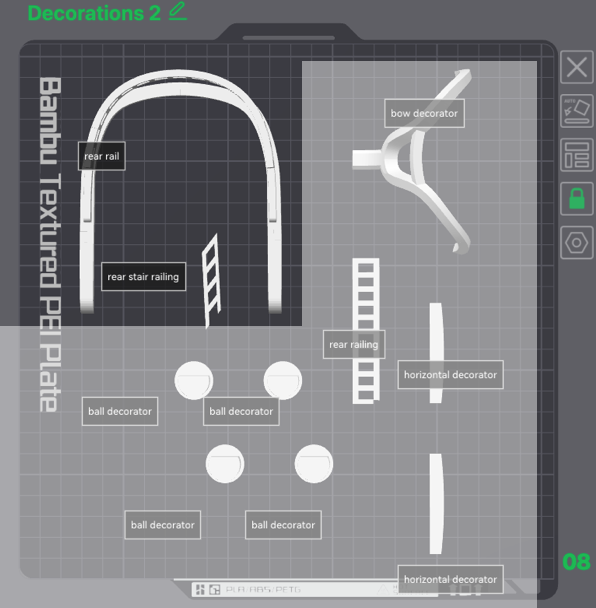
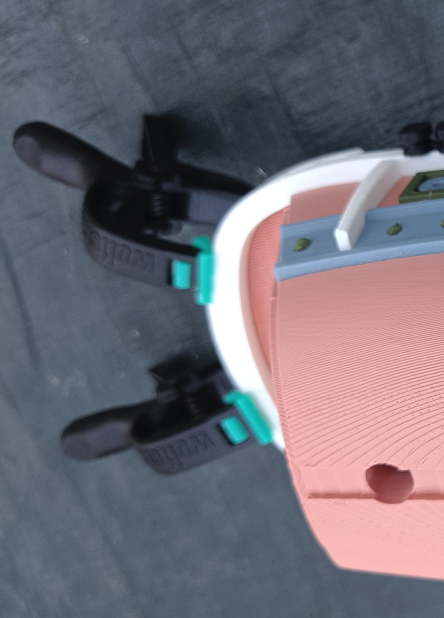
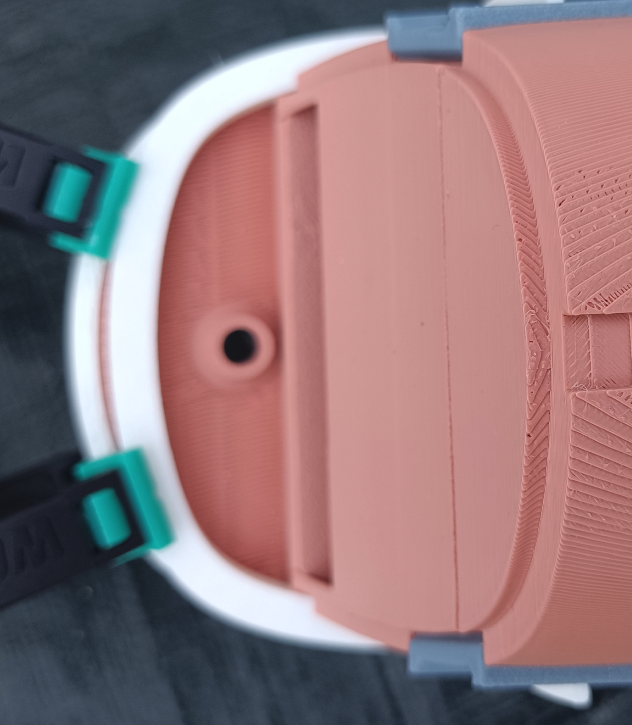
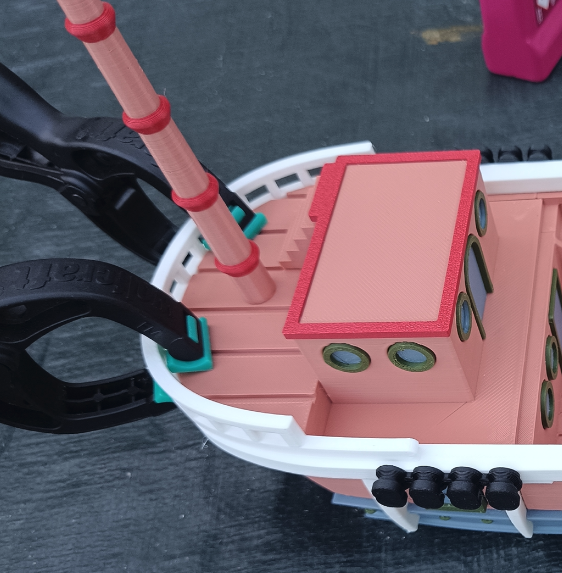
The rear rail is from the plate named "Decorations 2".
Place the rail and glue it. Don't forget to use clamps.
In the last photo, you can see a mast. It was just a test; don't put it here right now...
The Back Decorator
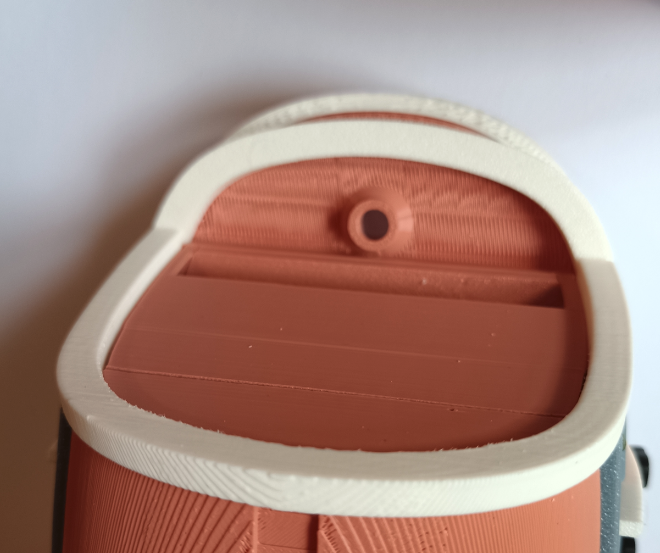
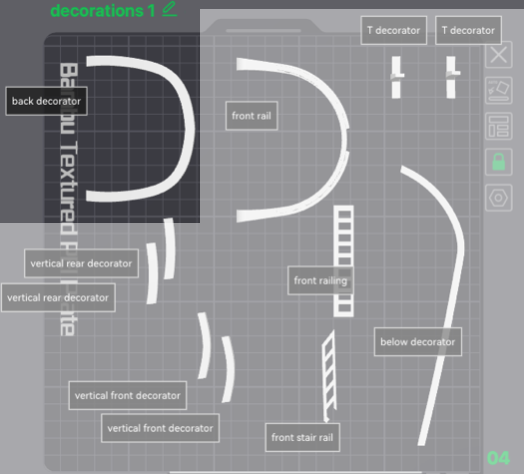
The back decorator is from the plate named "decorations 1". It has to be fixed as shown.
Stair Rails and Railings
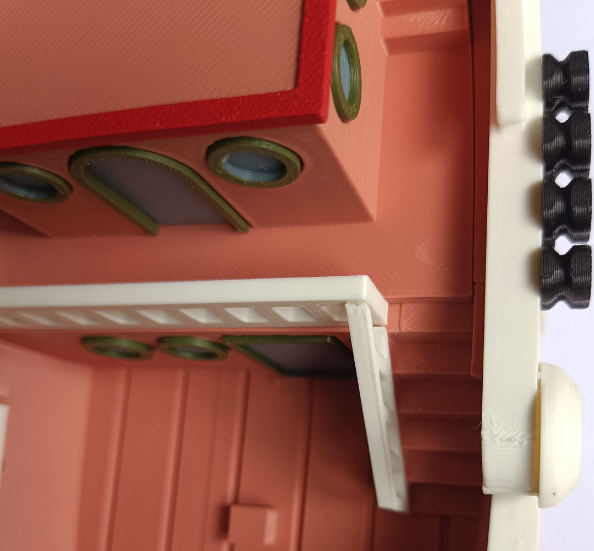
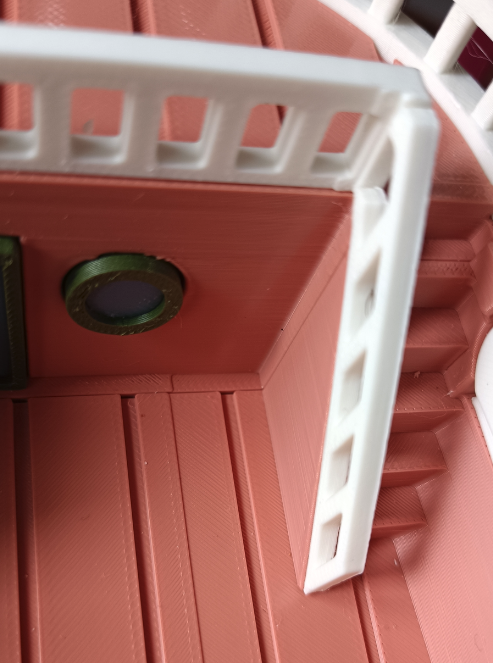
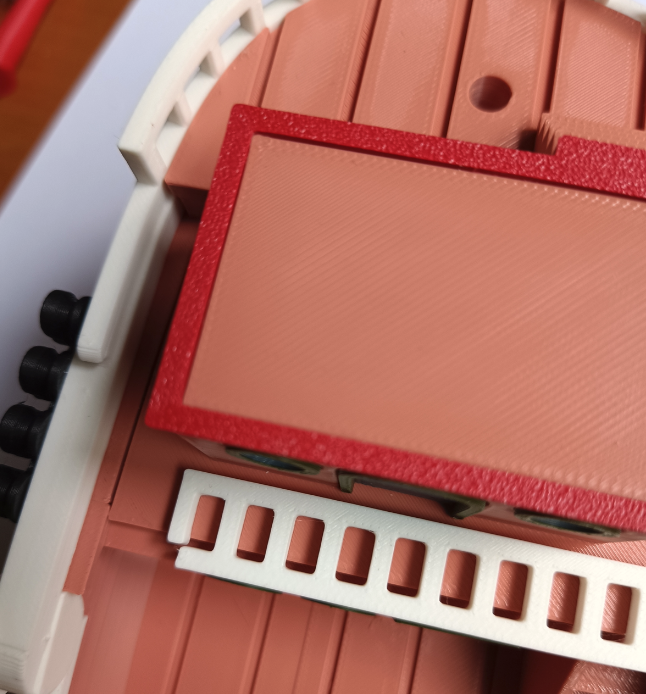
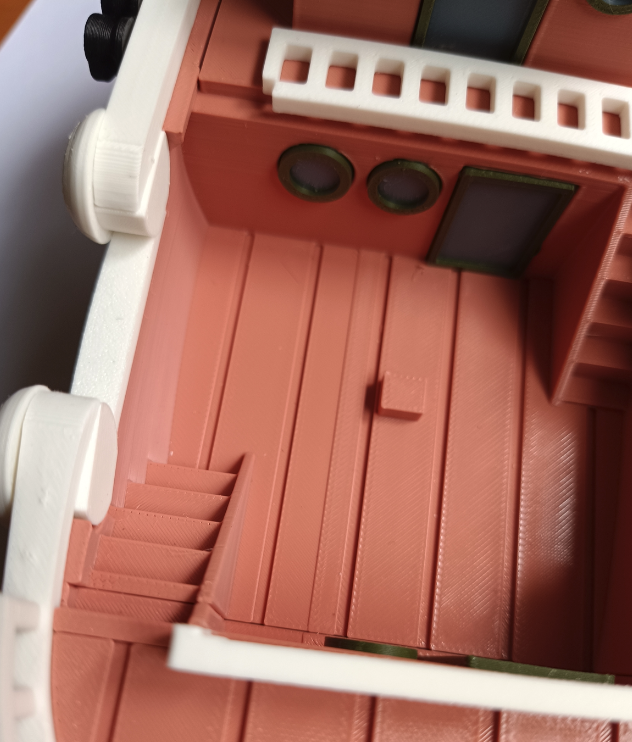
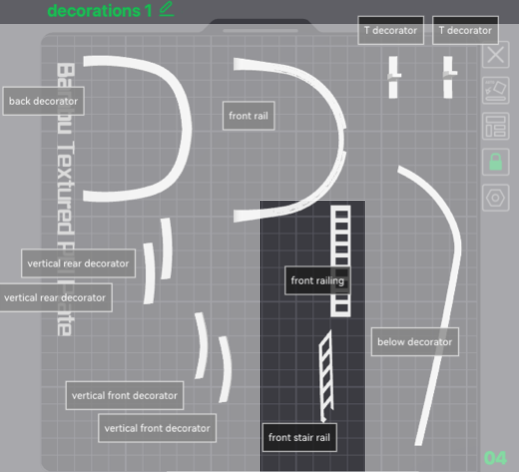
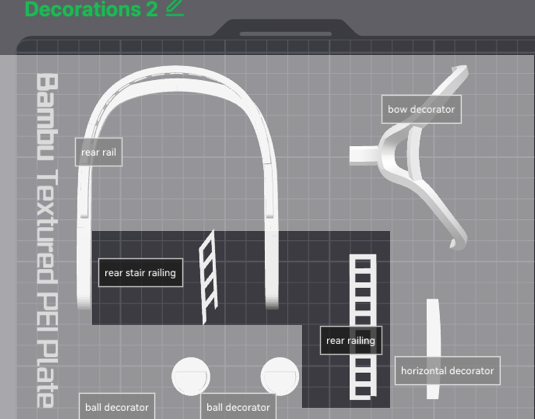
These parts are from plates named "decorations 1" and "decorations 2"
They are glued as shown, first the railings, then the stairs.
The "Going Merry" Boat Name
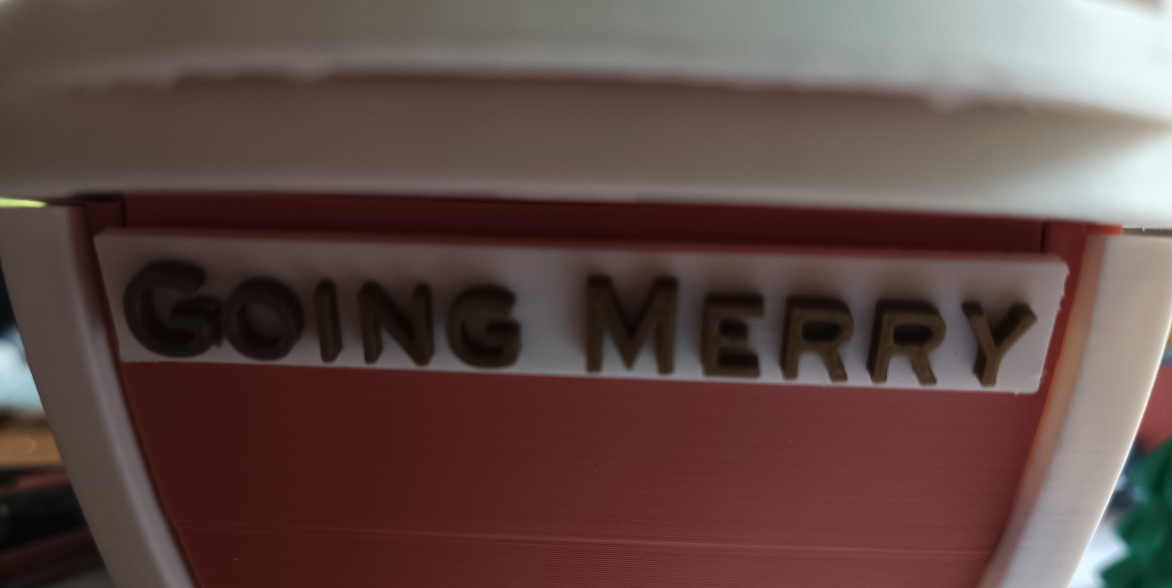
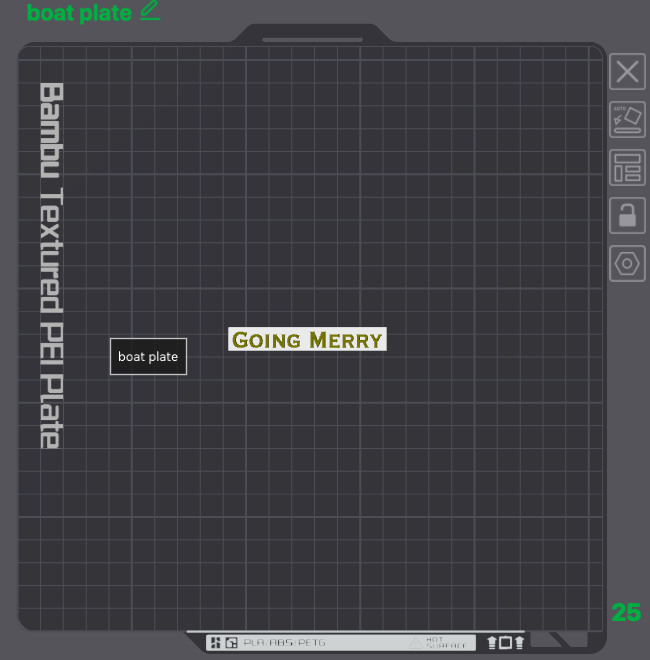
This is new to the original design. I saw a big, rectangular hole below. I had the idea of building a plate with the boat name.
It has to be printed with a better precision, for example, 0.12 mm.
It should fit into the hole and need to be glued.
The Rudder Support

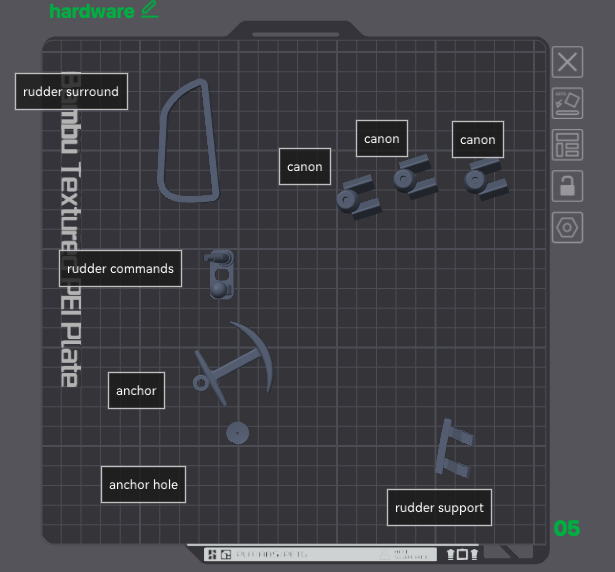
This support has to be glued just below the boat name plate. It's from a plate named "hardware"
Main Mast Preparation

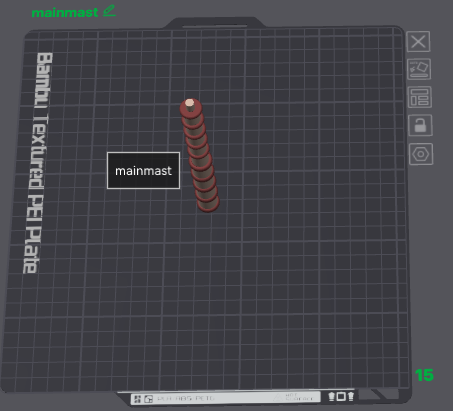
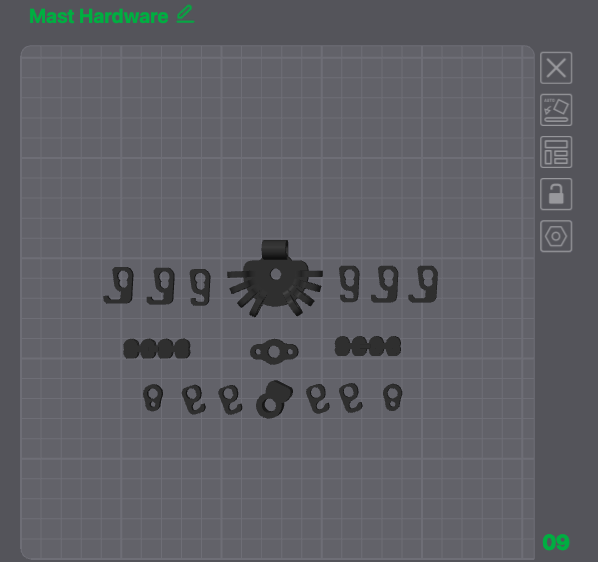
The attachment system for the main mast is a rectangle. You need to put the mast on without glueing it, test the crossbar attachment, and then glue this part to the mast.
The mainmast is from the plate named "mainmast," and the attachment is from the plate named "hardware".
Main Mast Preparation, the Lookout
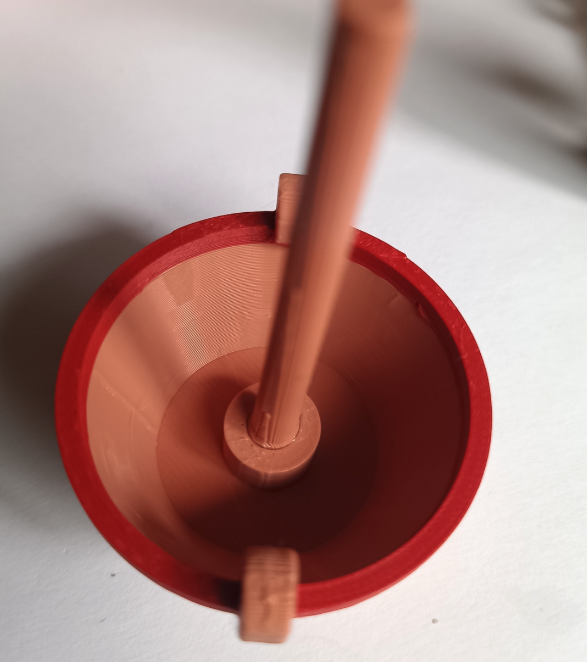
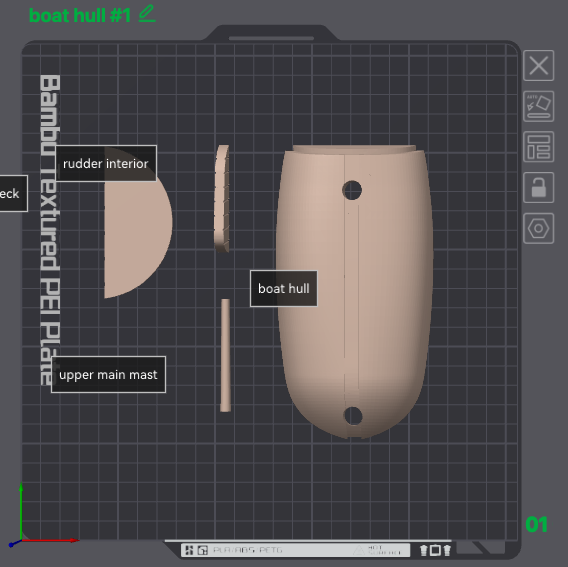
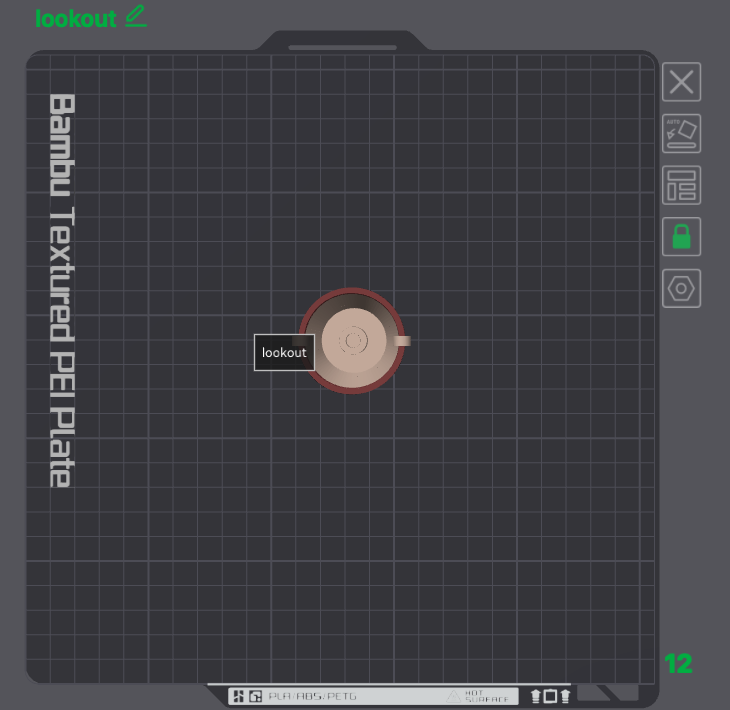
You need to glue the lookout to the upper main mast. Both parts are from "boat hull #1" and "lookout" plates.
The White Sail
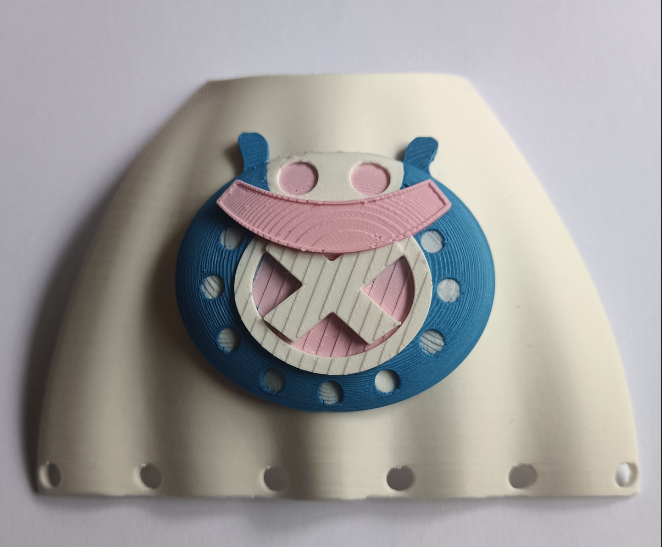
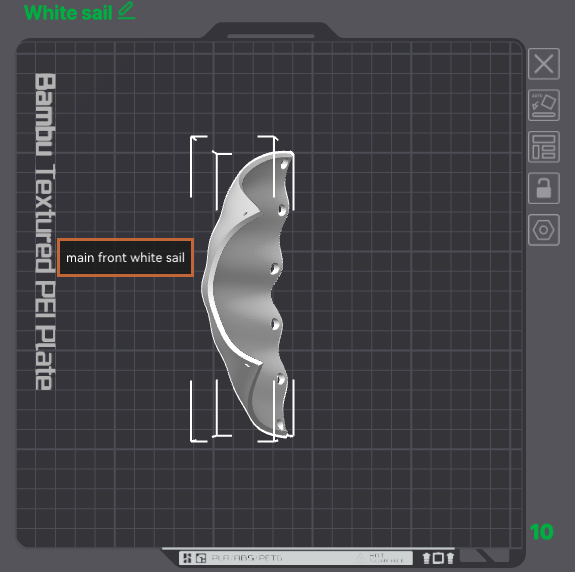
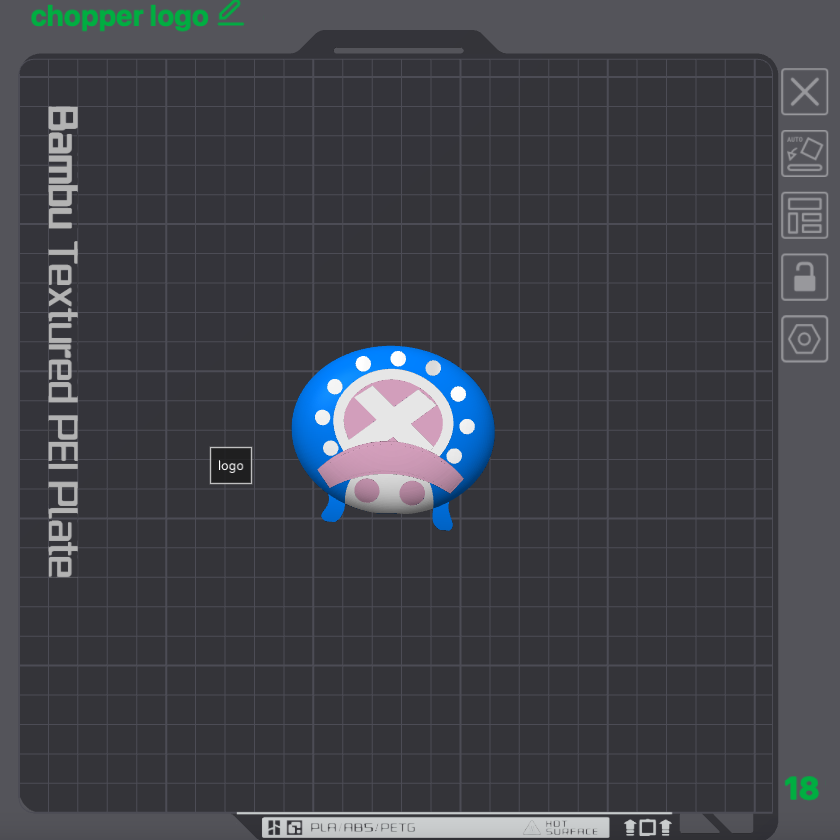
The sail has to be printed. If you want this logo, you have to print it on the "chopper logo" plate.
The sail is from the "White Sail" plate.
I never saw a "Going Merry" with a chopper sail. This was from the original design.
Main Mast, the Front One for the White Sail
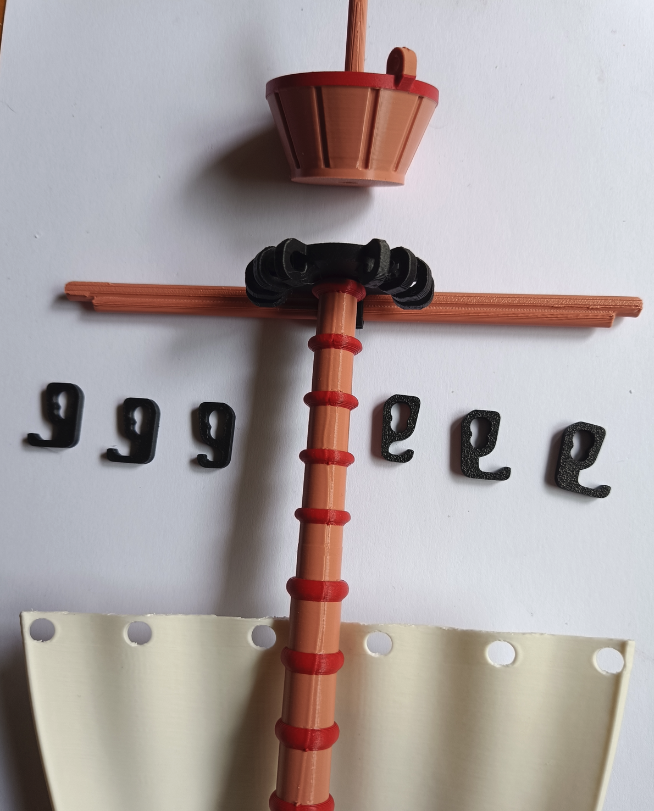
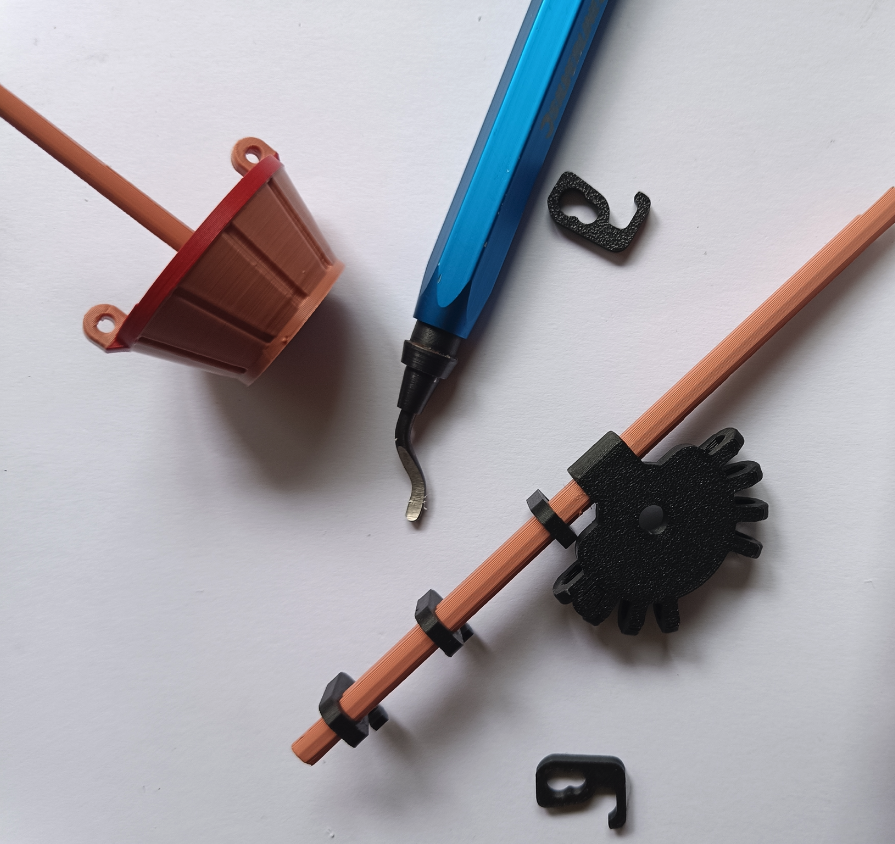
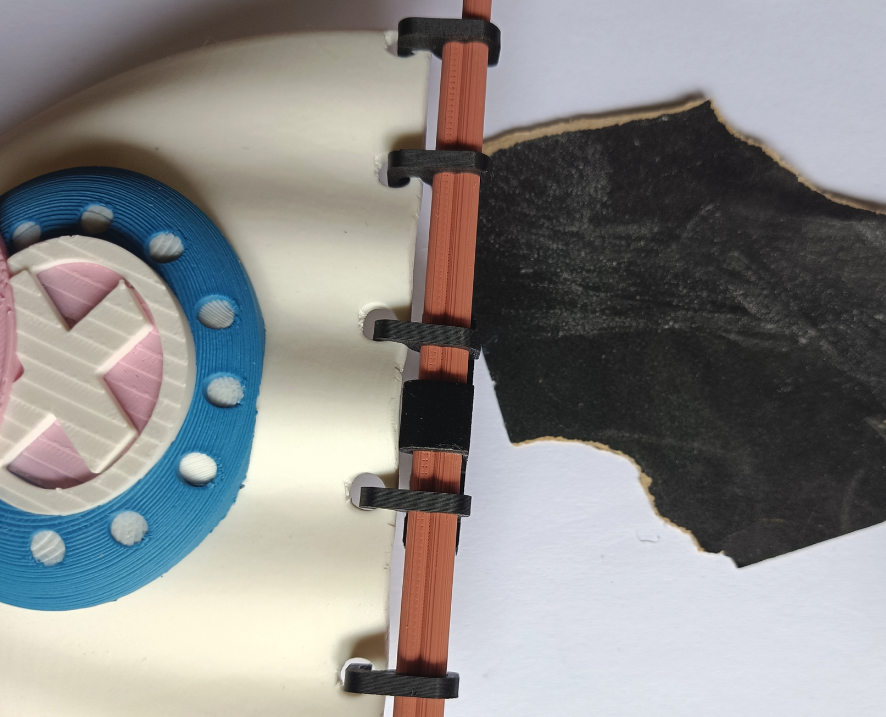
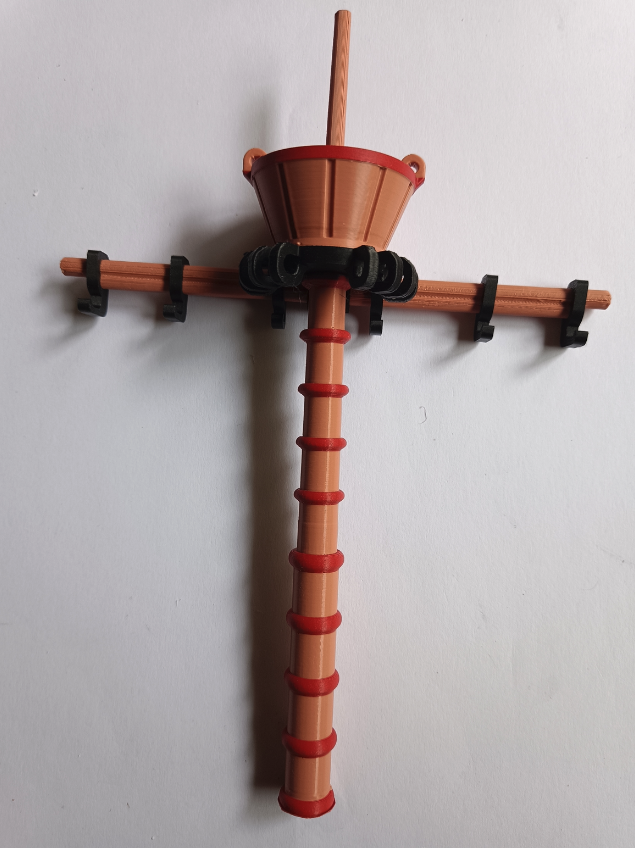
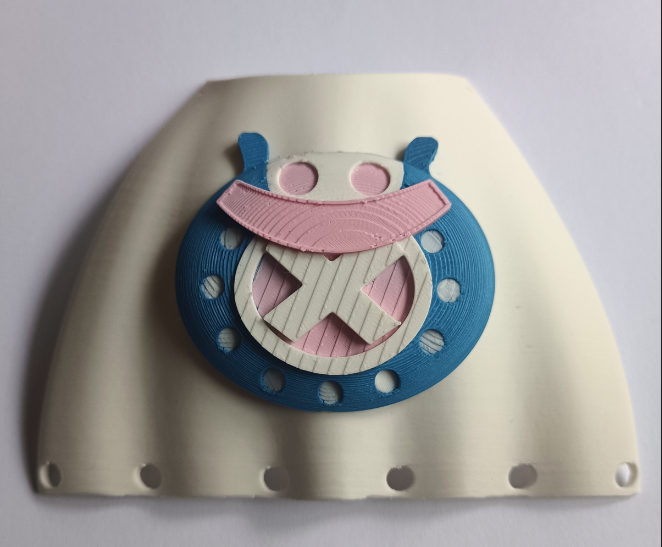
The black parts are from the plate named "Mast Hardware". The hooks are of different sizes.
You'll probably have to sand or use the blue tool to allow these parts to fit as shown.
Beware of this tool! I had to go to the hospital for strong hand surgery in the past. Please take care!
Put the small hook first, then the medium-sized one, and then the bigger one.
You only need to glue the lookout to the black attachment system.
You need to attach the sail before putting it in place on the boat and gluing it.
The Rear Mast and the Red and White Sail
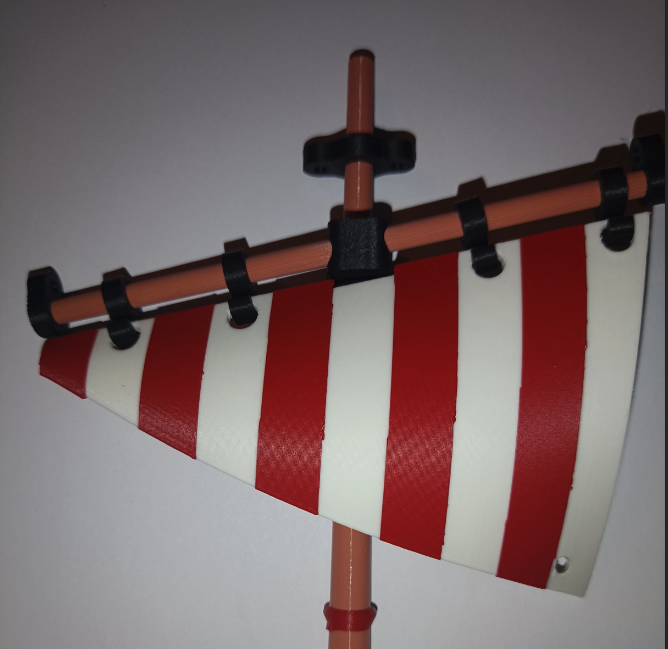
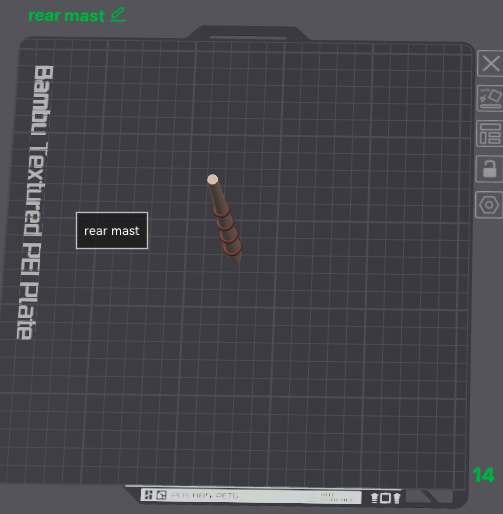
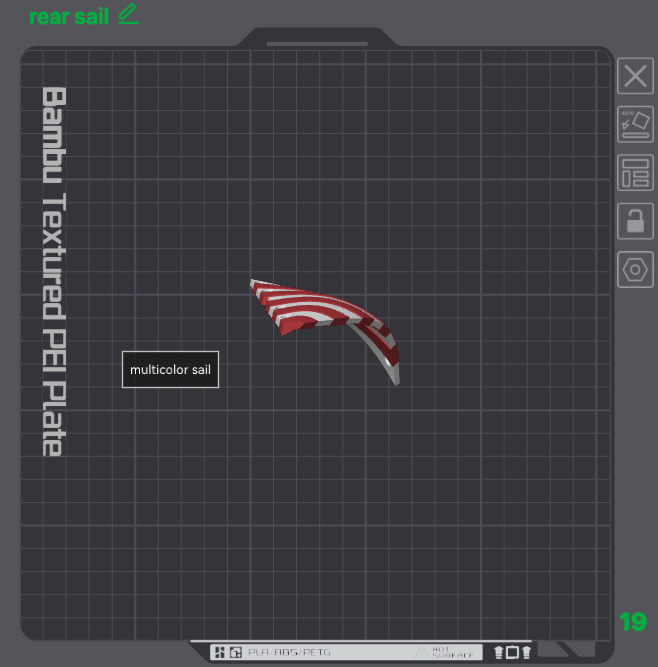

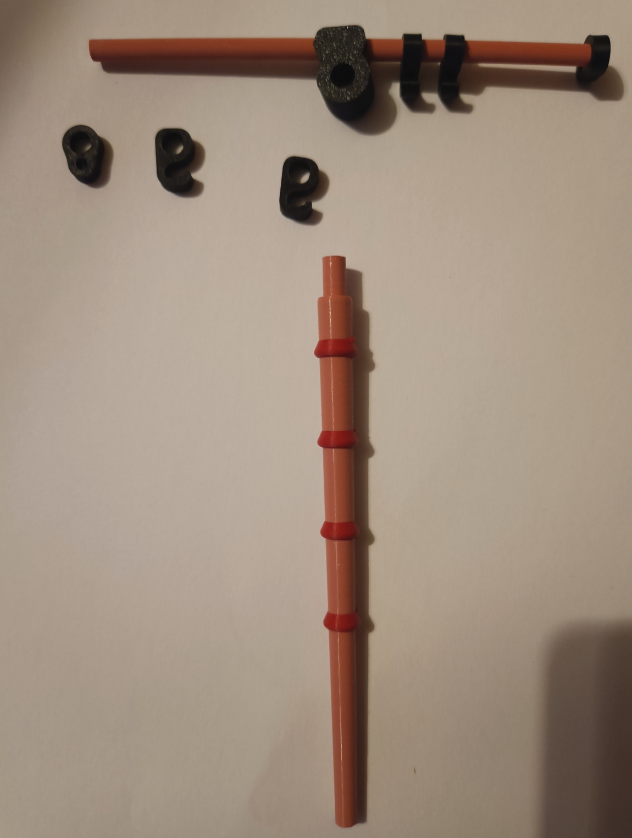
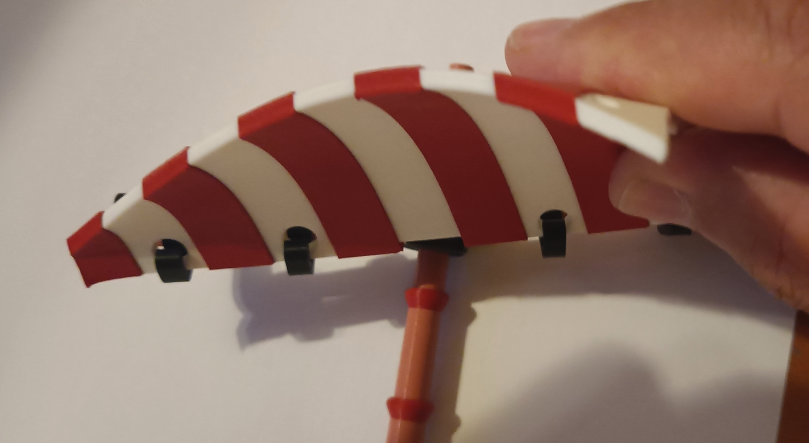
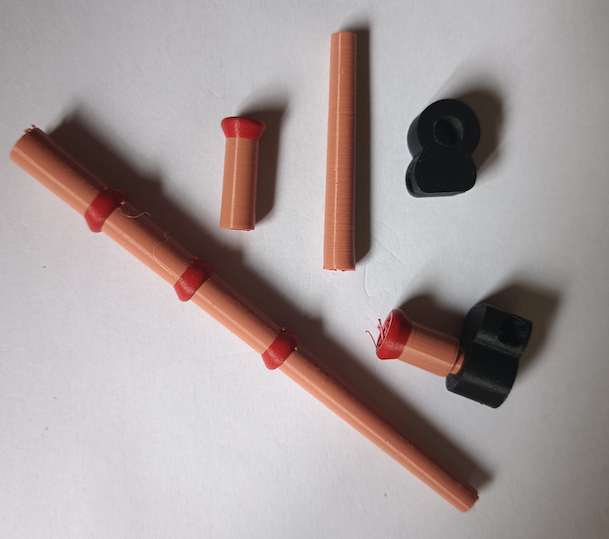
This is the last sail, the rear one in red and white. It is really beautiful.
You have to print the sail from the plate named "rear sail" and the rear mast from the plate named "rear mast."
The black parts are from the plate "Mast Hardware."
Pay attention to the mast and don't use force to put the hooks in; the mast can break easily.
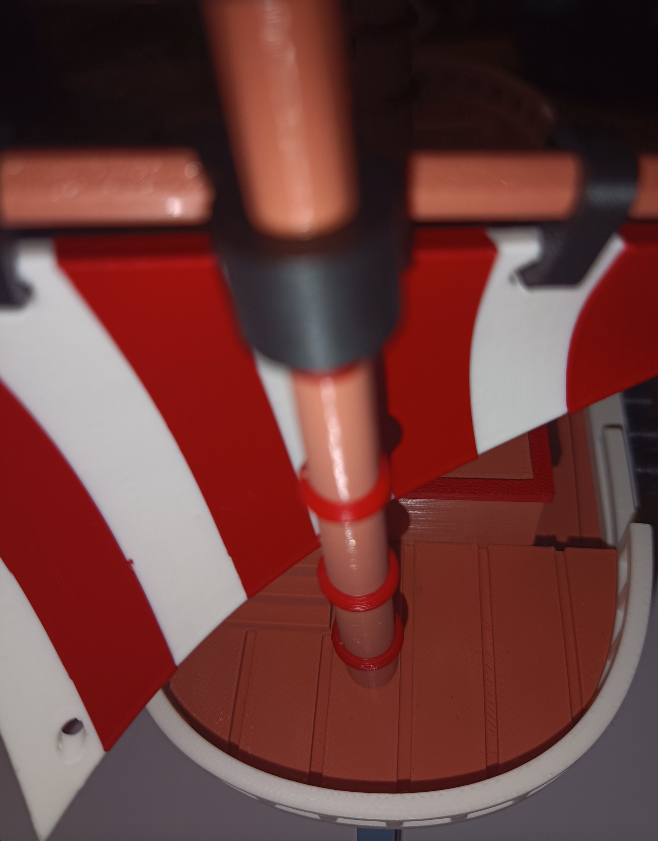
To attach the sail, put it vertically as shown.
You can now put the mast on the boat!
The Rudder
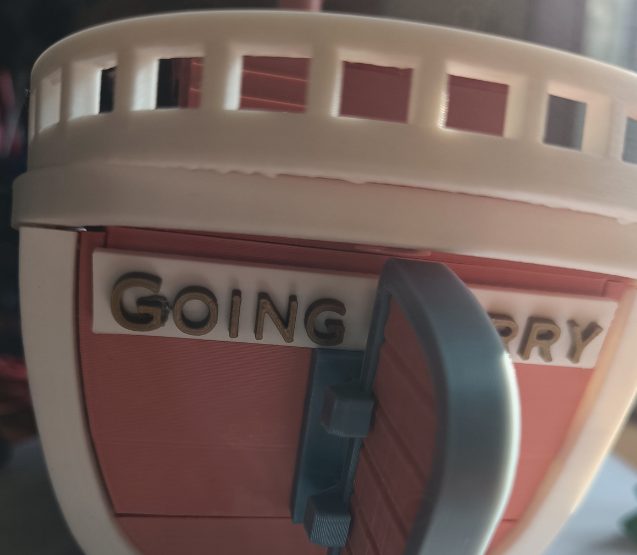
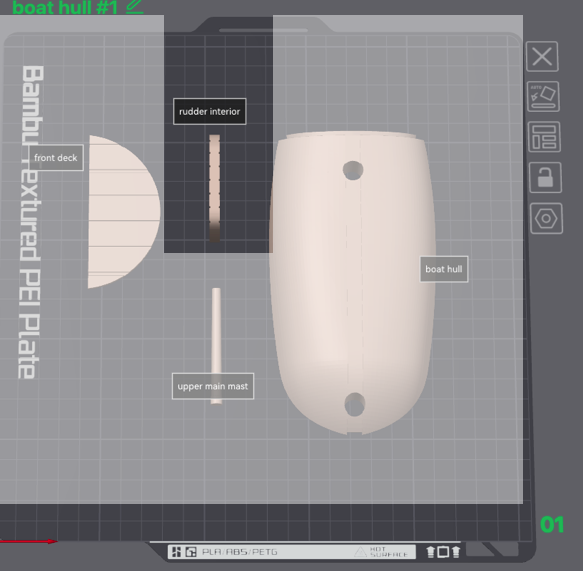
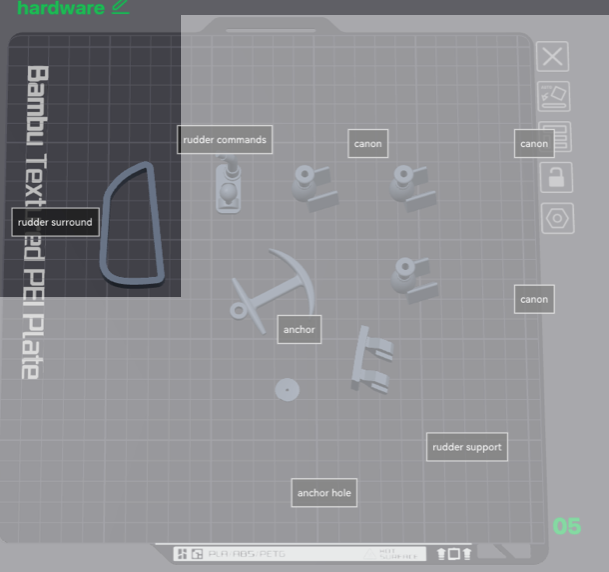
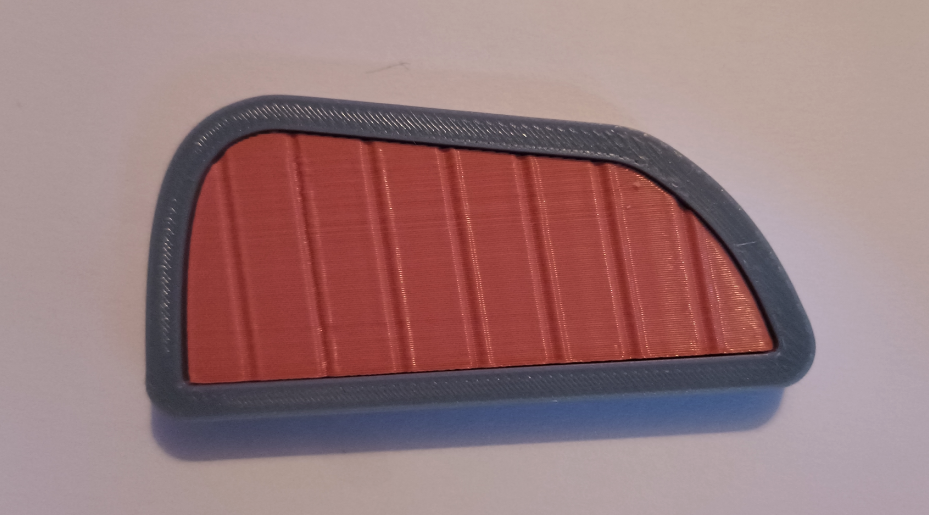
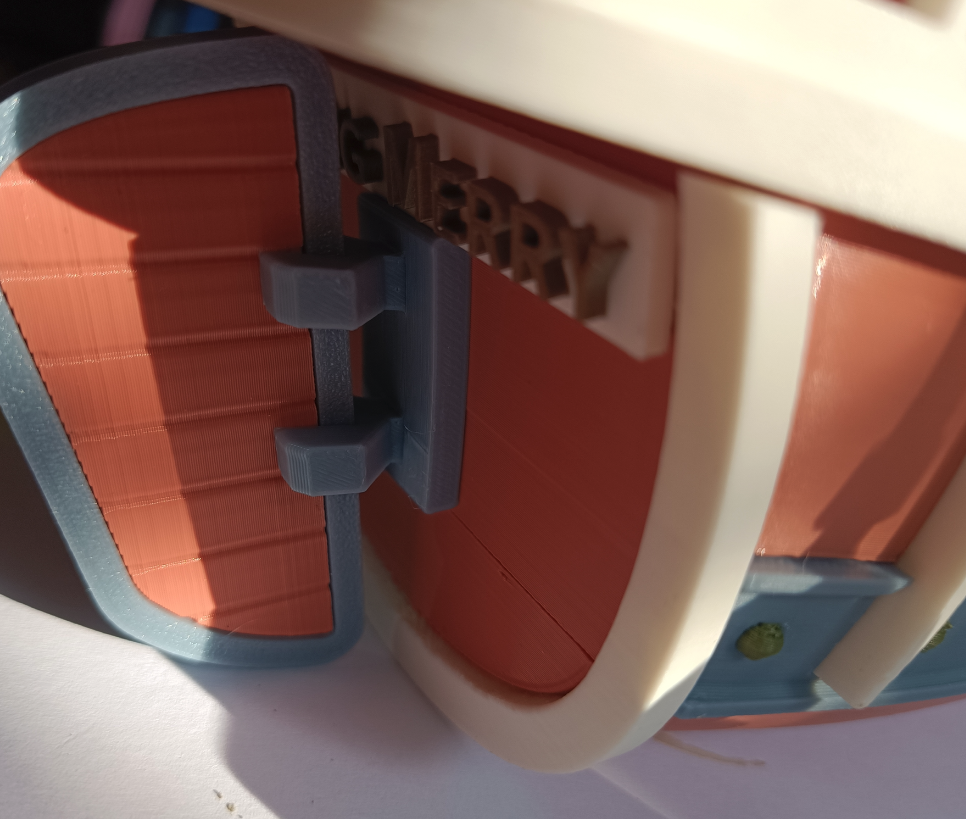
The rudder is made of two parts. One is the rudder itself from the plate named "boat hull #1," and the other is the other is the surround from the plate named "hardware."
Glue them both together. Adjust the rudder and place it on the boat as shown.
The Figurehead
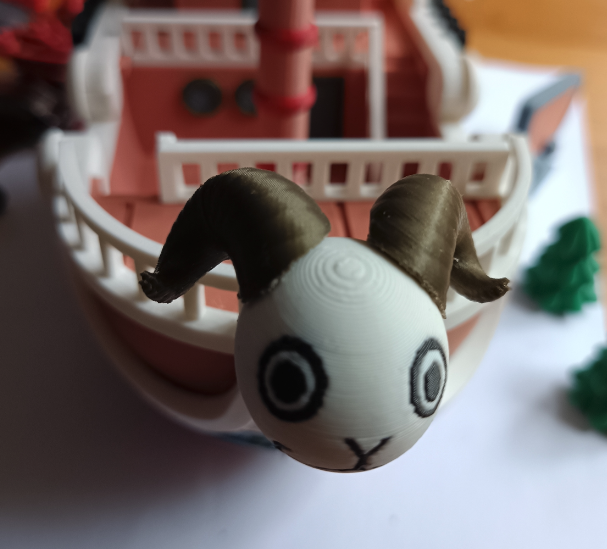
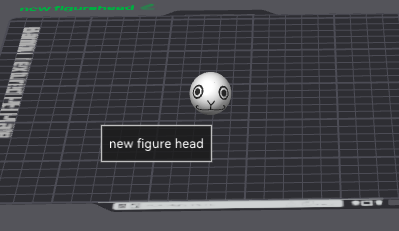
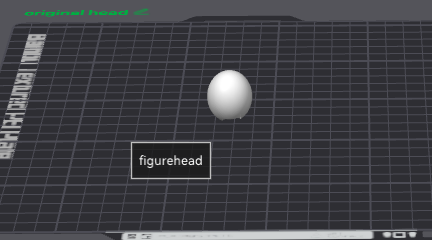
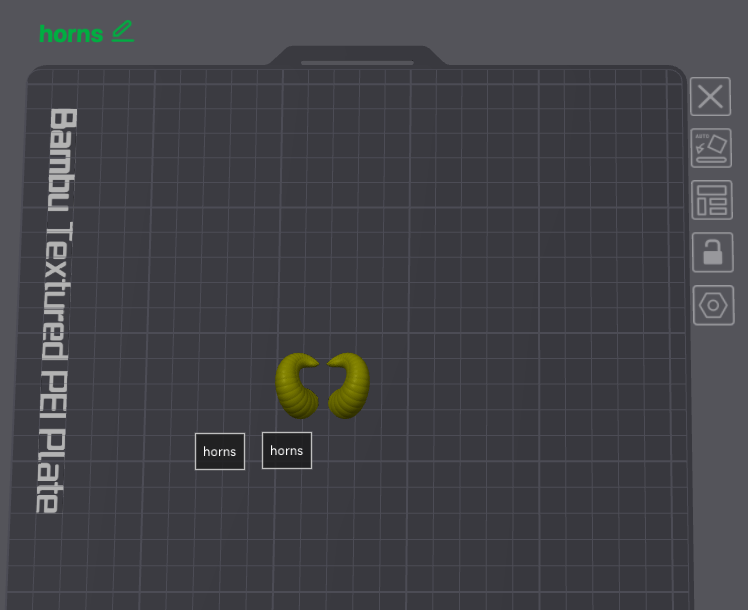
The original figurehead was blank. I made a new one with the face drawn on it.
You have to print the figurehead at 0.12 mm.
The blank figurehead is from the plate named "original head." The one with the face drawn on it is from the plate "new figurehead," and the horns are from the "horns" plate.
The Anchor
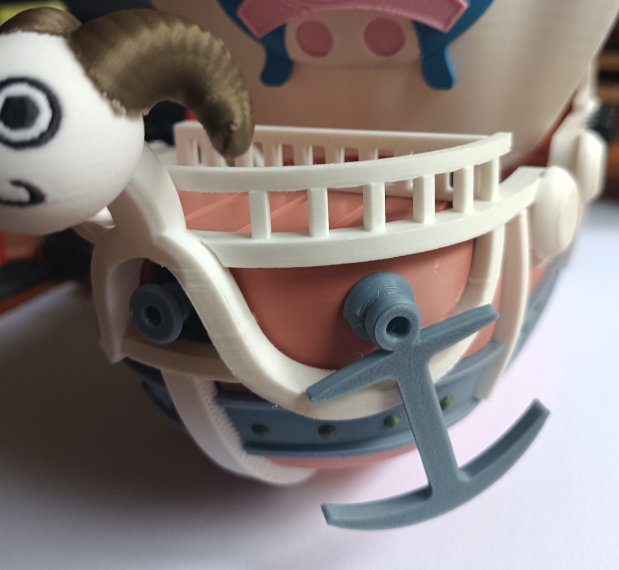
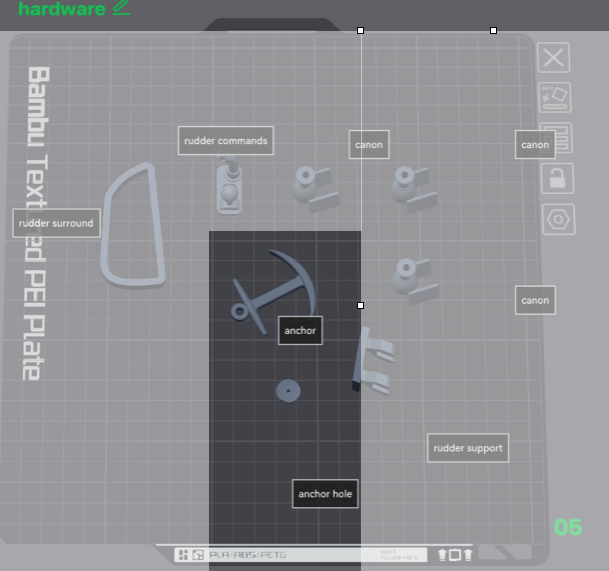
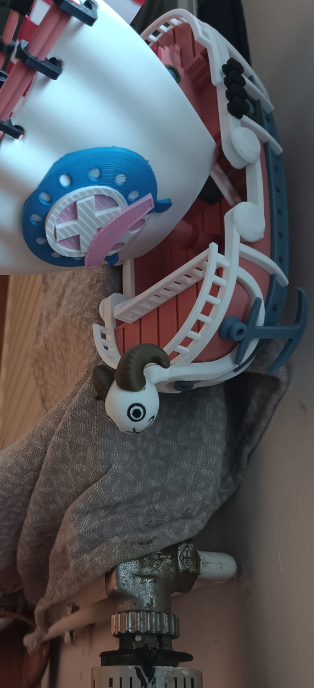
The anchor is from the "hardware" plate.
The little round piece needed is also from this plate.
Gluing them is a bit challenging, as you can see.