Laser Cut Souvenir Gift
by masynmachien in Workshop > Laser Cutting
7727 Views, 27 Favorites, 0 Comments
Laser Cut Souvenir Gift


From San Francisco, with Love... Made at Instructables ... by masynmachien
This is one of the projects I did during my Artist In Residency at Instructables last July. An awesome experience!
Actually it was the last project I completed at Instructables HQ. But I needed to make this Instructable the first, as it includes the instructions for the recipients.
For souvenirs to take home I couldn’t think of any better message than something I made myself, at Instructables and involving the recipient into some making. I’m very grateful Instructables agreed upon me making several copies to take home.
Working on a laser cut advent calendar I came up with the idea of making a laser cut model of THE icon of San Francisco, the Golden Gate Bridge. I made it both as a part of the advent calendar and as test for the packaging. More Instructables on this advent calendar project and the laser cut kits it contains will follow.
Most souvenir models of the Golden Gate Bridge are not true to scale; at the same time shortening its length drastically and emphasising the vertical suspension cables, but neglecting to show how long the bridge actually is. Obviously my model is simplified too, but I decided to go in another direction. At about 30 cm long the model is at a true scale of 1/6500. The main suspension cables are simplified to elastic bands to follow the theme of the advent calendar using only acrylic sheet, screws & nuts and elastic bands. At that scale it becomes impractical to reproduce the vertical cables. It gives another approach, but still, everyone in the San Francisco Bay Area immediately recognises it as the Golden Gate Bridge.
This Instructable includes the material and design choices and the packaging. The readers that get the souvenir as a gift can jump to the last two steps dealing with opening the package, taking out the parts and assembling the kit.
I dedicate this Instructable to Gabe, for his quick and recurring help in getting the machines in the workshop up and running.
Tools and Materials


Obviously the main tool for this project is a laser cutter. I had the luck to be able to use a new 120W Epilog laser cutter in the new workshop at Pier 9.
For the advent calendar series I chose 3mm thick Acrylic sheet, a practical thickness for many projects. I got a couple of 750 x 375 mm sheets at Tap Plastics. I choose transparent amber, a colour that fits the Instructables home style. For the Golden Gate Bridge that is a bit light, but not too far off.
For easy production I came up with a concept of cutting the kits while on top of the bottom cardboard layer of the packaging. To make this possible I needed double layered corrugated cardboard, 6mm thick. I got 900 mm by 600 mm sheets fitting the laser cutter it from Uline. With single layered corrugated cardboard it proved impossible to find setting that always cut through the acrylic sheet and not through the cardboard. Because of speed variations at complex curves, thickness variations and imperfect flatness of the sheets you need some laser power to spare. This extra power cuts through an underlying single layer of corrugated cardboard for at least a part of the job. Two layers of single layered corrugated cardboard can work too, but it’s a little less practical to finish the packaging.
For this Golden Gate Bridge model you need at least a 300 mm by 20 mm piece of 3 mm thick acrylic sheet and for the packaging two pieces of 6 mm double corrugated board, at least 320 mm by 40 mm cardboard.
For each bridge I added two N° 19 rubber bands (88 mm by 1.5 mm) and two N° 16 (64 mm by 1.5 mm).
Closing the package is done with some 25 mm wide (masking) tape, a length of about 70 cm for each kit.
Design
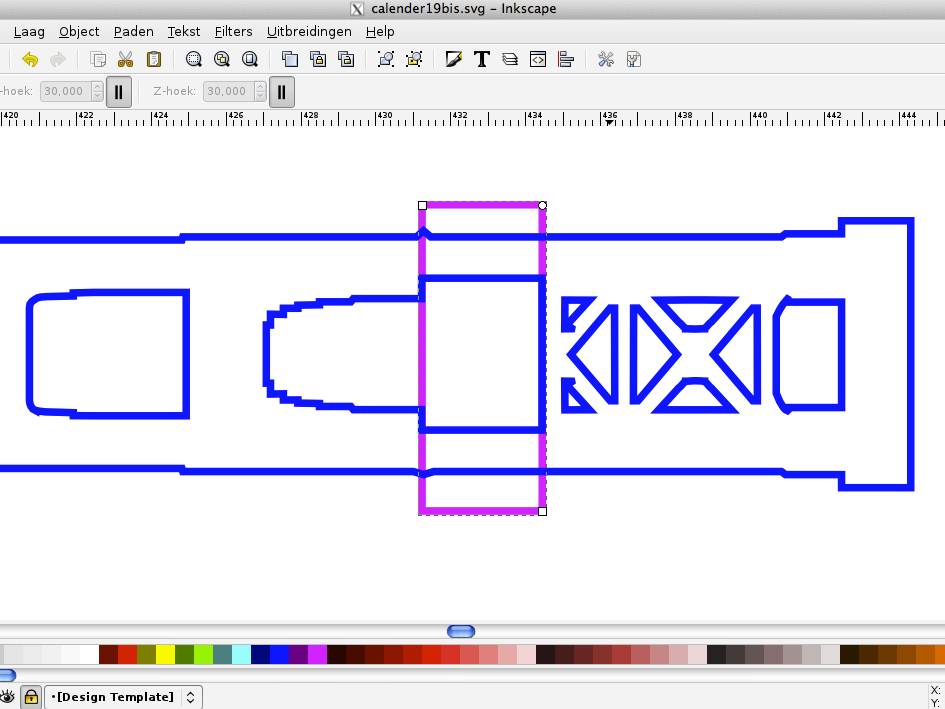
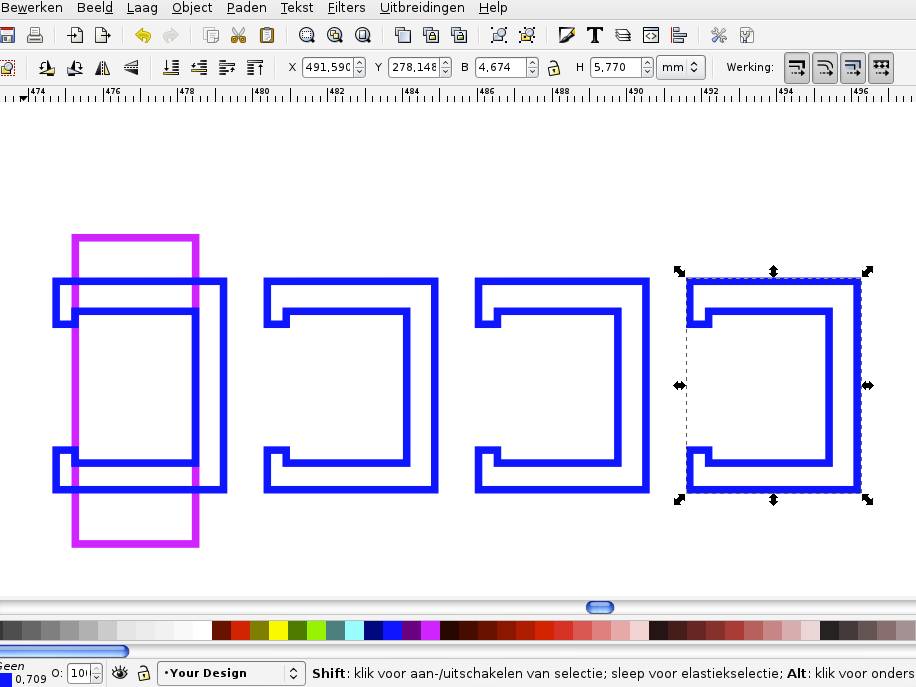
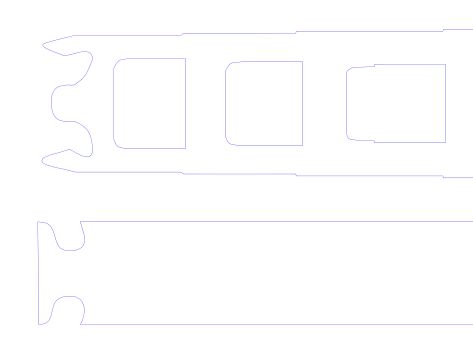


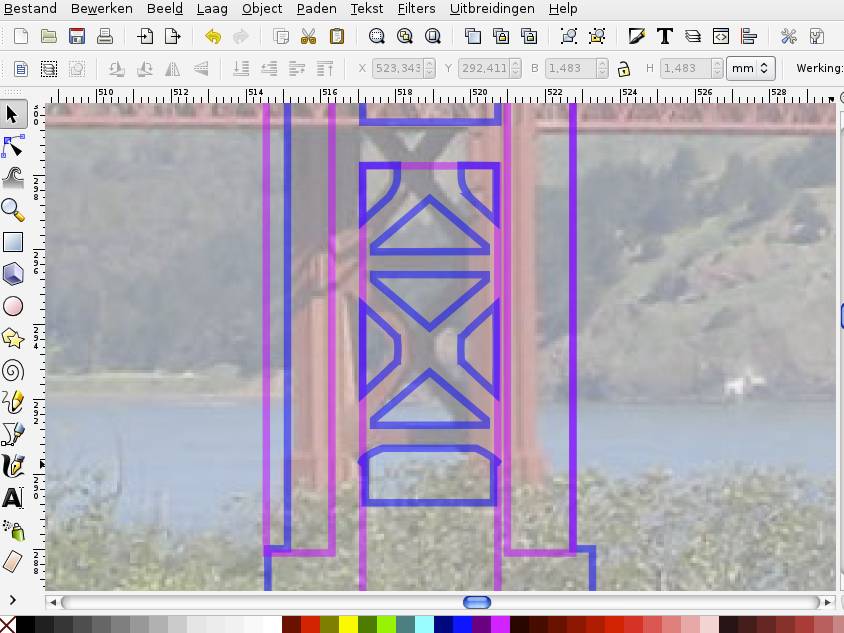

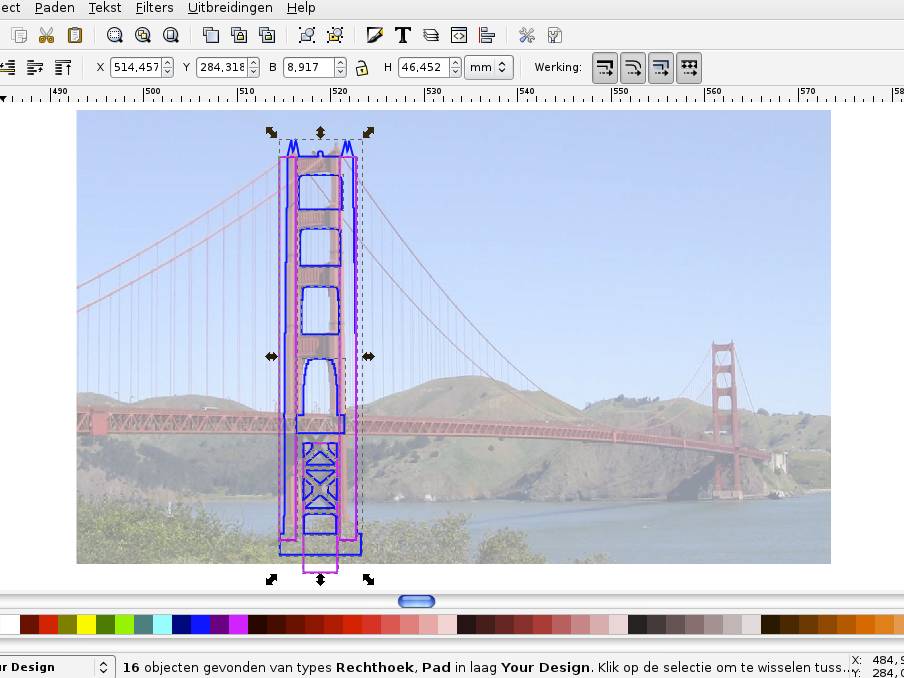
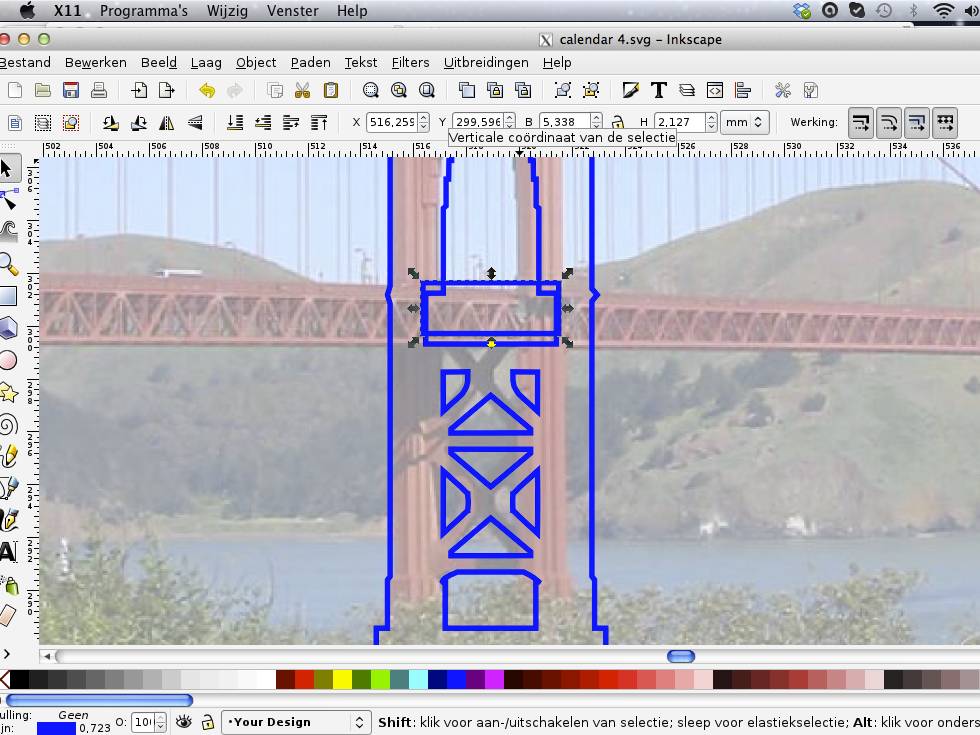
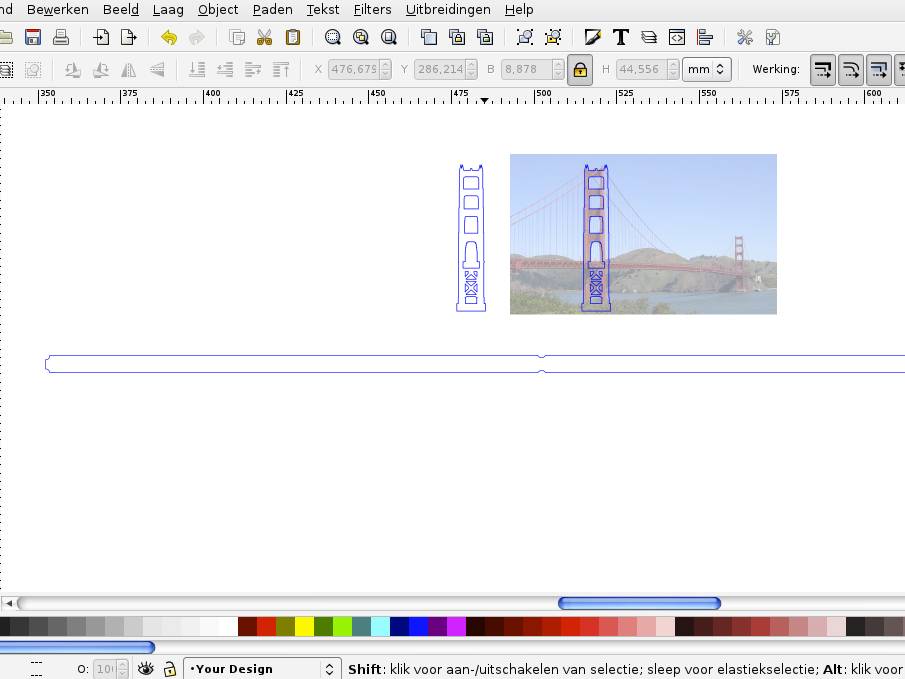

I started the design from a picture that I put in the bottom layer of the drawing and made semi-transparent to fade it. I started with a general outline taking in account the angled view in the picture, but I did not go for exact measurements yet. Those where determined later from scaling to the dimensions found on Wikipedia. From the pictures I drew the details, using a 0.2mm line, mimicking the typical laser cut width (for cutting the line width in the drawing is set to hairline).
At a scale of 1/6500 some main dimensions (taken from Wikipedia) translate as follows:
total length of spans: 1970 m > 303 mm
length of main span: 1280 m > 197 mm
length of an outer span: 345 m > 53 mm
width: 27 m > 4.2 mm
total height of tower: 230 m > 35,4 mm
clearance below (tide dependant): 67 m > 10,2 mm
To account for the thickness of the bridge deck part, a cut out is drawn and the details under the bridge deck are adapted.
The top of the towers is adapted to catch the elastic bands and the bridge ends get a similar cut-out.
On the bridge deck I added text converted to vector graphics for fast engraving (compared to raster).
As a detail I added some tiny C shaped parts that fit over the bridge. These make the scaffolds you see hanging on the bridge in some pictures (Usually you see two, but I added 4, because they easily break or get lost).
With the parts arranged alongside each other I added a rounded rectangle cut-out to make room for the rubber bands.
Actually on the other short side I should have left a small part uncut to keep it closed. I forgot, so I had to use some tape instead.
Included you find the designs in pdf format. In my experience pdf is the best file format to go from Inkscape to CorelDraw (which is commonly used to “print” on laser cutters). You can also find the designs as thing 140444 on Thingiverse.
Cutting


In the first picture you actually see the advent calendar cut lying in the laser cutter, on top of cardboard. I didn't take a picture for the series of Golden Gate Bridge kits, but it is obviously completely similar.
With the concept of cutting on top of the cardboard backing I used three pen colours, each with an adapted setting. One for cutting through the acrylic, but not through the cardboard (blue), one for vector engraving (magenta) and one to cut through both the acrylic and the cardboard (red). Obviously the settings are machine dependant. You can see the ones I used in the screen-print added.
I cut the acrylic (and cardboard) with the protective layers removed. I did not remove the bottom layer as the cutting gives stains on the bottom side. On the top side the air assist in the machine manages to keep the surface clean.
After cutting I ended up with a bunch of separate kits on a cardboard backing I could easily lift from the machine. For the picture I shifted the acrylic slightly to show the cardboard below, but it is best to avoid that as much as possible.
To make the packages I cut out a top layers of corrugated cardboard from a seperate sheet. These get a cut out lid, large enough to reach the parts. One short side only gets engraved, forming the lid’s hinge. Actually on the other short side I should have left a small part uncut to keep it closed. I forgot, so I had to use some tape instead. At the side to be open I added part of a half circle to be cut, so one can push in a finger to pull on the lid. Here too, I used vector engraving to keep the job on the machine shorter, as I was running out of time on my last day at instructables.
Prepping and Packaging


Pushing on one end of the rounded rectangle lifts the other end, allowing taking it out. I put in three rubber bands of both required sizes, in case one breaks. With the springy rubber bands there was just enough room for three each
The lid is put on top and while holding everything firmly together it is placed on the tape, in the middle. As shown, the tape is run around the edges with some tape sticking out and folded on both sides. As explained before, I had to add some tape to keep the lid closed.
The lid is put on top and while holding everything firmly together it is placed on the tape, in the middle. As shown, the tape is run around the edges with some tape sticking out and folded on both sides. As explained before, I had to add some tape to keep the lid closed.
Opening the Package


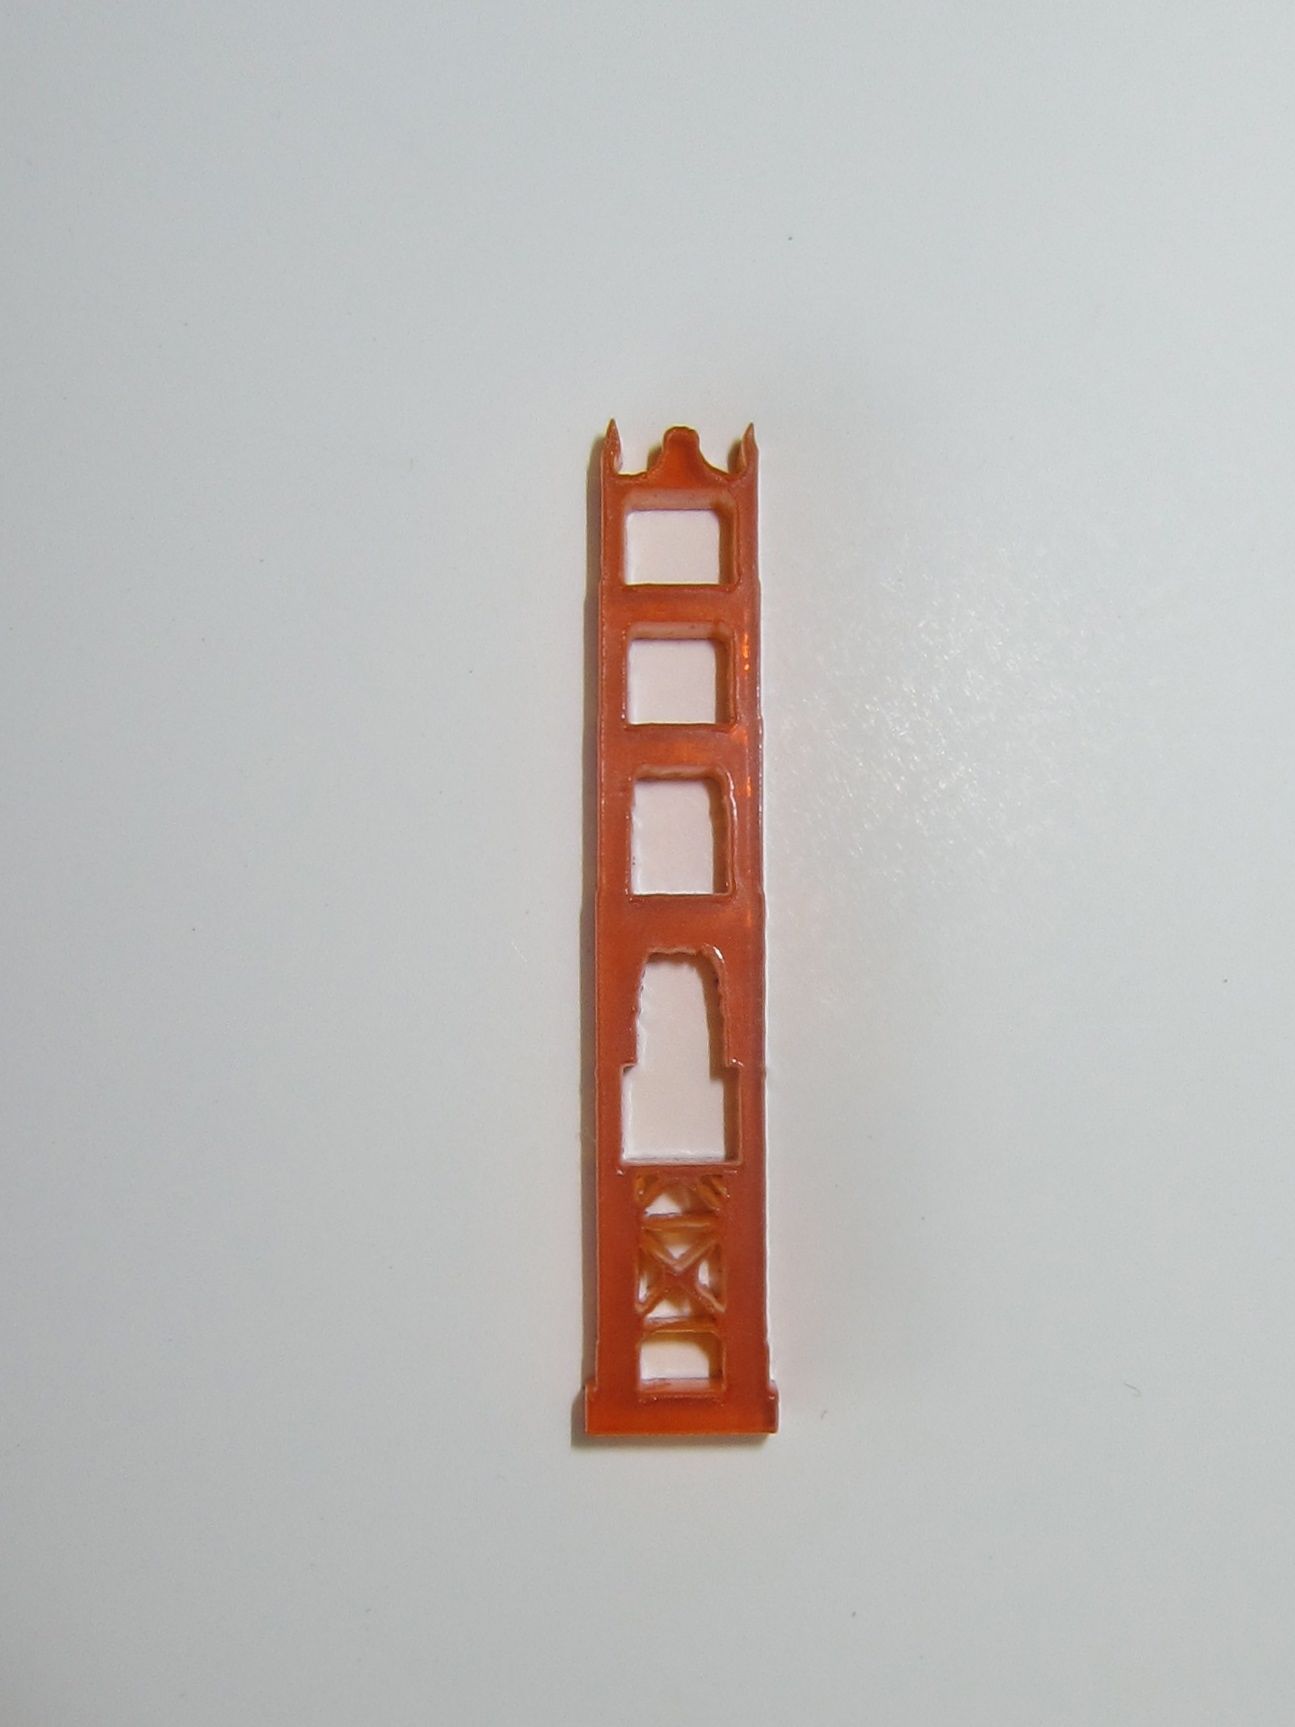


To open the box, first remove the small piece of tape as shown. Press a finger to grab the cut out lid and pull it up. For a clean bend it helps to push on the other short end.
Turn over the box and give it a knock to bring out the parts. If not all parts come out you can use a pin to pry them out. Don’t worry if not all of the tiny C shaped parts come out. These make the optional scaffolds you see hanging on the bridge sometimes and while you usually see two, I added 4, because they easily break or get lost).
The last picture shows the parts you need. You do not need the cut outs from the tower details.
Remove the backing paper of all these parts.
Assembly


If you want the scaffold detail, these are the first parts to carefully slide on the bridge, one from each side. When pushing on the long bridge part, hold it close to the part you’re sliding on; to avoid breaking the long end. Put on the C shapes with their open side to the top side of the bridge, i.e. with the text readable.
Slide on the tower parts, one from each side. Make sure you put them the right side up. Their exact position is determined only after the elastic bands are mounted.
First two short elastic bands are put in place on the outside ends of the bridge. Put a rubber band on top of a tower pull it in the cut-outs. Keeping a little tension on the rubber band, do the same at the end of the bridge. I didn’t make the cut-outs to deep, not to weaken the part too much. This means it doesn’t hold the rubber bands very well and it can take a couple of attempts, but once both ends are in place the rubber band keeps in place. Slide both towers to a position where the rubber bands are slightly under tension. Do not put too much tension on the rubber bands, not to deform the bridge.
Connect two long rubber bands to each other with a “knot” as shown in the pictures. While taking care not to undo the rubber bands already mounted, bring the knot under the middle of the bridge and the outer ends over the top of the towers (on the outside instead of in the cut outs).
Trim the position of the towers so the even tension on the rubber bands keeps them nicely vertical.
Your bridge is ready for display!