Guitar Pickup Screwdriver Bit Holder
by mason_CO in Workshop > Tools
225 Views, 2 Favorites, 0 Comments
Guitar Pickup Screwdriver Bit Holder

Multi-bit screwdrivers: Who doesn't love the convenience of having multiple sizes and shapes of bits available with only one driver handle? I have only one complaint with these kind of screwdrivers: the container for the bits is usually too hard to get the bits out of, or too loose and they risk spilling all over the place.
Enter our friend the magnet, which can hold the bits tightly against gravity while being easily removed by the force of a human grip. This turned out to be a serendipitous way to upcycle some guitar pickups from a Squier Strat I had that wasn't worth properly repairing.
Supplies
- Screwdriver with the right bit size. I have some that are about 4 mm base diameter that I used for this project; I also own ~6 mm bits, but those are too big.
- Single coil pickups (Strat style). Might work with other ones but I didn't have any to try with
- Screwdriver, wire cutters, utility knife, vise grip pliers for disassembly
Remove Pickups From Guitar
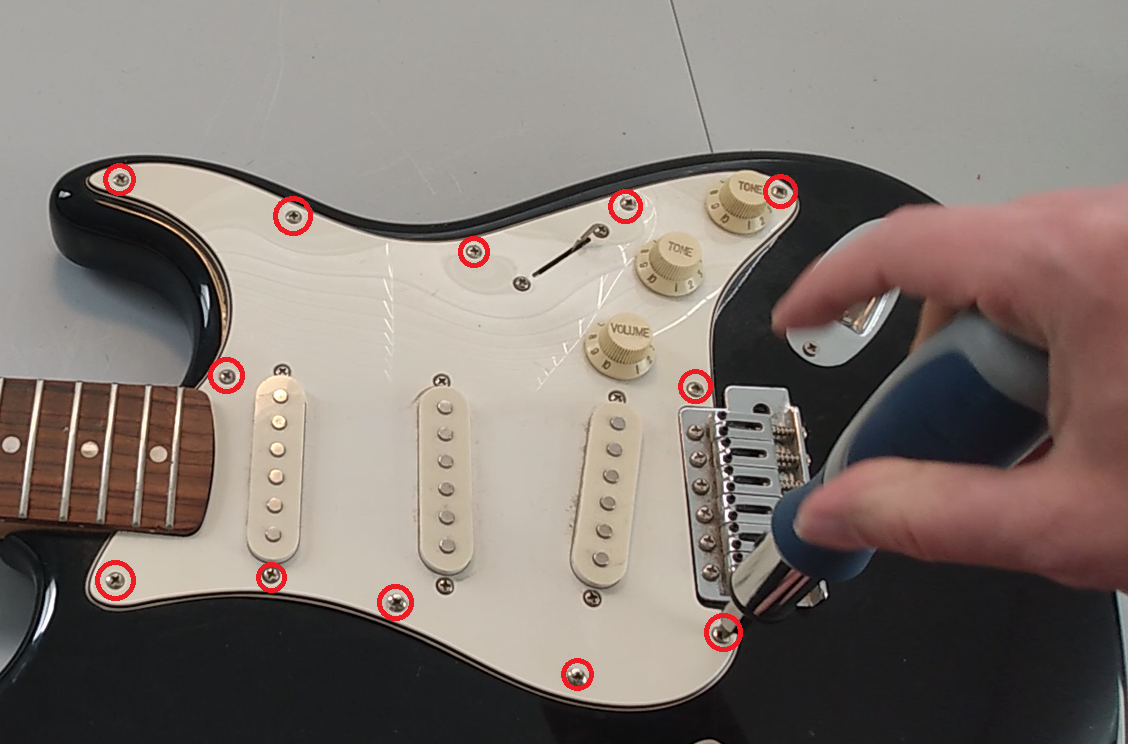


Assuming you are also doing this with a guitar that's broken or in bad shape, you'll need to extract the pickups first. I apologize for the lack of great pics, as I took this apart when I thought I might still reuse the electronics, so it's some screenshots from the video of that disassembly.
It's pretty simple, however. The basic steps are as follows, at least for this Squier Strat:
- Unscrew the pickguard so it can be lifted up
- Unscrew pickups and push out. Lift up the pickguard to make it easier to get to the screws and springs from behind
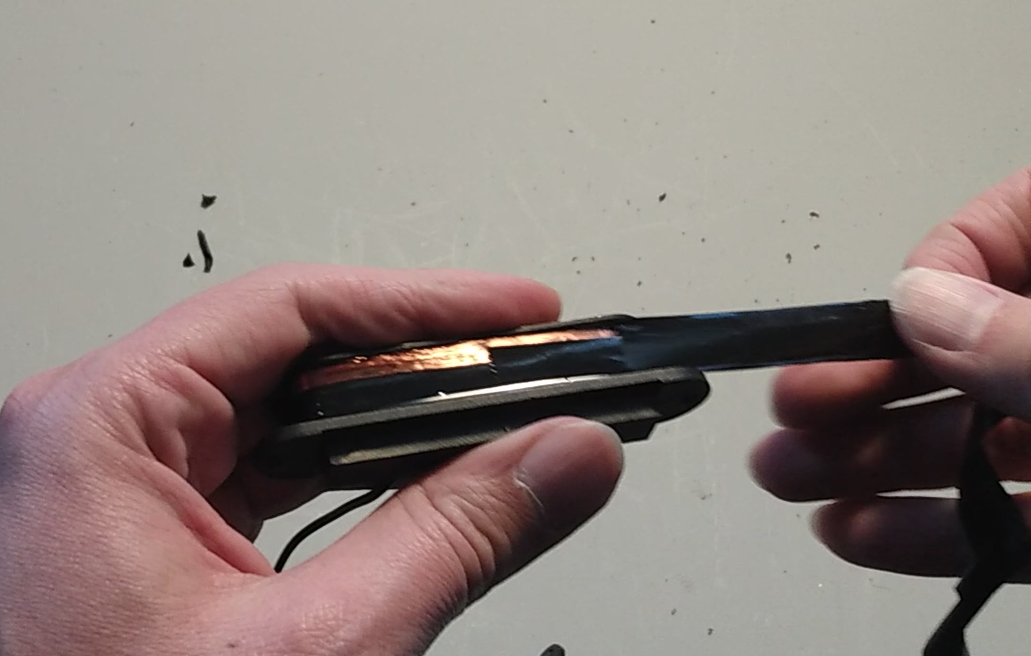
- Detach pickups from the circuit by cutting or desoldering the wires
- Remove the coil winding from the pickup if desired.
- In hindsight, I think this step is optional, unless the coil would affect the magnetism.
- I attempted to unwind the coil but I'd recommend just cutting through it (not pictured), as it would be very difficult to reuse the unwound coil anyway.
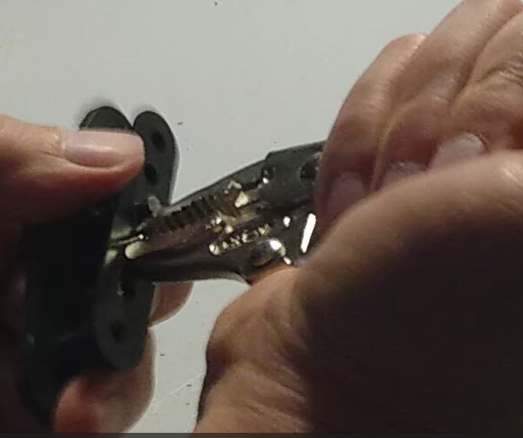
- Remove the six metal pins from the pickup. I used the vise grips and twisted along as I pulled to loosen the glue on them.
Just Add Bits!
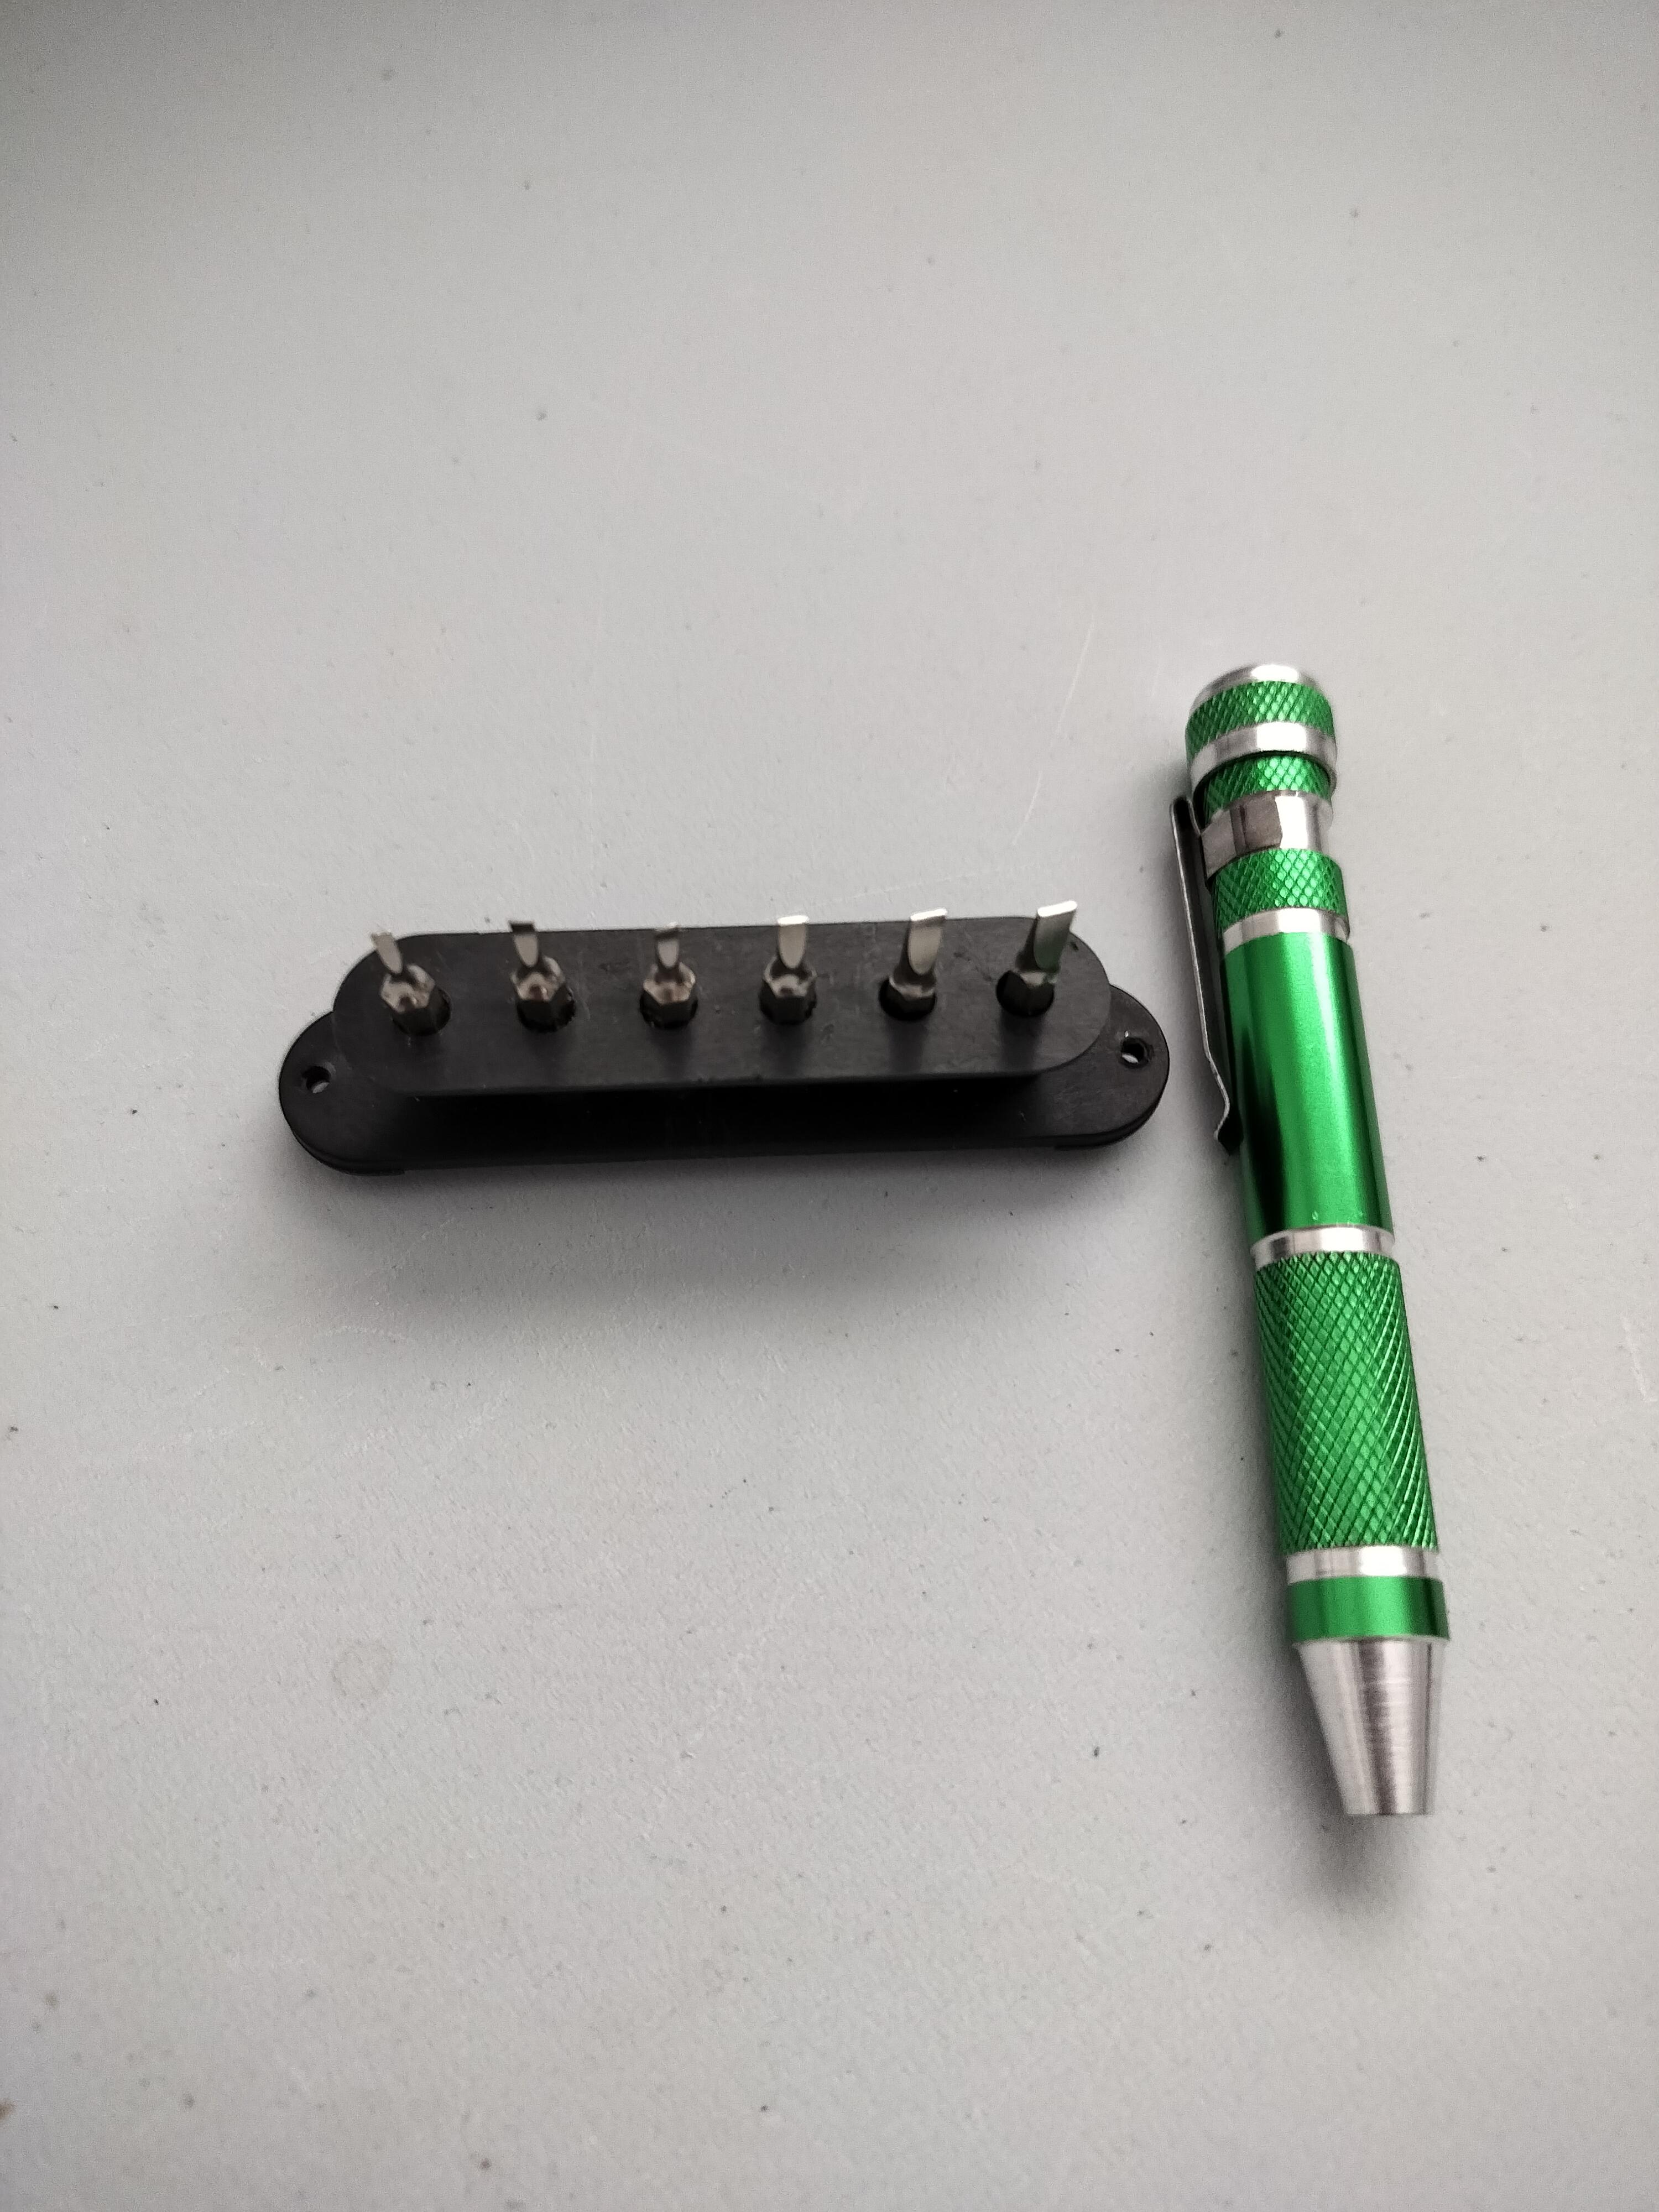


Your bit holder is more or less ready at this point! The pickup should have a big strip magnet along the back of it which holds the bits when dropped in. I've included a few pics with a compatible screwdriver in the frame to prove there are no camera tricks here. You can hold the pickup upside down and bits won't fall out. I have a part of wall with metal framing that I can stick it to, which is something you could try out with a metal toolbox, garage fridge, etc.
Optionally, you can add the white plastic part of the pickup back on. That's shown in the cover photo, although it's not screwed together as I'd require a new screw/bolt and nut rather than the original. Easy to find, but I didn't bother due to the unfortunate yellowing of the plastic, preferring the bare look.
Bonus! Alternate Concept


These pictures are a brief glimpse of an alternate concept I built for this project. This is actually what I did before the guitar pickup idea came to me. Two Instructables in one, is that allowed?
It consists of two 3D printed parts and a magnet. The first part is a cylinder with 6, 7 or 8 outer holes for the bits, and a larger inner hole. In the inner hole, I slipped a cheap disc magnet of the correct diameter. The other 3D printed part is a similarly-sized plastic disc to hide the magnet. I recall that by iteratively printing these discs I could get just the right size to fit snugly via tension alone, no adhesion required.
This version is a bit more compact than the guitar pickup, although the pickup has a stronger magnet. I also have the capability to store 7 or 8 bits with this, but more bits even further strains the magnet and makes it harder to hold upside down or mount sideways.
I think this project is a good use of a guitar pickup if you happen to have a cheap beat-up guitar lying around, but I wouldn't recommend buying one just for it. Likewise, if you already have a 3D printer, it's a quick and inexpensive print, but probably not worth a printer itself. What are some ways this could be improved upon? Can you come up with a less cost-prohibitive version of the concept? Maybe something as simple as a block of wood with holes drilled and a magnet mounted?