HEX Holders (Fusion 360 Tutorial)
by 3llogical in Workshop > Organizing
2539 Views, 36 Favorites, 0 Comments
HEX Holders (Fusion 360 Tutorial)

Looking for stylish way to store things? Well you've come to the right place. These fancy HEX Holders stick together using the magical power of magnets. You arrange them into numerous shapes, and print more to make them bigger. Have fun mixing and matching, and storing your things at the same time too.
Materials:
- Magnets (link)
- PLA Plastic (preferably more than one color)
Creating the Design in Fusion 360


Picture 1: Create a sketch of the containers floor. You can make this bigger or smaller. Add a offset for the wall also.
Picture 2: Extrude the offset upwards to make the wall of the container.
Picture 3: Extrude the entire sketch downwards to make the floor of the container.
Picture 4: Add fillets to make the container look nicer.
Picture 5: Create a sketch on the wall of one of the sides. Add a circle the size of your magnet in the center.
Picture 6: Extrude the circle into the wall to make a pocket for one of your magnets. Make sure it does not go all the way through.
Picture 7: Use the circular pattern tool to duplicate the feature onto 3 or 6 of the other sides depending on how many magnets you want to use.
Printing Them Out


This is the hardest part because you have to wait for them to be done. I printed mine at .2 layer height and they turned out great. Remember to use stick on the bed so that they stick down. You will probably want to wash the glue off the bottoms when they are done though.
Gluing in the Magnets


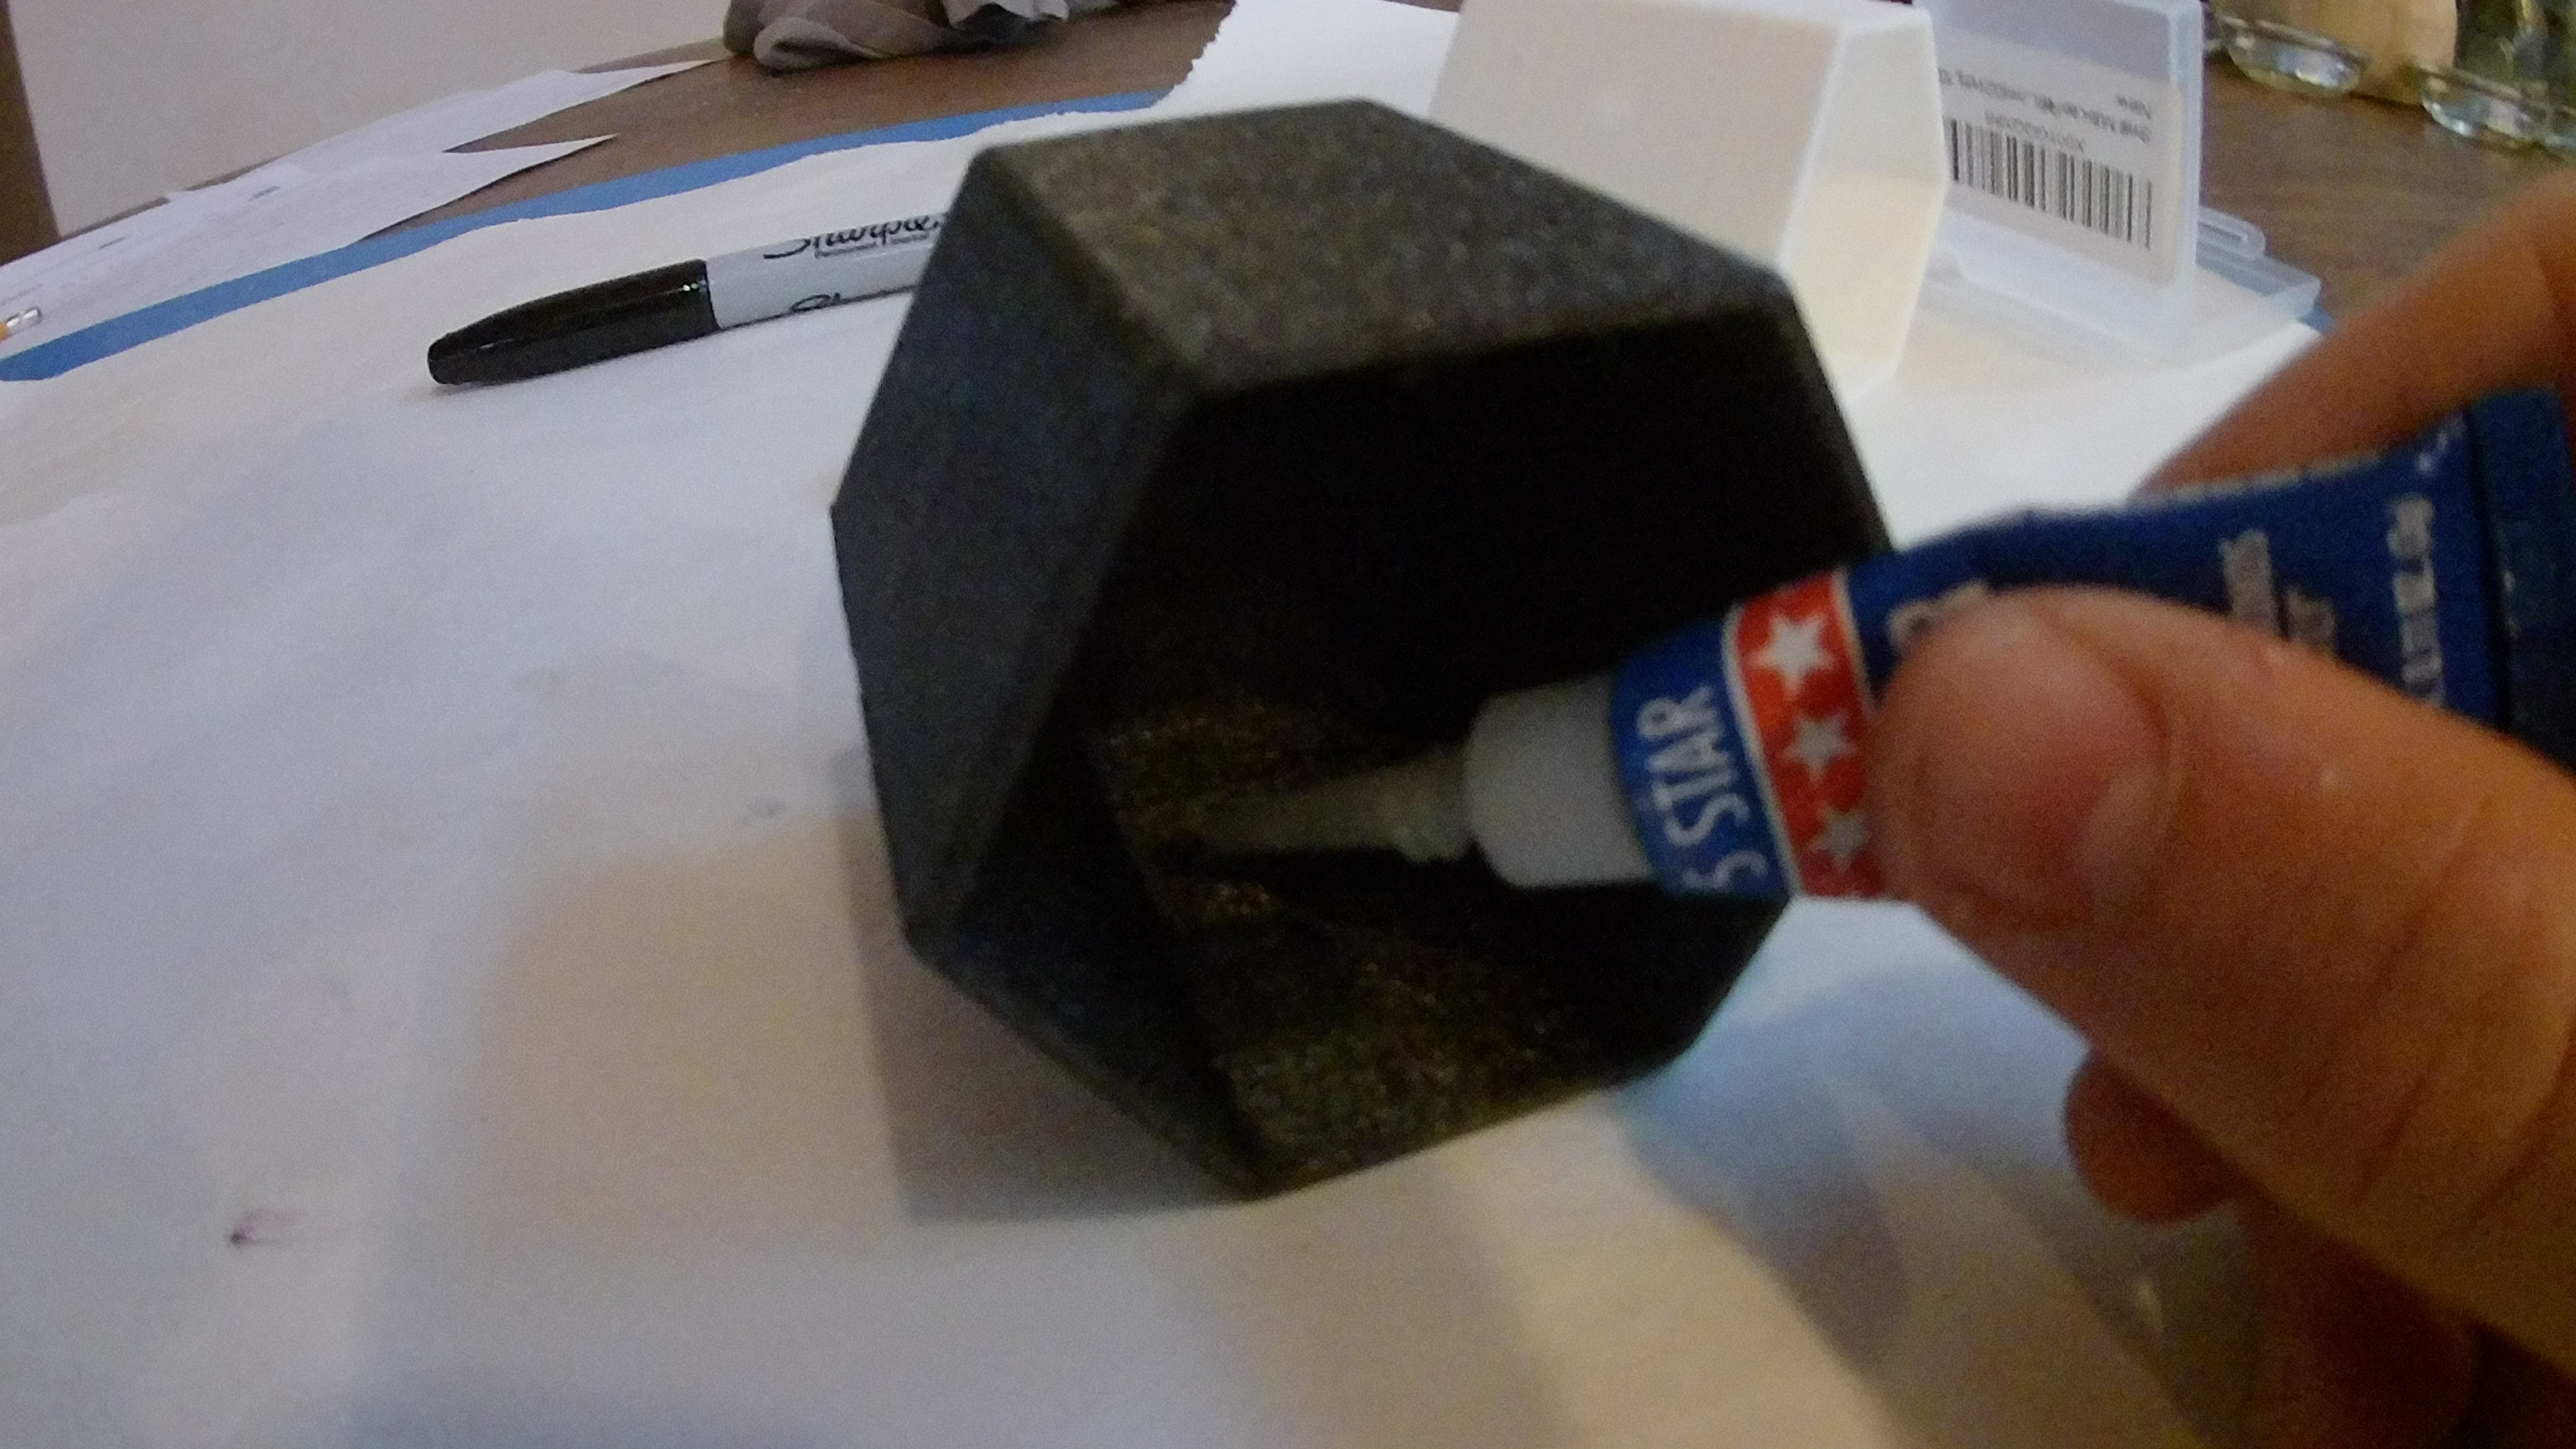
This part can be a little tricky because the magnets can have a mind of their own. If you are not careful, they will go in the wrong way and your containers wont stick together. That's why I marked the right side of the magnets beforehand with sharpie. This minimizes the risk of messing up greatly. I made the white containers stick to the black containers and vise versa, but you can do whatever you want.
Done!


Wow! Just like that and you are done. Hopefully you liked making this project, and have fun playing around with it afterwards. Remember, you can always print more if you want to. I look forward to seeing the crazy shapes that people make and if you enjoyed this project be sure to leave a like and vote for me in the organization competition. Thank you.