HackerBox 0129: Orbital
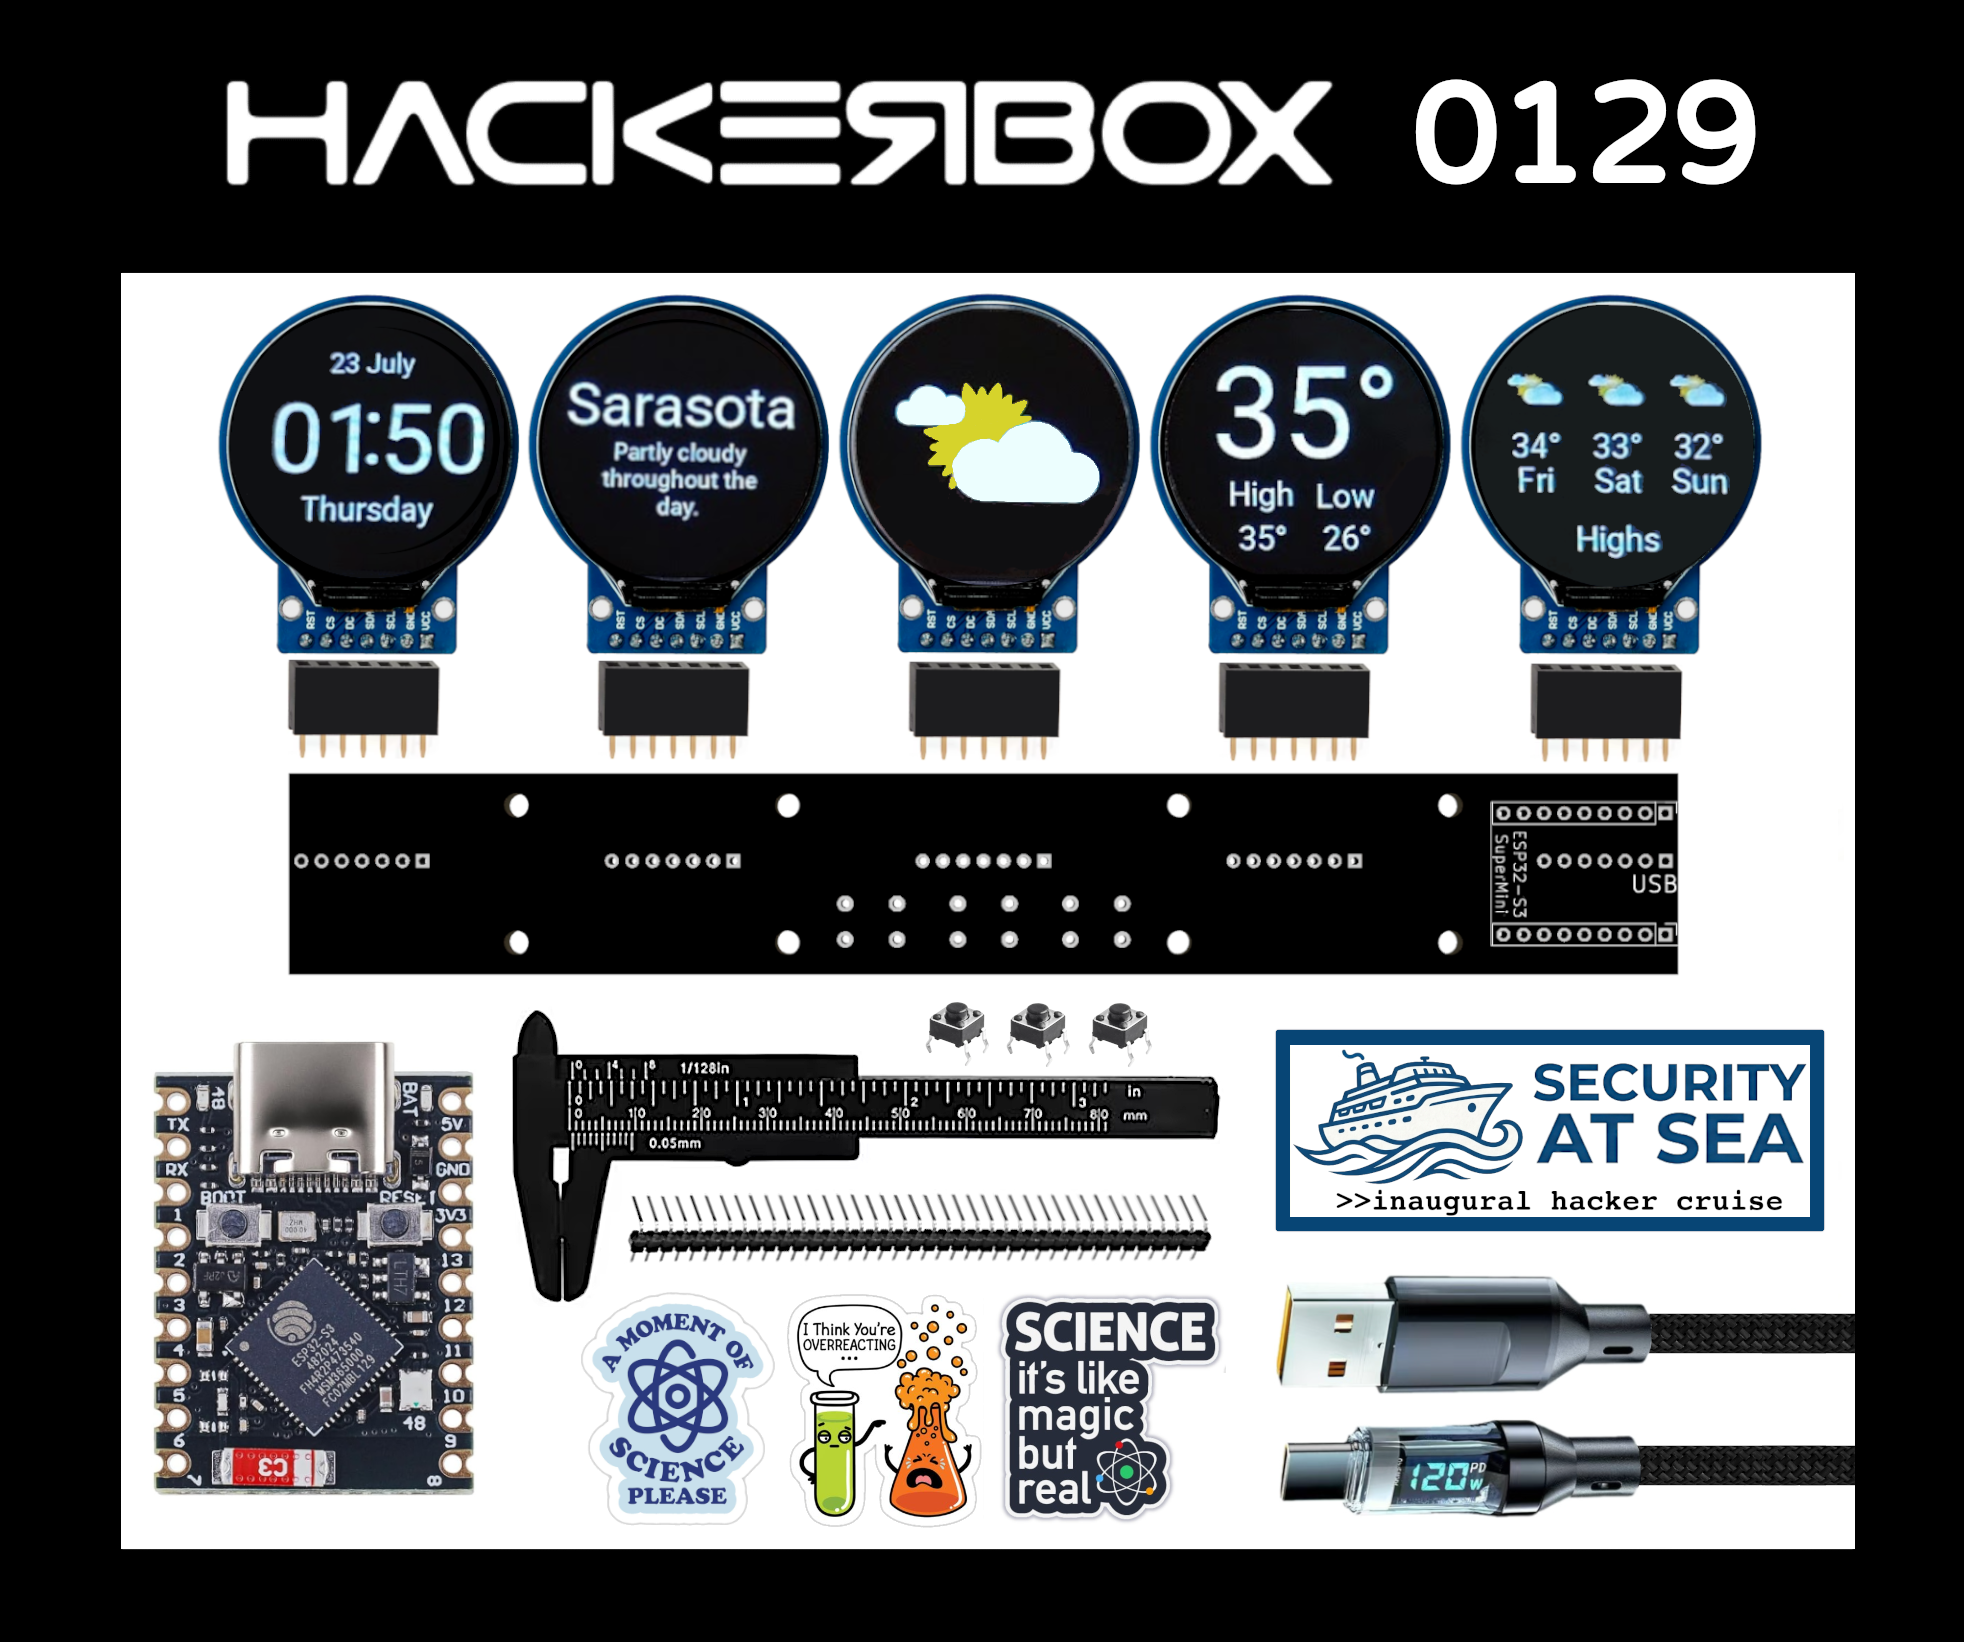
Welcome to HackerBox 0129. Assemble the HackerBox Orbital hardware leveraging five round GC9A01A display modules and an ESP32-S3 microcontroller. Install and configure both the Arduino IDE and the PlatformIO IDE for development targeting the highly-integrated Wi-Fi enabled ESP32-S3 SuperMini development board. Adapt existing libraries and projects leveraging one or more round GC9A01A display modules to run on the HackerBox Orbital hardware.
There is a wealth of information for current and prospective members in the HackerBoxes FAQ. Almost all of the non-technical support emails that we receive are already answered there, so we'd really appreciate it if you can take a few minutes to read the FAQ.
Supplies
This Instructable contains information for getting started with HackerBox 0129. The full box contents are listed on the product page for HackerBox 0129 where the box is also available for purchase while supplies last. If you would like to automatically receive a HackerBox like this right in your mailbox each month, you can subscribe at HackerBoxes.com and join the party. Subscription members save at least $15 every month and automatically receive each new HackerBox shipped immediately off the production line.
A soldering iron, solder, and basic assembly tools are generally needed to work on the monthly HackerBox. A computer for running software tools is also required. Have a look at the HackerBox Workshops for tools and supplies along with a wide array of introductory activities and experiments.
The most import thing you will need is a sense of adventure, hacker spirit, patience, and curiosity. Building and experimenting with electronics, while very rewarding, can be tricky, challenging, and even frustrating at times. The goal is progress, not perfection. When you persist and enjoy the adventure, a great deal of satisfaction can be derived from this hobby. Take each step slowly, mind the details, and don't be afraid to ask for help.
WEAR SAFETY GLASSES WHEN SOLDERING, WHEN TRIMMING WIRE LEADS, OR WHEN CUTTING, DRILLING, ETC.
ESP32-S3 SuperMini Development Board
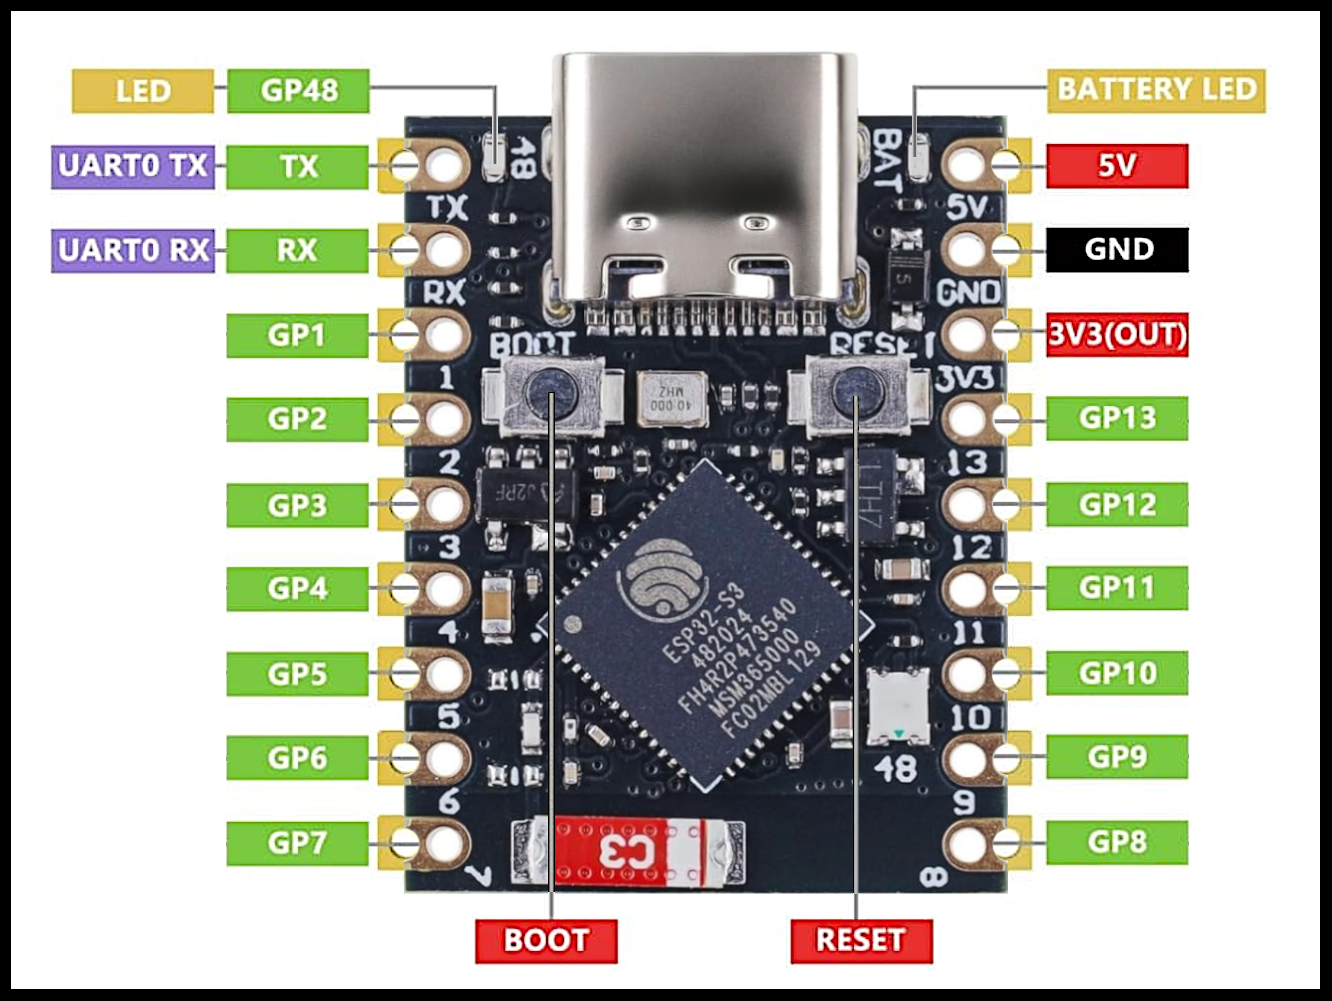
Ultra-small ESP32-S3 SuperMini development board is designed for compact applications, offering powerful performance in a minimal footprint. Ideal for portable and space-constrained projects. The ESP32-S3 has support for vector instructions in the MCU, which provides acceleration for neural network computing and signal processing workloads.
There are three LEDs on the development board:
- BLUE – connected to the battery charger - no GPIO control
- RED – connected to GPIO 48 - flashes while sending data to the RGB LED
- RGB – addressable RGB LED (WS2818) also connected to GPIO 48
PRIOR TO SOLDERING, Power up the Core Board and Load a Test Program
Power the ESP32-S3 SuperMini through the USB port. A red LED should illuminate and a blue LED should be blinking.
If necessary, install the Arduino IDE.
Within the IDE, use Tools > Board > Boards Manager to search for ESP32 (by Espressif Systems). Select that board package and hit install.
Select Settings:
Tools > Board > esp32 > ESP32S3 Dev Module
Tools > Port (COM port that appears when the board is connected)
DEMO SKETCH FOR RED LED
File > Examples > Basics > Blink
Add the line #define LED_BUILTIN 48 at the top of the sketch
Compile an upload the sketch to the the board.
If the programming process has a connection error, force the development board into bootloader mode:
- Hold down the BOOT button
- Press the reset (RST) button
- Release the RST button
- Release the BOOT button
- Try to program the sketch again
If everything is in order, the red onboard LED (GPIO 48) will blink.
After programming, you may need to reset the development board (press the RST button) to force a restart.
DEMO SKETCH FOR RGB LED
File > Examples > ESP32 > GPIO > BlinkRGB
This example cycles colors on the onboard RGB LED (GPIO 48) similar to the factory loaded example, but you can change the timing and/or colors in the sketch code, compile/upload again, and see that the loaded code is executing according to your modifications.
Assemble the Orbital Hardware
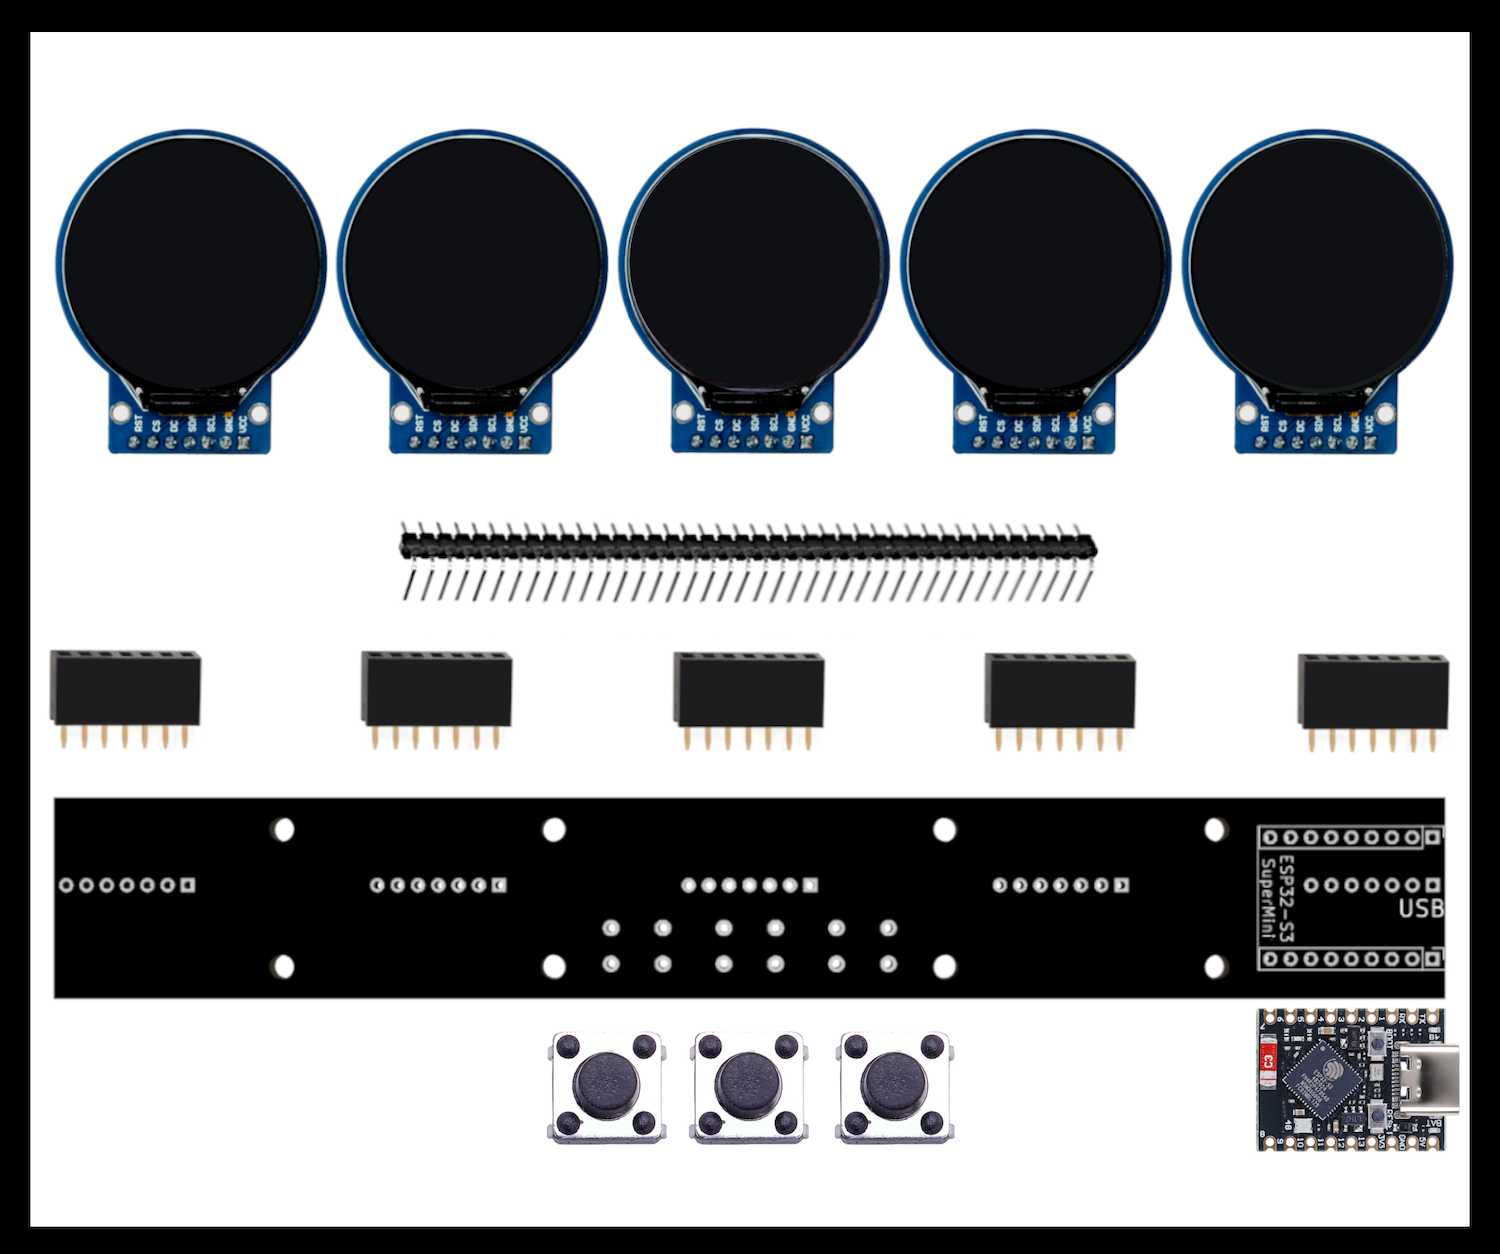
Simply follow the ten steps listed below, but pay special attention to the following two warnings:
- Solder the 1x7 Pin Female Headers BEFORE soldering the ESP32-S3 Dev Board
- Double check the white silkscreen markings on the PCB to place components on the CORRECT SIDE
Ten Assembly Steps
- Start with the HackerBoxes Orbital PCB
- Flip it so that the text "ESP32-S3" and "USB" are facing away and ARE NOT VISIBLE
- Solder a Female 1x7 Pin Headers into one set of the PCB holes surrounded by a long white rectangle
- Repeat the last step for the other four 1x7 Pin Female Headers
- Solder the three Tactile Pushbuttons onto that same side of the PCB (not with the "ESP32" text)
- Flip the PCB over so the text "ESP32-S3" and "USB" are now facing up and are visible
- Solder the ESP32-S3 Dev Board with the USB connector oriented toward the board edge
- Cut loose seven pins of the Right Angle Male Header and solder the short pins into the front side of a Round Display Module such that the long pins extend parallel to the display
- Repeat the last step for the other four Round Display Modules
- Insert the Display Modules into the Female Headers with the glass surface of each display facing the three pushbuttons
Graphics Display Demo and 3-D Stand
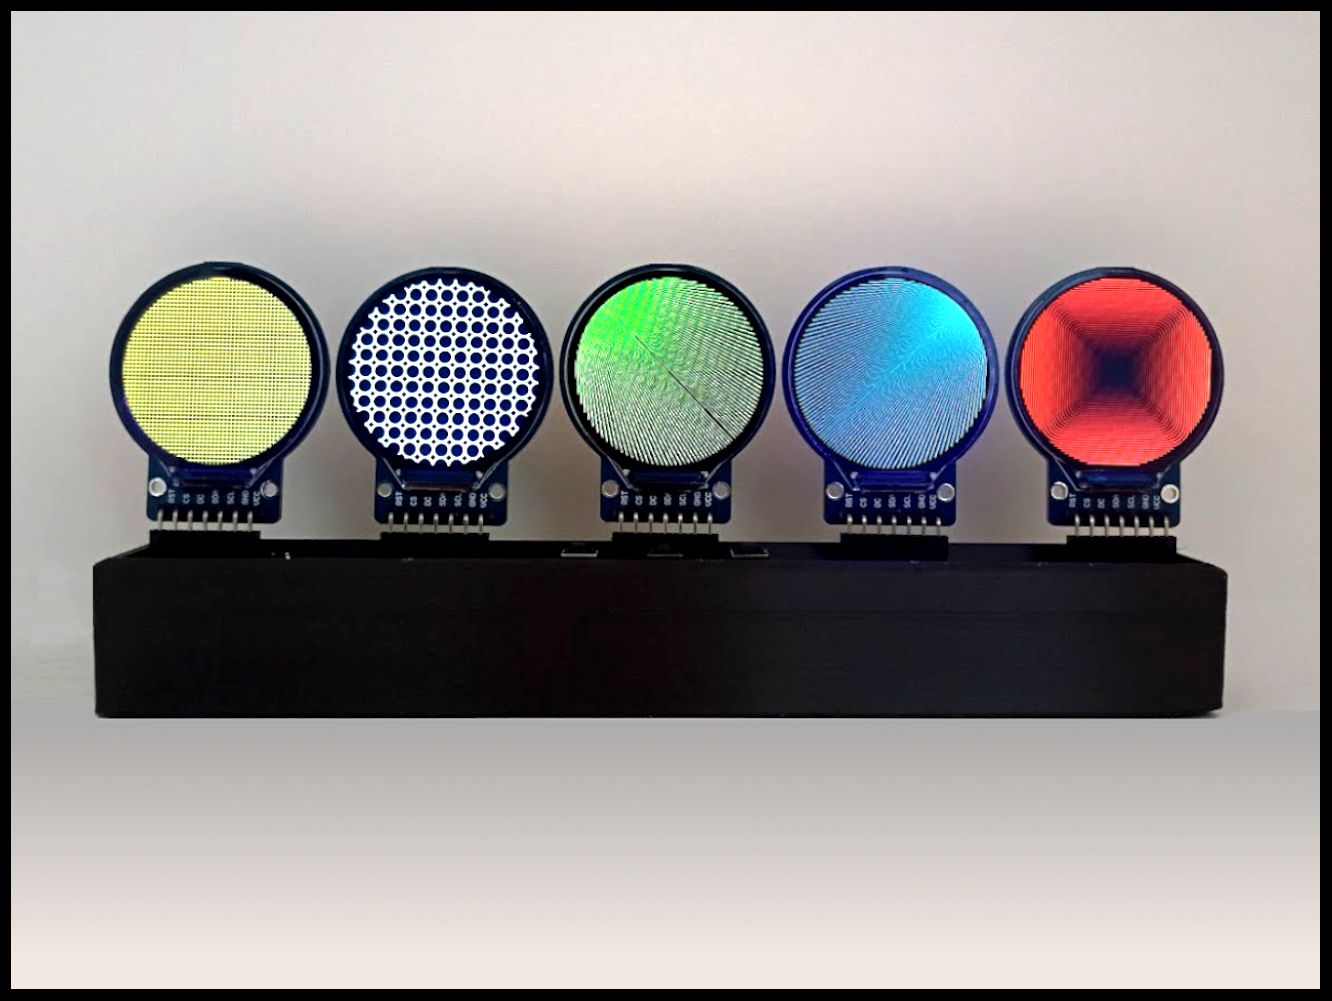
Graphics Display Demonstration
- Use the Arduino IDE Library Manager to search for, and install, the Adafruit_GC9A01A Library including all dependancies
- Grab the attached sketch orbital_graphics.ino
- Compile and upload the sketch to the ESP32-S3 Dev Board
The visual effects were adapted from the graphicstest.ino example that comes with the Adafruit GC9A01A Library.
3-D Printed Stand
Cadet Major Neil Long of the Sarasota Military Academy recently completed his seventh grade studies and is active in Boy Scout Troop 77 of Southwest Florida. Over the past year, Neil has been learning to use CAD software and he has been experimenting with 3-D printer technology. His attached Orbital_Stand.stl file fits the HackerBox Orbital PCB very nicely as illustrated in the image above.
PlatformI0
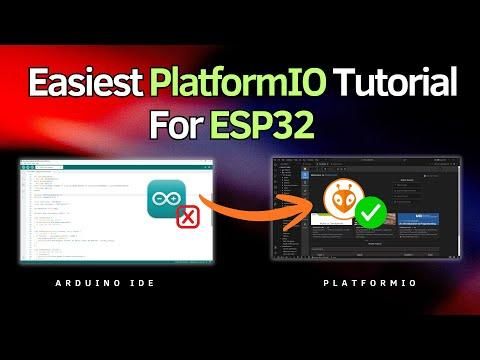
PlatformIO is "a user-friendly and extensible integrated development environment with a set of professional development instruments, providing modern and powerful features to speed up yet simplify the creation and delivery of embedded products."
A lot of HackerBoxers already use PlatformIO. It has a lot of nice features and is particularly powerful with regard to library management.
Instructions for flashing the Info Orbs project (presented in the next step) will lead you through installing and configuring PlatformIO, so if you haven't tried it out yet, now's the time!
Info Orbs + Additional Projects
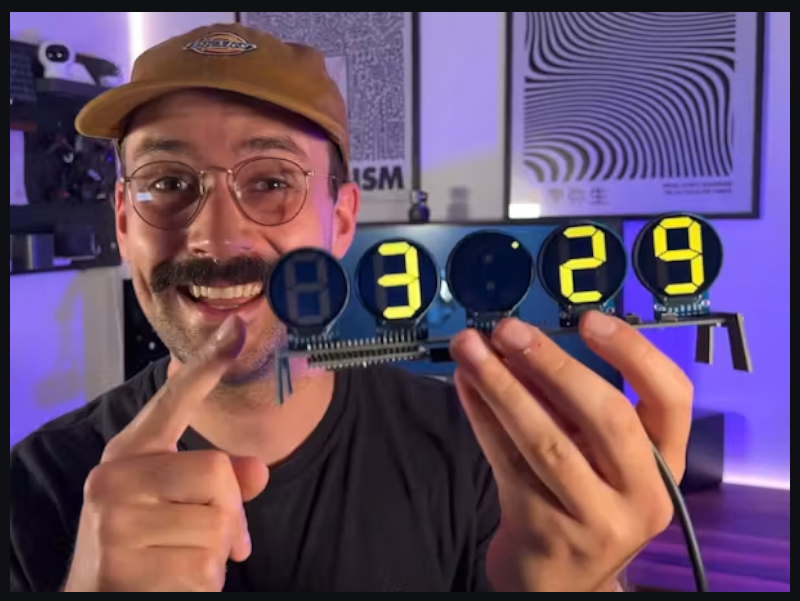
The HackerBox Orbital project was originally inspired by the very cool Info Orbs from Brett Turner (brett.tech). The Orbital project employs a different microcontroller (ESP32-S3 vs ESP32) and thus has a different PCB layout and different IO pin assignments.
The Info Orbs firmware can be run, with just some simple changes, on the HackerBox Orbital hardware.
You can follow the Info Orbs Firmware Install Guide, which begins with instructions for installing and configuring PlatformIO.
At the point where the instructions have you edit config.h (currently Step 15), also update the pin definitions like so:
After updating config.h, open the file platformio.ini and change the env block to:
Continue to follow Brett's instructions to flash the microcontroller and update your Wi-Fi configuration.
ADDITIONAL PROJECTS
There are a number of additional existing projects that leverage one or more round GC9A01A display modules. Some that might be interesting to adapt for the HackerBox Orbital hardware include...
Amulet of Entropy (HackerBox #0080)
Vernier Calipers

A vernier scale, named after Pierre Vernier, is a visual aid to take an accurate measurement reading between two graduation markings on a linear scale by using mechanical interpolation, which increases resolution and reduces measurement uncertainty by using vernier acuity. It may be found on many types of instrument measuring length or angles. The vernier is a subsidiary scale replacing a single measured-value pointer, and has for instance ten divisions equal in distance to nine divisions on the main scale. The interpolated reading is obtained by observing which of the vernier scale graduations is coincident with a graduation on the main scale, which is easier to perceive than visual estimation between two points. (Wikipedia)
See also: How to Read a Vernier Caliper (Instructable)
Halcyon + on + On
 (1994))
Orbital (Wikipedia) is an English electronic music duo consisting of brothers Phil and Paul Hartnoll. The band's name is taken from Greater London's orbital motorway, the M25, which was central to the early rave scene during the early days of acid house. Additionally, the cover art on three of their albums showcase stylized atomic orbitals.
Many in our community know the Orbital track Halcyon + On + On as the intro theme in the movie HACKERS.
There Will Come a Time is a beautiful and darkly moving piece. How does that make you feel?
Orbital's debut single Chime was named the number two Best Dance Music Track in History by LA Weekly.
Here at HackerBox HQ, Orbital's 1994 album Snivilisation (video above) is a frequent favorite.
Disambiguation: The Orb, possibly know best for their piece Little Fluffy Clouds, have a similar name, are also English, and are comparably quite talented, but they are in fact a different band. :)
She Blinded Me With Science
We hope you are enjoying this month's HackerBox adventures into electronics, computer technology, and hacker culture. We aim to curate a challenging and rewarding experience of learning through experimentation and exploration. Thank you for joining us on this journey.
Reach out and share your success in the comments below. Email support@hackerboxes.com anytime with questions or whenever you need some help.
Hungry for more? Surf over to HackerBoxes.com and join us as a monthly HackerBox subscription member. You'll get a cool box of hackable gear delivered right to your mailbox every month and you'll enjoy a generous member discount.
Please consider sharing this free Instructable with others who may be interested in learning about these subjects. Word of mouth advertising is the greatest compliment that we can receive. We sincerely appreciate your support.