Halo - a Modern Desk Lamp
by Next Builder DIY in Circuits > LEDs
1618 Views, 21 Favorites, 0 Comments
Halo - a Modern Desk Lamp
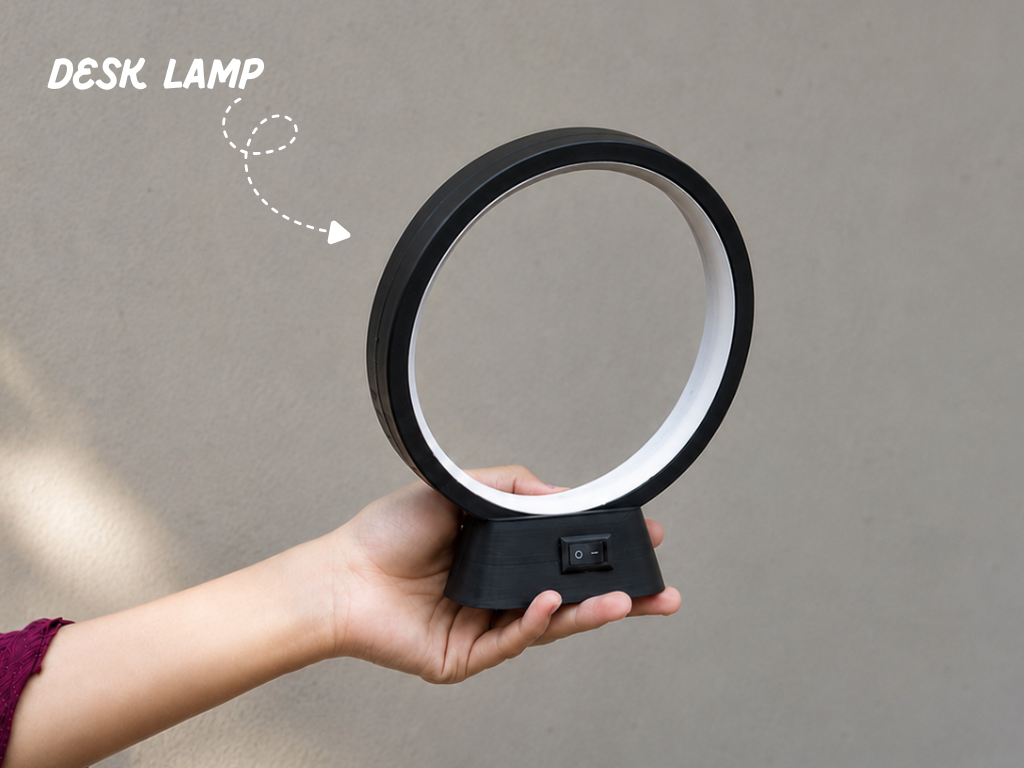
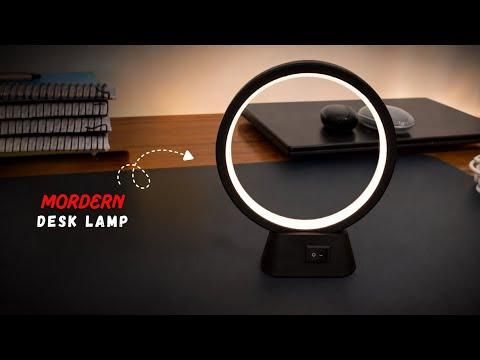
Lighting can completely transform a workspace, and Halo is designed to do exactly that. Inspired by the vibrant colors of the rainbow, Halo is a modern, rechargeable desk lamp that combines minimalist design with smooth animated lighting.
At its core is an RGB LED ring that cycles through the ROYGBIV spectrum, displaying each color for 5 seconds before seamlessly transitioning to the next. The result is a continuous rainbow effect that creates a calm and visually appealing atmosphere for your desk, bedroom, or workspace.
The lamp is powered by a rechargeable 18650 Li-ion battery and features USB Type-C charging, making it completely portable and easy to recharge. Its clean 3D-printed enclosure, simple electronics, and beginner-friendly assembly make it an enjoyable project for makers of all skill levels.
If you're looking to build a unique desk lamp with a modern appearance and colorful ambient lighting, Halo is a fun project to make.
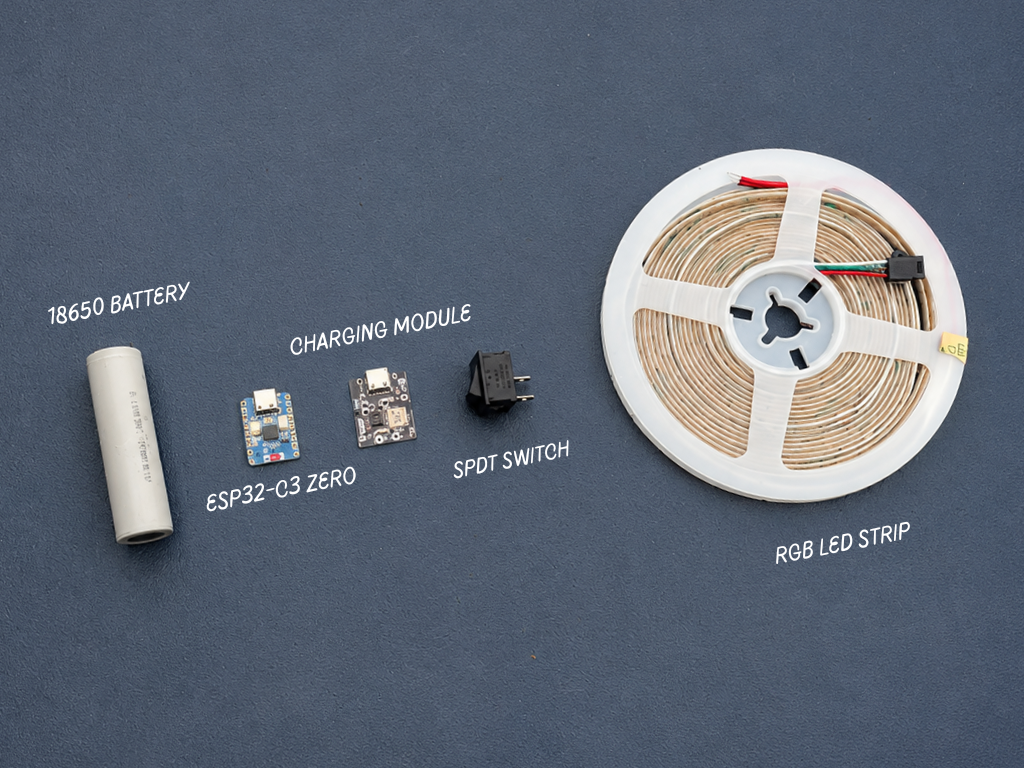
Supplies
CAD & 3D Printing
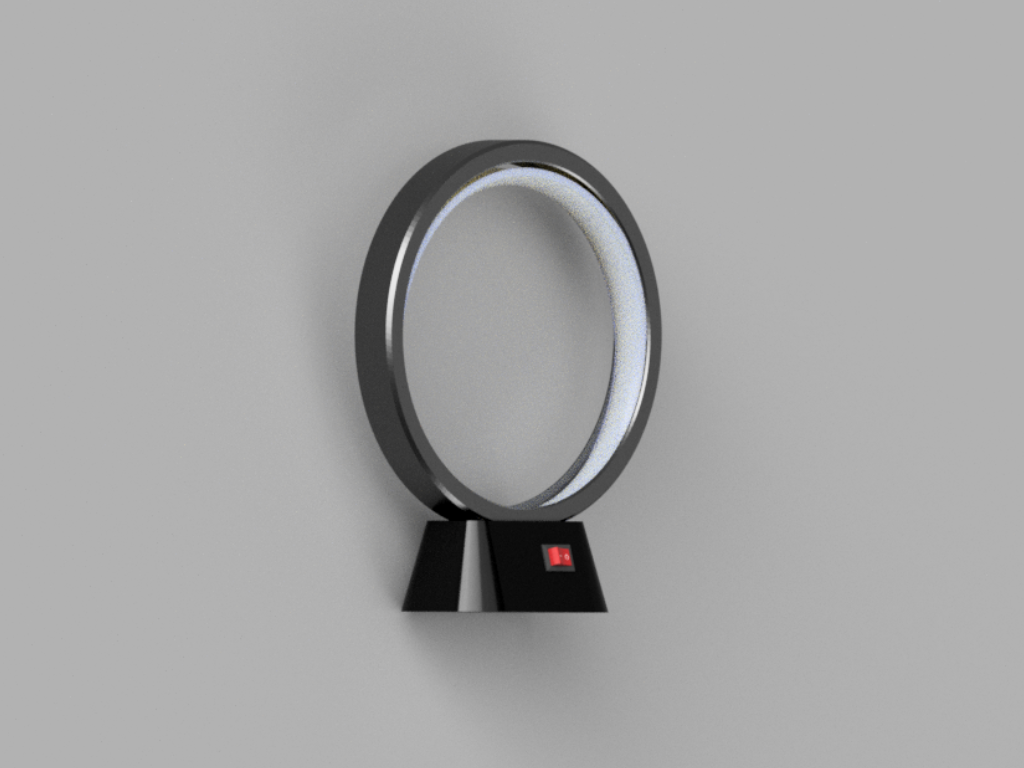
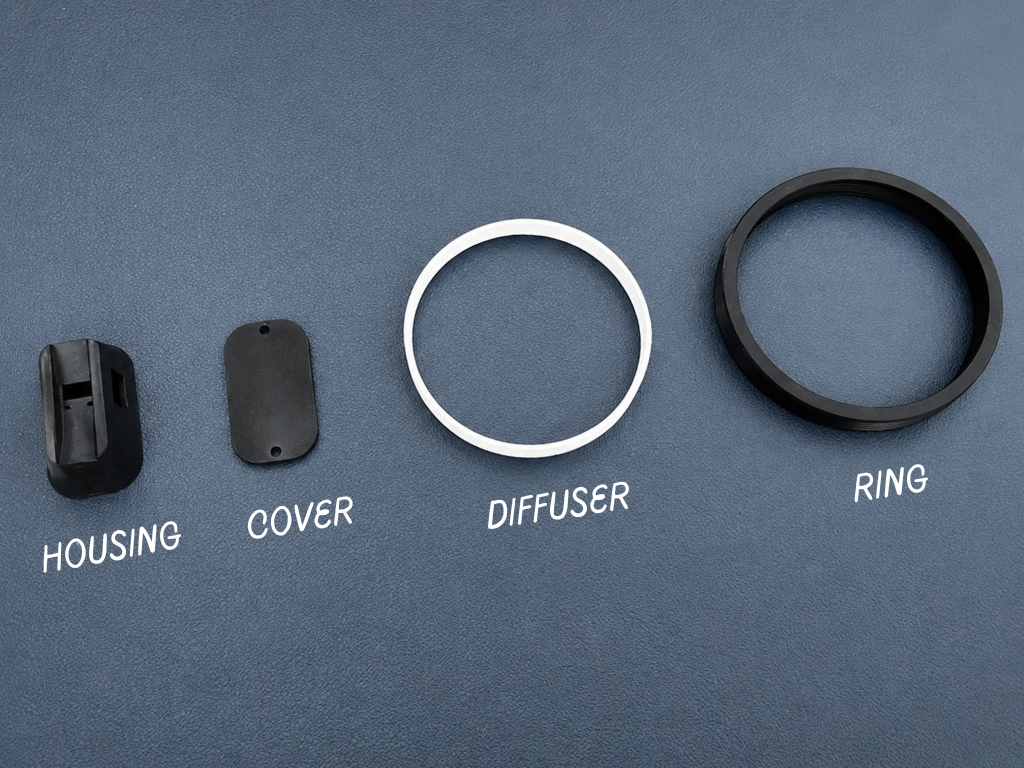
I designed the entire Halo project in Autodesk Fusion 360, keeping the design clean, compact, and easy to assemble. The enclosure consists of four 3D-printable parts;
- Housing.stl
- Cover.stl
- Diffuser.stl
- Ring.stl
Once the design was finalized, I printed all the parts using PLA filament. The structural components were printed in black PLA, while the diffuser was printed in matt white PLA to achieve soft, uniform light distribution.
You can download the STL files for direct printing or the Fusion 360/STEP files to modify the design according to your requirements.
Note: The design files are shared for personal and educational use only and may not be used for commercial purposes.
LED Strip Assembly
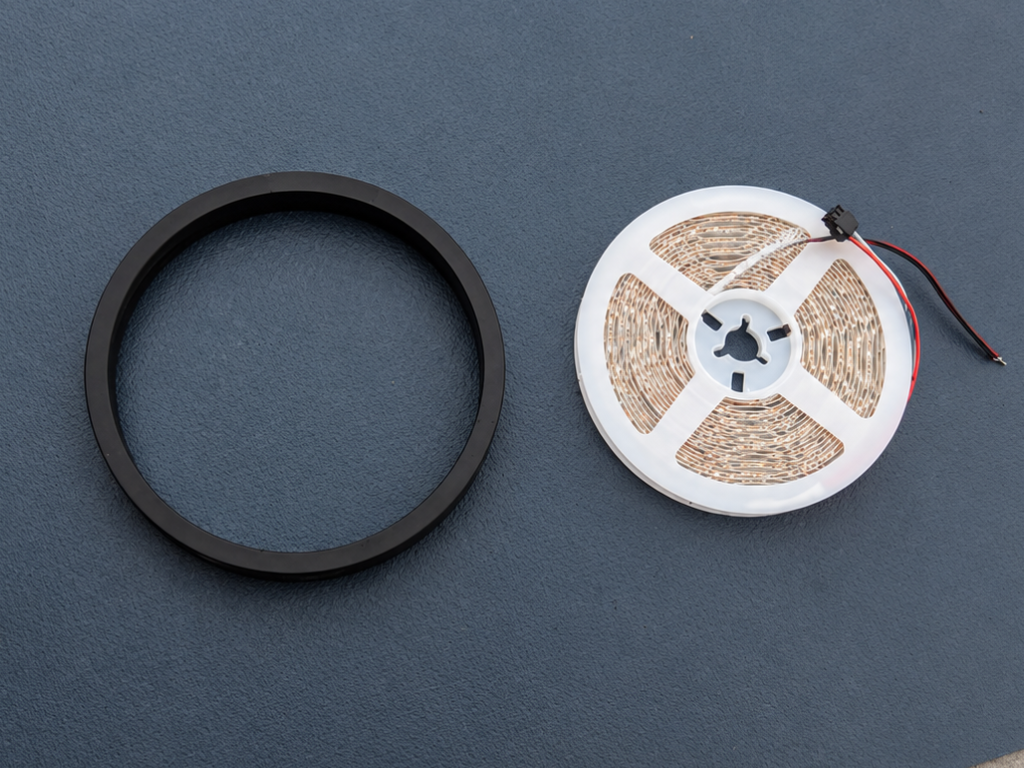
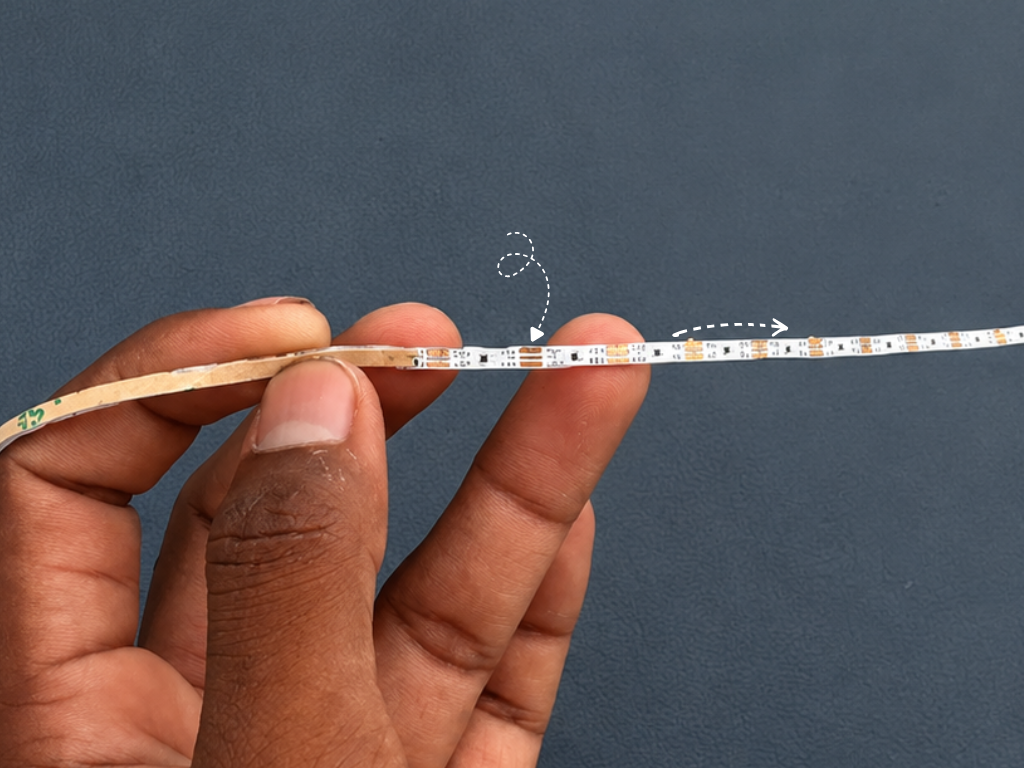
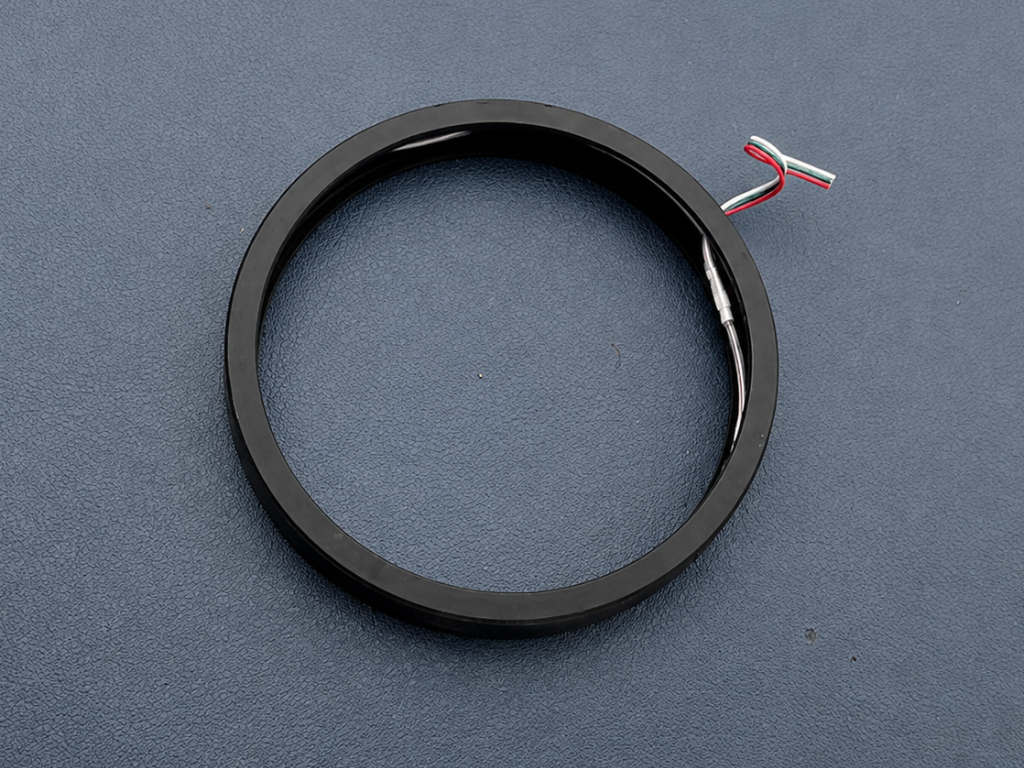
For the light source, I used the newly launched Waveshare LED Strip, which features an ultra-slim 2.7 mm profile. Its compact design makes it a perfect fit for Halo, allowing it to sit neatly inside the ring while maintaining a clean, seamless appearance.
Simply peel off the adhesive backing and carefully press the LED strip along the inner channel of the 3D-printed ring. Once the strip is securely in place, route the LED strip's connecting wires through the dedicated opening in the ring.
Installing the Diffuser
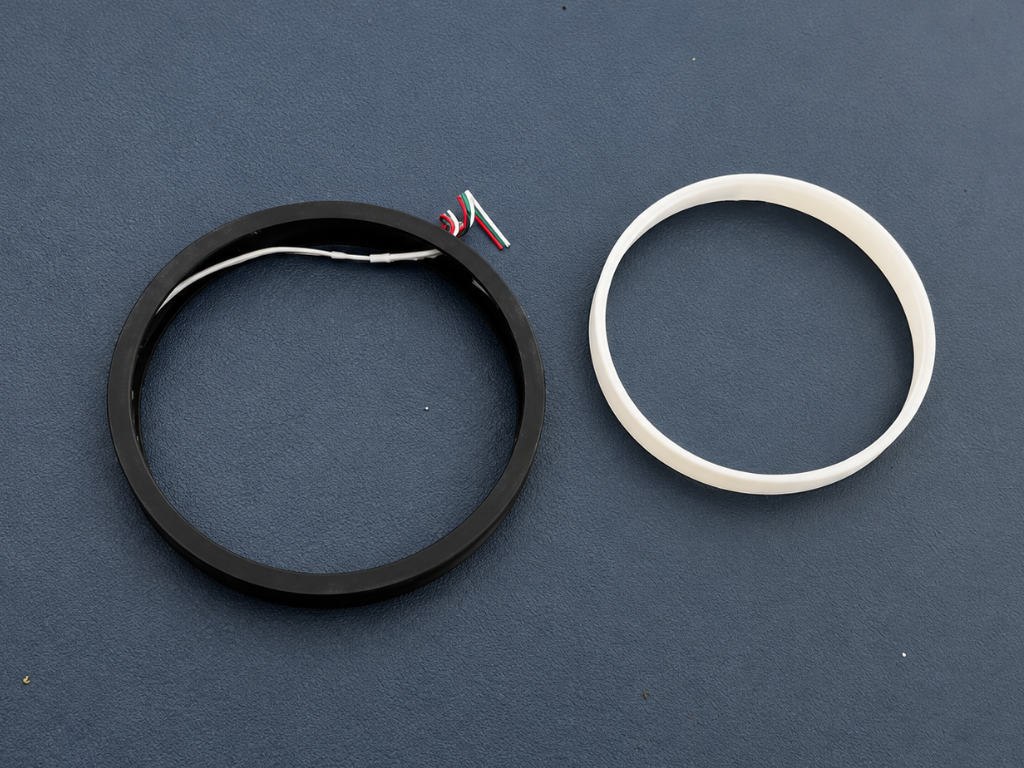
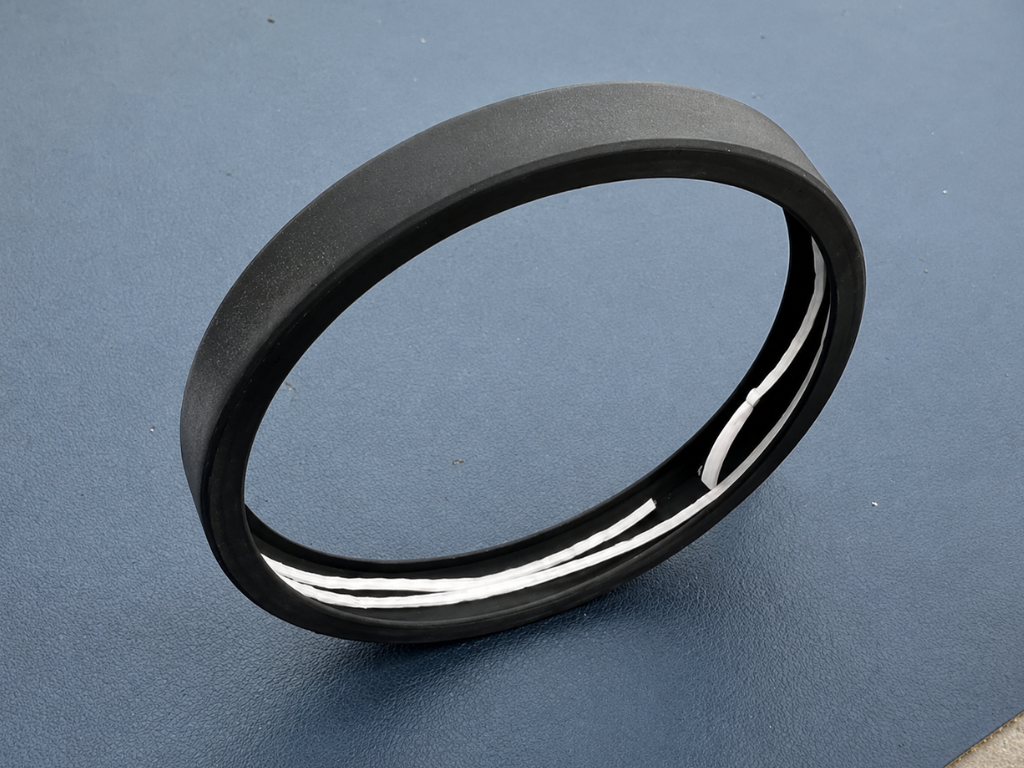
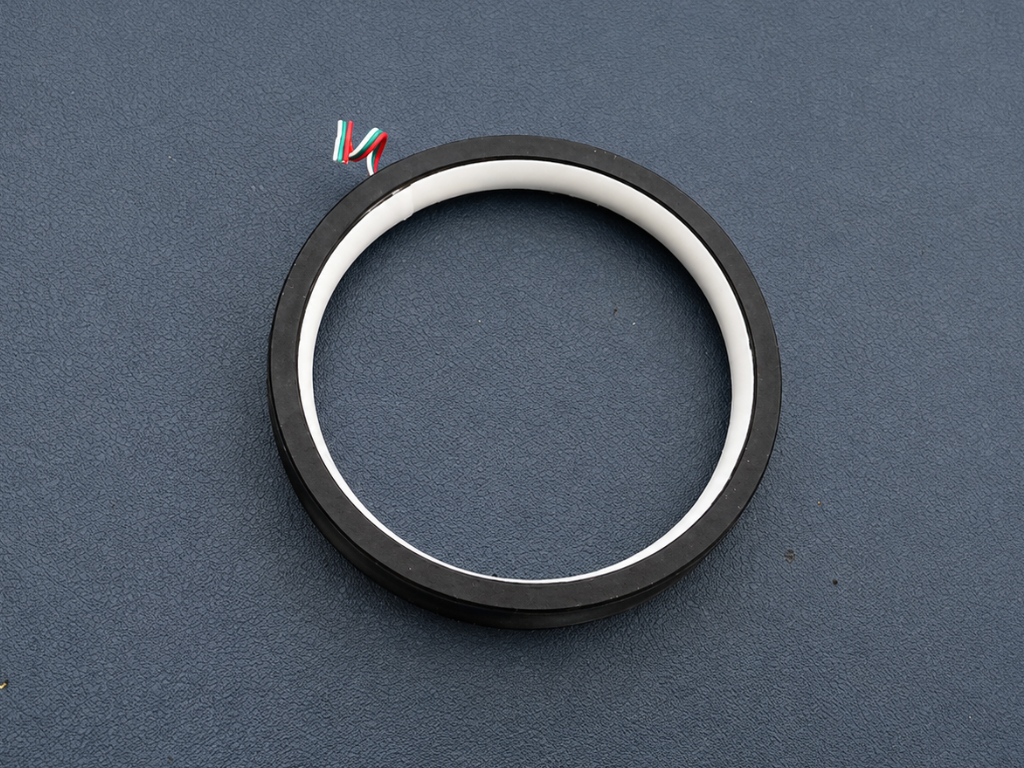
Once the LED strip is in place, carefully insert the 3D-printed diffuser into the ring. Ensure it sits evenly around the entire circumference without applying excessive force, as this helps maintain a clean fit and uniform light diffusion. Then apply a small amount of super glue at a few points along the inner edge to secure it permanently.
Battery Connection
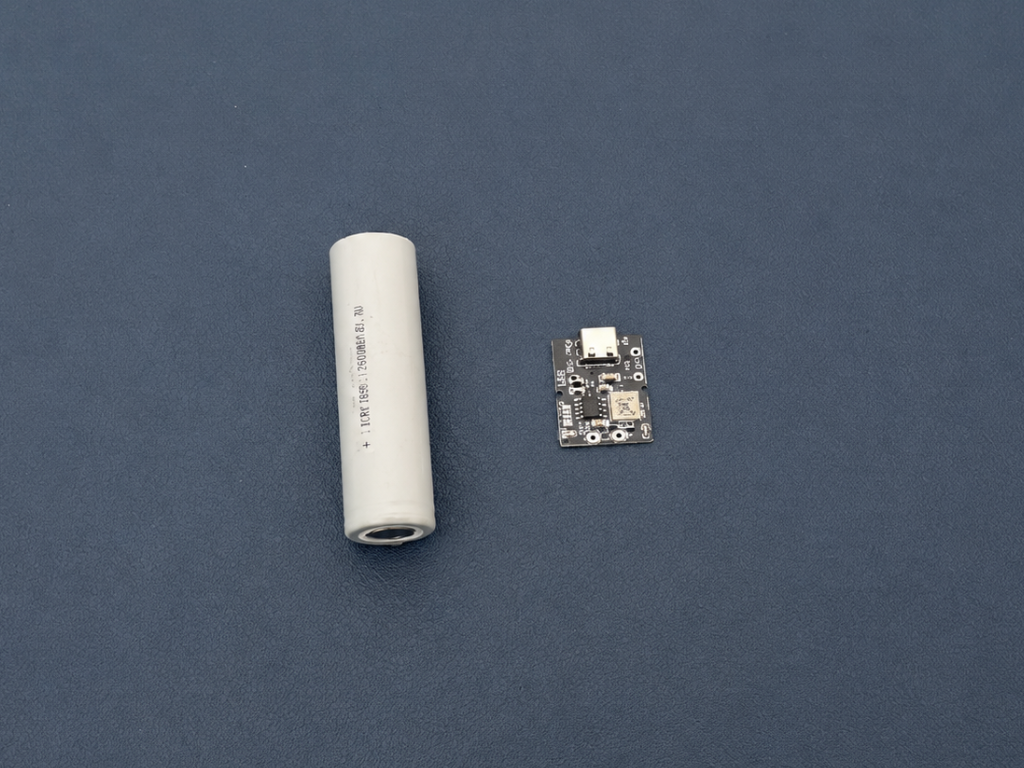
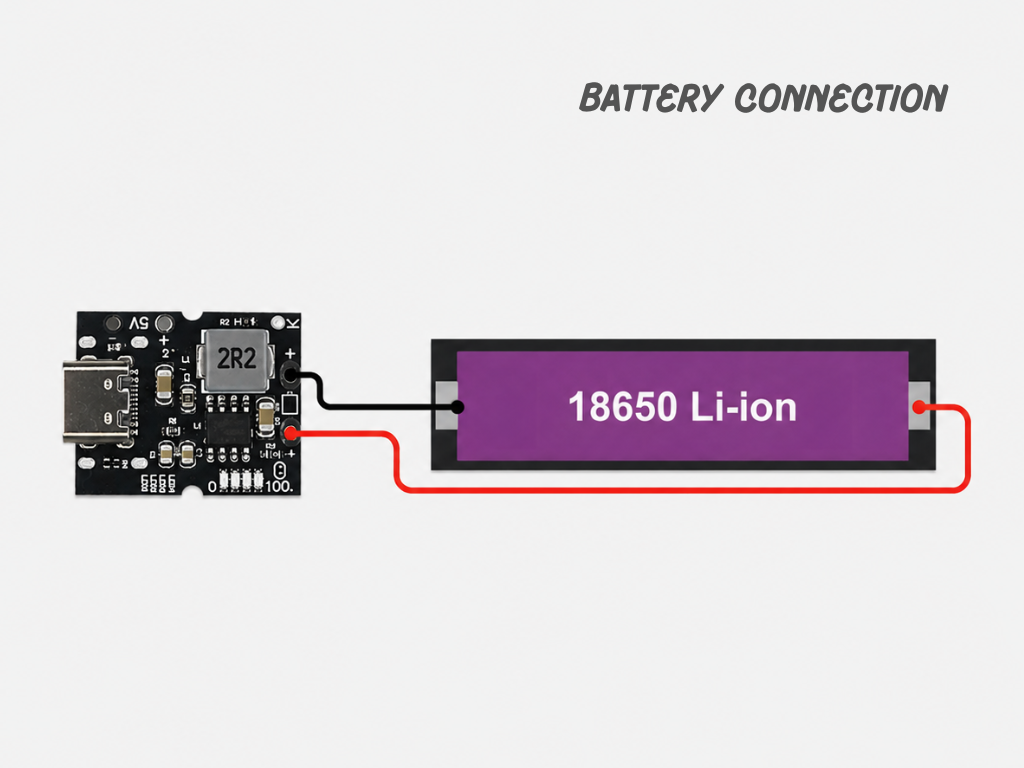
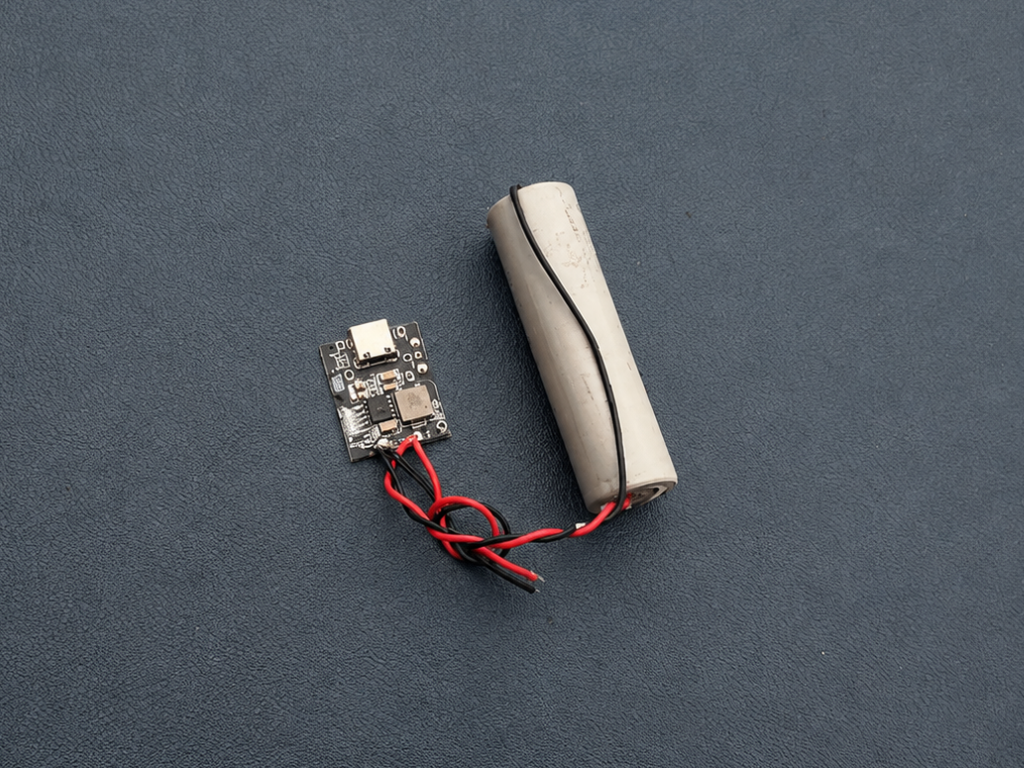
To make Halo completely portable, I powered it with a 3.7V 18650 Li-ion battery and a USB Type-C charging module, Simply solder the battery's positive (+) and negative (−) terminals to the corresponding B+ and B− pads on the charging module.
Switch Installation
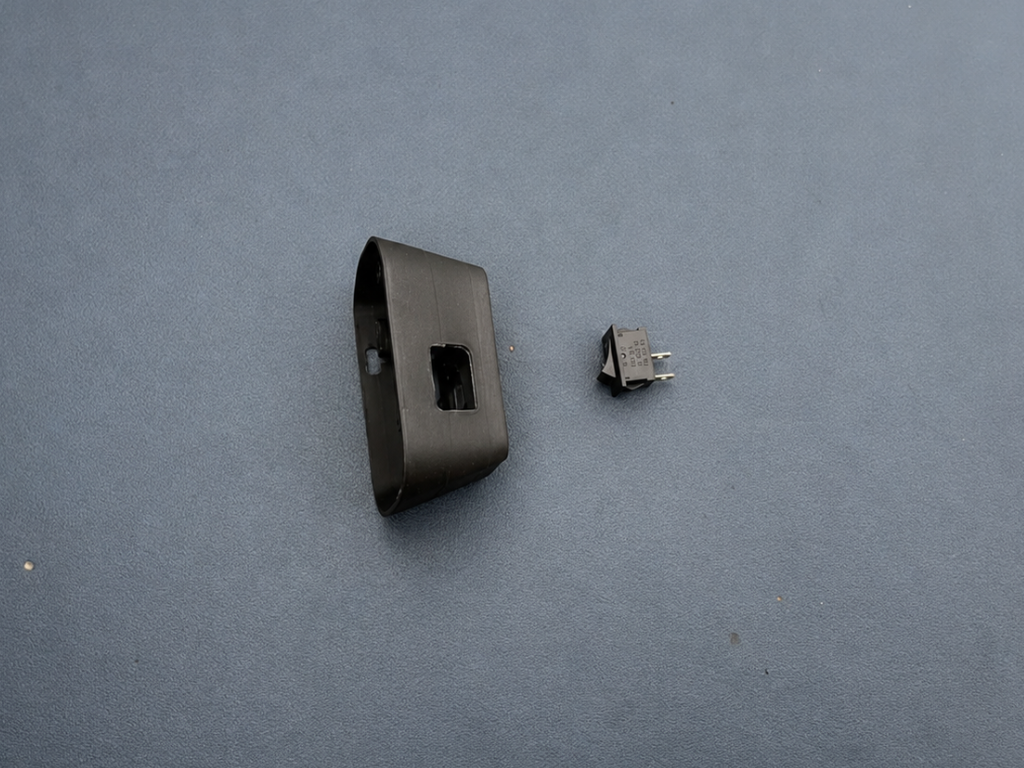
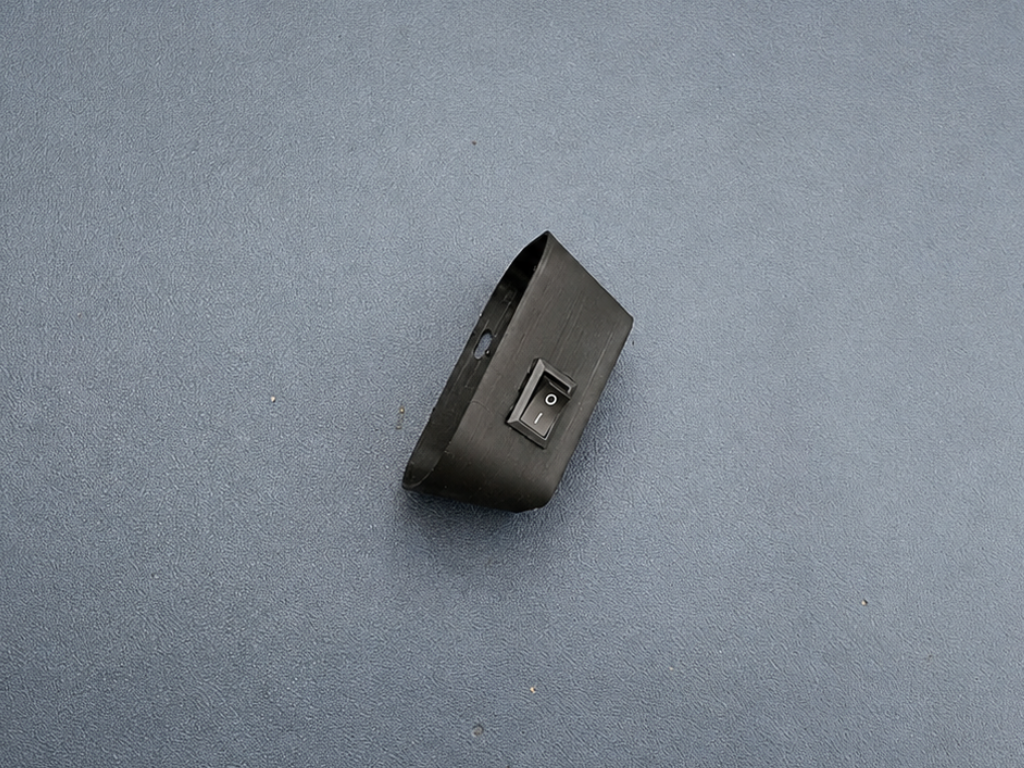
I used a compact rocker switch that fits perfectly. Simply align the switch with the opening and press it firmly into place until it snaps securely into the housing. Make sure the switch is seated properly and can move freely between the ON and OFF positions before proceeding with the wiring.
Install the Battery
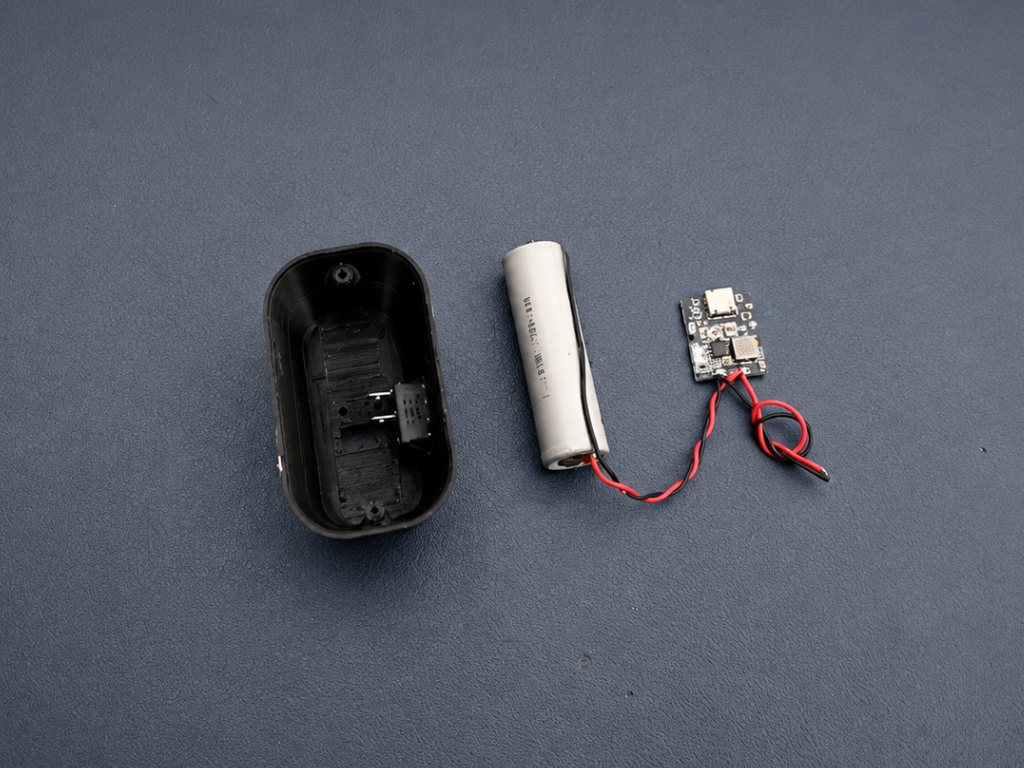
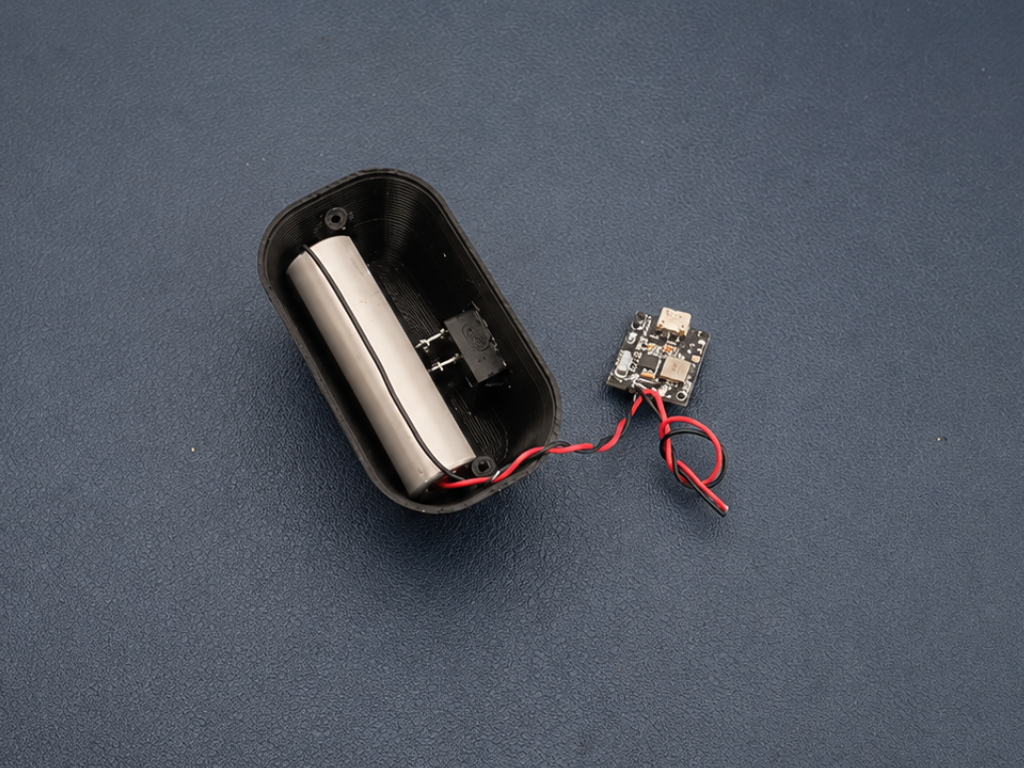
Place the 18650 Li-ion battery inside the 3D-printed housing as shown. The battery fits securely in the dedicated compartment without any modifications. Make sure the wires are routed neatly toward the charging module and are not trapped under the battery. Keeping the wires organized will make the final assembly much easier.
Install the Charging Module
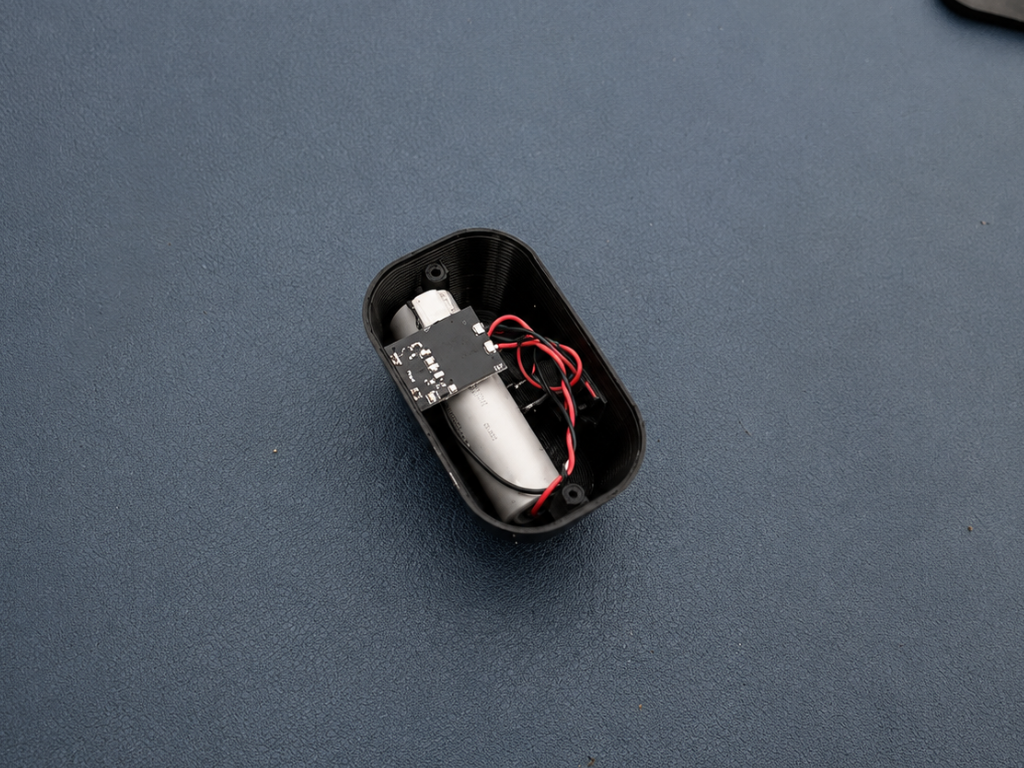
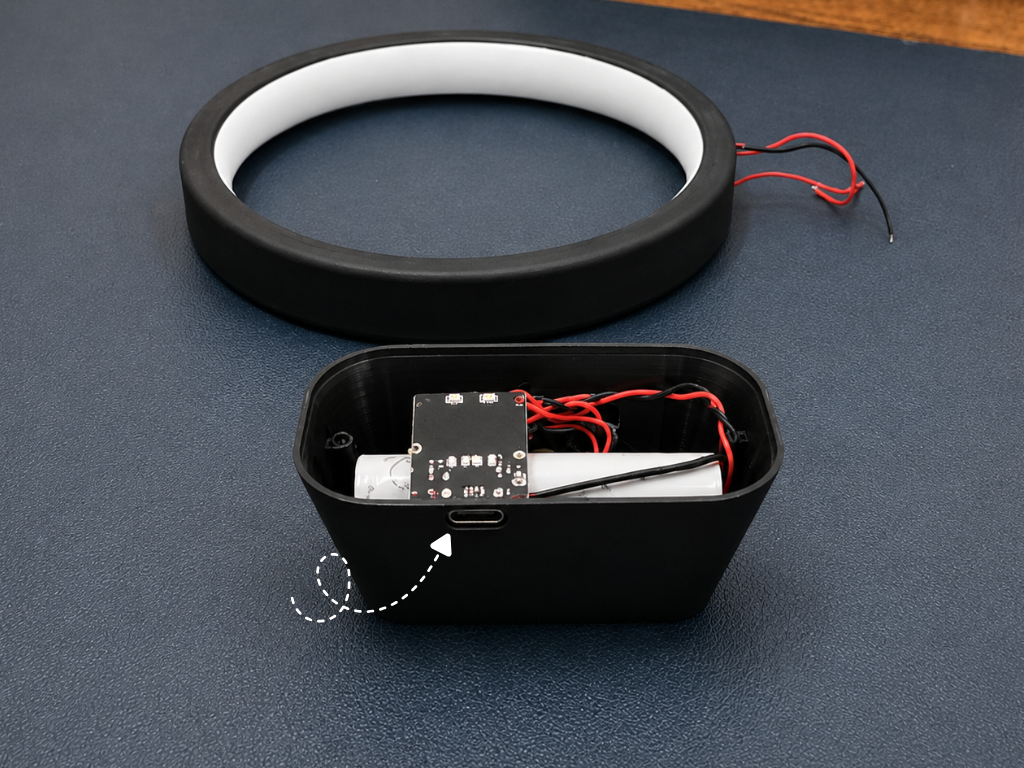
Place the USB Type-C charging module on top of the battery and align the USB port with the opening in the housing. This allows the battery to be charged easily without opening the enclosure. Make sure the module sits flat and the USB port is centered in the slot.
Make the Connections
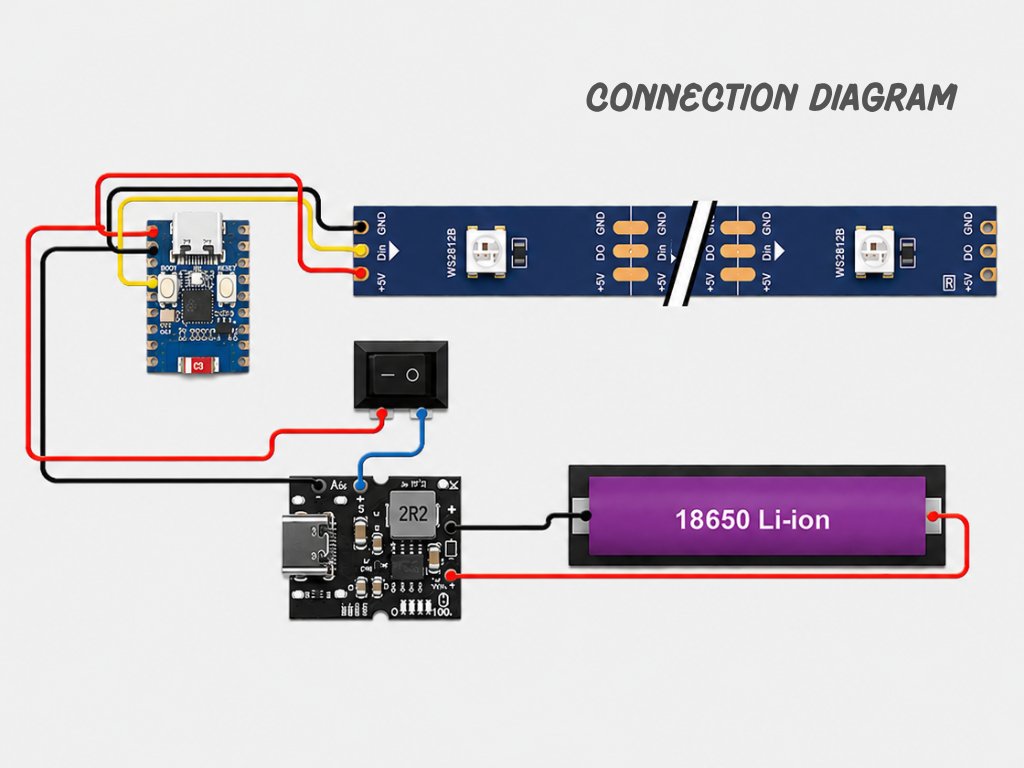
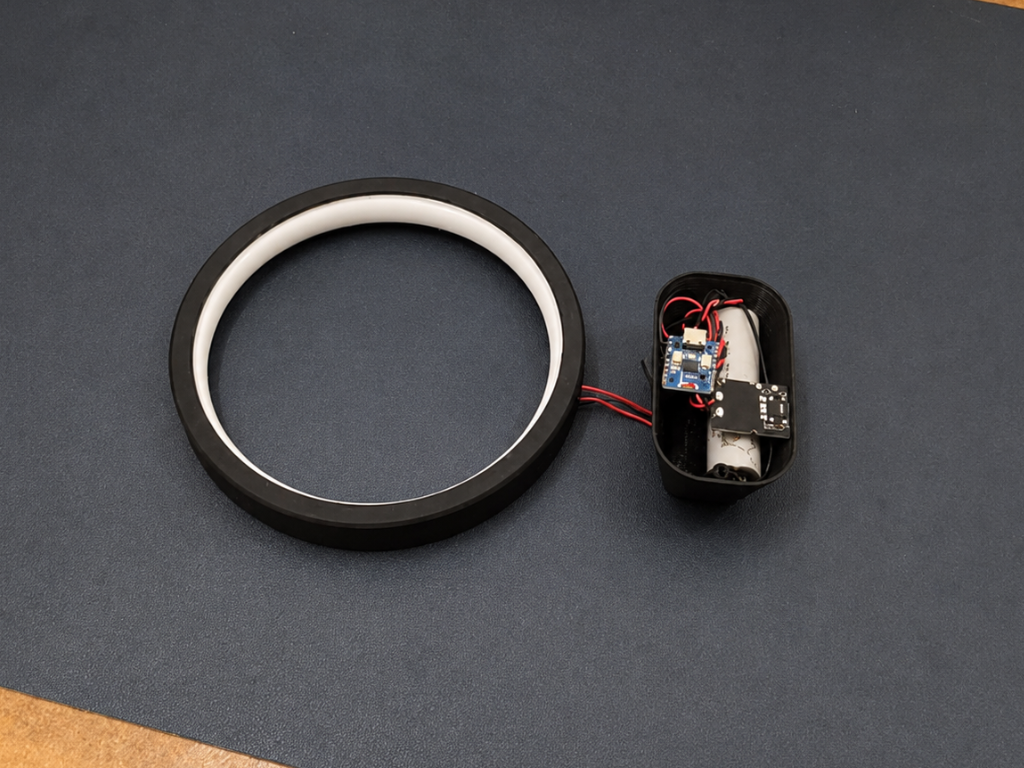
Now it’s time to wire everything together carefully. Follow the sequence to avoid mistakes, you can also check the provide circuit Diagram for clear understanding.
18650 Battery
- Battery (+) → Charging Module B+
- Battery (−) → Charging Module B−
WS2812B LED
- ESP32 C3 Mini 5V → LED Strip +5V
- ESP32 C3 Mini GND → LED Strip GND
- ESP32 C3 Mini D0 → LED Strip DIN
Switch
- Charging Module OUT+ → One Terminal of the Rocker Switch
- Other Terminal of the Rocker Switch → ESP32 C3 Mini 5V
- Charging Module OUT− →ESP32 C3 Mini GND
Flash the Code
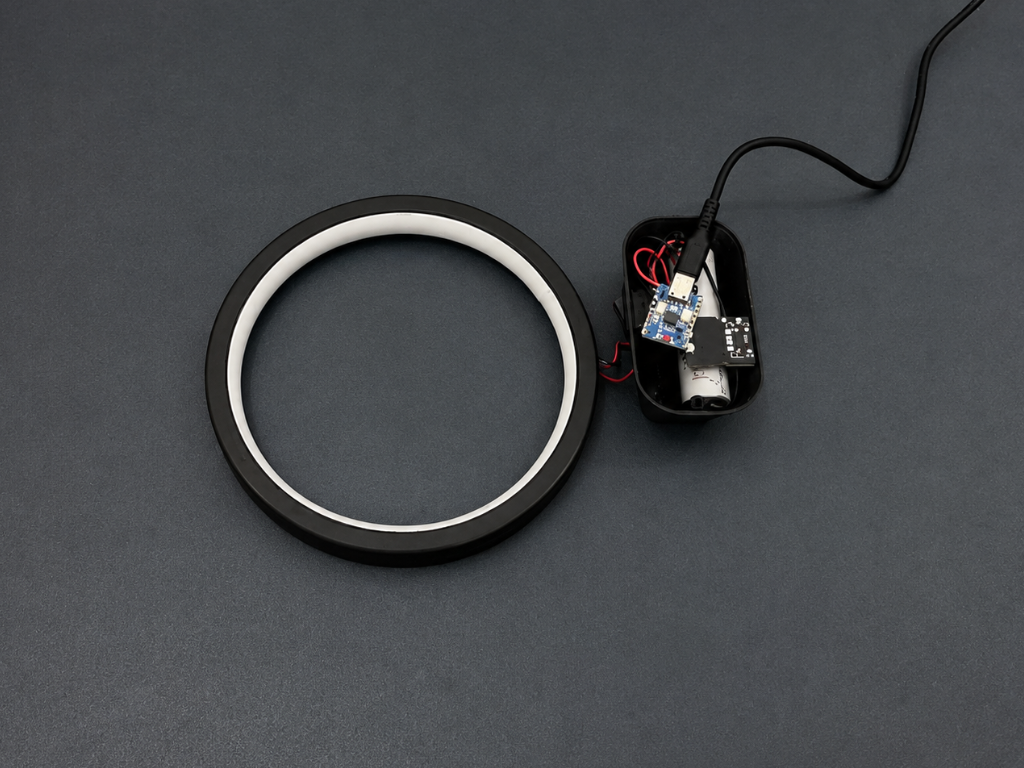
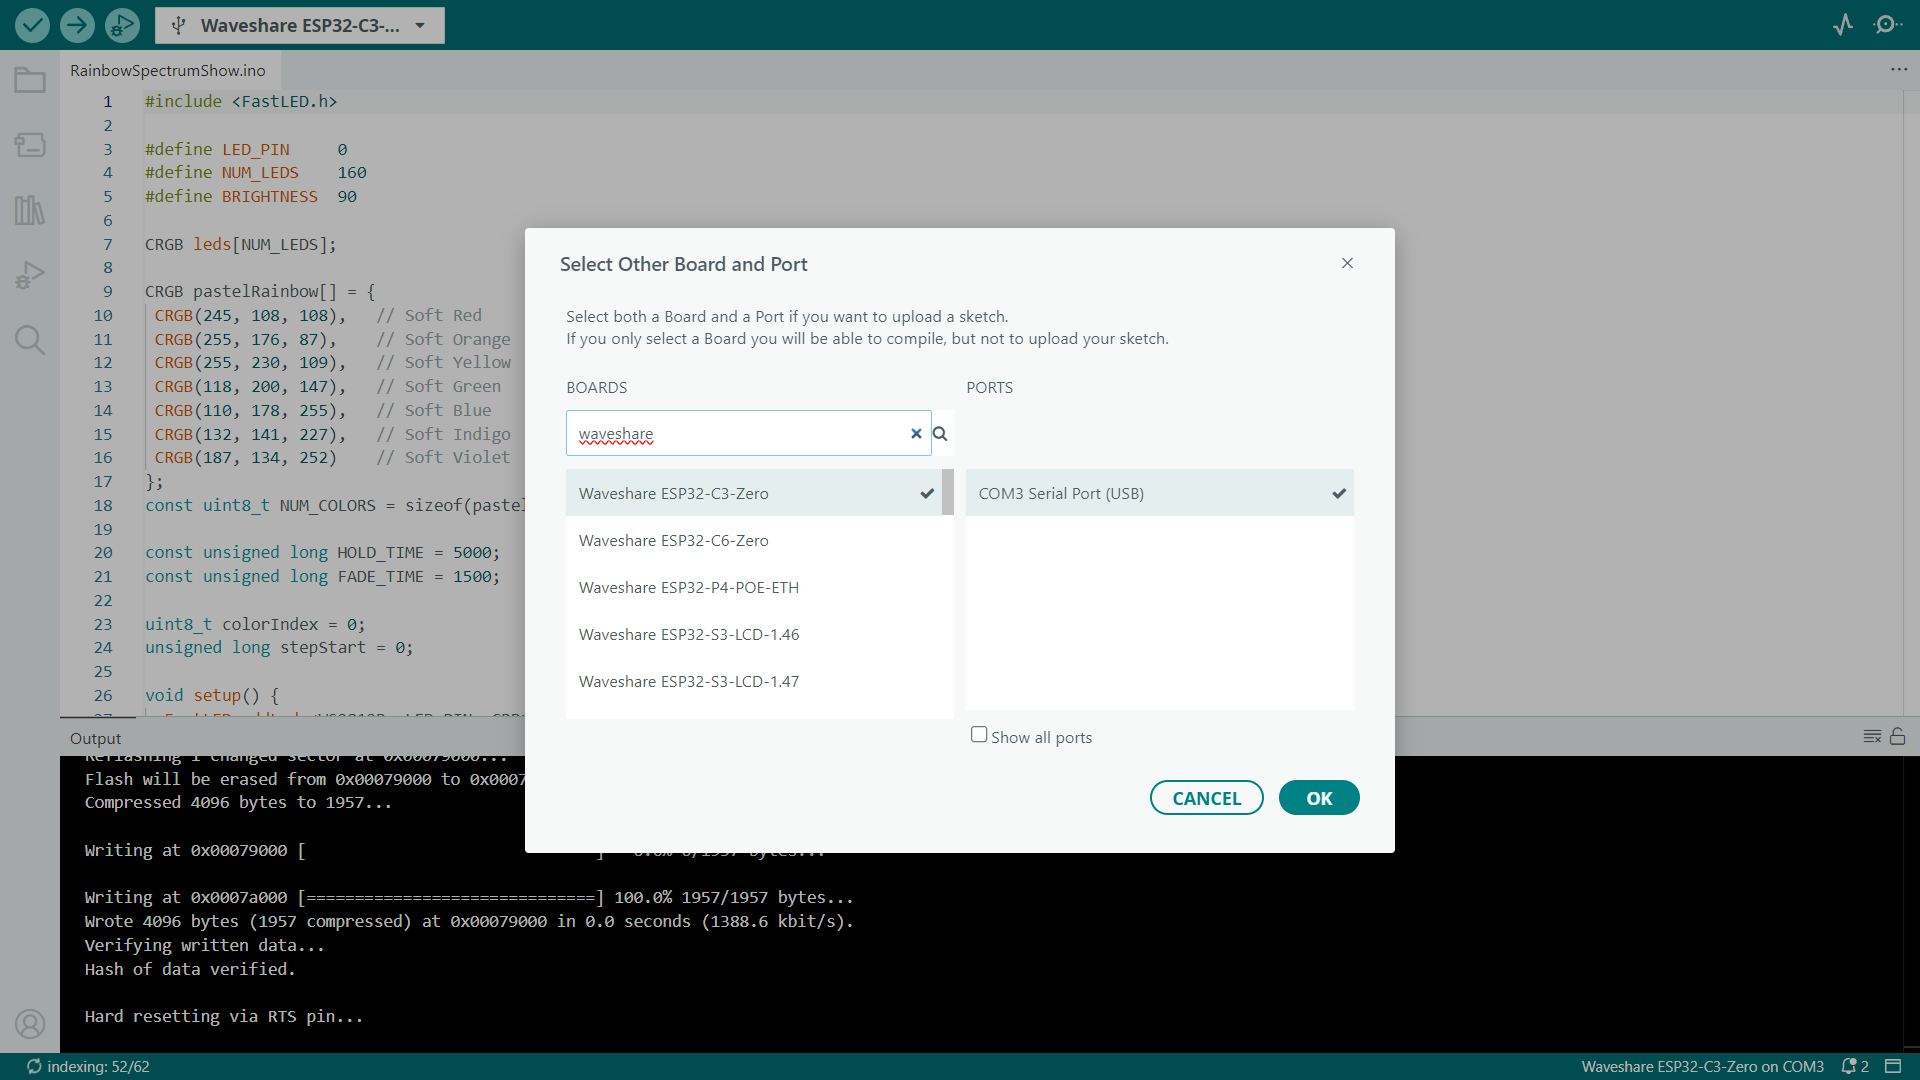
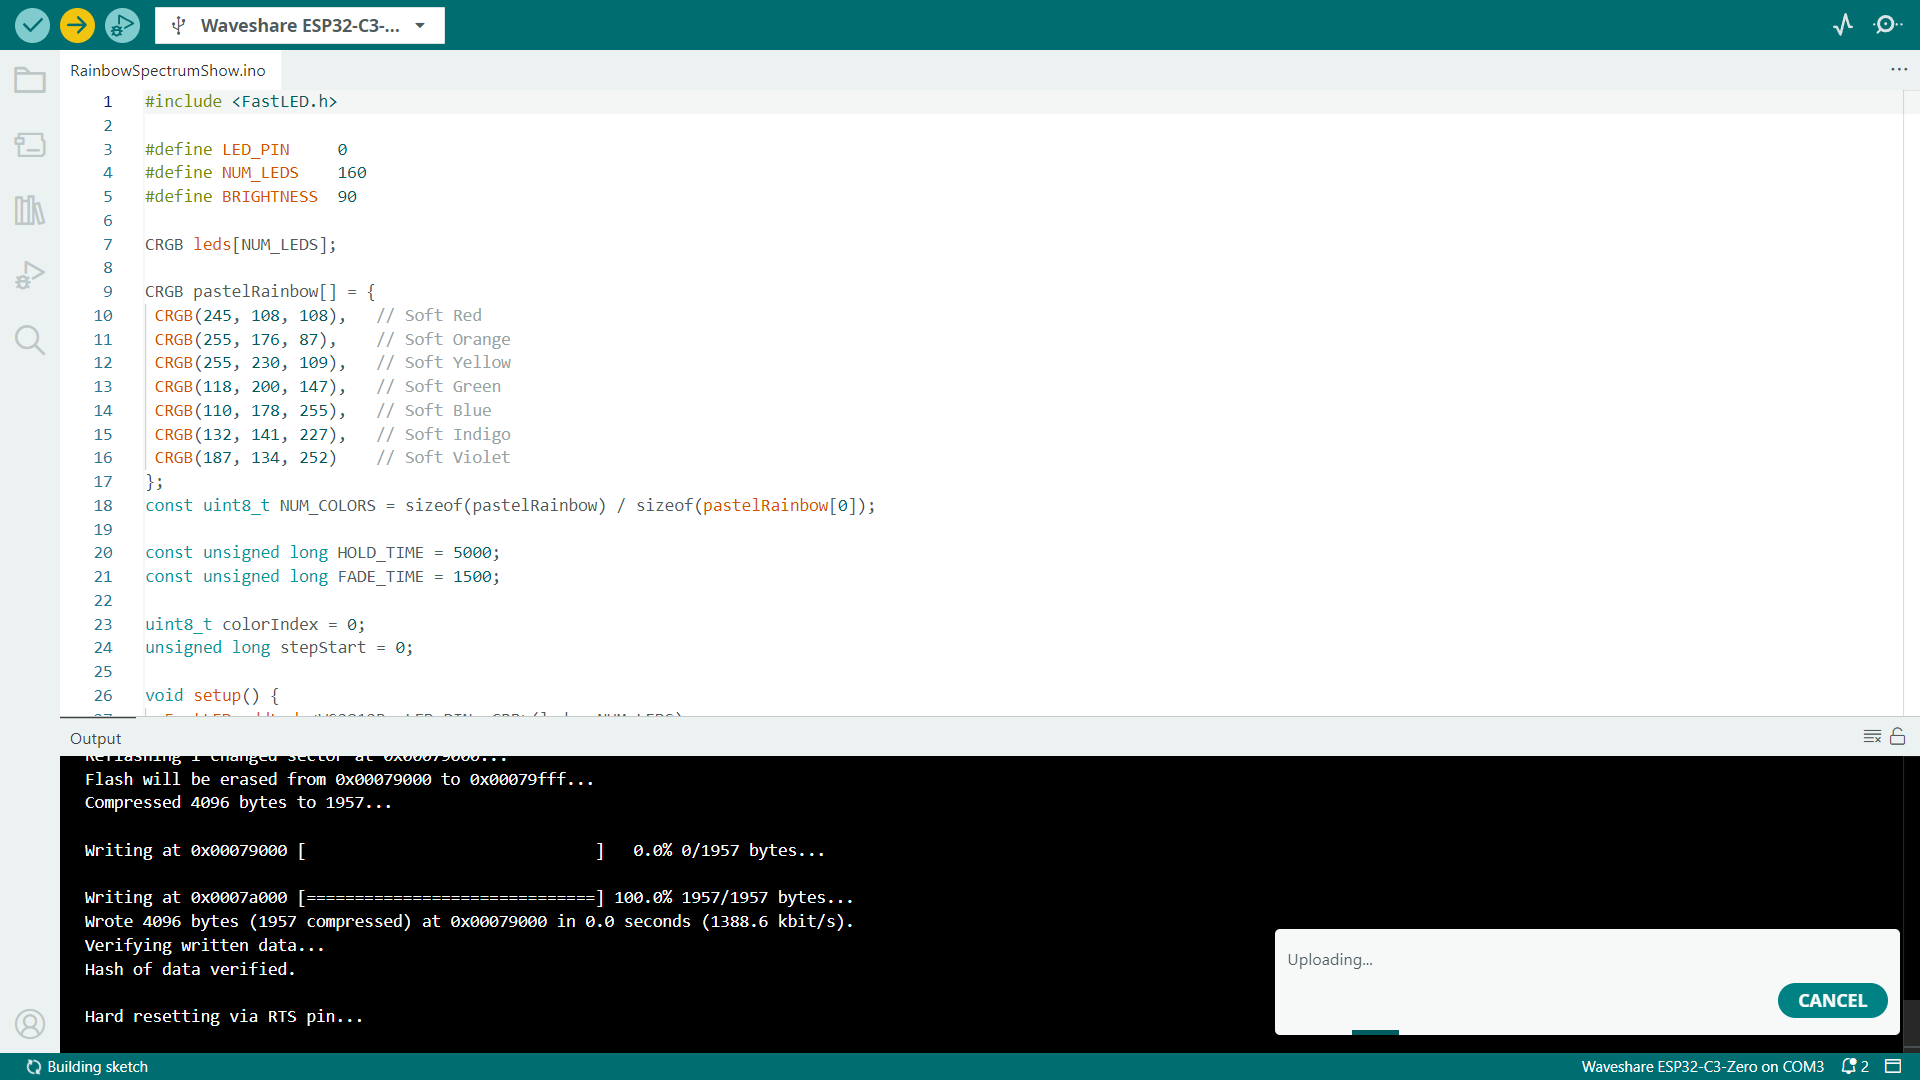
Start by downloading the source code from the project's GitHub repository and open it in the Arduino IDE. If you haven't already, install the FastLED library using the Arduino Library Manager.
Next, connect the ESP32-C3 Mini to your computer using a USB Type-C cable. In the Arduino IDE, select Waveshare ESP32-C3 Mini as the board, choose the correct COM port, and click Upload.
Close the Housing
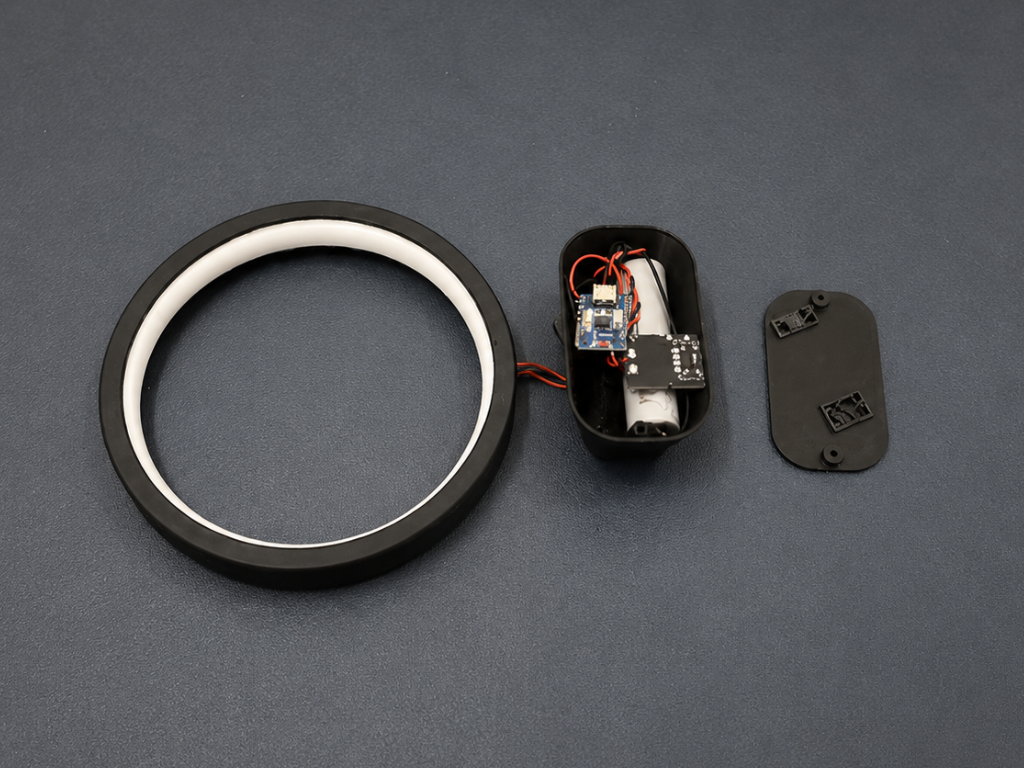
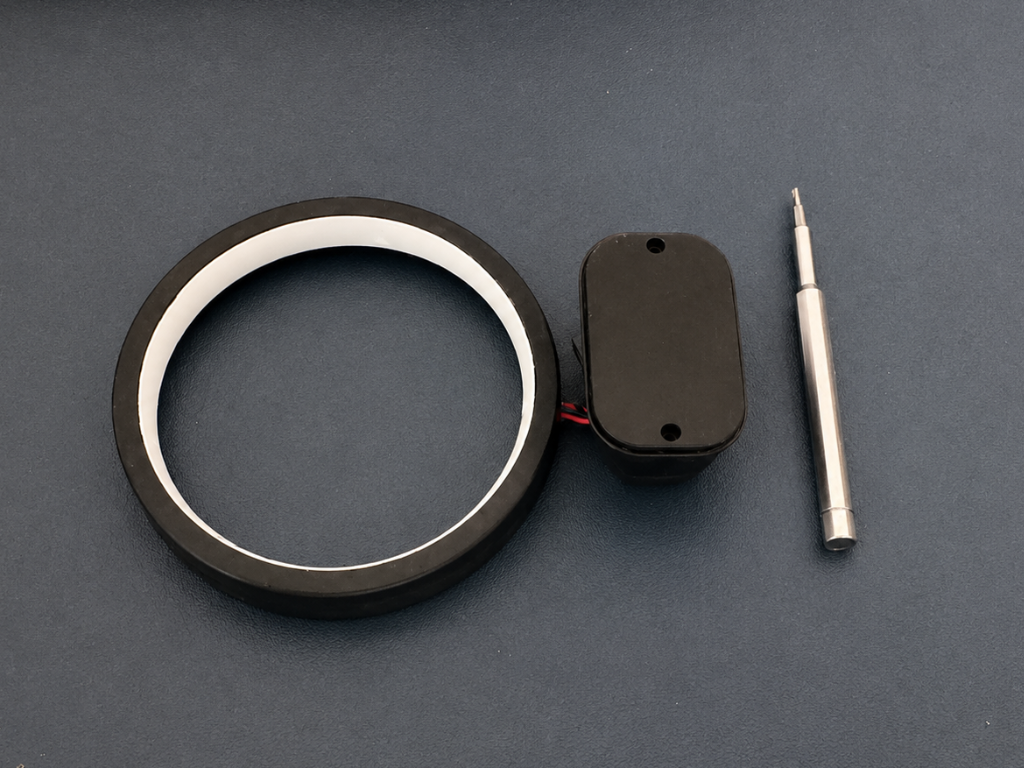
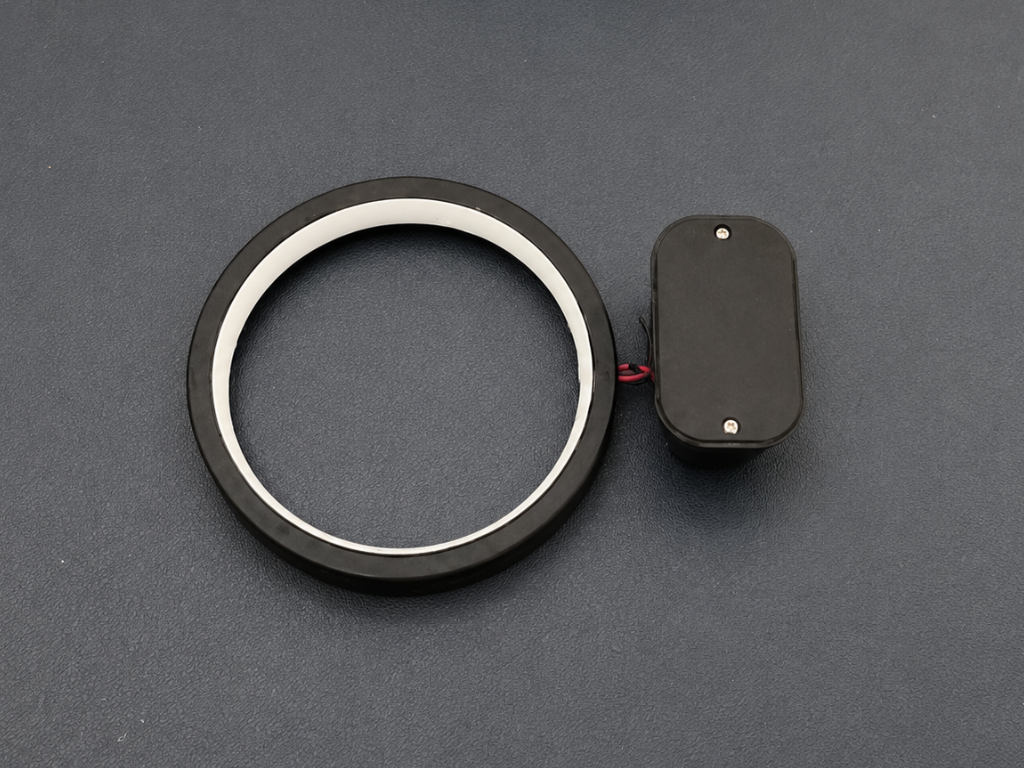
Before closing the enclosure, make sure all the wires are neatly arranged inside the housing and that nothing is blocking the cover.
Place the 3D-printed cover onto the housing, align the mounting holes, and secure it using two M2.5 screws. Tighten the screws evenly until the cover is firmly in place, but avoid overtightening to prevent damaging the 3D-printed parts.
Final Assembly
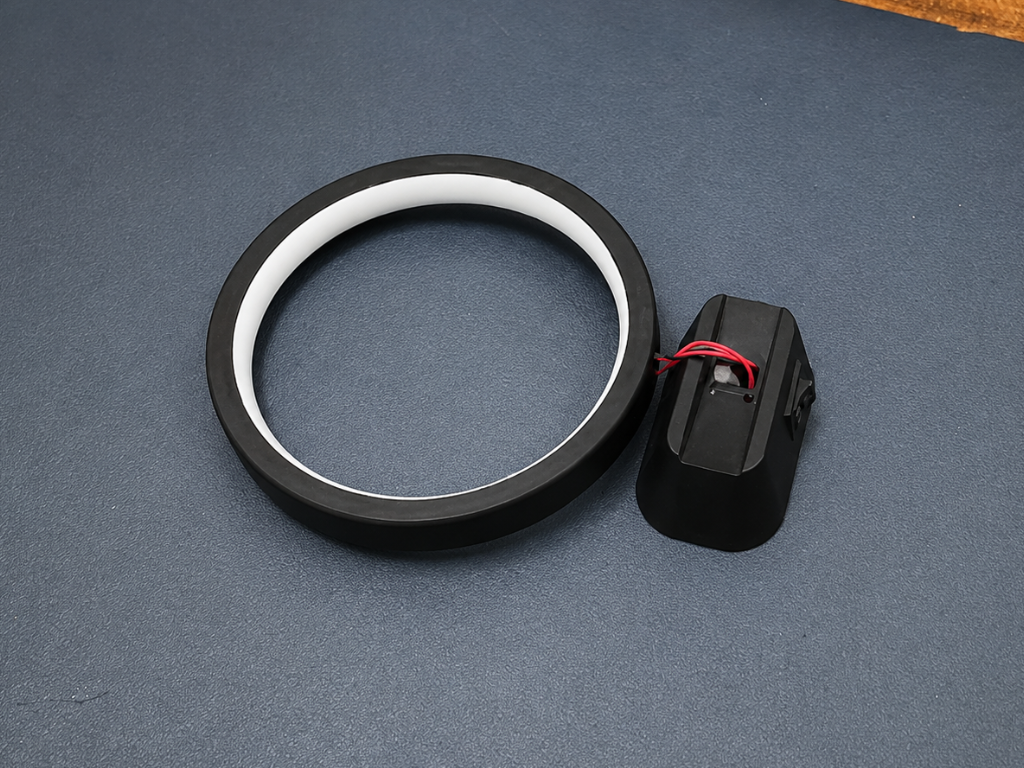
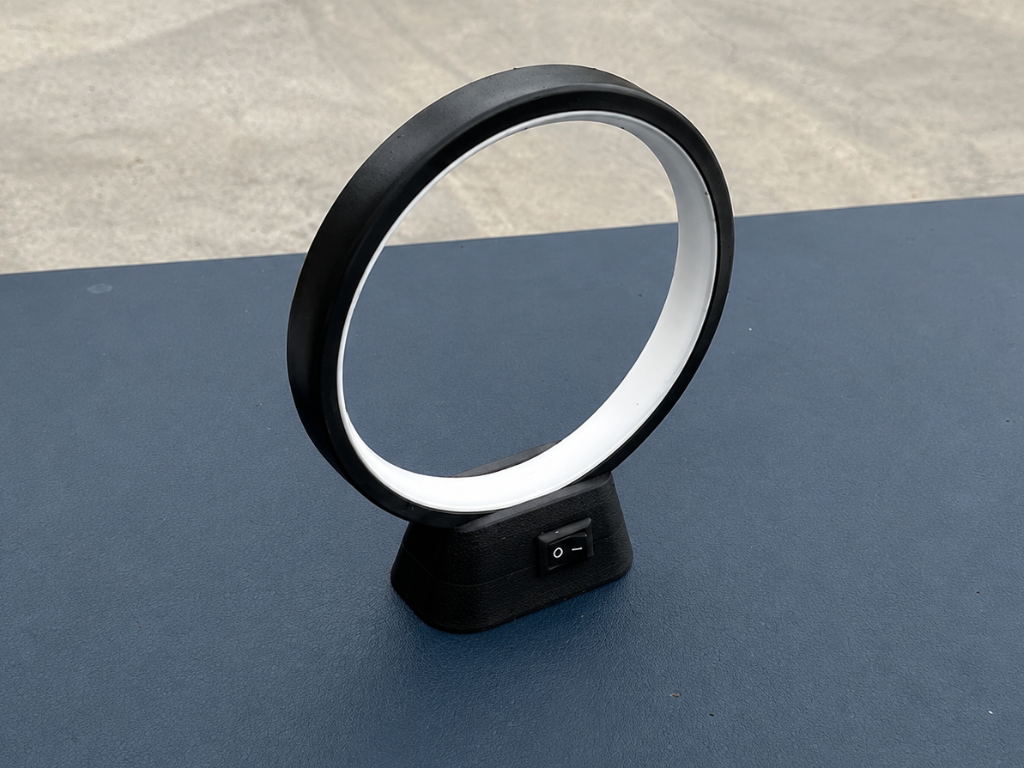
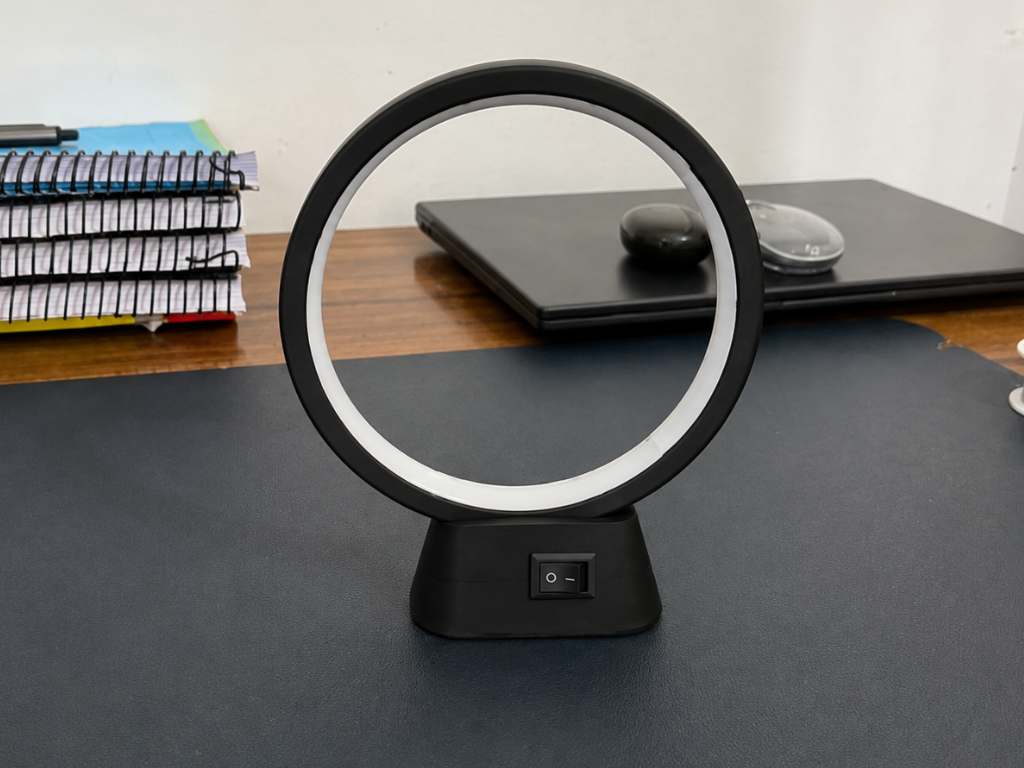
The final step is to attach the lamp ring to the assembled housing. Carefully route any remaining wires inside the housing, then align the ring with the mounting slot. Once everything fits properly, apply a small amount of super glue to the joint and hold the ring in position for a few seconds until the glue sets.
Testing
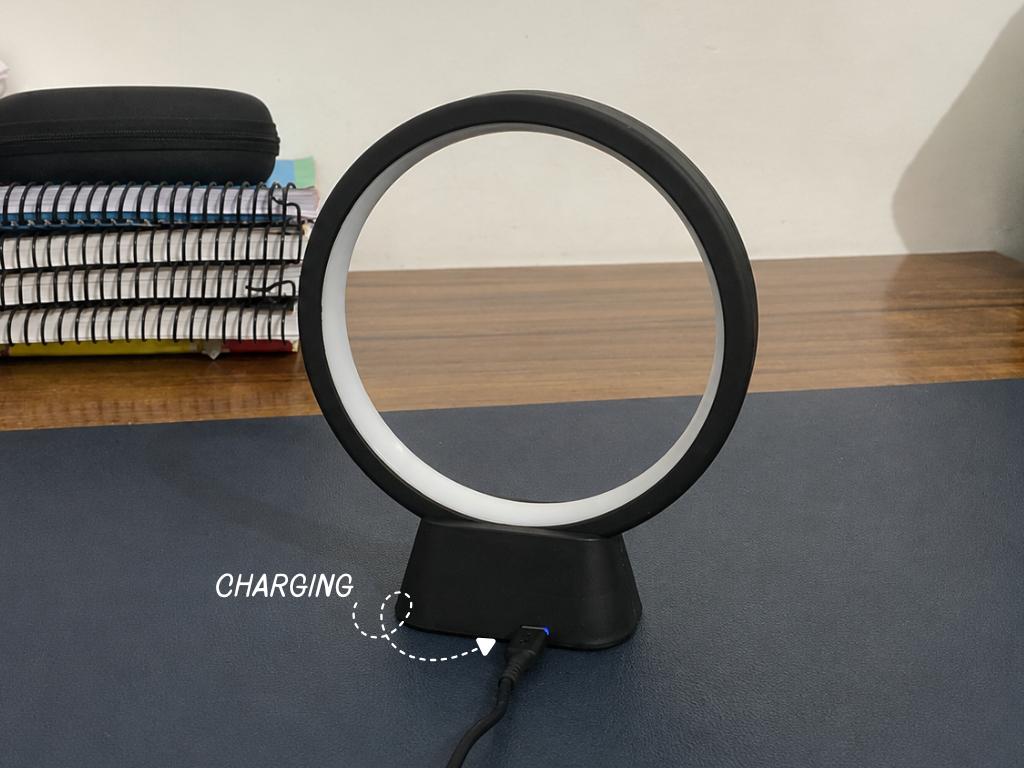
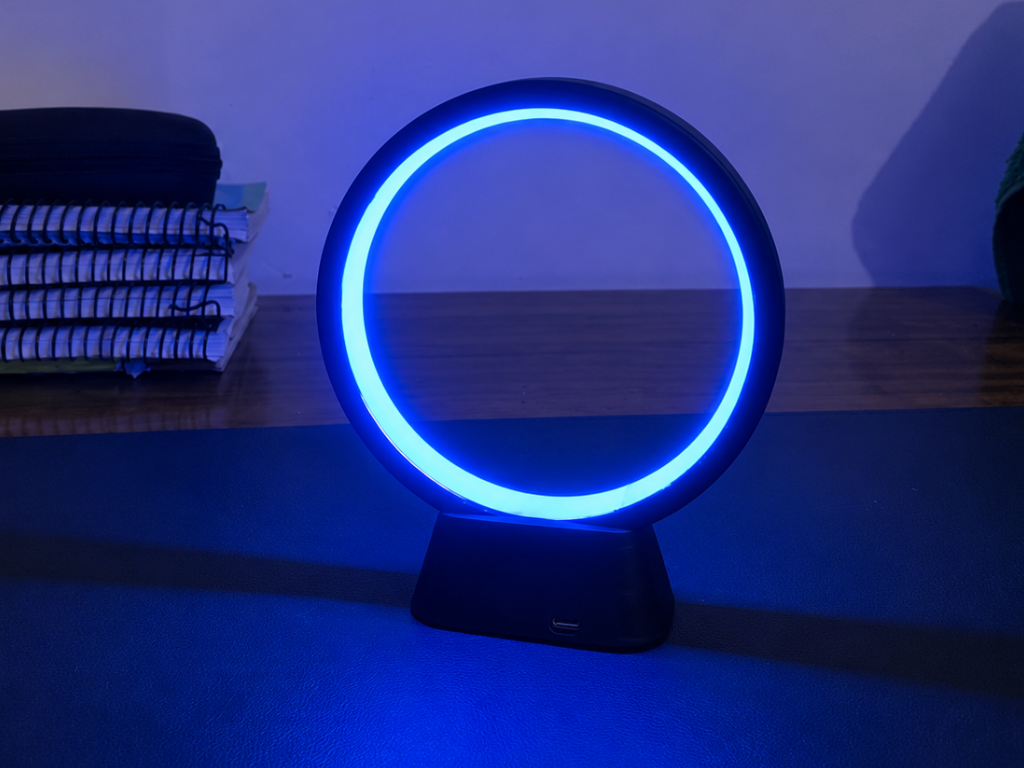
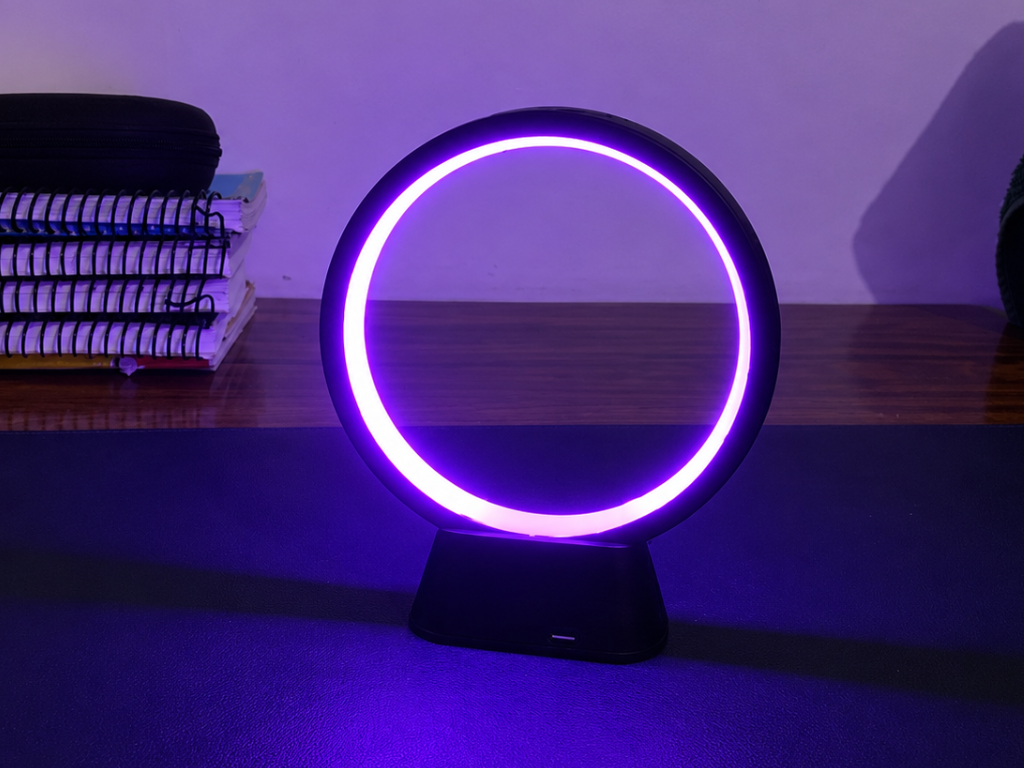
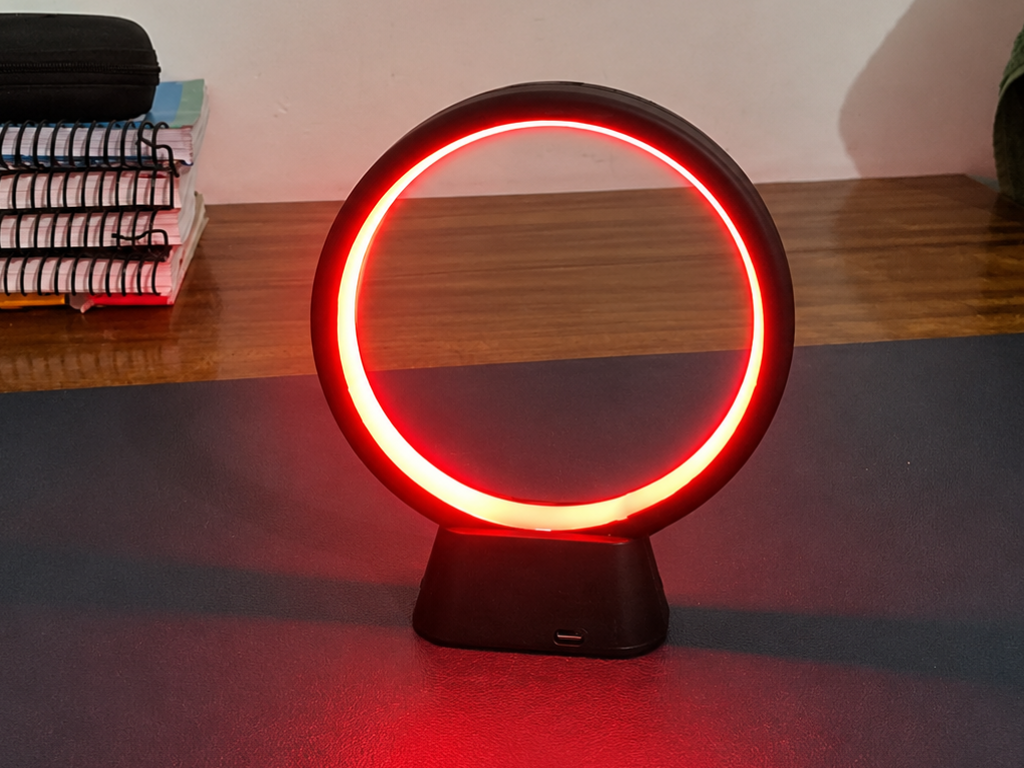
Halo is now complete and ready to brighten your workspace. Before using Halo for the first time, fully charge the 18650 Li-ion battery using a USB Type-C cable. This ensures stable performance and helps maximize the battery's lifespan.
Once the battery is charged, turn the rocker switch to the ON position. The LED ring will light up and begin cycling through the ROYGBIV colors. Each color is displayed for 5 seconds before smoothly transitioning to the next, creating a continuous rainbow lighting effect.
Conclusion
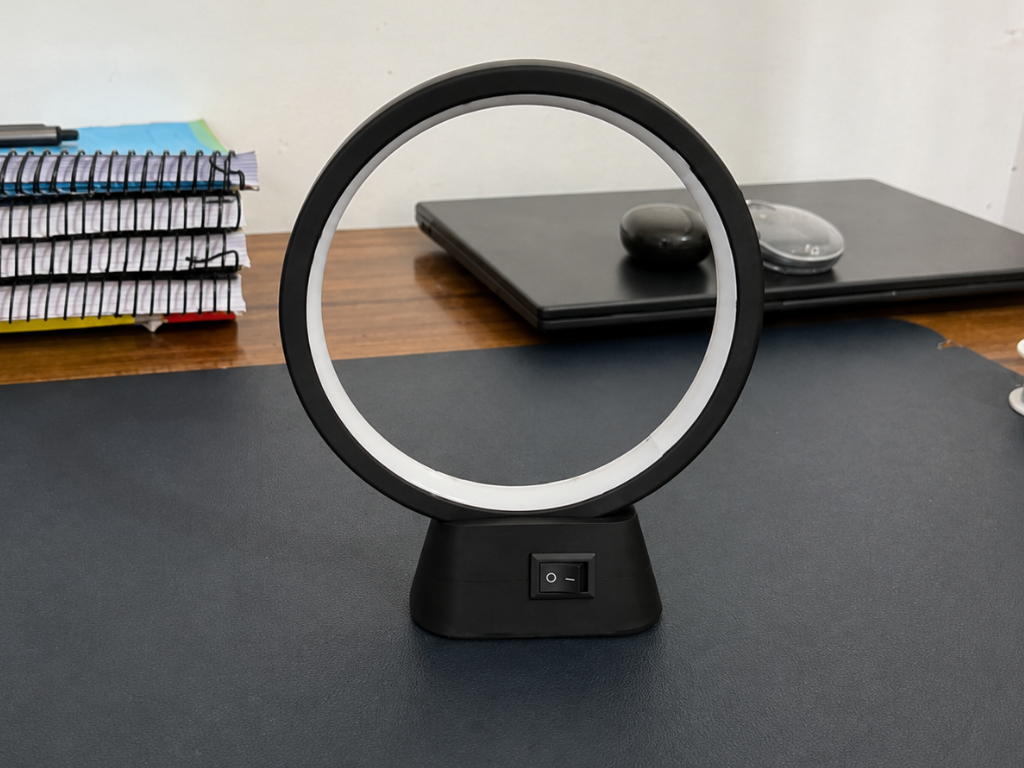
Halo is more than just a desk lamp—it's a simple way to bring color and atmosphere to any space. Its clean, modern design blends naturally into a desk setup, bedside table, bookshelf, or gaming station, while the smooth ROYGBIV lighting creates a relaxing and eye-catching ambience.
The continuous transition through the seven colors of the rainbow adds a unique visual effect, making Halo suitable for decorative lighting, mood lighting, or simply adding a vibrant touch to your workspace or bedroom. The rechargeable battery and compact design also make it easy to place anywhere without worrying about power cables.
If you liked this idea, I’d definitely encourage you to build your own version and maybe even improve it further. I’d love to hear your thoughts, ideas, or improvements.
Happy Making! 🌈