Hand Held Gameboy With Any Retro Game
by Piyush_ROBOTICS in Circuits > Arduino
3738 Views, 48 Favorites, 0 Comments
Hand Held Gameboy With Any Retro Game
.png)
.png)
Supplies


Materials I Used:
- Super Glue
- Hot Glue Gun
- Tactile switches
- Multi Cable
- Arduino Pro Micro
- Foil
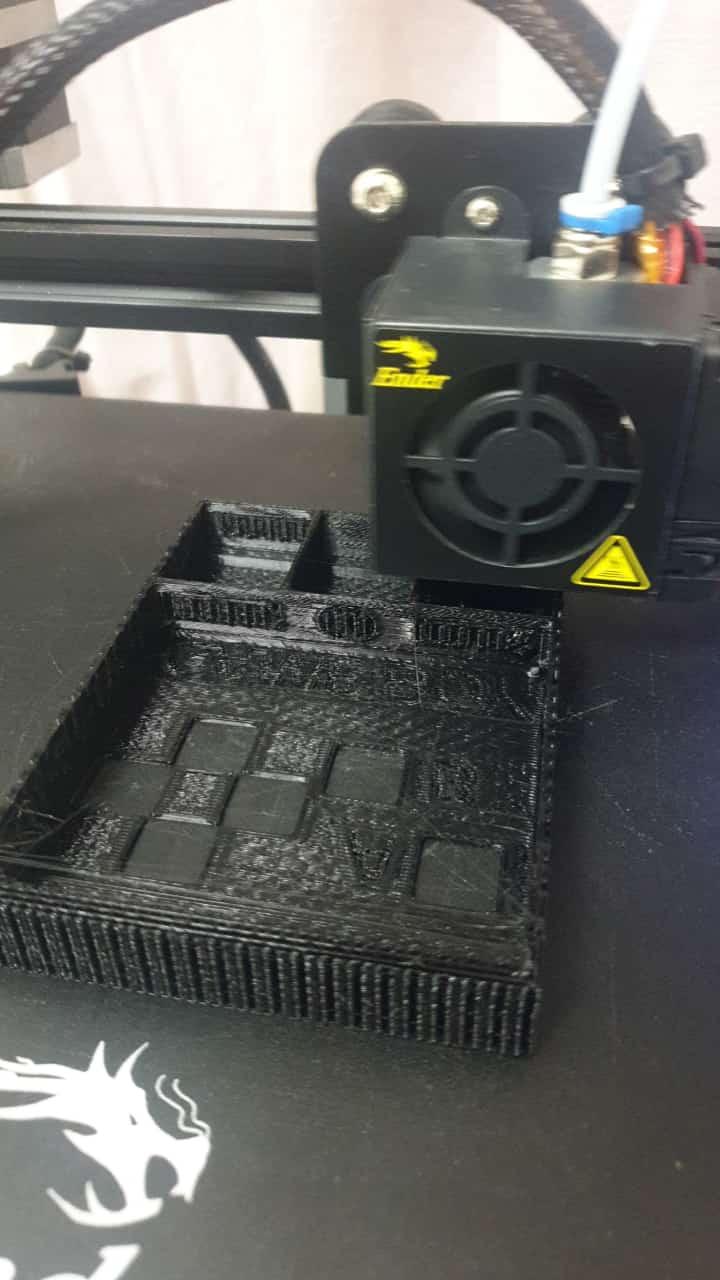
- 3D Printed Parts
- Wires
- A Phone
Designing in Fusion 360
3D Model:
IMPORTANT NOTE:
This Design is based on the dimensions of my phone and my phone has a USB C socket, so either your phone has a USB C socket and can fit in the design ,you could use this otherwise you will need to design your own 3D model to print. Follow the tutorial below to learn how to edit the 3D CAD File to make it fit your phone!
Downloads
3D Printing


Arduino Setup

For the Arduino Pro Mini to act like a Controller, we have to install some Libraries.
3.1
Firstly, Click on the Boards Manager and Search and Download the "Xinput AVR Boards"
3.2
Then go to Libraries and install the "Xinput Library" 3.3
3.3
Select Board and Port and Upload the Code Linked in this Step
NOTE: After uploading the code for the first time, you will have to connect the RST (Reset) and the GND (Ground) pin together when it shows this while uploading
Downloads
Making the Gameboy Controller
4.1
Place all 6 Tactile Push Buttons in the Main Base and Super Glue the switches to secure them
4.2
Glue foil pieces behind the letters to give a shiny effect from the front using Super Glue again
4.3
Connect wires with a length of around 10 cm to the switches
4.4
Take sheet number 1 and slide it under the phone holder base
Flick the sheet up to the top support and the Super Glue it
4.6
Connect all the wires using the Schematic and Glue the end of the flap to the place where we insert the phone
4.7
Insert the USB C cable head into its gap in the phone holder base and push it as much as possible until the USB C head reaches the end before glueing it with Hot Glue from both sides
4.8
Slide in Sheet number 2 and use Super Glue to Stick it next to Sheet 1 as shown in the images. Connect the Multi Cable to the Arduino Pro Miro. Then finally, stick the Arduino Pro Micro to Sheet 2
4.9
Finally, take the Back Cap and Mount it on the Back to Finish the Build!
Downloading NES App and Installing Games

Now it is time for the fun bit where you have to install any Gameboy games you want like Super Mario. All you will need is the NES file of the game on your phone for an app to recognise it. I am using a Samsung Phone so I will be using the GBA Emulator
Apps:
Apple - Delta
Sumsung - GBA Emulator
After downloading the free apps, we need the NES Games files which you can find on websites like wowroms.com or you could search up " [Game Name] NES Game download" and you should get a ".nes" file
Here are the Games I downloaded:
Next, go into the app and click on the Big Plus Icon -> Add Game -> then locate your .nes files and then you should have it installed
How to Use
Final Thoughts

Hi! I Hope you Enjoyed this Instructable, it was really fun to build this and and took me about 2 full days to make starting from Scratch. If there are any Doubts, please leave a comment to let me know how I can impove my Instructables
Have a Great Day!


