The Rainbow Mandarin Fish a Hand-painted Multicolored Paper Decoration
926 Views, 6 Favorites, 0 Comments
The Rainbow Mandarin Fish a Hand-painted Multicolored Paper Decoration
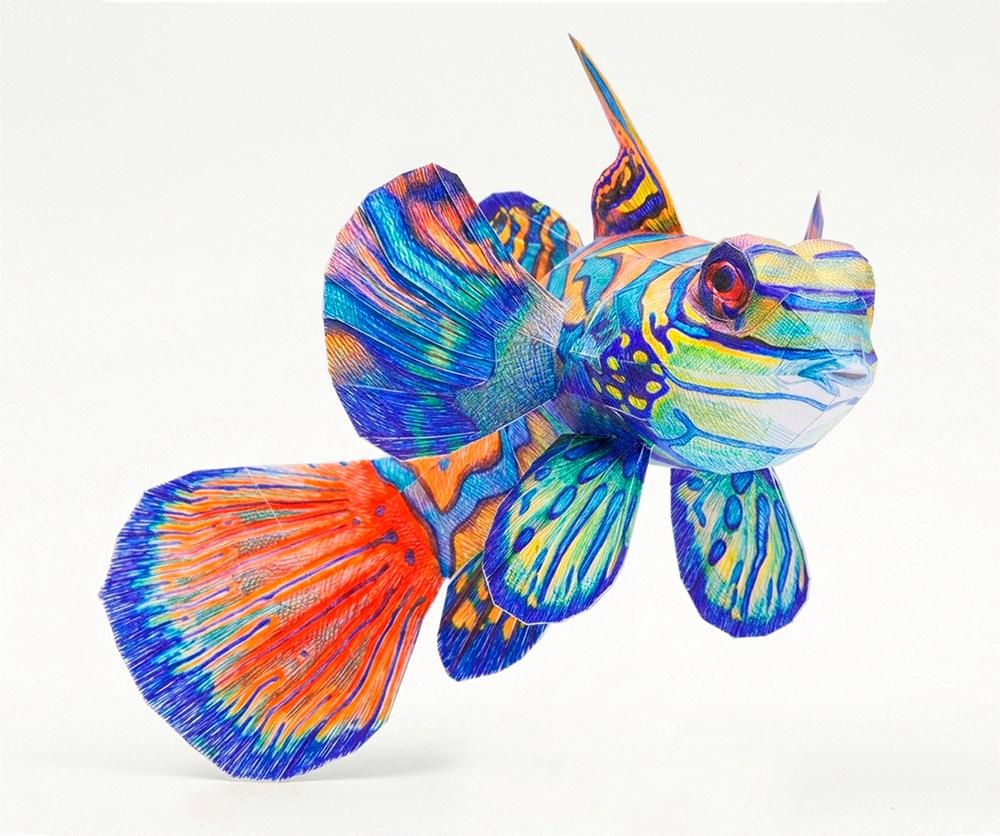
When we think of rainbows, we think of that seven-colored arc that forms in the sky when sunlight passes through raindrops suspended in the air. But we forget that we live in a world full of colors, where landscapes, moments, and creatures incredibly combine these colors.
So today we'll make a decorative paper mandarin fish, which will serve as a mobile to hang anywhere in your house, whether in the entrance, the kitchen, or on the ceiling of your zen area. What better way to brighten up a space than with the colorful characteristics of this majestic animal?
Supplies
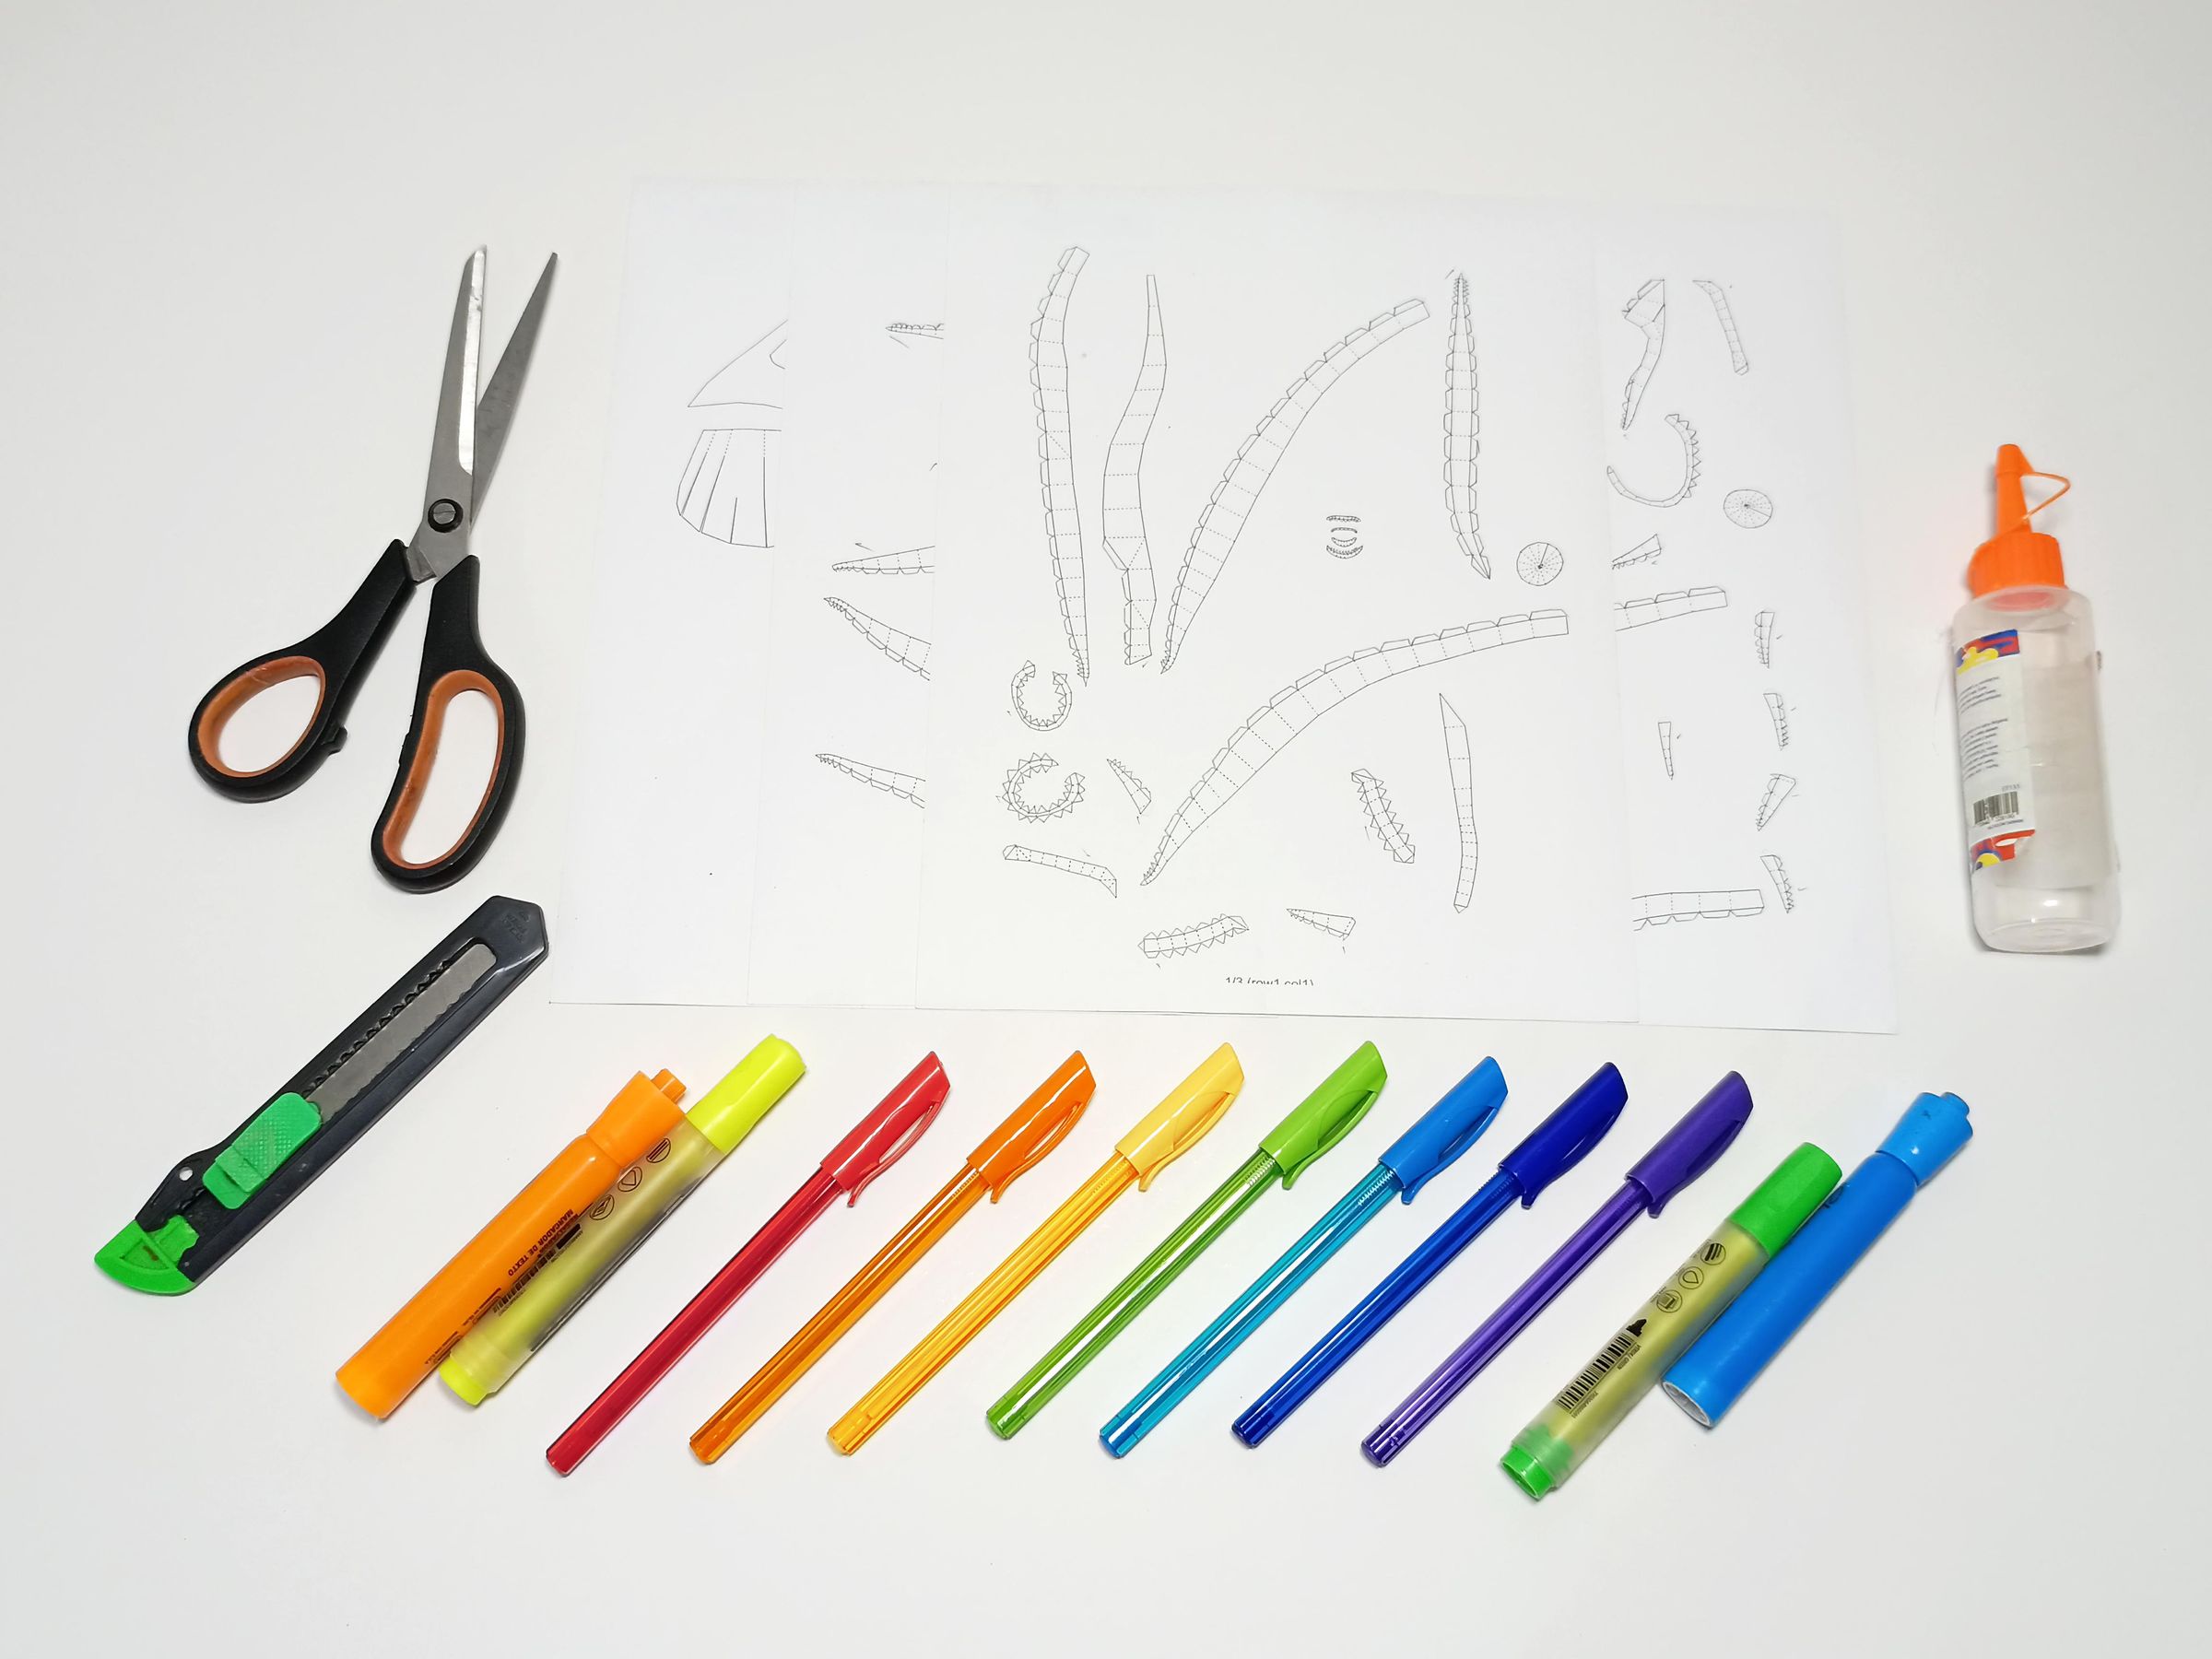
- Respective templates and prints
- Glue/Hot Glue
- Scissors
- X-acto
- Embosser
- Set of Rainbow colored pens
- Rainbow Neon Markers
- Ruler
Rainbows

The rainbow is traditionally said to have seven colors: red, orange, yellow, green, blue, indigo, and violet.
This convention was established by the scientist Isaac Newton. However, scientifically, it is a continuous spectrum with an infinite number of colors that blend into one another.
For this optical and meteorological phenomenon to occur, three fundamental factors must coincide:
Water droplets: These must be present in the atmosphere, either from recent rain or humidity.
Sunlight: The sun must be shining, generally located behind the observer.
Specific angle: Sunlight must strike the droplets at an angle of approximately 40° to 42°.
Because each color has a different wavelength, it is refracted at a unique angle as it exits the droplet. Red light is always positioned on the outer edge of the arc, and violet on the inner edge. Although we visually perceive it as a semicircle, the rainbow is actually a complete circle, its boundaries defined only by the horizon.
Photo: Rainbow in the mountains of Bogota. (found via X Credits to its author.)
Inspiration and Design
.jpg)
Inspiration:
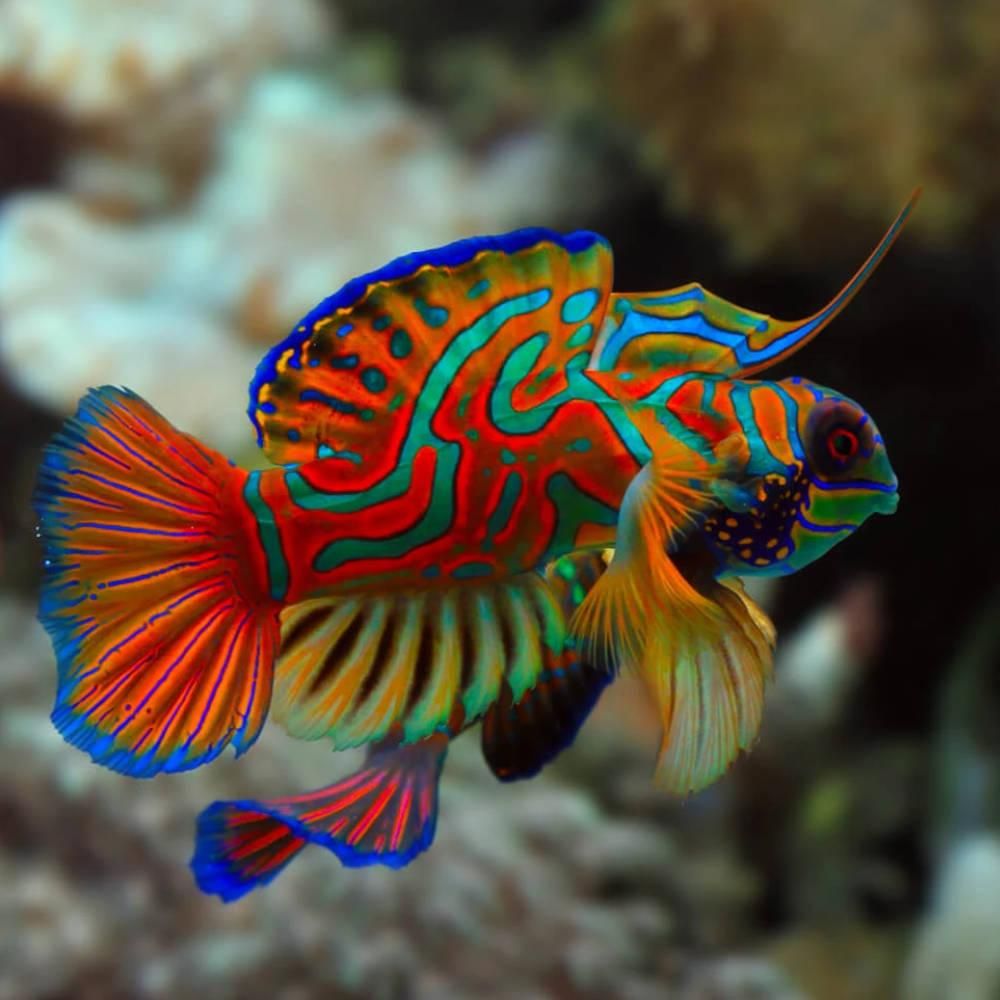
The Mandarin Fish:
The Living Rainbow of the Reef.
The Mandarin Fish is one of the ocean’s most dazzling wonders, famous for its neon-like colors and intricate patterns. Its vibrant colors are a combination of natural pigments and light-reflecting cells (iridophores), which scatter and reflect light to create a shimmering effect without altering the base color, and can be Found in Pacific coral reefs especially in Southeast Asia.
The Mandarin fish is like a living piece of art. Its unique rainbow coloring is a perfect blend of beauty and mystery.
Design:
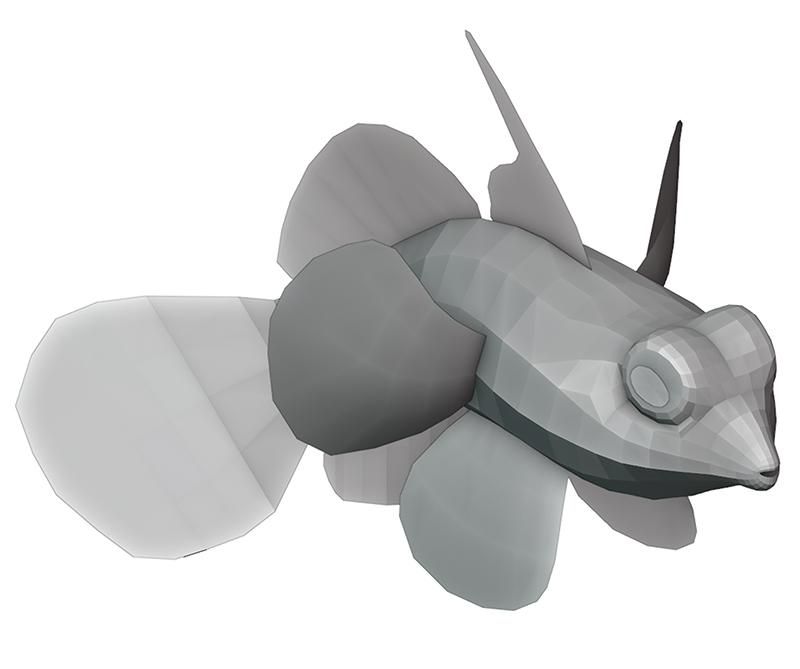
For my design, I was obviously inspired by the colorfulness of this little fish, but since I want each project inspired by this instructable to be different, the 3D canvas will come blank for you to color however you prefer.
You can use photos from the internet, visit a specialized aquarium to enjoy its vibrant colors and get direct inspiration, or simply apply rainbow colors in any way you like.
Templates
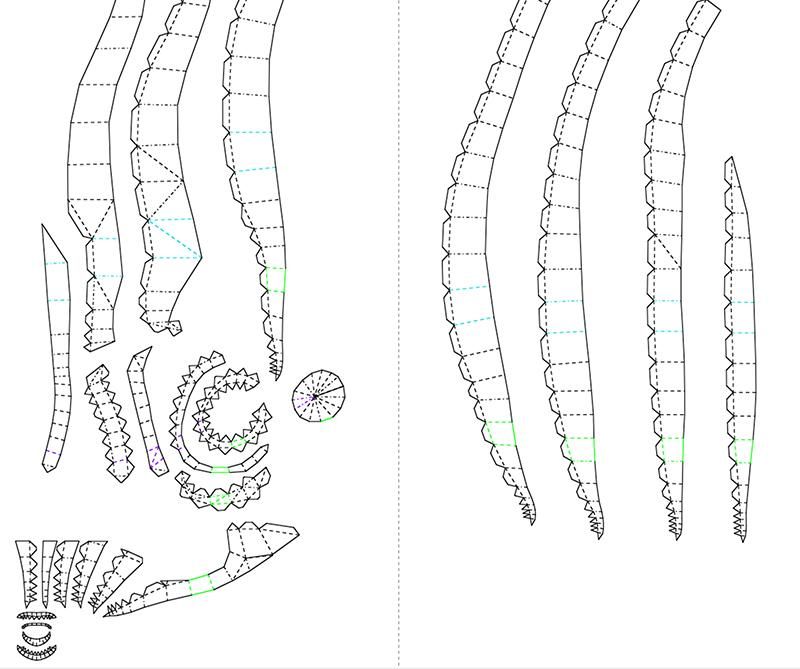
To begin assembling the mandarin fish into a physical model with real volume, we will need to download the corresponding assembly templates and print them.
The templates in this tutorial are letter size; I recommend printing them on 180-200 gsm high caliber paper.
This mandarin fish design is approximately 21 cm long. If you need a larger size, please let me know in the comments.
you can get the templates Here:
Cut the Templates.
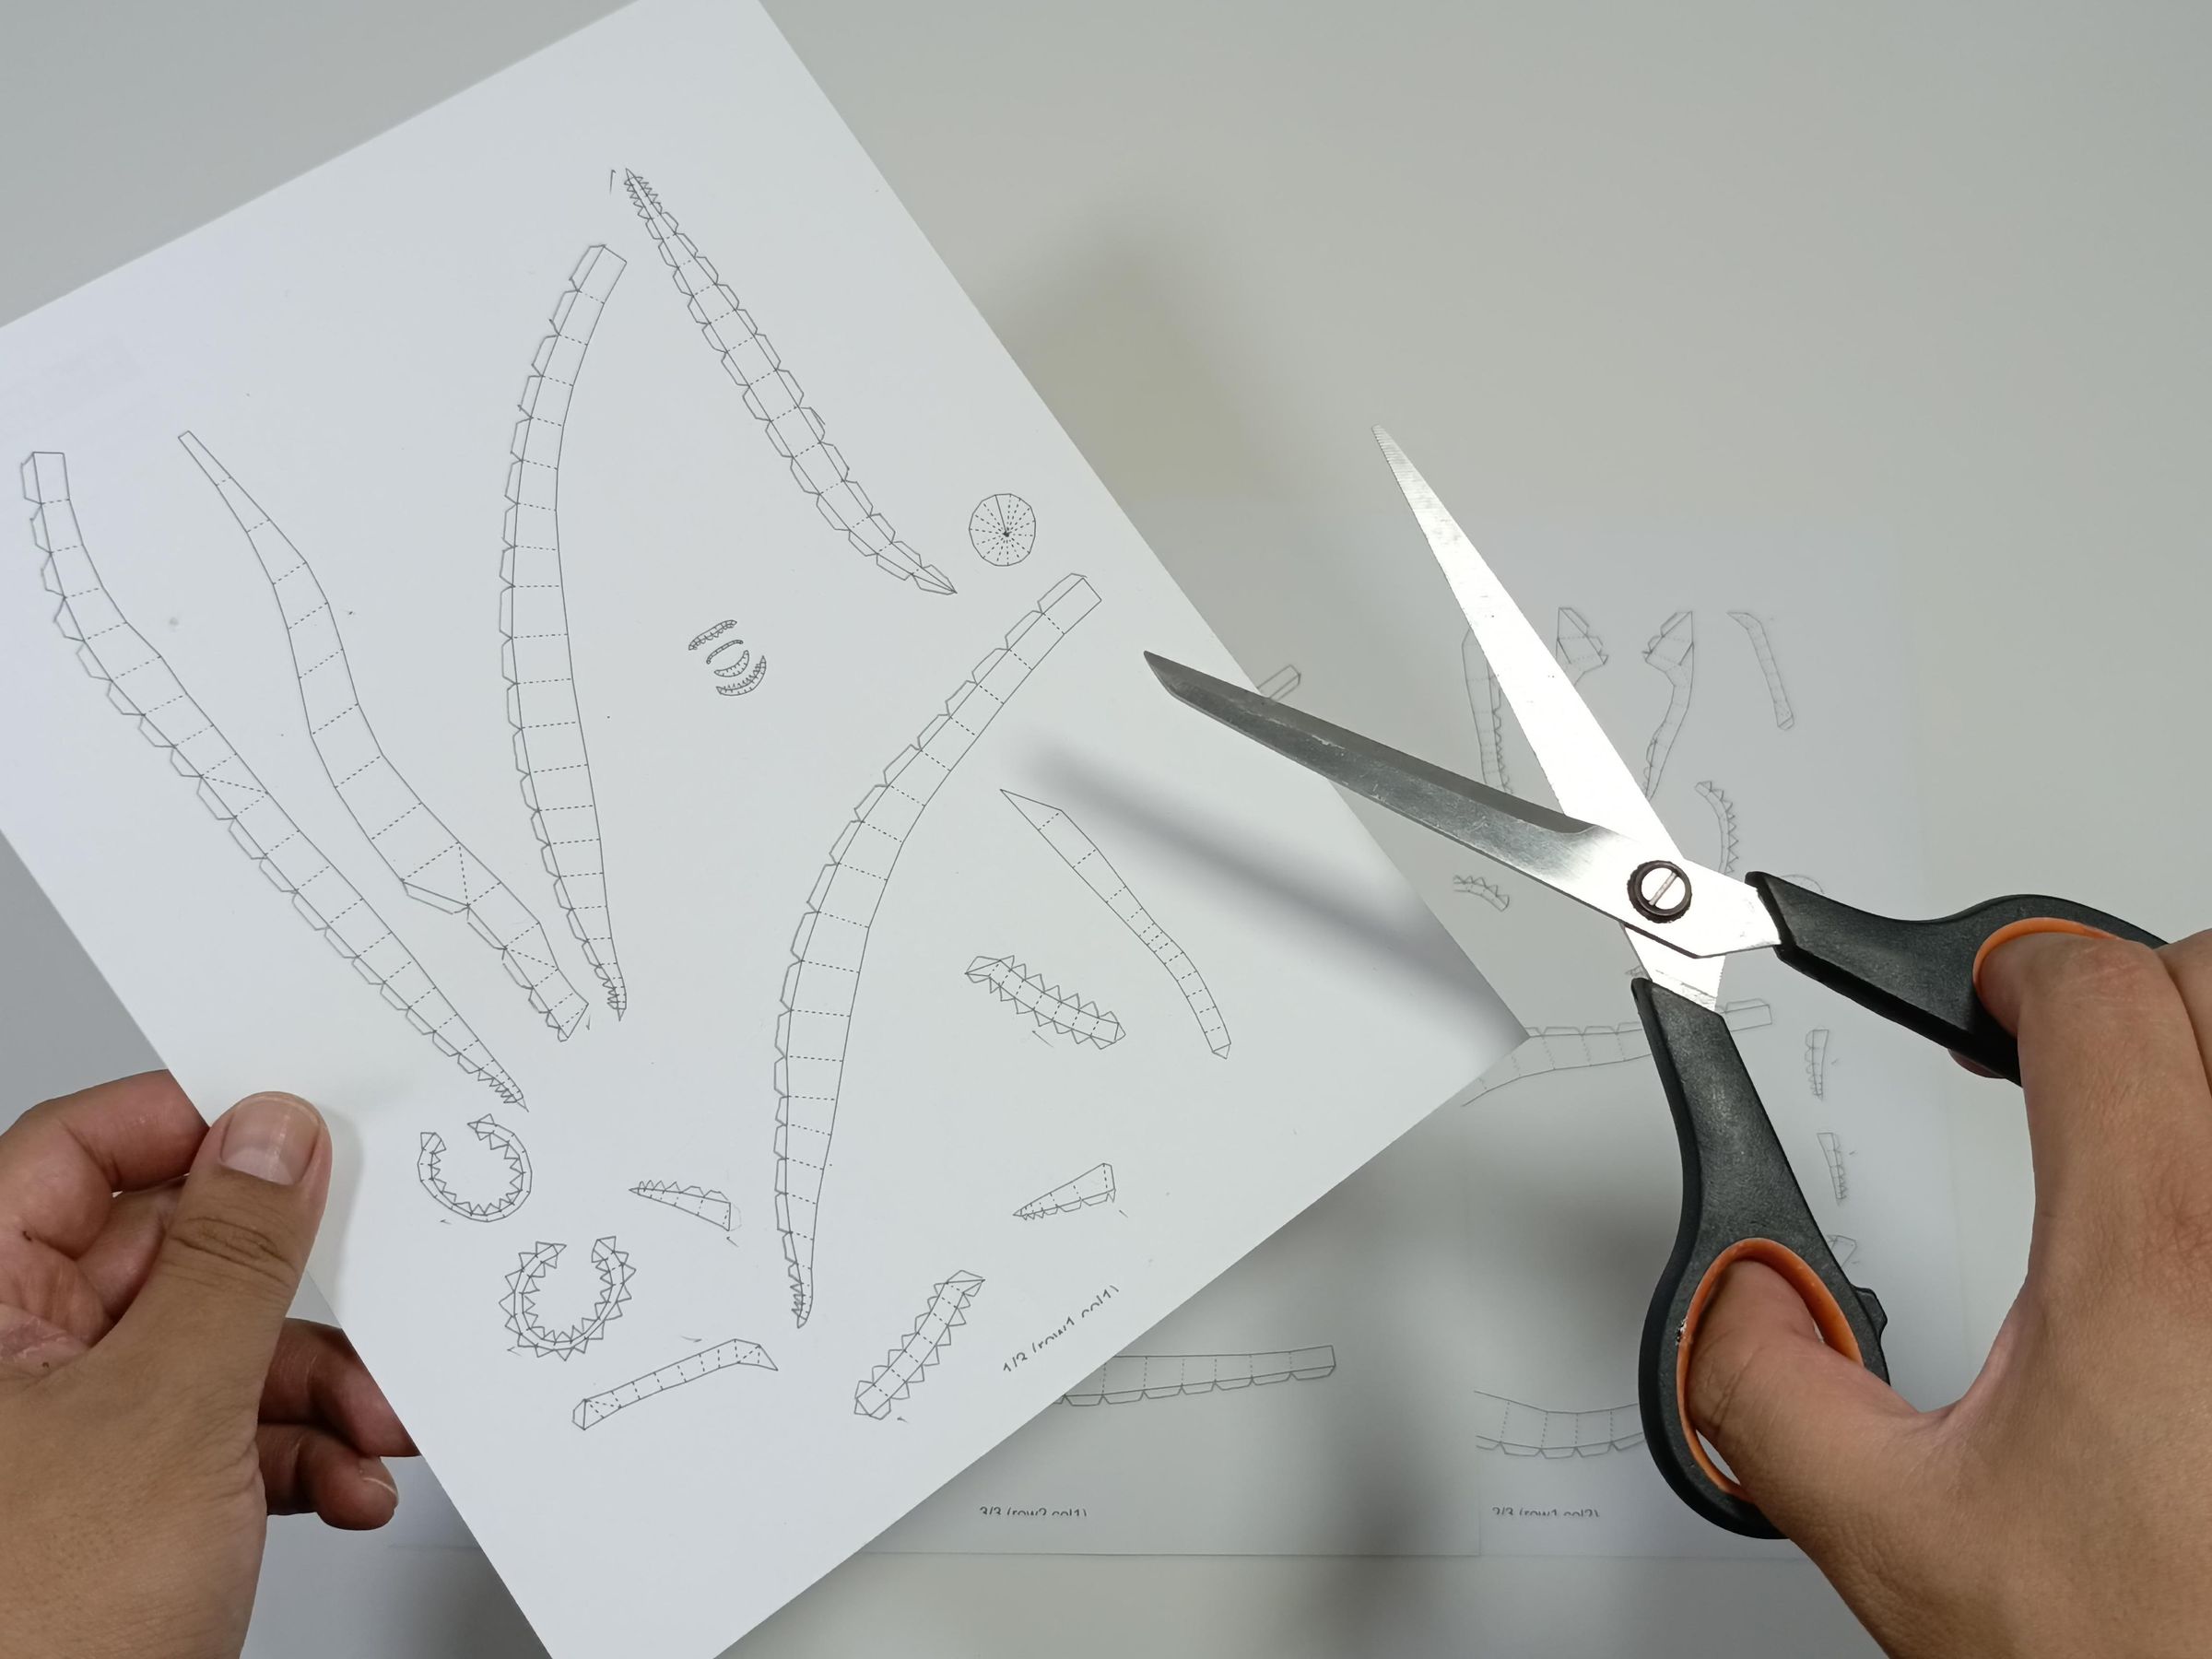
Now it's time to cut out the templates to avoid mistakes and confusion. I recommend cutting in groups according to each page and assembling each part individually so that you can eventually join all the pieces together.
Use scissors, or an X-Acto knife if you prefer to preserve the details.
Arrange the Pieces
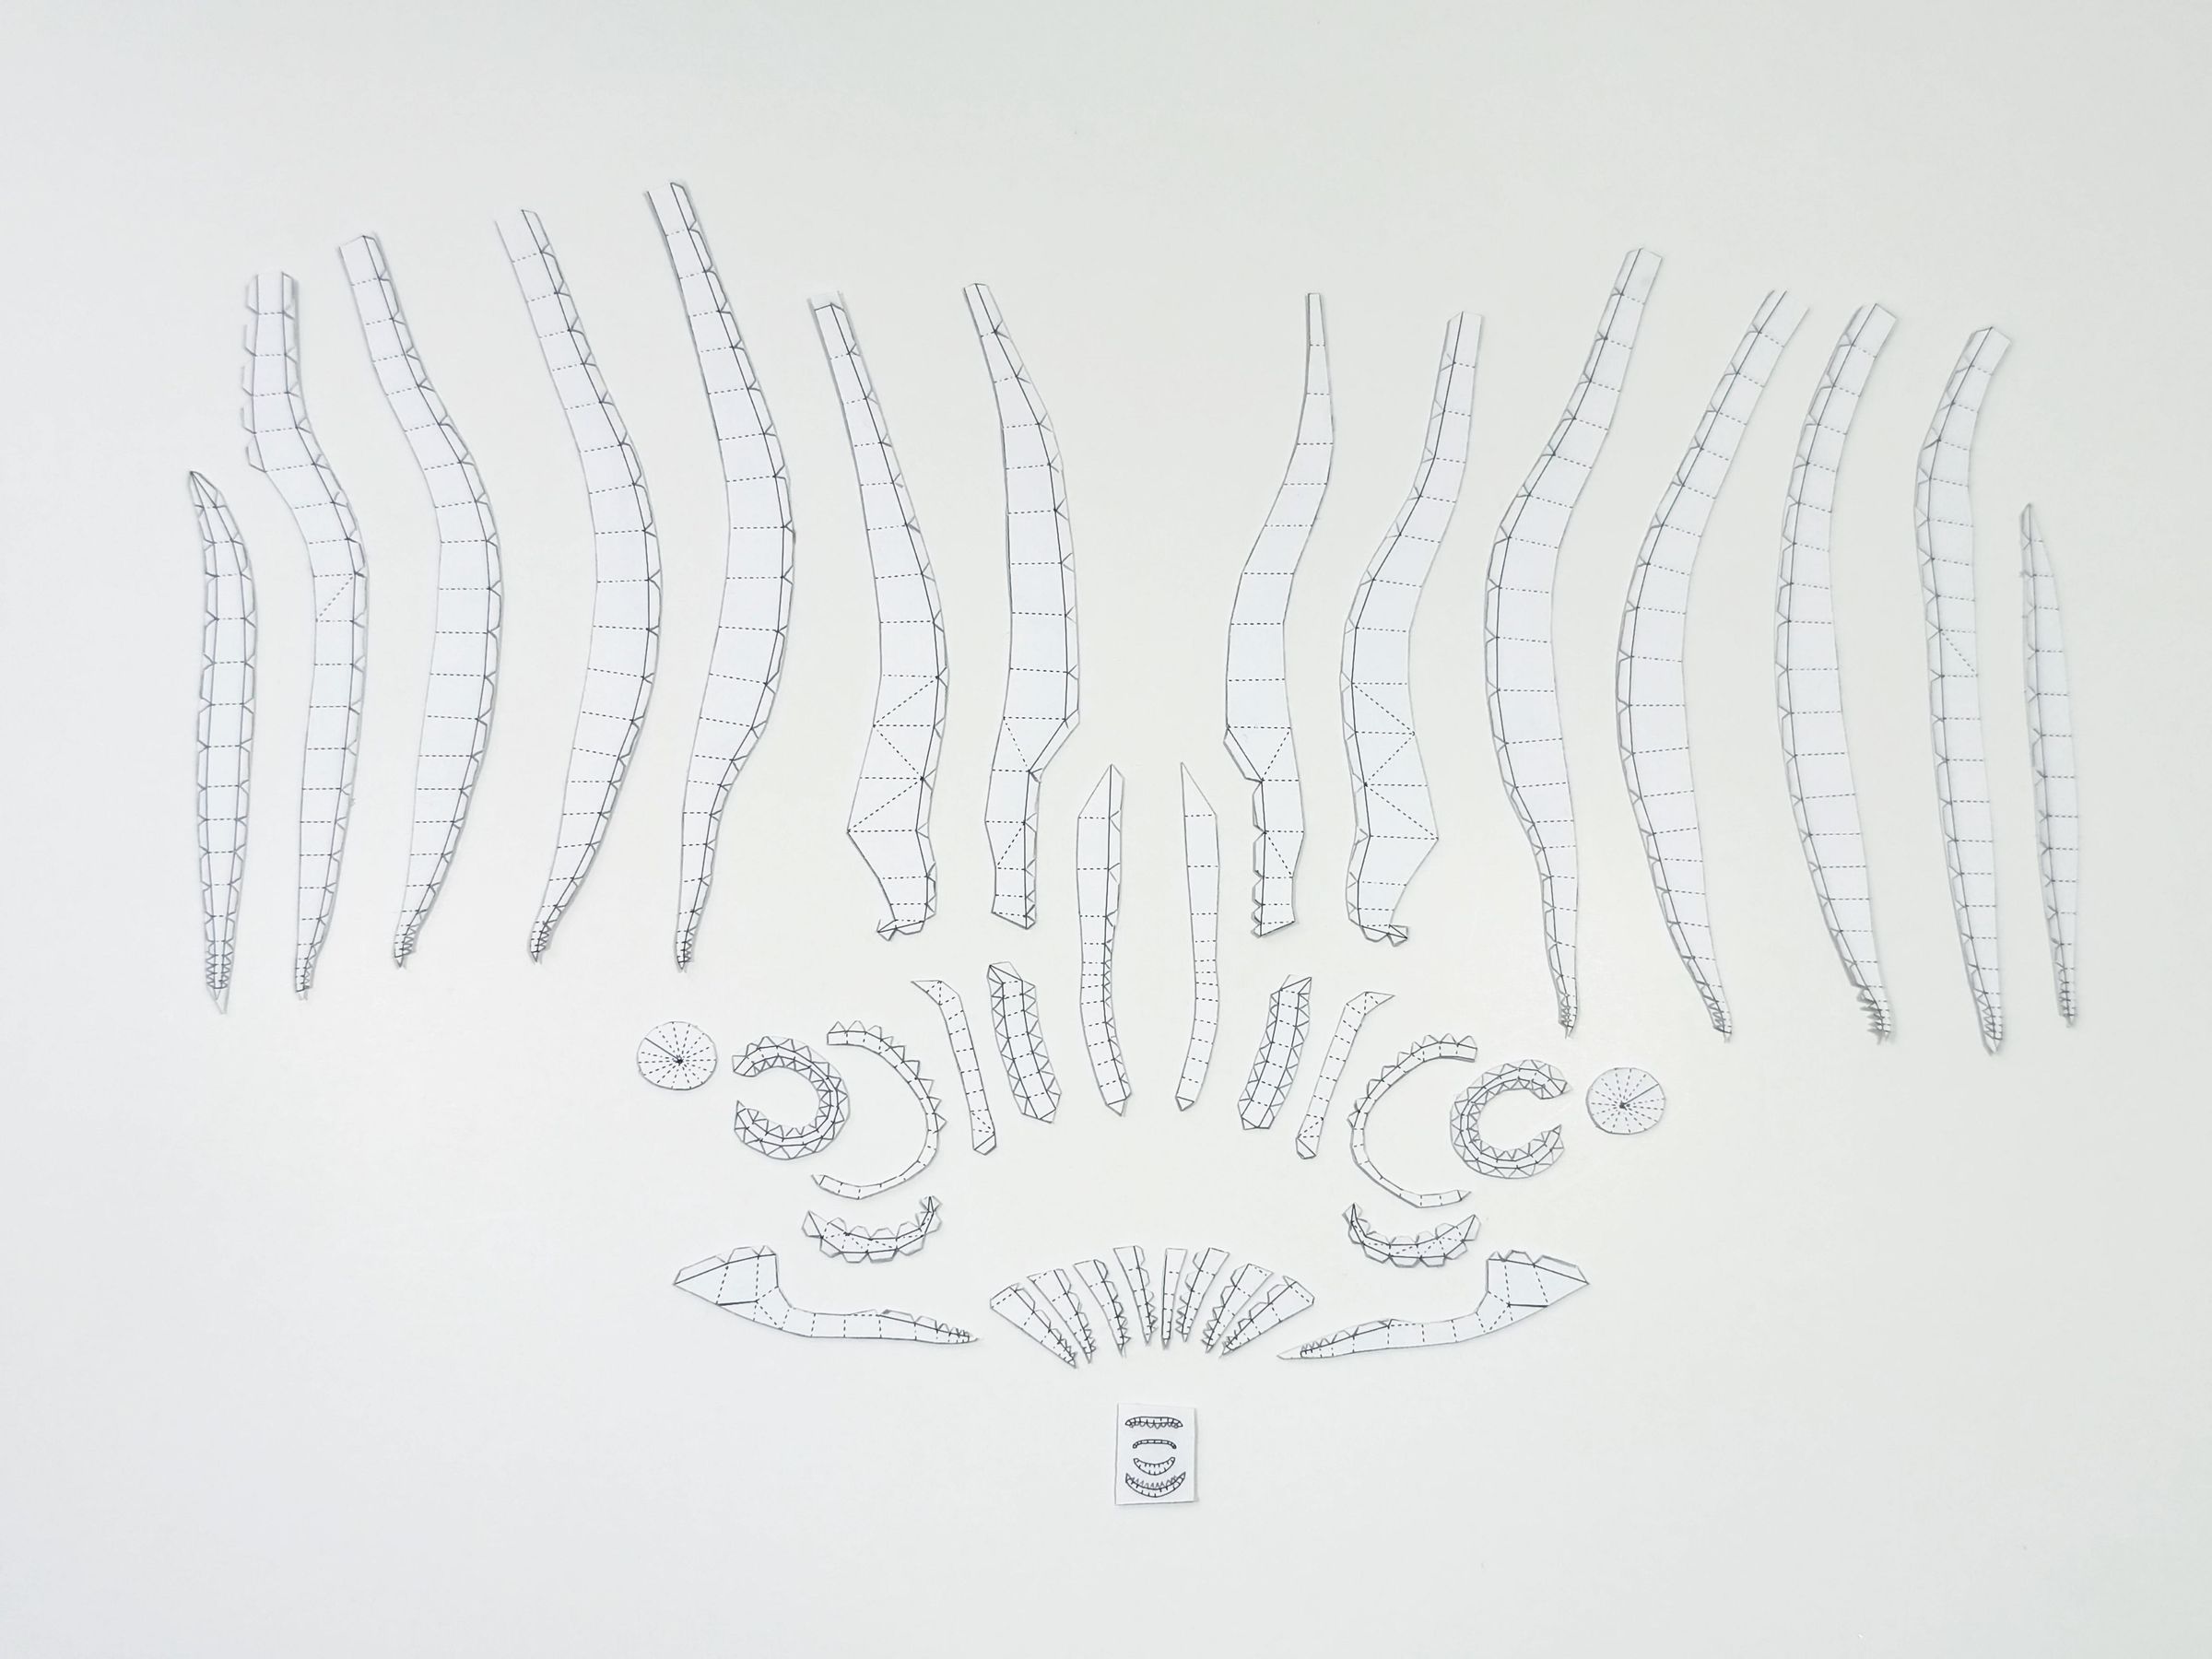
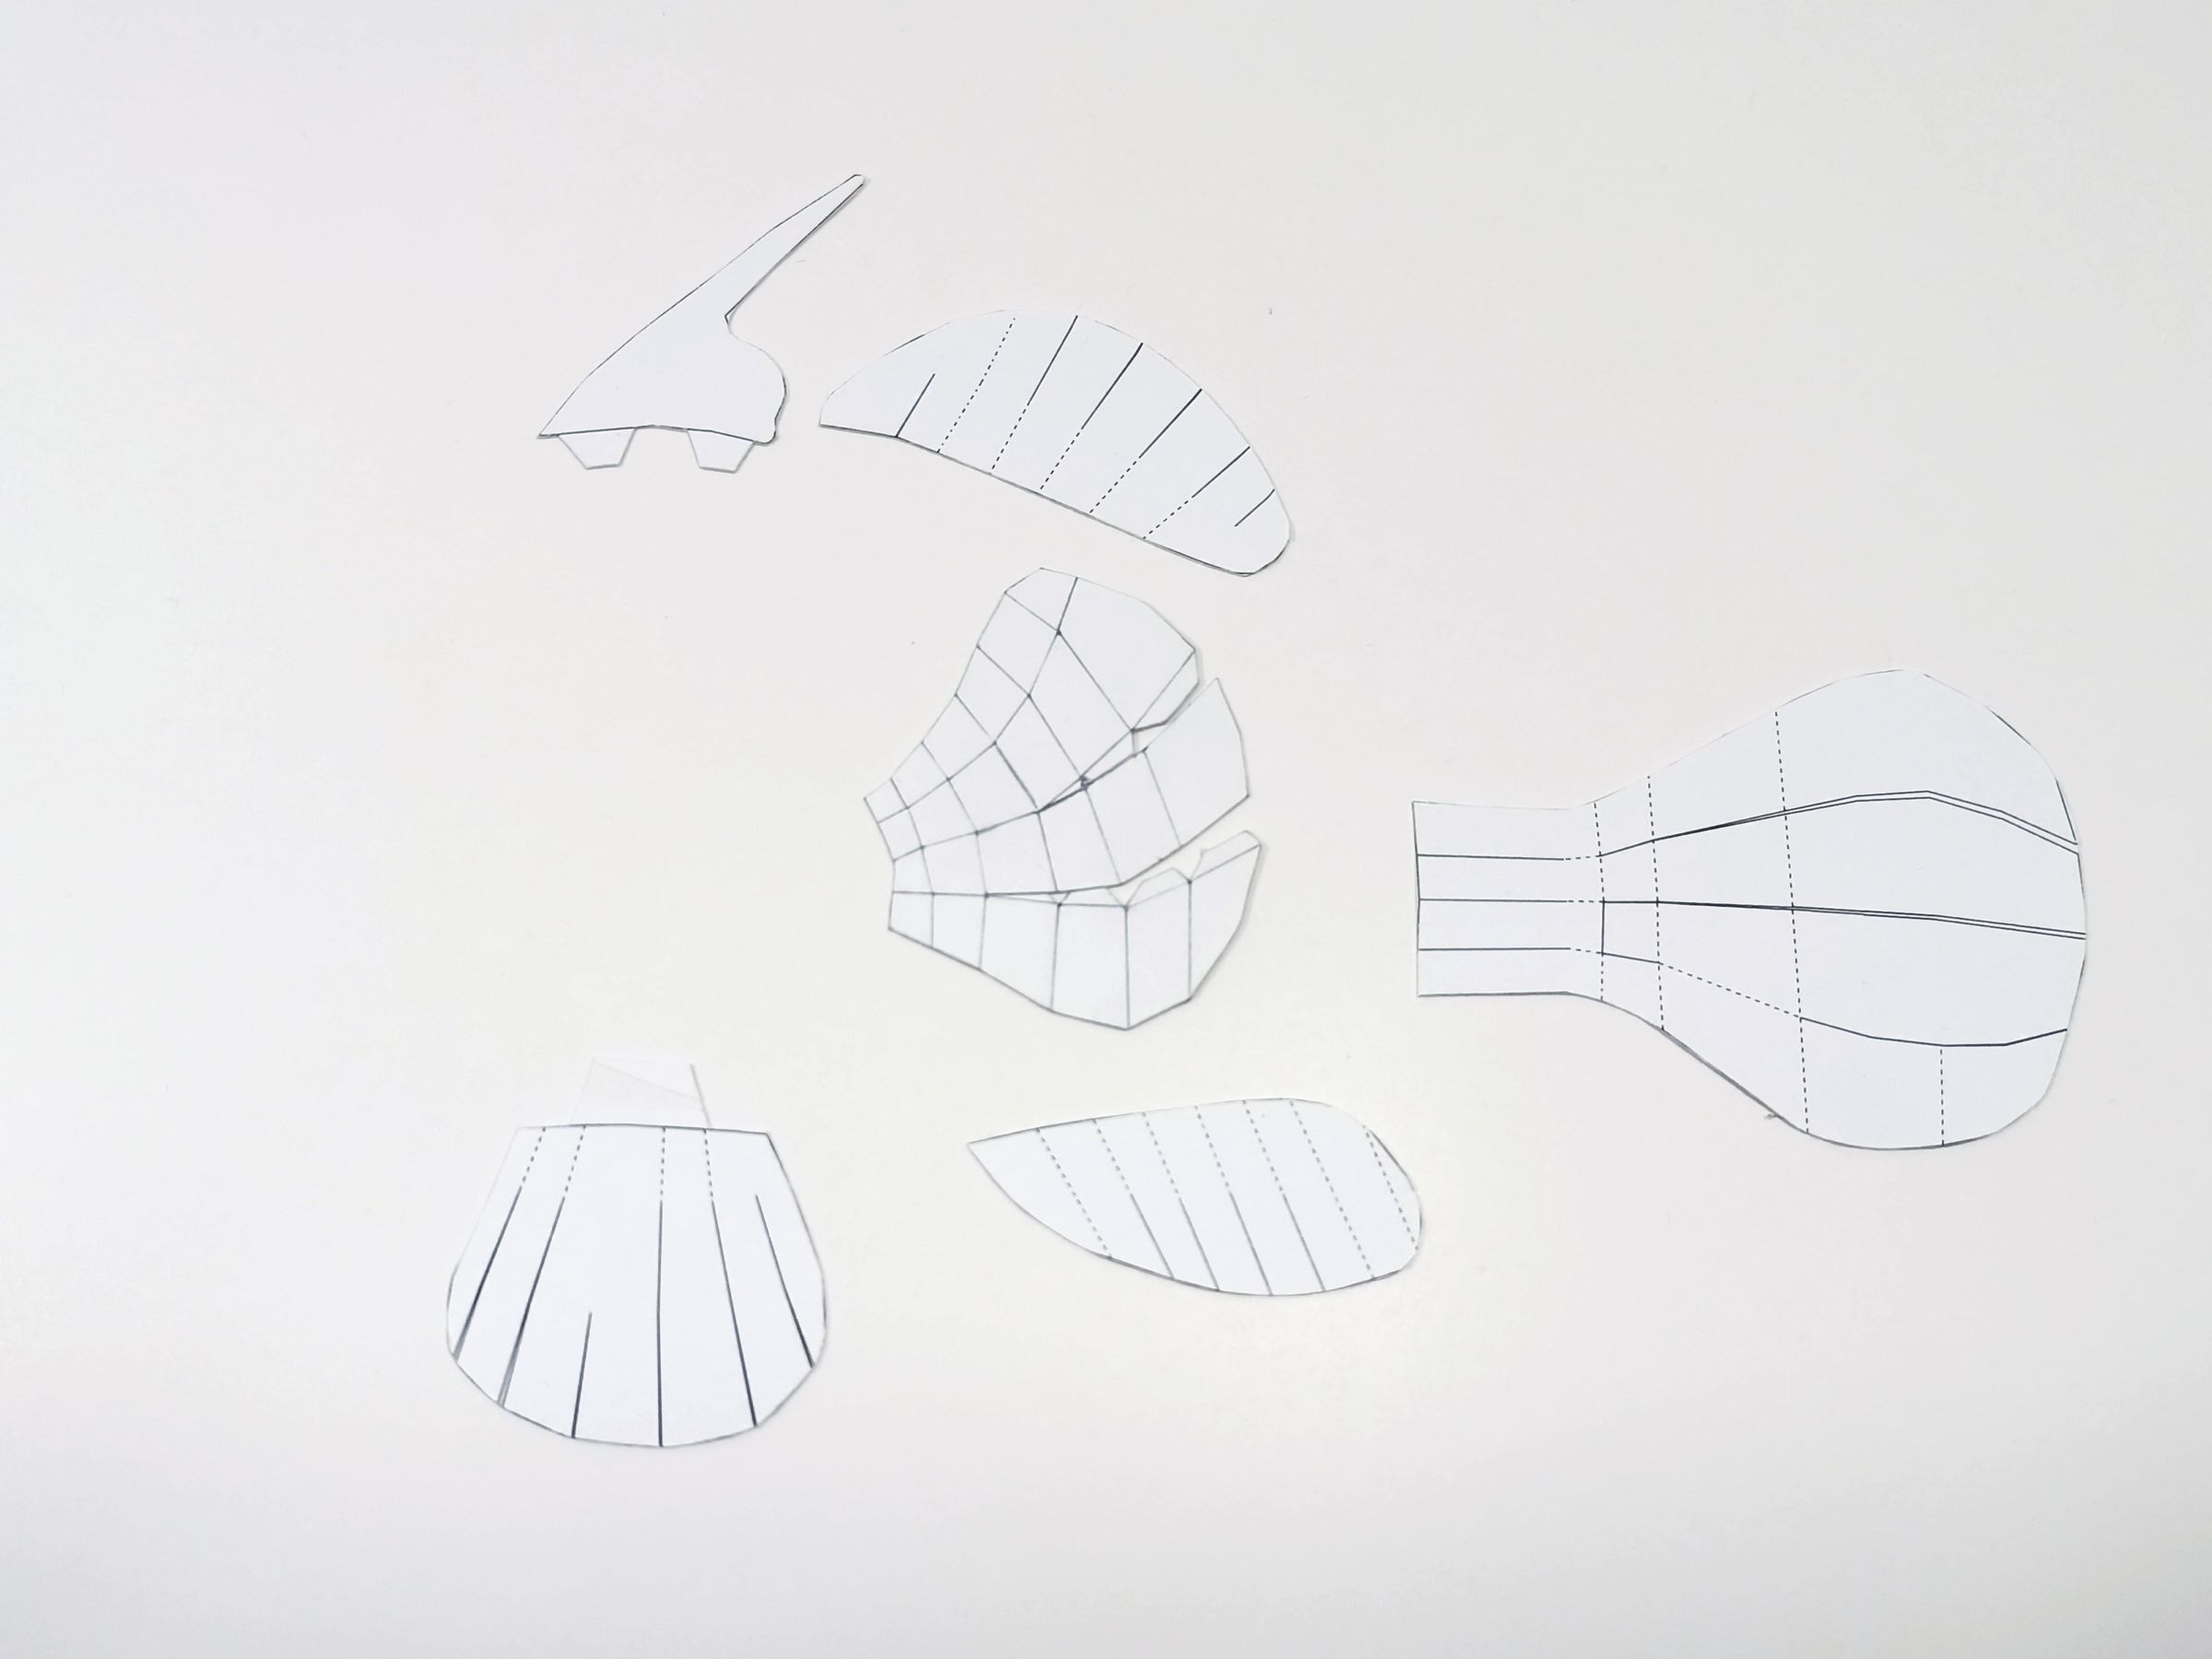
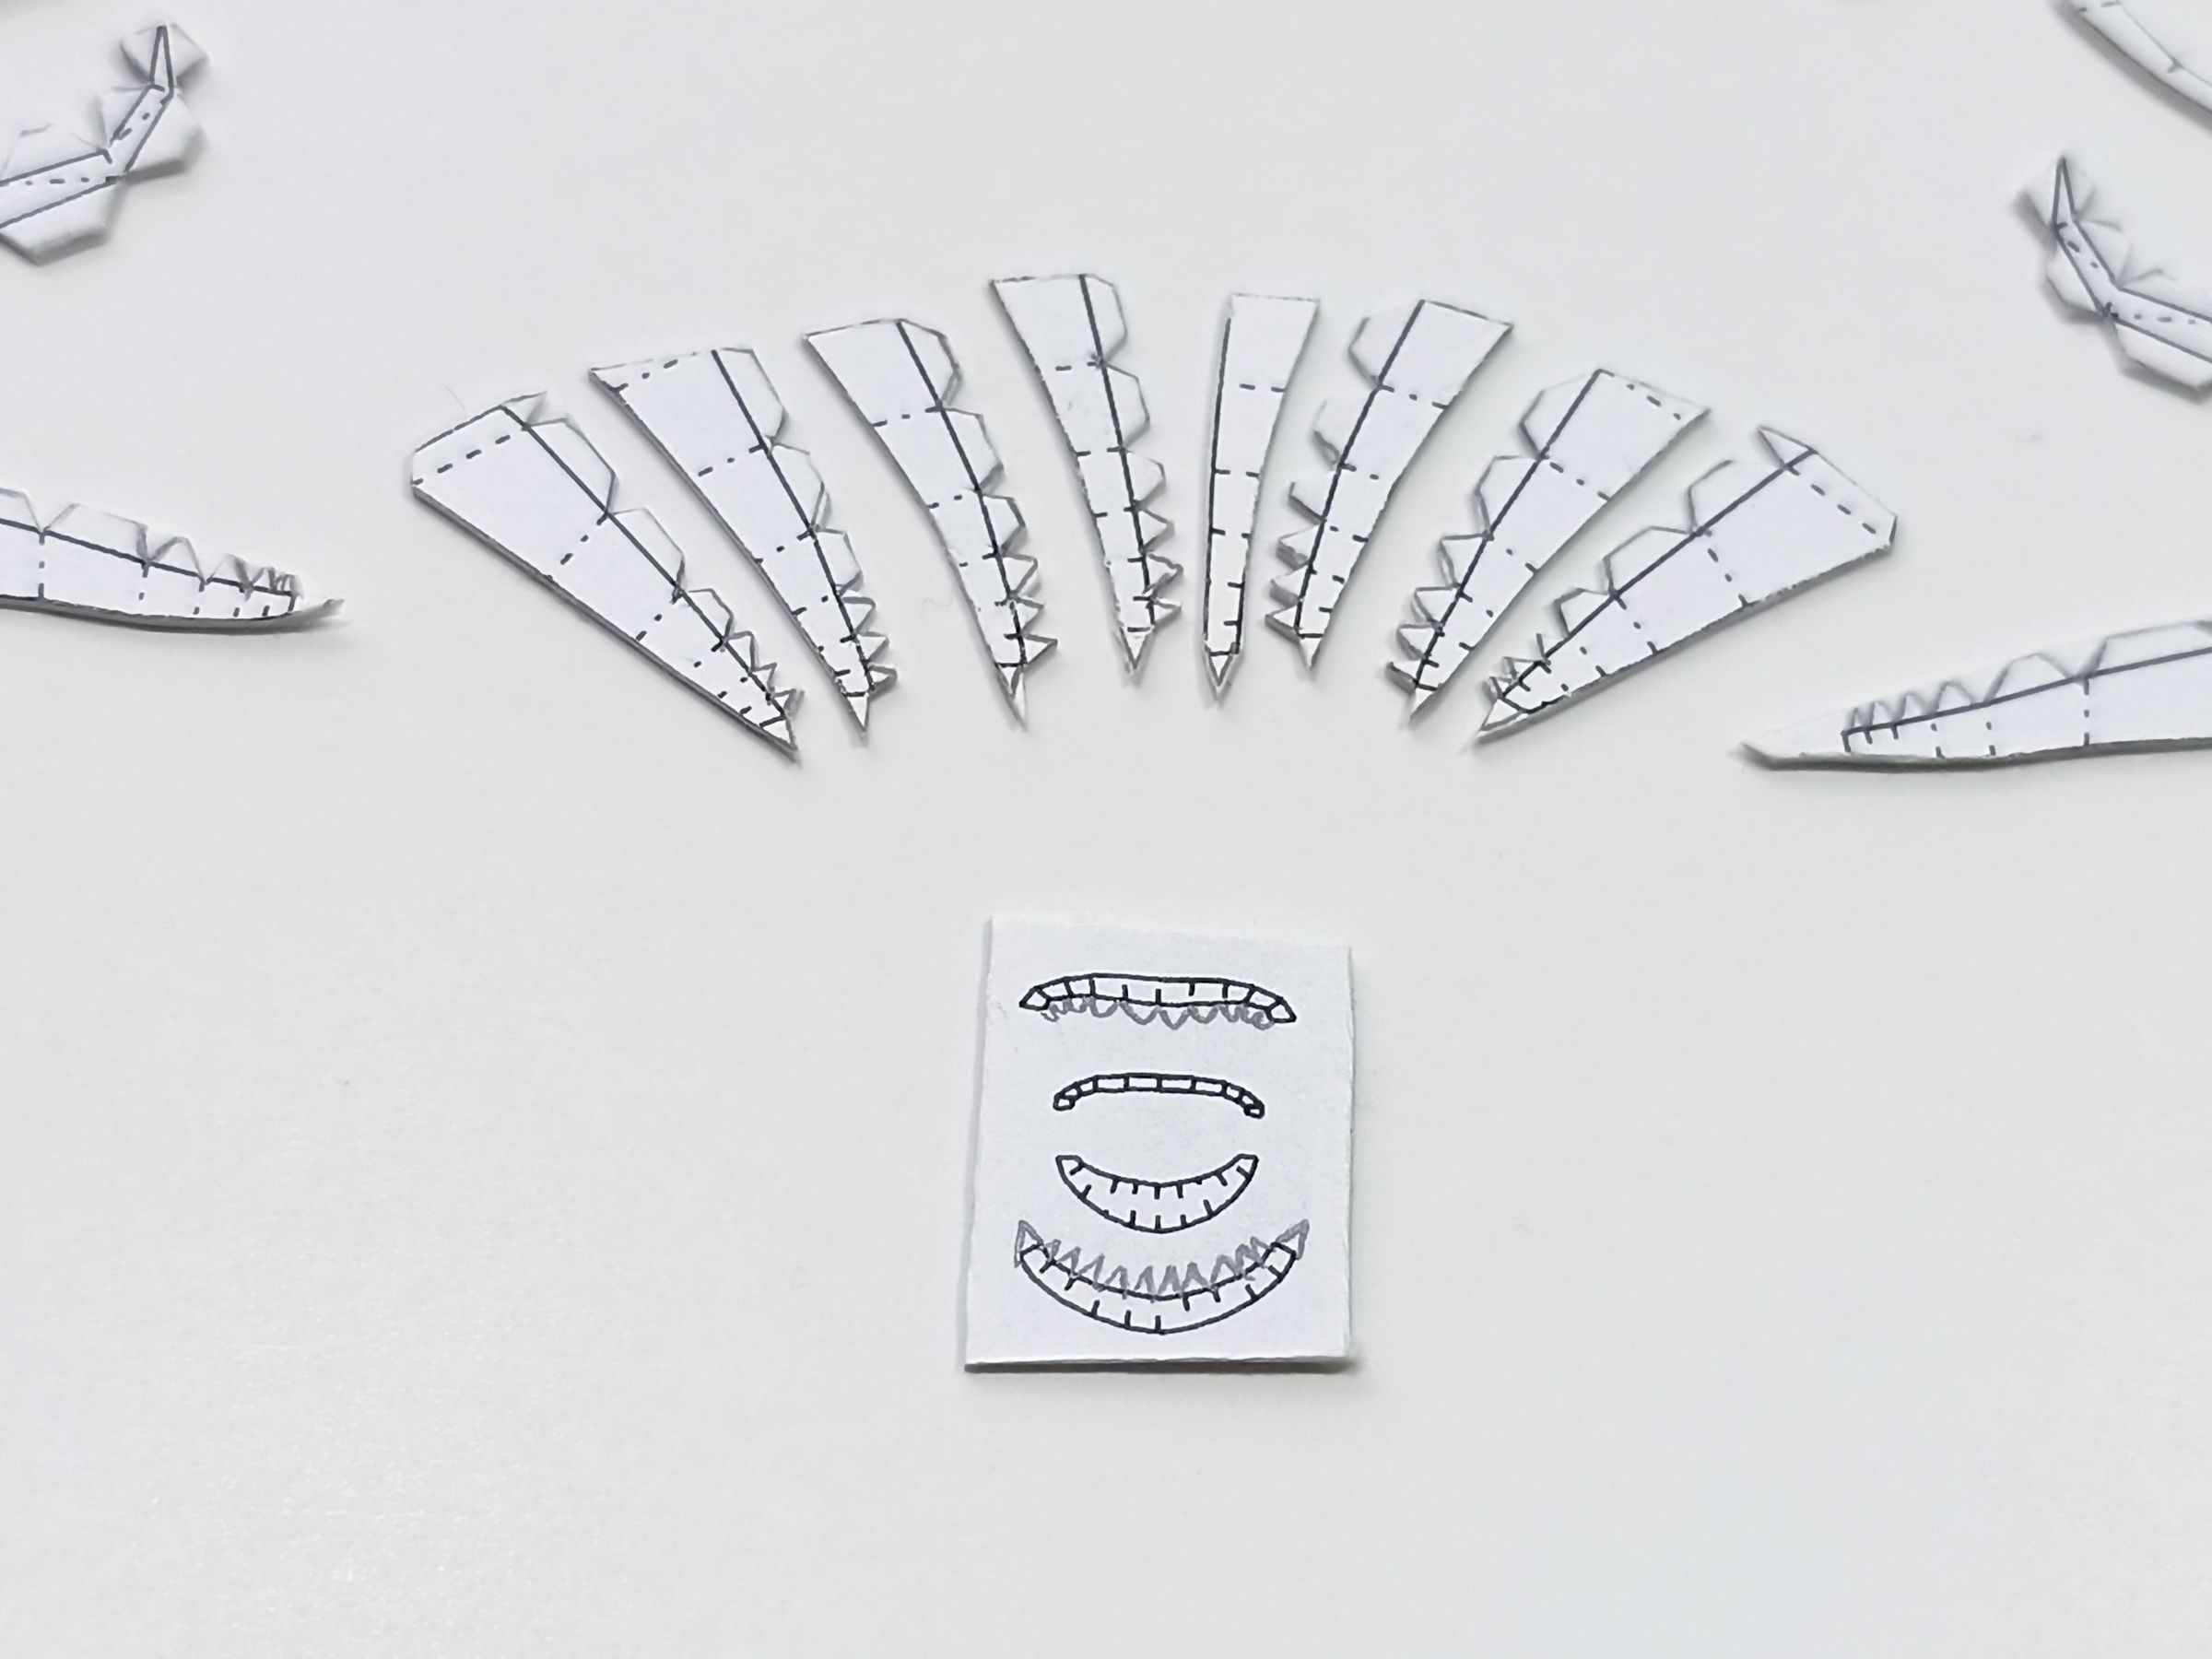
After cutting the pieces, arrange them in the same order as the images; we will use this order to assemble them with glue.
I recommend leaving the mouth (lips) of the fish until last, as these pieces are so small they can get lost. Keep these pieces in a box, and once you have assembled the rest, cut them out and glue them to the fish's body immediately.
Emboss
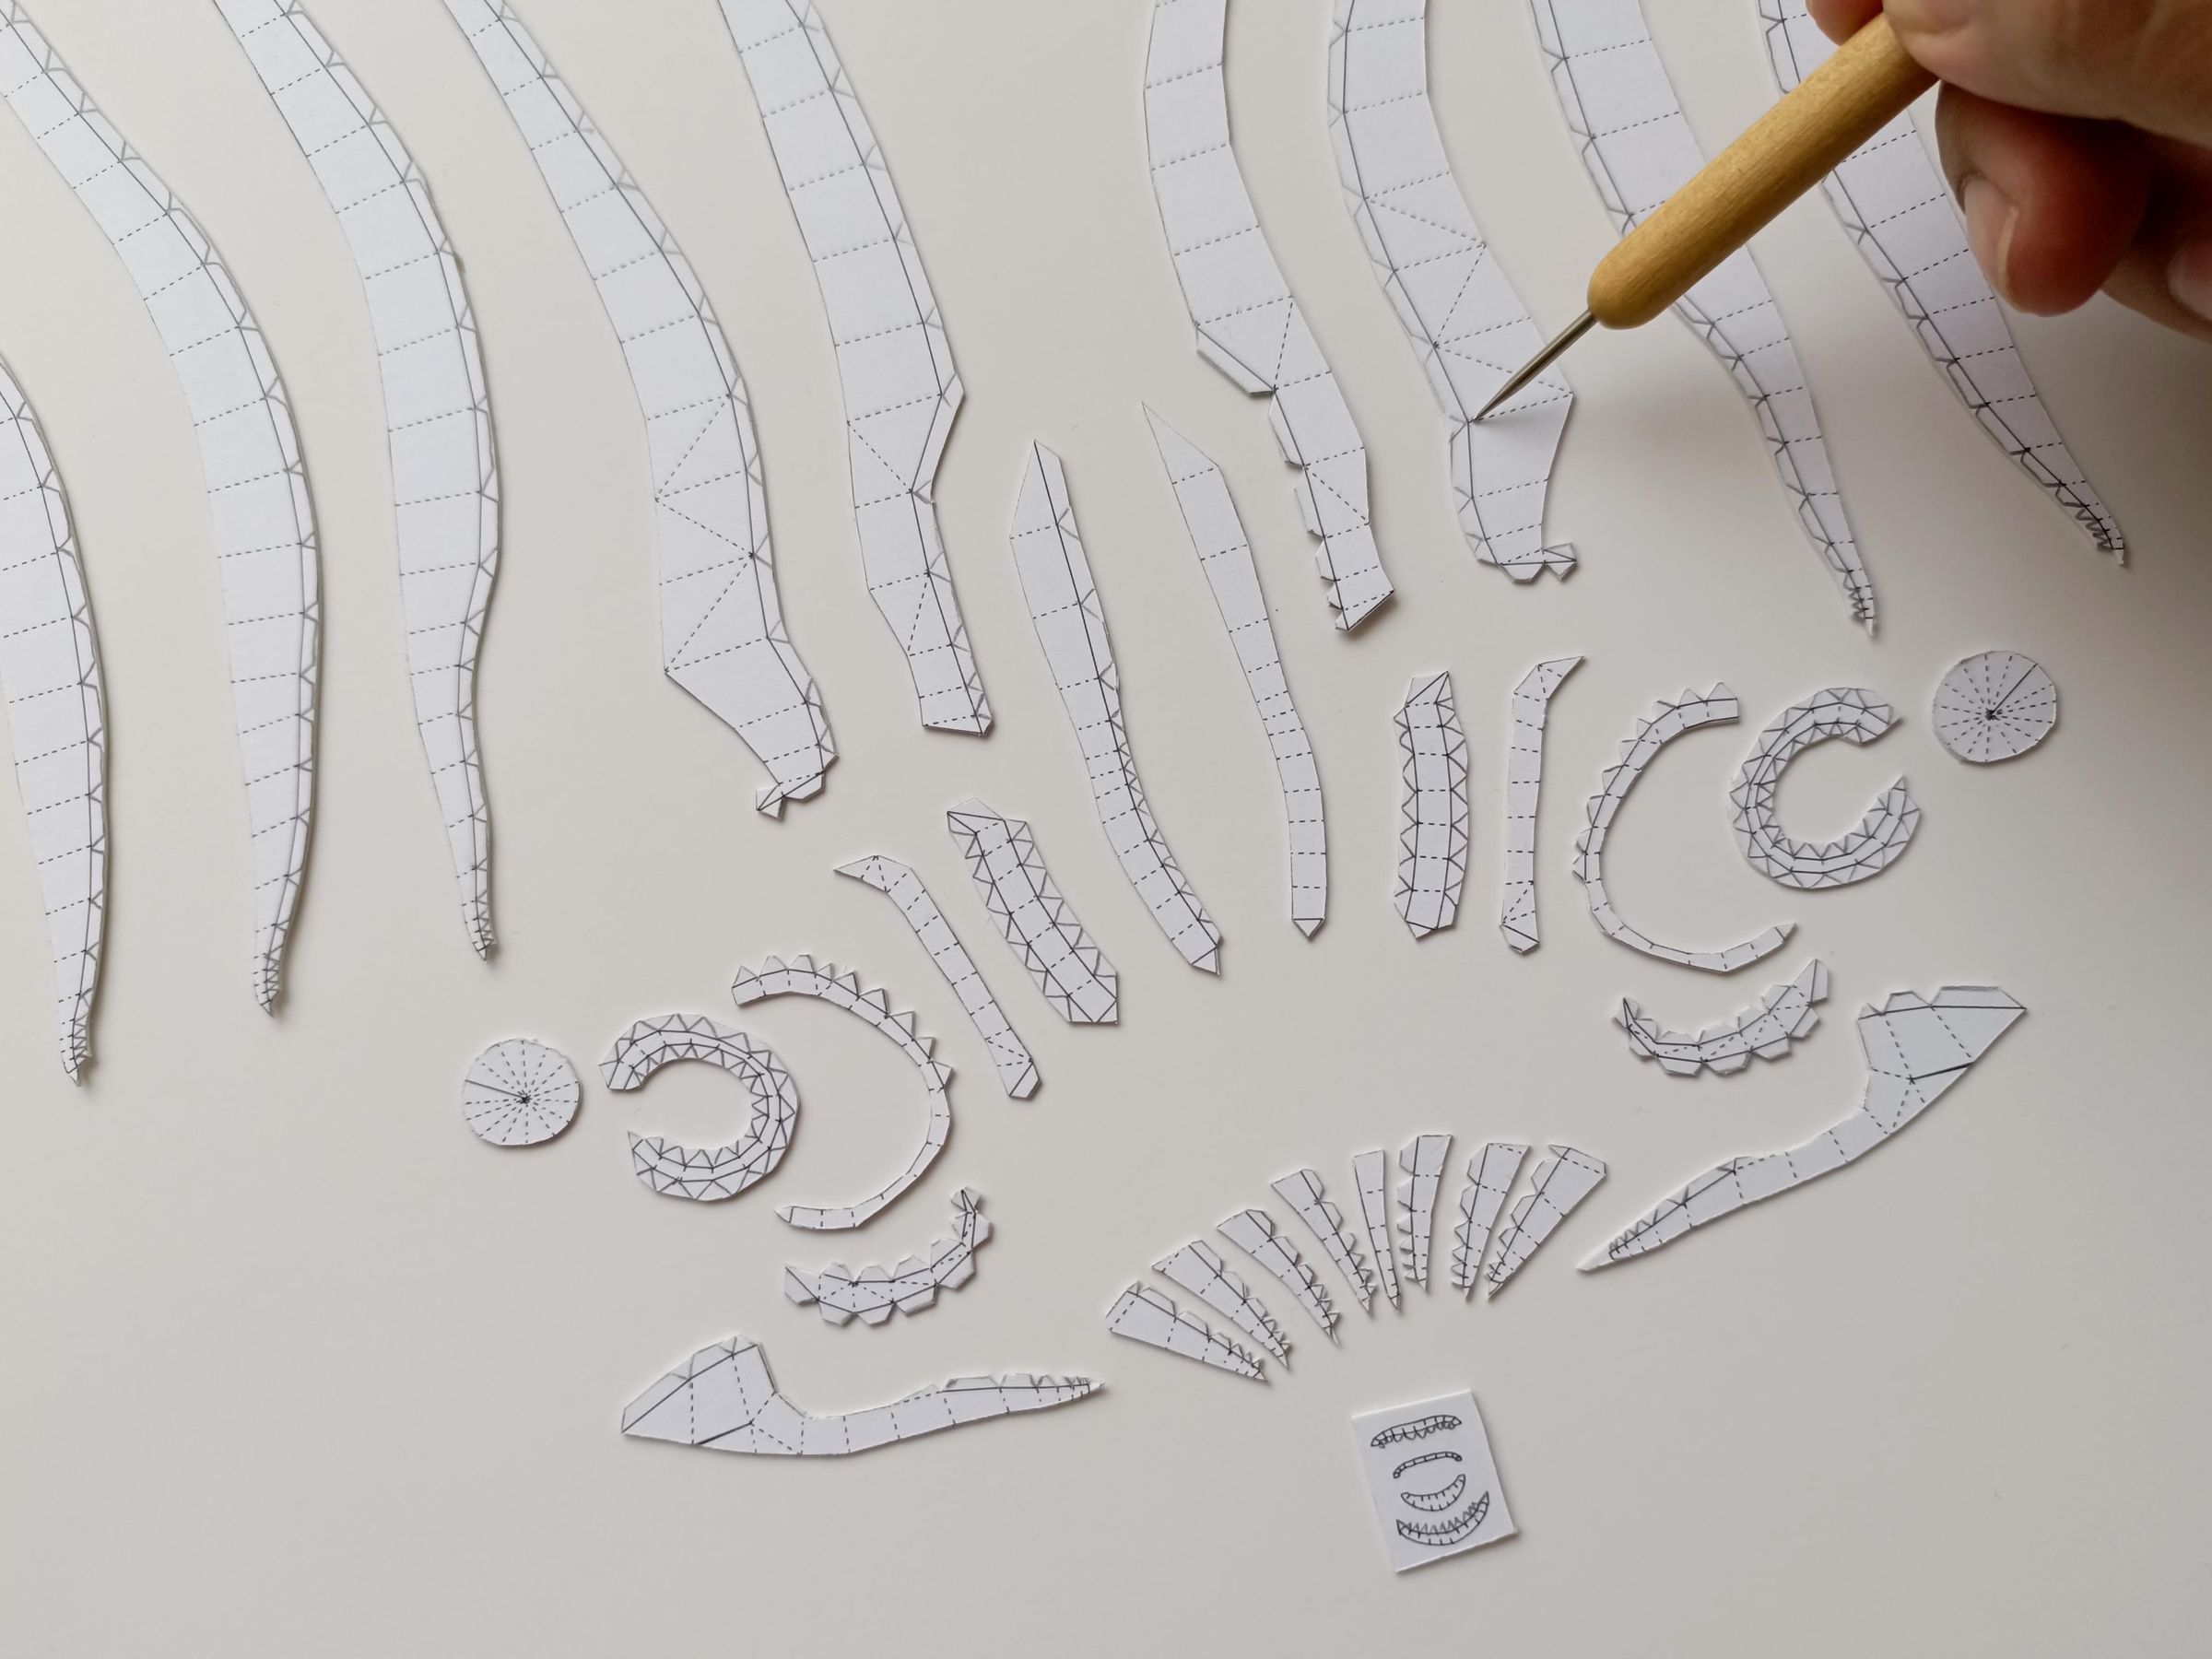
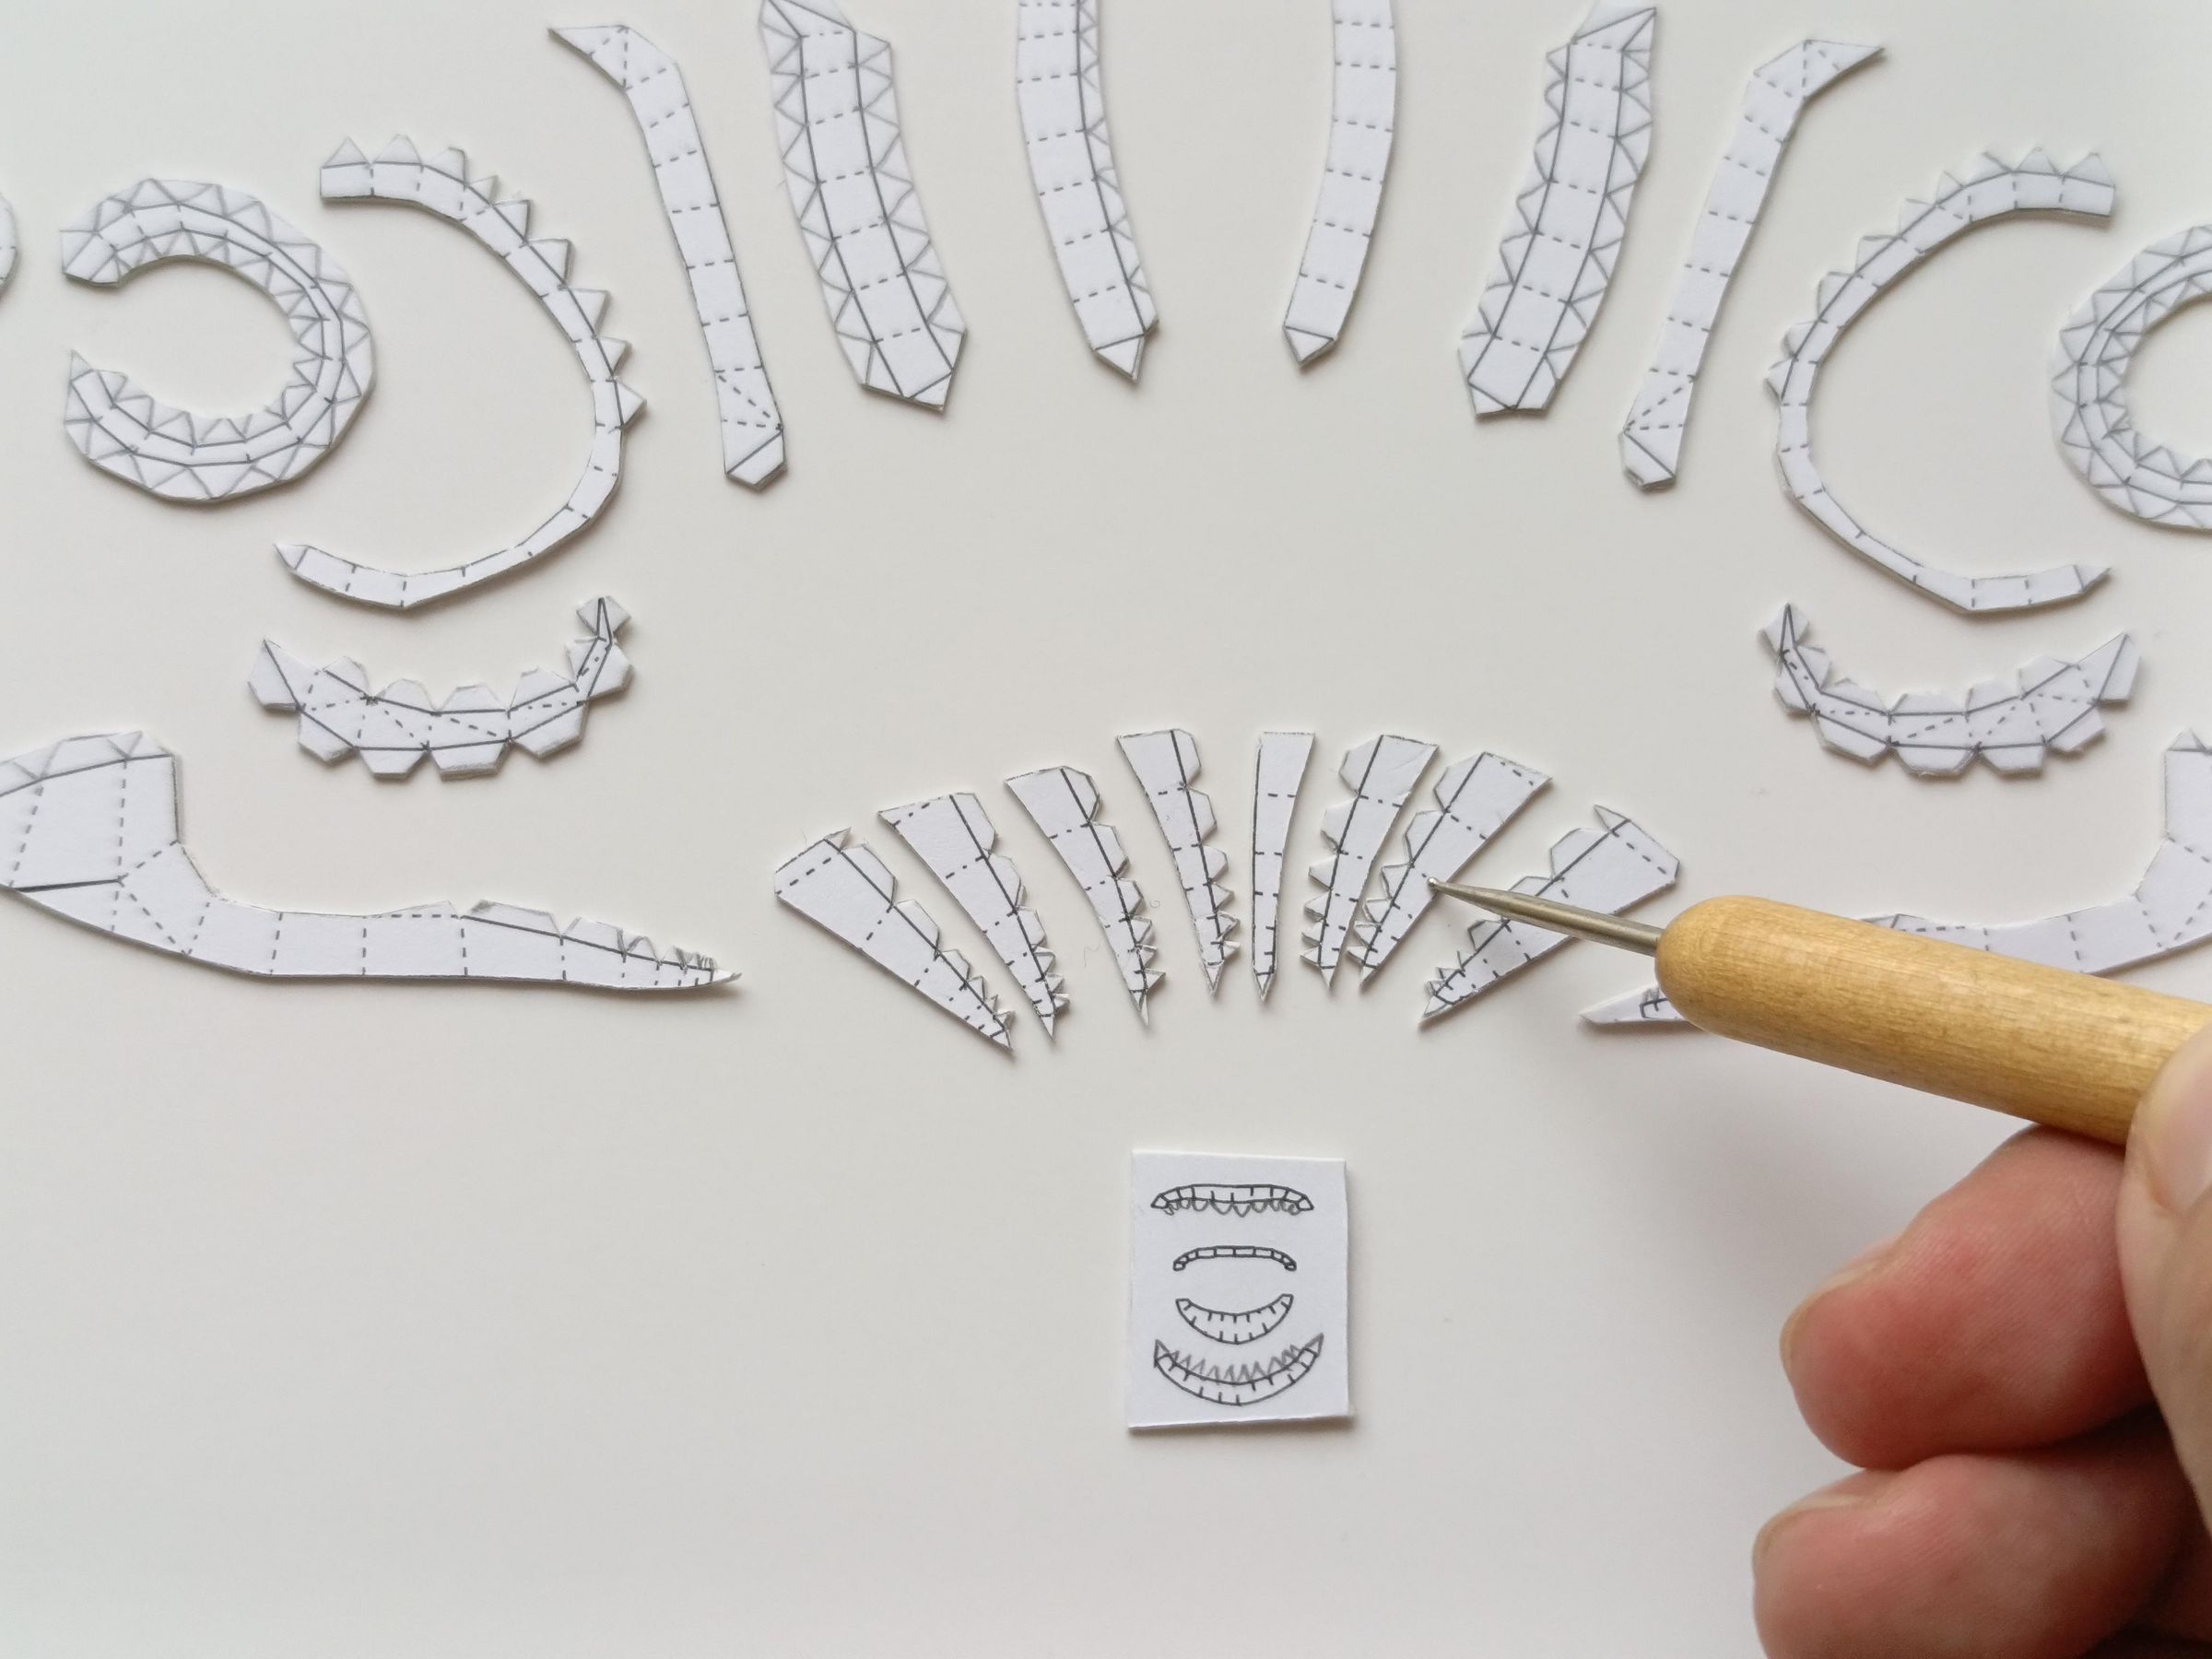
For the folds use a Ball & Cup embossing tool.
Check the lines for making the folds.
Glue Parts
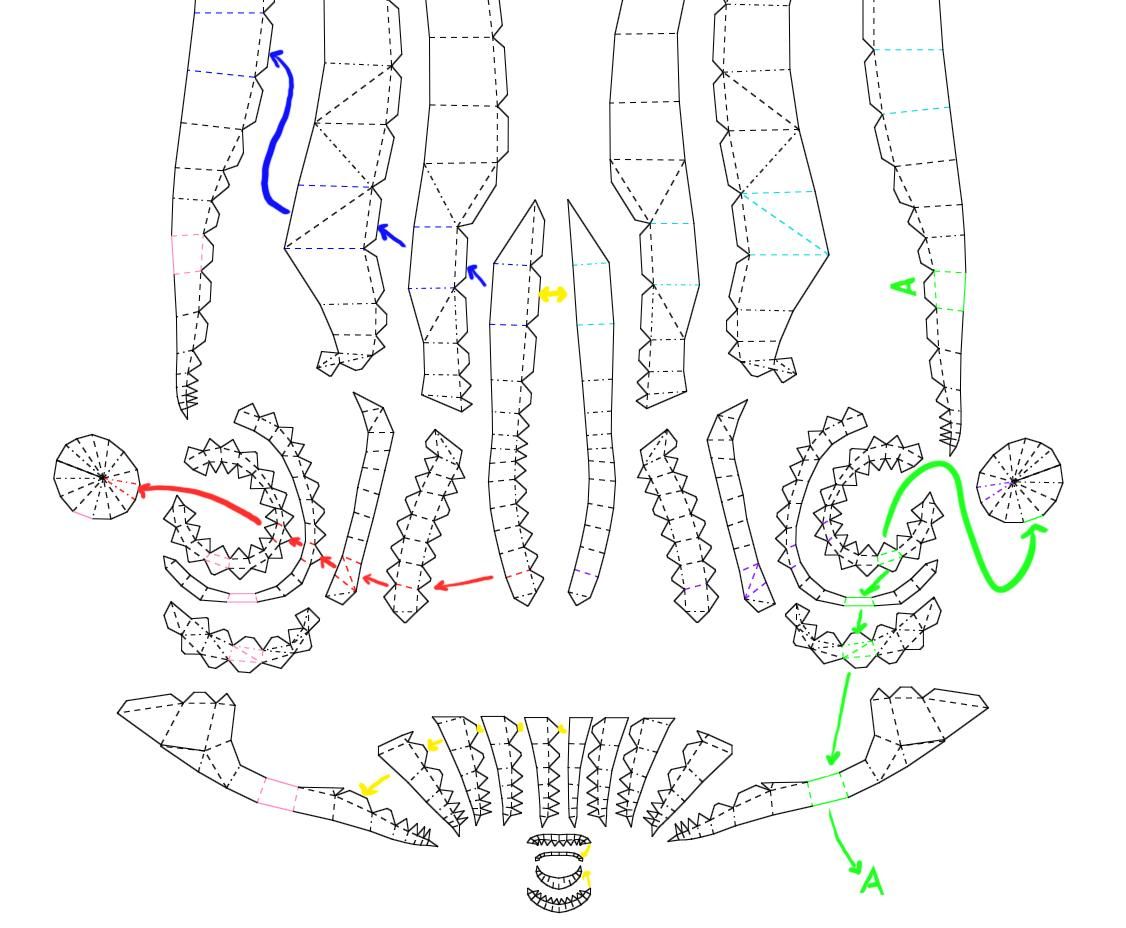
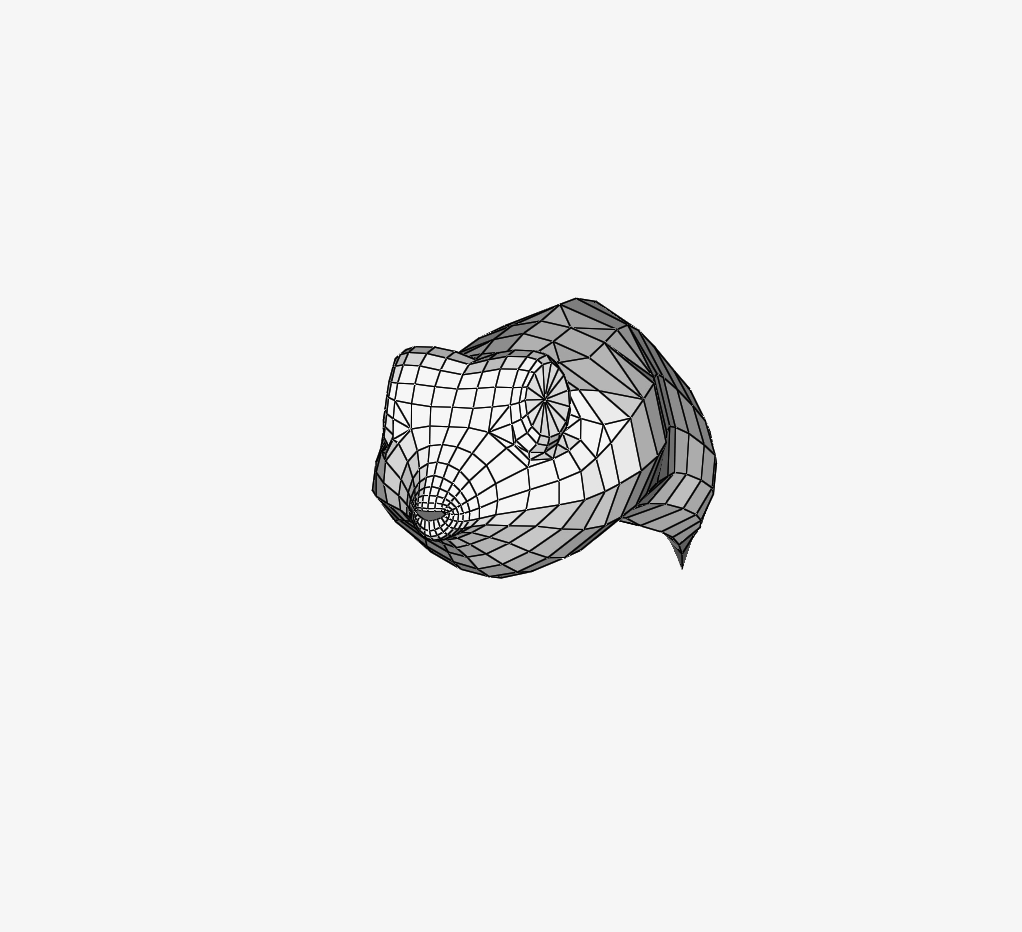
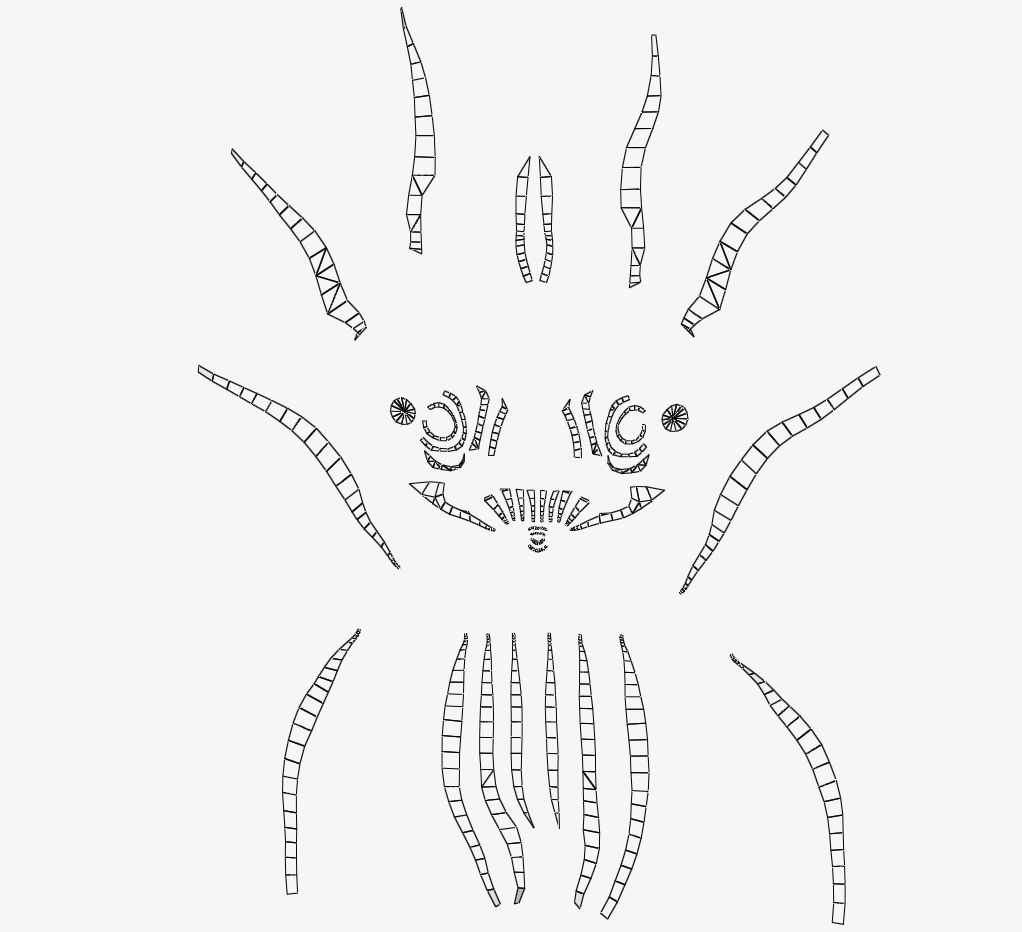
After folding, we move on to the gluing stage. Follow the color guide and glue each tab to its corresponding counterpart.
Use the color guide on the templates, matching each color to the area of the same color: red to red, blue to blue, etc.
Only certain essential areas are colored, so pay close attention to match each tab to its color.
If you find the assembly with the color guide complicated, you can always review the animation for a more accurate and complete guide.
Apply the glue carefully, tab by tab, using a toothpick.
Assemble All the Fish Body
.jpg)
To fully assemble the rainbow fish, we will do it in parts. First, we will assemble the head, then the front area, then the back, and then the belly. Finally, we will glue on the mouth (lips) and install all the fins, including the tail.
Here you can see how it will finally look assembled, but don't apply glue yet; first we must paint the fins and the body separately.
Head
.jpg)
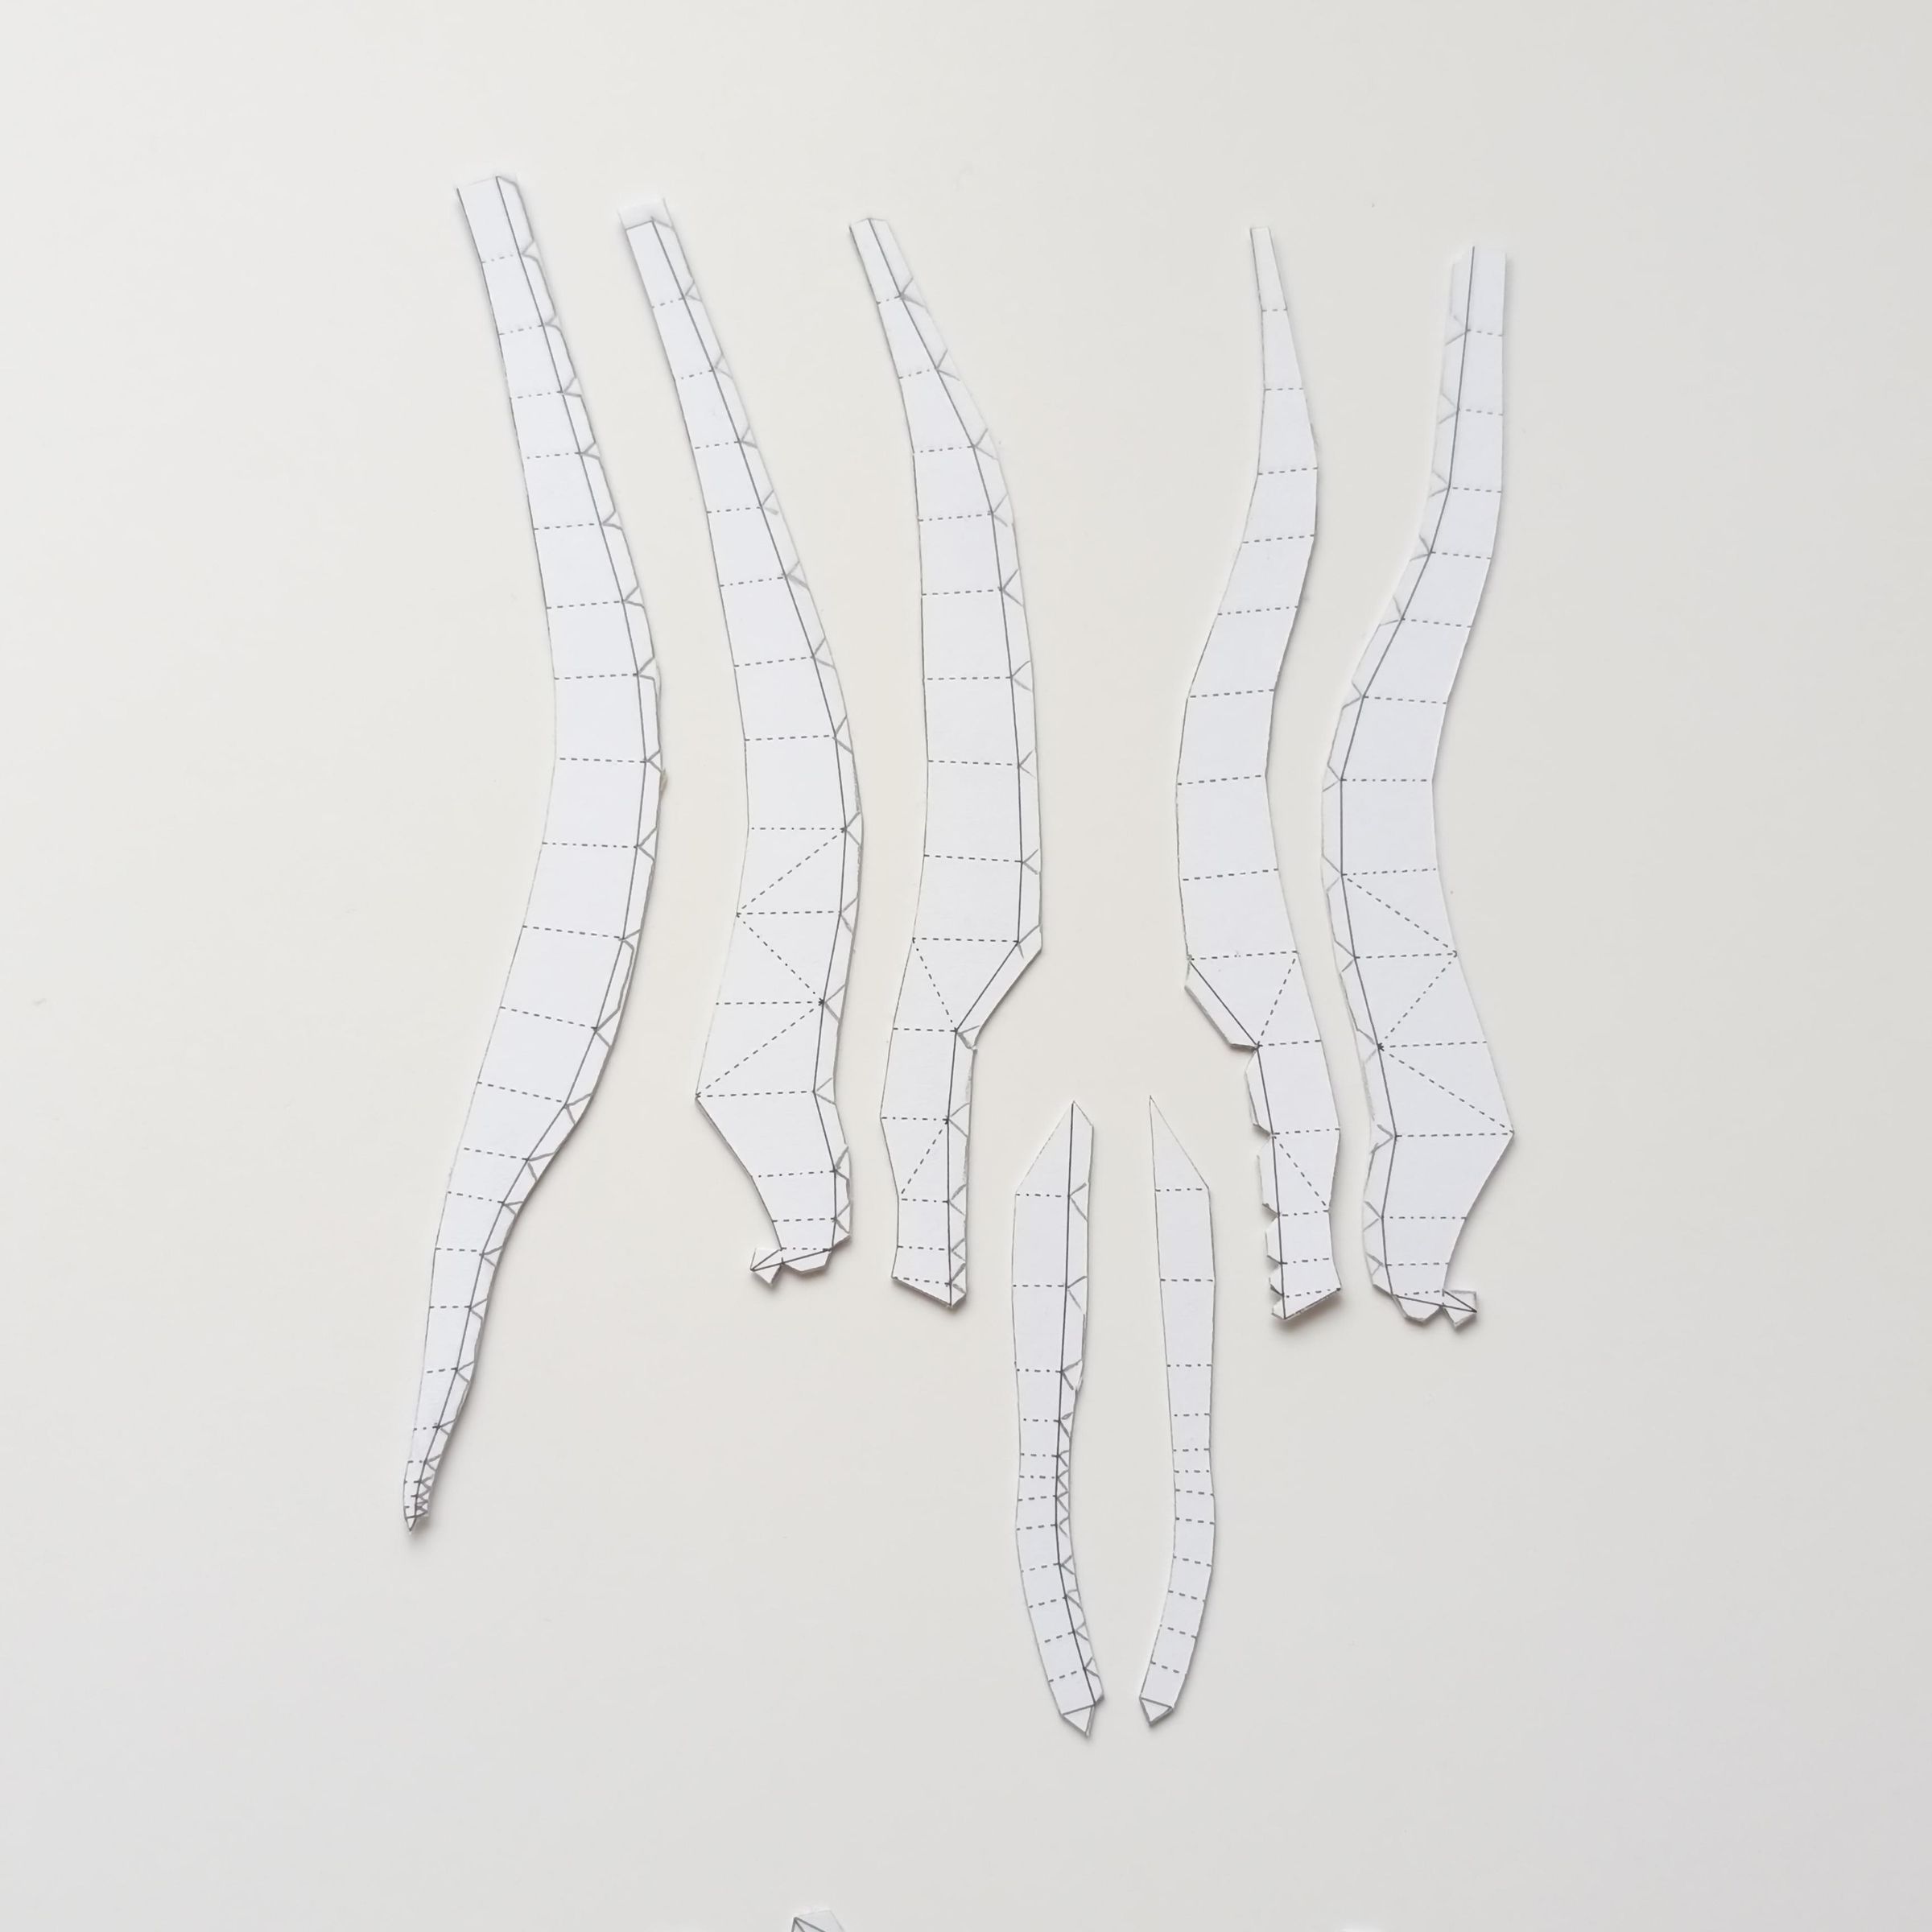
Join the parts indicated in red with glue, following the image guide to mark the area to be formed. If you have problems, look for the color and animation guide in step 7.
Nostril Area
.jpg)
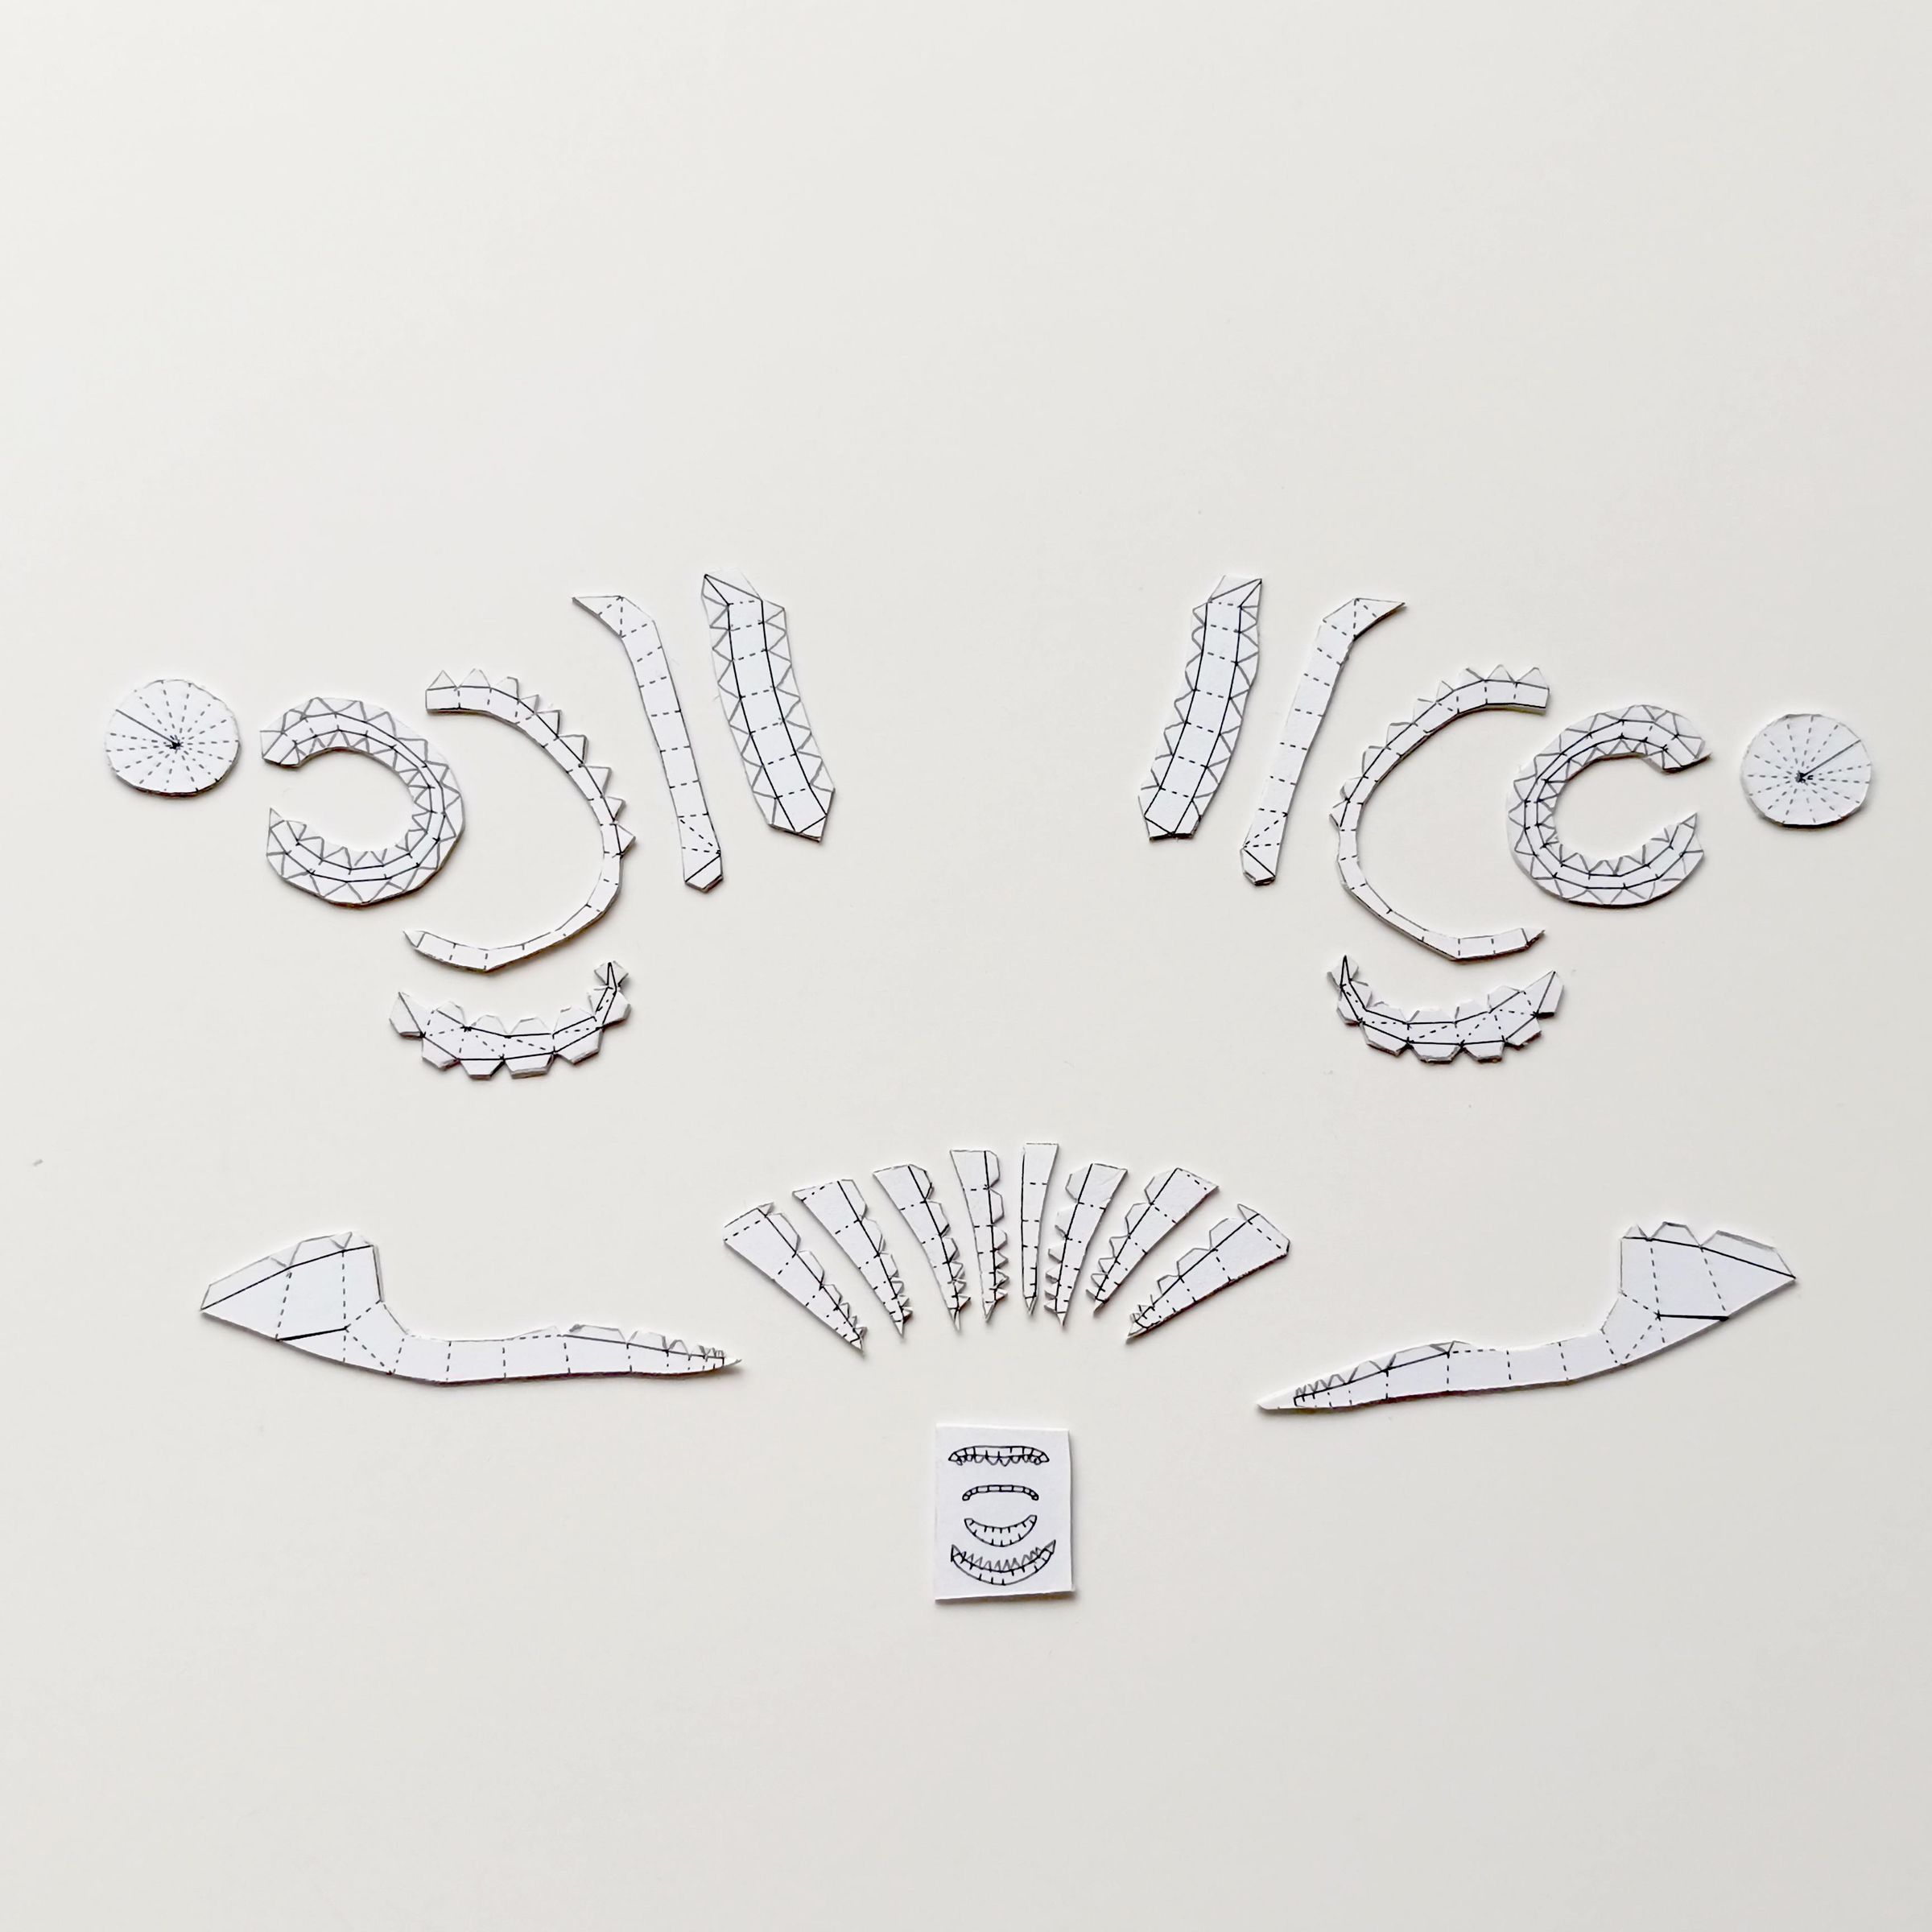
For the front or nostril part, check the guide and, based on the areas marked in red, make the joints for that piece.
Mouth(Lips)
.jpg)
.jpg)
Remember that the lips will be cut and installed last on the fish, as they can be lost due to their size. Here you can see how they are placed at the front of the head.
Spine
.jpg)
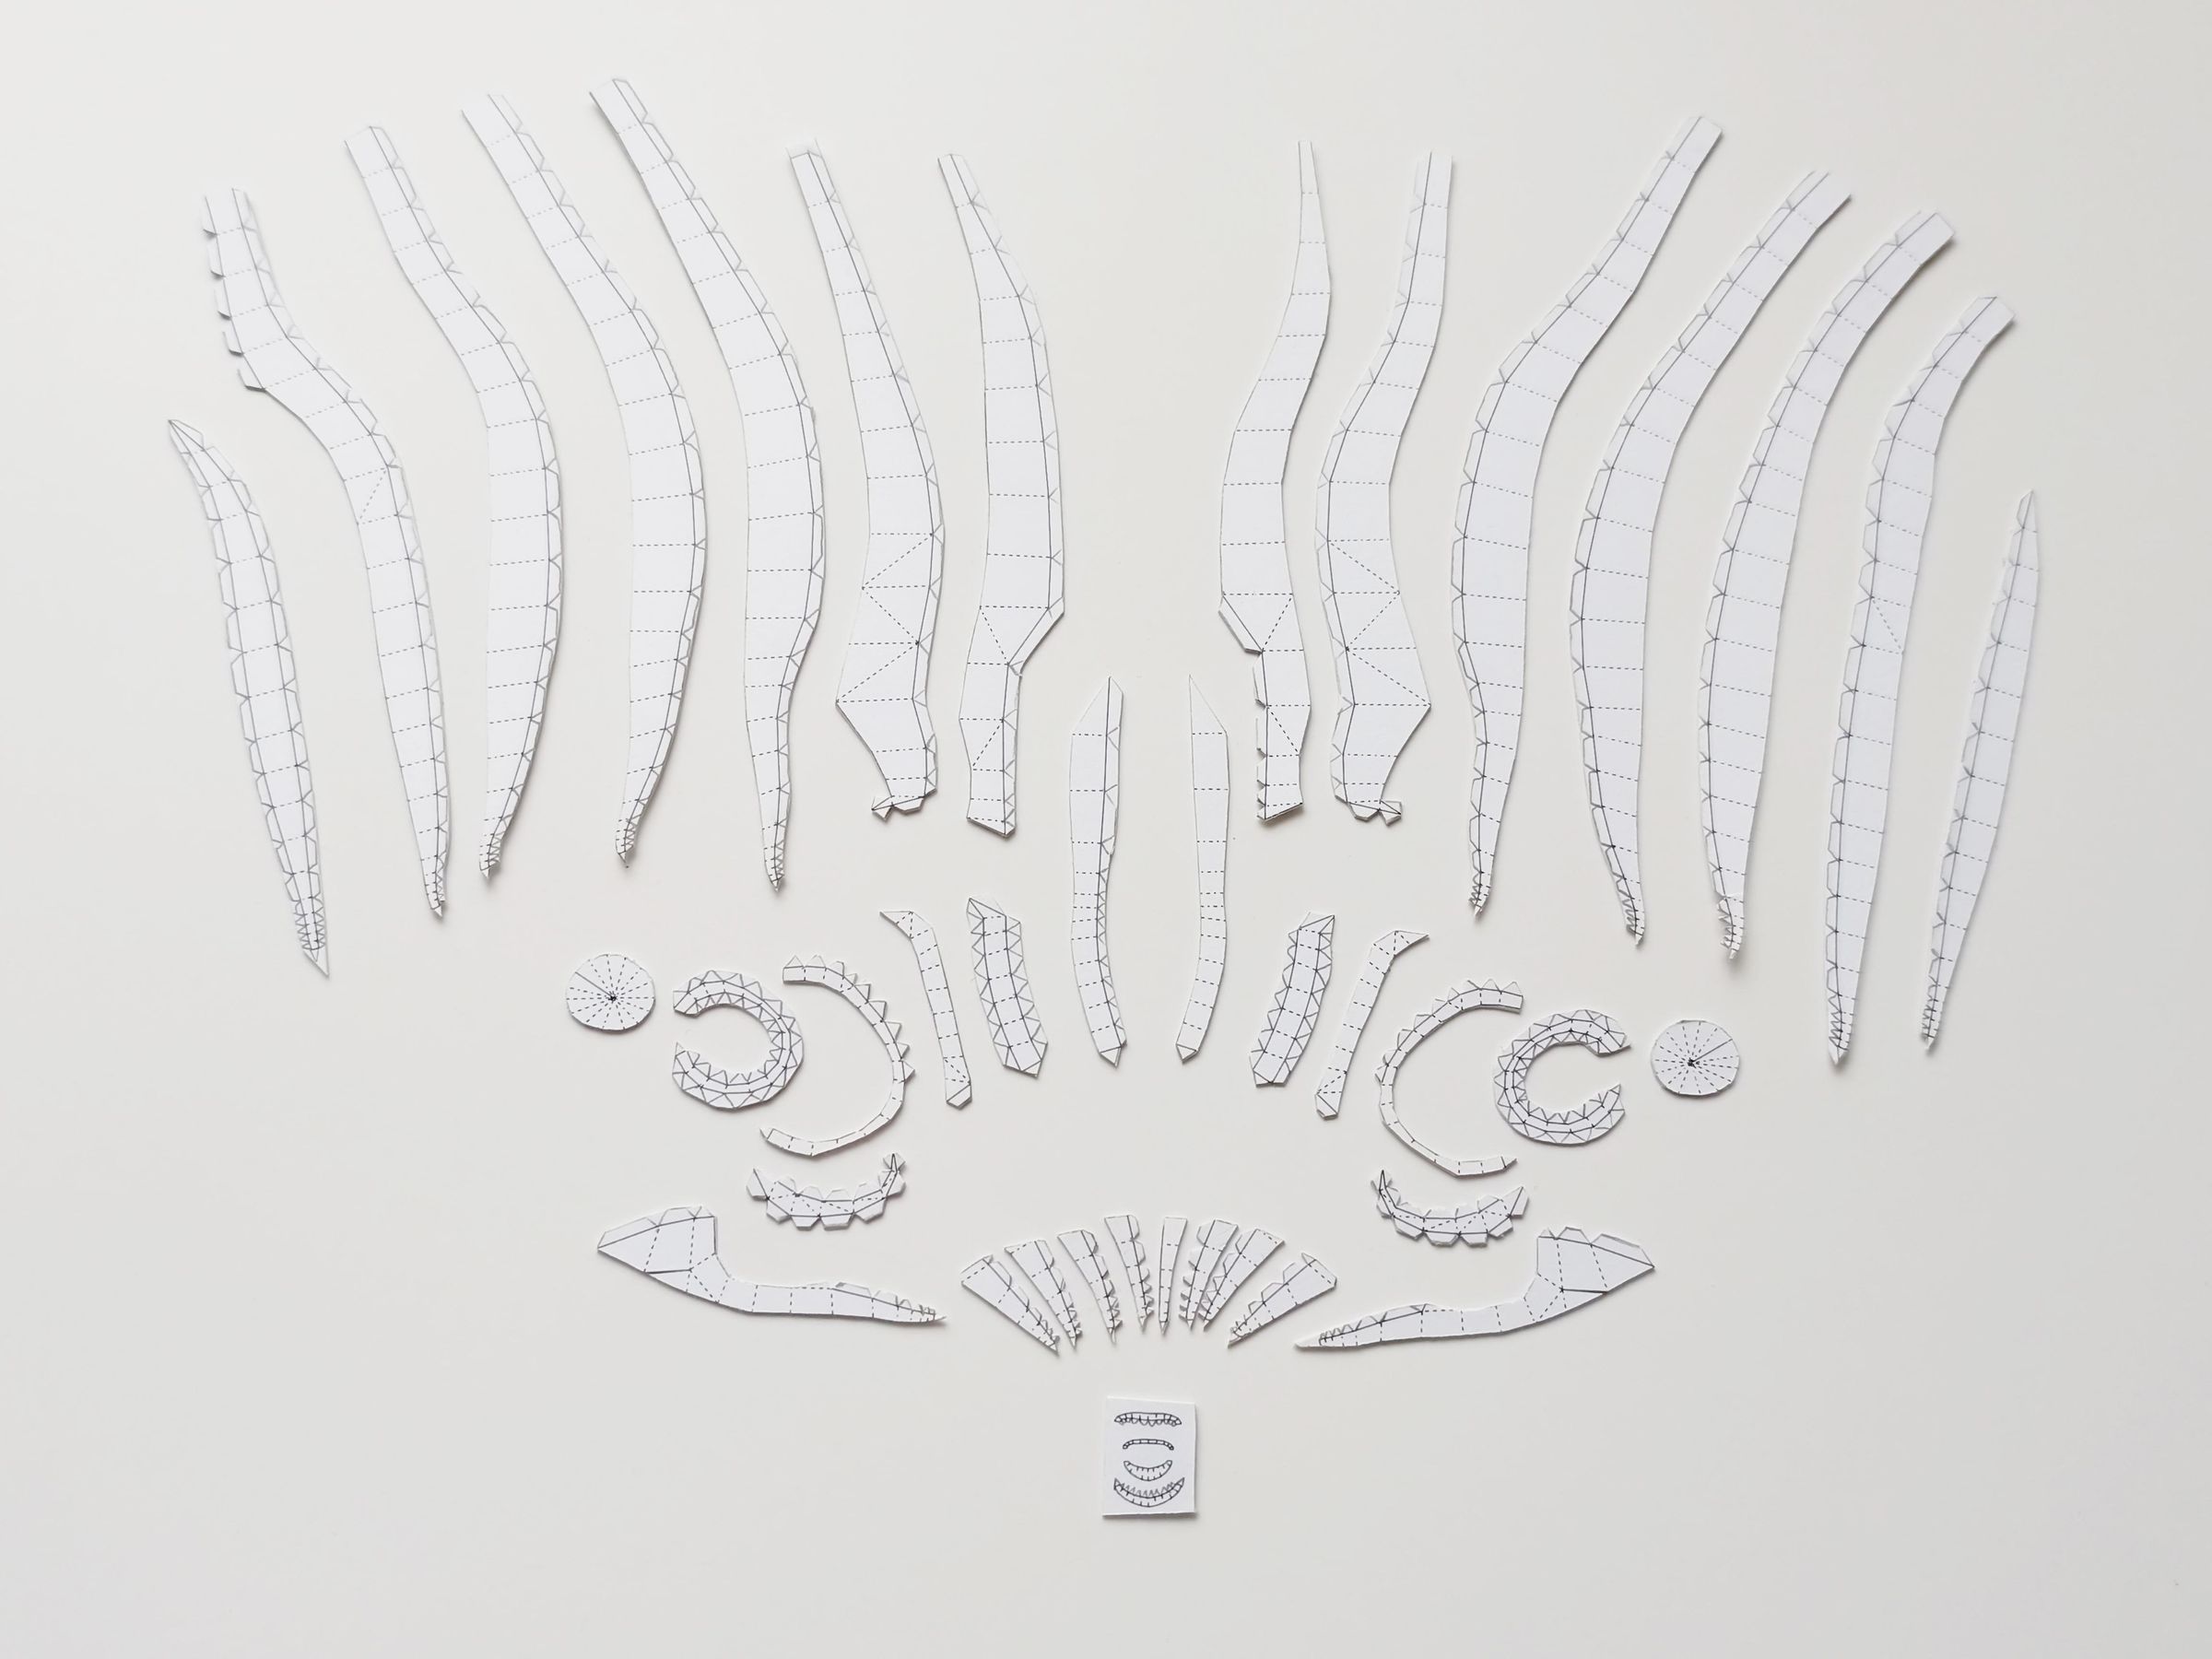
The spine piece covers a large part of the fish's upper body. I recommend attaching it to the head first and then carefully and patiently attaching it to the belly, starting from the lips and working backwards.
Belly
.jpg)
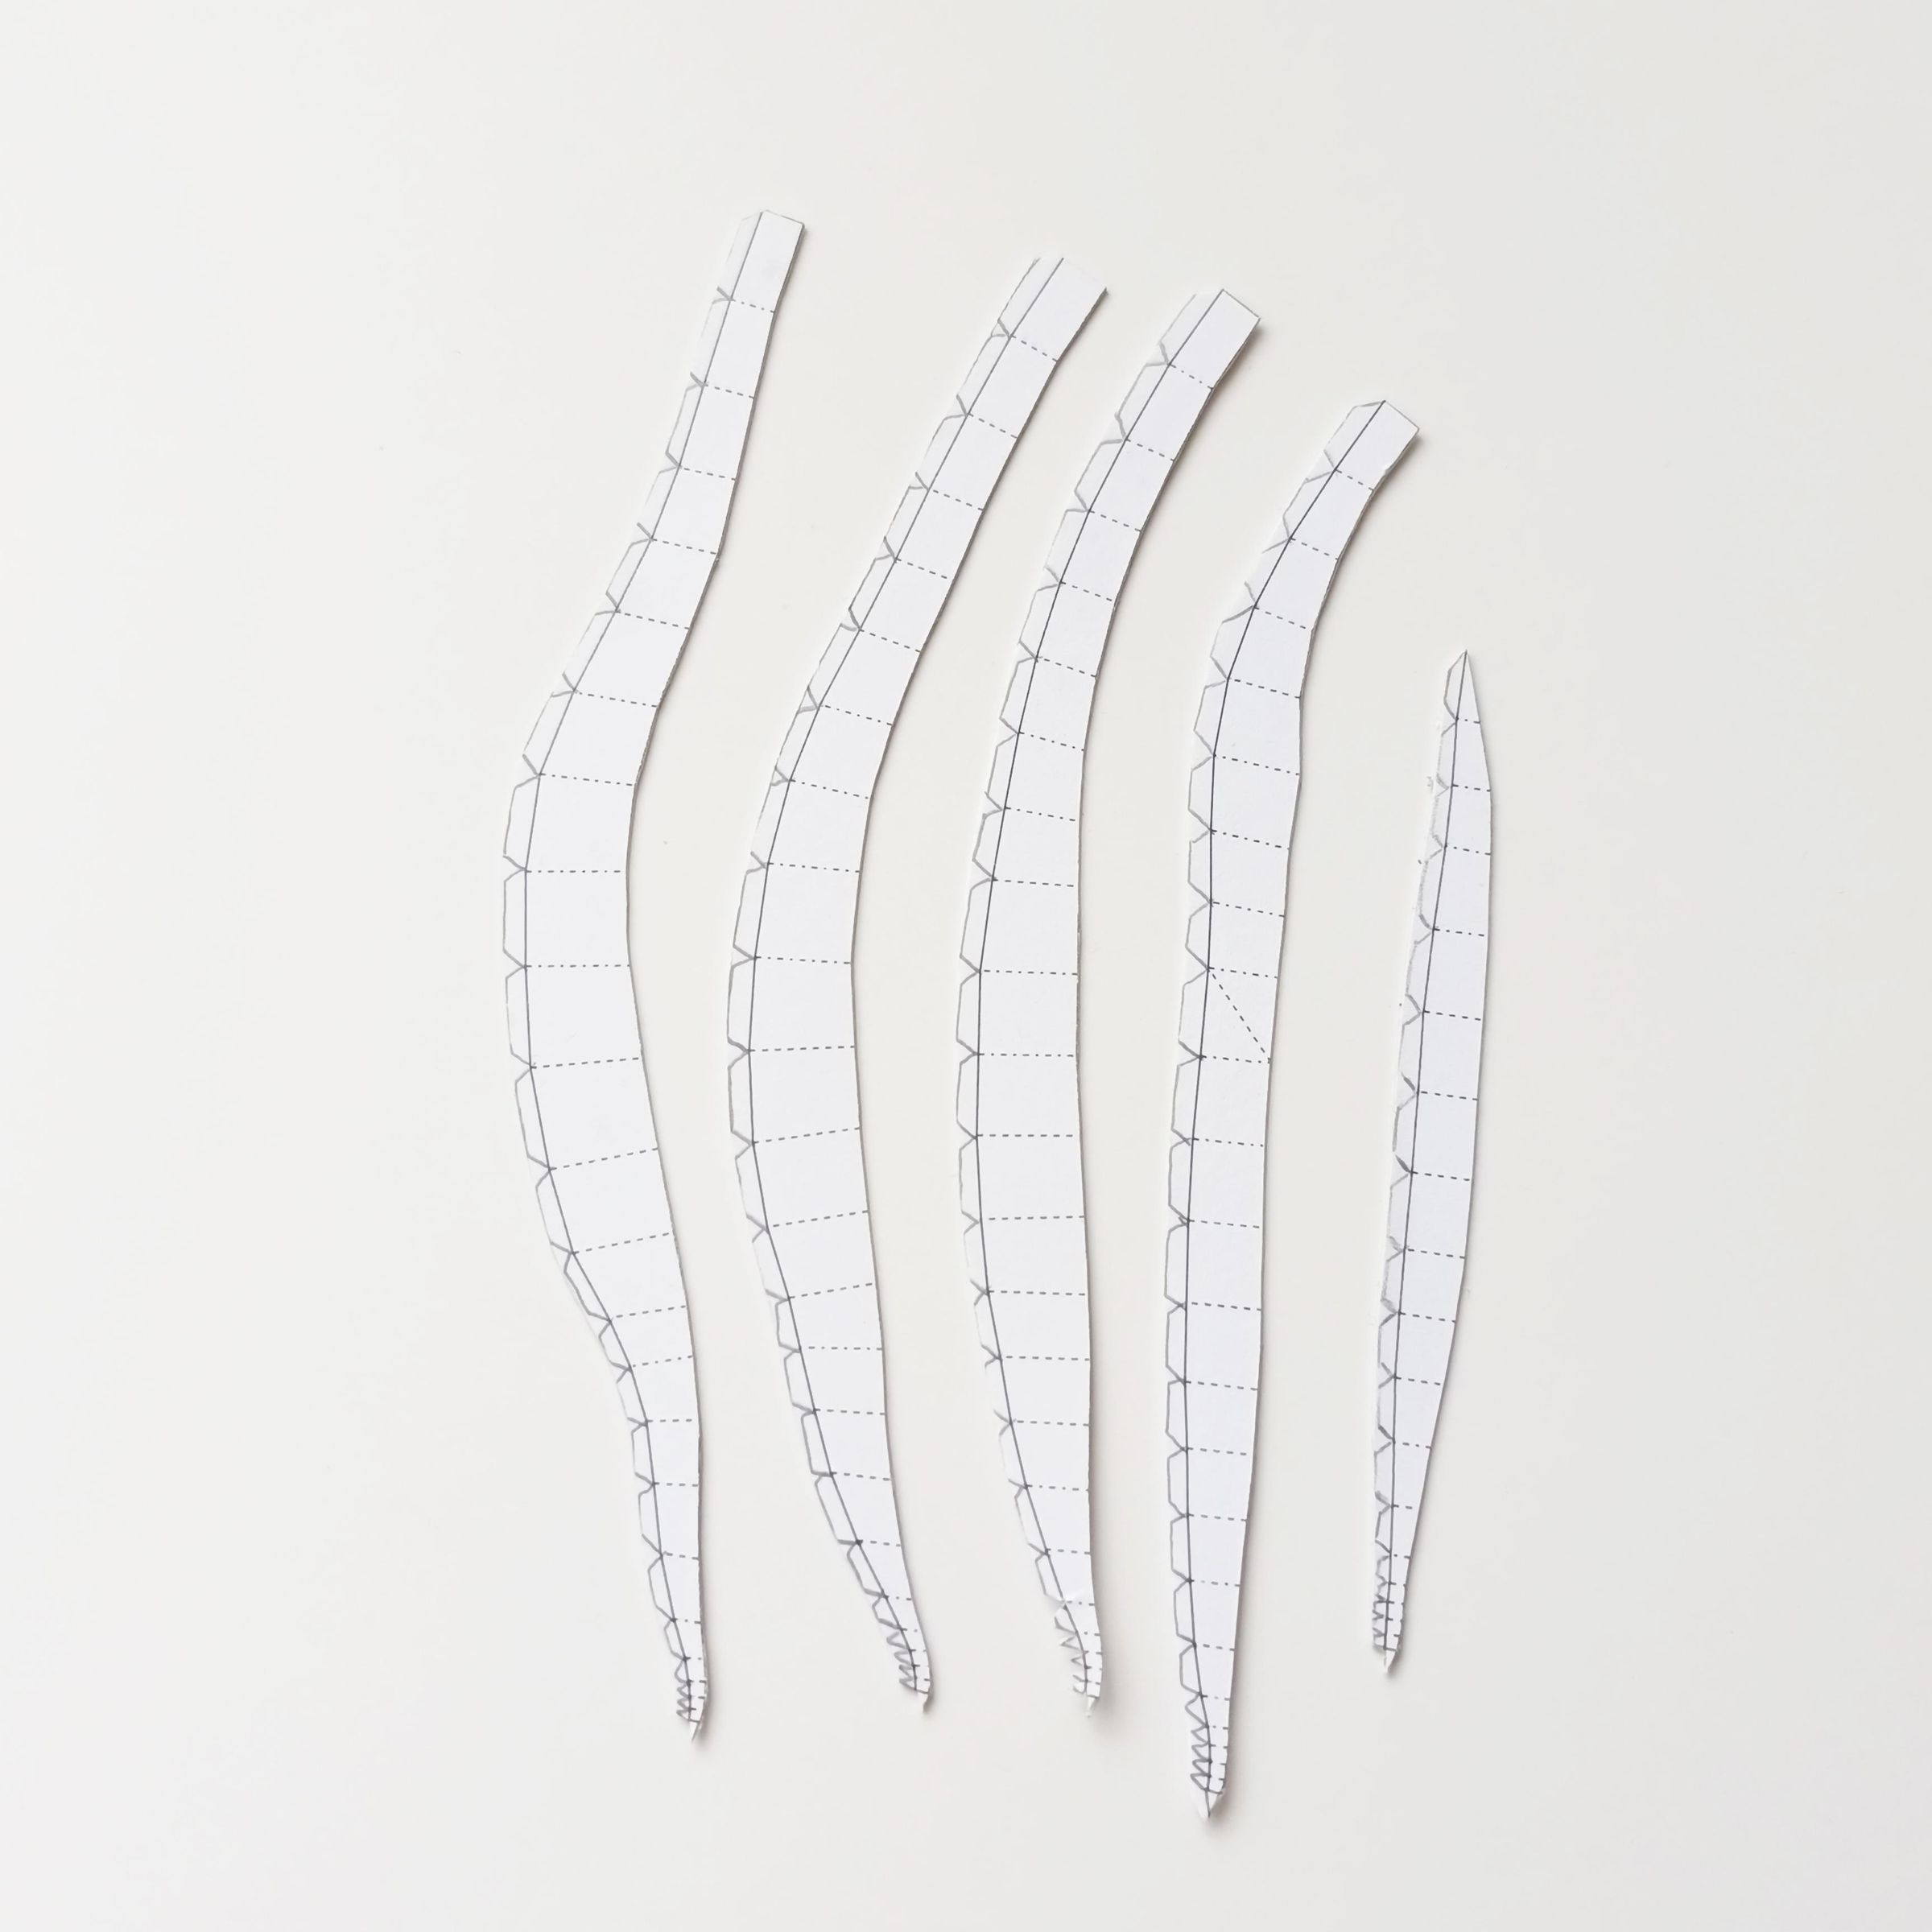
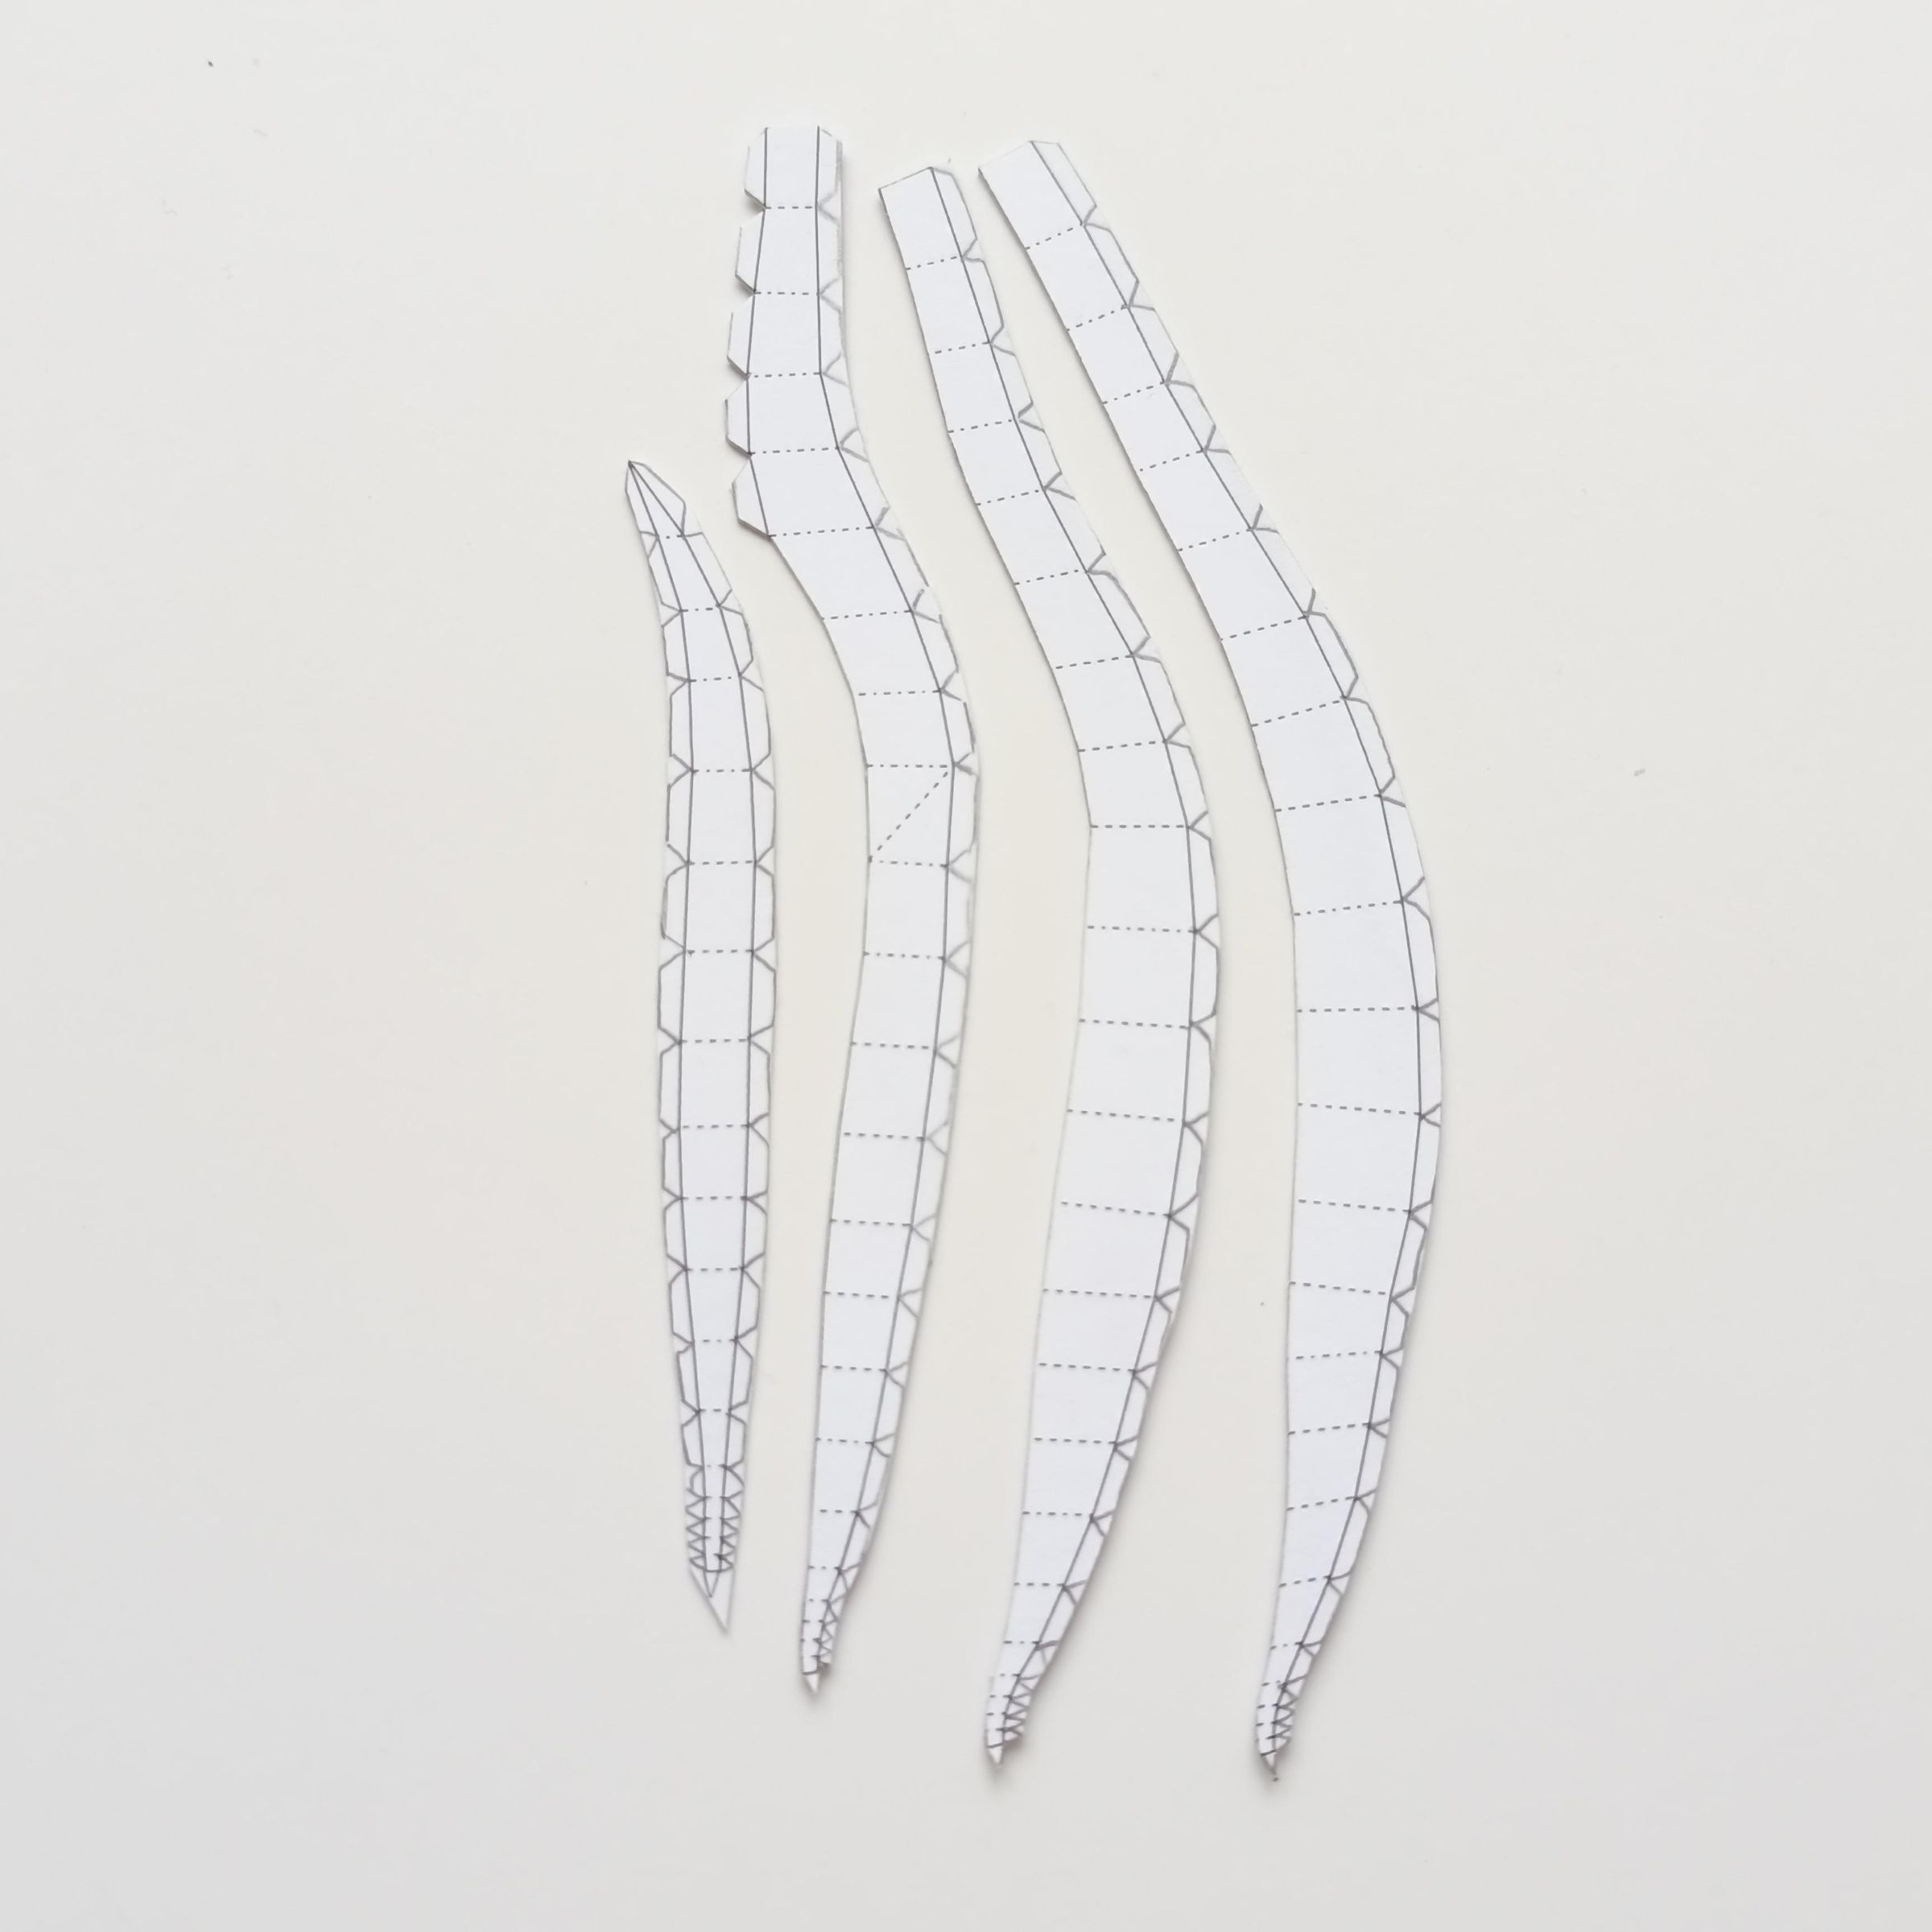
Then glue the two top and bottom pieces together and you will have the assembled body of the mandarin fish.
Fins and Tail
.jpg)
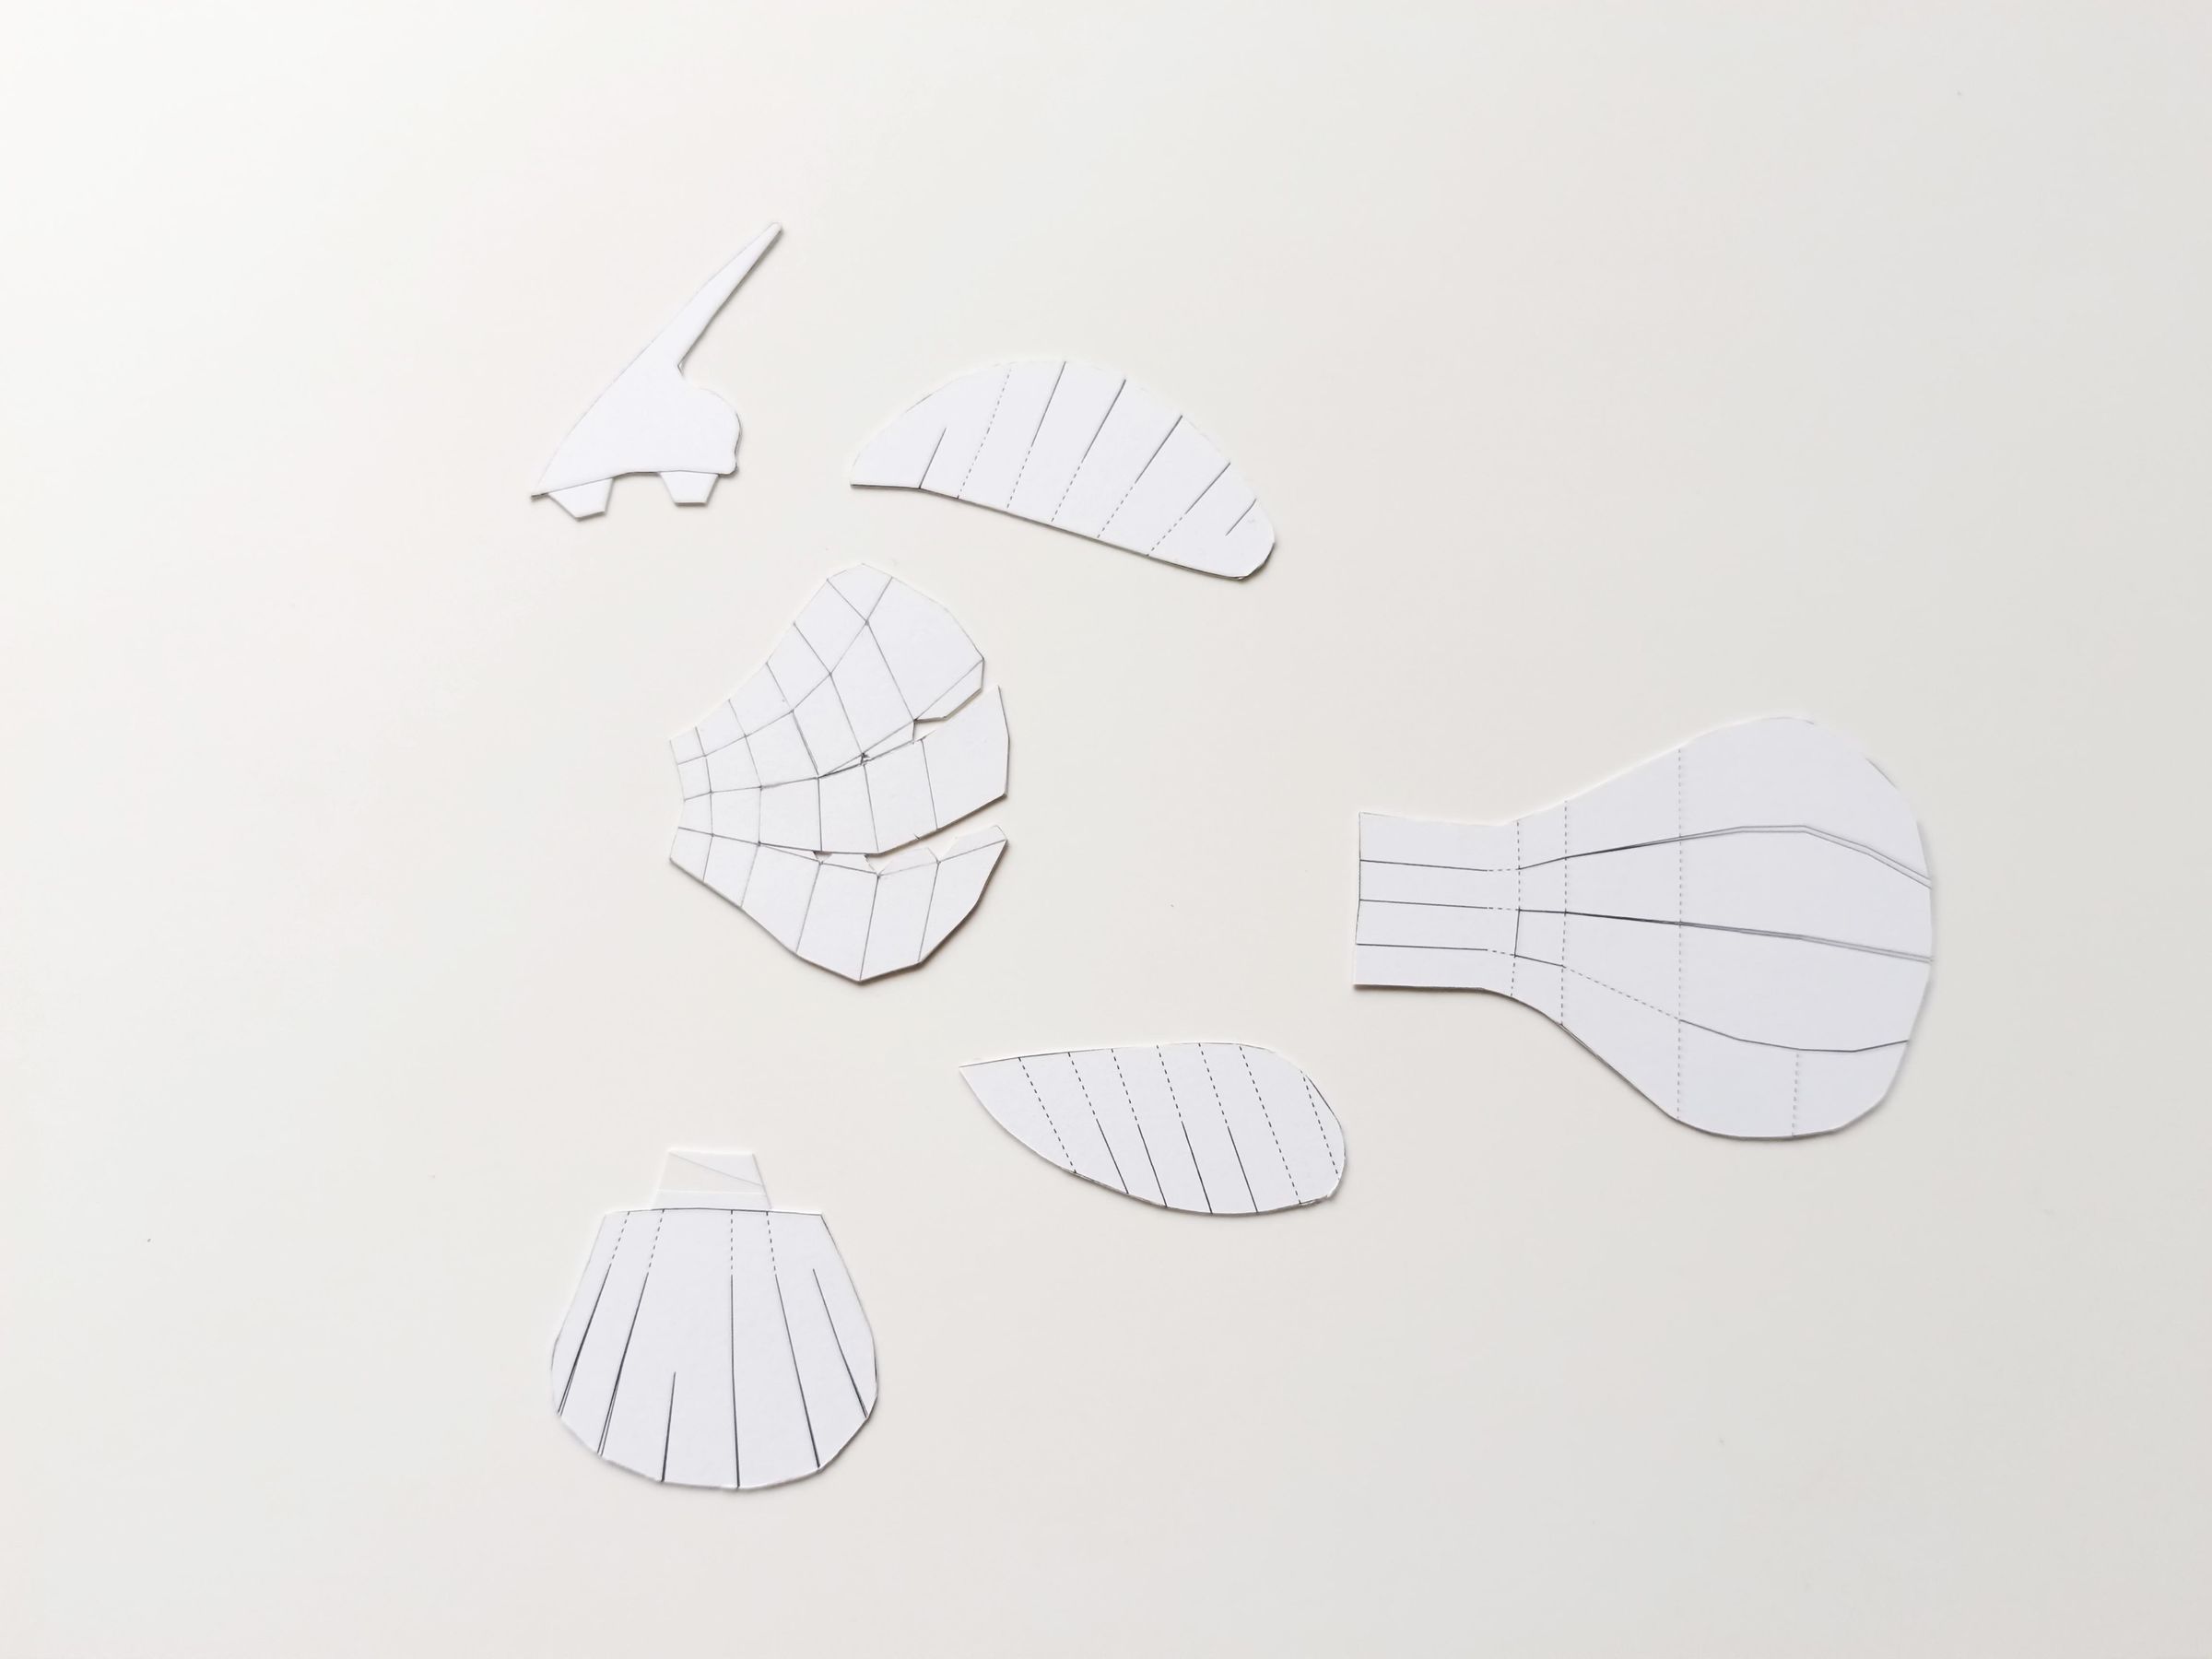
Fish fins are essential appendages used primarily for locomotion, balance, steering, and propulsion in the water.
Types of fins:
Caulescent fin (tail): This is the main fin for propulsion. Its function is to generate thrust to propel the fish forward and allows it to accelerate, swim in reverse, or change direction quickly.
Pectoral fins: These are paired fins located on the sides of the fish, just behind the gills. They help steer, act as underwater brakes, and provide balance.
Pelvic (or ventral) fins: These are also paired and located on the underside of the body. Their main function is to help the fish maintain a vertical position, stabilize it, and control its up-and-down movement.
Dorsal fin: This is a single fin located on the upper part of the back. It acts like a ship's rudder, preventing the fish from rolling and giving it stability while swimming or making sharp turns.
Cloacal fin: Located on the underside, behind the anus and in front of the tail. Like the dorsal fin, it acts as a vertical stabilizer to keep the fish upright while swimming.
You need to make 8 fins for the mandarin fish, and they will be positioned according to its anatomy.
You can find these fins in the template.
Let's Paint or Draw?
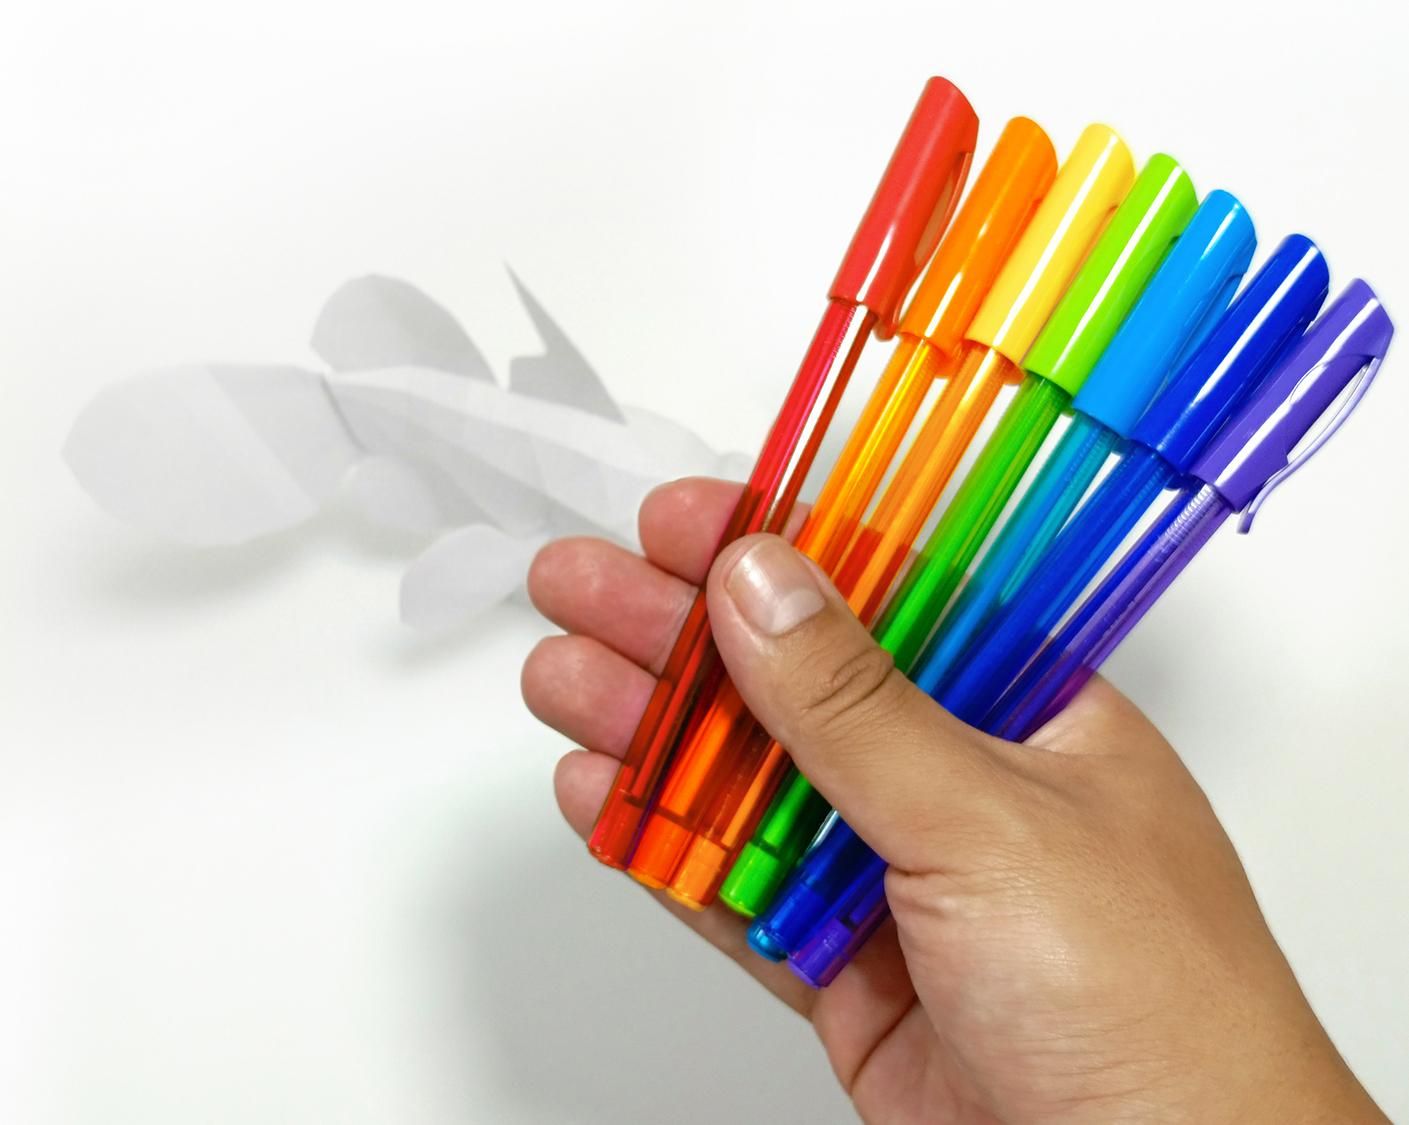
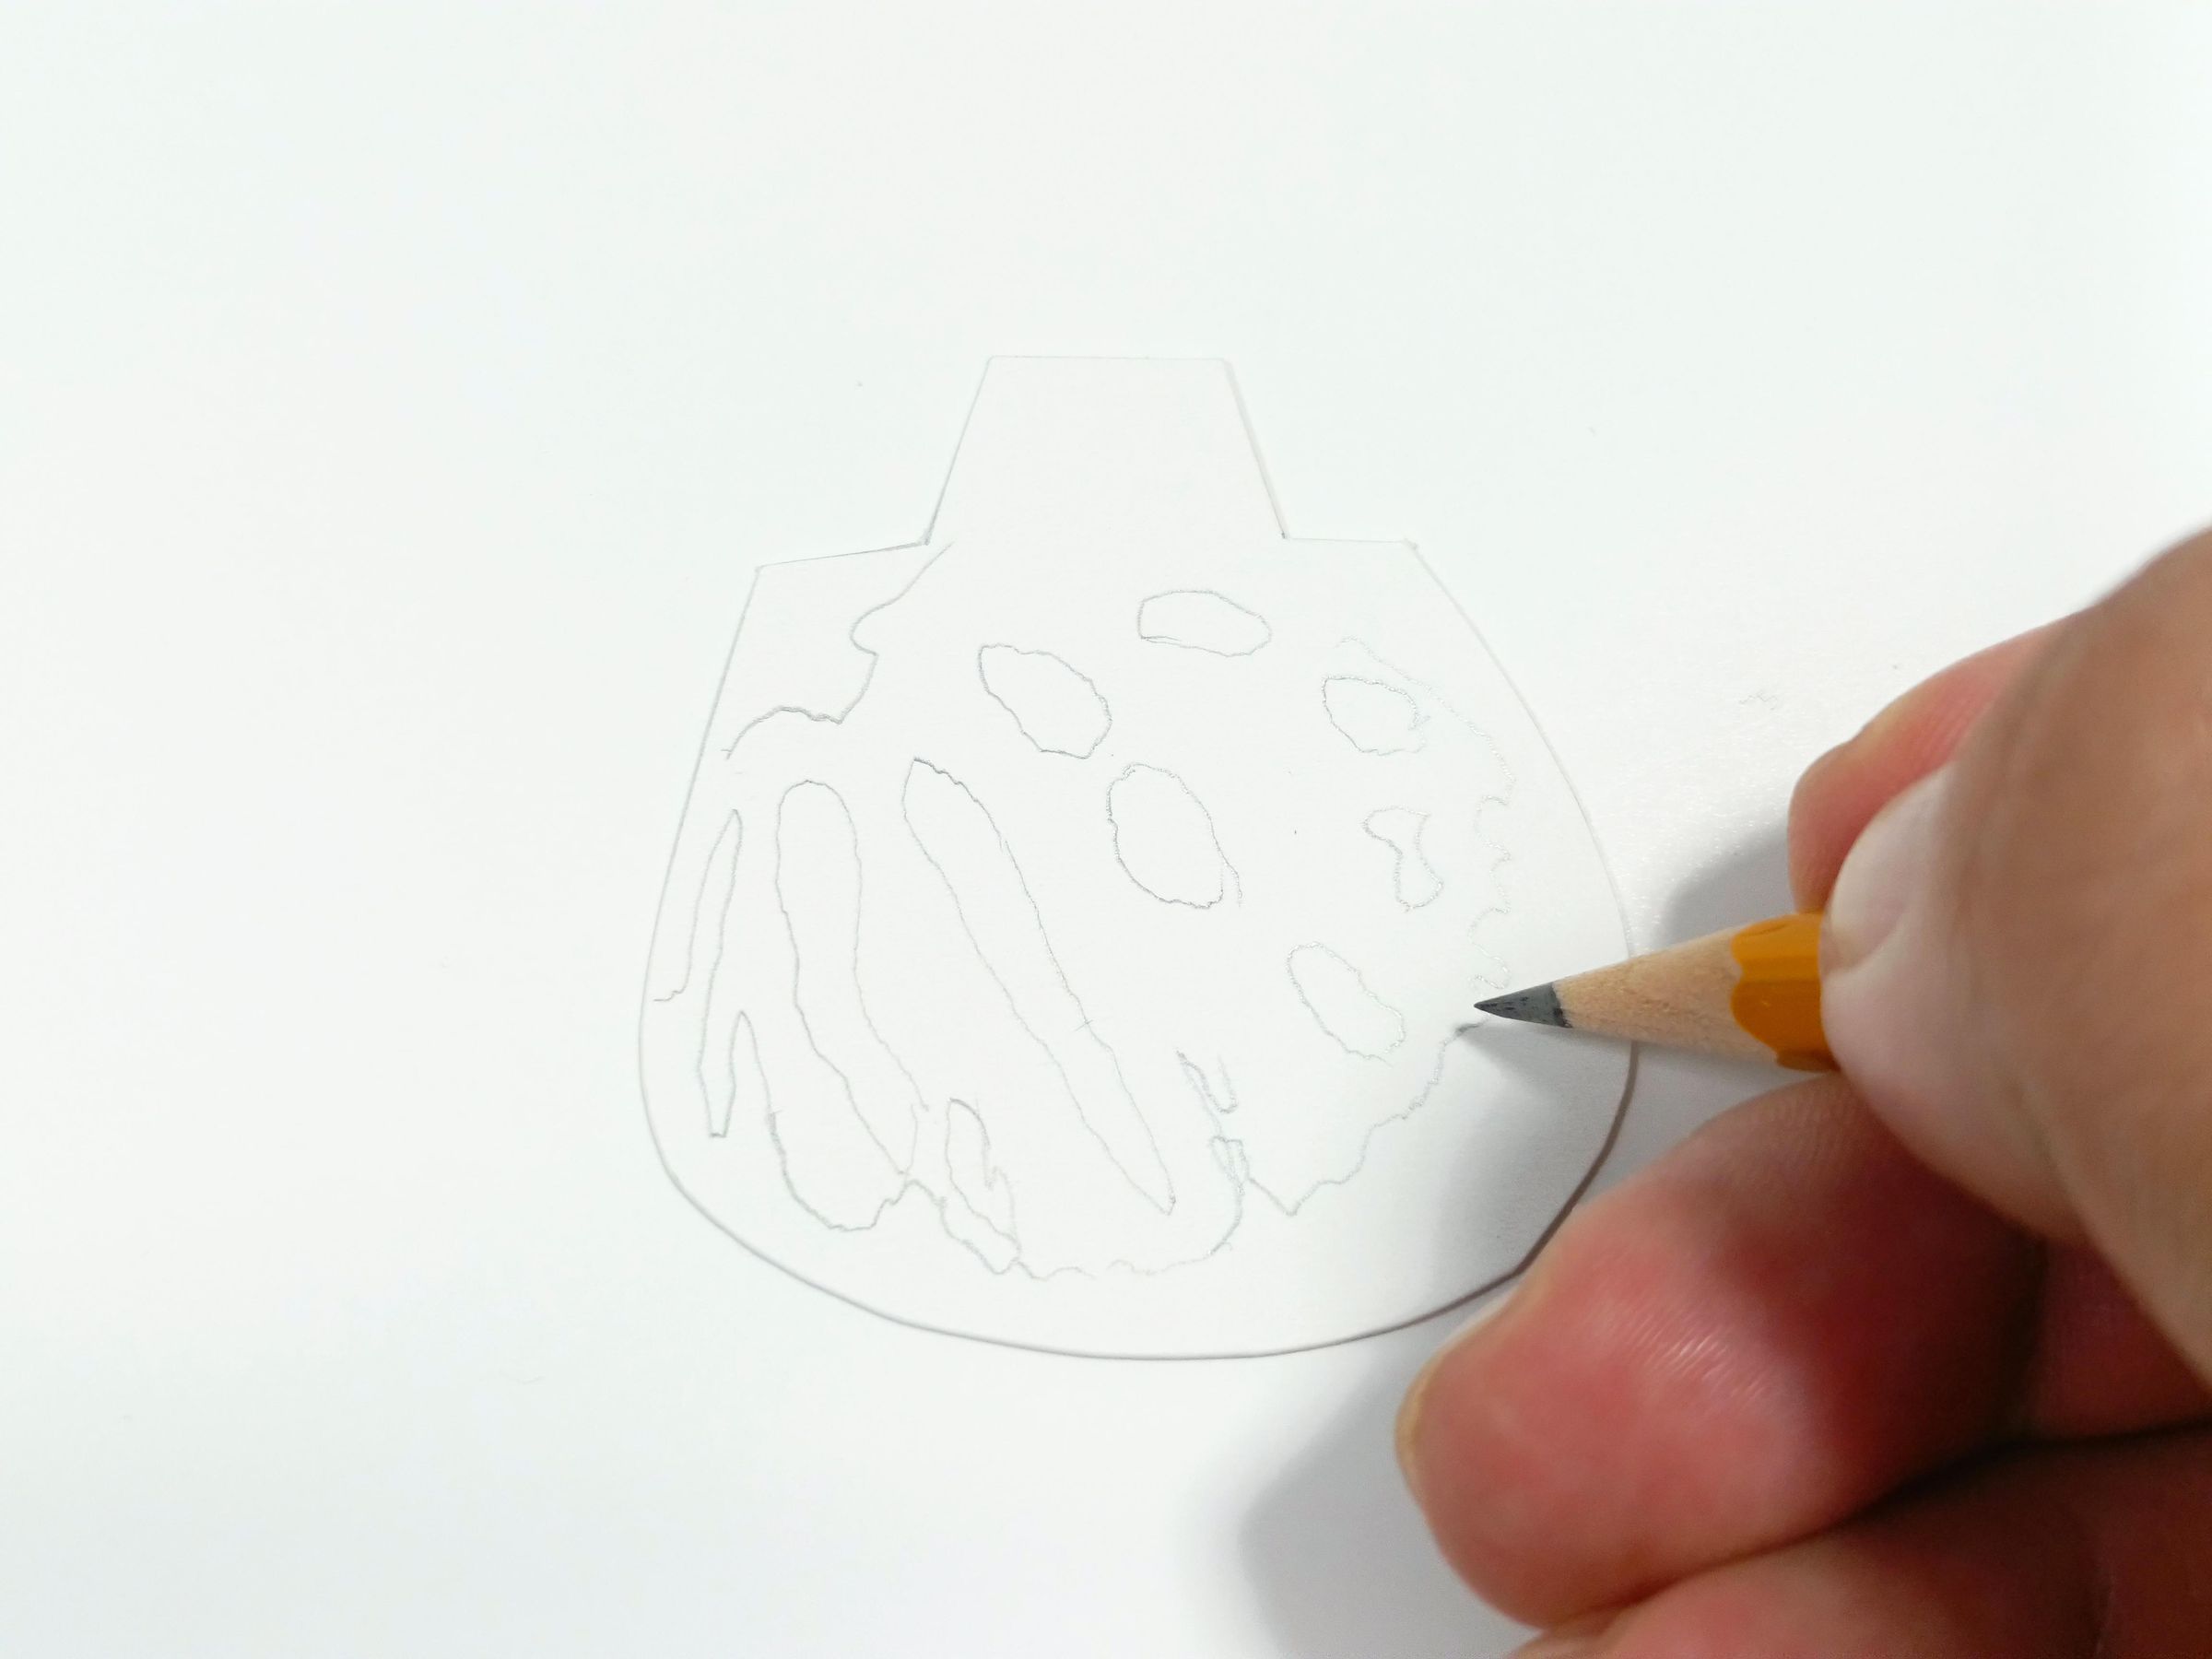
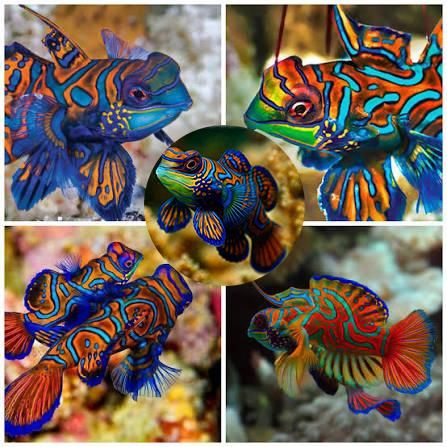
Now we come to the cool-orful and fun part.
It's time to paint our mandarin fish with the craziest colors and endless combinations!
And I say endless because each fish you make will be completely different.
From now on, you have complete freedom to color it however you like, with whatever materials you prefer. You can use anything from colored pencils or school crayons to professional markers or professional acrylic paints; the decision is entirely yours.
Using references that suit your vision or letting your imagination run wild, draw the patterns you prefer on the paper surface with a pencil. These will bring the mandarin fish to life. Remember that the lines don't have to be perfect.
I used some reference images found online for my design. The goal was to use all seven of the seven colors of the rainbow.
Fill Everything in Full Color. 🌈
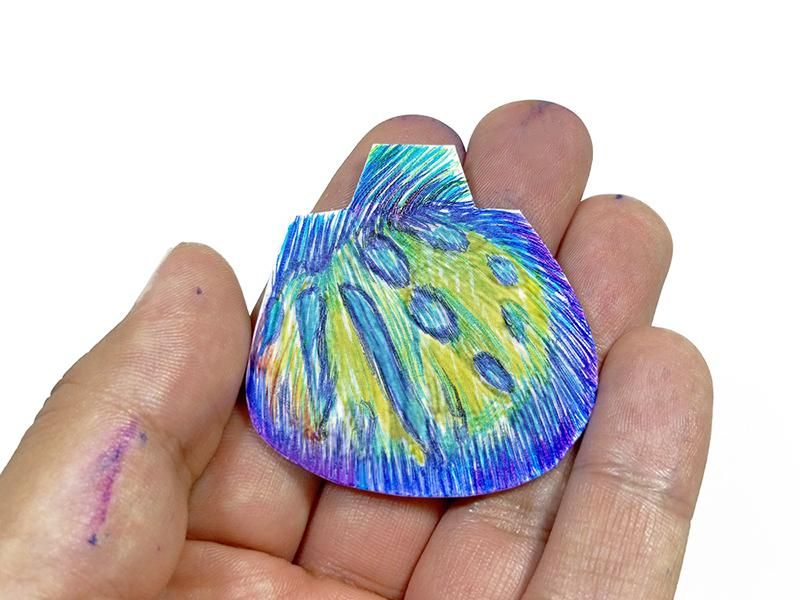
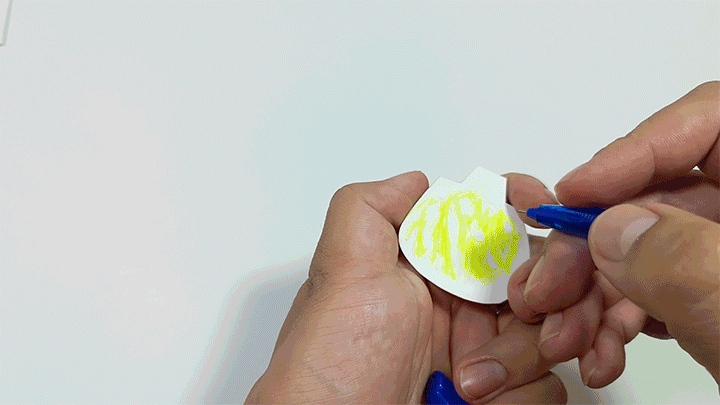
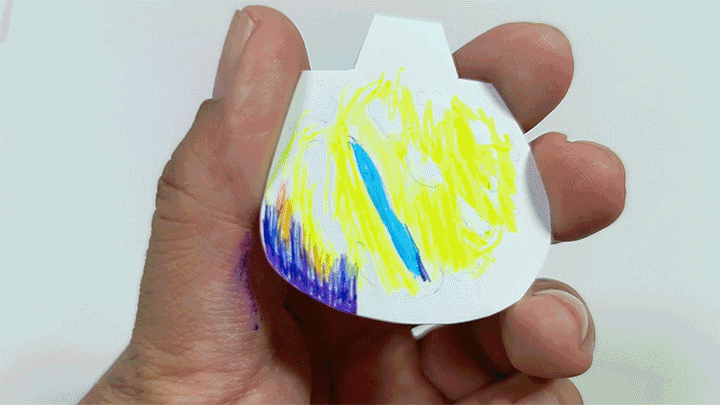
In my case, I'll use colored gel ink pens to create textures with parallel and interlaced strokes, simulating the skin texture of the mandarin fish.
Fun fact: The mandarin fish (Synchiropus splendidus) has no scales at all.
Here I'll use a fin to demonstrate the process that should be followed on all parts and the surface of the paper fish model.
First apply the background colors, but only in the areas where they're needed. Don't fill everything completely, as the colors will blend together and muddy the main colors of the mandarin fish's original color.
Take care with the application; I recommend creating a grip tab to avoid accidentally smudging the strokes already made, although in some cases you can use your fingerprints to create textures between the colors and the strokes of the pens.
Repeat the process with each of the fins and the body
my idea is to represent the rainbow with its seven main colors, but you are free to use any amount possible, bearing in mind that the rainbow is scientifically a continuous spectrum with infinite colors that blend together.
Paint Parts: Body
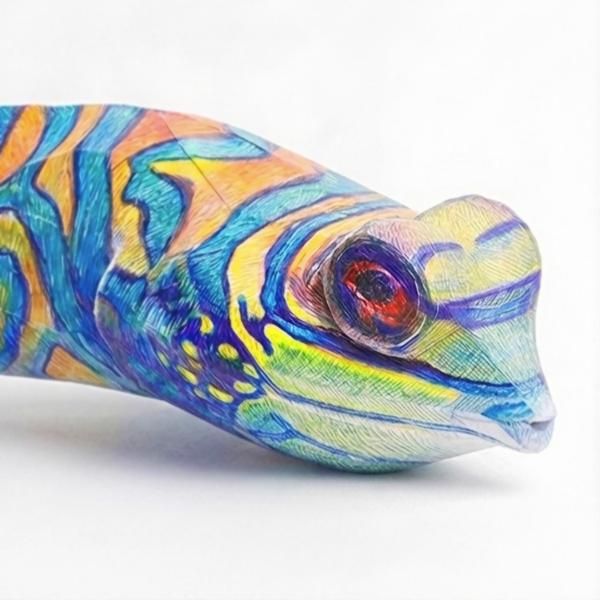
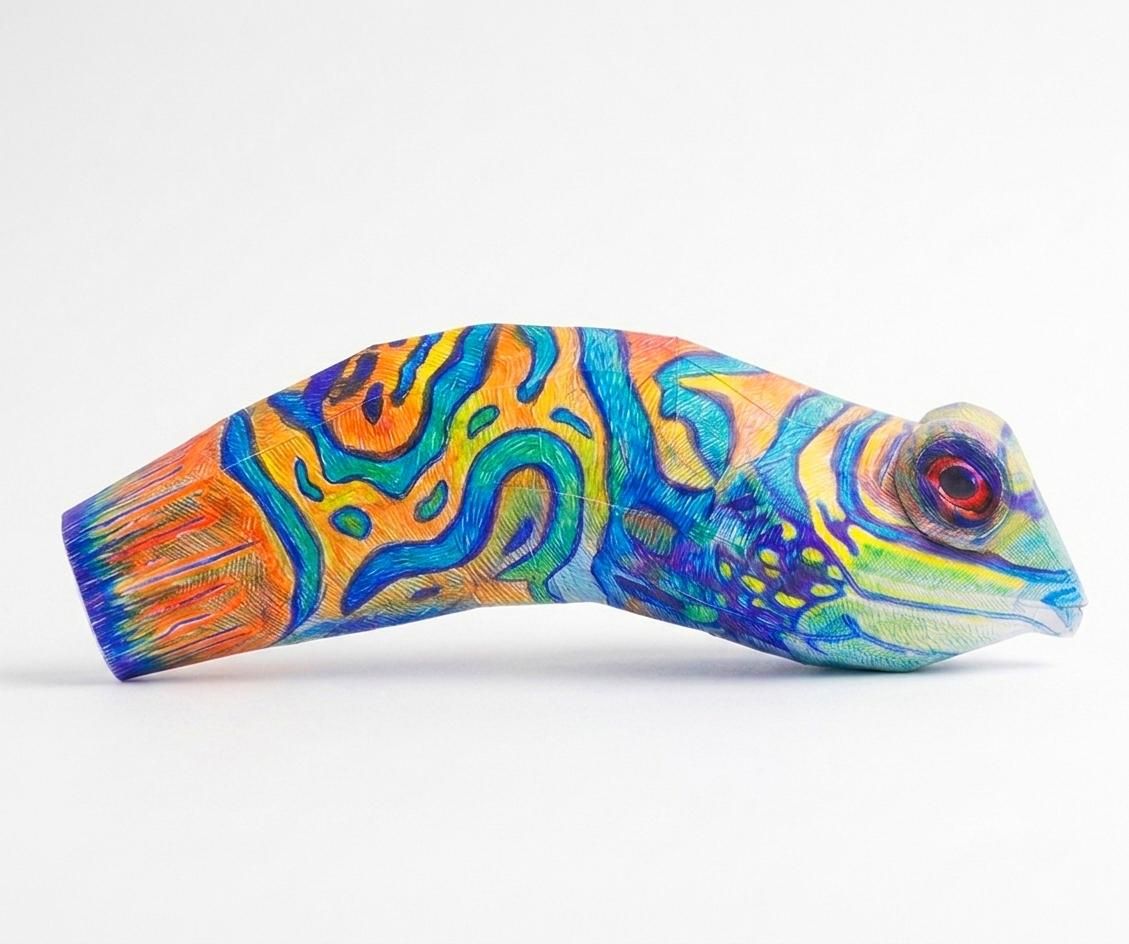
Before assembling everything, I recommend coloring the body first and the fins separately to have more freedom in the coloring process.
So we'll start with the body and then continue with the fins, but keep in mind that the body is made up of several parts, so we'll paint it part by part, using the assembly order of the previous steps of this project as a guide.
Paint Parts: Fins and Tail
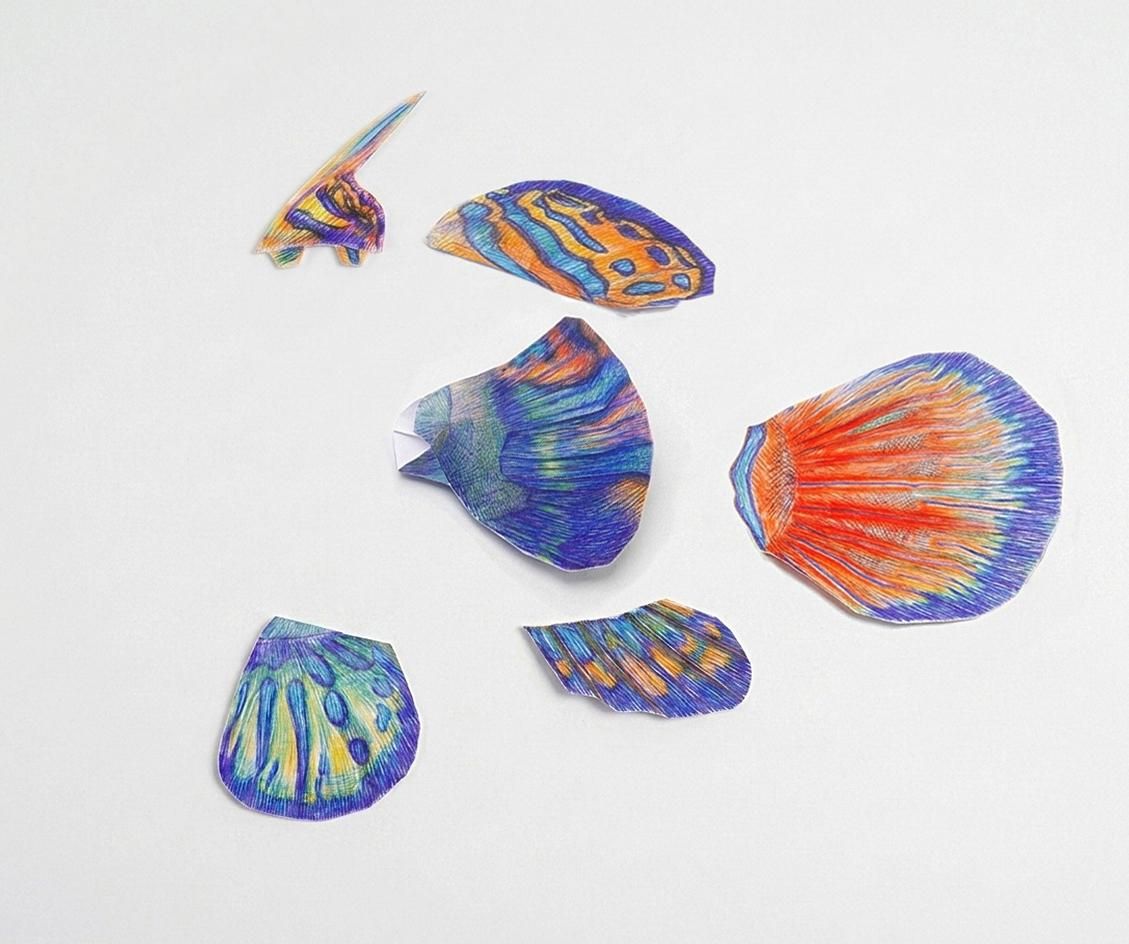
Paint the fins separately on both sides, being very careful and let each side dry well so as not to smudge the colors.
Assemble
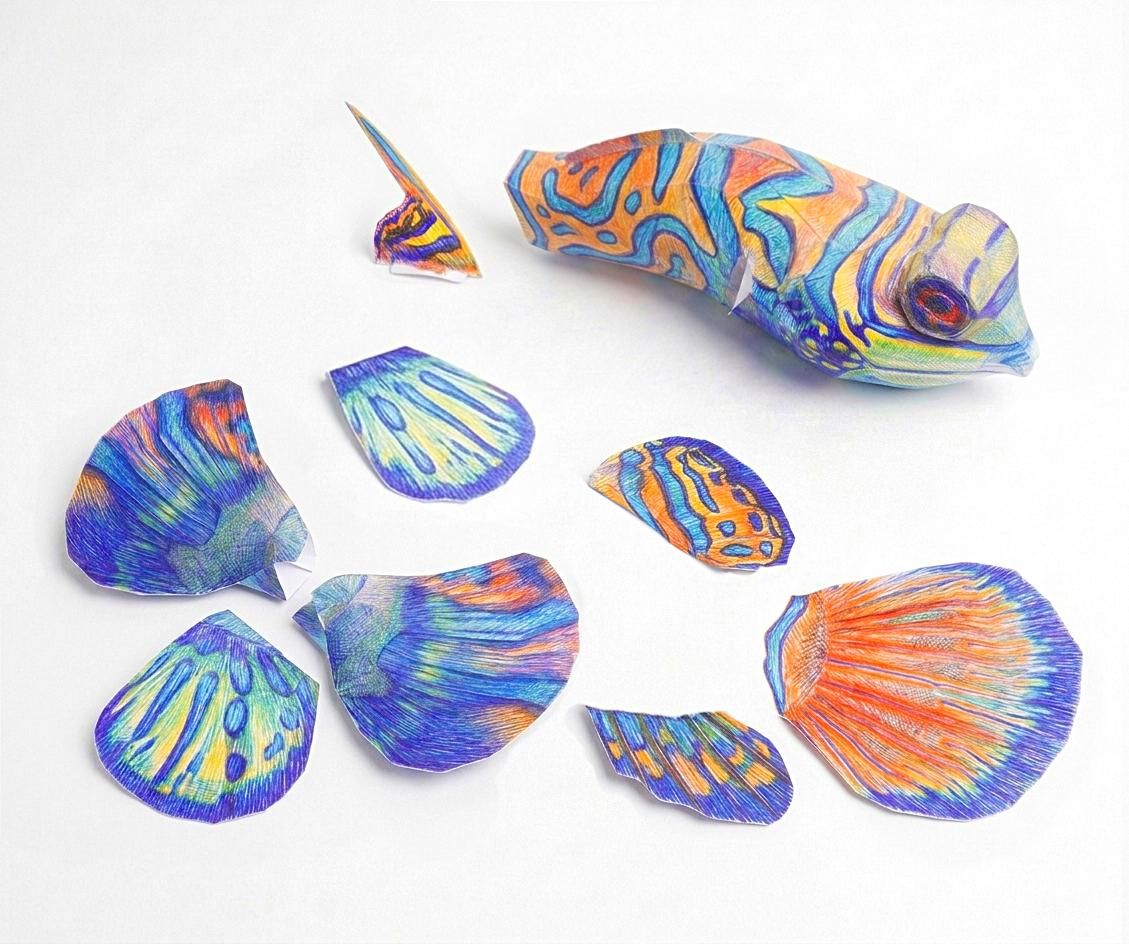
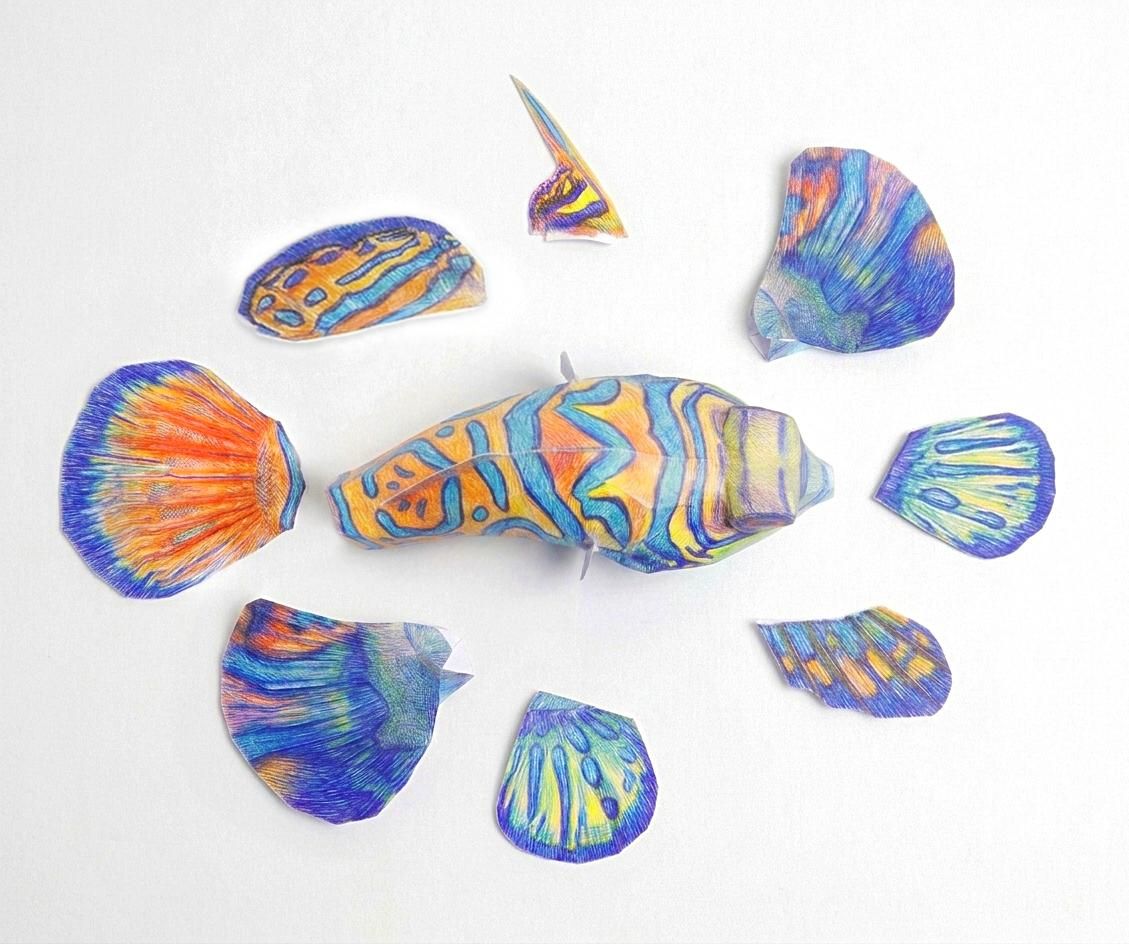
Using the cutter, open some slits in the back, the bottom, and the sides to accommodate the fins, and insert the tail into the hole at the back. Secure with glue if necessary.
Conclusion
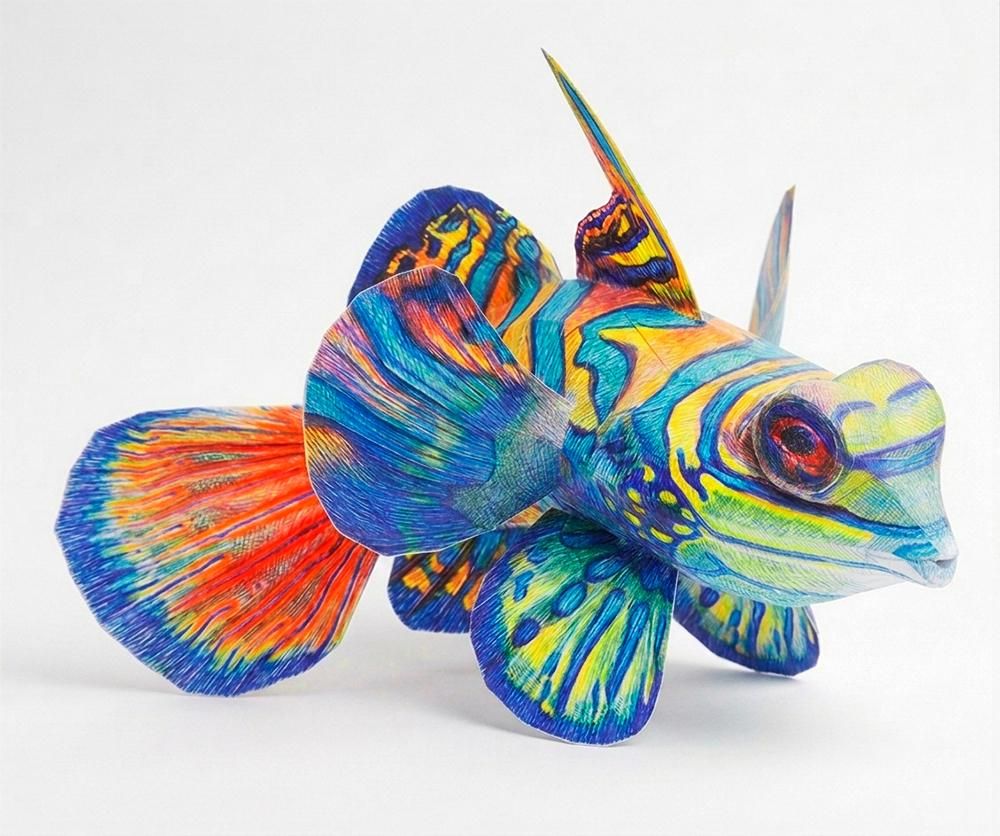
Finally, we'll have a colorful mandarin fish figurine that can decorate your desk, your lounge, or be used as a mobile to hang from the ceiling.
Conclusion:
I really enjoyed making this project. I learned a lot about mandarin fish and rainbows, and I also had fun getting back into drawing and coloring by hand, something I haven't done in a long time.
Thanks for watching!