Handcrafted Avatar Style Glowing Tree Featuring Rainbow Wire Bark, 395 Nm UV LEDsDIY Avatar-Inspired LED Tree With Natural Rainbow Wire Bark, Glowing
by Icreate in Craft > Cardboard
299 Views, 2 Favorites, 0 Comments
Handcrafted Avatar Style Glowing Tree Featuring Rainbow Wire Bark, 395 Nm UV LEDsDIY Avatar-Inspired LED Tree With Natural Rainbow Wire Bark, Glowing
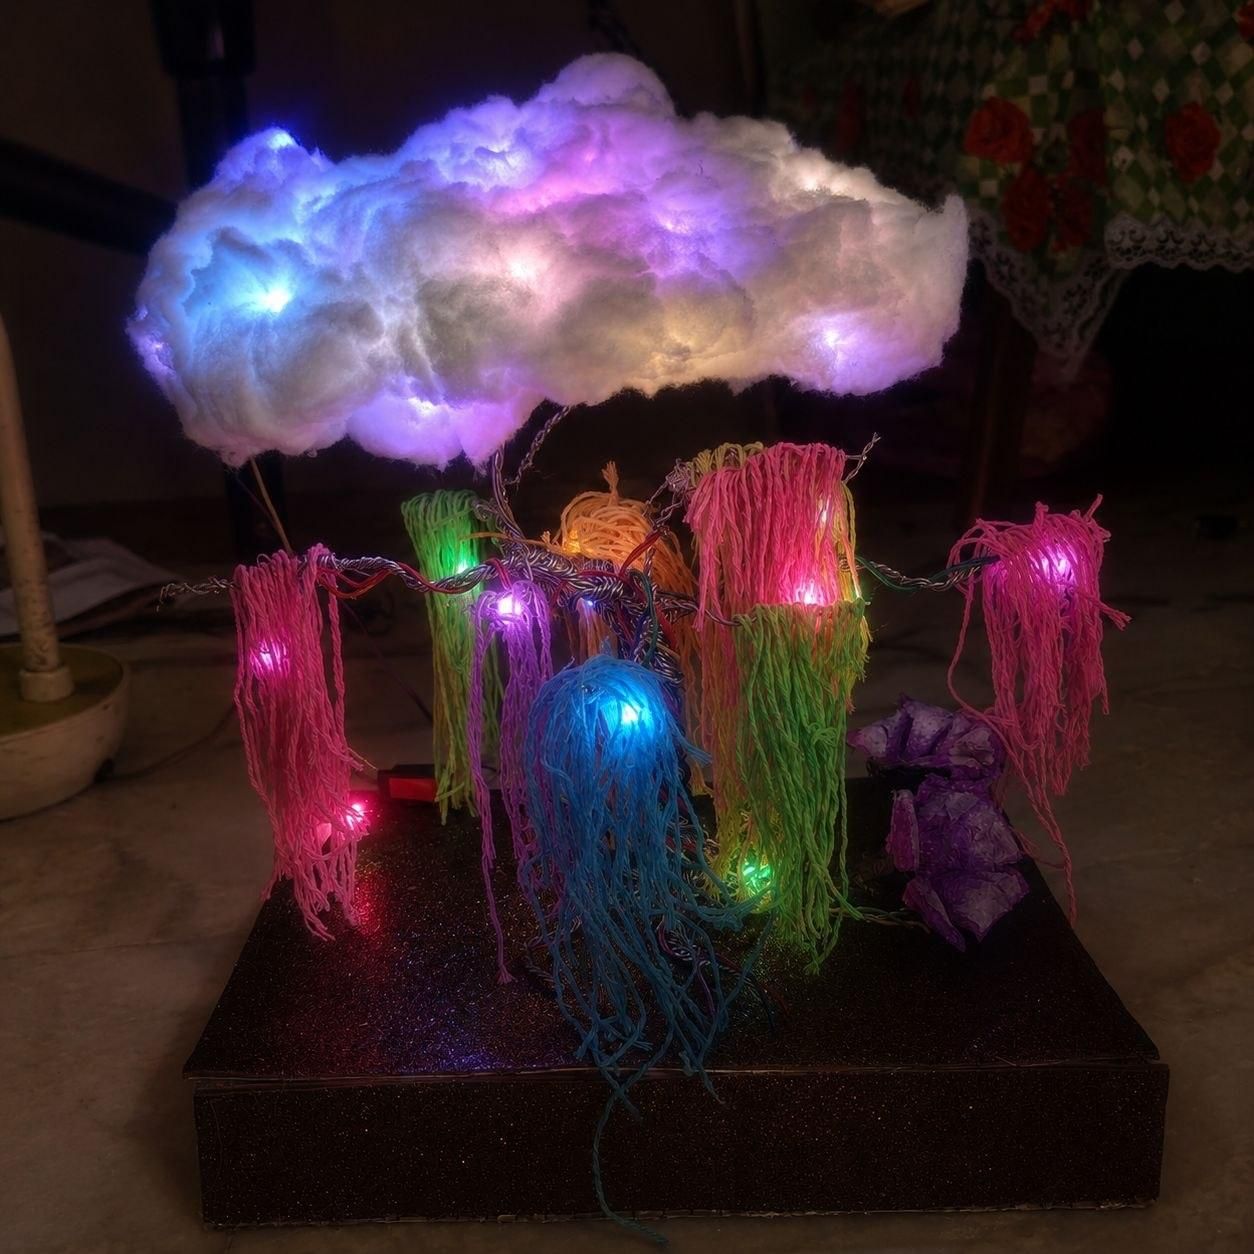
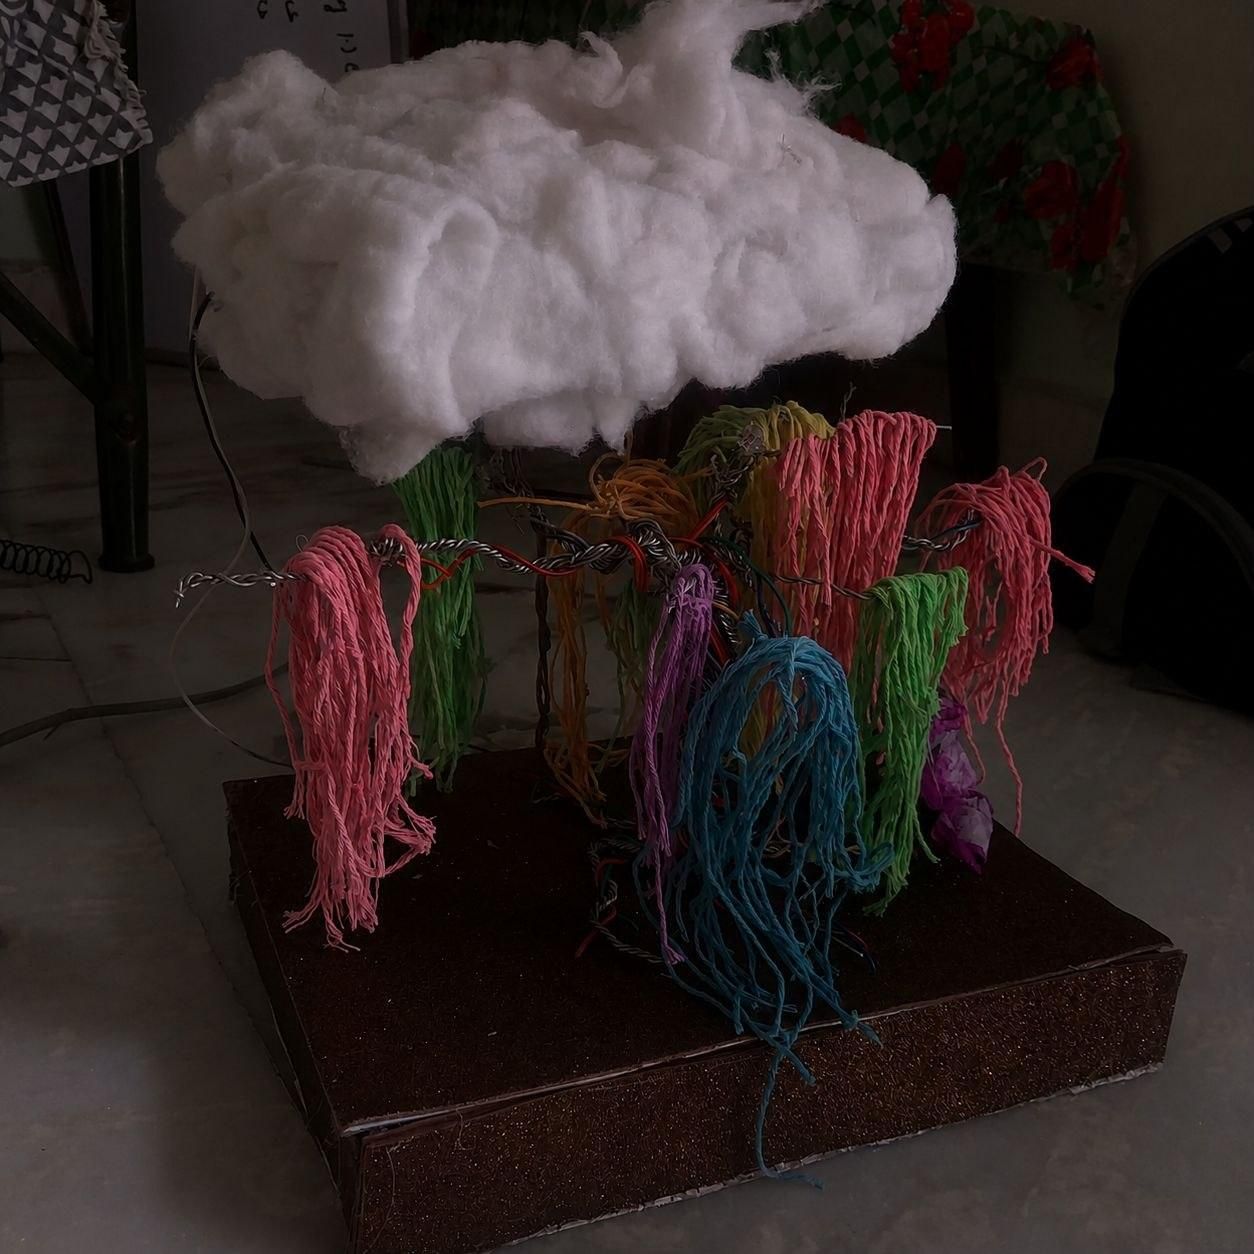
Introduction
Inspired by the glowing Avatar world, this project recreates the magical beauty of a bioluminescent tree using handcrafted wire branches and UV lighting. The tree features a natural rainbow-colored wire bark, glowing branches, and illuminated flowers that create a mystical forest-like appearance. Each branch is carefully shaped by hand, while the exposed copper wires form a unique bark texture that reflects multiple colors, making the tree look alive even when the lights are off.
The combination of wire art, handcrafted construction, and 395 nm UV LEDs brings the tree to life with a vibrant glow, capturing the enchanting atmosphere of Pandora. This project blends creativity, craftsmanship, and simple electronics to create a striking decorative piece inspired by nature and fantasy.
Supplies
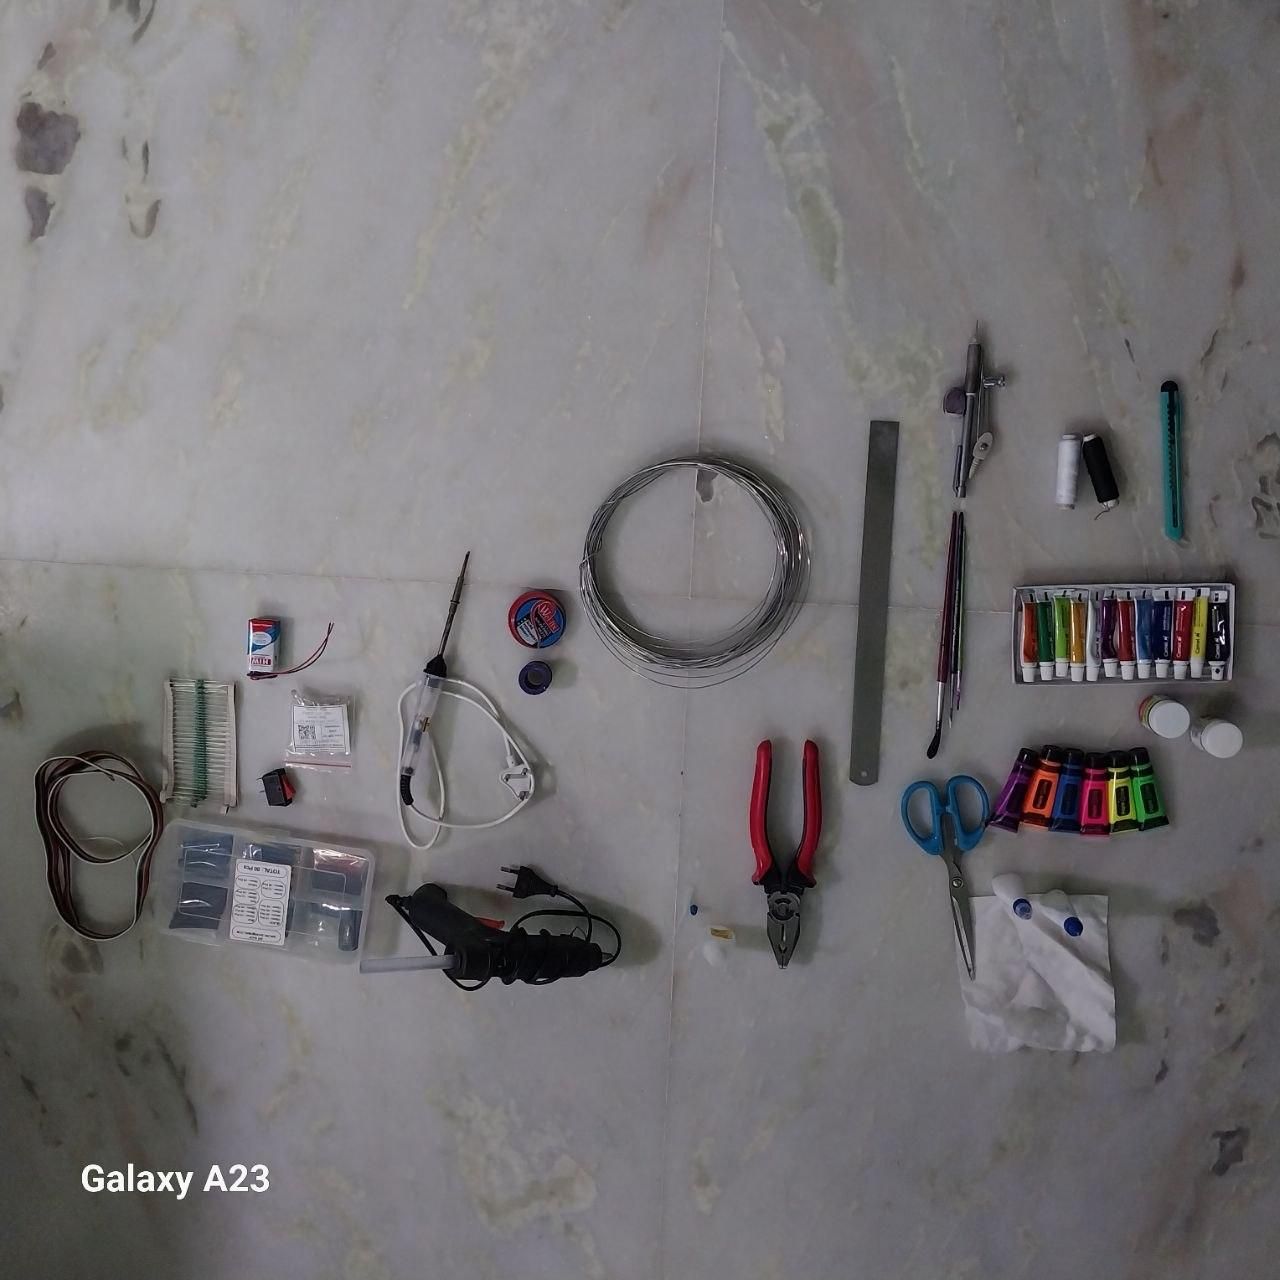
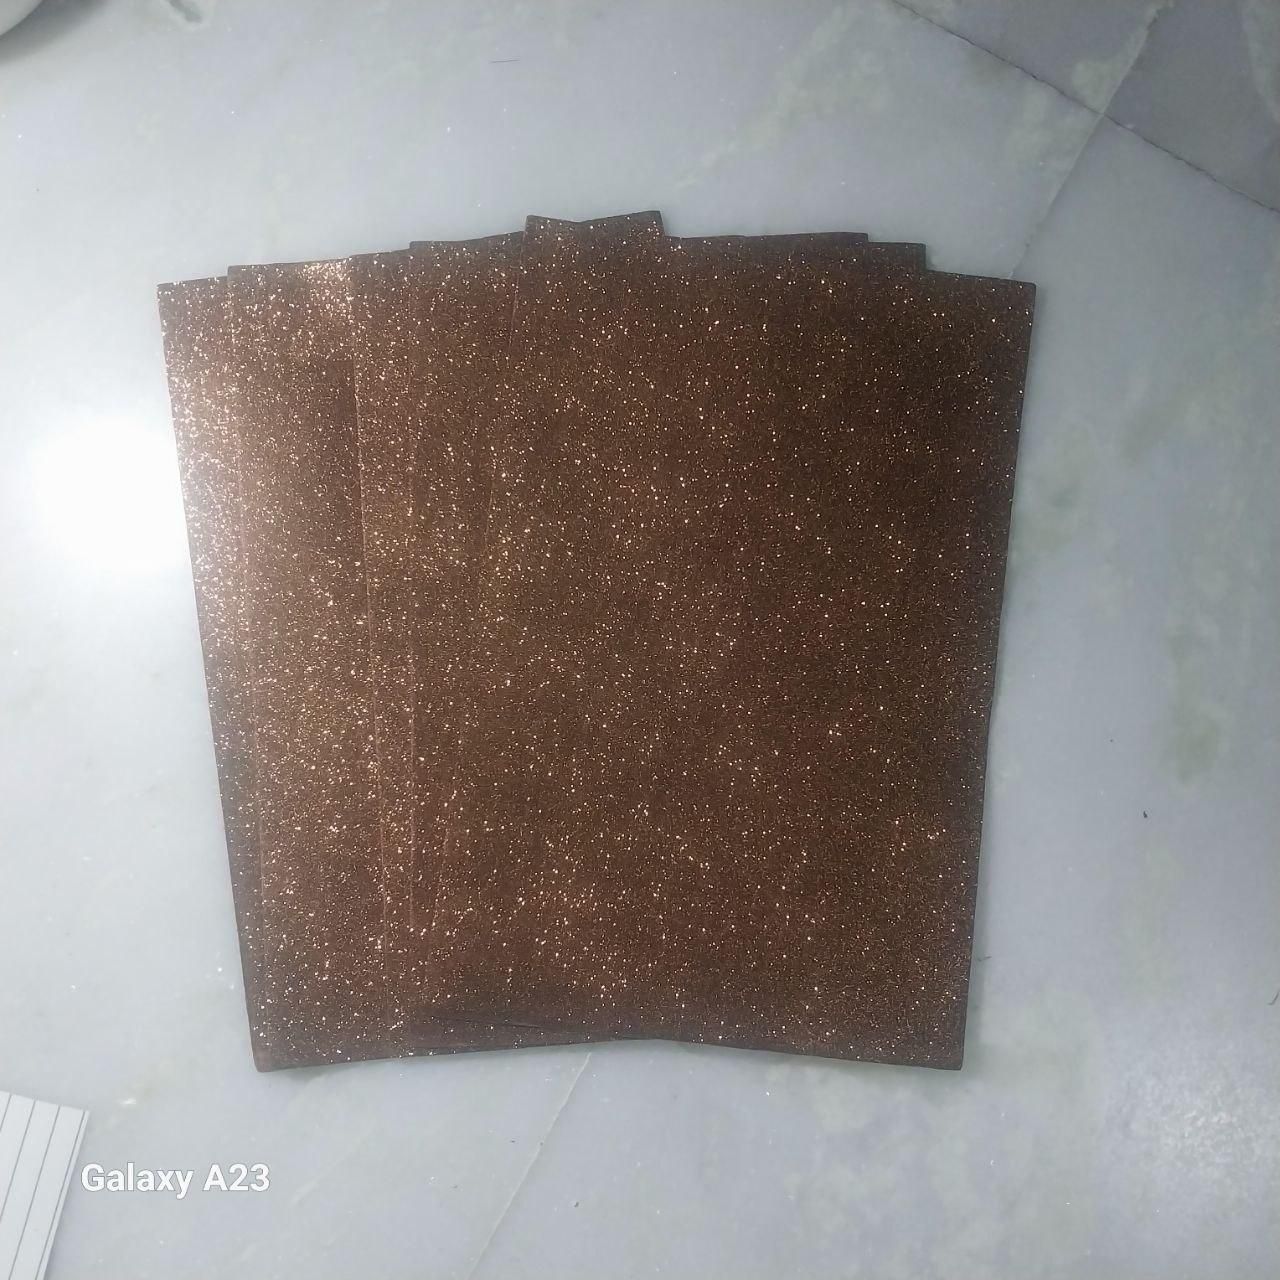
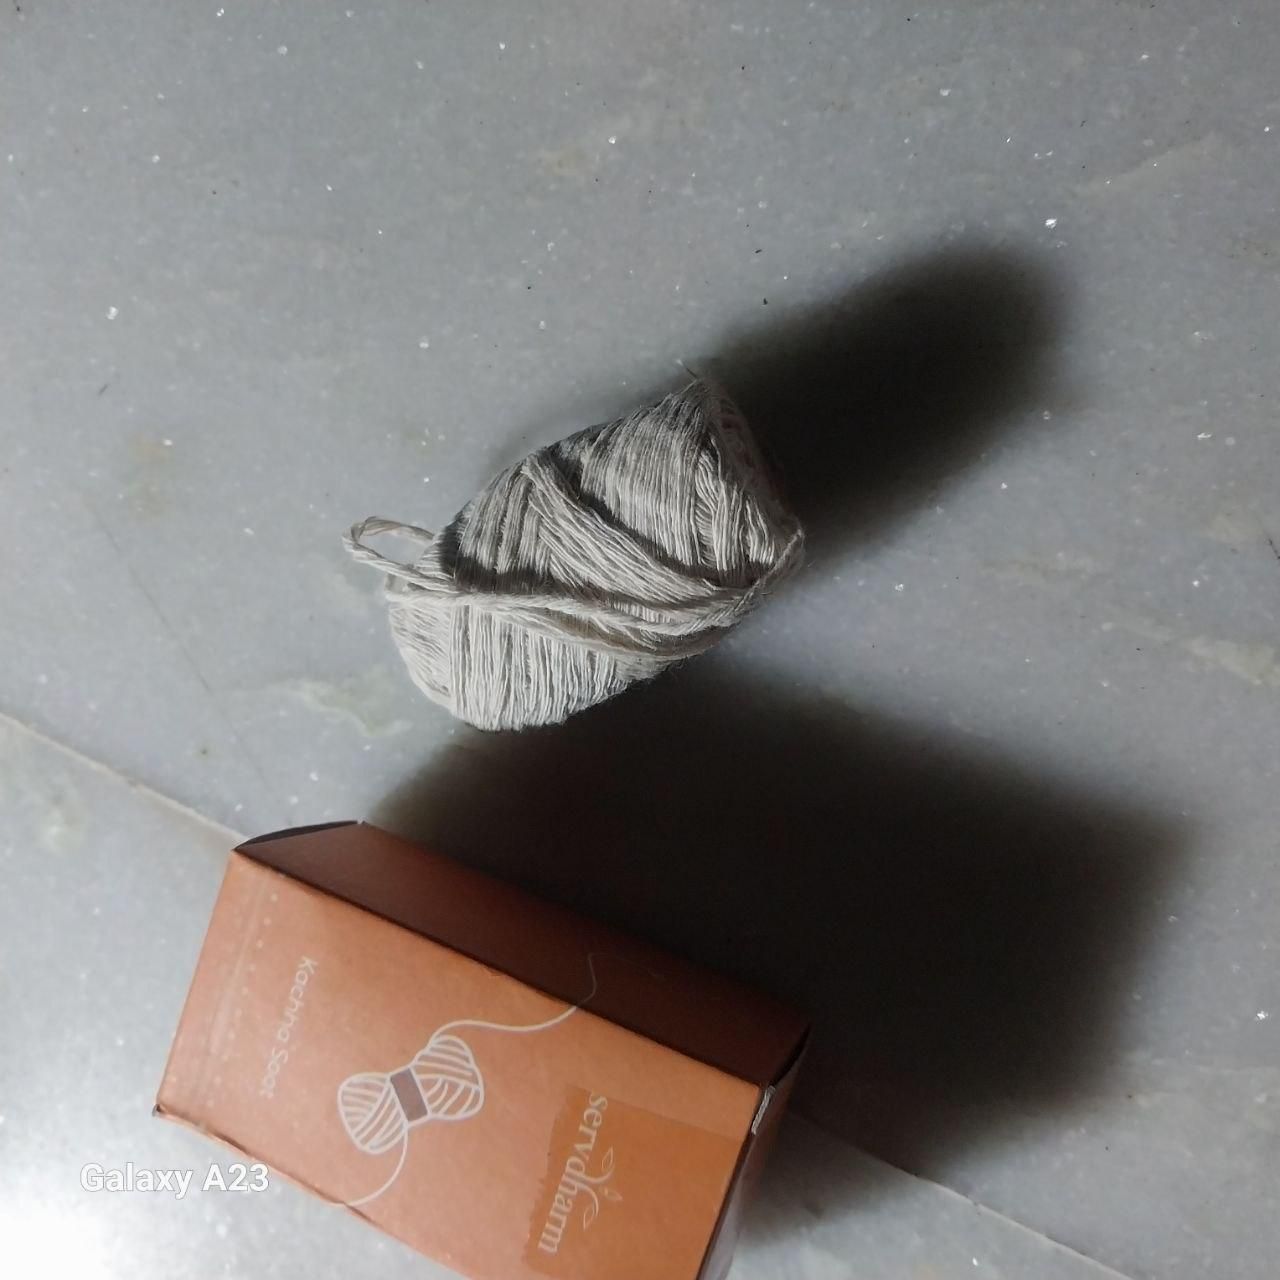
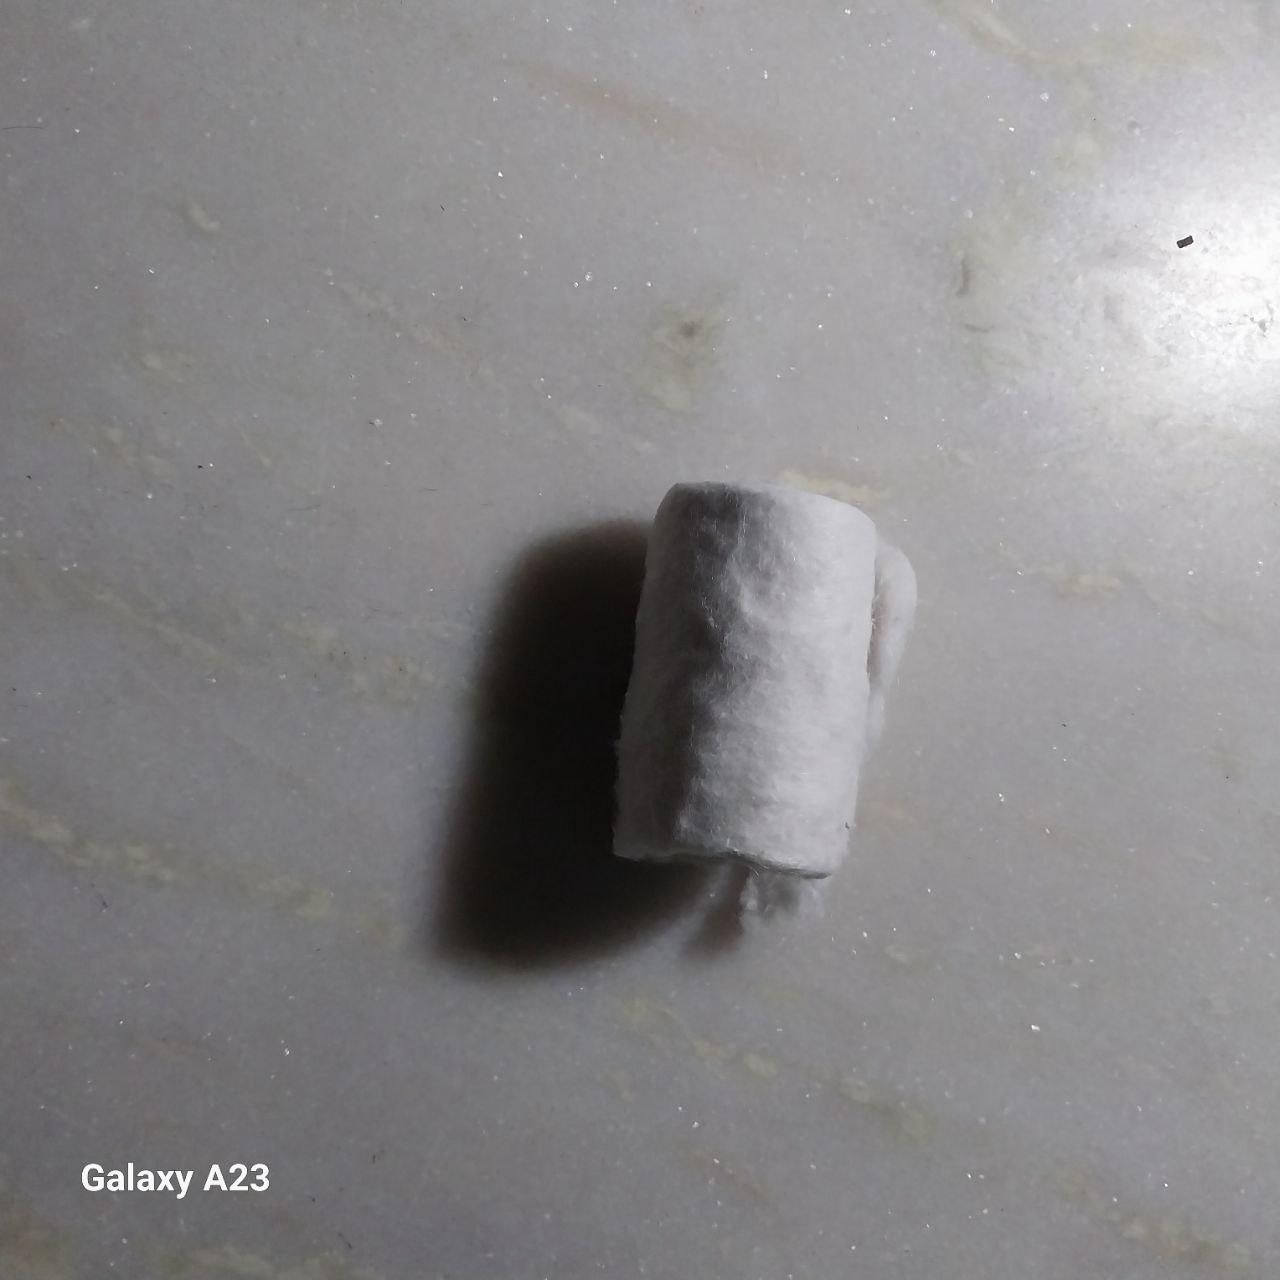
- Metal wire coil
- Wire cutters / combination pliers
- Blue-handled scissors
- Metal ruler
- Compass
- Utility knife (cutter)
- Paint brushes (3)
- Acrylic paint set (multiple colors)
- Highlighter pens (4)
- White acrylic paint bottles (2)
- Black thread
- White thread
- Soldering iron
- Soldering wire (solder spool)
- Soldering flux container
- White craft glue bottles (2)
- 9V battery
- Battery clip connector
- Mini toggle switch
- UV LEDs (in plastic bag)Metal wire coil
- Wire cutters / combination pliers
- Blue-handled scissors
- Metal ruler
- Compass
- Utility knife (cutter)
- Paint brushes (3)
- Acrylic paint set (multiple colors)
- Highlighter pens (4)
- White acrylic paint bottles (2)
- Black thread
- White thread
- Hot glue gun
- Glue sticks
- 9V battery
- Battery clip connector
- Resistors (mounted on card strip)
- Heat shrink tubes (assorted sizes in storage box)
- Cotton
- Kacha dhaga
- Foam Sheet
- Sponge
- Glow Paint
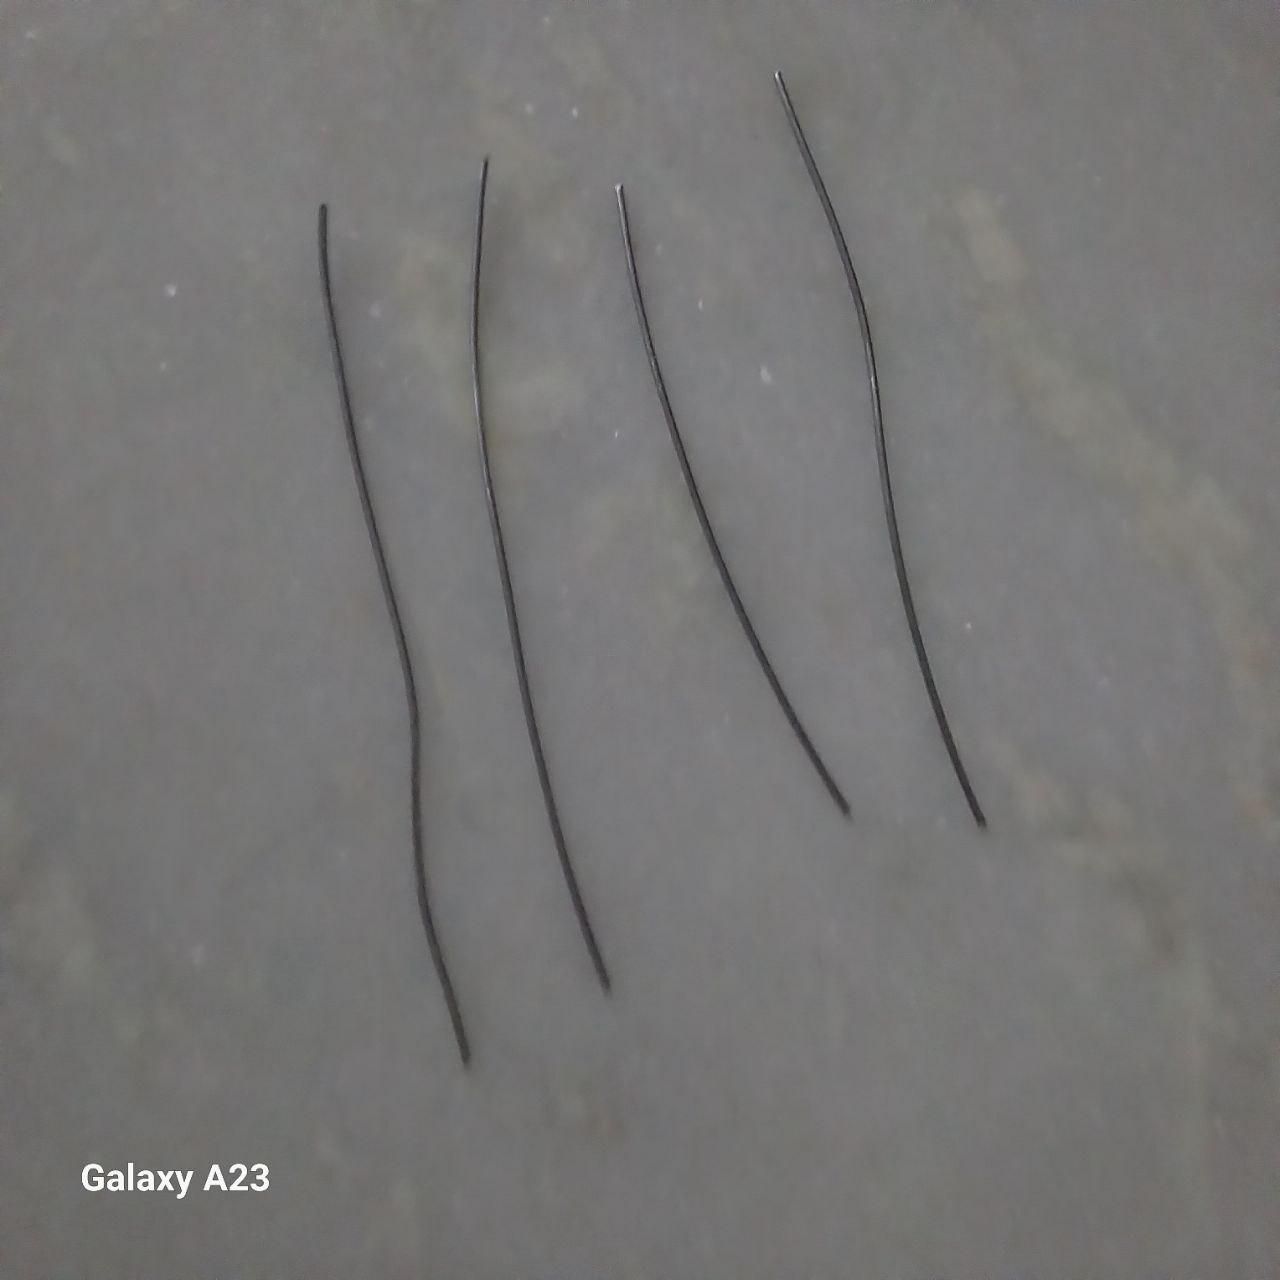
Cutting Tree Strands
- Making the StemMaking the Stem
- Take a thick strand of wire or combine several thin wires together.
- Cut the wire to the required length using a wire cutter.
- If using multiple thin wires, twist them tightly together to form a strong stem.
- Bend the wire slightly to create a natural stem shape.
- Ensure the stem is sturdy enough to support the flower and any decorations added later.
- Trim any sharp wire ends for safety.
Binding Them
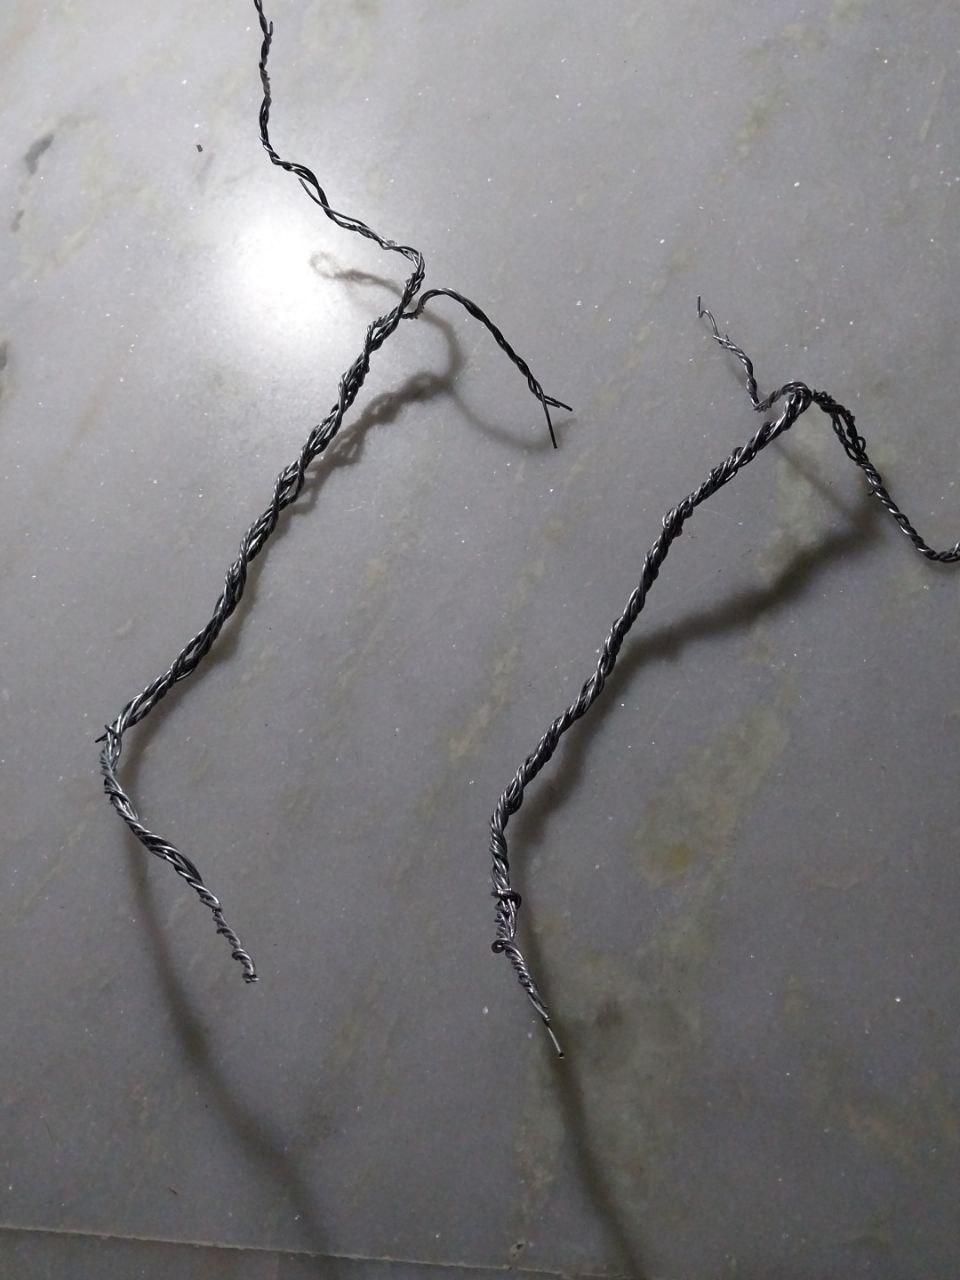
: Bind the Wires and Make the Stems
- Group the cut wires together.
- Twist and bind them tightly to create individual flower stems.
- Make sure each stem is strong and secure.
Painting the Cloud With Glow Paint
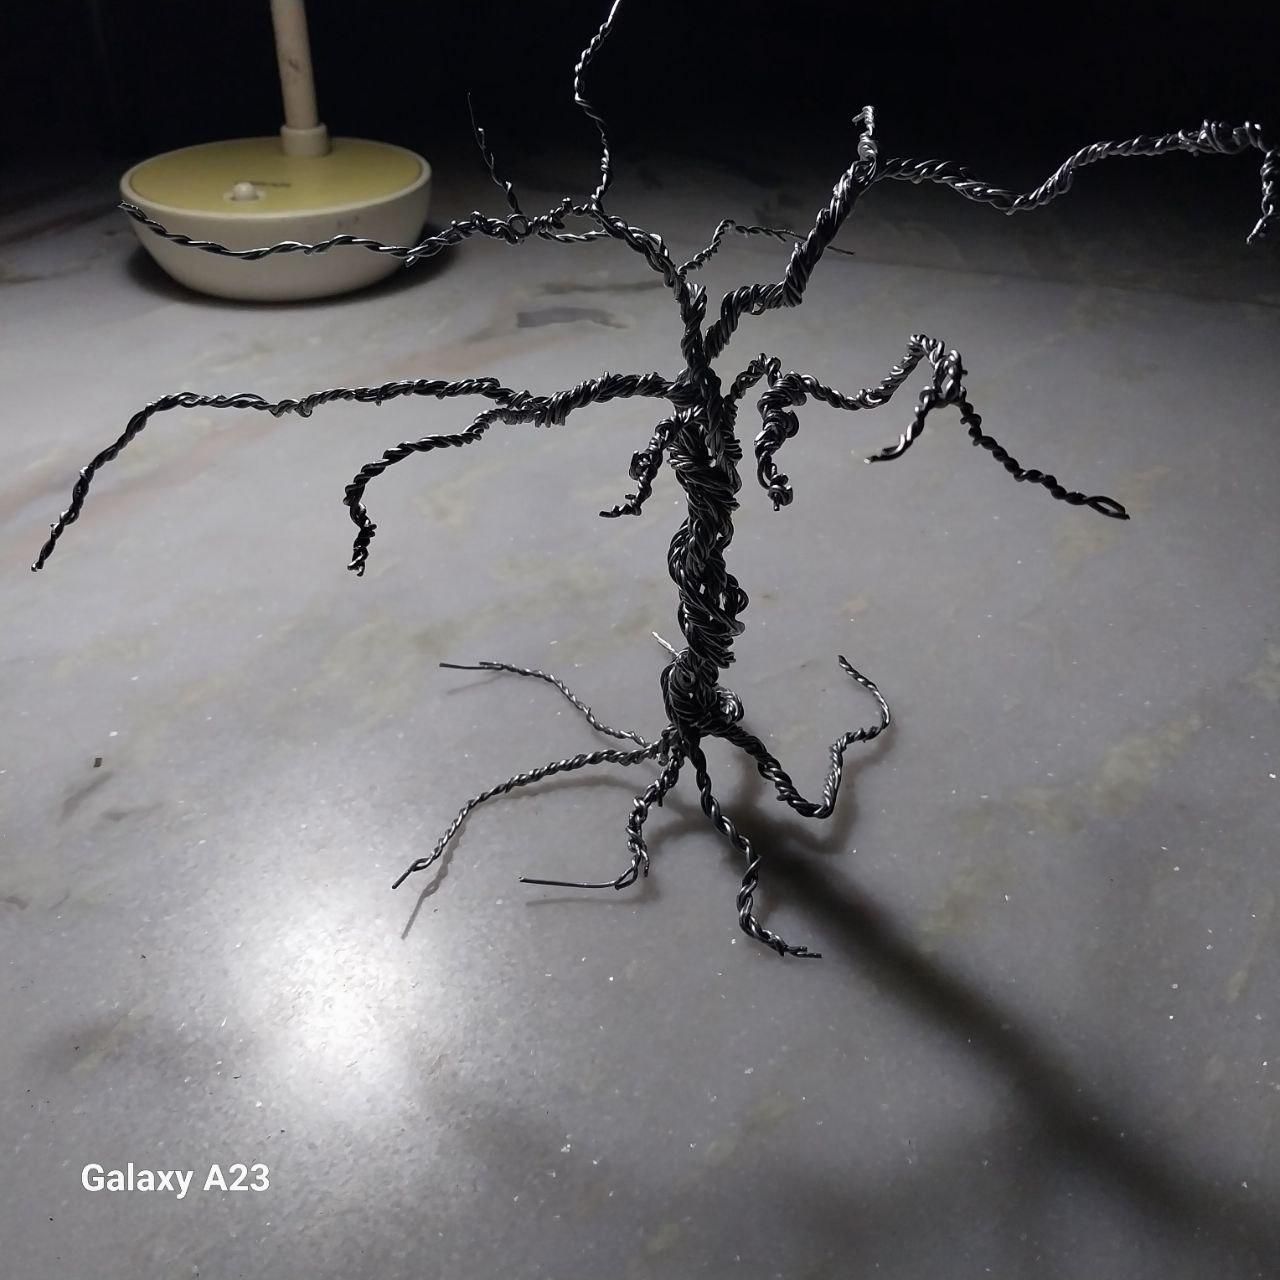
- Make the Tree
- Gather all the finished stems together.
- Twist and bind the stems into one main trunk.
- Spread and bend the stems outward to create tree-like branches.
- Adjust the branches to achieve a natural tree shape.
Creating the Natural Rainbow BarkCreating the Natural Rainbow Bark
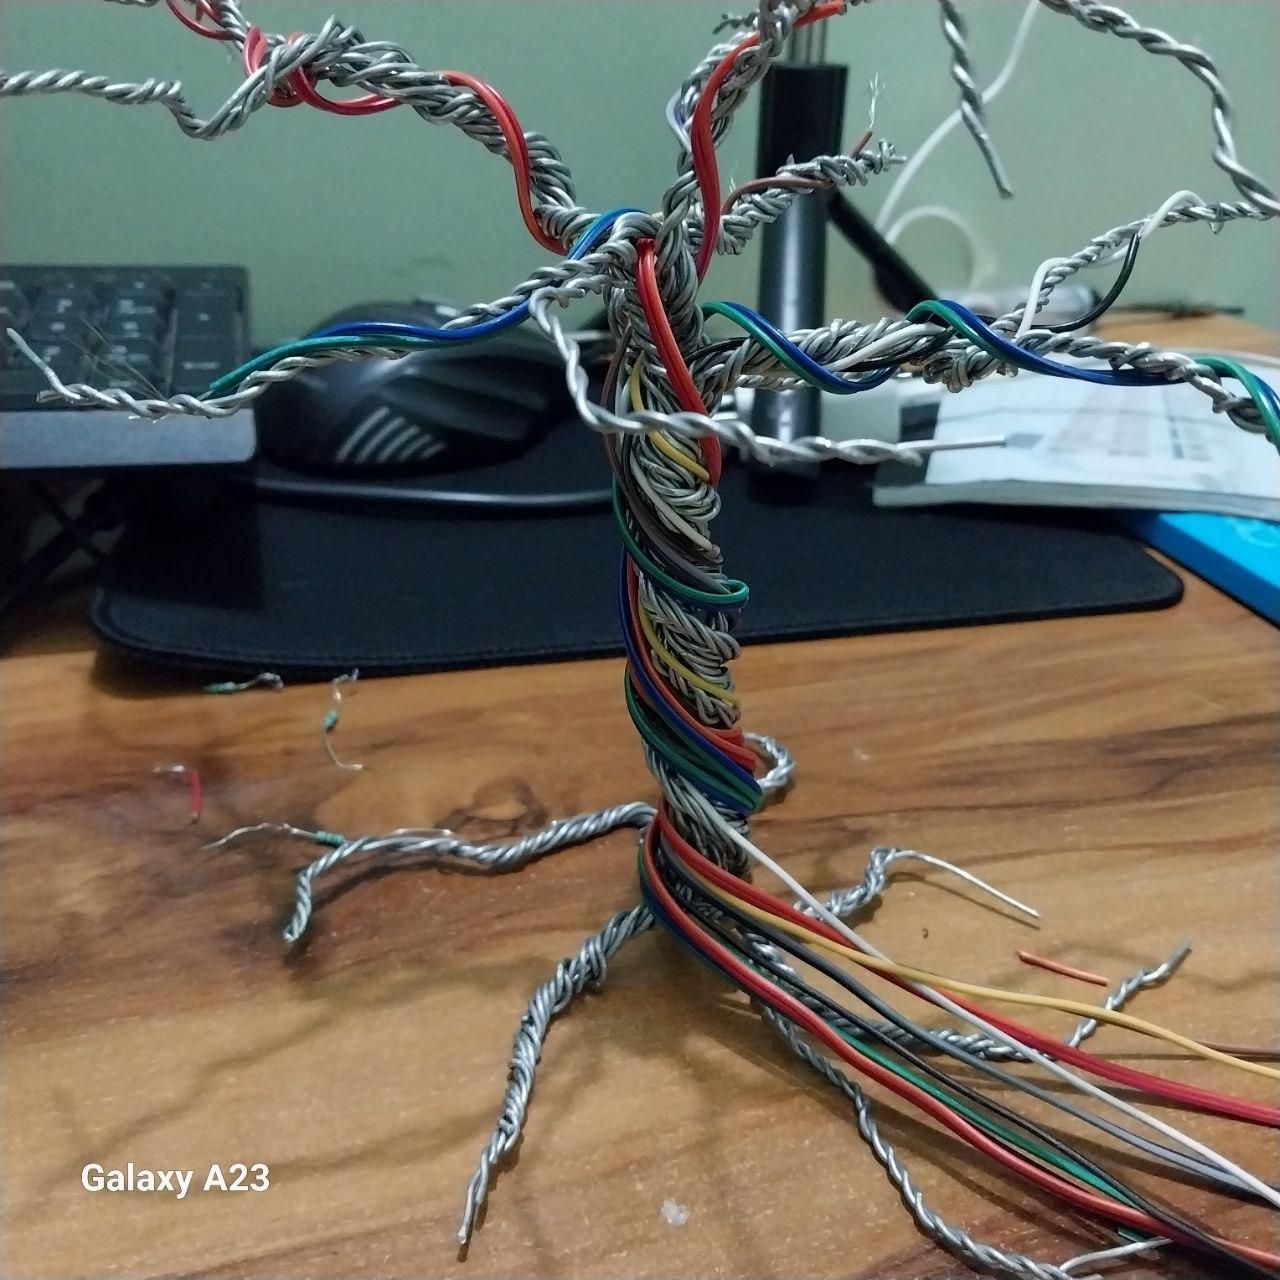
- Creating the Natural Rainbow Bark
- Twist and shape the exposed wires to create a realistic tree bark texture.
- Arrange the wires in flowing, uneven patterns to resemble natural bark.
- Leave some copper wire visible to create a beautiful rainbow metallic effect.
- Bend and separate a few wire strands for a more organic, nature-inspired appearance.
- Adjust the bark until it looks like a real tree with a unique rainbow-colored wire texture.
Adding the LEDs to the Branches
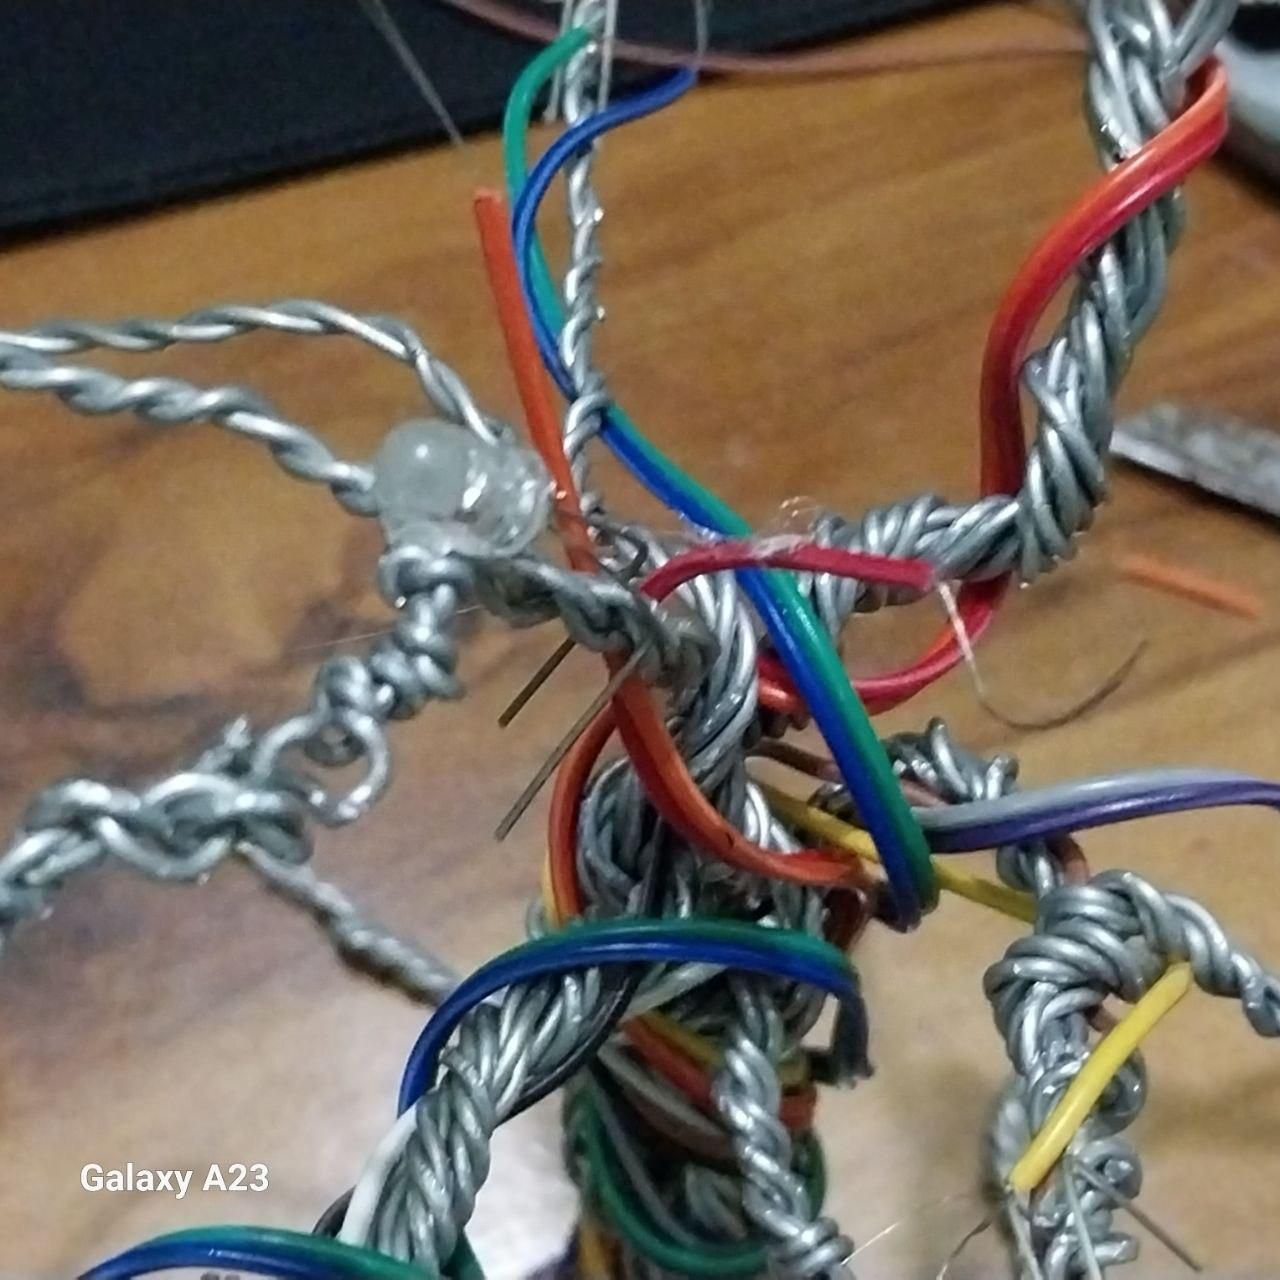
Attaching the 395 nm UV LEDs
- Attach one 395 nm UV LED to the tip of each branch.
- Secure each LED using hot glue or wire.
- Position the LEDs evenly for a balanced glowing effect.
Twisting the Wires to Form Natural Rainbow Roots
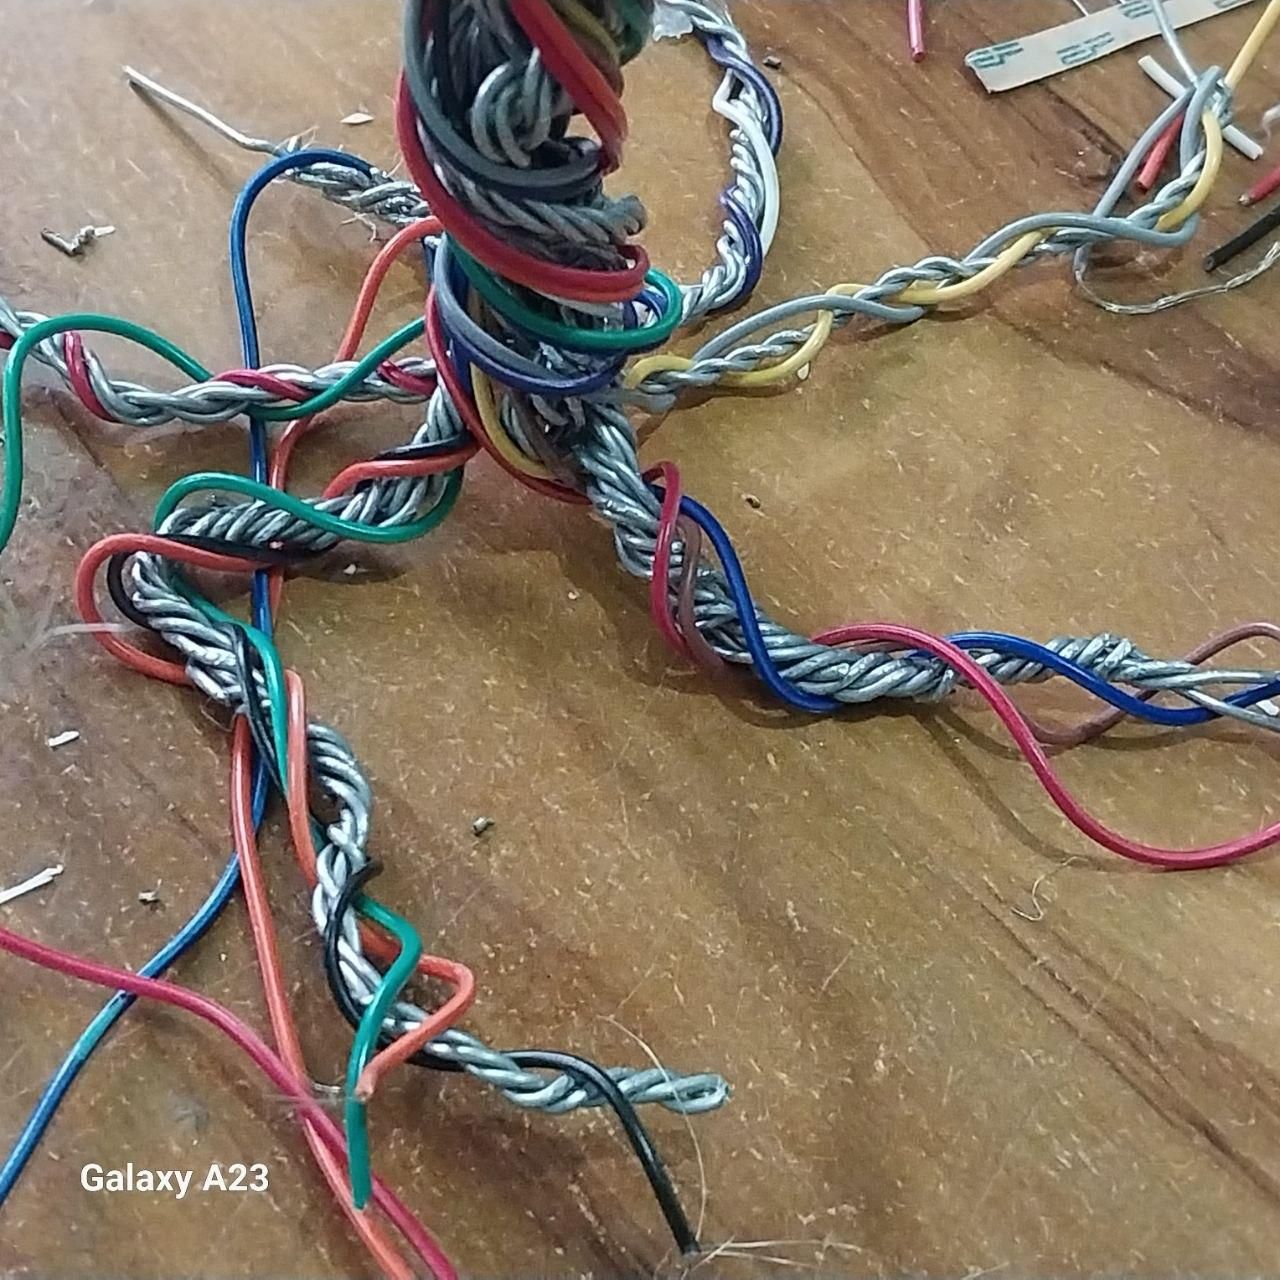
Twisting the Wires to Form Natural Rainbow Roots
- Twist the lower wires together to create realistic tree roots.
- Bend and spread the roots in different directions for a natural appearance.
- Leave the copper wires visible to enhance the rainbow metallic effect.
v
: Building the Circuit
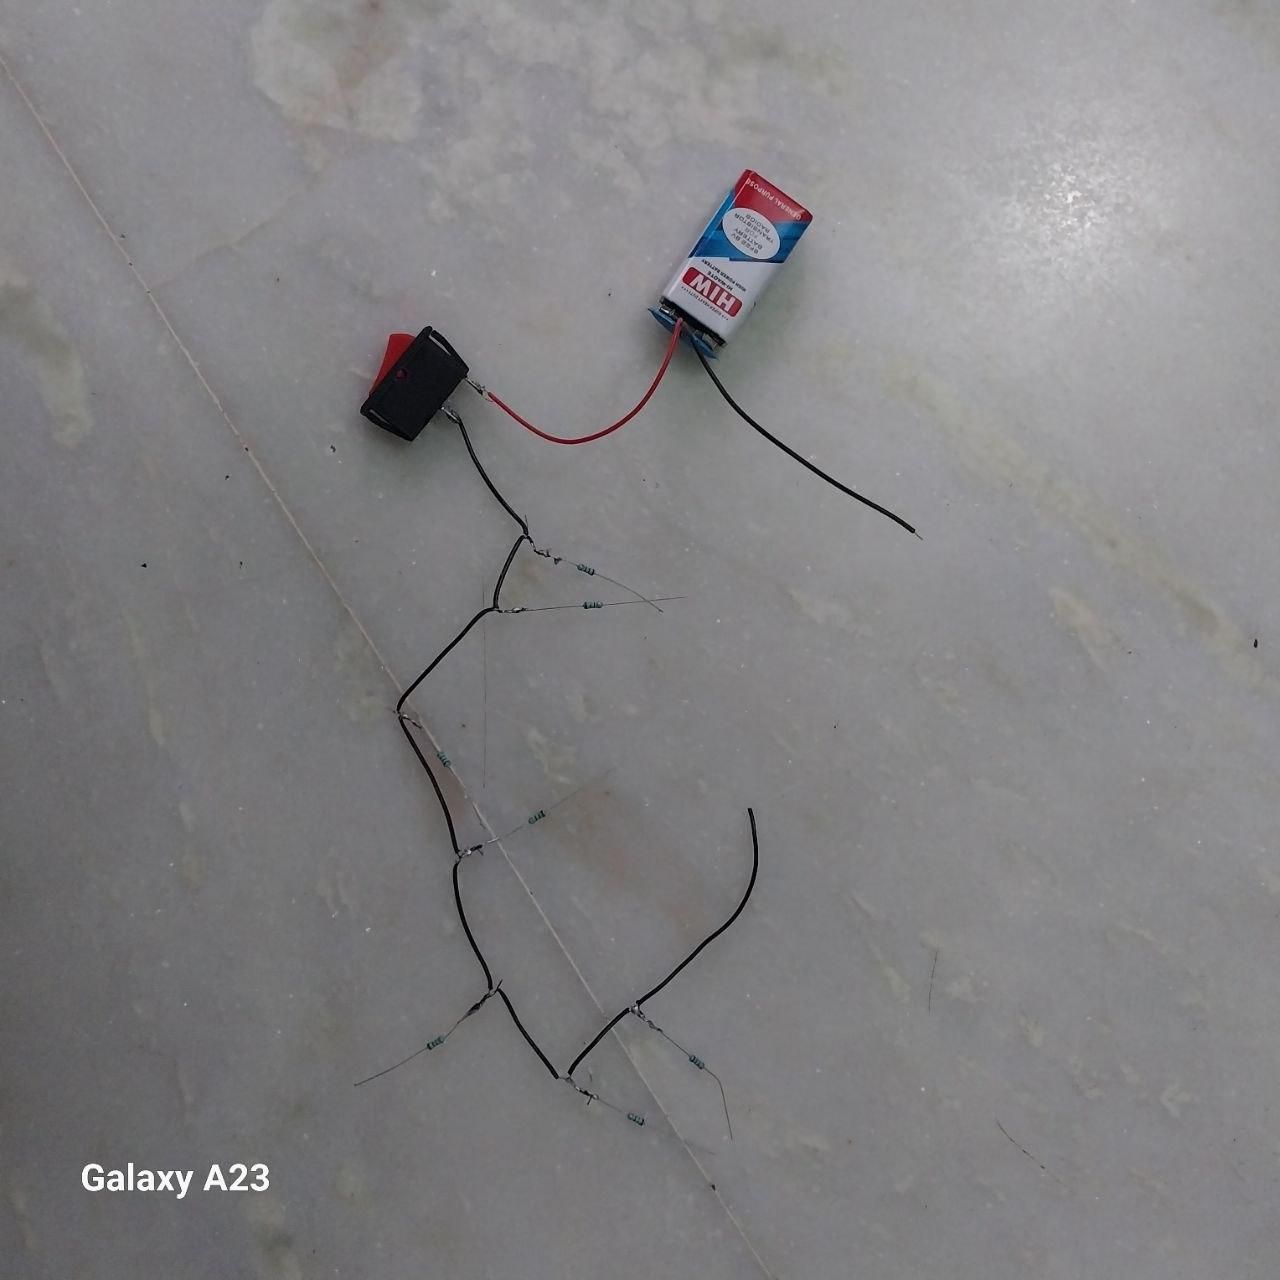
Building the Circuit
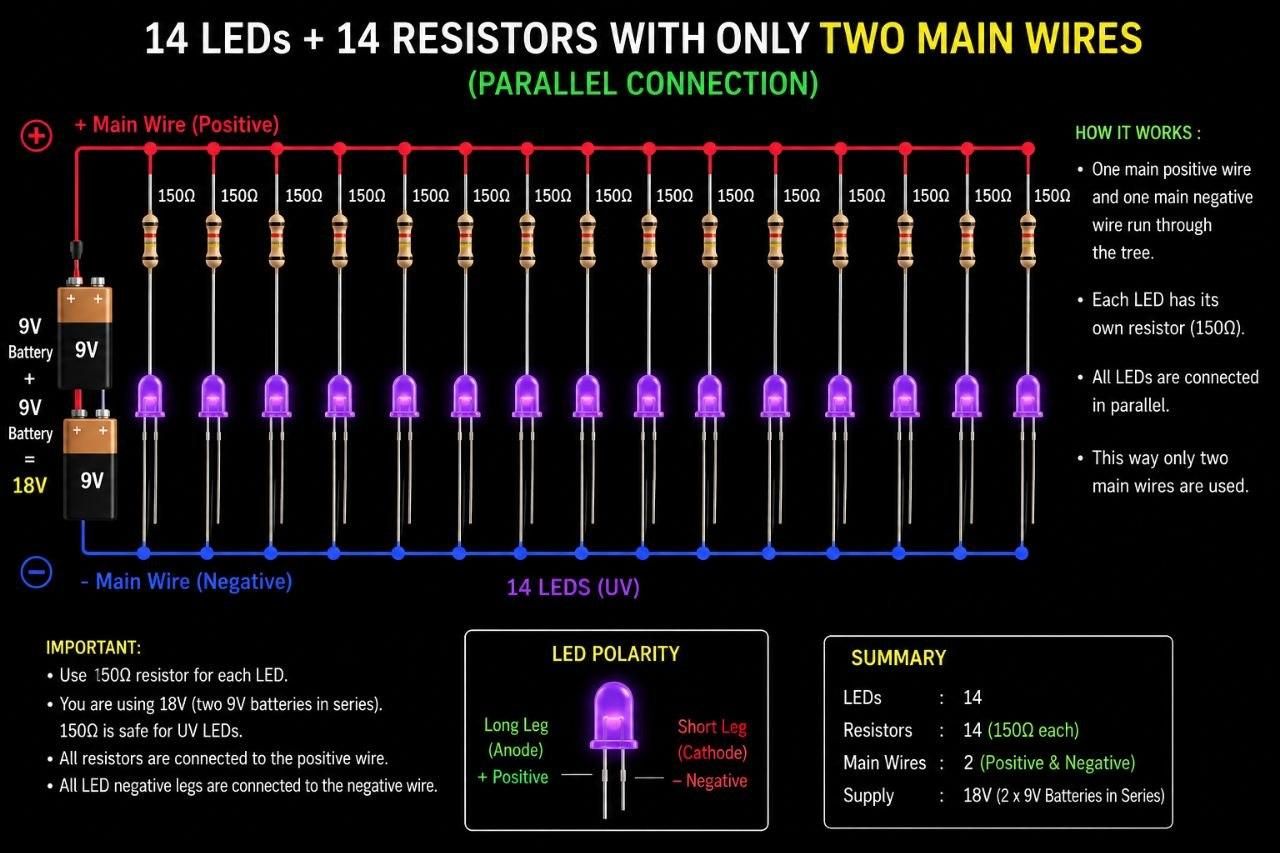
- Prepare the circuit for 7 UV LEDs.
- Make 7 cuts in the main wire, one for each resistor connection.
- Connect one resistor to each 395 nm UV LED (7 resistors in total).
- Connect all LEDs, resistors, battery, and switch according to the circuit diagram.
- Test the circuit before final assembly.
Creating the Cloud Structure
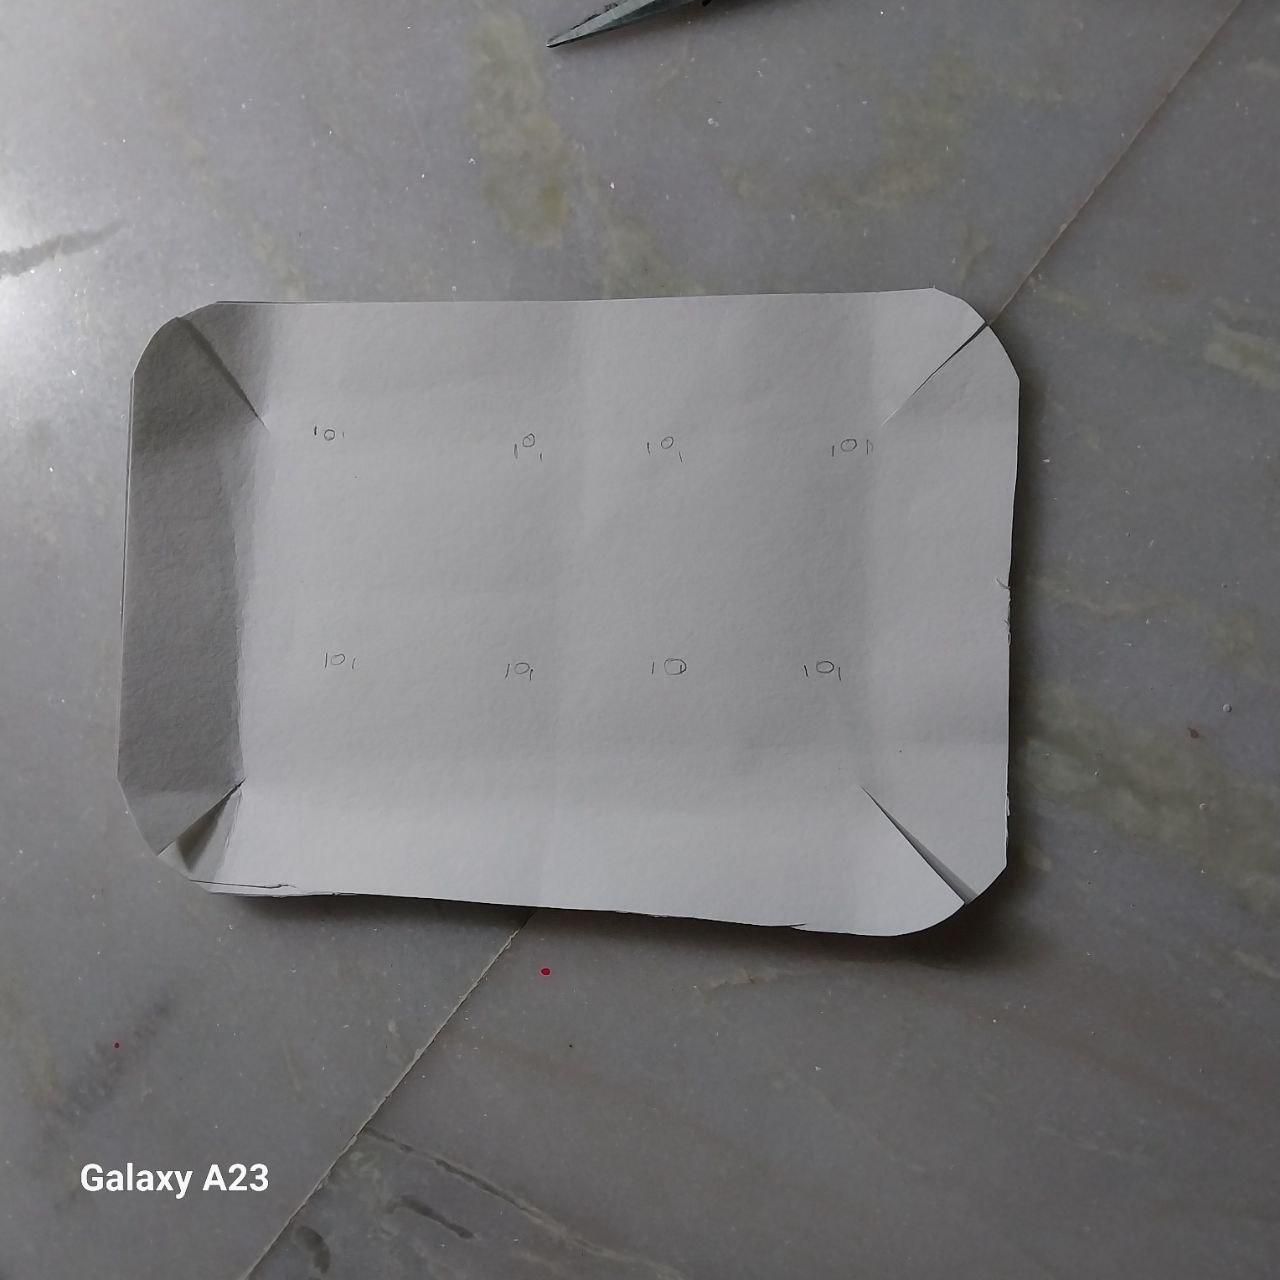
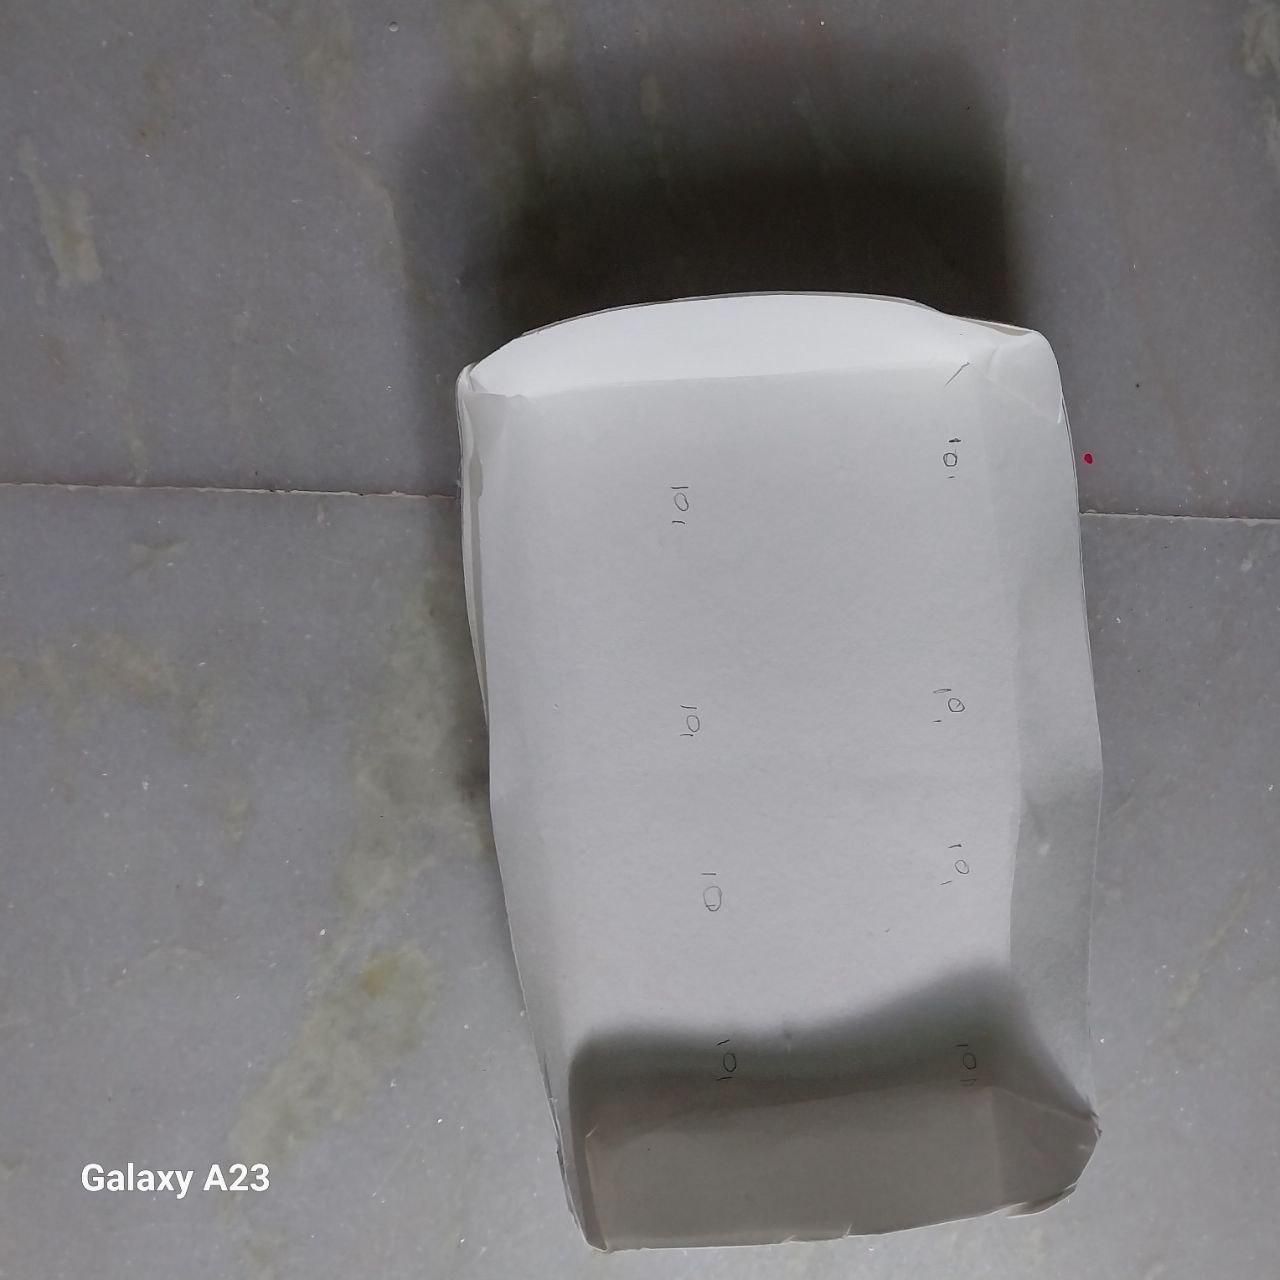
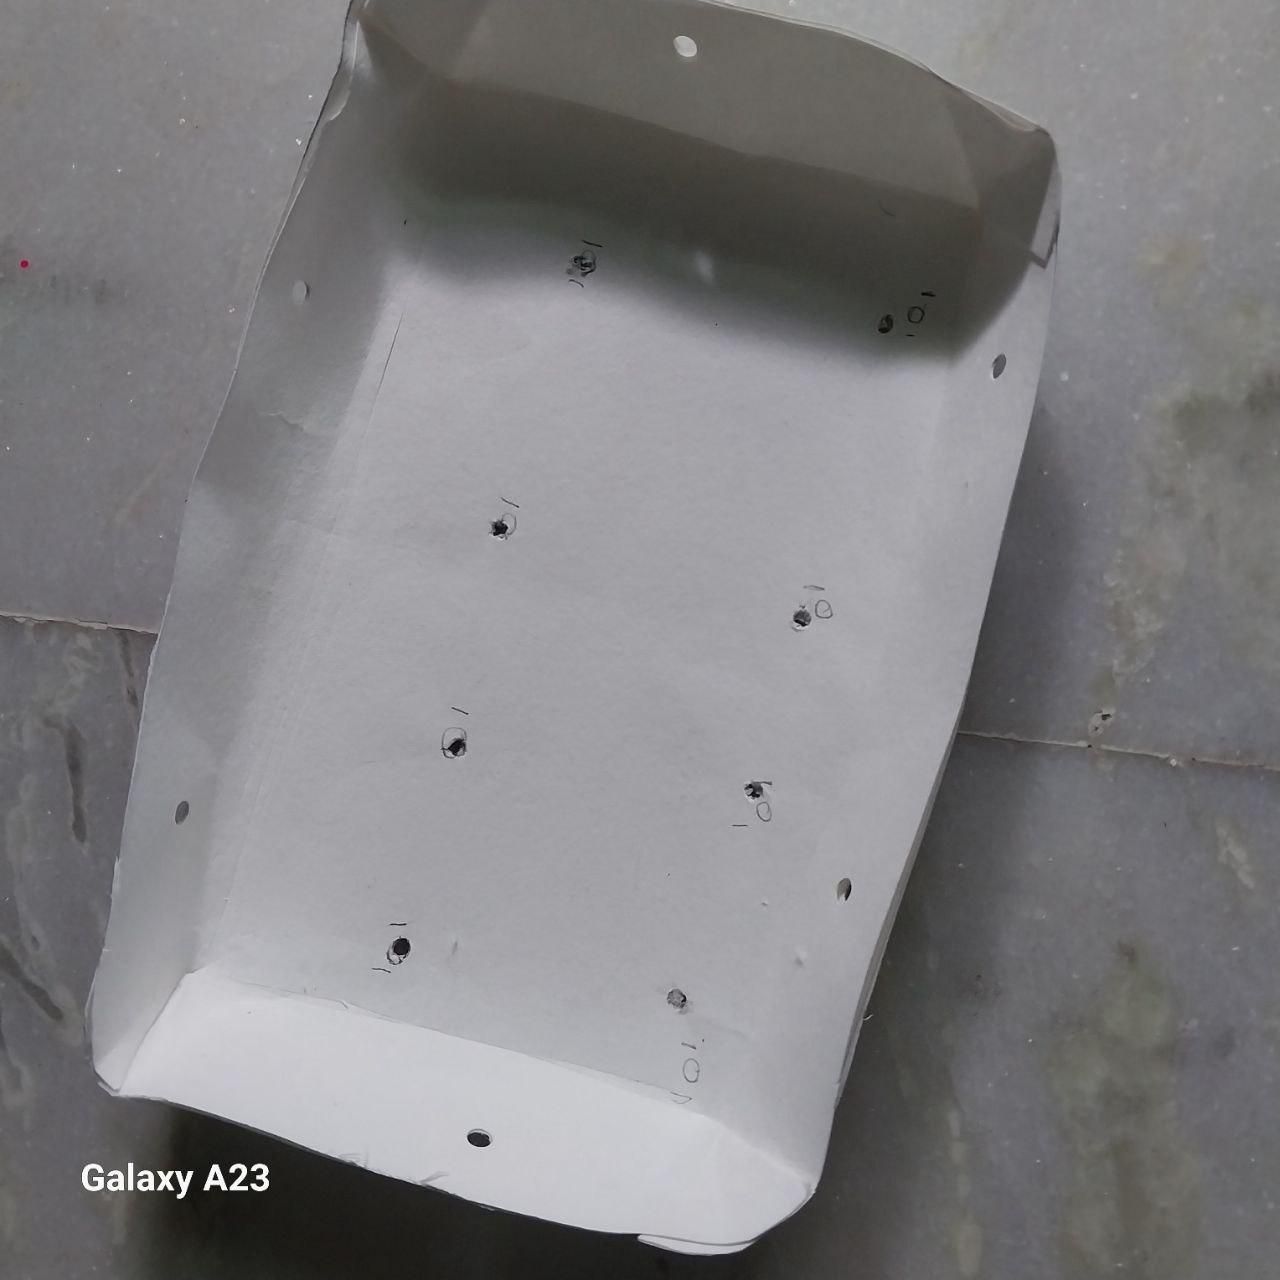
- Creating the Cloud Structure
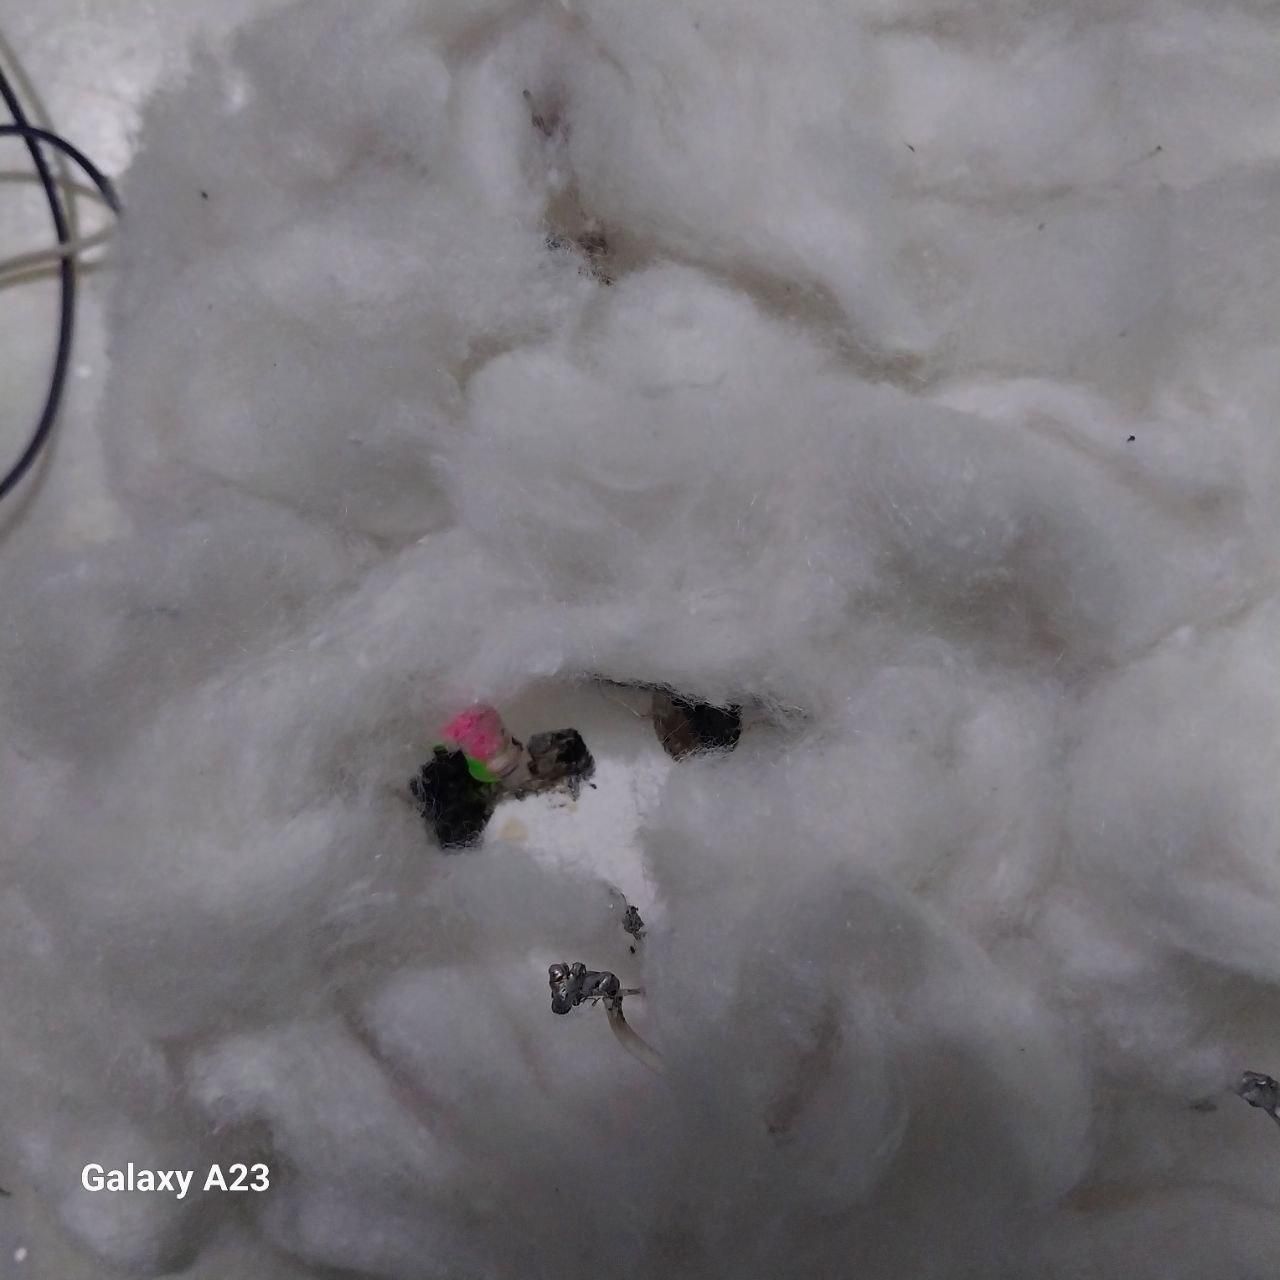
- Build the cloud shape using your chosen material (such as cotton or polyester fiberfill).
- Punch holes in the cloud structure for the branches to pass through.
- Insert the branches through the holes and secure the cloud in place.
- Adjust the cloud to create a soft, floating appearance around the tree.
Attaching the Positive WireAttaching the Positive Wire
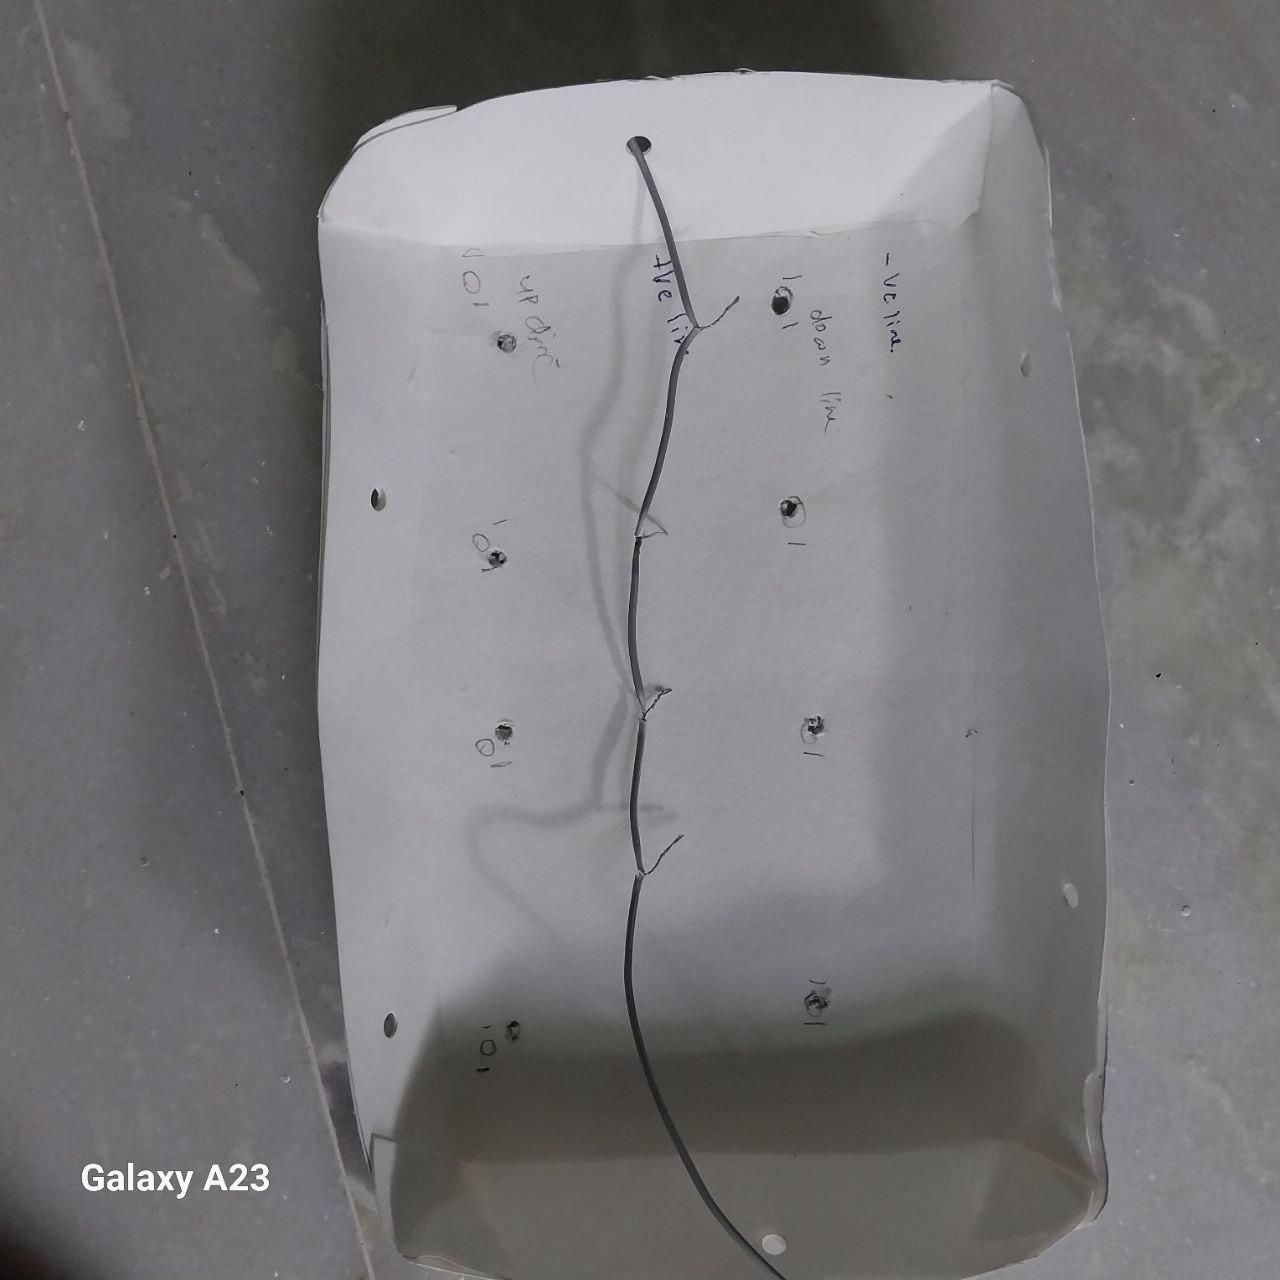
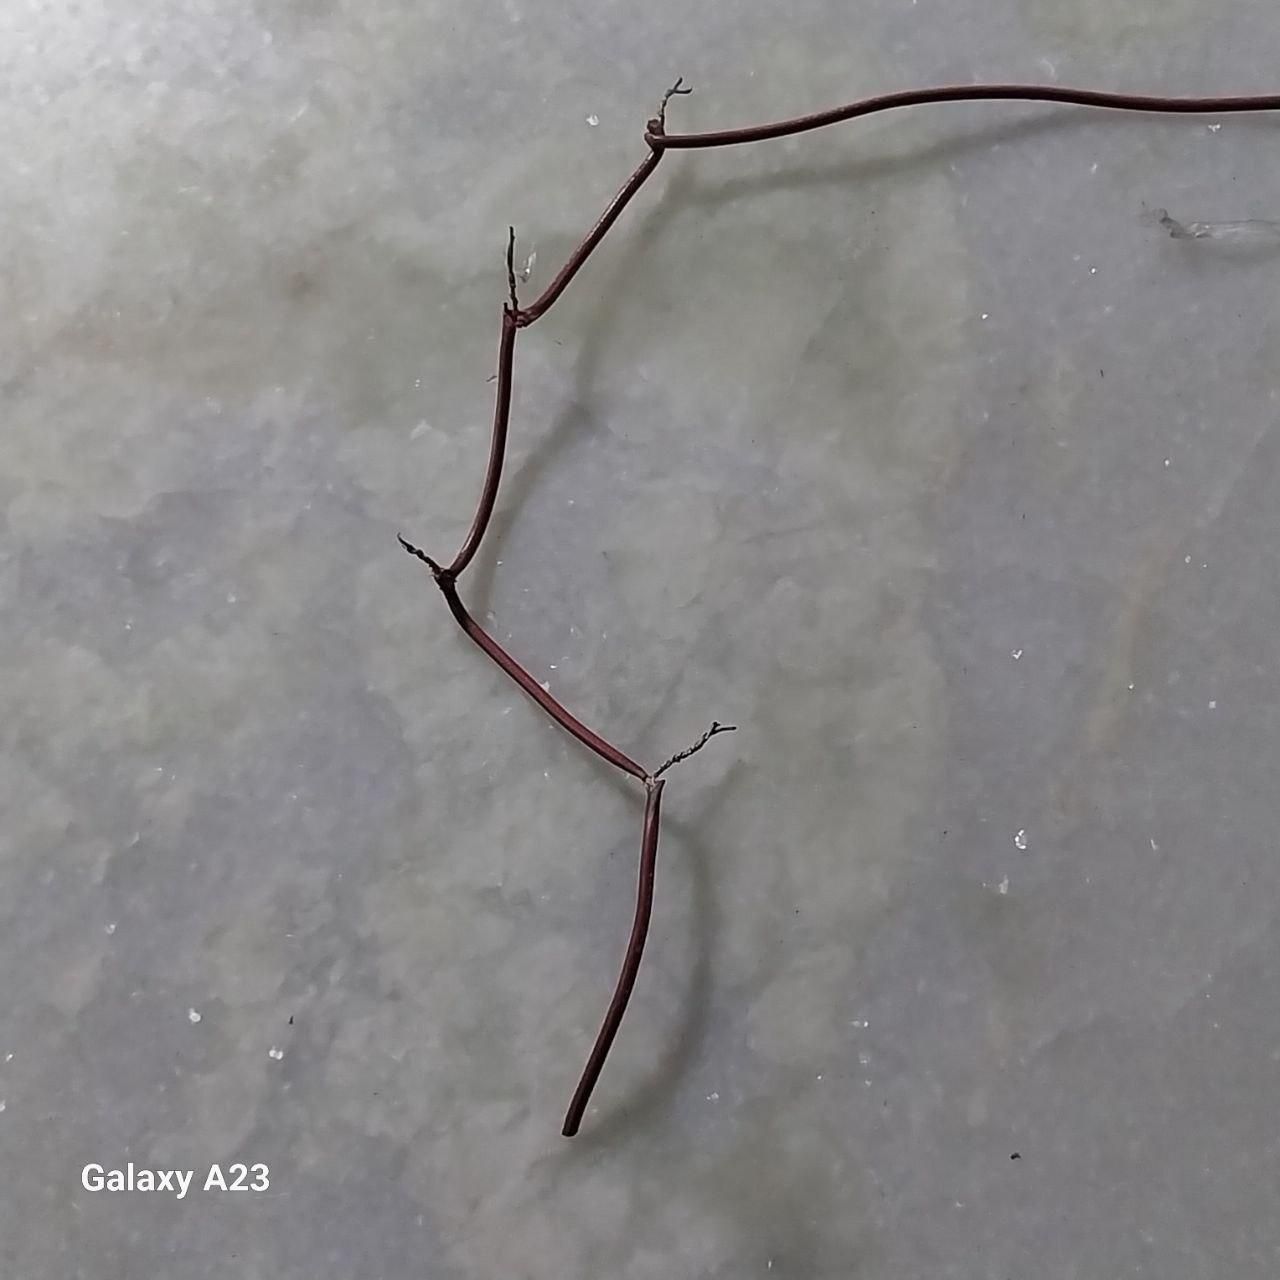
Attaching the Positive Wire
- Attach the cut wire along the lower side of the tree to create the positive line.
- Secure the wire firmly so it runs through the entire circuit.
- Ensure all resistor connections can easily reach the positive line.
Soldering the Circuit
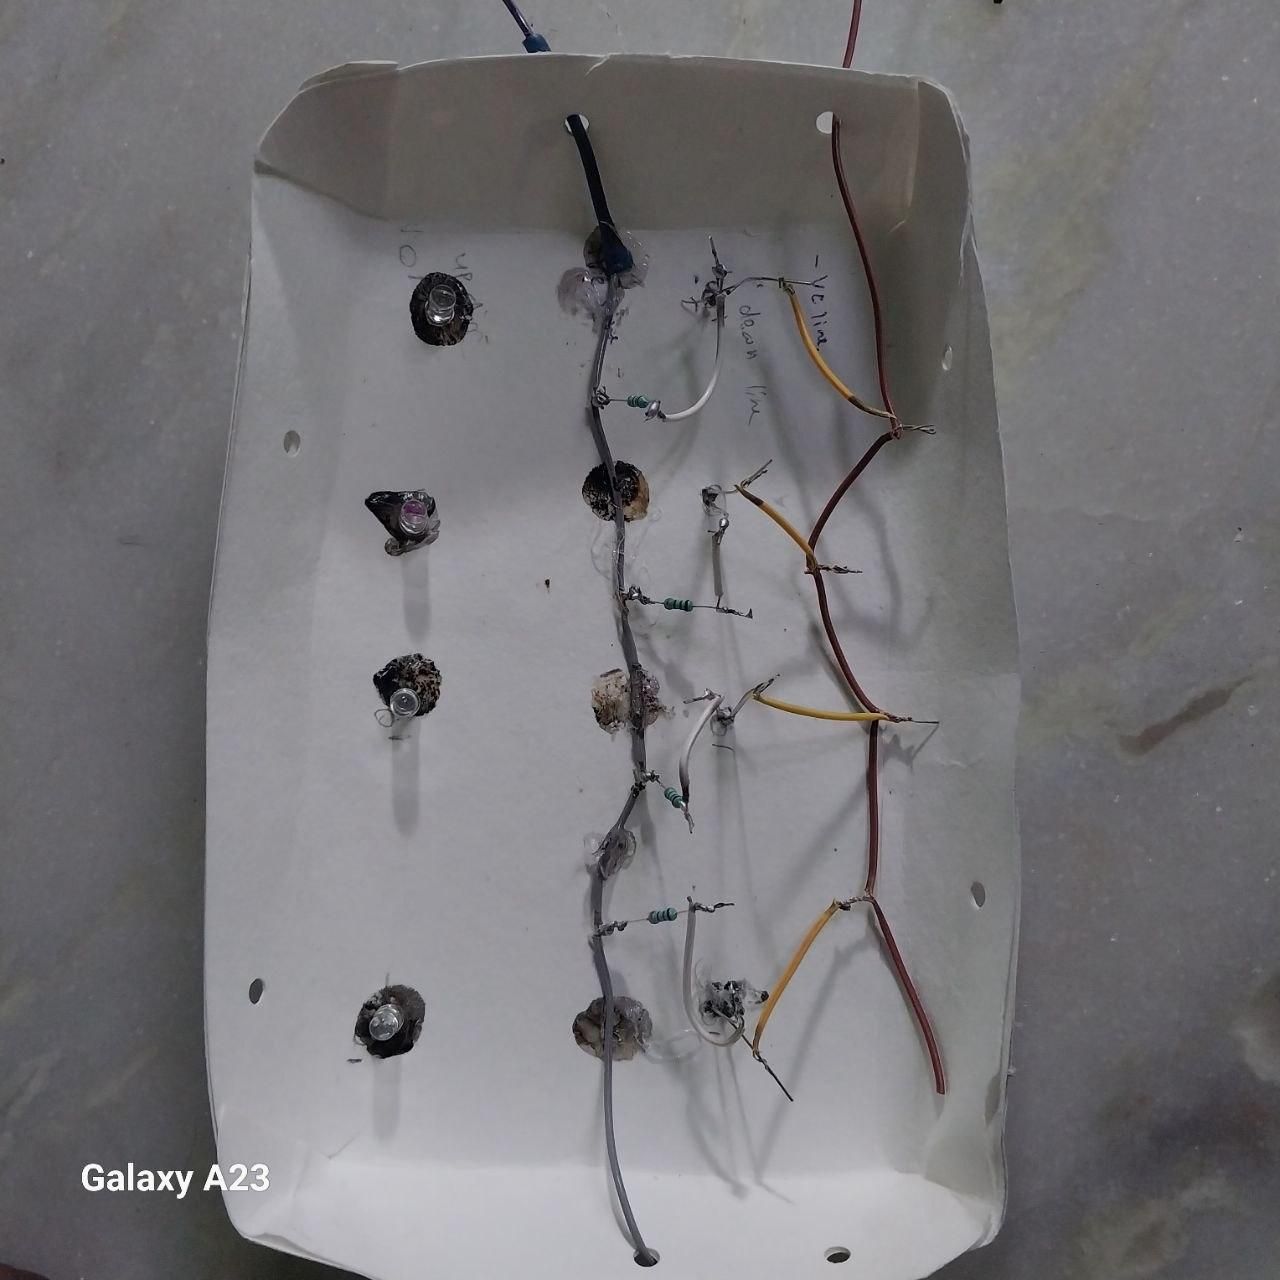
- Soldering the Circuit
- Solder the positive leg (anode) of each UV LED to its resistor.
- Solder the other end of each resistor to the positive line.
- Connect the positive line to the switch.
- Solder the negative leg (cathode) of each UV LED to the negative line.
- Connect the negative line directly to the battery's negative terminal.
- Check all solder joints and test the circuit to ensure every LED lights up correctly.
Attaching the Upper LEDs
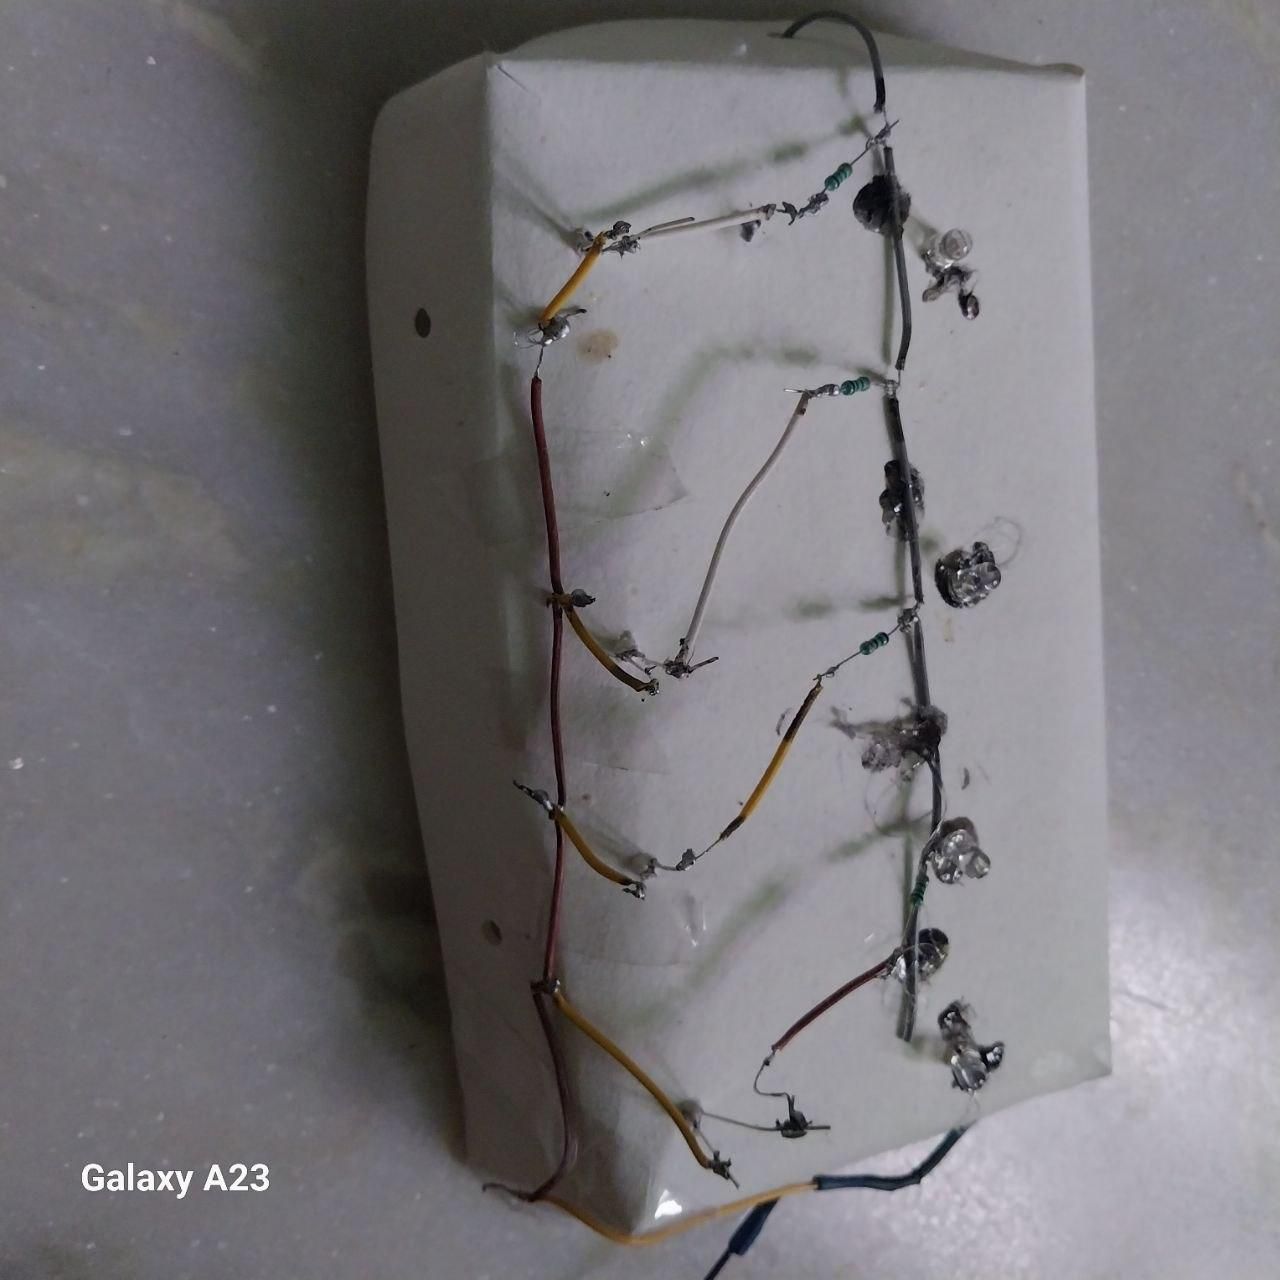
Attaching the Upper LEDs
- Attach the upper UV LEDs facing in the opposite direction of the lower LEDs.
- Connect them using the same circuit method as the lower LEDs.
- Solder the positive leg of each LED to a resistor and connect it to the positive line.
- Connect the negative leg to the negative line.
Filling With Cotton
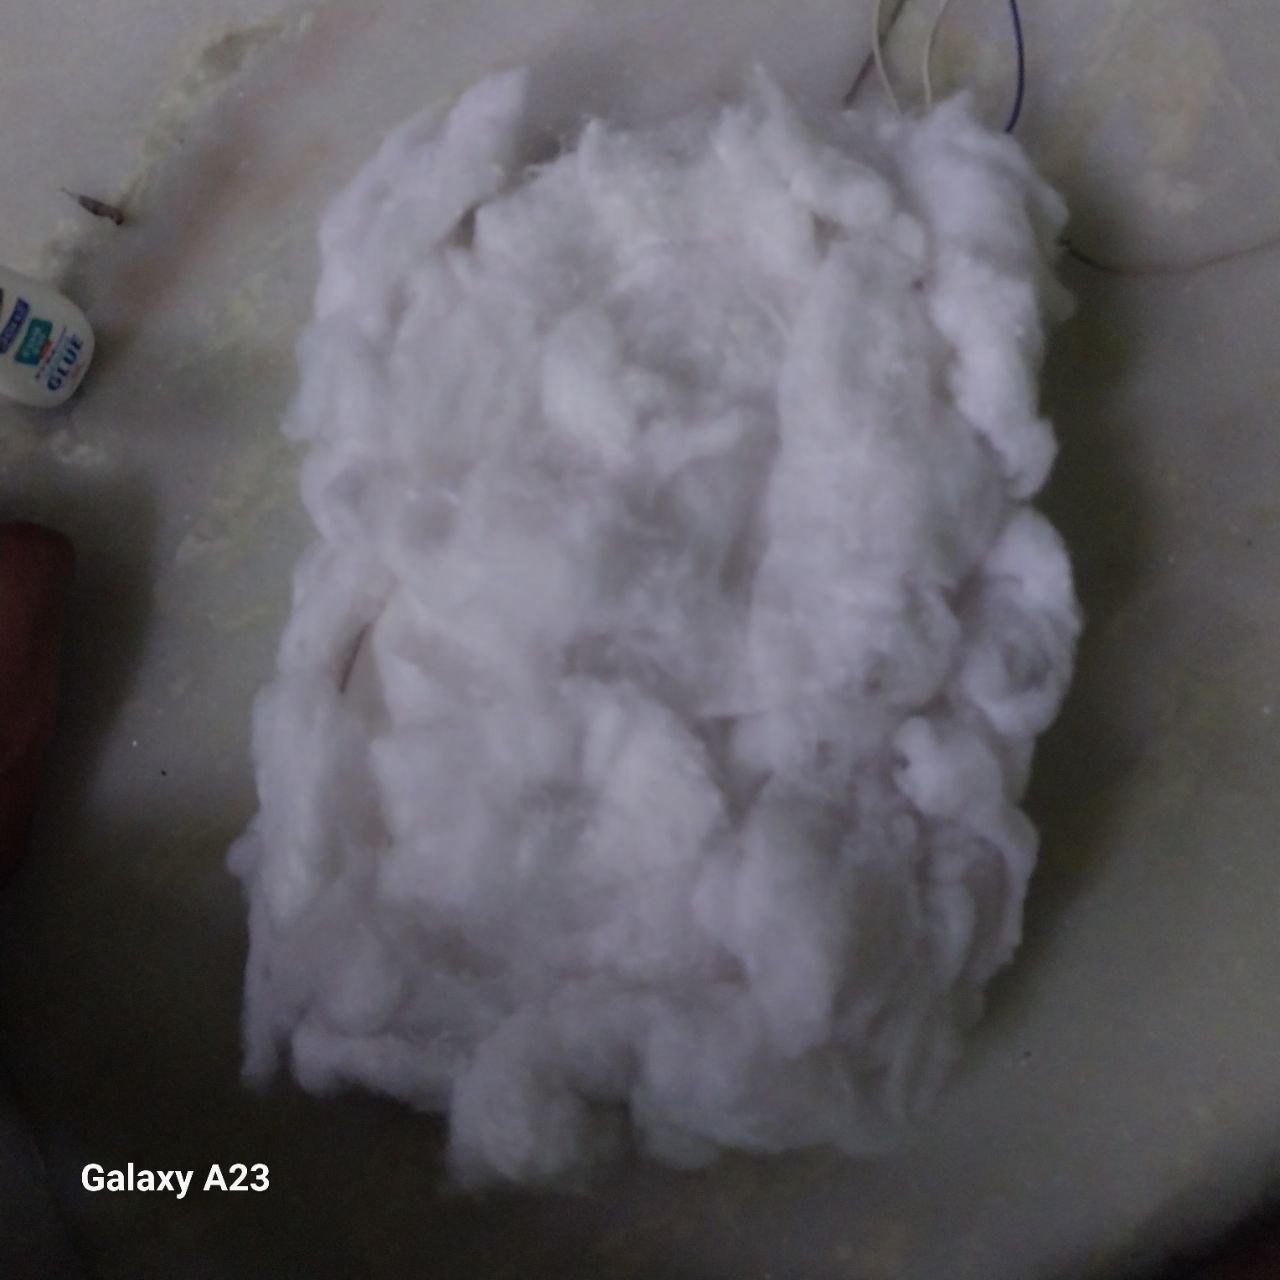
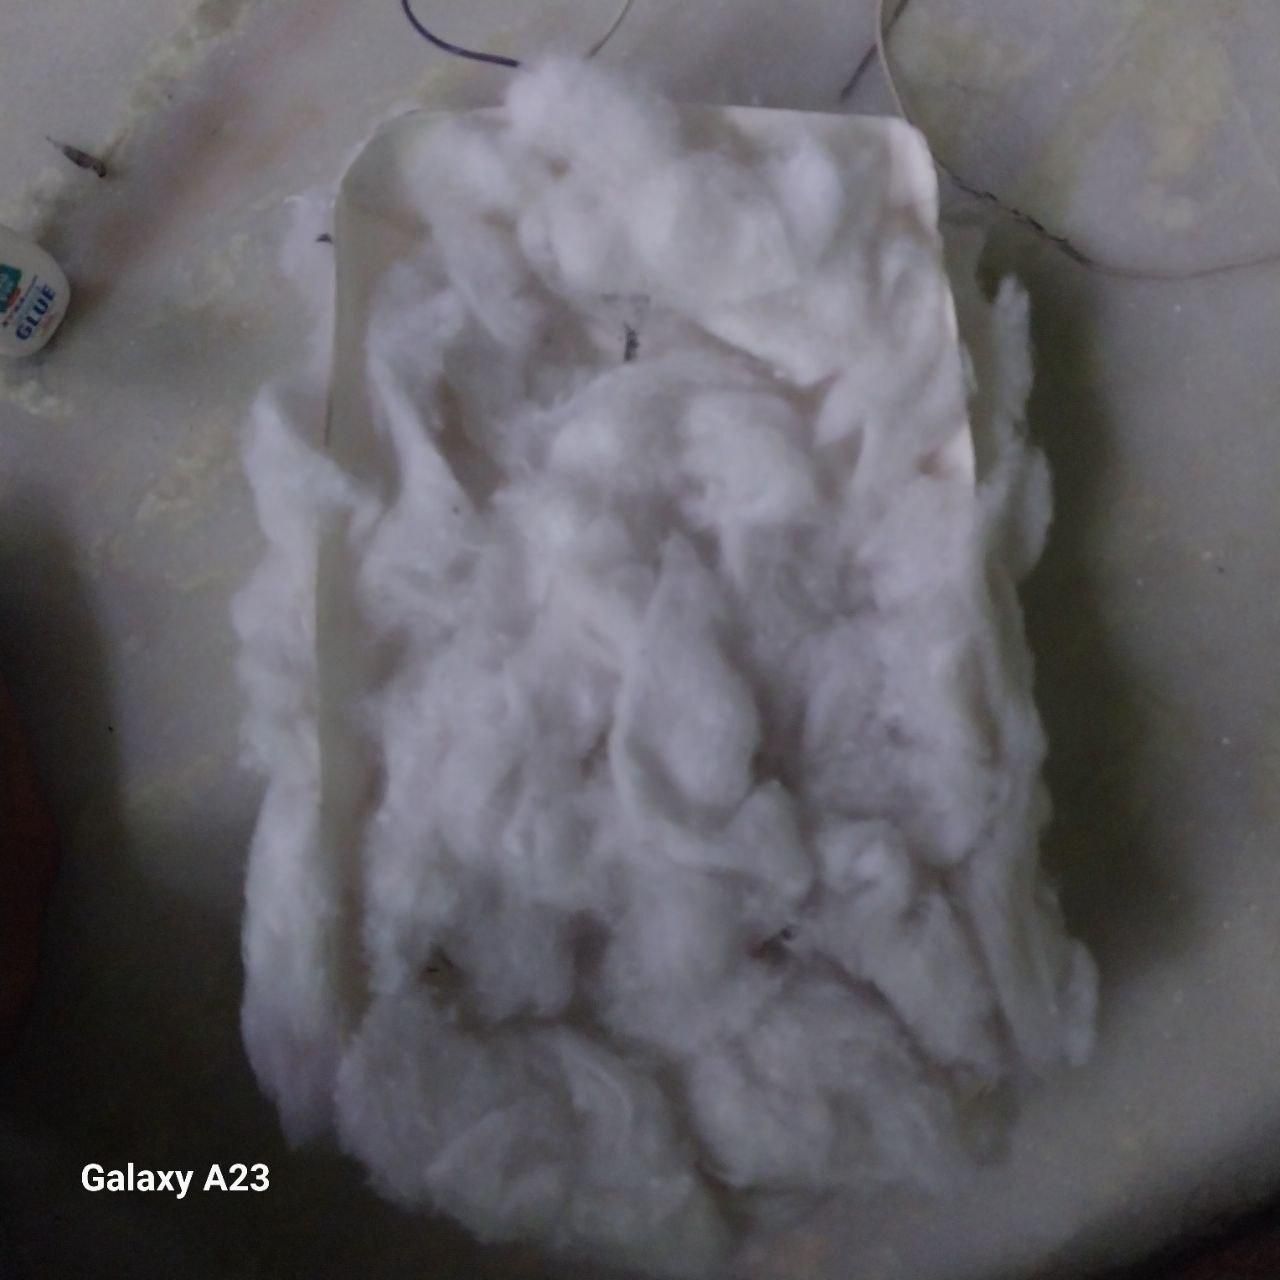
Filling with Cotton
- Fill the cloud structure with cotton or polyester fiber.
- Spread the cotton evenly to create a soft, fluffy cloud texture.
- Adjust the shape to achieve a natural floating-cloud appearance
Painting the Cloud With Glow PaintPainting the Cloud With Glow Paint
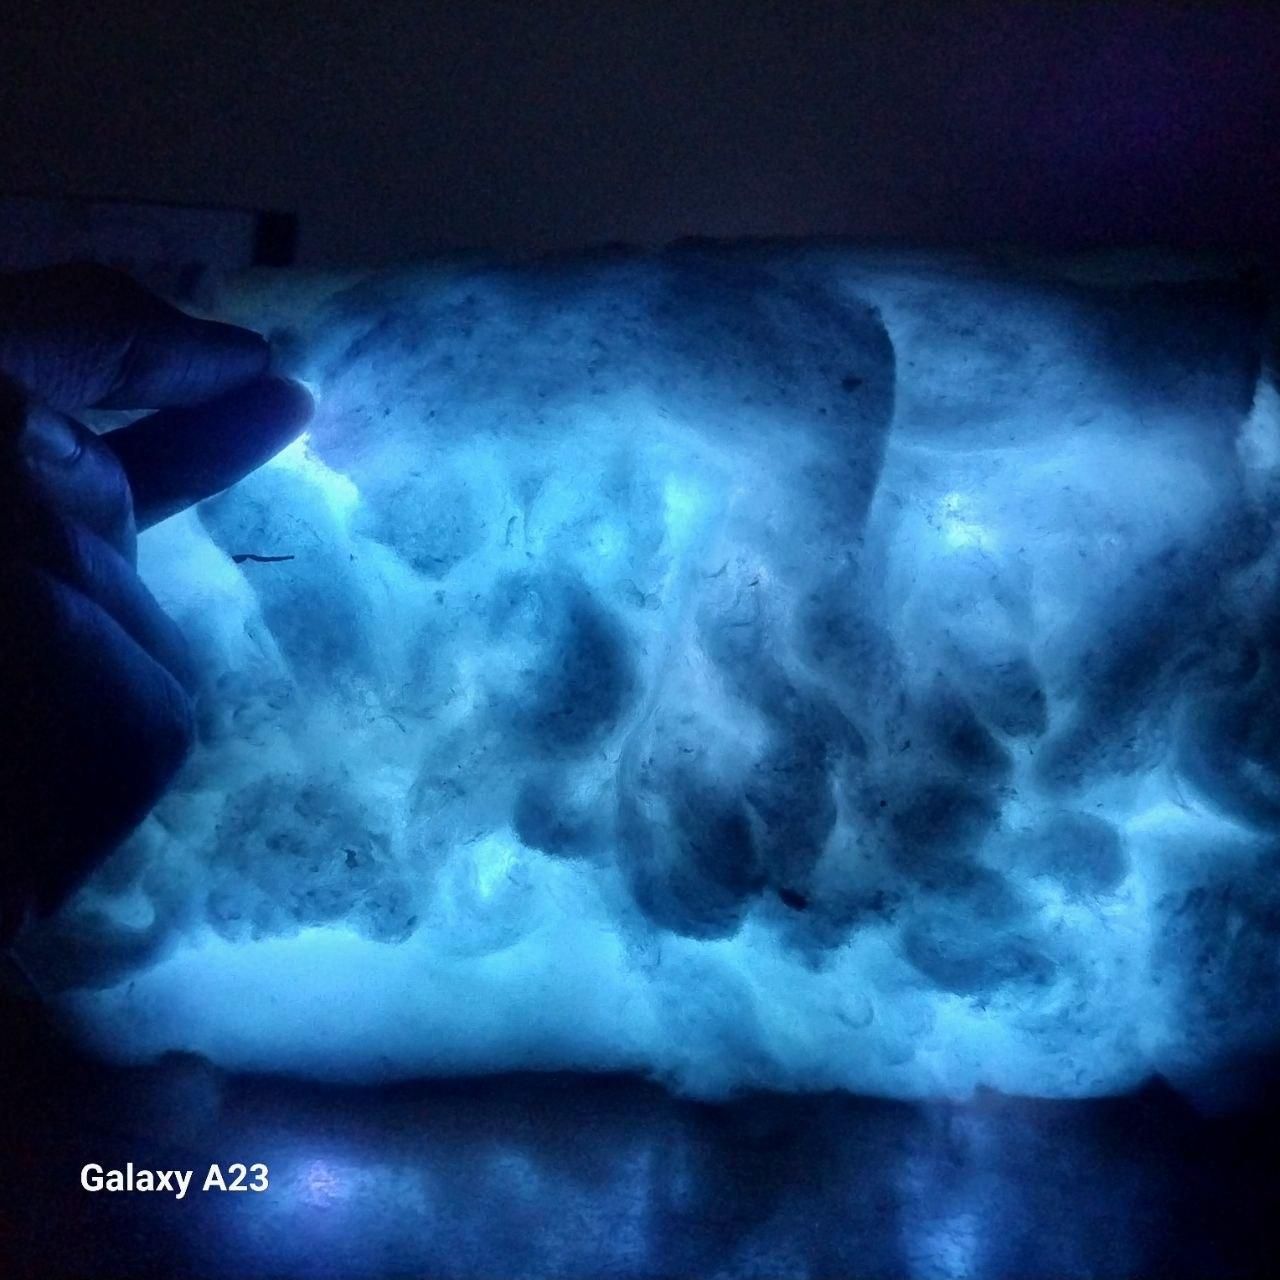
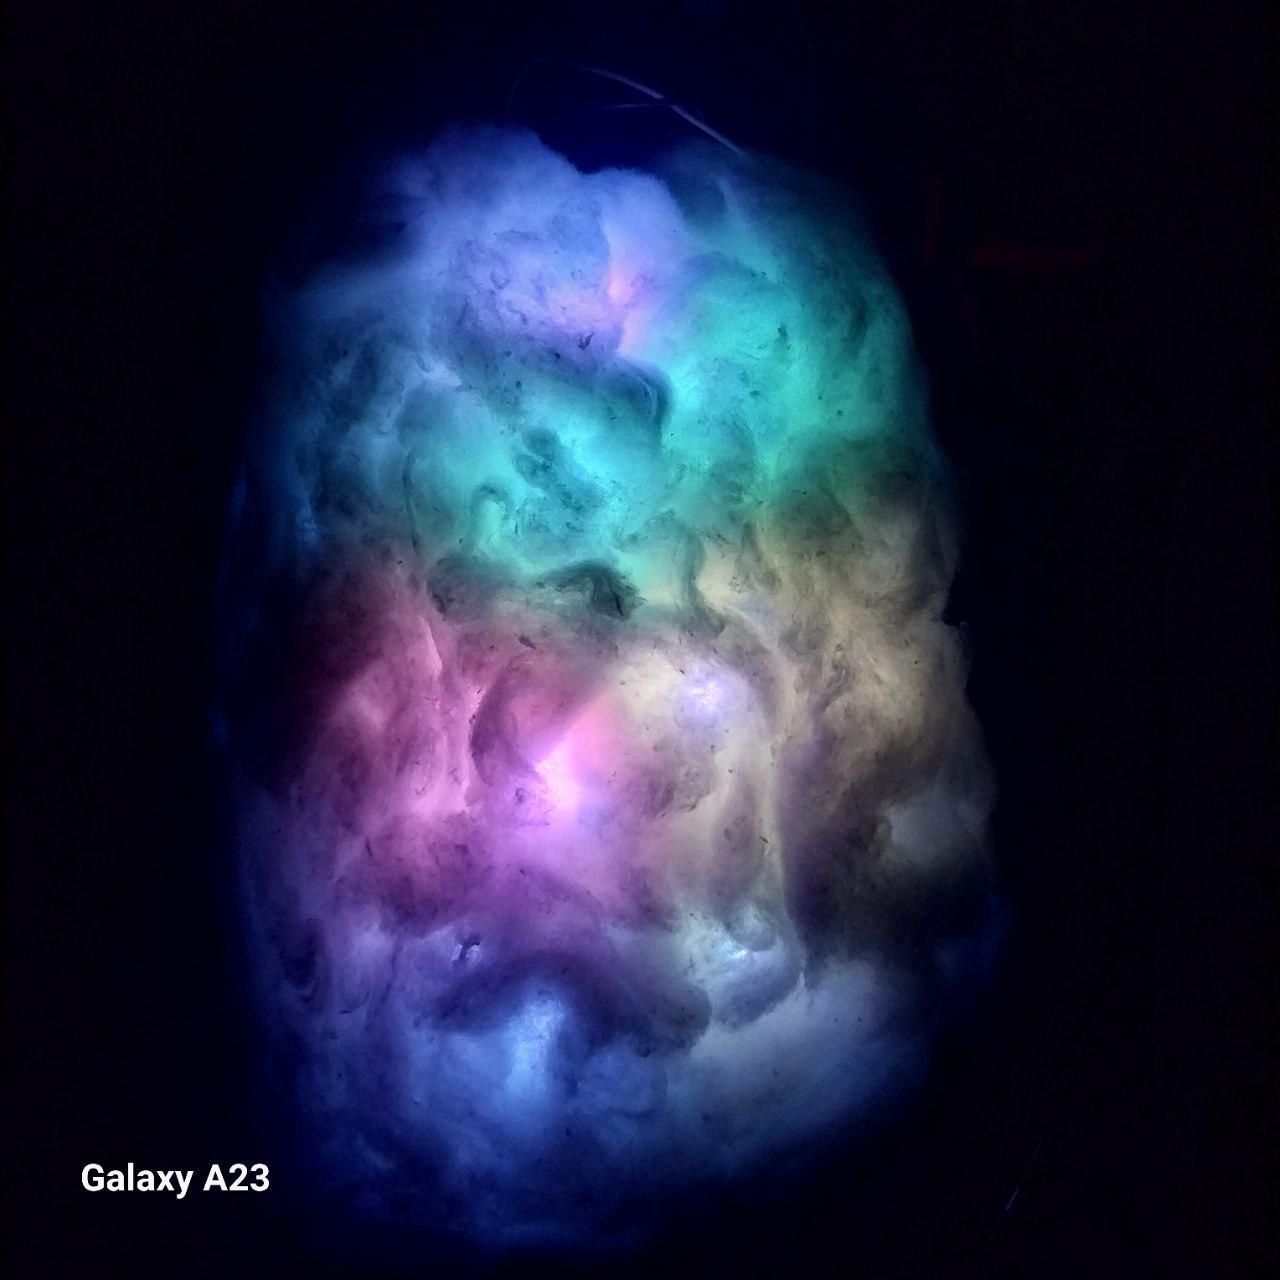
Painting the Cloud with Glow Paint
- Apply small dots of glow paint around the LEDs.
- Use different glow colors to create a vibrant cloud effect.
- Blend the colors gently for a magical, glowing appearance.
Adding Glow Paint to the Veins
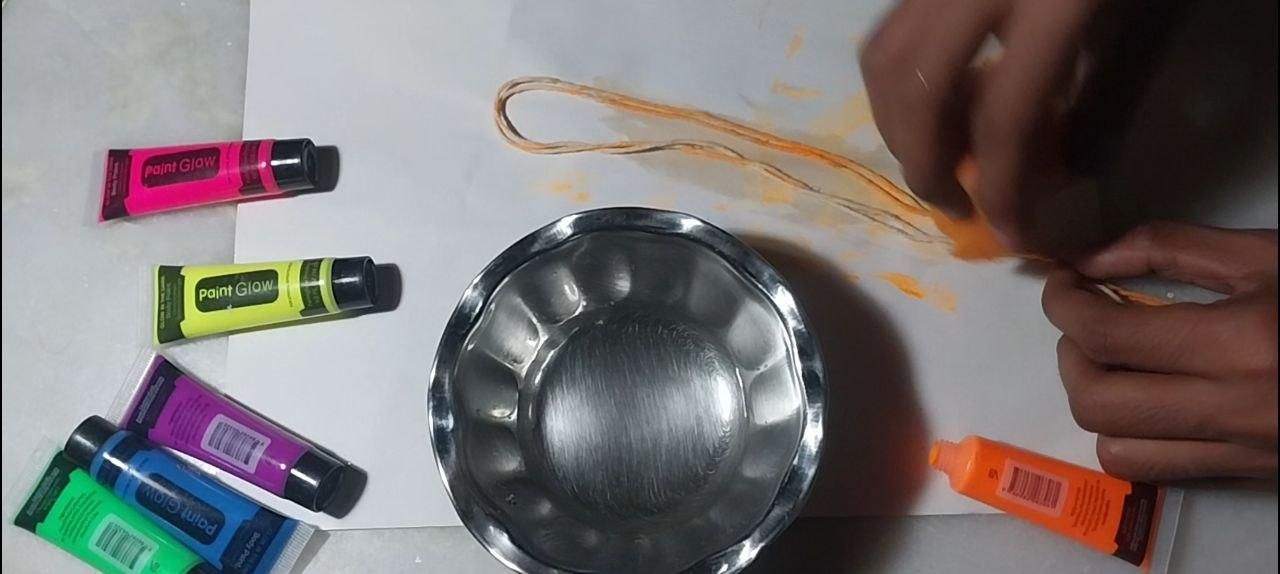
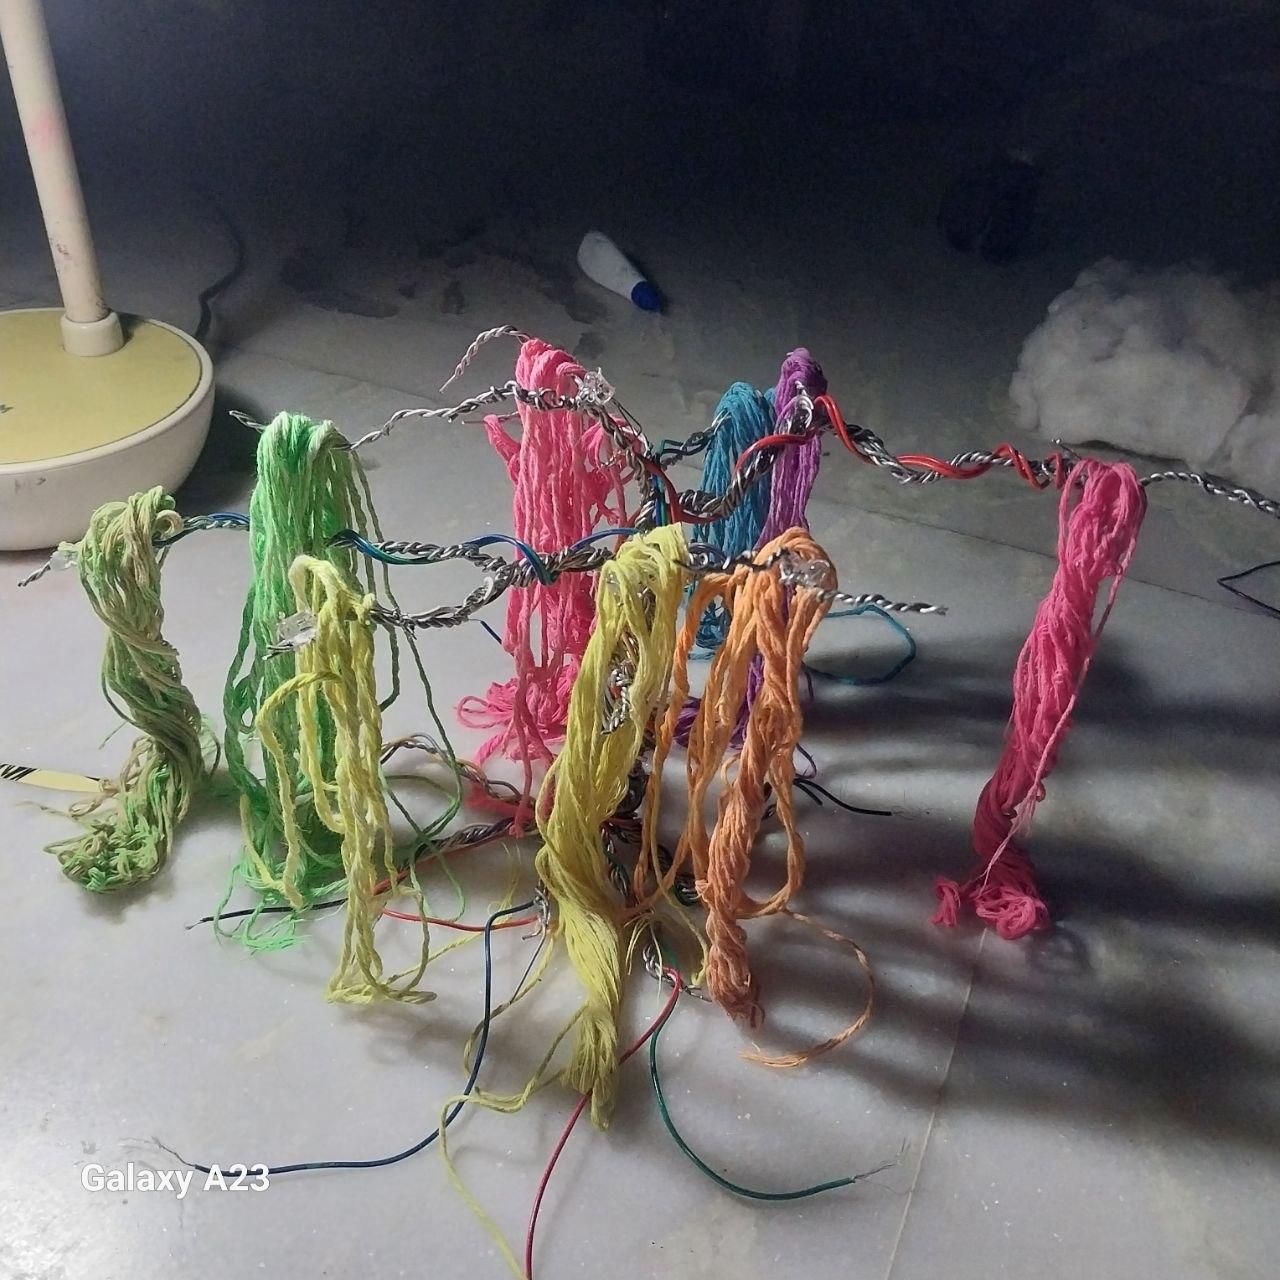
Adding Glow Paint to the Veins
- Take a sponge and lightly apply glow paint to the wire veins and branches.
- Use multiple glow colors to create a rainbow effect.
- Add paint carefully to highlight the natural vein patterns.
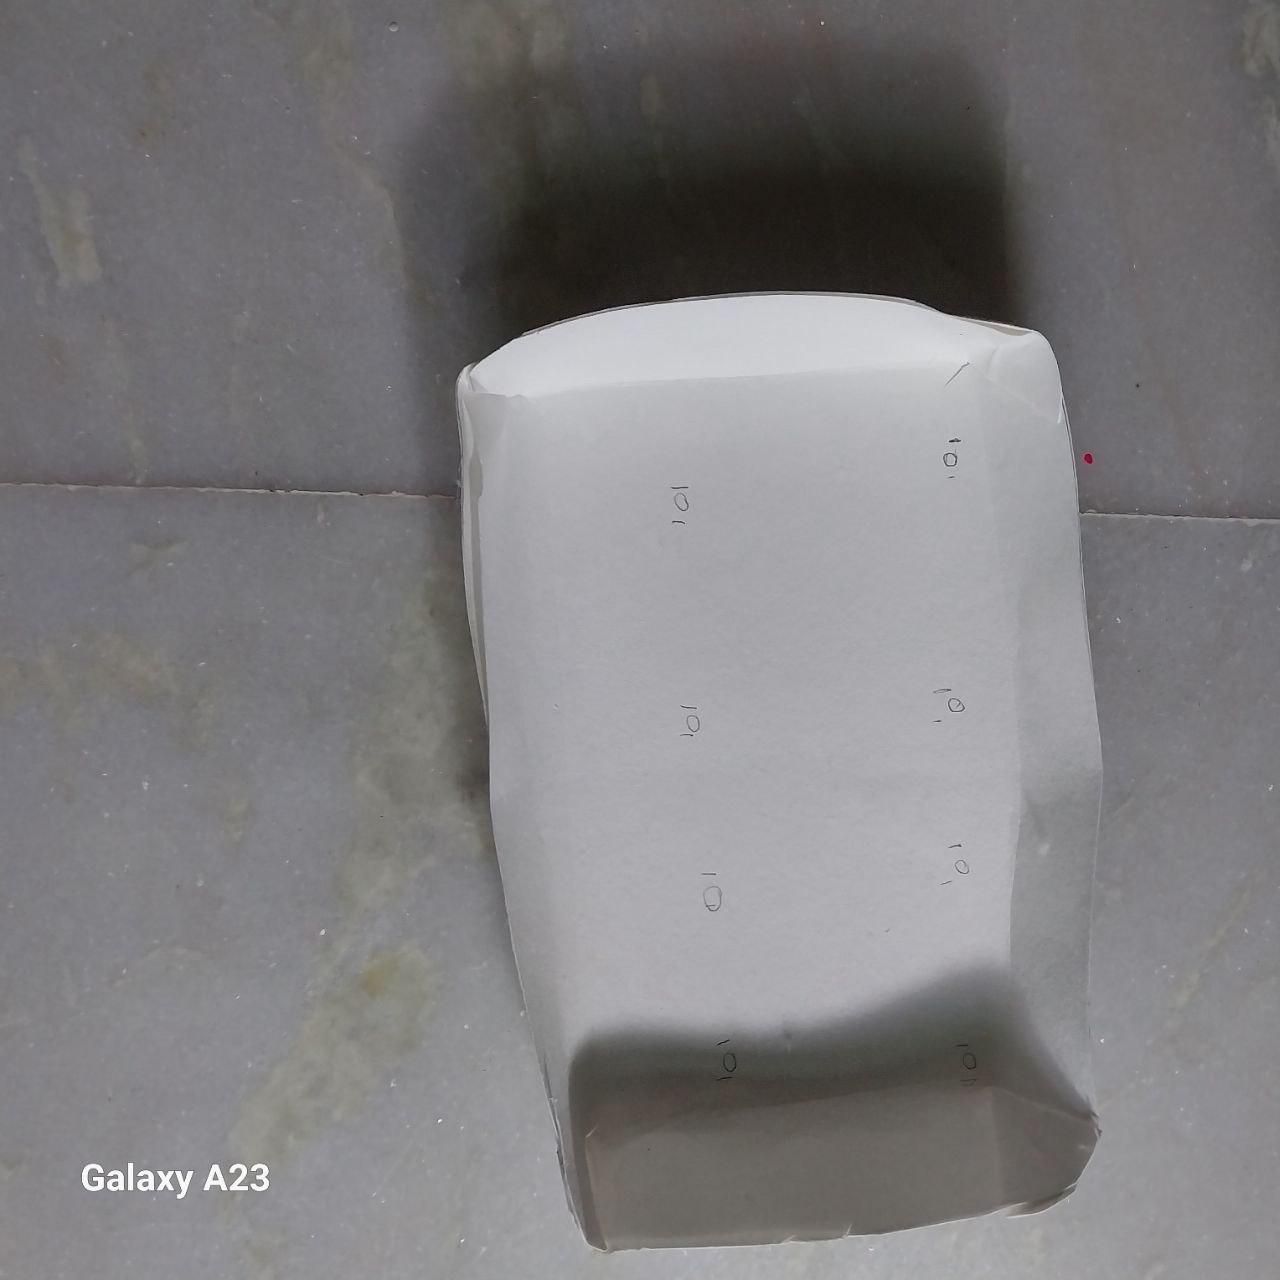
Making the Box Structure
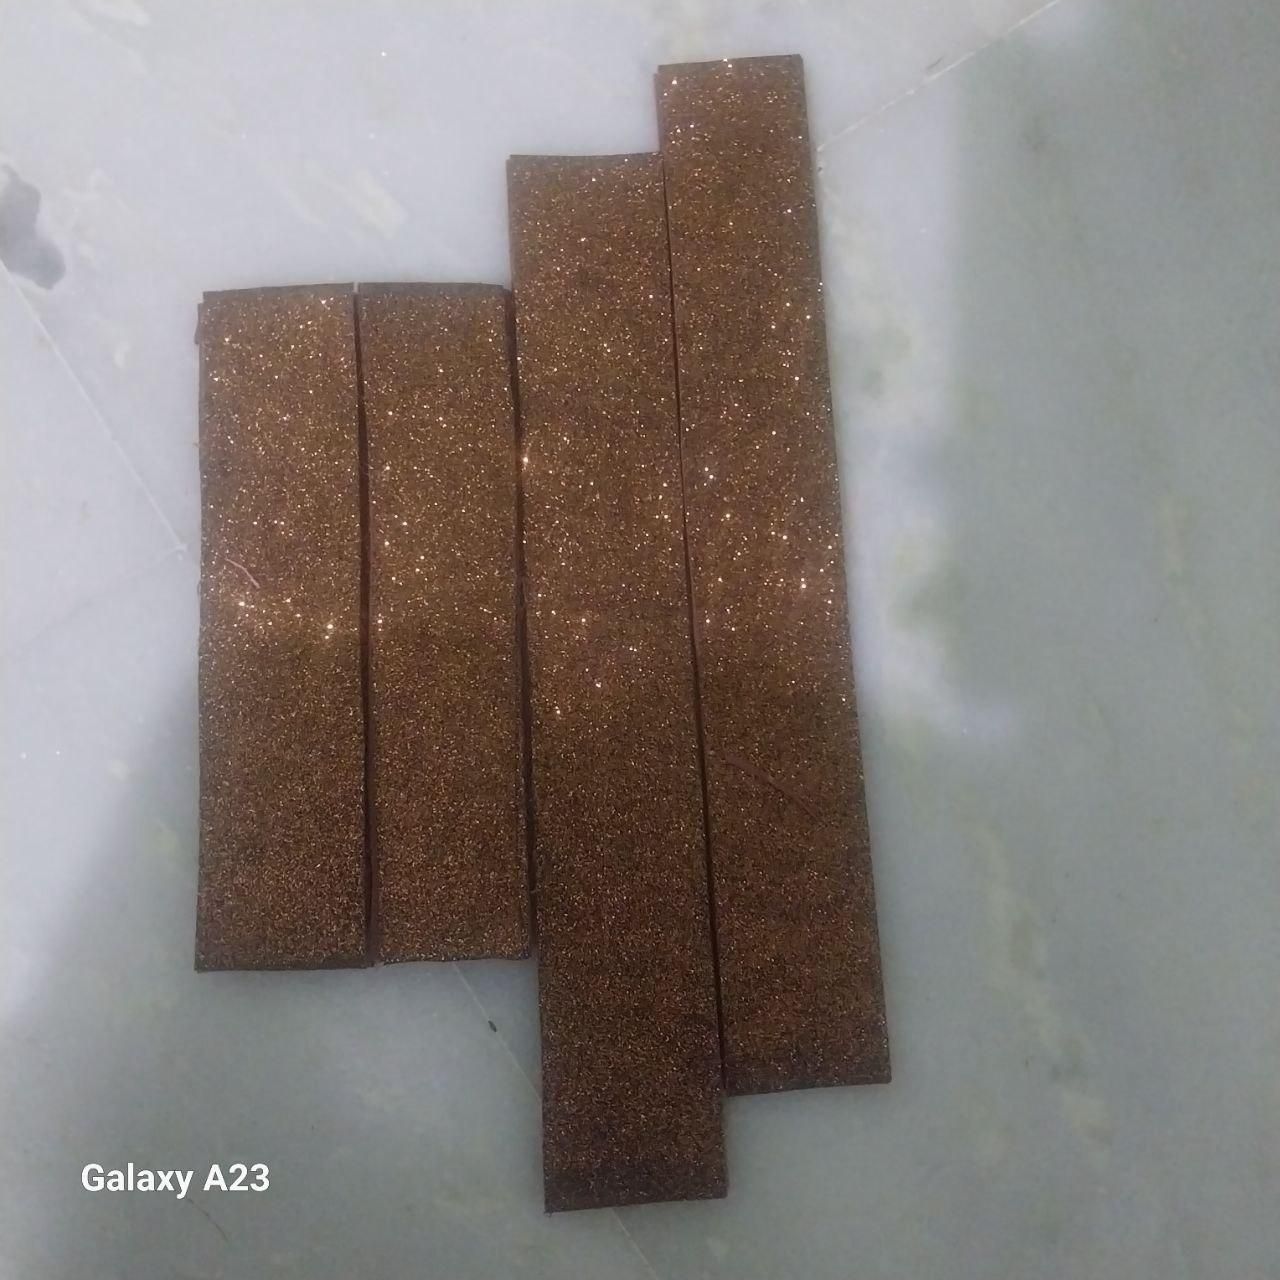
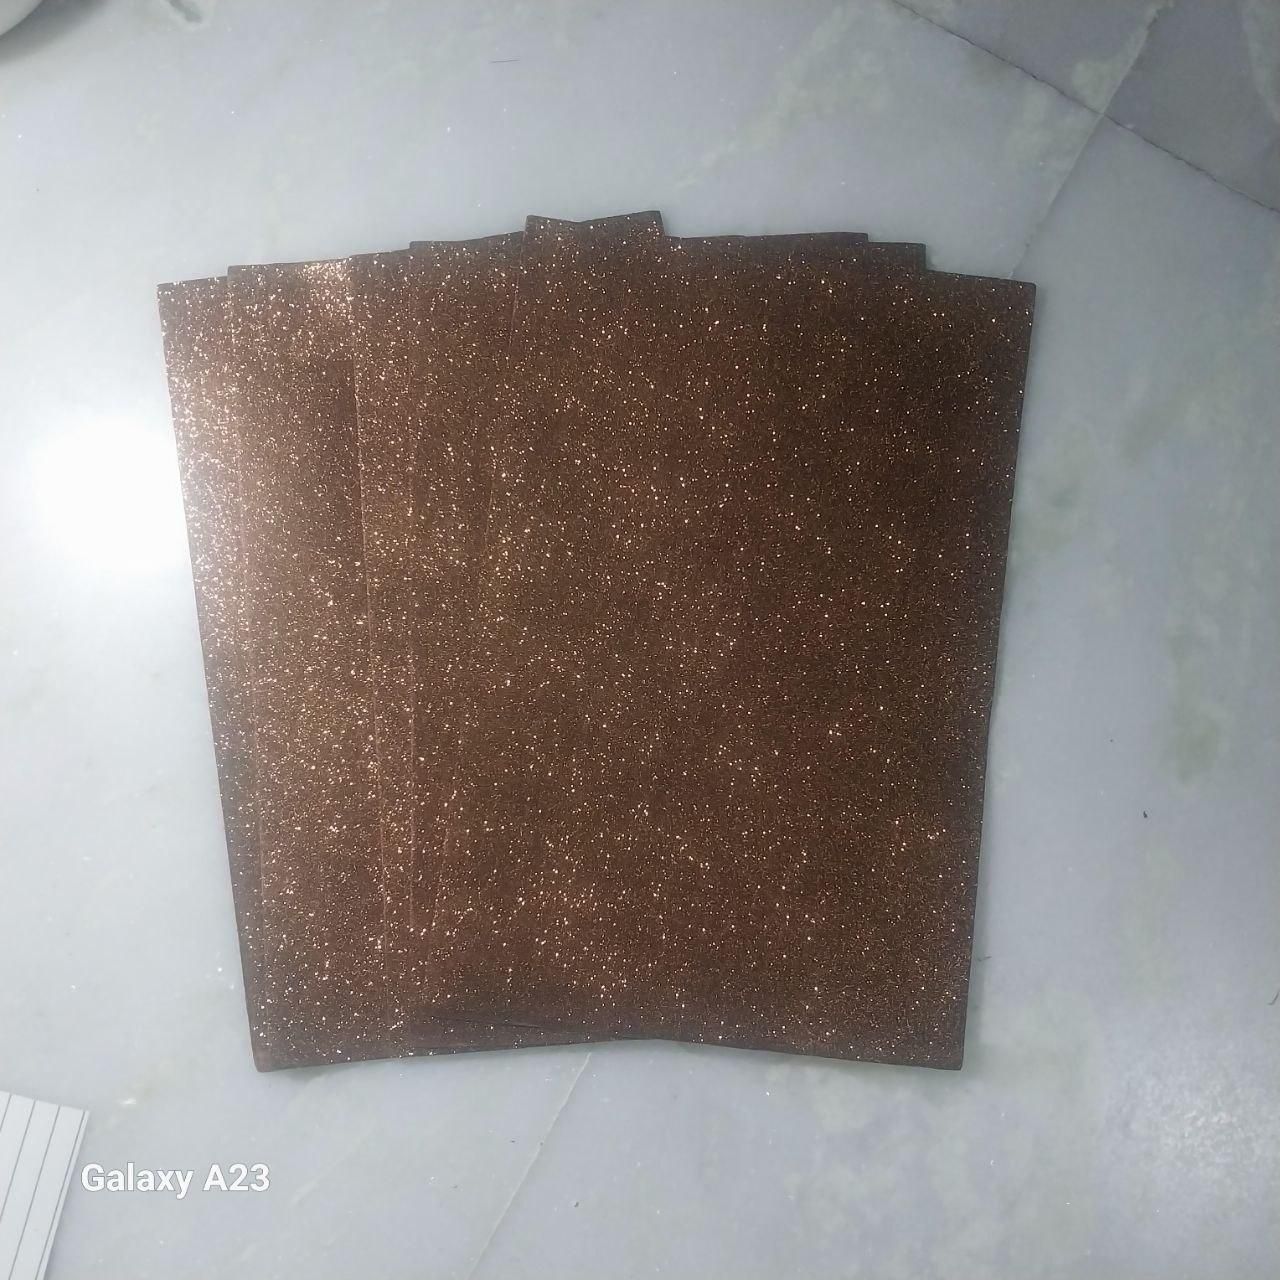
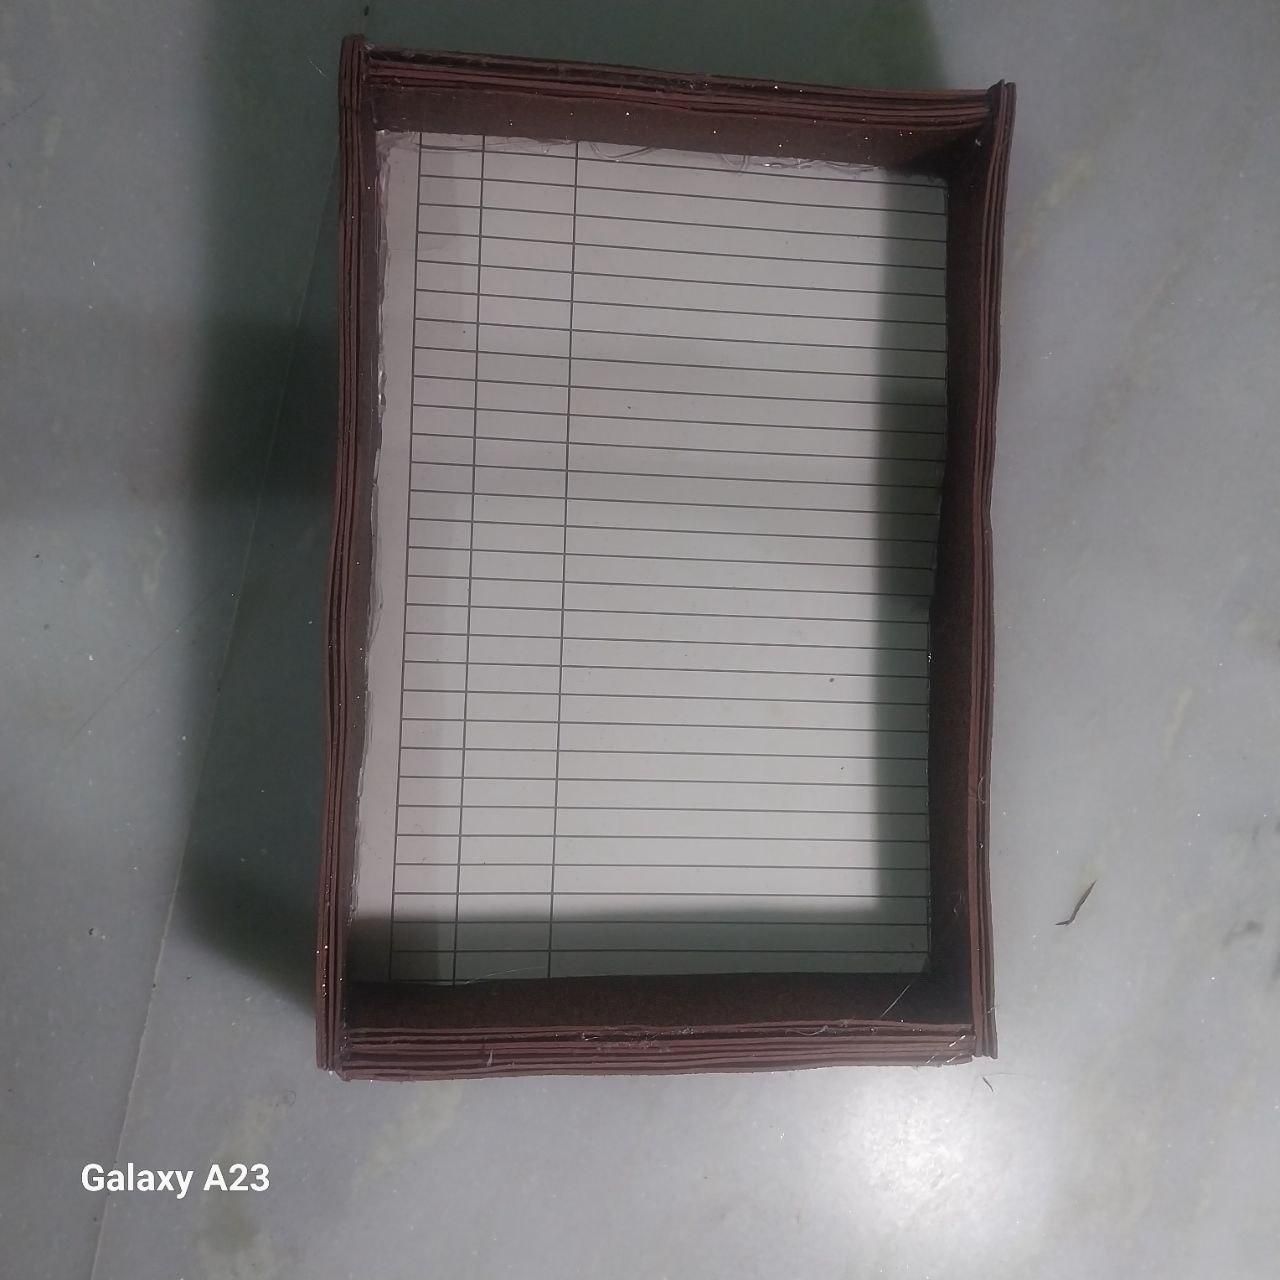
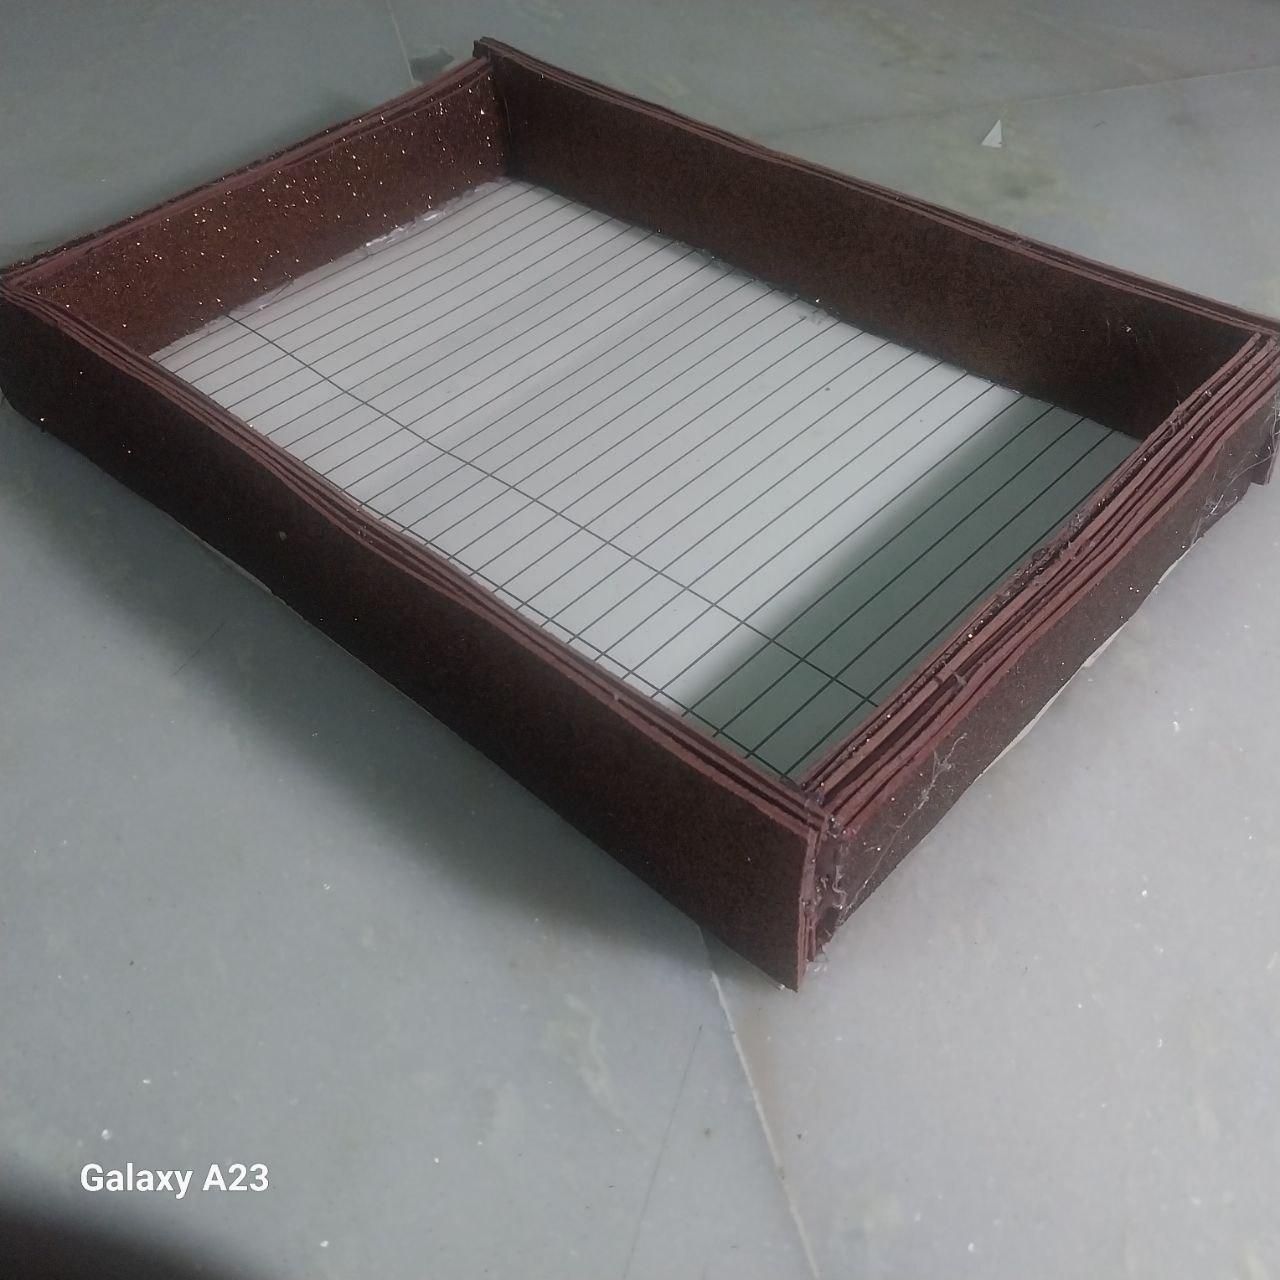
Making the Box Structure
- Take an A4 foam sheet and cut it into four strips.
- Paste the foam strips onto a thin cardboard layer.
- Assemble the strips to create a sturdy box frame.
Making the Lid
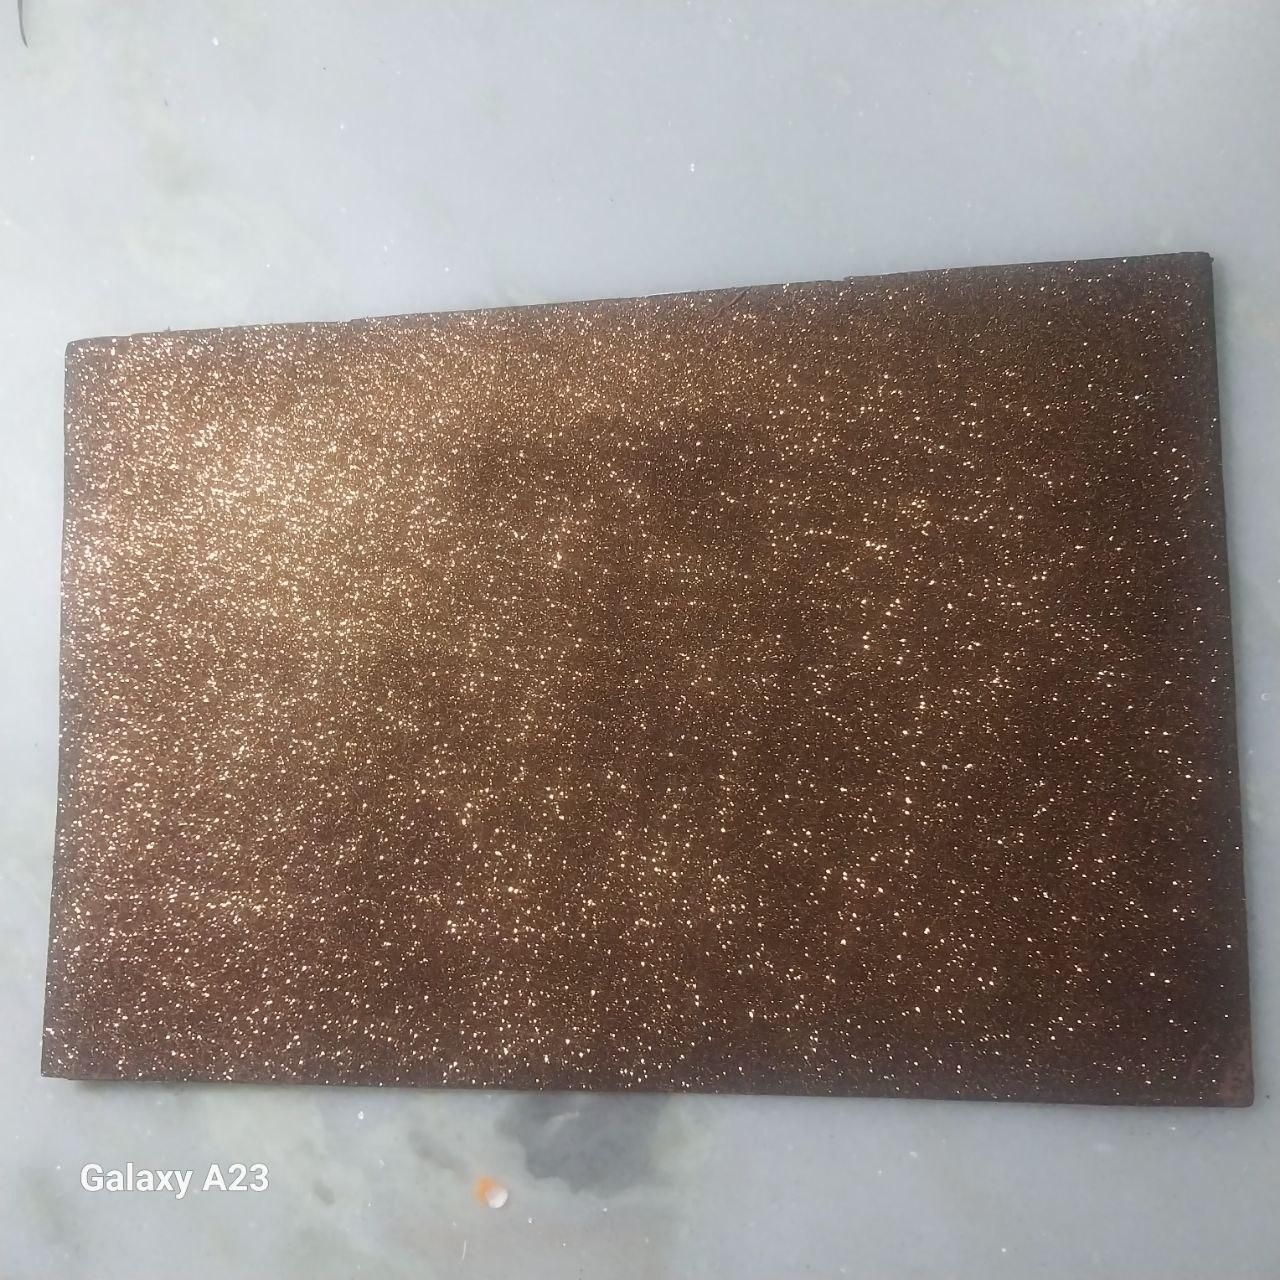
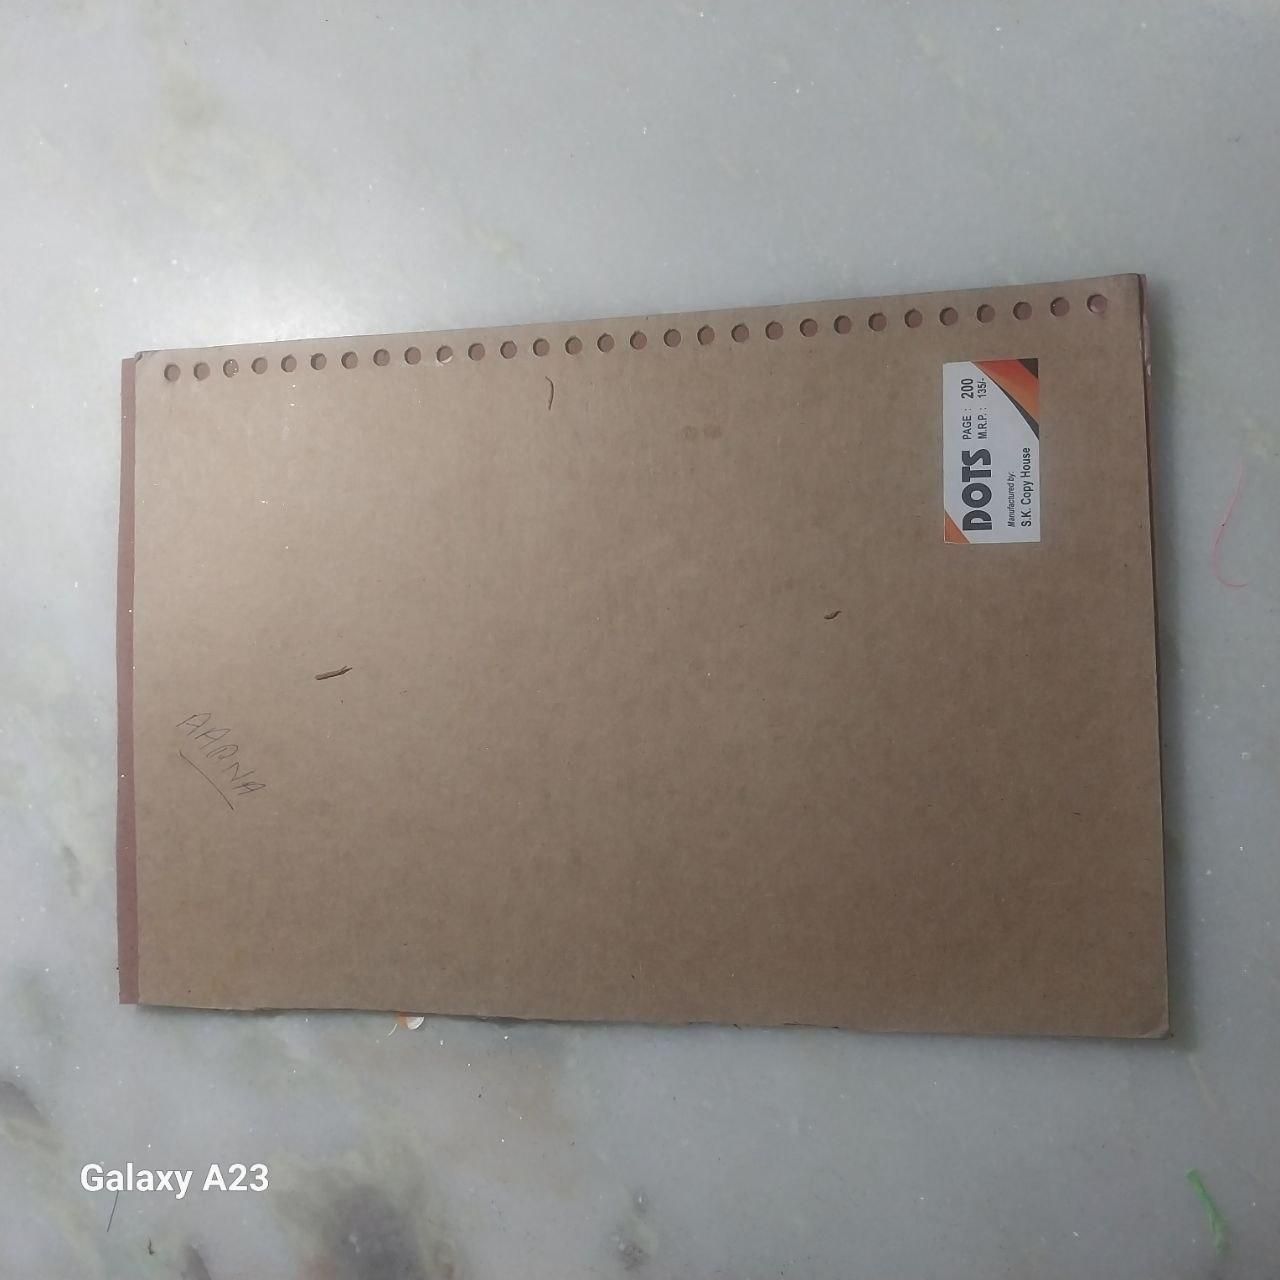
Making the Lid
- Paste foam onto a cardboard sheet to increase its thickness and strength.
- Cut the sheet to fit the top of the box.
- Attach or place the lid securely on the box.
Passing the Roots Through the Base
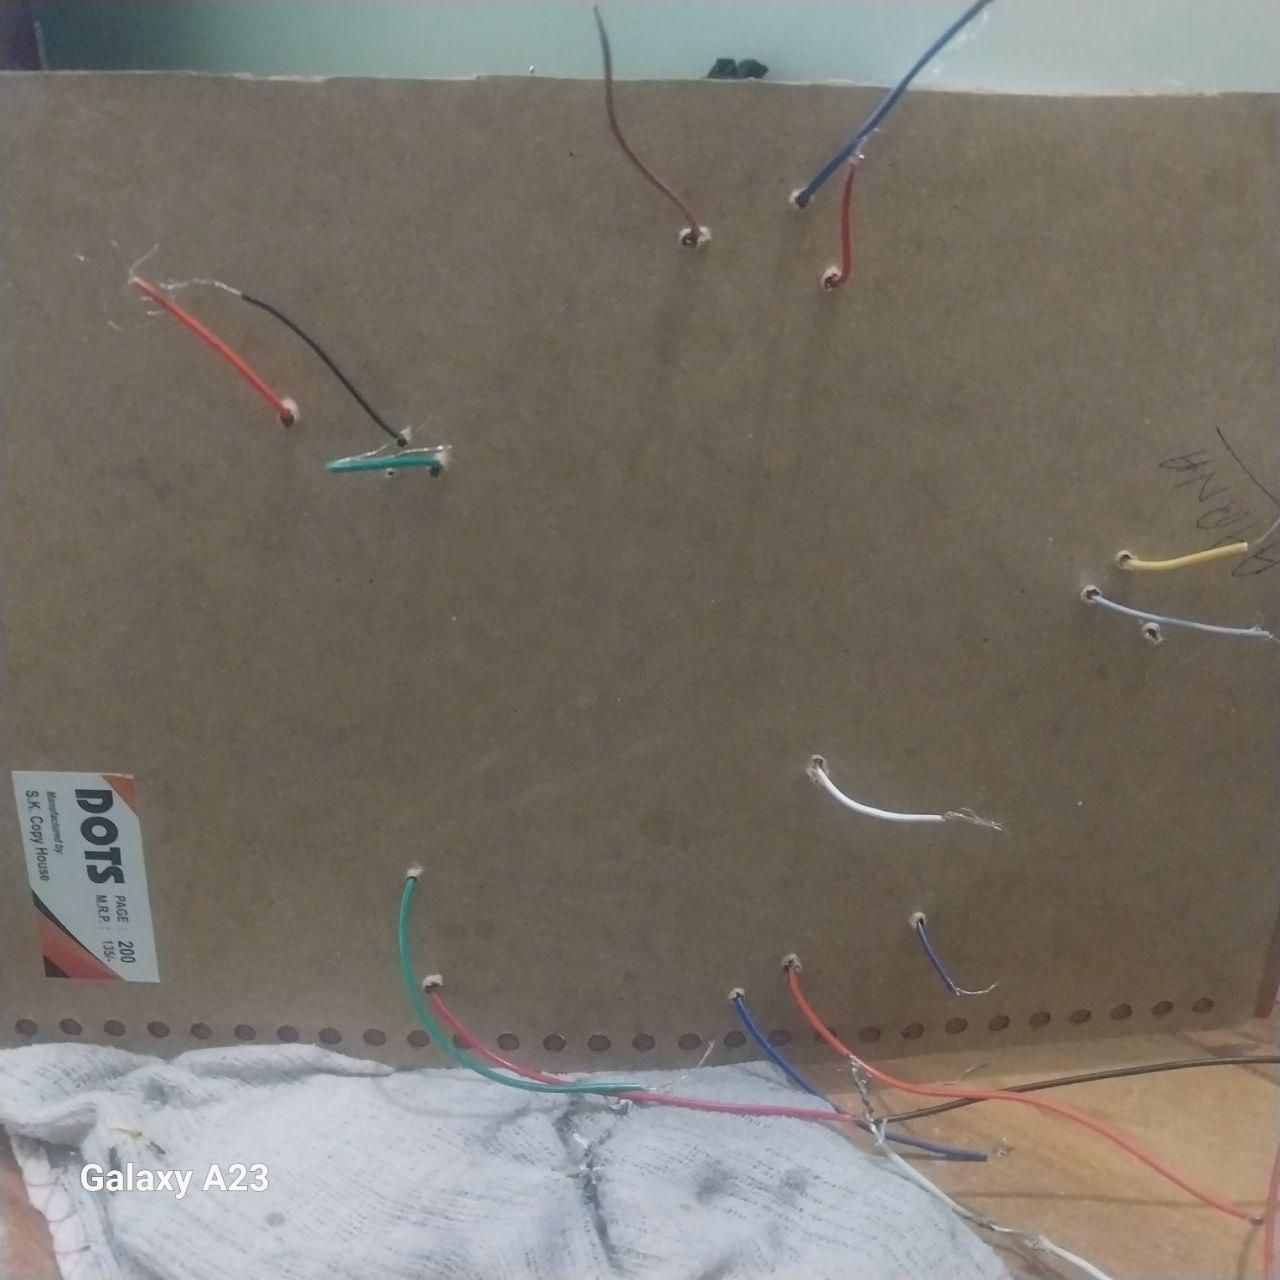
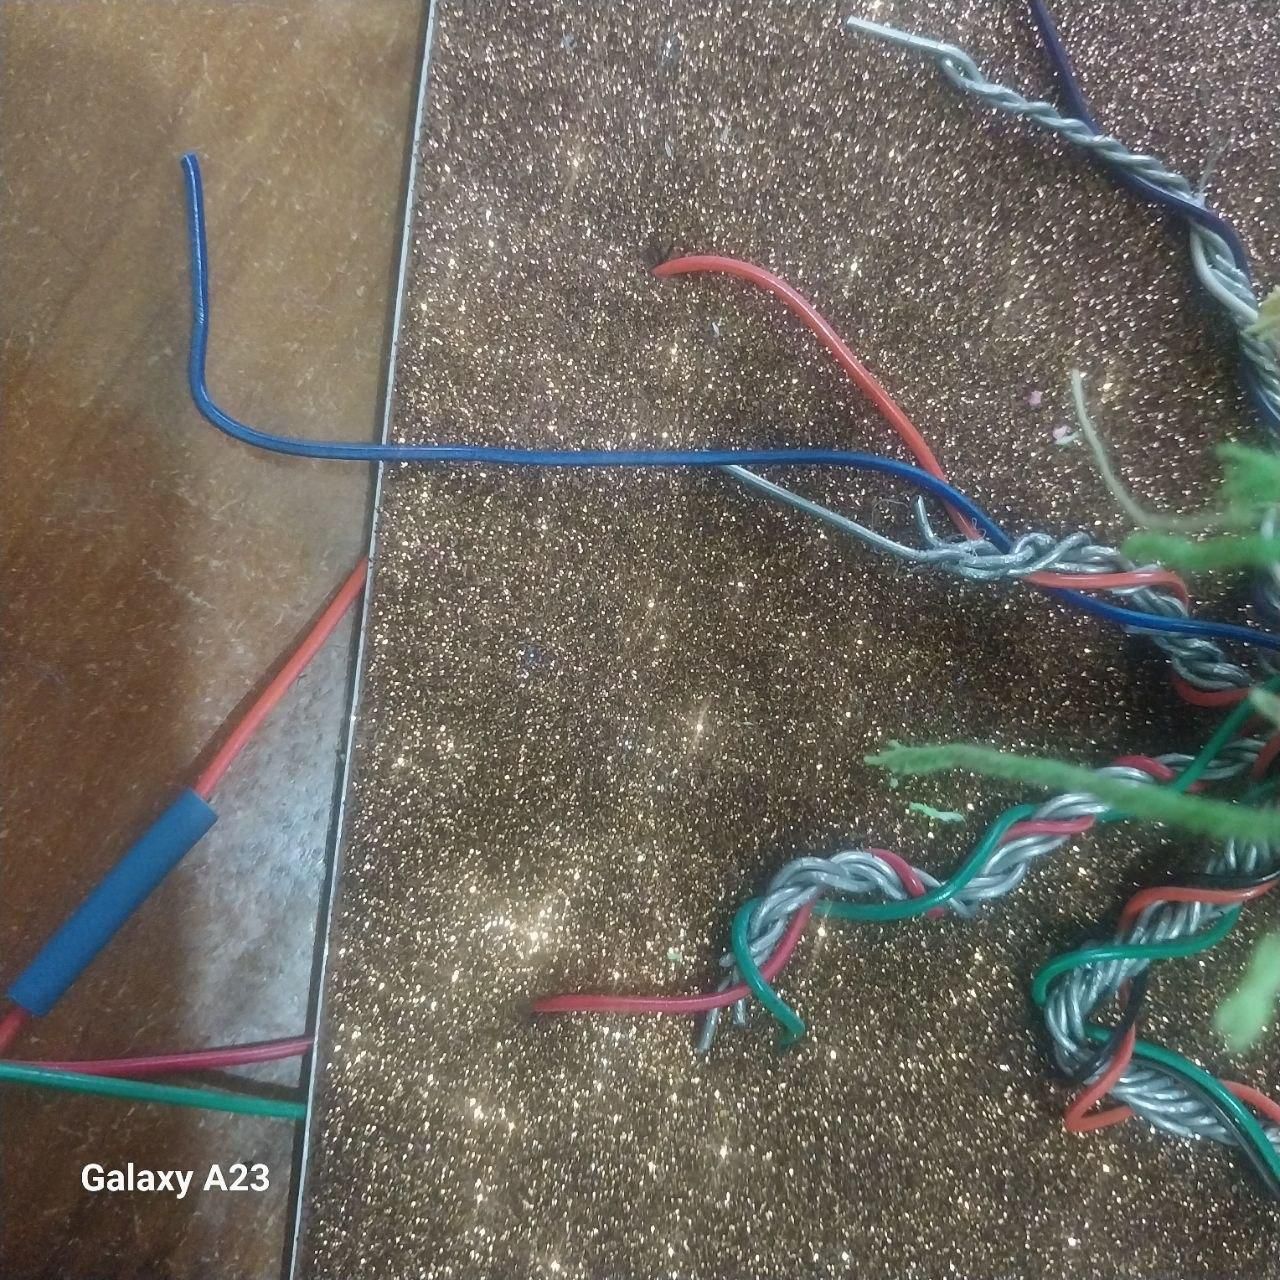
Passing the Roots Through the Base
- Punch a hole in the center of the box lid.
- Pass the tree roots (wire trunk) through the hole.
- Secure the tree firmly so it stands upright and remains stable.
Connecting the Final Circuit
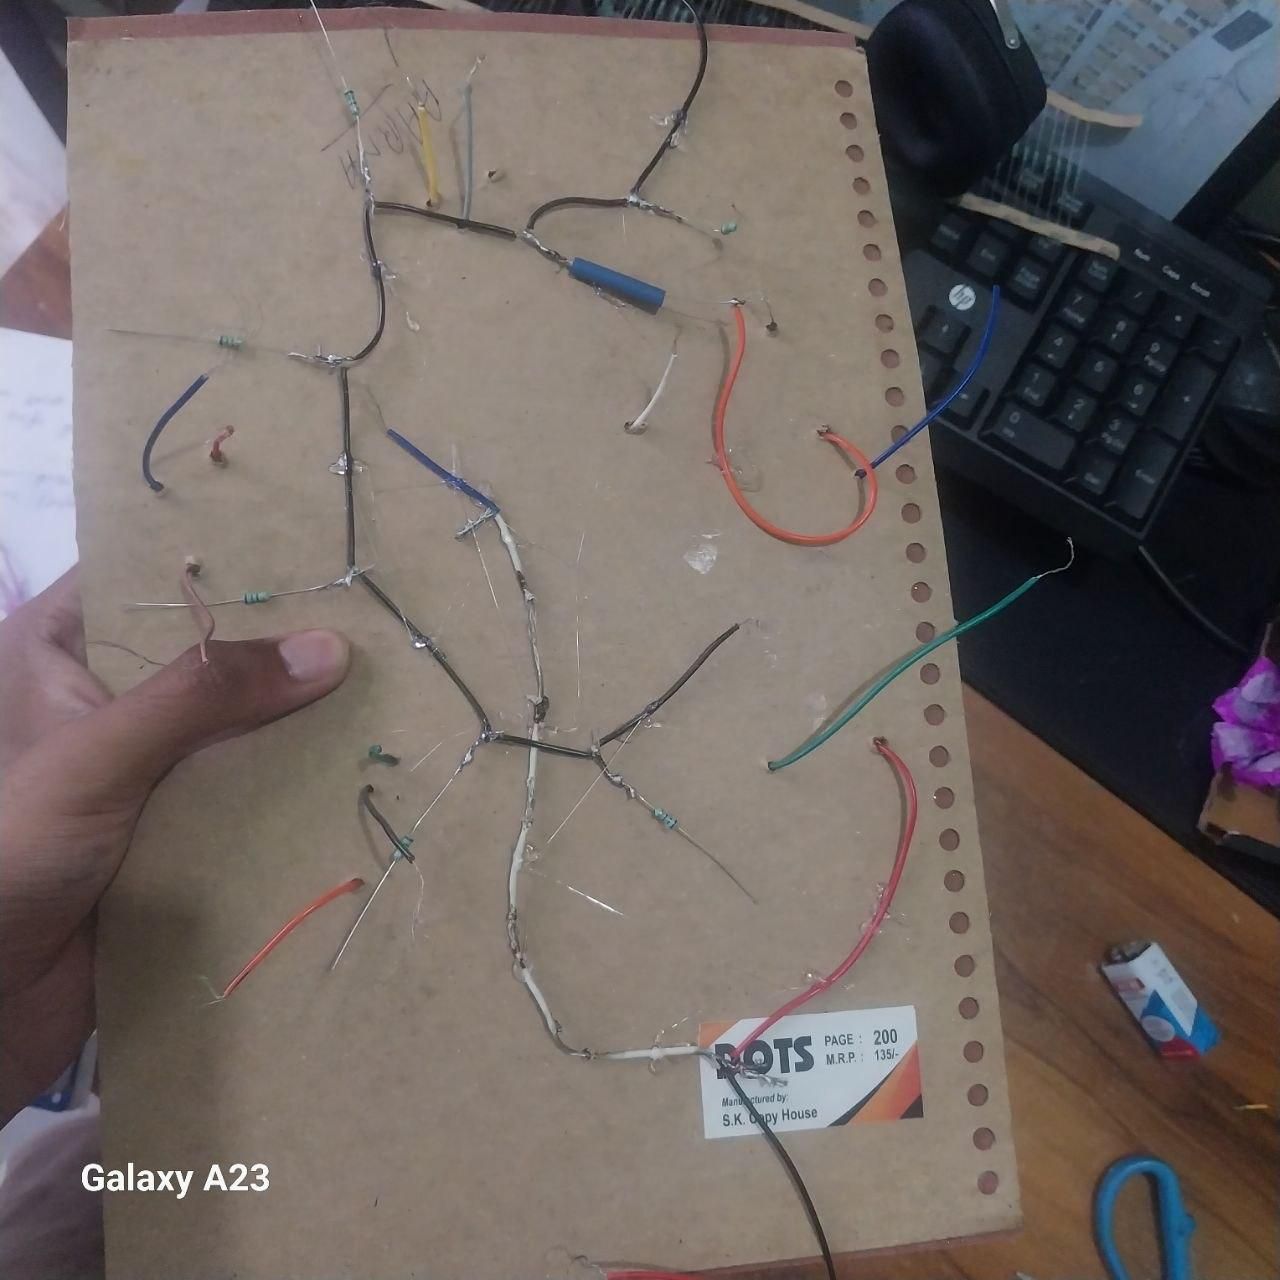
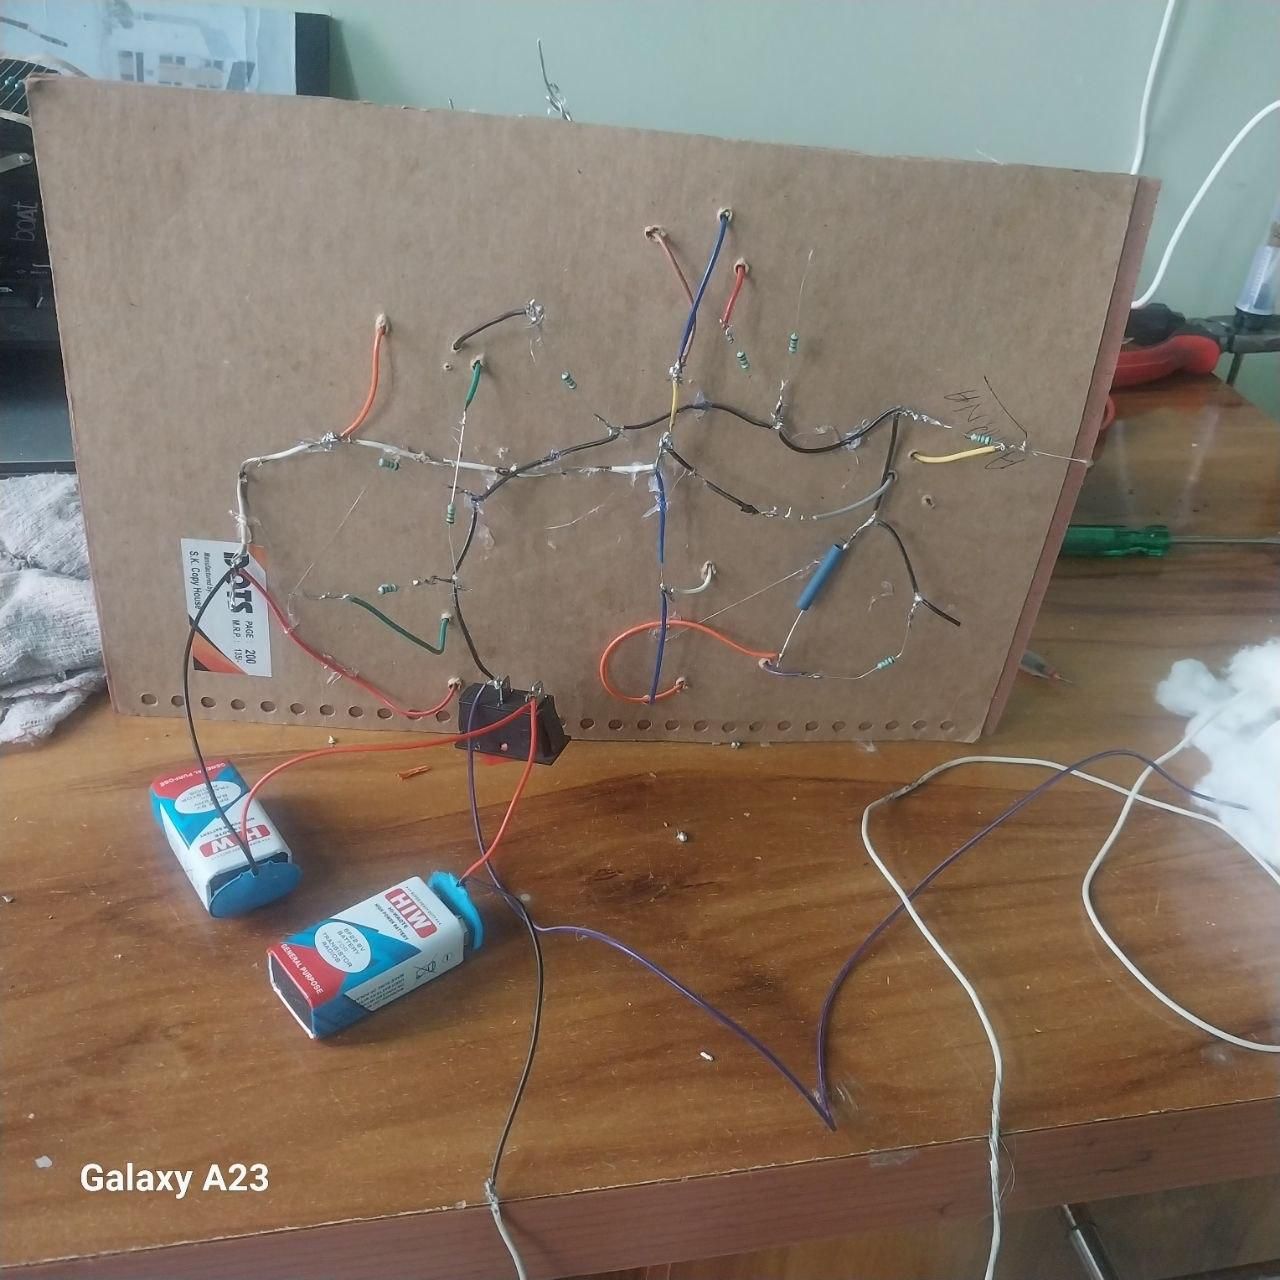
Connecting the Final Circuit
- Build the circuit on the back side of the box.
- Connect both the cloud LEDs and the tree LEDs to the same circuit.
- Use one switch to control all the LEDs together.
- Connect the battery, switch, and LED circuits securely.
- Test the complete project and close the box after confirming everything works properly.
Final
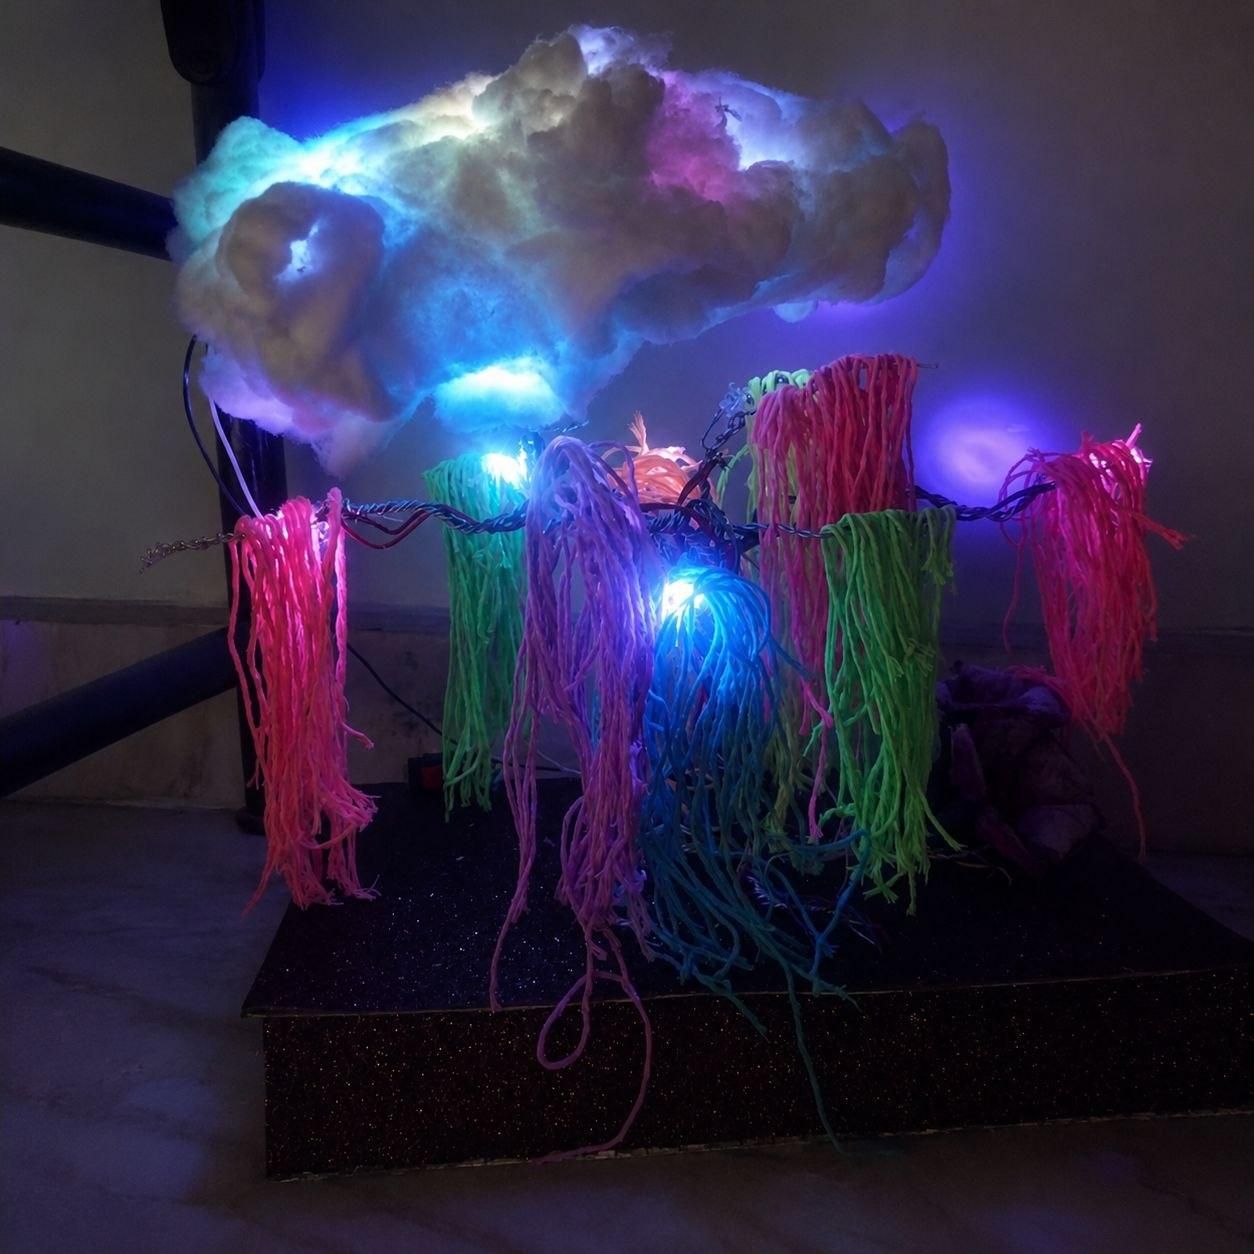
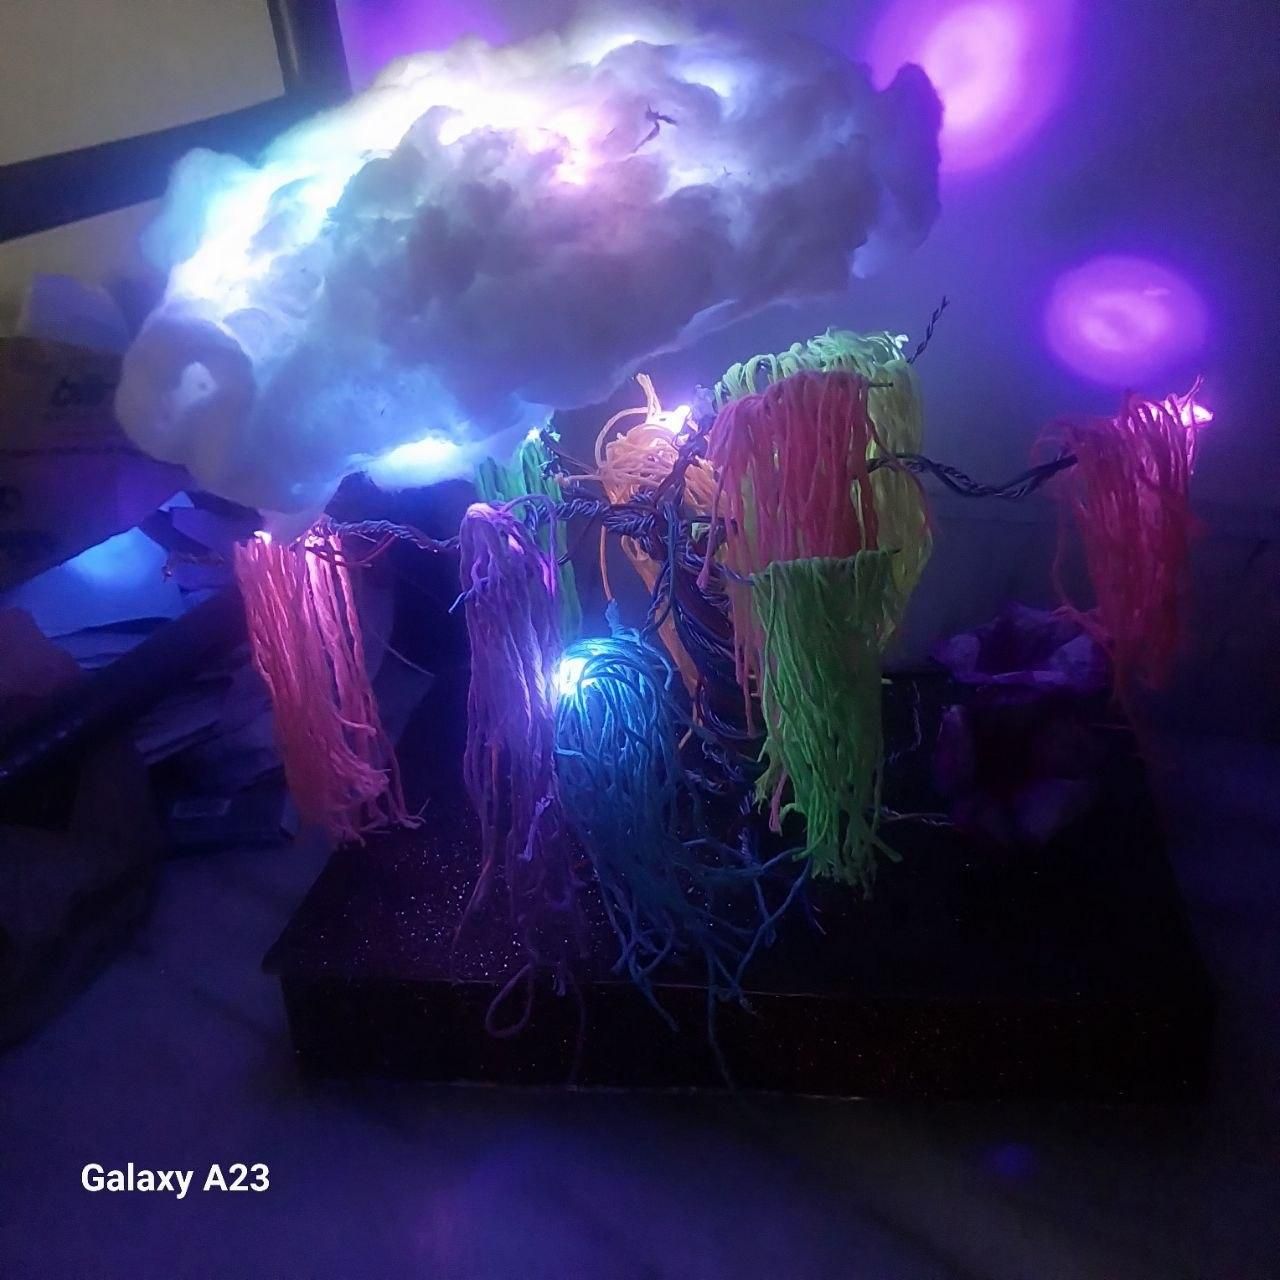
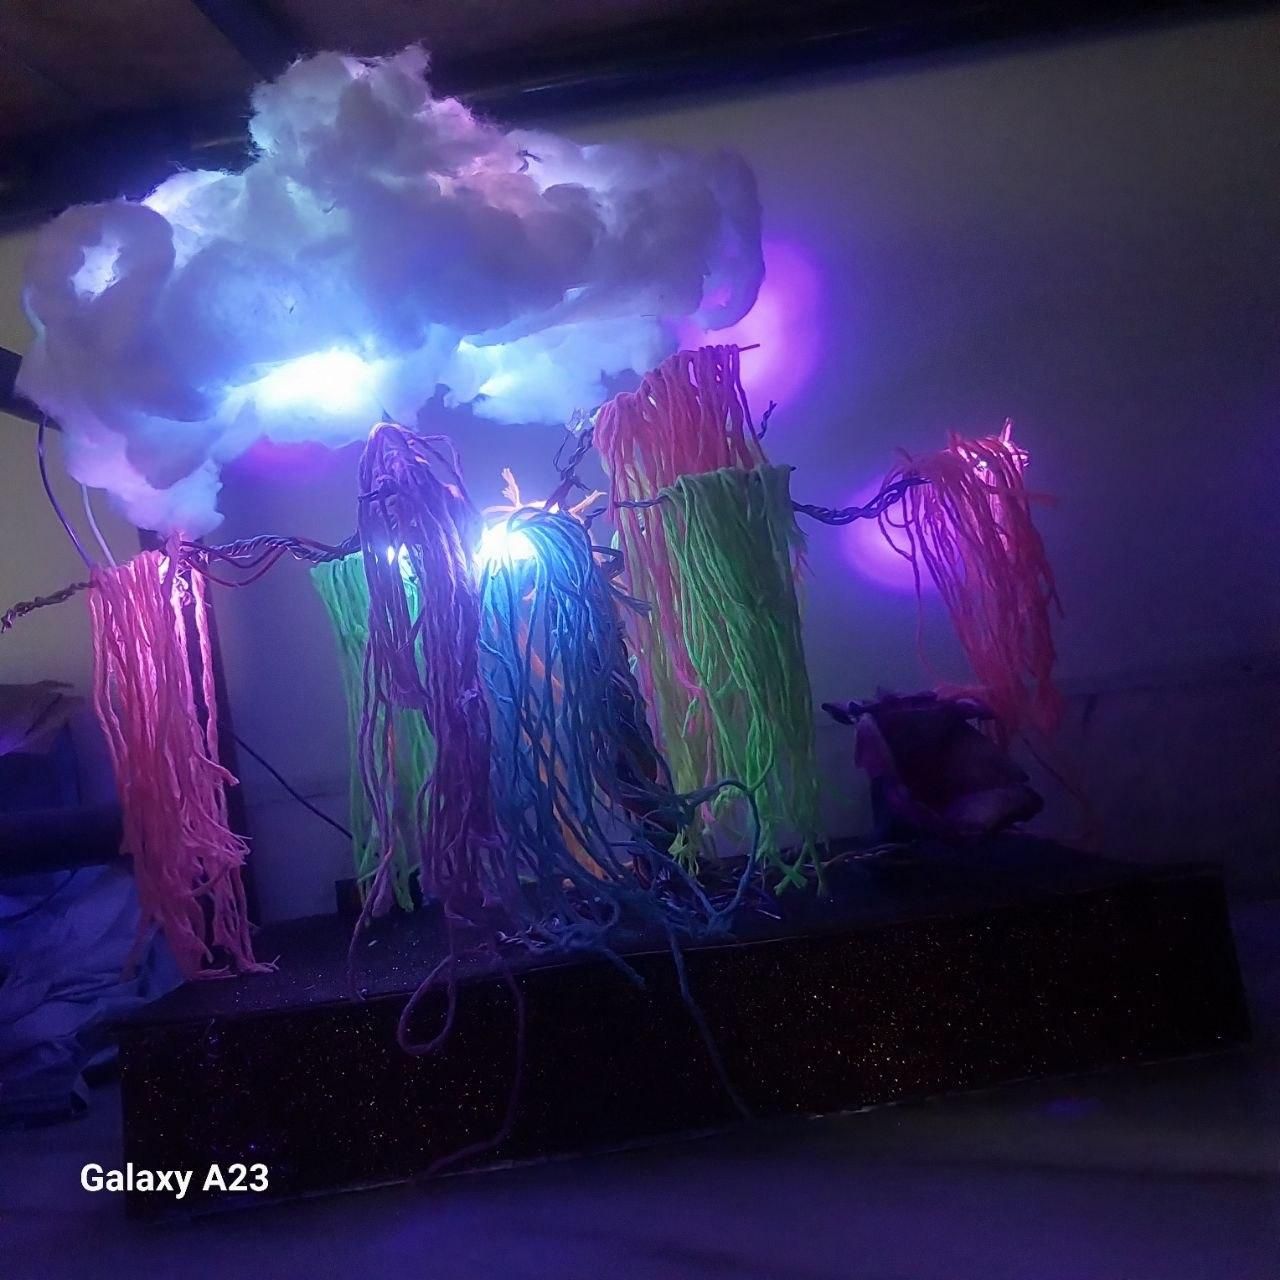
FINAL
This project was inspired by my love for nature and the breathtaking world of Avatar. The glowing forests and bioluminescent trees of Pandora motivated me to create my own handcrafted version using wire art, UV LEDs, and glow paints. Through this project, I wanted to combine creativity, electronics, and the beauty of nature into a single piece that brings a magical atmosphere to life.
Thank you for taking the time to view my project. I hope you enjoyed it as much as I enjoyed creating it! 🌳