Happy Birthday, Instructables! Card
by Creative Mom CZ in Craft > Paper
567 Views, 2 Favorites, 0 Comments
Happy Birthday, Instructables! Card
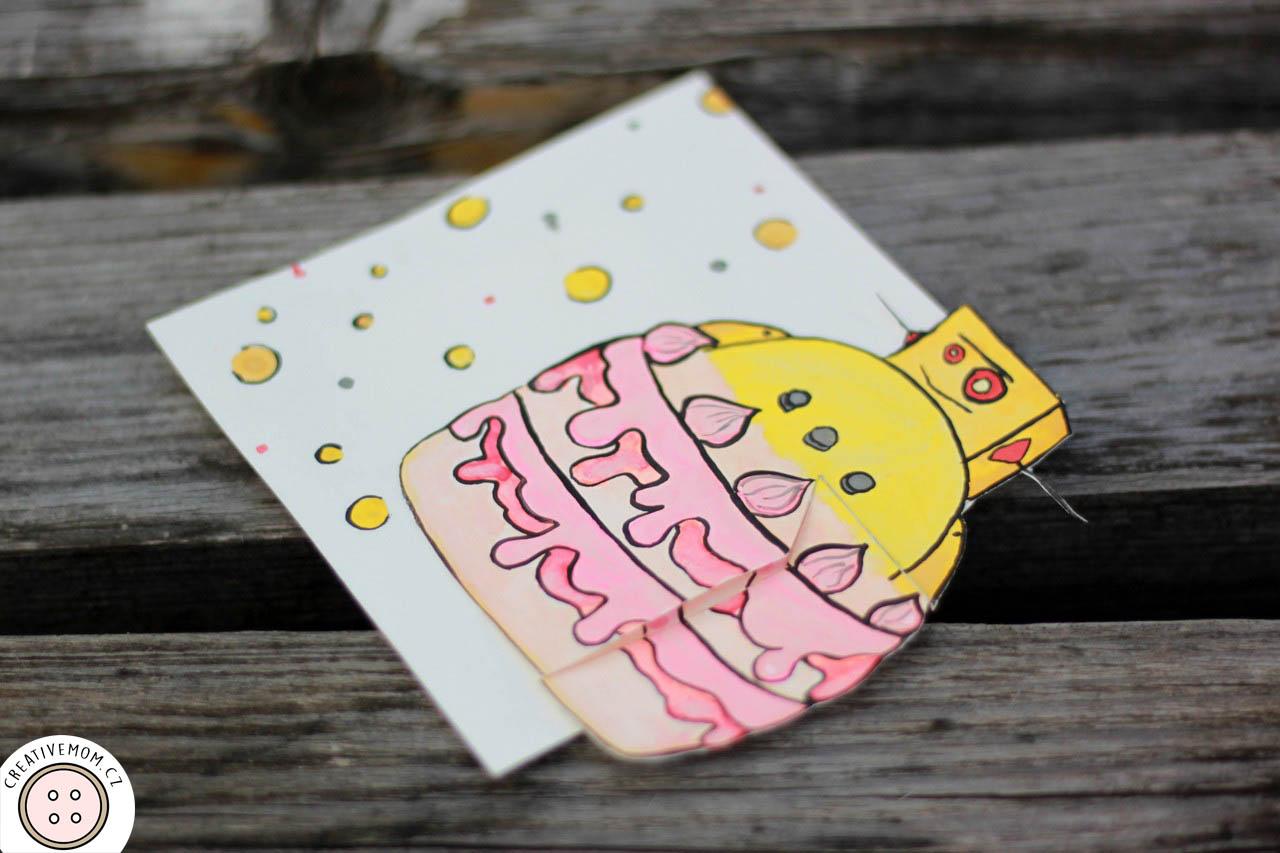

Let's make this super fun birthday card that looks like a vanilla-strawberry cake with our beloved robot popping out of it, you take a piece of that cake and voilà! there's the birthday wish!
Supplies
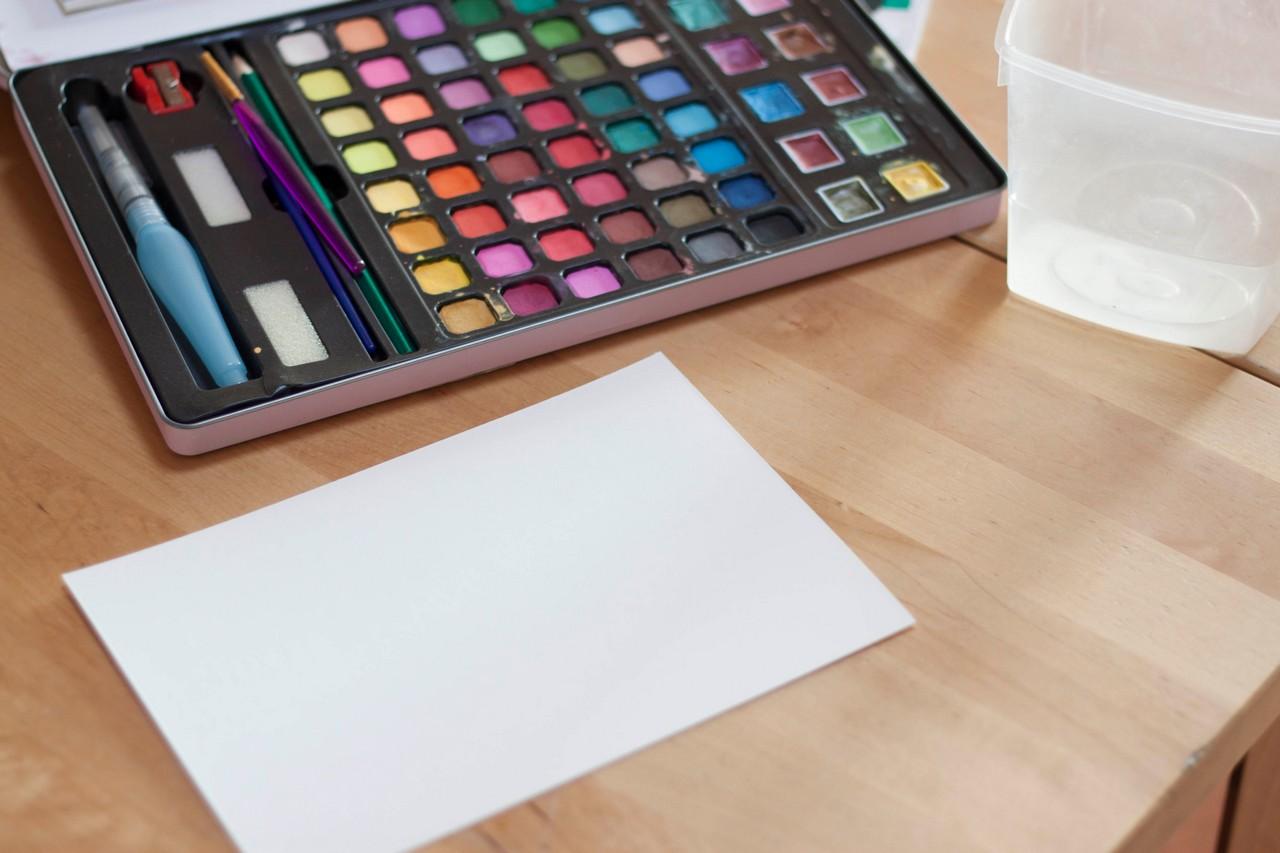
- heavy-weight paper
- watercolors
- brush
- water
- pencil
- ruler
- scissors
- paper cutter
- glue
- optional: pens, colored pencils
The amounts of your supplies depend on how big the card will be, I will try to write very generally so you can make a card of any size.
Paint
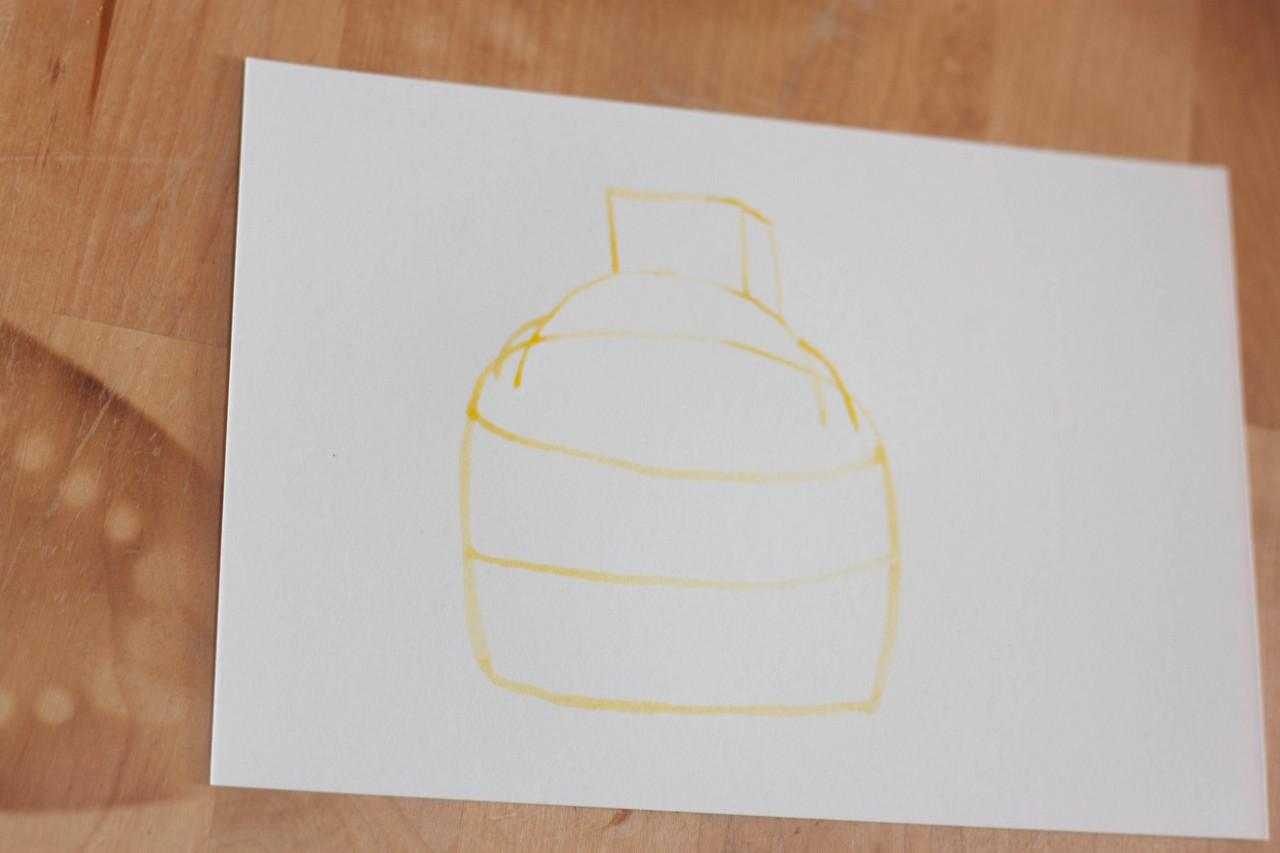
Before you start, prepare one piece of heavy-weight paper that will be larger than the cake you're about to paint. Let's call this piece of paper the "card piece".
- Trace the contours of the cake and the robot in a light color.
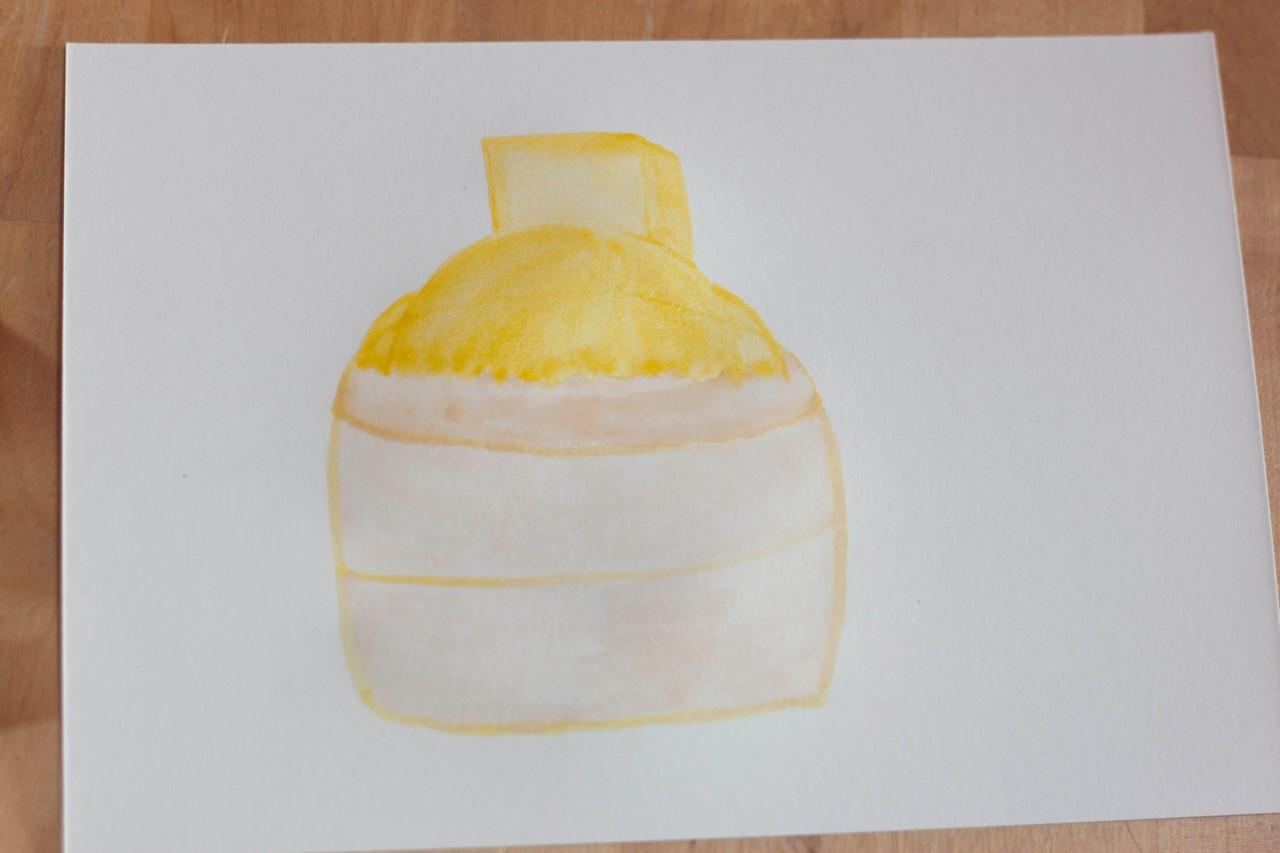
- Color all parts in the lightest color.
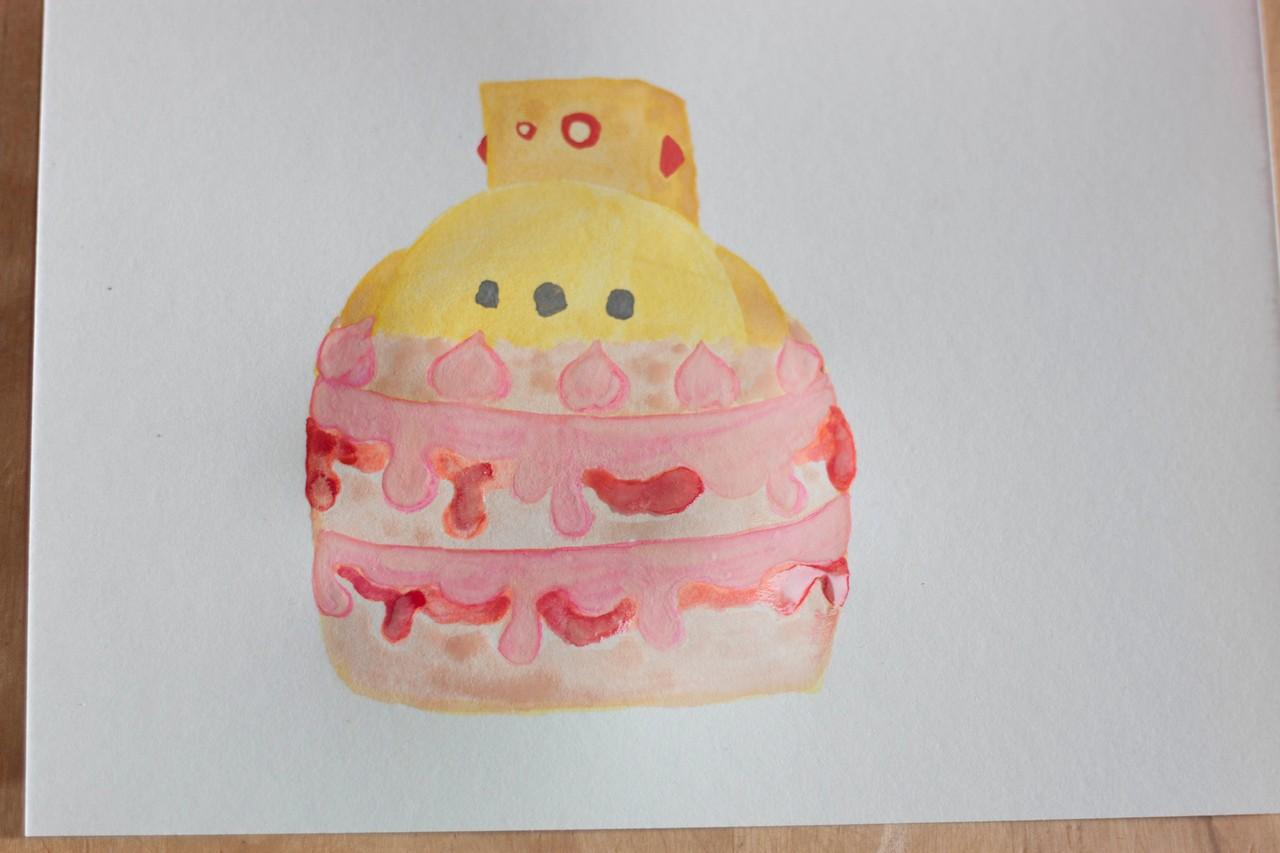
- Keep adding colors and details from lightest to darkest.
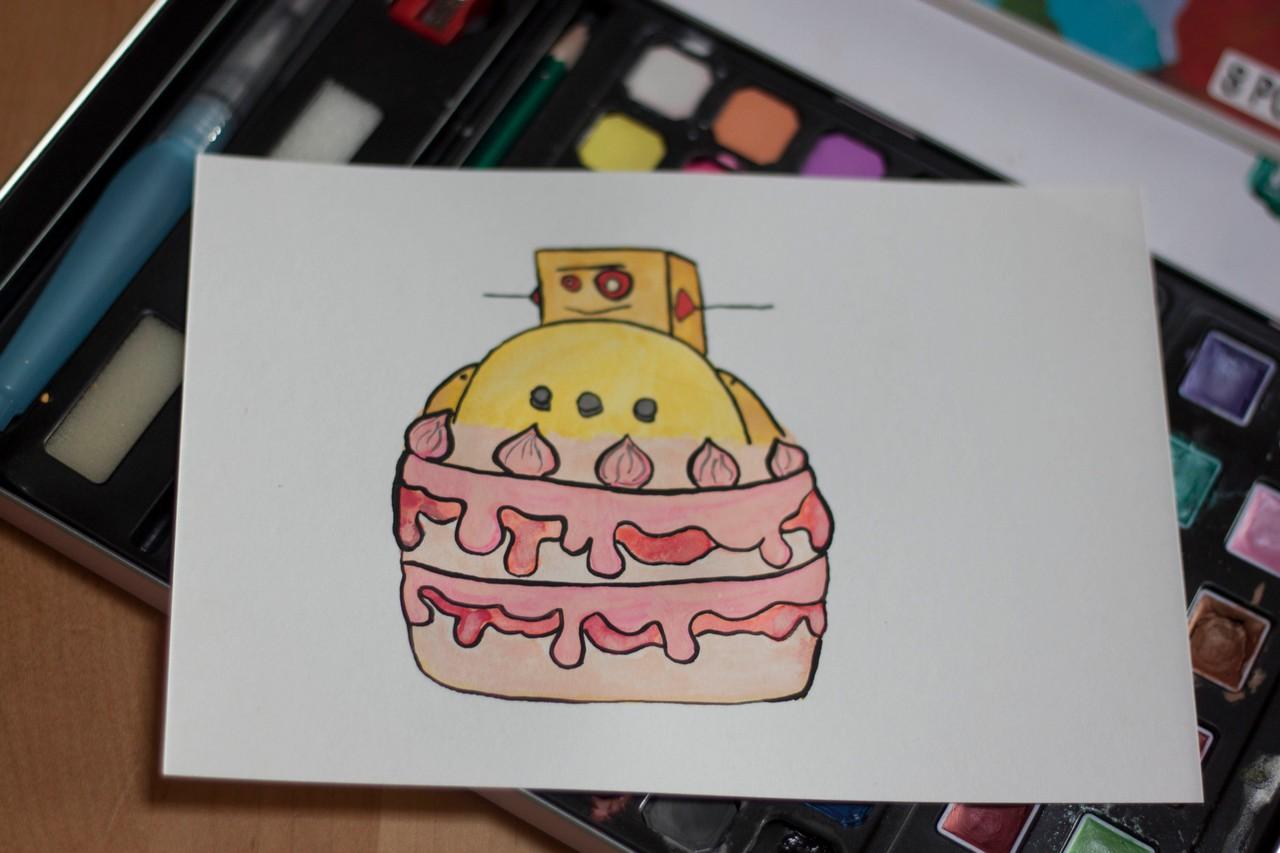
- Finish with dark contours.
Sliding Bar


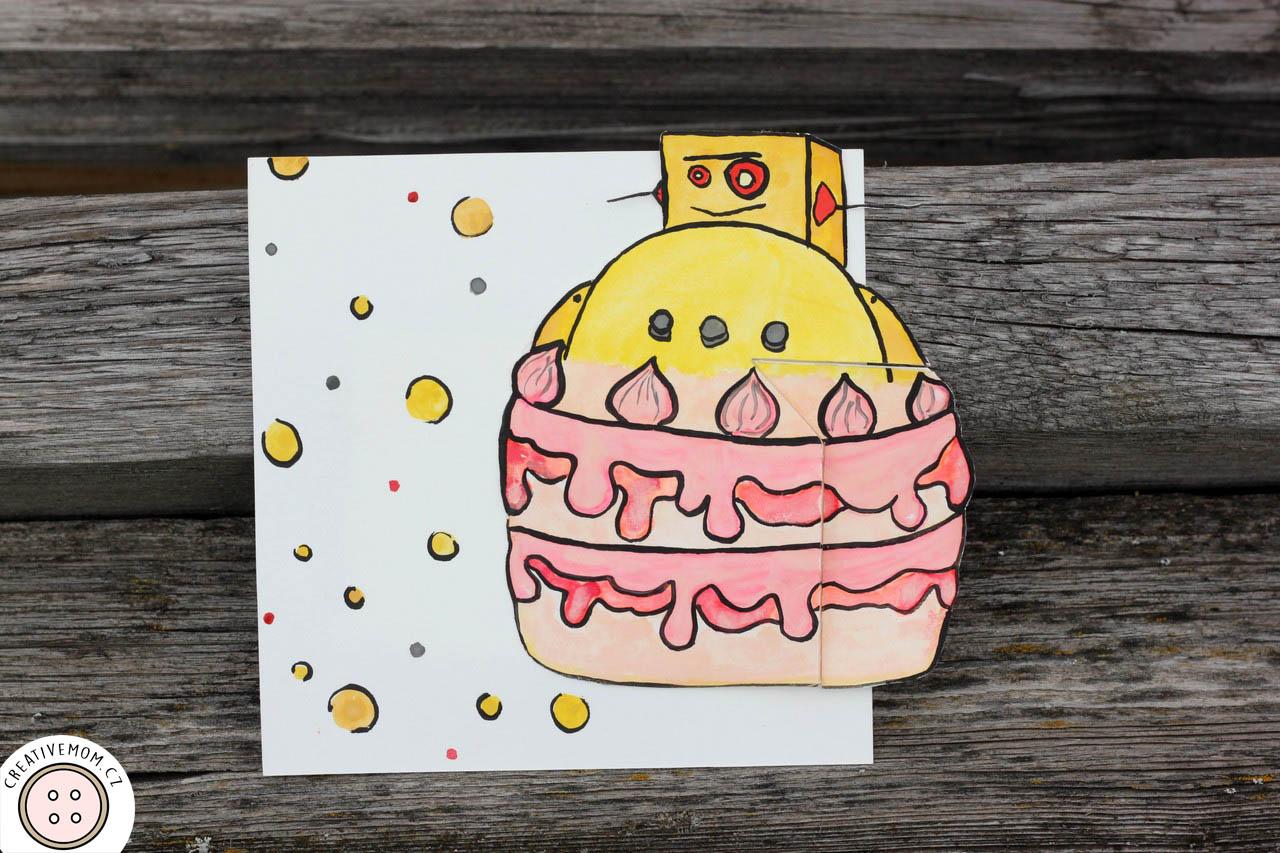
Now you'll make that one piece of cake on the sliding bar that will hide your message.
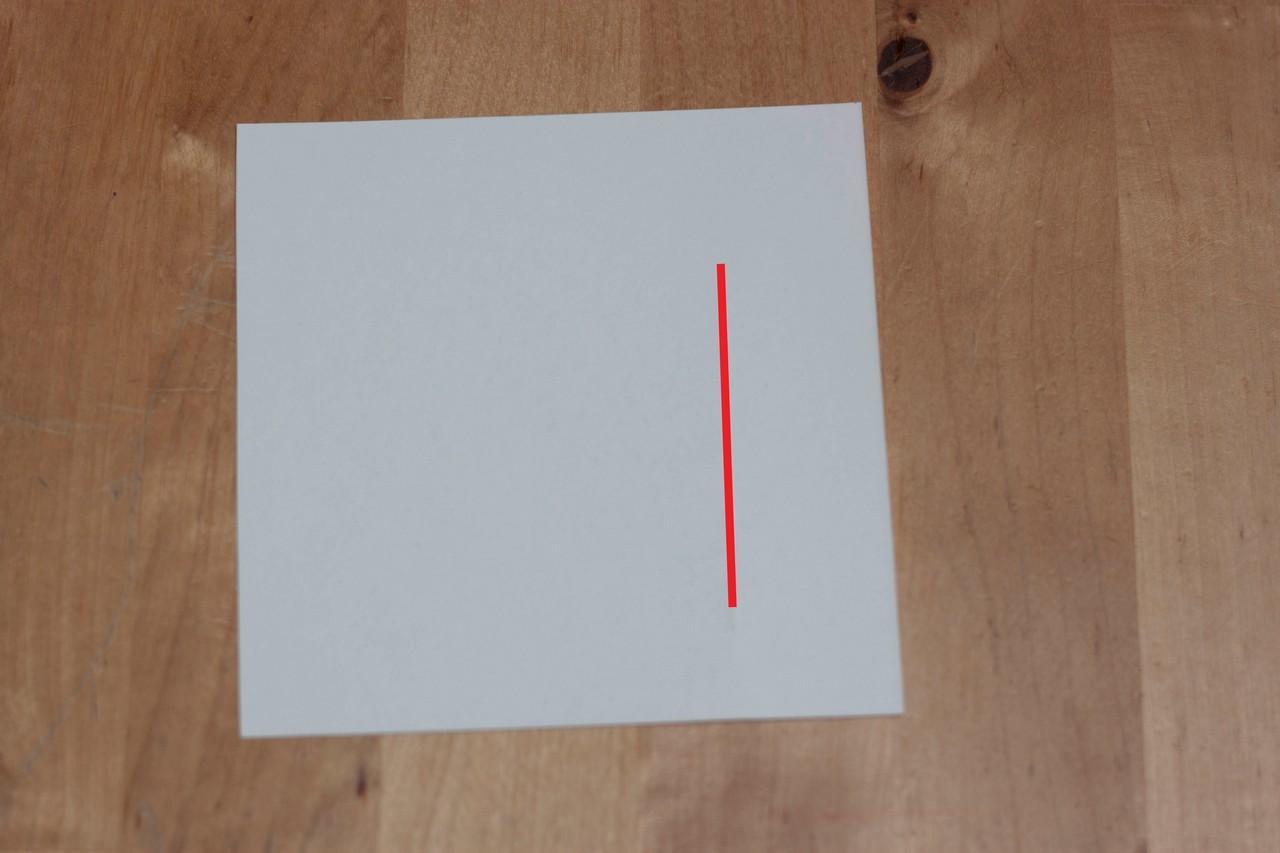
- Cut out the cake. Trace the piece of cake that will be on the bar. I have traced the shape in red.
- Cut out this piece.
- Cut a rectangle from the same heavy-weight paper that is not longer than the card piece (or it can be longer now and you can cut it shorter later). Glue the piece of cake to one end and paint the inside of the piece of cake (so it looks more 3D) and cut off the corners of the paper bar underneath.
Assemble


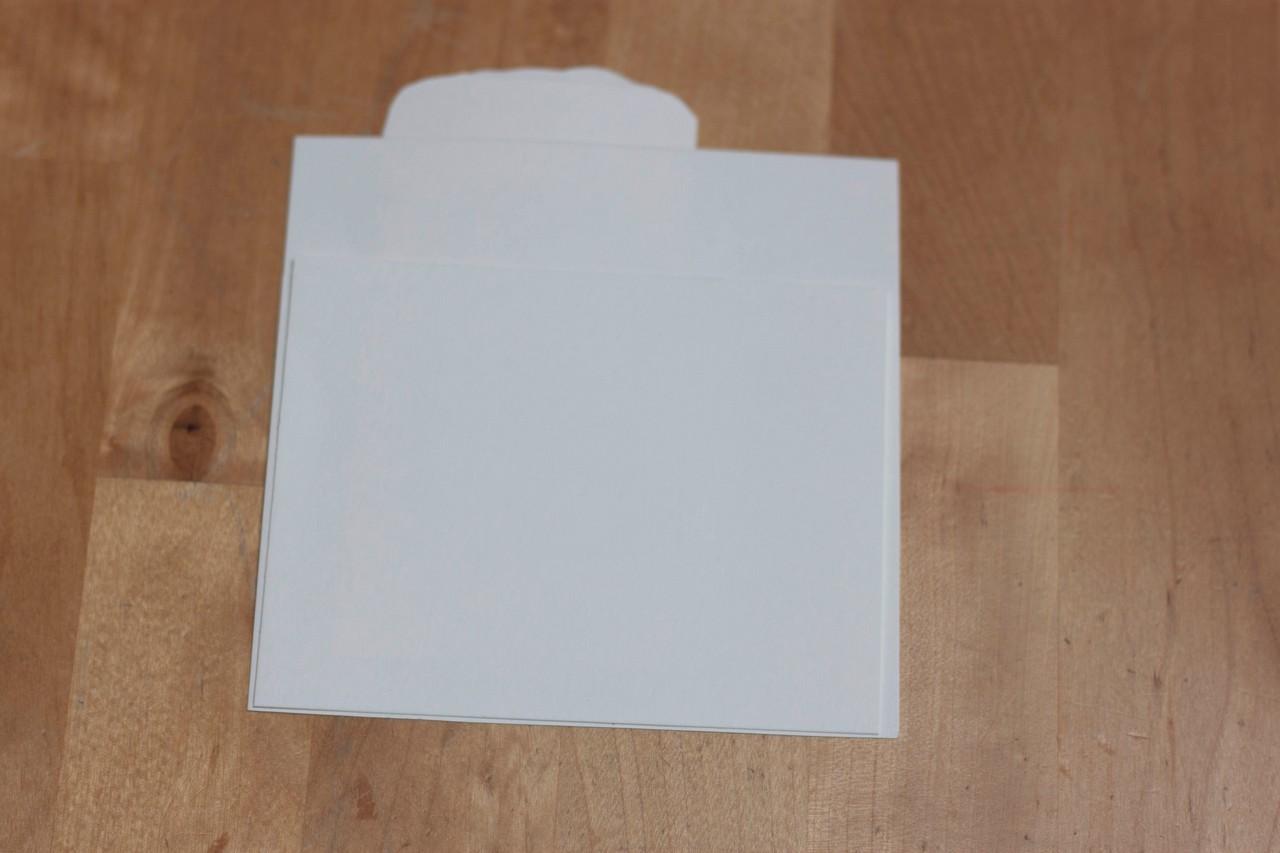
- Take your card piece and cut a straight opening using a ruler. The opening can be anywhere on the paper where you want that one piece of cake to be (you'll see in a minute what I mean). The opening should be just a little larger than the height of the bar with the piece of cake, so you can slide the bar through the opening comfortably.
- Slide the bar in and if you haven't already, cut the excess that is longer than the card piece.
- Turn the card upside down. Apply some glue to the end of the bar and fold in about half an inch. So this and will be folded and glued. This will stop the bar when you pull the piece of cake out (it will prevent it from sliding out completely). Apply glue on the back of the card piece around the sliding bar.
- Cut another piece of paper that will cover the backside and all the areas with glue and glue it on.
Finish


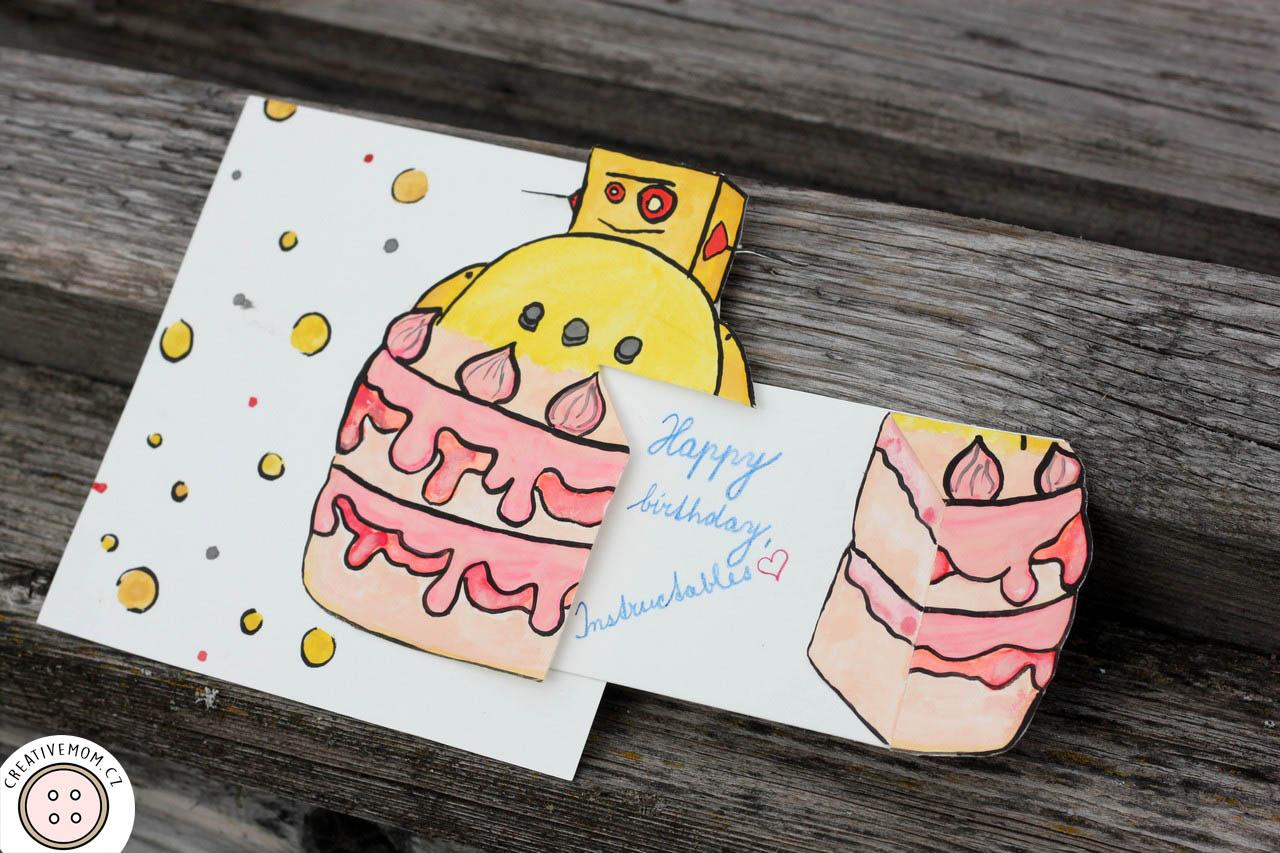
Turn the card up side up again. Push the piece of cake as much to the opening as you can and place the rest of the cake to the piece so the cake looks whole. I have marked in red the areas where I applied the glue on the back side. You have to apply glue to areas that are supposed to stick to the card but not where it could stick to the sliding bar.
Decorate the card with bubbles in the colors of the robot. Pull out the bar and write the birthday message and you're all set to celebrate!