Home Capsule


In this Instructables tutorial we will be demonstrating a tutorial on how to make a Small Home capsule.
Me and my partner challenged ourselves to see how fast we can get this done in the span of a couple of days.
And so far this is the first 3d model that we have made (Or so to speak.) The inspiration and idea comes from a Capsule home. A portable home that you can easily assemble in a matter of a day. Since these homes are small, we figured this would be a perfect way to attempt to show our modeling skills and see what we can do.
Supplies

All you need is Maya, and that's it :) No other materials needed
Adding the Cube

Open a new project file and import a cube
(note: change the incraments from cm to m, you can do this by going: Windows > Settings/Preferences > Preferences, then go to the settings category. change working units from cm to m).
Scaling

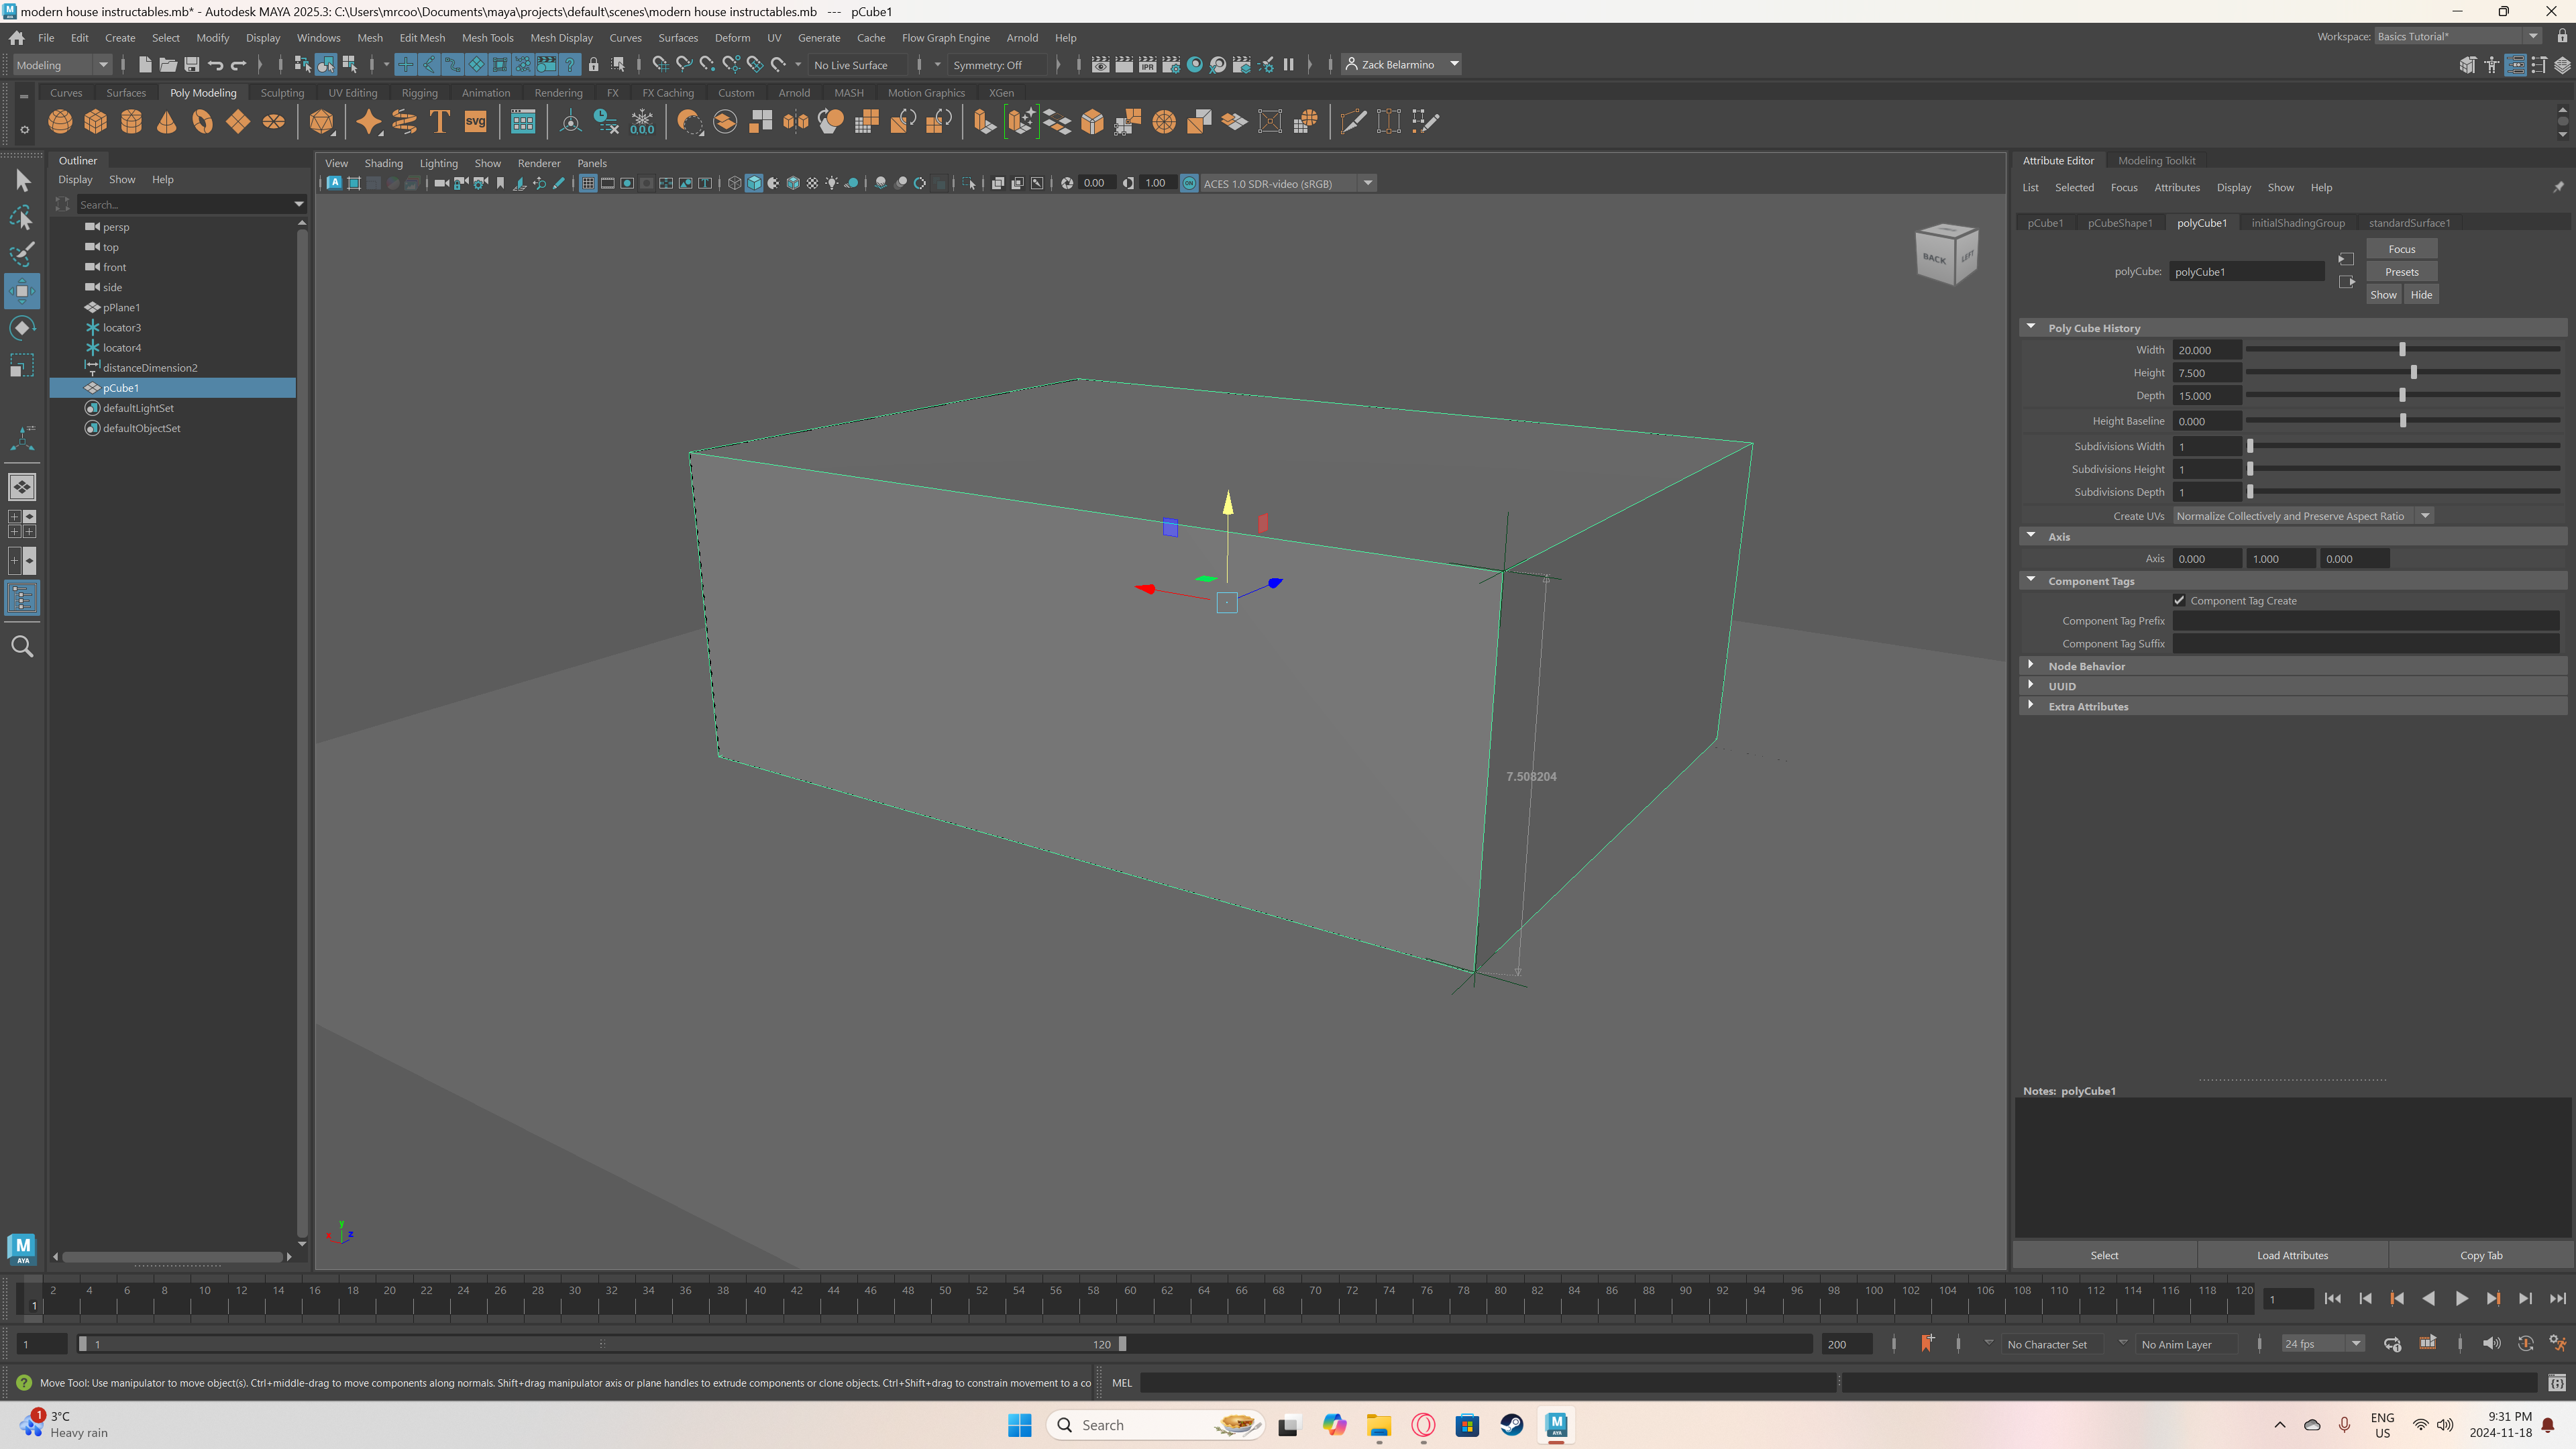
In the attribute editor, adjust the height width and depth of the object with the following measurements used.
(Remember to change the working units in preferences if you are unable to get the exact scale)
Beveling


With all 4 edges of the cube selected (can be done by going into the modeling tool kit and using edge selection).
Click on the bevel tool while the 4 edges of the cube are selected and turn fraction to 0.3 and Segments to 12
Extruding In


Select the face of the cube. (Found in Modeling toolkit) and extrude it in with the extrude tool.
Once extruded in, click on extrude again and push it in. Repeat the process again and extrude the face along the Z axis and push it in -14 meters.
The "Window"


Add in another cube, and shape the cube with these measurements.
Width: 1, Height: 1, Depth: 0.1
Position it to the right of the base of the house.
Select the top face of the object and extrude it up to the ceiling.
Select the left face and move it to the left wall of the House.
This is going to create the window.
Were next gonna bevel the object of the window by clicking the 4 sides of the object like last time.
(hide the house first before doing this so, hide and unhide it with the "h" key).
Skydome Lighting


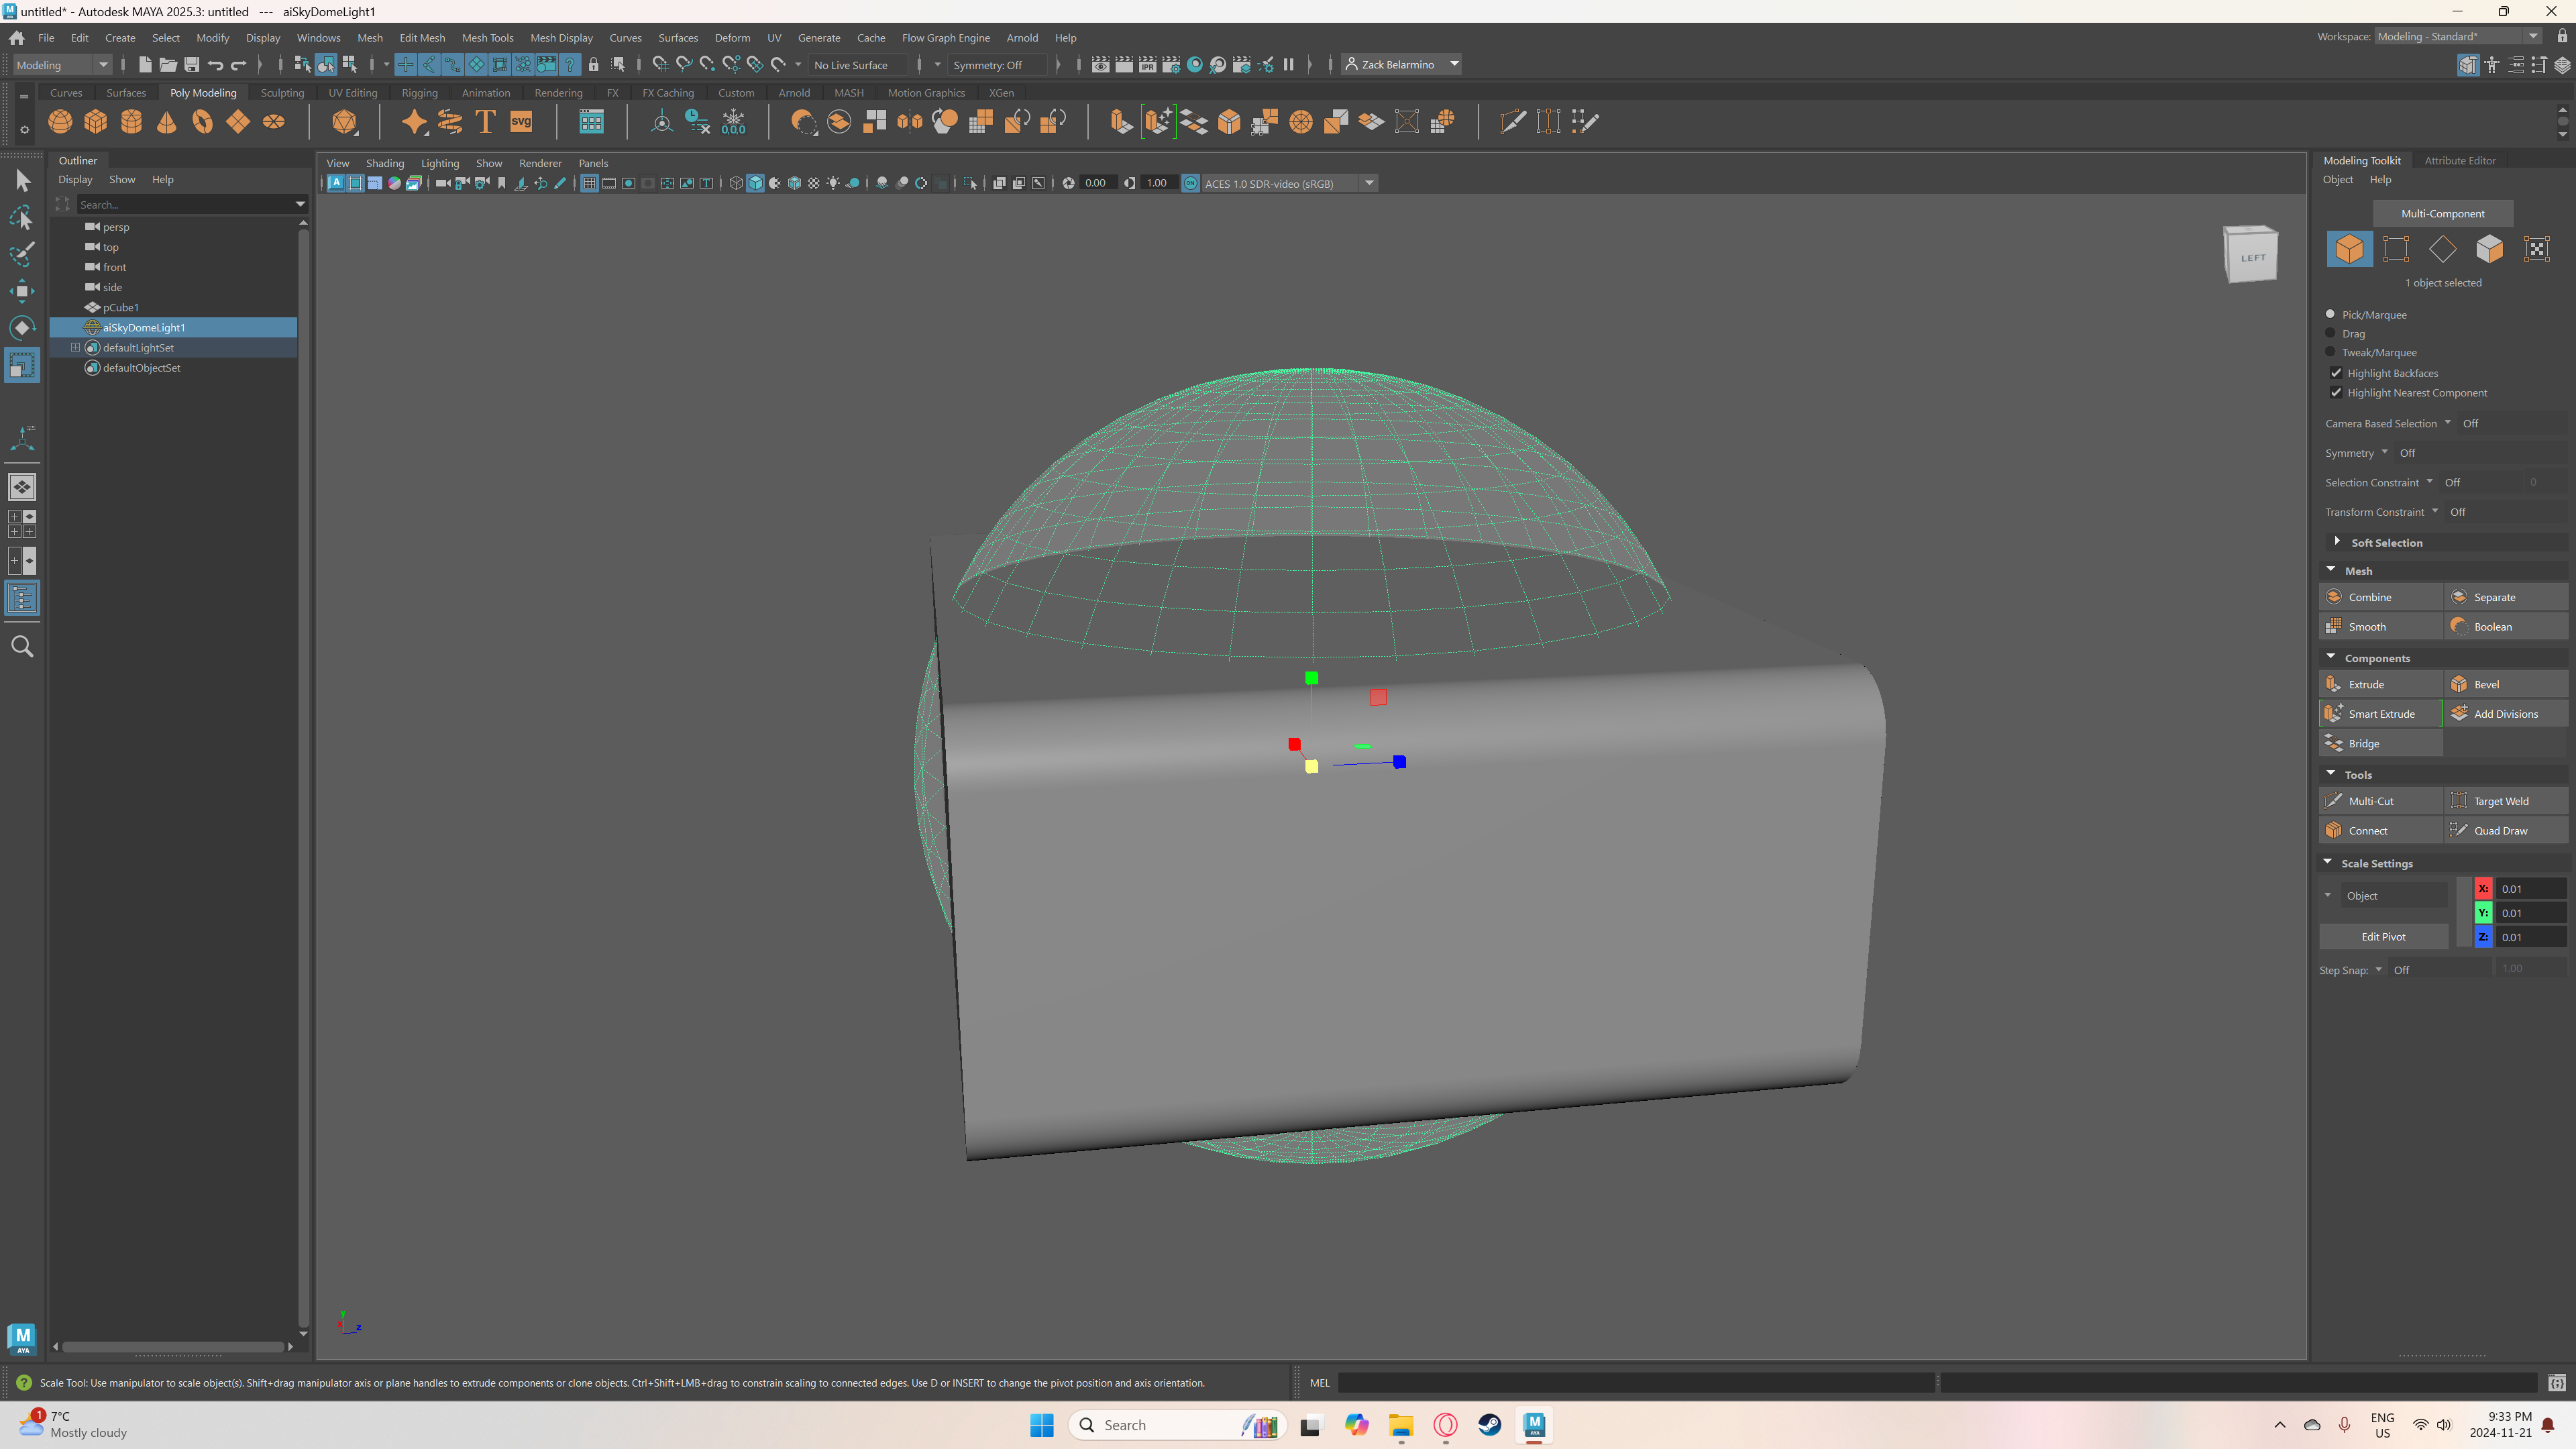
To add the "Skydome light" select: Arnold > Lights > Skydome Light.
scale the Skydome light up to size and go to the attributes editor.
From there, click on the right of the color attrbute and change the type to file.
This lets import a EXR or HDRI file of choice, in this case I chose a sunny meadows look.
(You can find EXR or HDRI textures you need at "Poly Haven")
Glass Texture


To add glass texture, Hold right click on the object and go to: Assign new material < Arnold < standard surface
Go to the attributes editor and change the coat, opacity, emission, subsurface, etc of the object.
If you go render it, (also unhide your other objects) it should look like a window (tweak it to your liking.)
Window Bars and Door


Next well add the Bars for the windows to add detail to it as well as the door.
add a cube and scale it.
Width: 0.15, Height: 1, Depth: 0.244
Scale the cube up the y axis and duplicated the object and place them evenly
Duplicate the object and rotate it 90 degrees on the z axis and move it up.
scale it on the y axis
Duplicate the object that you rotated and bring it down a few meters.
Scale it a bit on the x axis
Door Details


Adding in the details such as the door knob and lock.
Used assets from sketch fab in order to add in the accessories.
Customizing the House


.png)
Now that the base of the house is complete, you can customize the house. You can rotate and place the Furniture and equipment.
Lighting

add in a Area light, you can do this by going into:
Arnold < Lights < Mesh Lights
and use the light settings I used in the attributes editor.
Rendering


Now we can render the 3d model we designed.
go to: Arnold < Render
Also, position your camera viewing your house so you can get a nice view.
FINALE and Final Thoughts

I will say, While working on this with my partner, I was quite proud of what I made, even if it was done in a short span of time. I believe We could've done better on this tutorial, but given this being my first, I do hope to improve in future events if I do decide to do this again. Overall, was a good experience that I had and would try it again some time.