Homebrew PCB Exposure Box Using an Old Printer Scanner!
by earldanielph in Circuits > Tools
5628 Views, 61 Favorites, 0 Comments
Homebrew PCB Exposure Box Using an Old Printer Scanner!
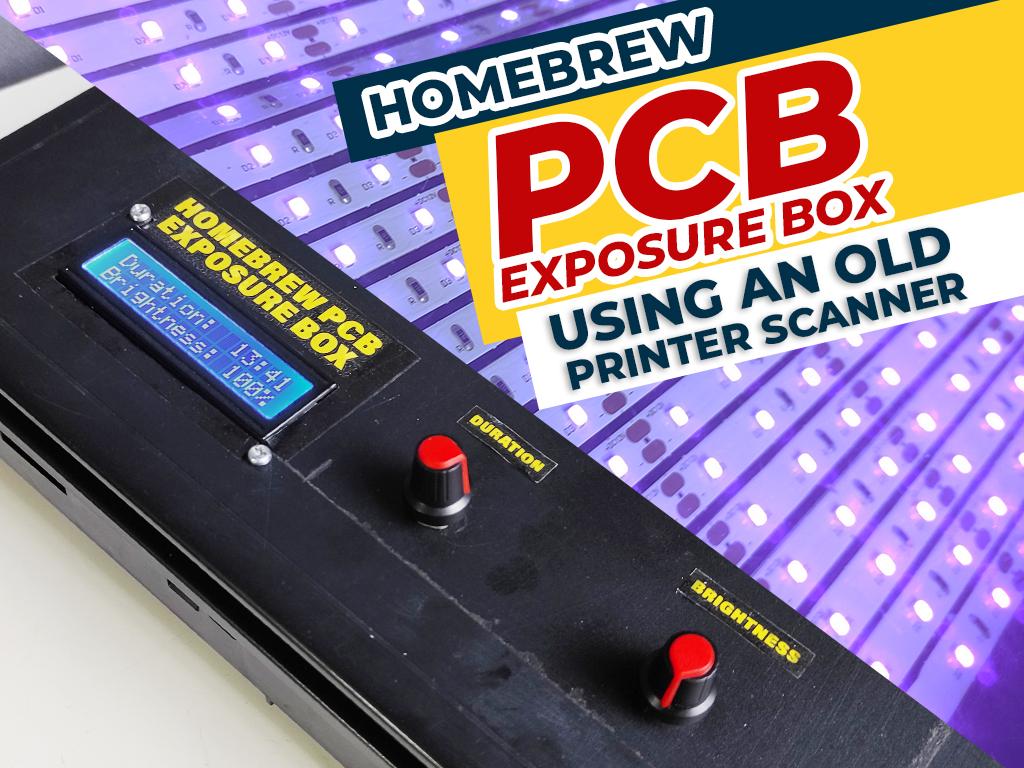


Did you know that we can create a homebrew PCB exposure box using an old printer scanner? Yes you read it right!
The Problem:
In my experience, the quality of the presensitized method for making homebrew PCBs is really impressive, especially when you are dealing with tiny traces. Now, the presensitized method needs to be exposed to UV light for a certain amount of time; that means it won't etch well if it gets overexposed or underexposed.
Ever since, I've been using my fluorescent lamp to expose the PCBs, but we are going to change that starting today!
VIDEO TUTORIAL:
Supplies


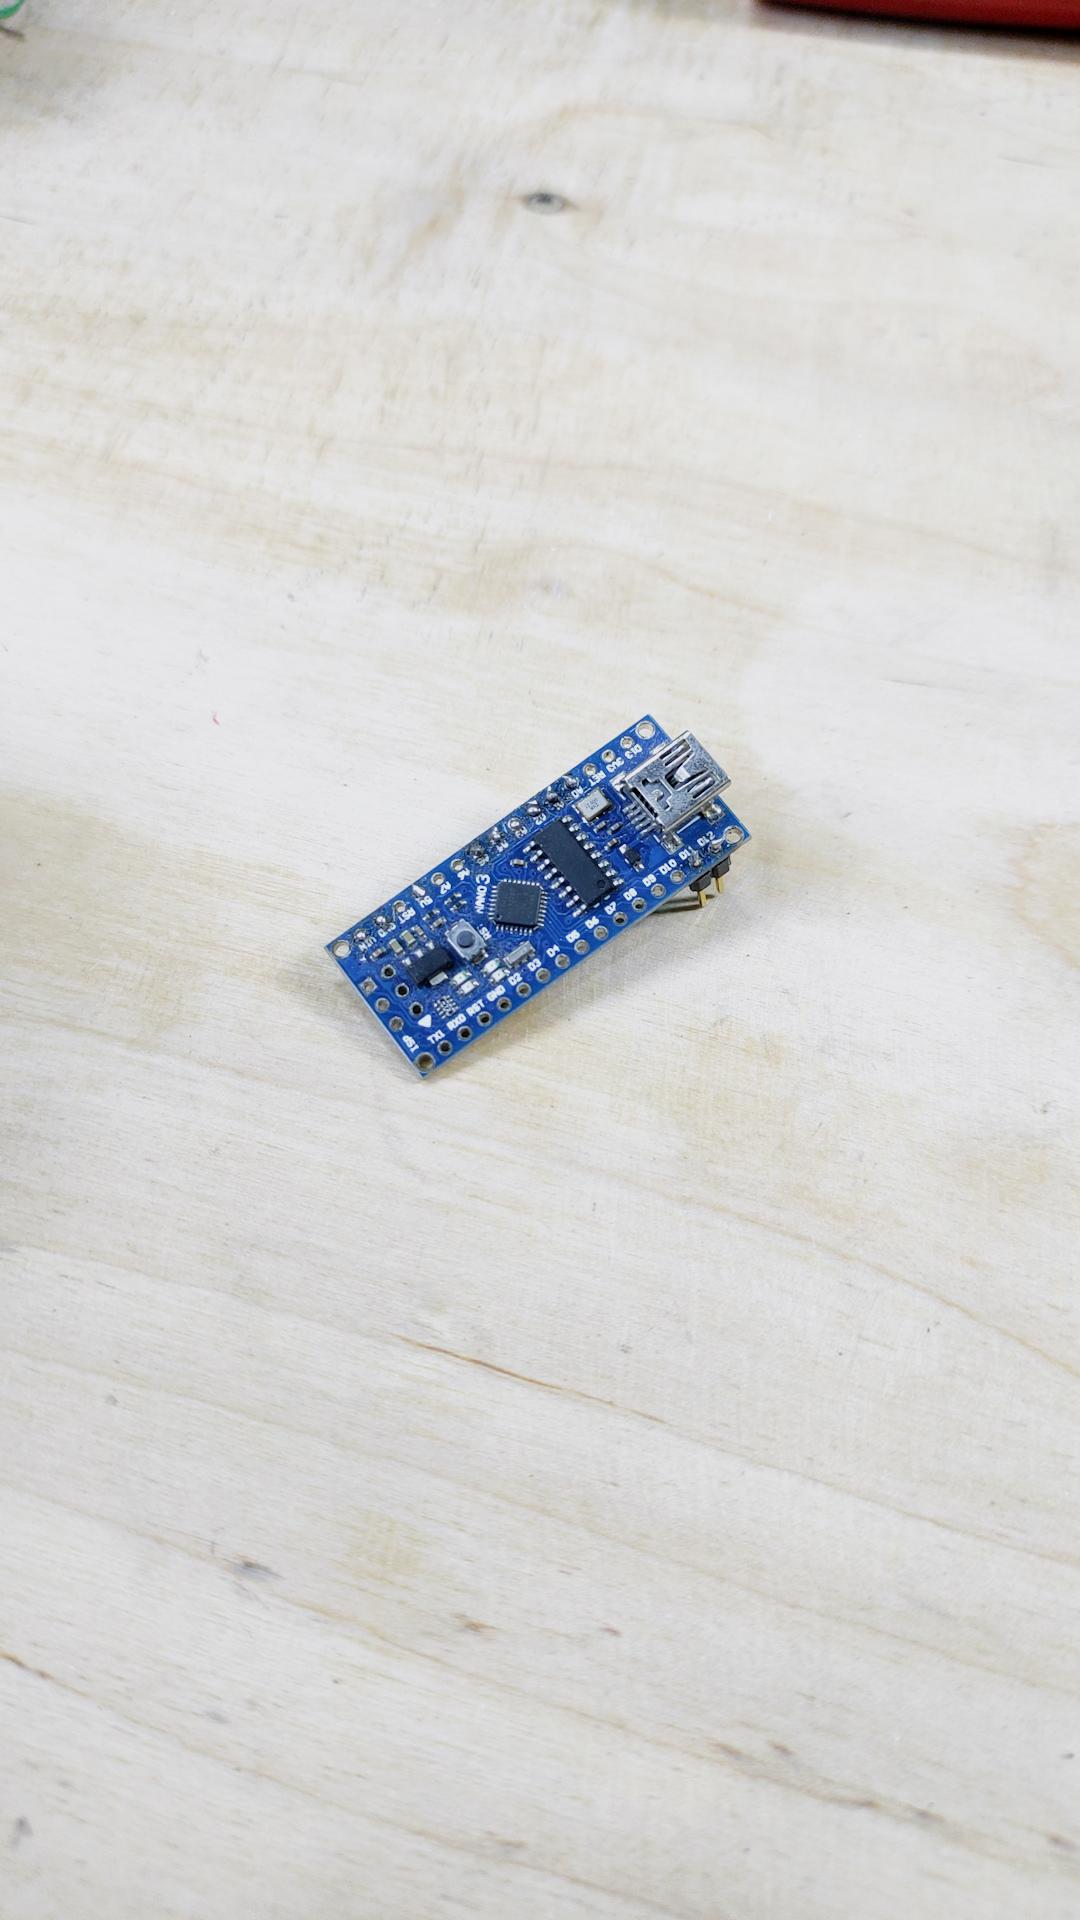


Here are the things that you will need, you'll need a 12 volt power supply, two 10k potentiometers, an i2c 16x2 LCD, a resistors, a buzzer, an Arduino nano, a TIP 31C transistor, a UV LED strip, a momentary switch, a female DC power jack, a header pin, and lastly, the star of the show, which is the old printer.
- 12 volt power supply
- Two 10k potentiometers
- i2c 16x2 LCD
- Resistors
- 100 ohms (1x)
- 10k ohms (1x)
- 470 ohms (1x)
- Buzzer
- Arduino Nano
- TIP 31C transistor
- UV LED strip
- Momentary switch
- Female DC power jack
- Header pin
- Old printer
Tools Required:
- Soldering Iron
- Soldering Lead
- Tweezers
- Desoldering Pump
- Solder Paste
- Wire Cutter
- Cable Tie
- Grinder (optional)
- Hacksaw
- Acetone
PARTS SOURCE (PHILIPPINES): https://www.makerlab-electronics.com | https://www.e-gizmo.net/oc/index.php
PARTS SOURCE (GLOBAL ALTERNATIVE): https://lcsc.com/
Removing All the Unnecessary Components


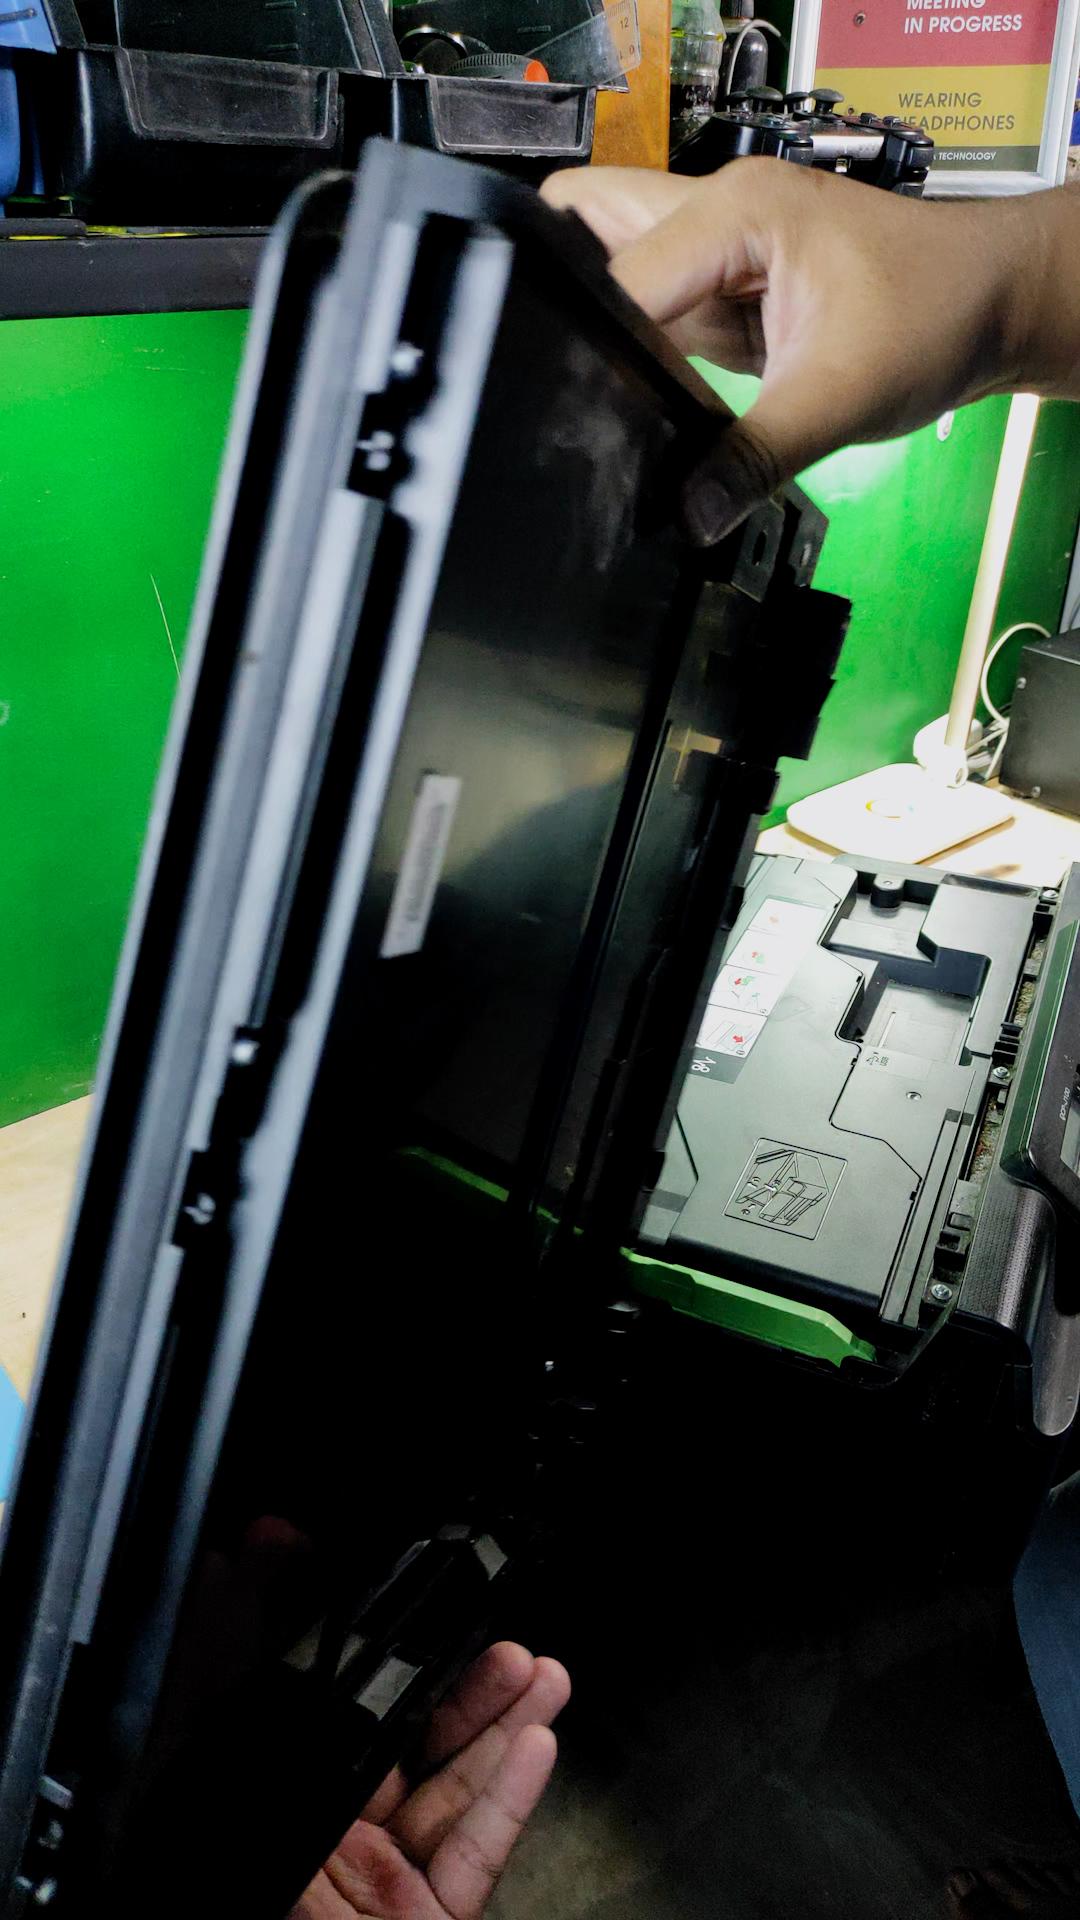

Let's start by getting the scanner out of the printer and removing all the unnecessary components inside.
Mounting the UV LED Strip


Next to that is cutting the UV LED strip to your desired length and then mounting it to the surface of the scanner. In my case, my LED strip has adhesive on it, so I just peel the cover of the adhesive and then directly put it on the surface of the scanner. Now, I solder all the positive pads together using a bare solid wire and repeat the same process for the negative pads of the LED strip. This will give me a 12 volt parallel connection for all my LED strips. I tested the LED strip using my 12 volt power supply, and now that it is working, we're going to work on drilling holes in the body of the scanner.
Drilling and Grinding


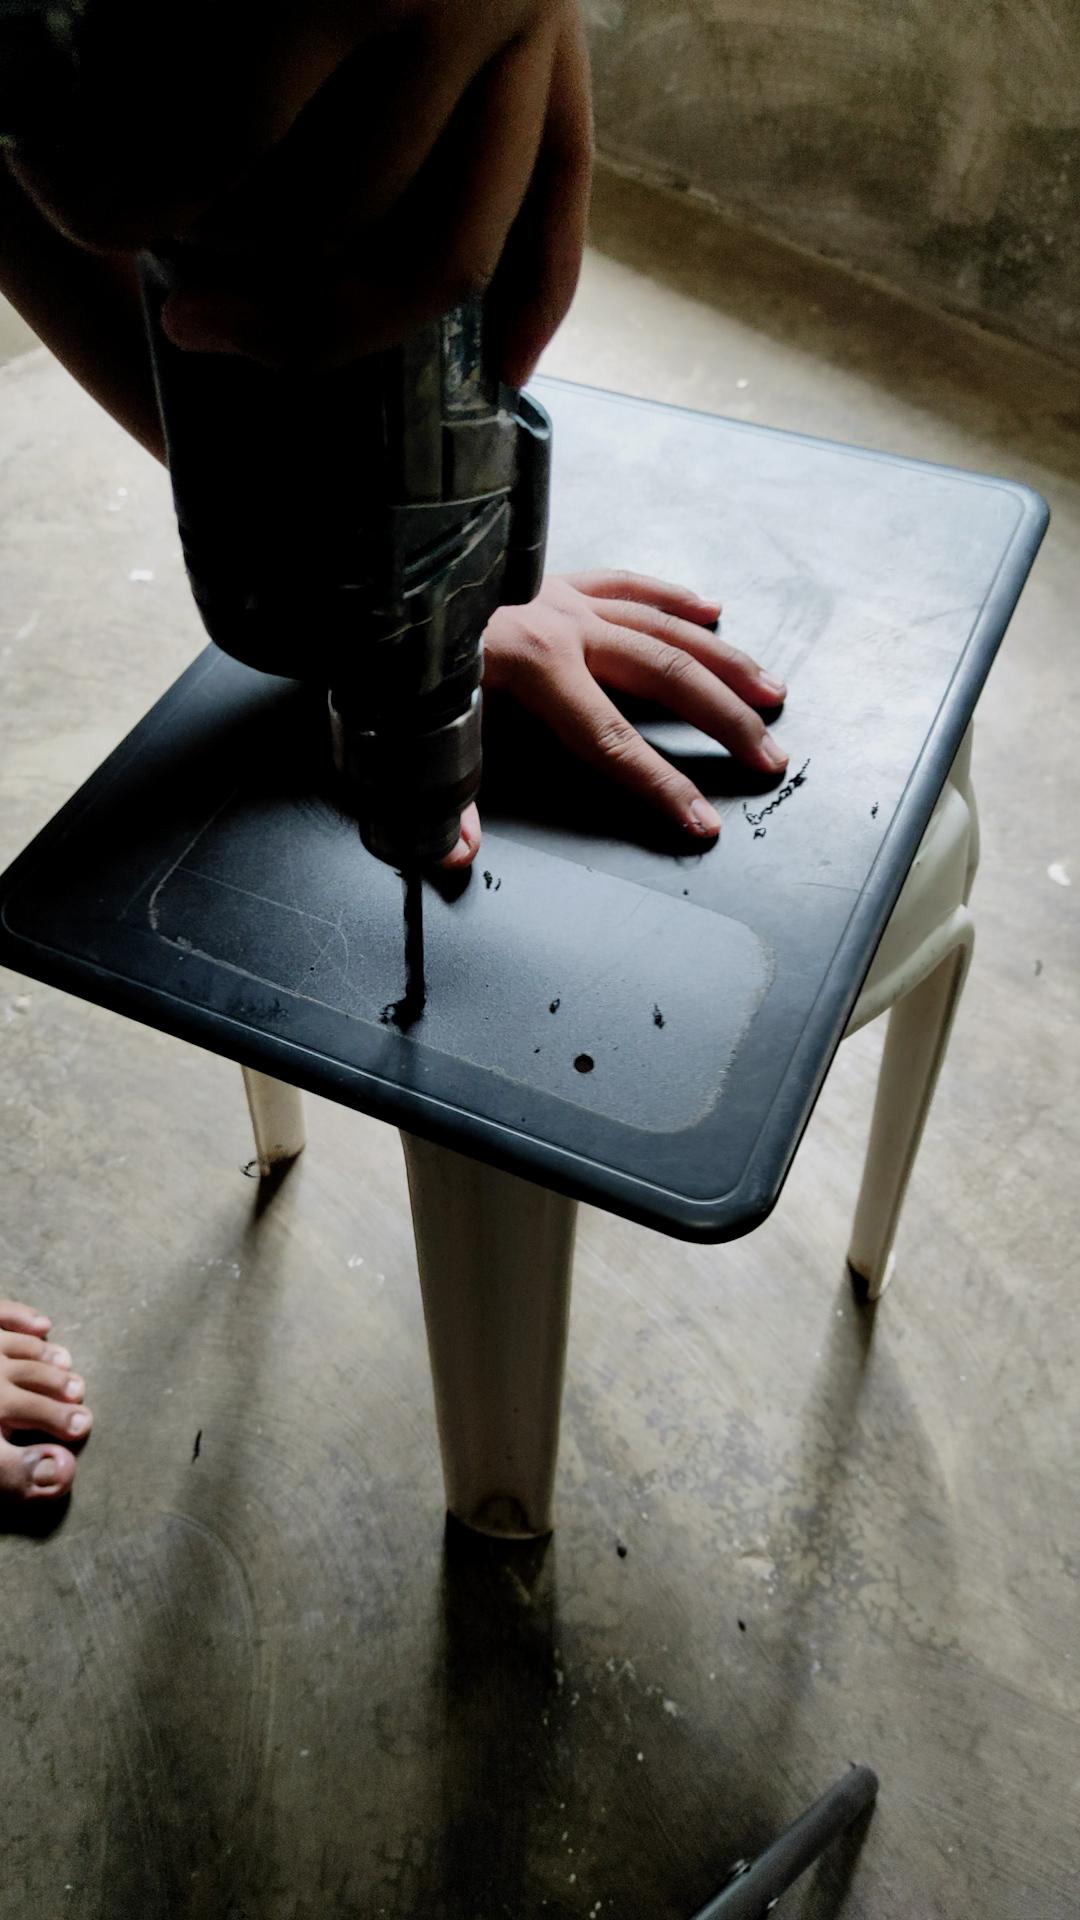


I started by marking all the places where I was going to put all the components. I grab my drill for the hole for the potentiometer, momentary switch, and female DC power jack. For the LCD cutout, I use a grinder.
Using Autodesk Fusion 360 for PCB Design


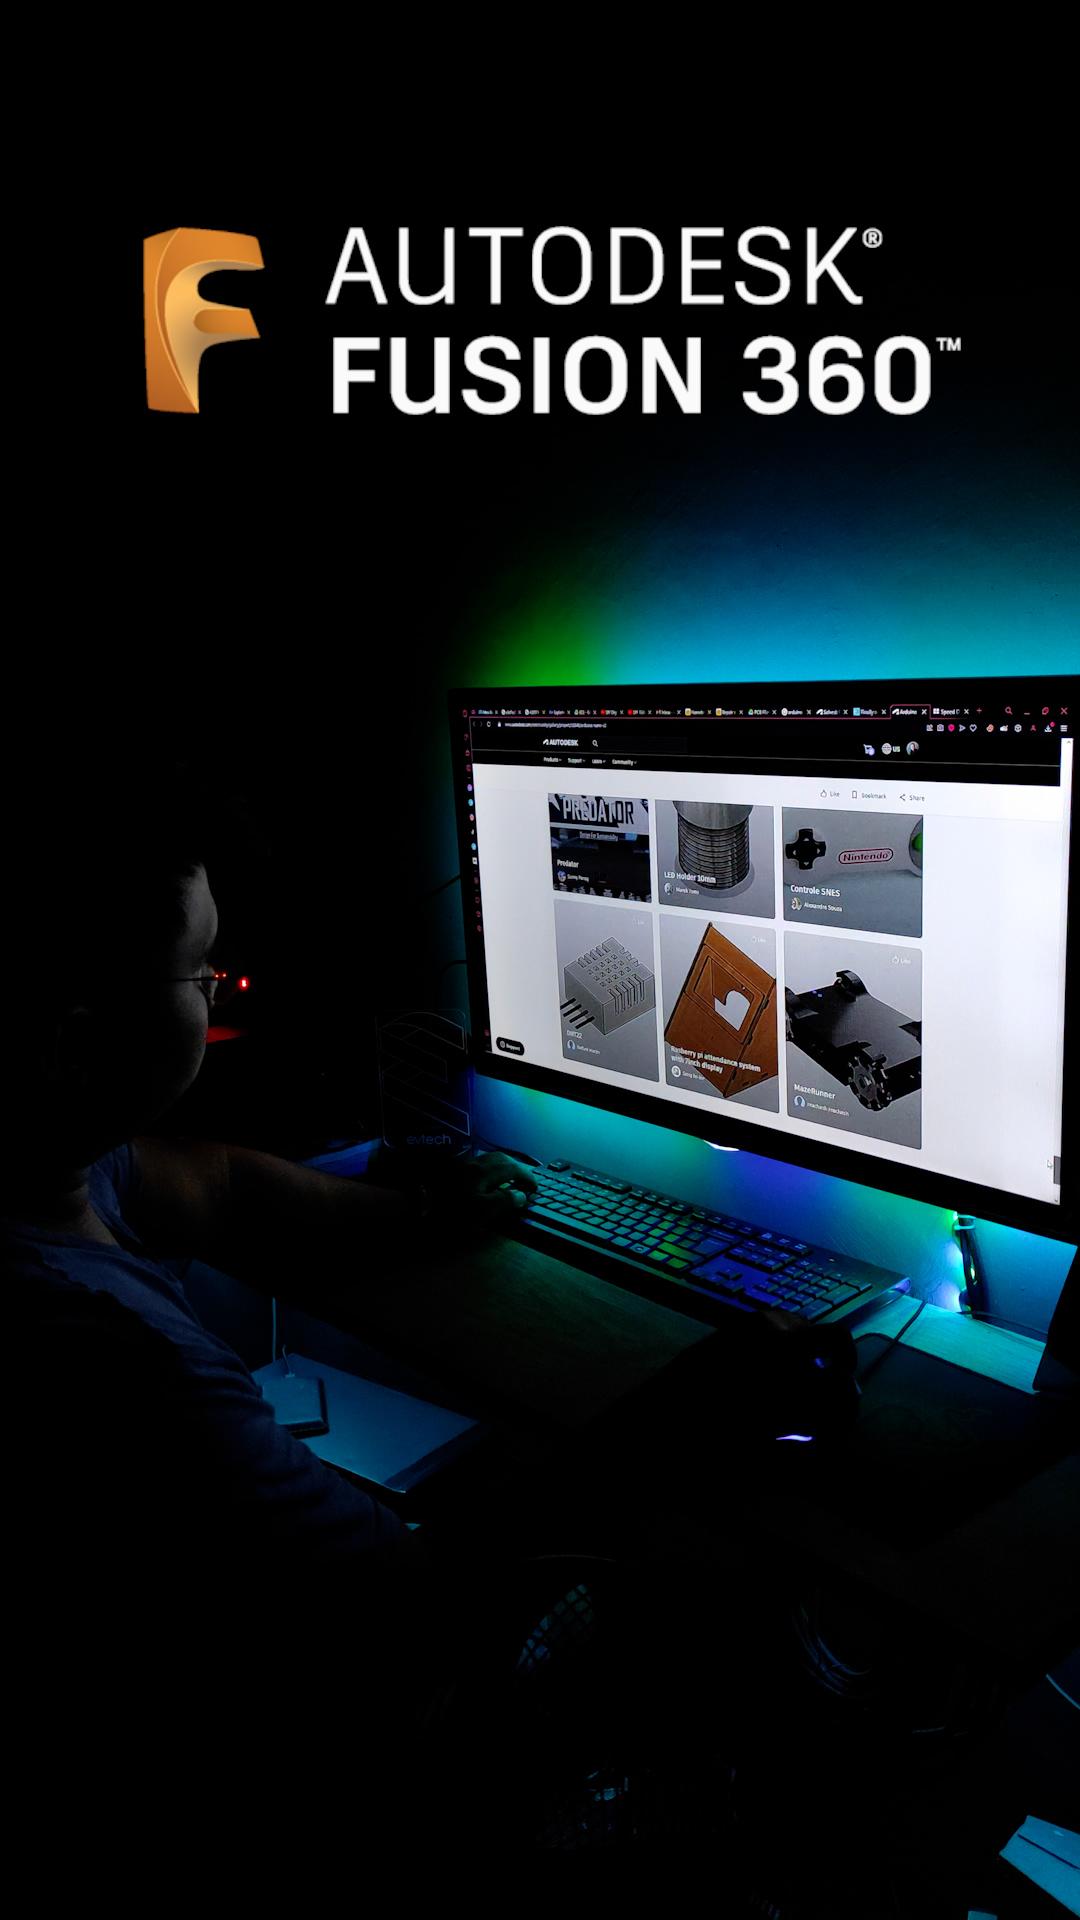


For this project, I decided to do a homebrew PCB. I used software called Autodesk Fusion 360 for designing this project. Fusion 360 is a cloud-enabled 3D CAD/CAM tool that enables designers and engineers to create, prototype, and manufacture products. It integrates mechanical design, electronics, and manufacturing on a single platform, making it ideal for product development and prototyping.
Homebrew PCB
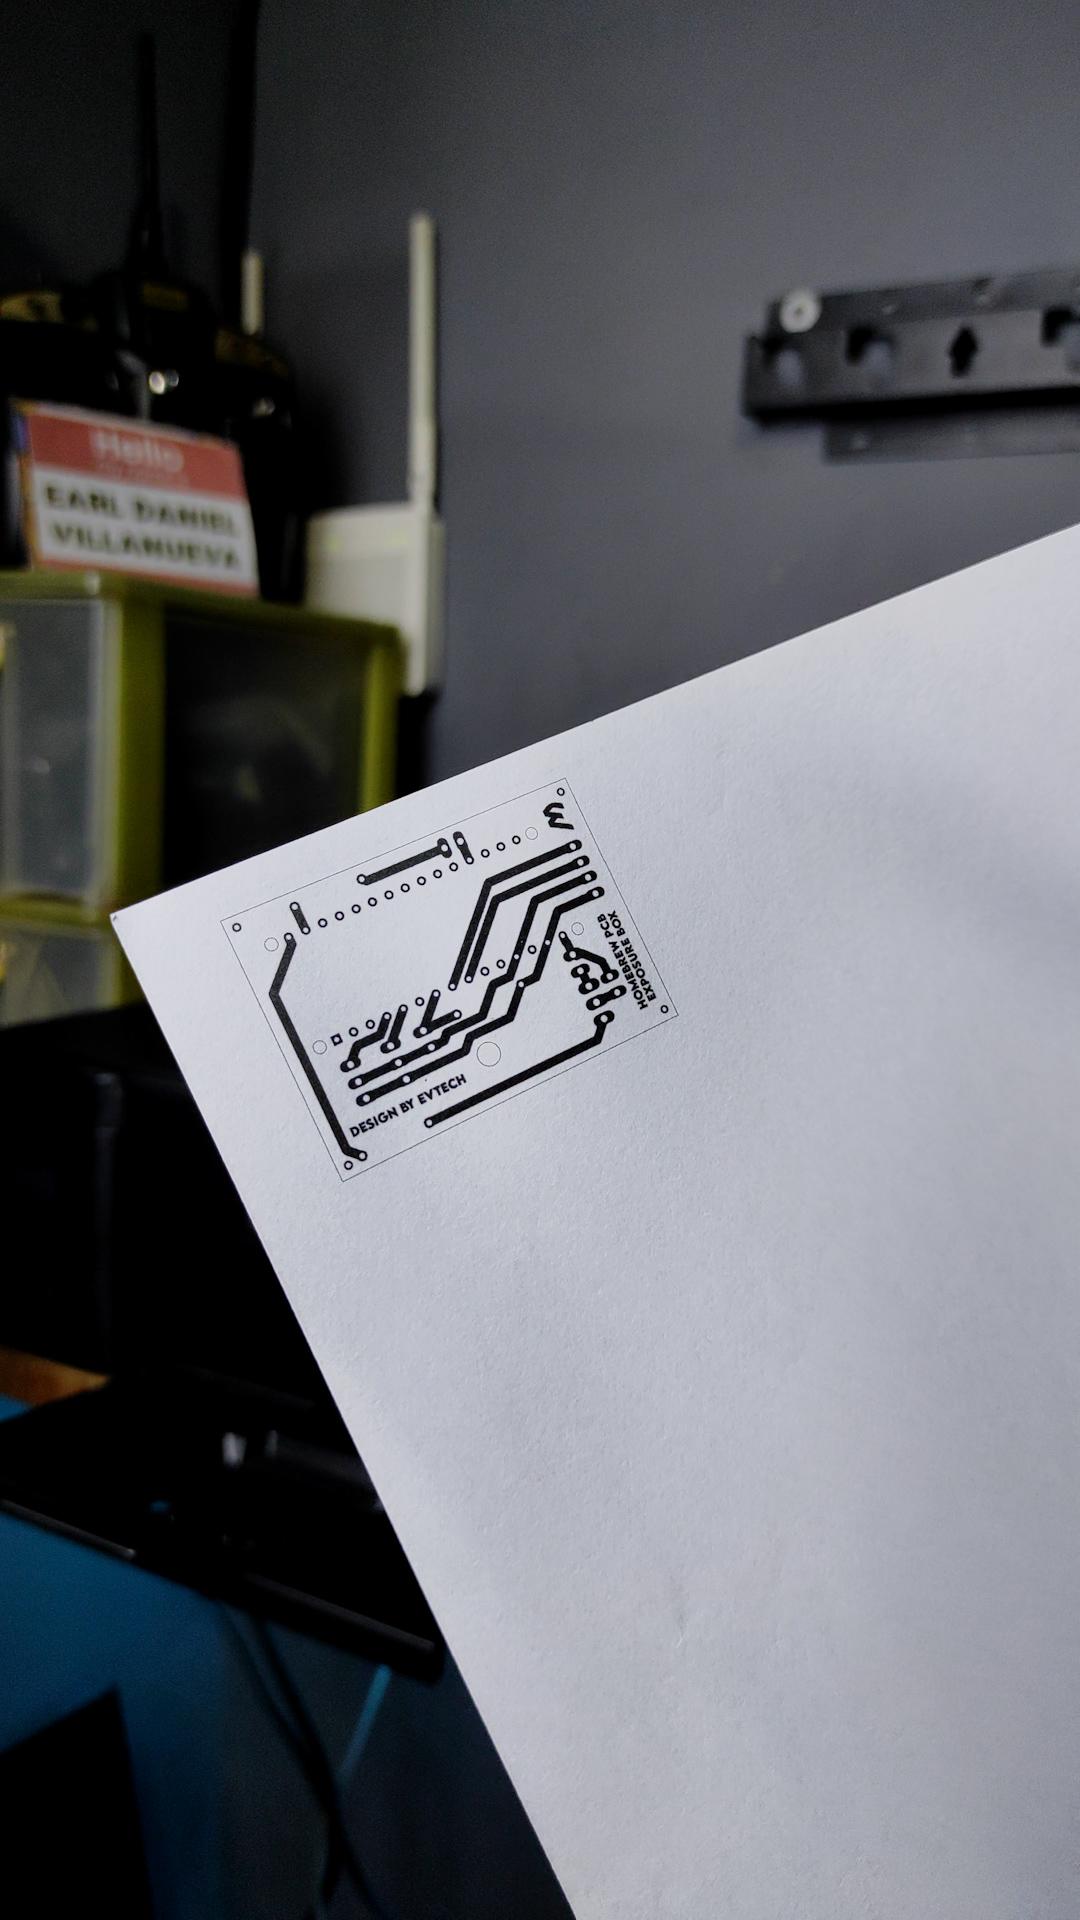


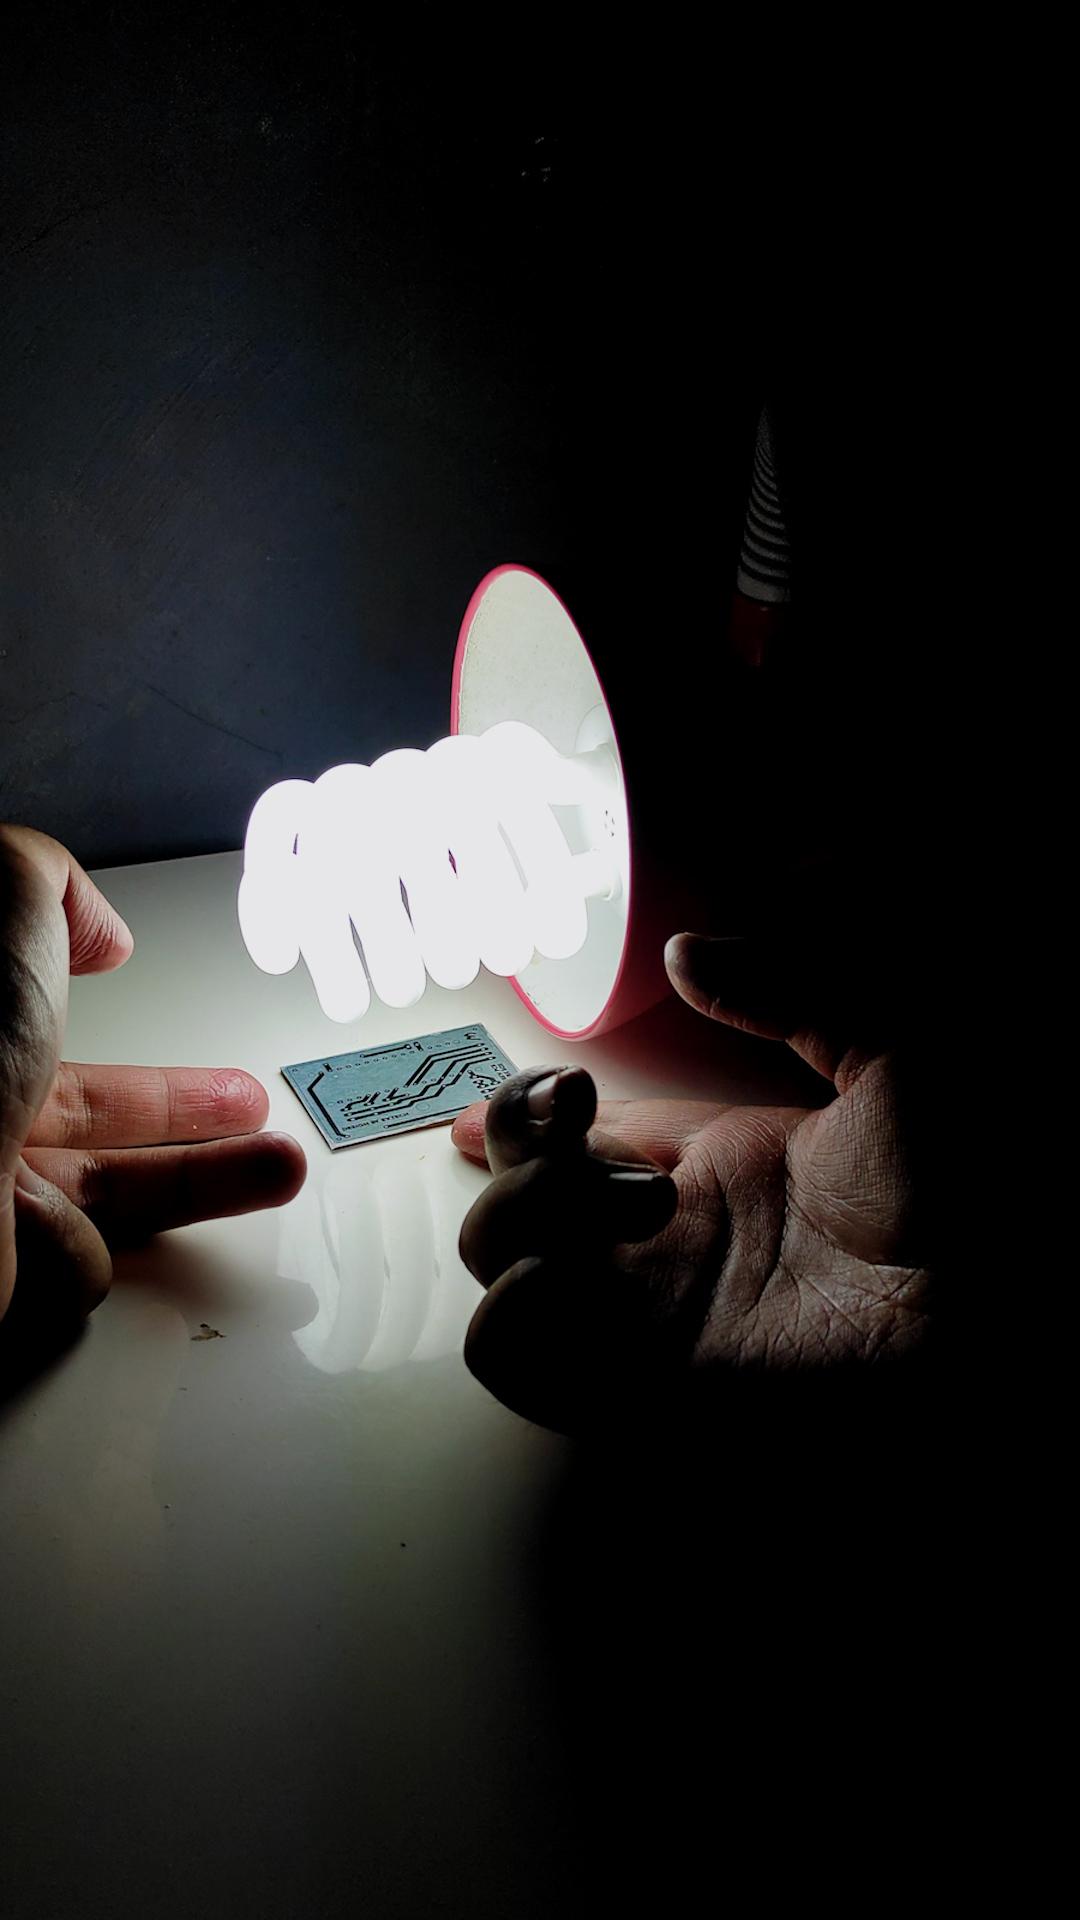
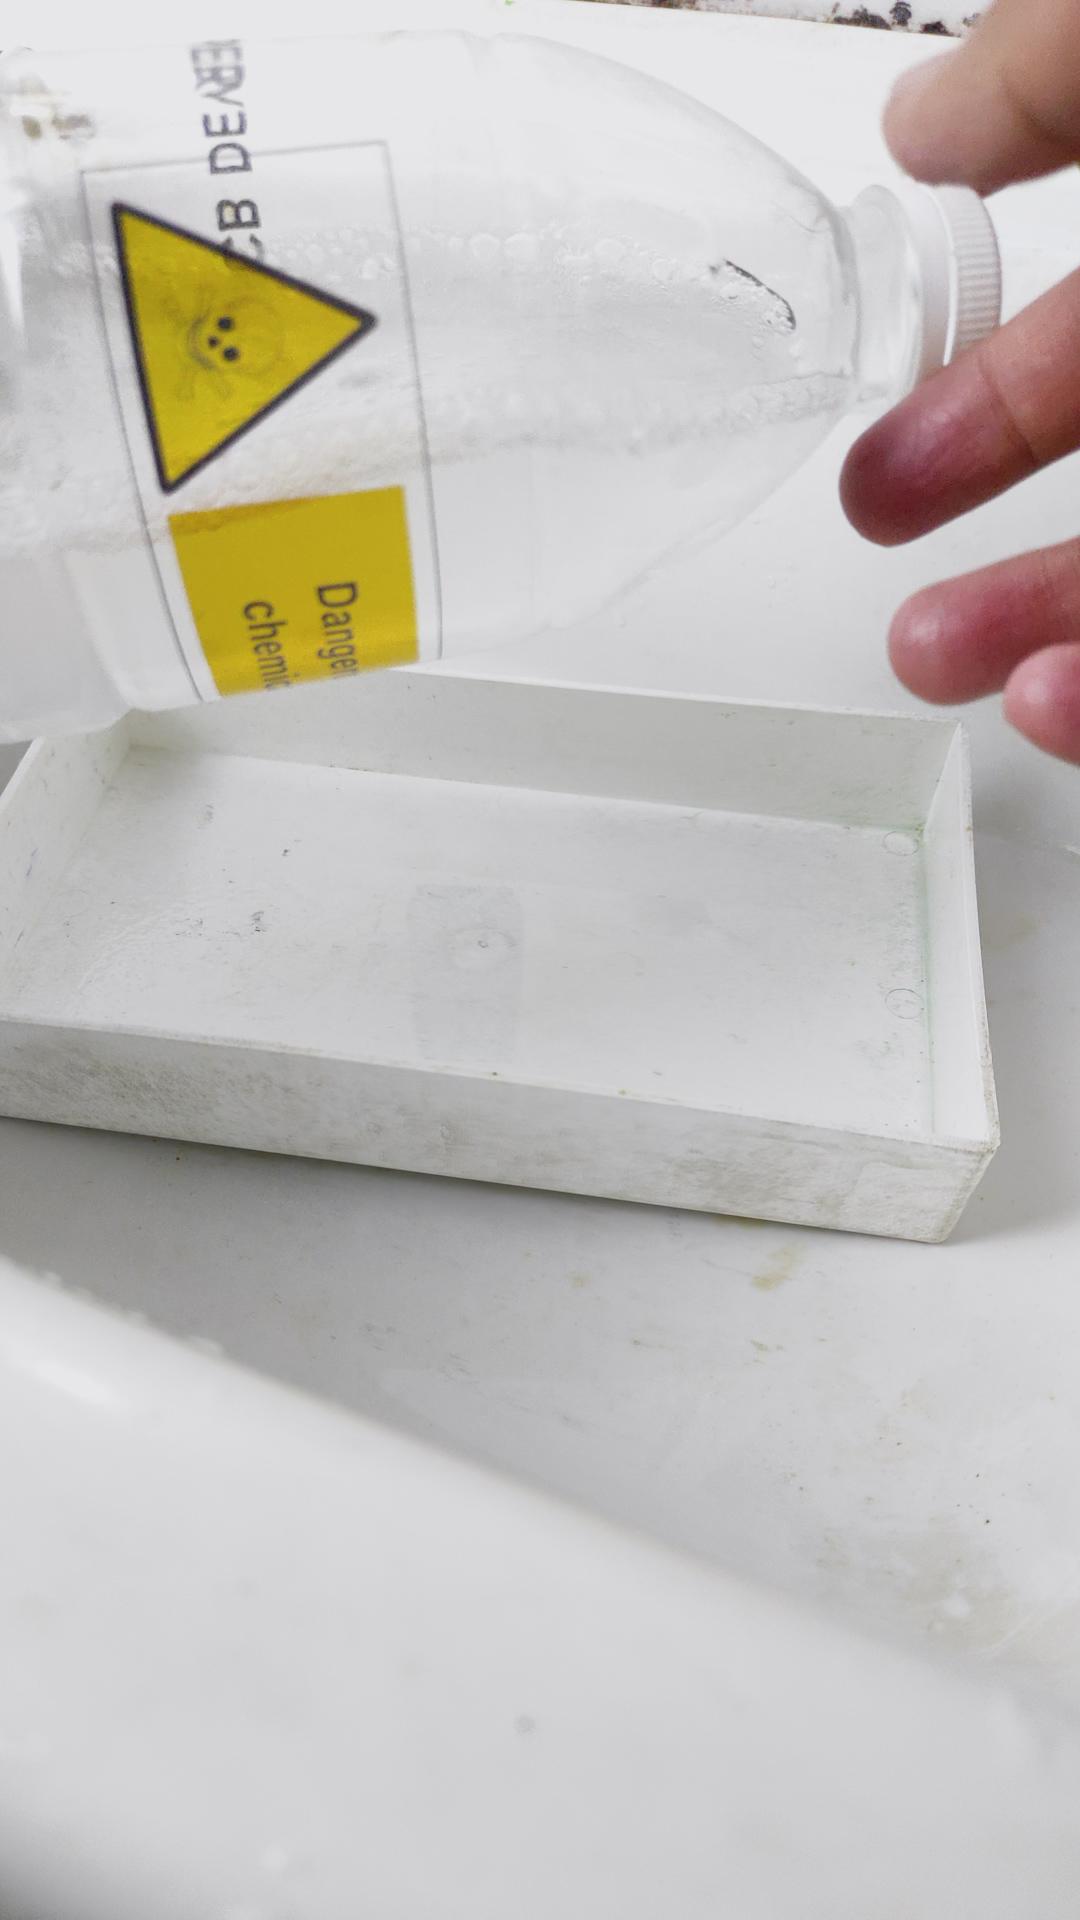

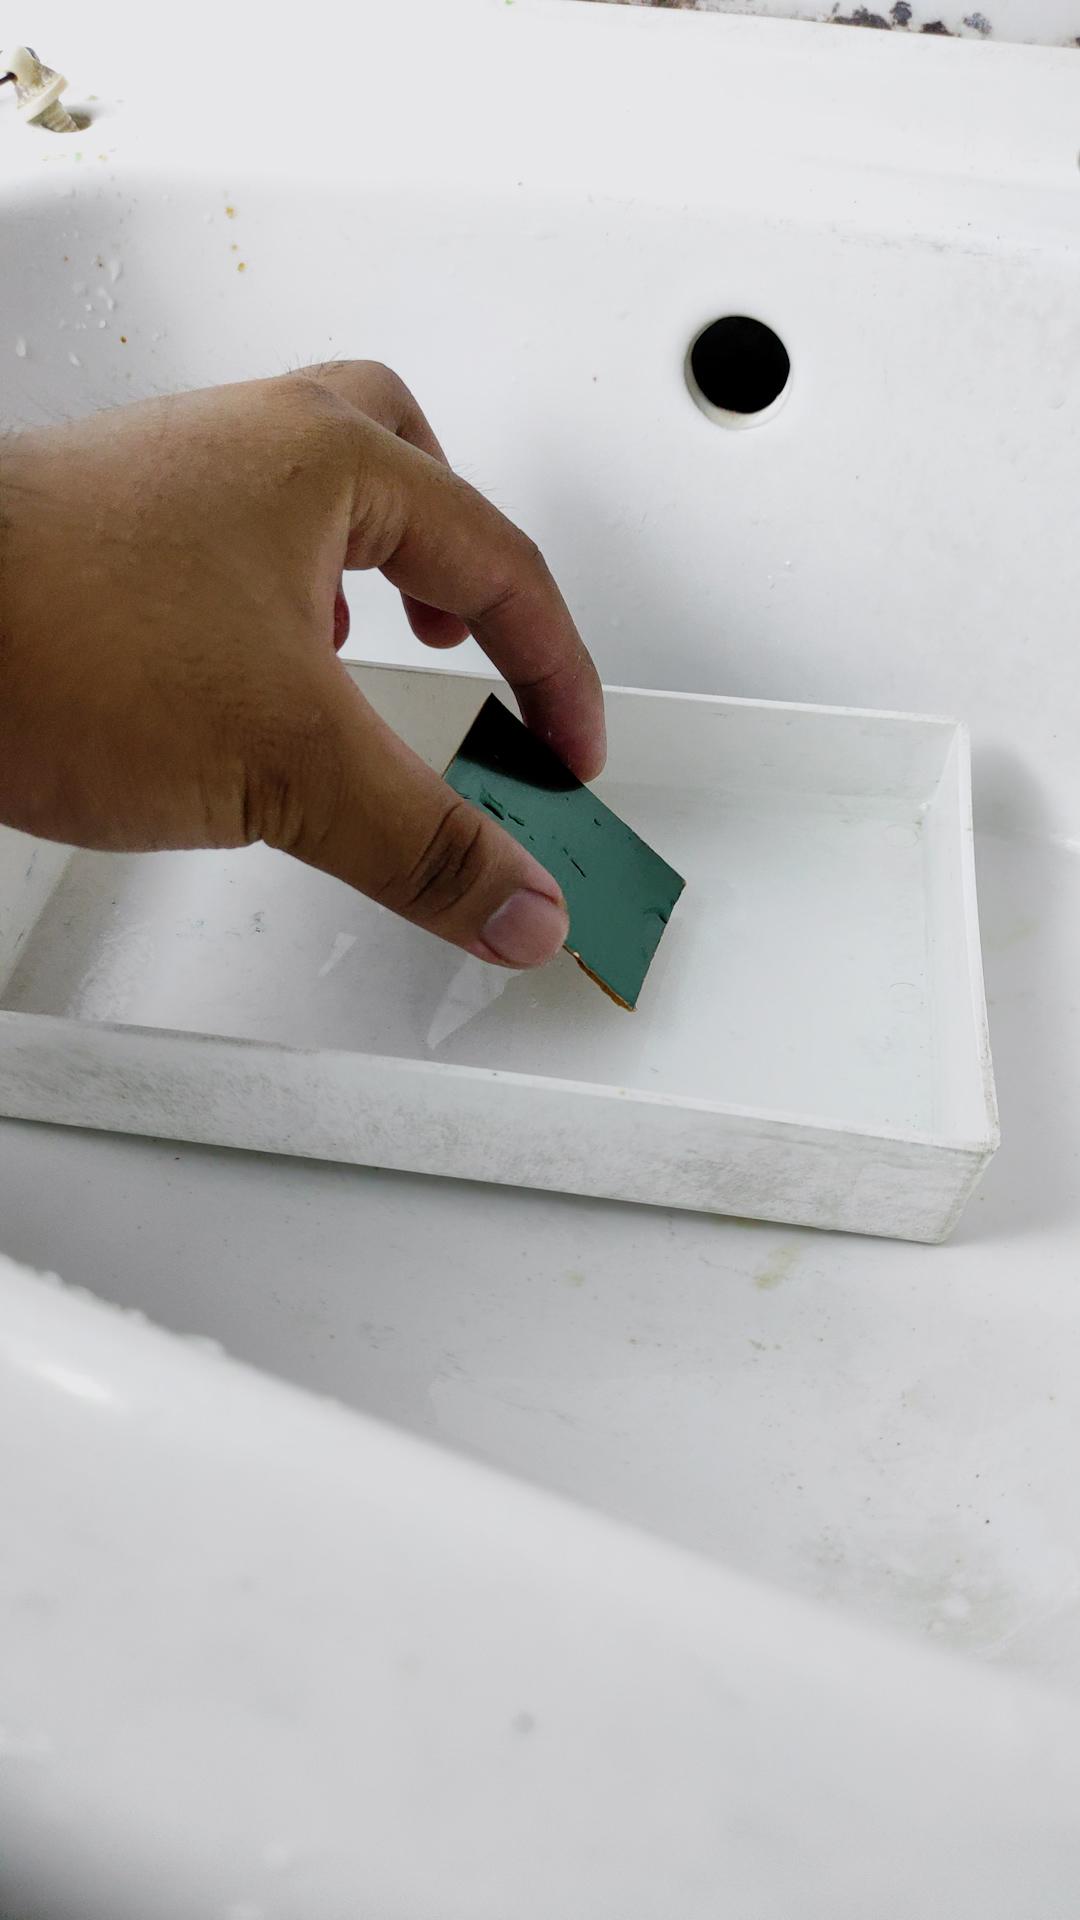
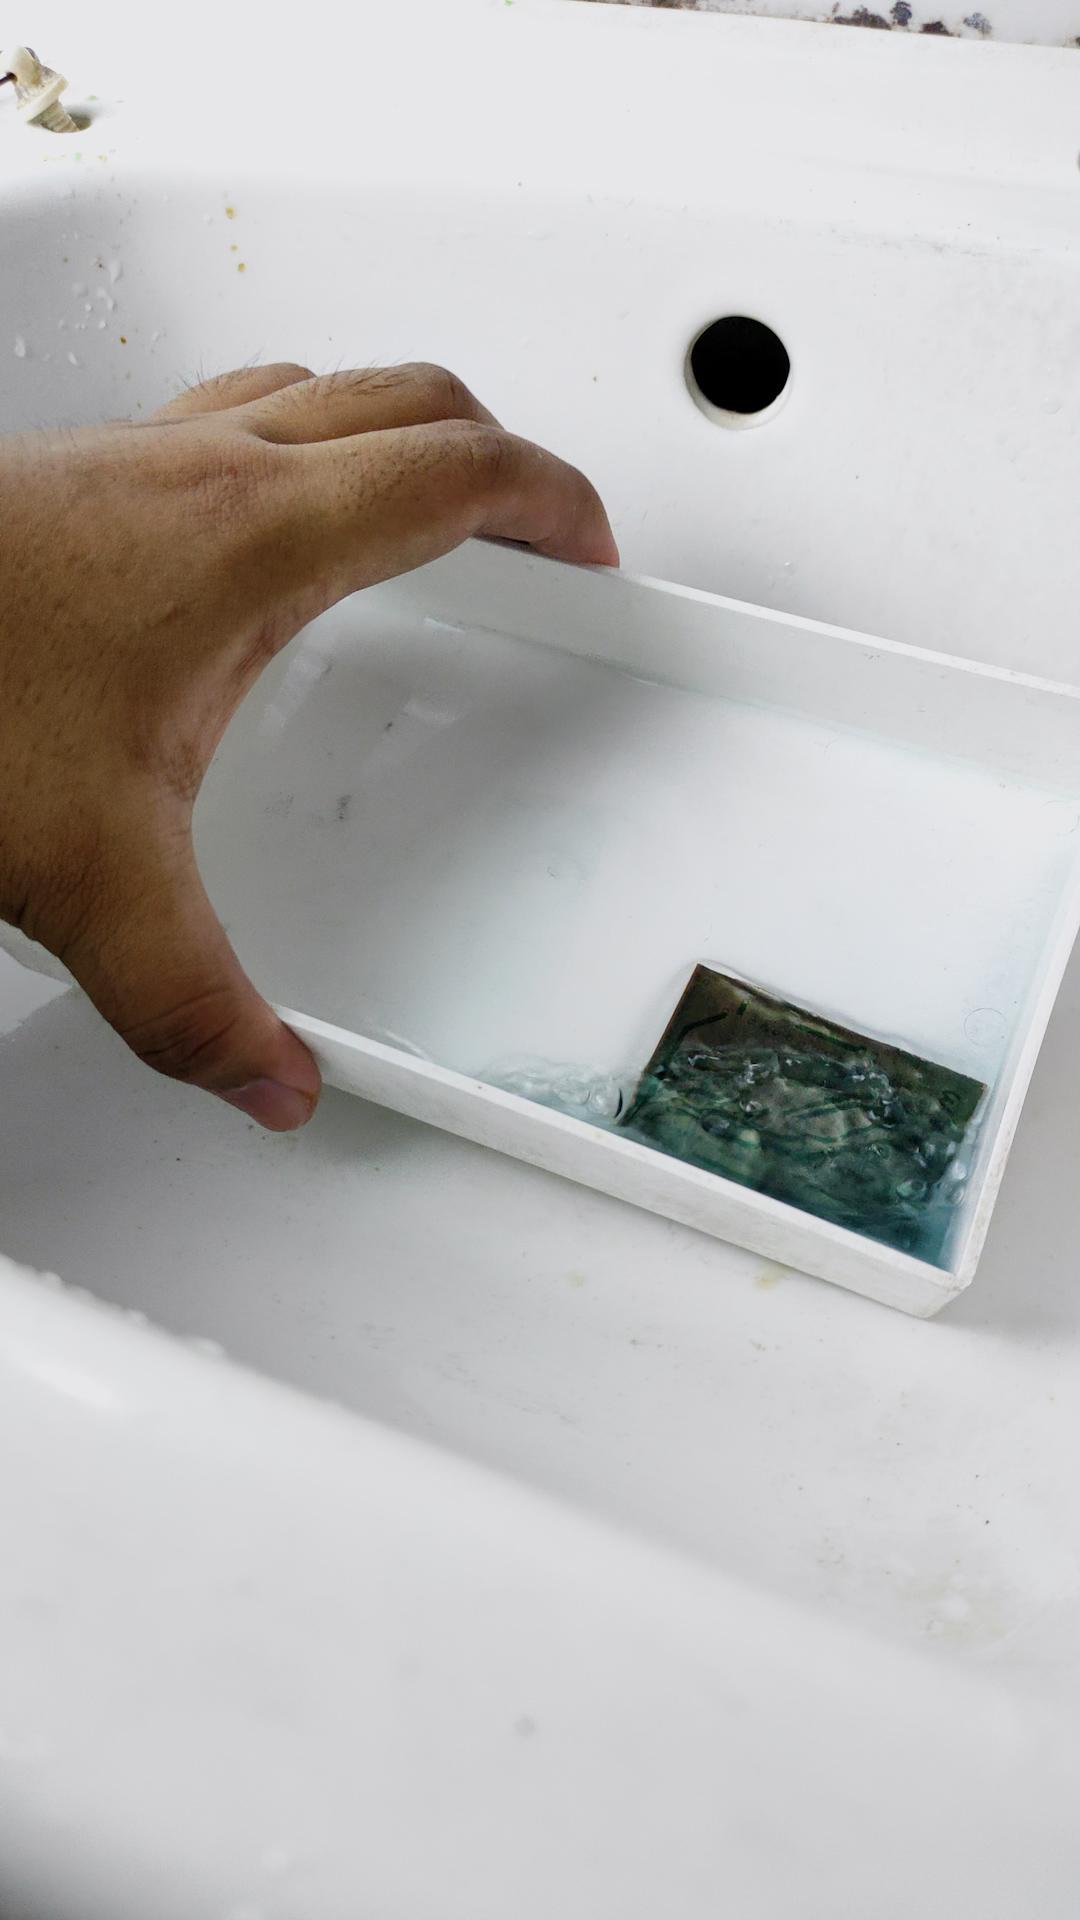
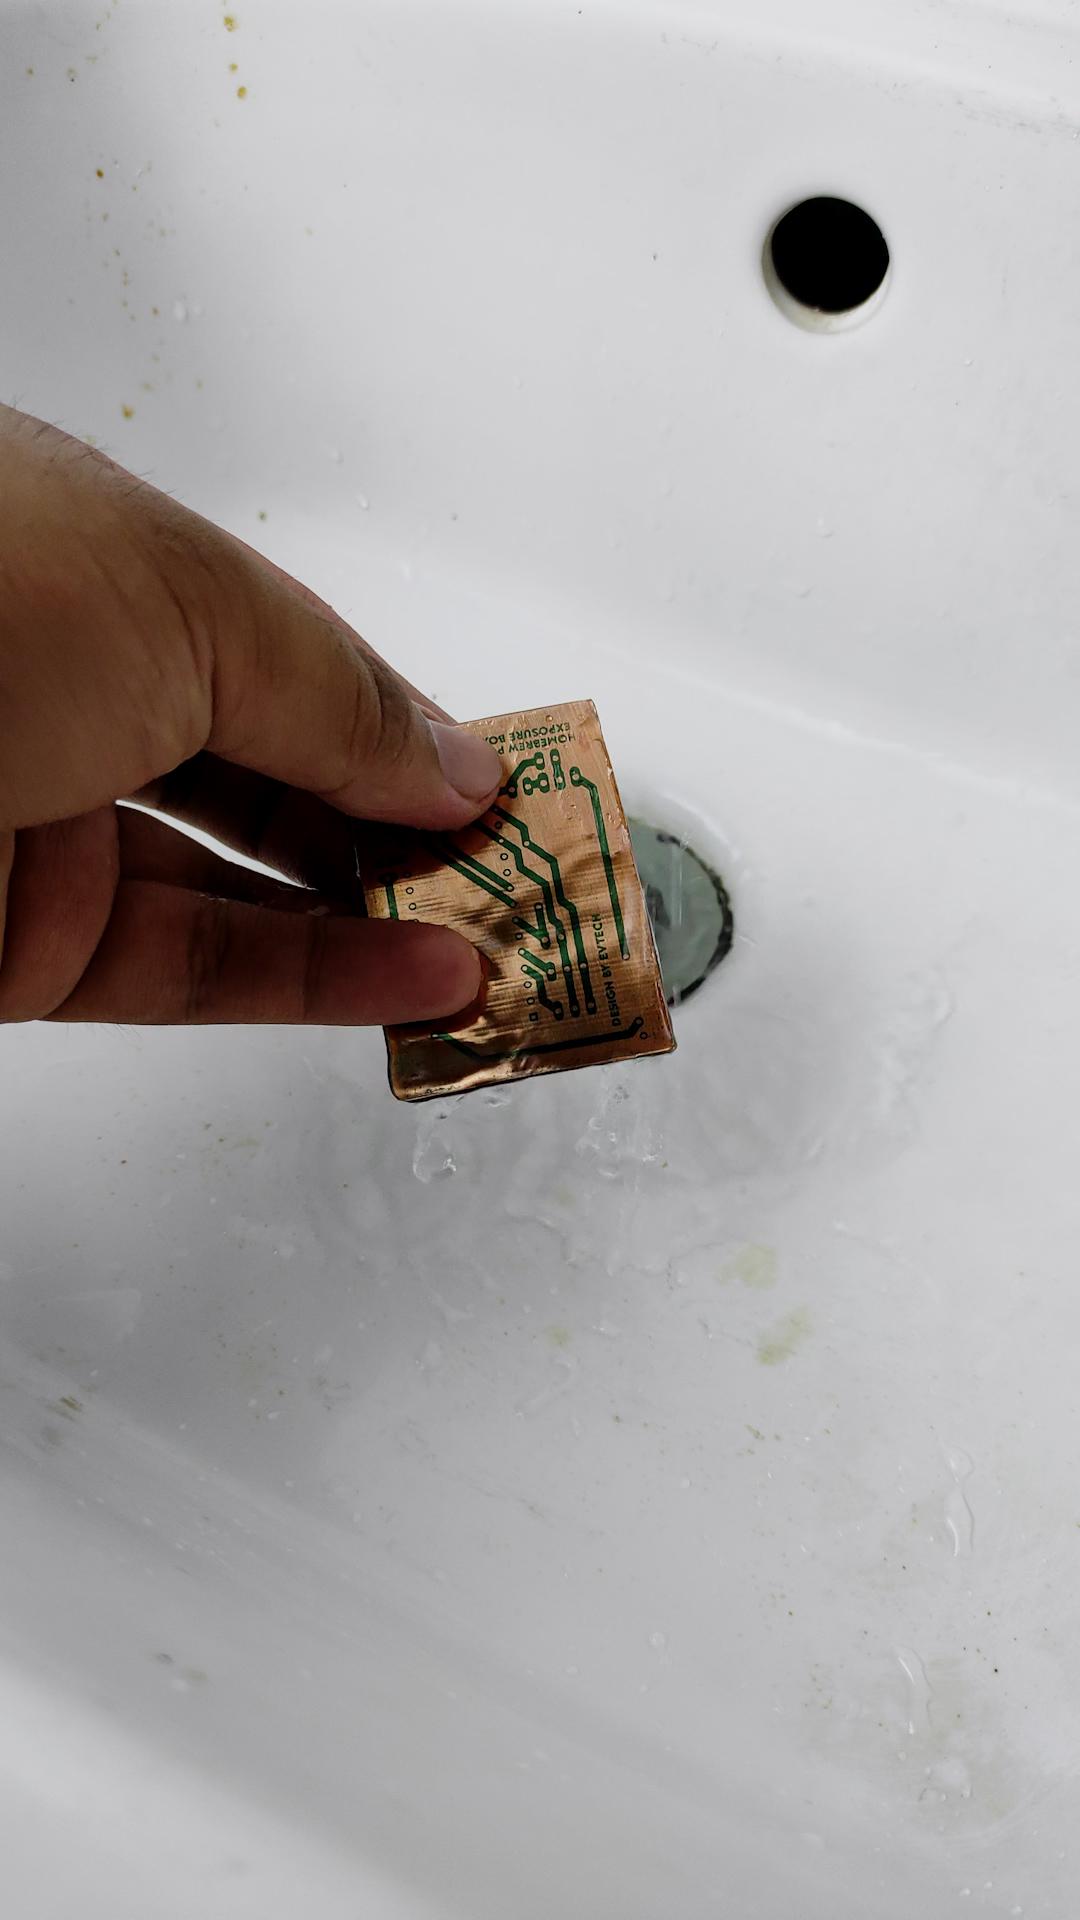
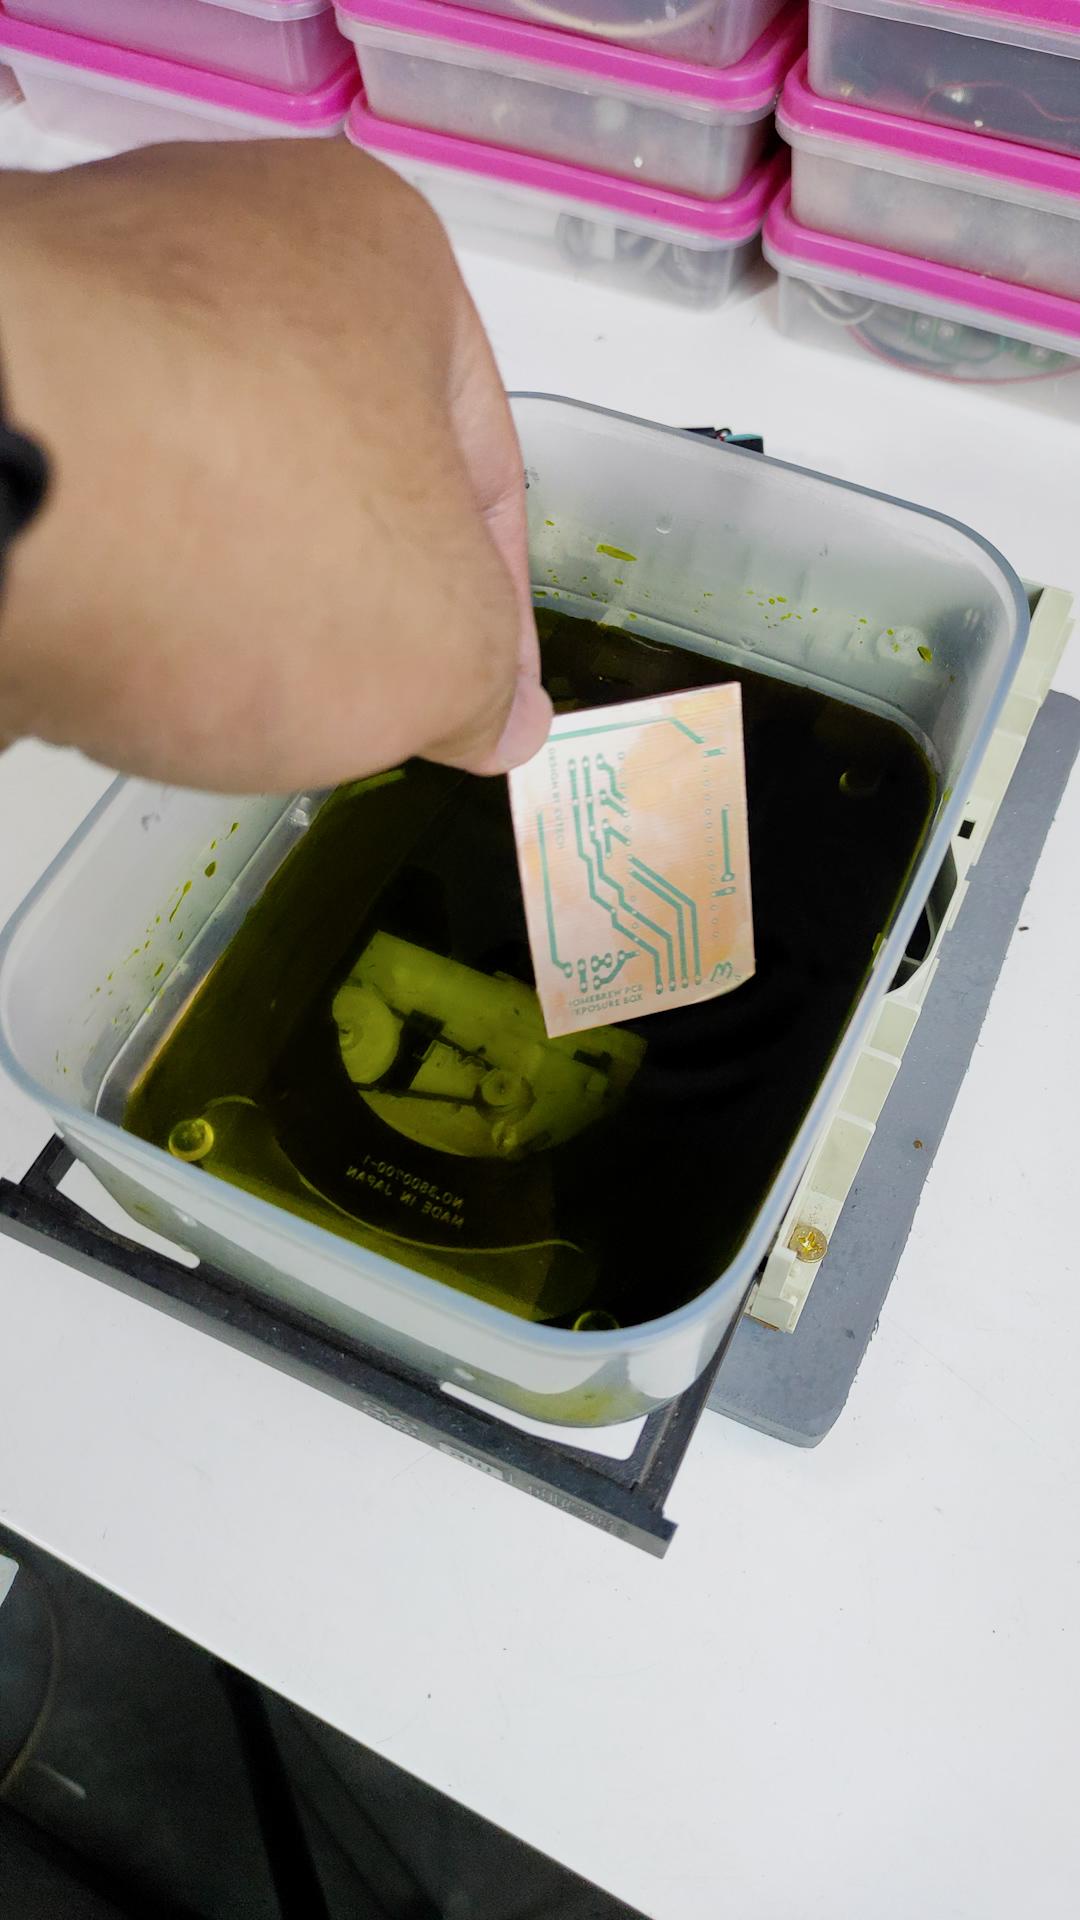

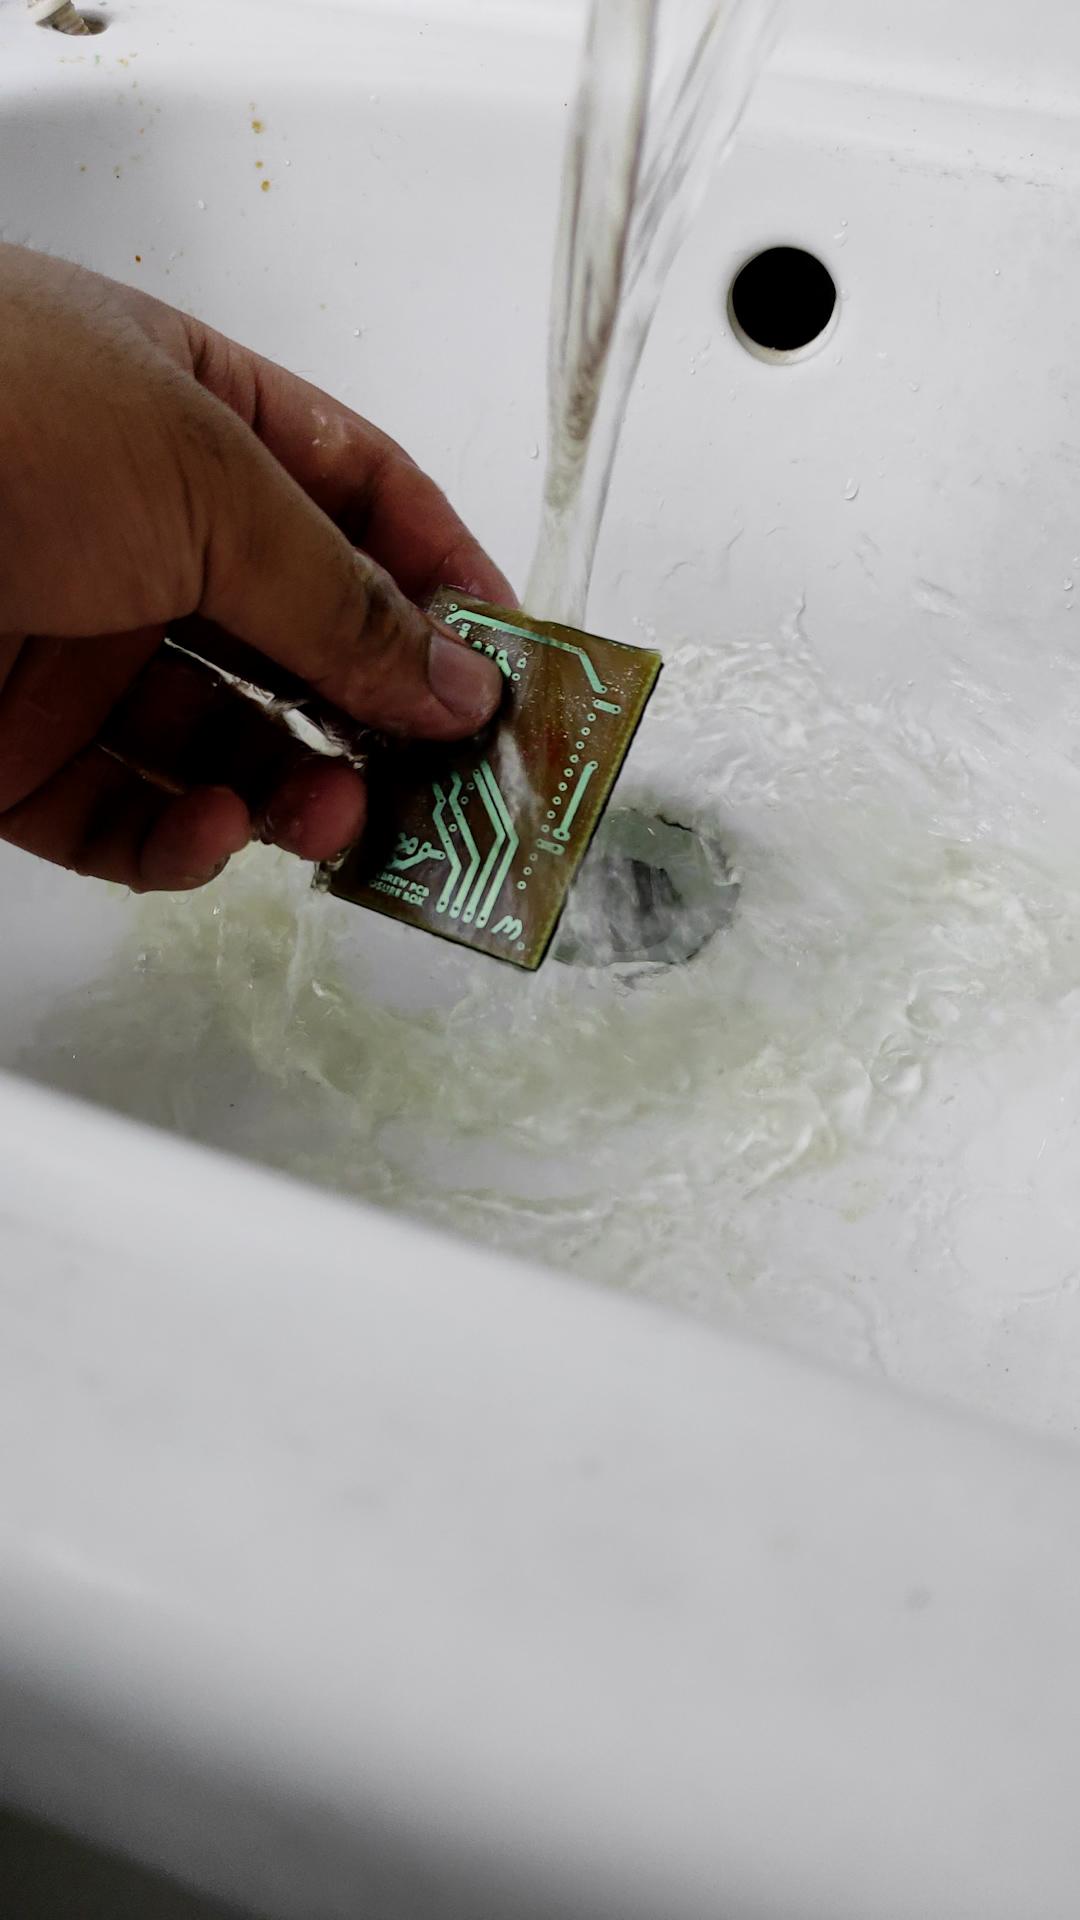


Caution: Wear gloves when working with developing solutions and ferric chloride.
I printed my PCB layout on a piece of paper using an inkjet printer. I then used a scissor to cut through the borders. I moved on by fabricating the top layer of the photosensitive PCB board. I used my printed-out border as a guide and used a hacksaw for cutting it; you can also use a grinder if you want to cut it faster.
Next, I peel the light protective film, grab a bottle of baby oil, and carefully spread it on the PCB. After that, I get my PCB print out and put it on top of the PCB. Since I don't have a PCB exposure box yet, I use my classic fluorescent light to expose it in 10 minutes.
Once done, I grabbed my developing solution and put it in the container. After that, I submerged my exposed board in the solution, and the mask line showed up like magic. After that, I cleaned the board with liquid soap to remove the oil. Next, I place the board in my homebrew PCB shaker, for which by the way I also have a tutorial, and when the etching process finishes, I go ahead and rinse it with water. There you have it; you have successfully made the PCB. For removing the paint, I used acetone, as it doesn't make my line thinner. Now let's move on to the drilling. I grabbed my mini drill for drilling holes in my electronics components.
Homebrew PCB Shaker for Etching Using an Old DVD Rom!
https://www.instructables.com/Homebrew-PCB-Shaker-for-Etching-Using-an-Old-DVD-R/
PCBWay



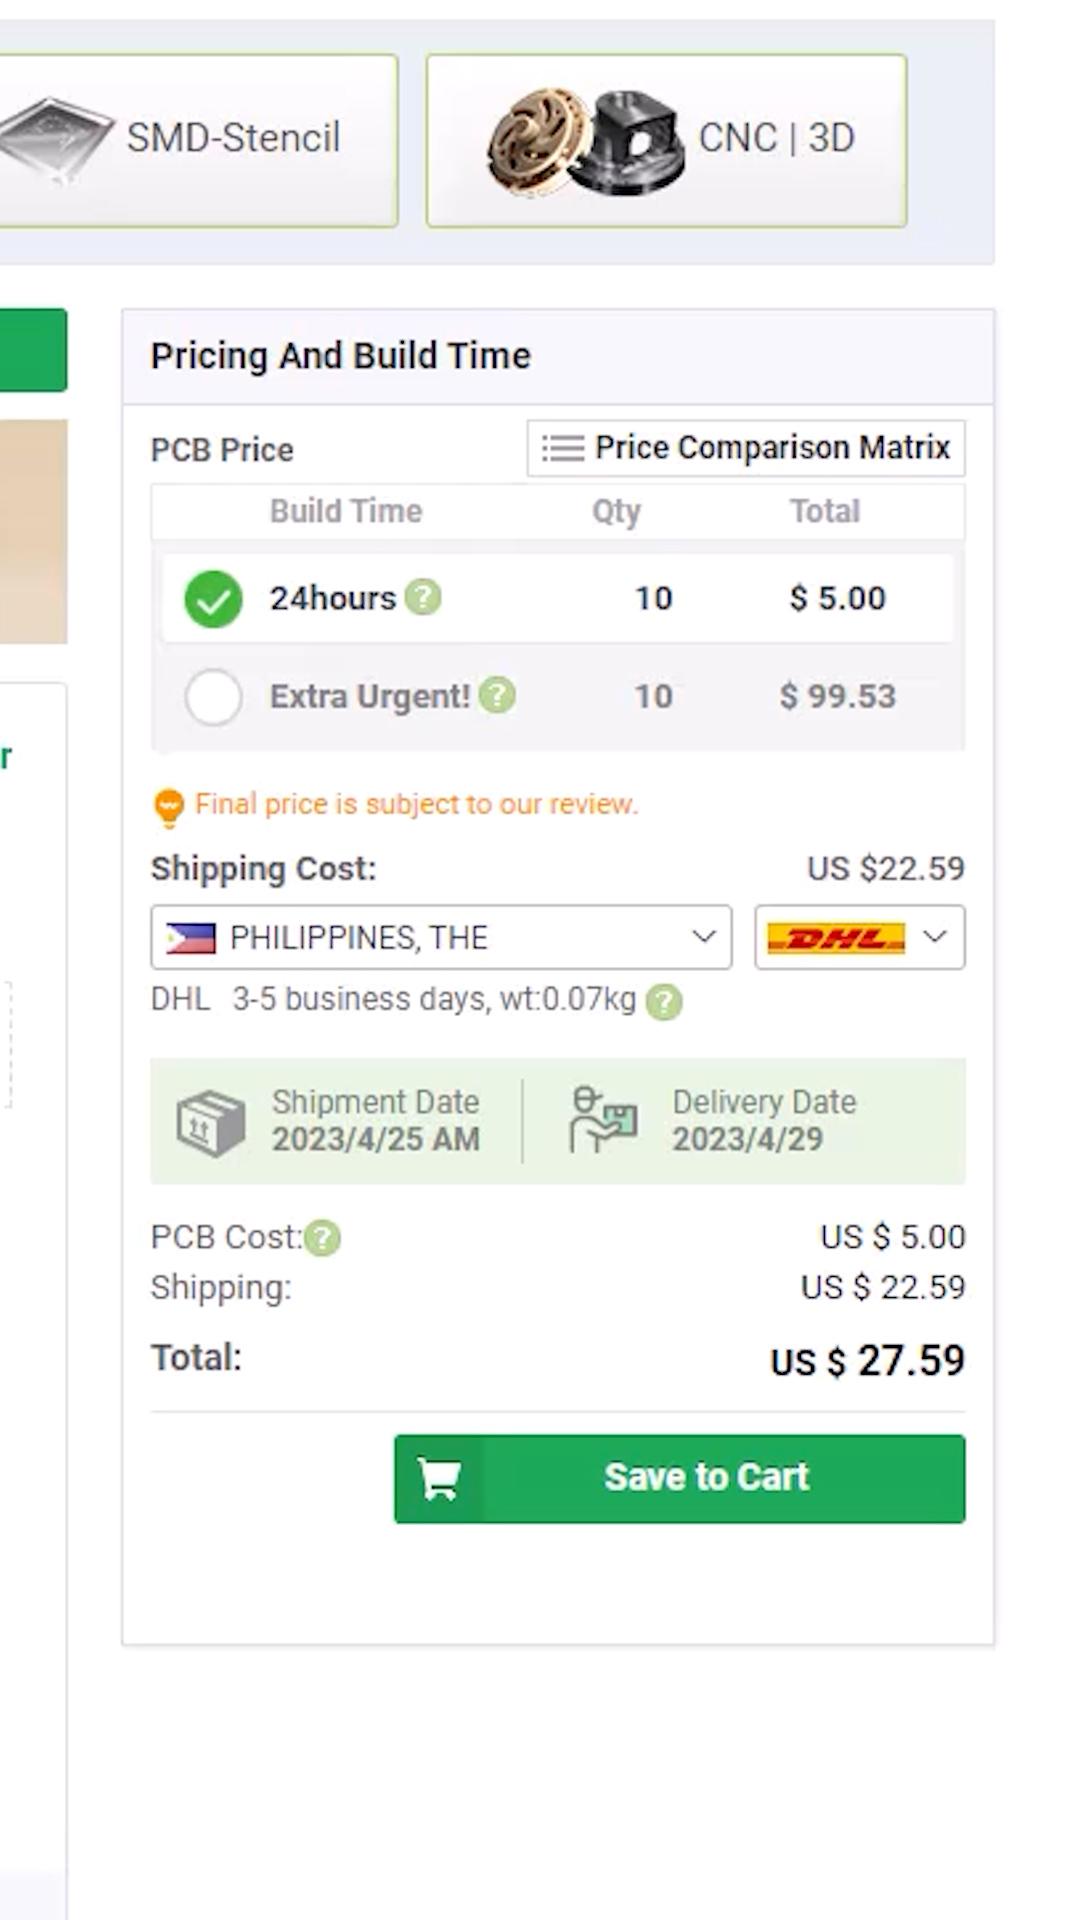
If you don't want to go through all the PCB fabrication process, a quick shout-out to our sponsor, PCBWay. PCBWay is one of the leading professional PCB fabrication services. Just upload your gerber files, get an instant quotation, and get your PCB professionally done in just hours.
If you are interested in the gerber. You can find it in the GitHub file package link. You can buy 10 pieces of the board for $5 (be sure to input 10pcs. since 5pcs is set by default). I do appreciate it when you buy from my PCBway link, I use the commission to fund my other projects and tutorials, your support would be much appreciated.
GitHub Link: (https://bit.ly/43Y9sJt)
PCBWay Link: (https://pcbway.com/g/g0tGSX)
Soldering Time!


Now, let's get on to the soldering. I usually used my soldering lead hole and third hand as a helping hand when soldering. I then mounted my electronics component base on my downloadable parts placement diagram, which by the way you can download by clicking the GitHub link below. Everything you need is in the file package. This includes the schematic diagram, parts placement diagram, the gerber files, PCB layout, and the Arduino code.
After soldering, use a wire cutter to remove the excess leads.
GitHub Link: (https://bit.ly/43Y9sJt)
Mounting the Electronics Components


Next is putting the potentiometer and LCD on the cover of the scanner; after that, I solder a wire to the components to prepare them for connecting to the PCB. After that, I connected the positive and negative wires of the LED to the PCB, and after doing that, I also connected the momentary switch to the PCB.
Next to that, I used a third hand to hold my female DC power jack while soldering the wire going to the PCB, and after doing that, I used the provided nut to fasten it in place. I used a cable tie to manage the wire in the cover of the scanner going to the PCB. Now, I connected the wire from the i2c LCD to the PCB, followed by the wire from the potentiometer to the PCB, and I also connected the buzzer to the PCB.
Arduino Code


STEPS:
- Connect the USB cable from your computer to the Arduino nano.
- Download my program sketch in GitHub link below.
- Tweak it if you must.
GitHub Link: (https://bit.ly/43Y9sJt)
Closing the Scanner and Aesthetic


After uploading the code, I closed the scanner using its screws.
Next to that, I measured the size of the screen and the potentiometer to put a label on it, and to make it look even nicer, I added two plastic knobs for the brightness and duration potentiometers.
How to Use It?


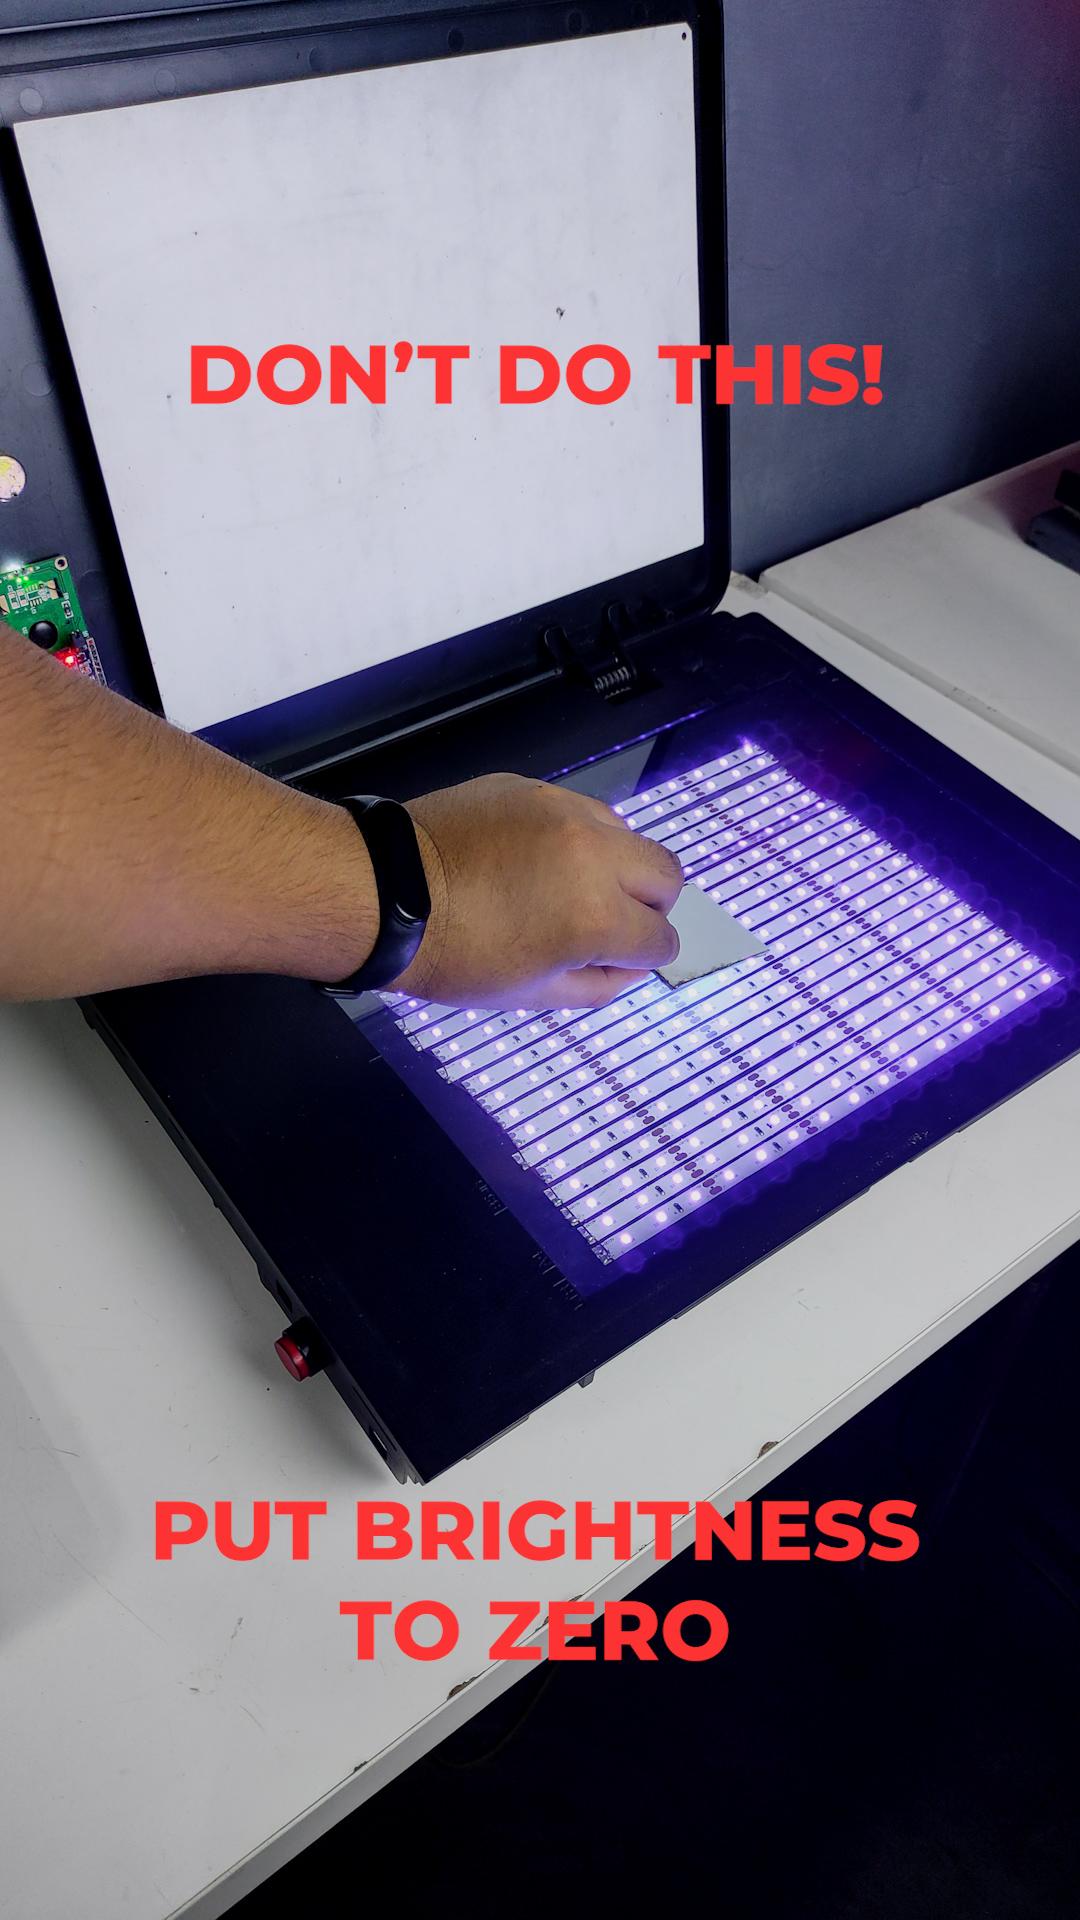
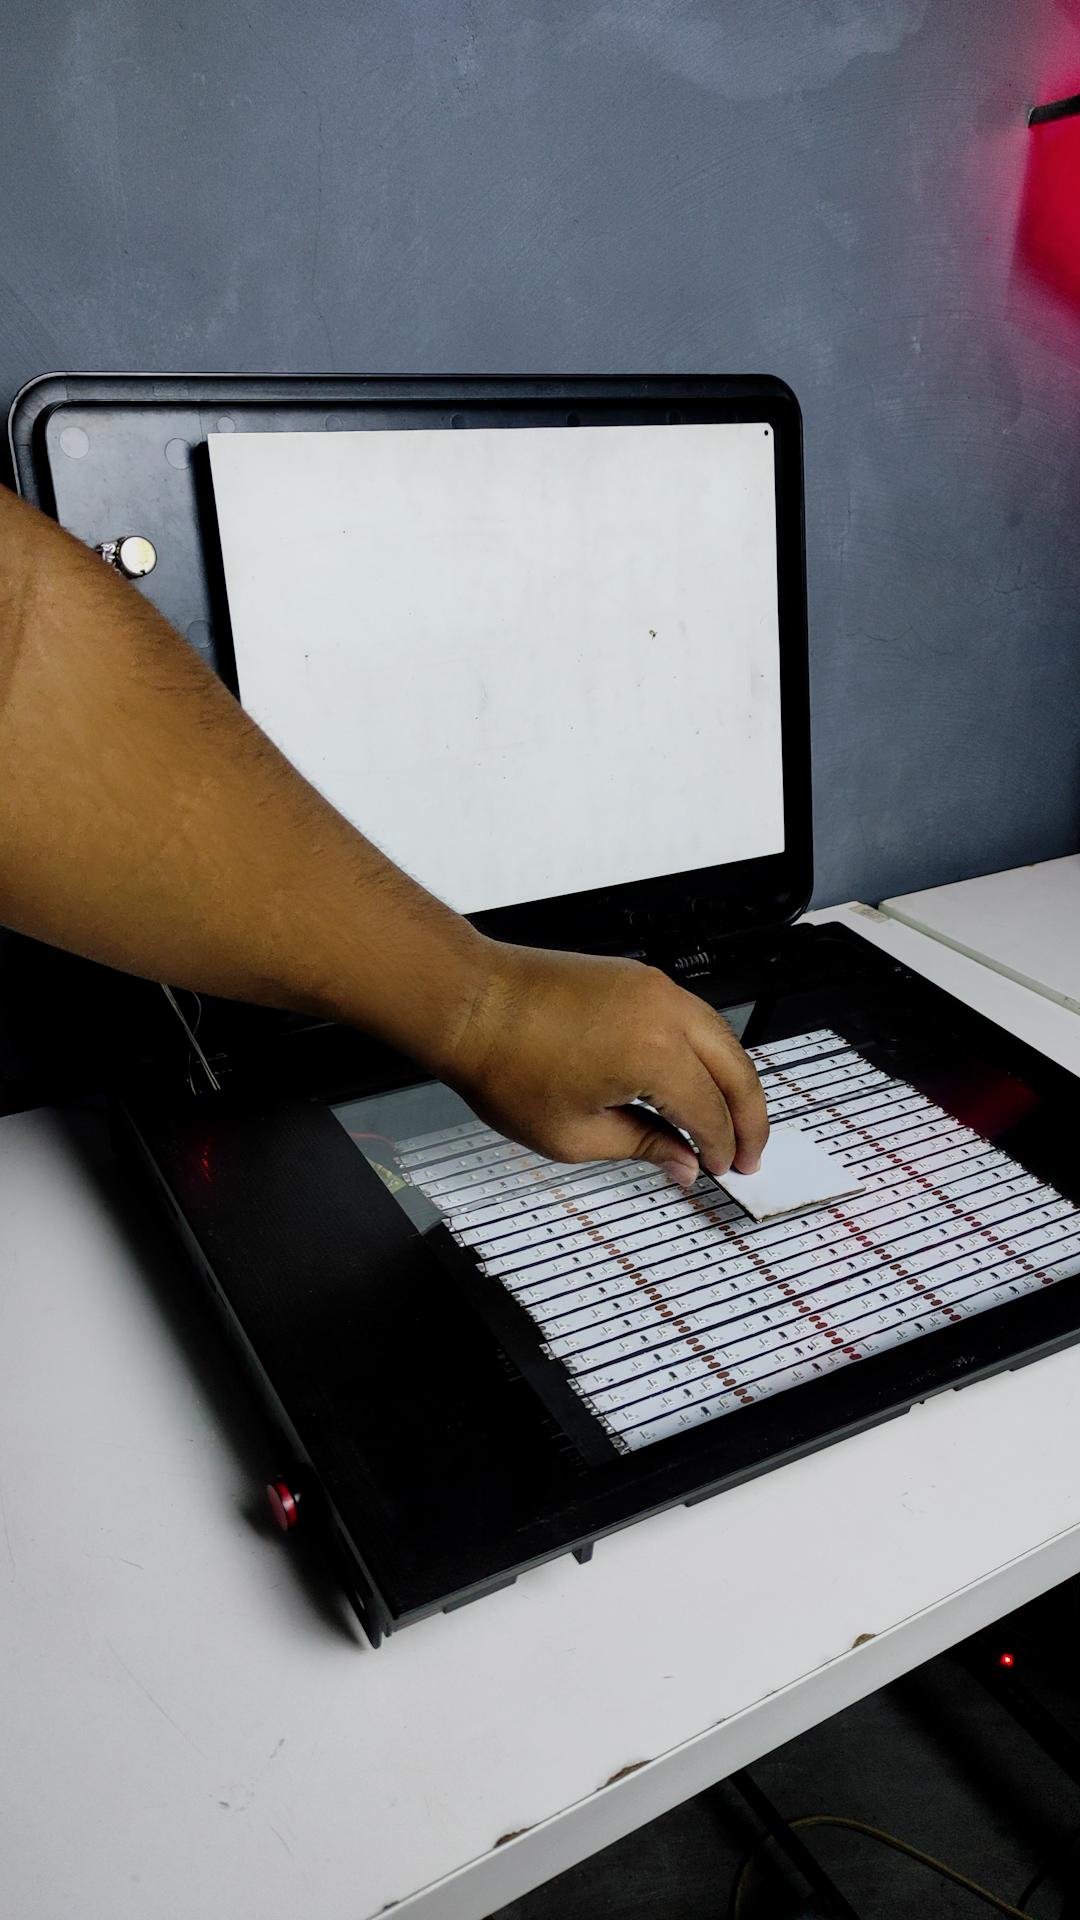
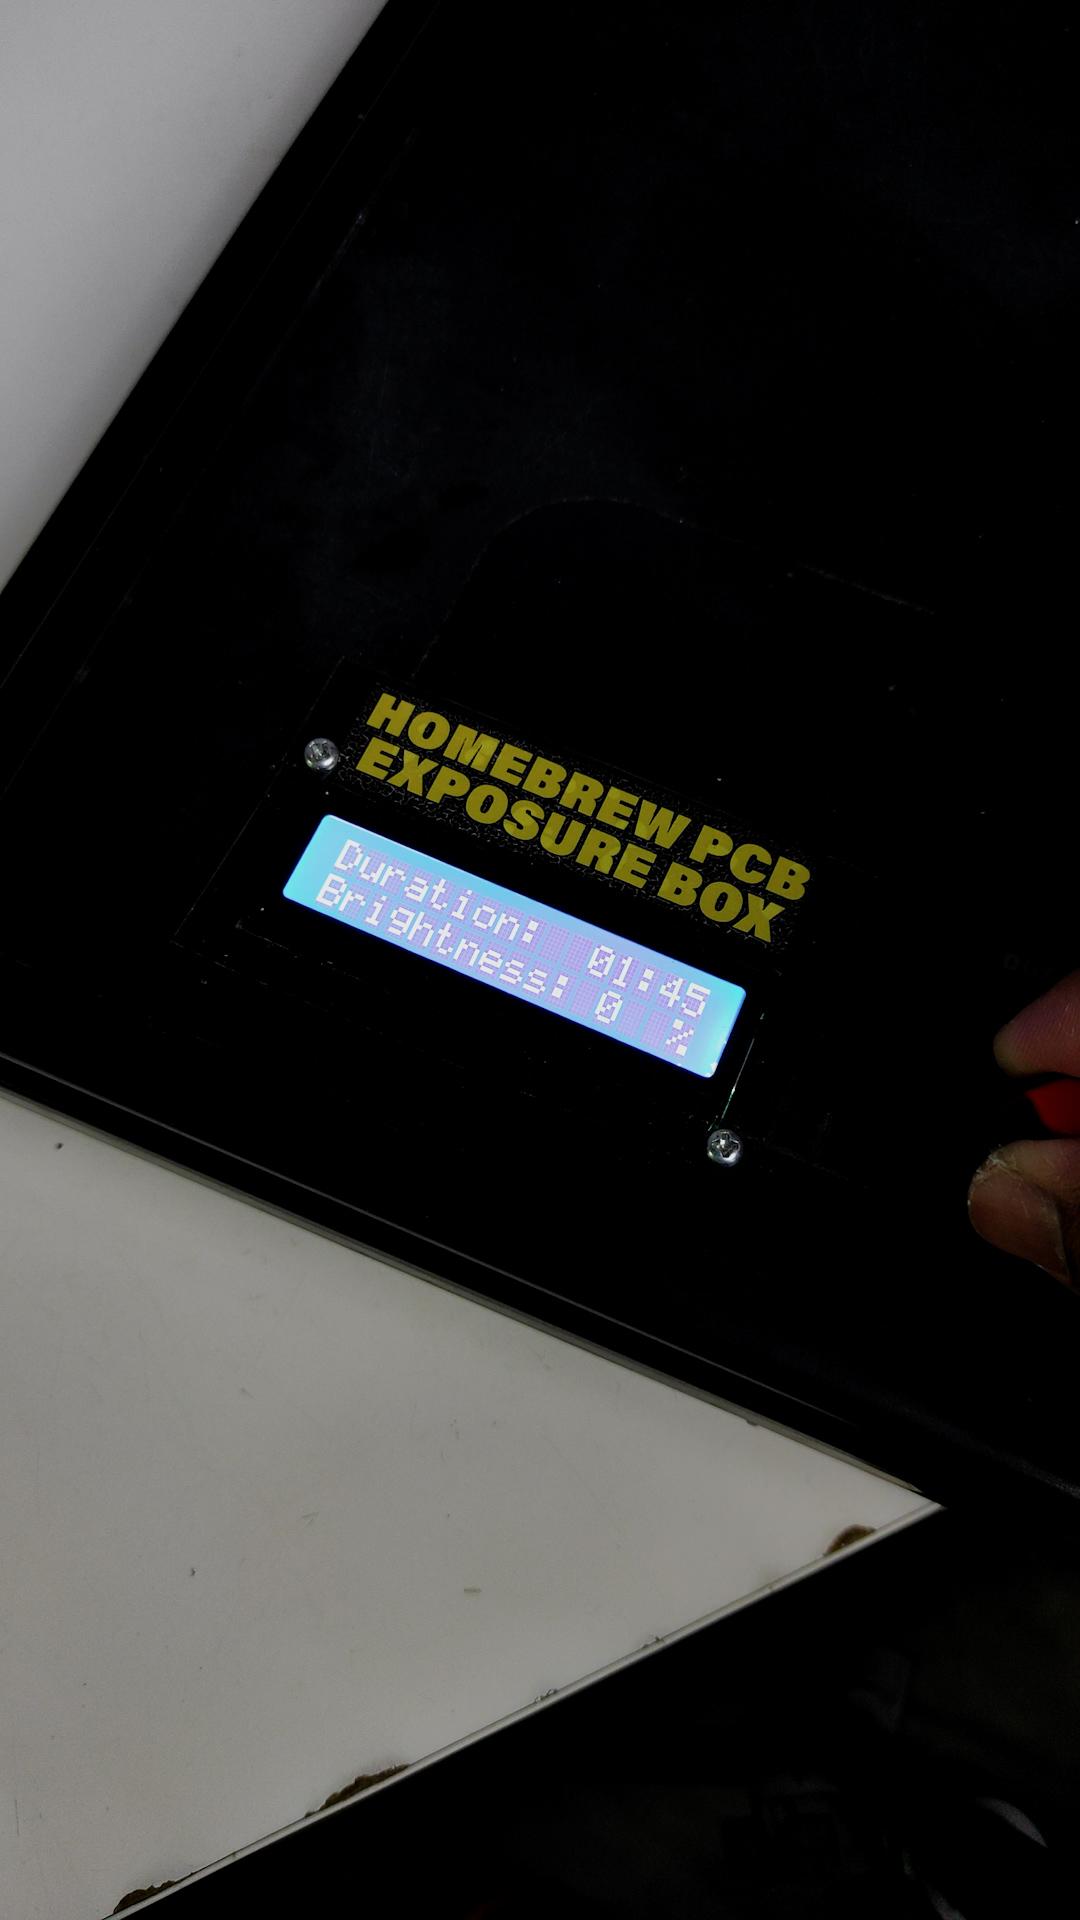

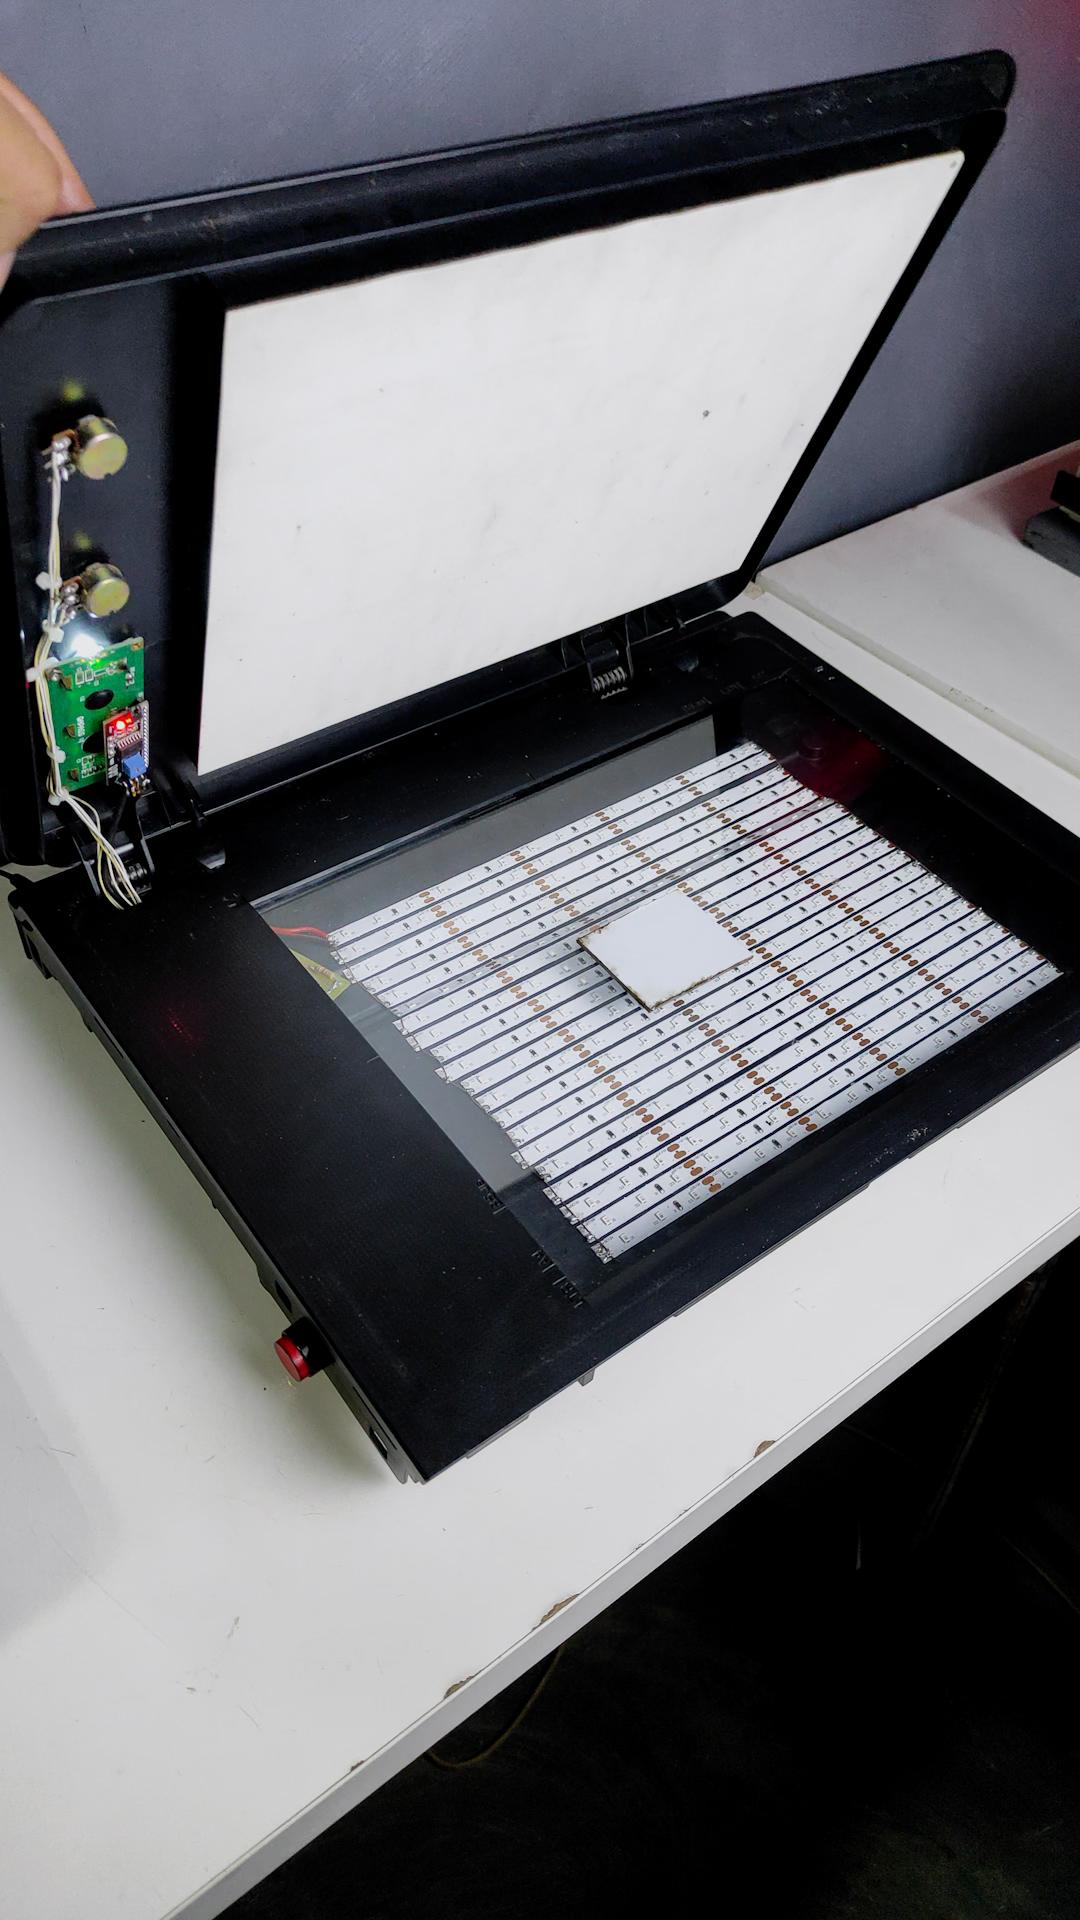
First, plug in the power supply; the LCD should start displaying text on it. Before placing your presensitized PCB, make sure to turn your brightness knob to zero so that your presensitized PCB will not get exposed before starting the timer. After that, it's time to put your presensitized PCB in the exposure box. Now start experimenting with exposure duration that work well for you. After setting the duration, push the momentary switch to start the timer. Once done, the UV light will turn off to prevent overexposure.
Enjoy!
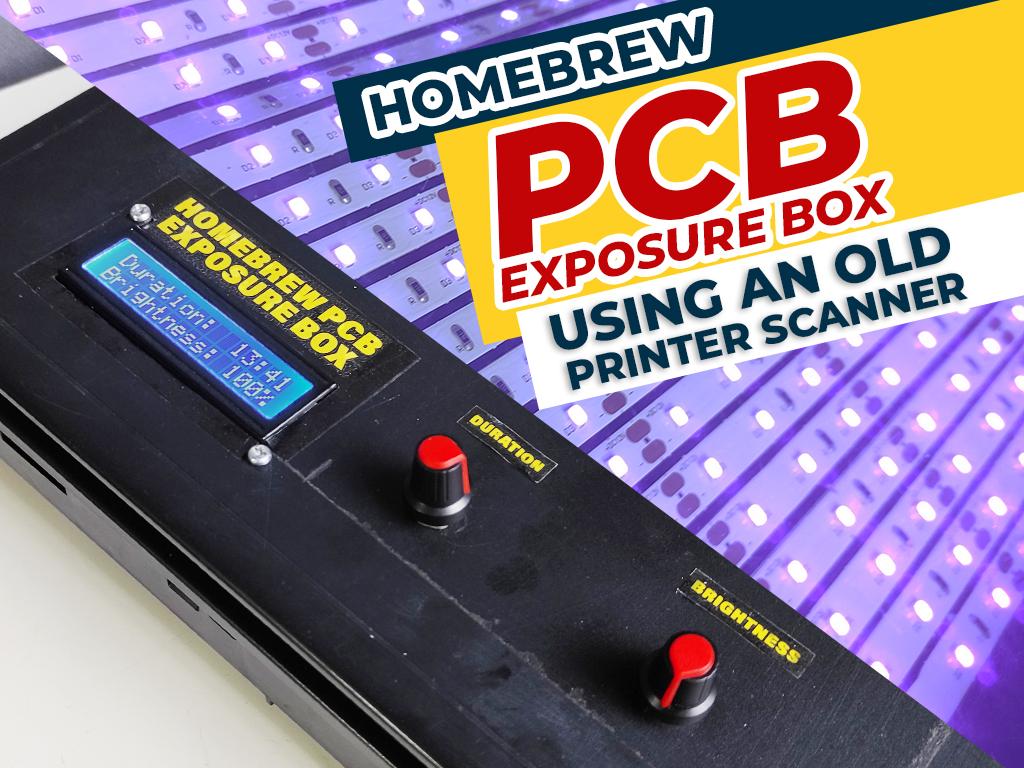


And that's how you make a homebrew PCB exposure box using an old printer scanner.
And as always, keep learning and have fun! Byiee!