How to Make a Backlit Keyboard
by gigafide in Circuits > Electronics
125460 Views, 163 Favorites, 0 Comments
How to Make a Backlit Keyboard

In this instructible, we will be making a backlit keyboard using a usb-enabled keyboard and some el-wire.
Needed Parts


To do this project you’re gonna need a couple of things:
- USB powered Electro Luminescent wire or EL wire.
- A keyboard
- Hot glue Gun
- Screwdriver
Technically, you can use any keyboard, but the one I will be using has these built in USB ports to conveniently plug my el-wire into. If you’re really technically savvy, you can also put this in the keyboard of a laptop, but it will require a bit more modding because, by itself, the el-wire is too thick to fit behind the laptop keyboard.
Disassemble the Keyboard

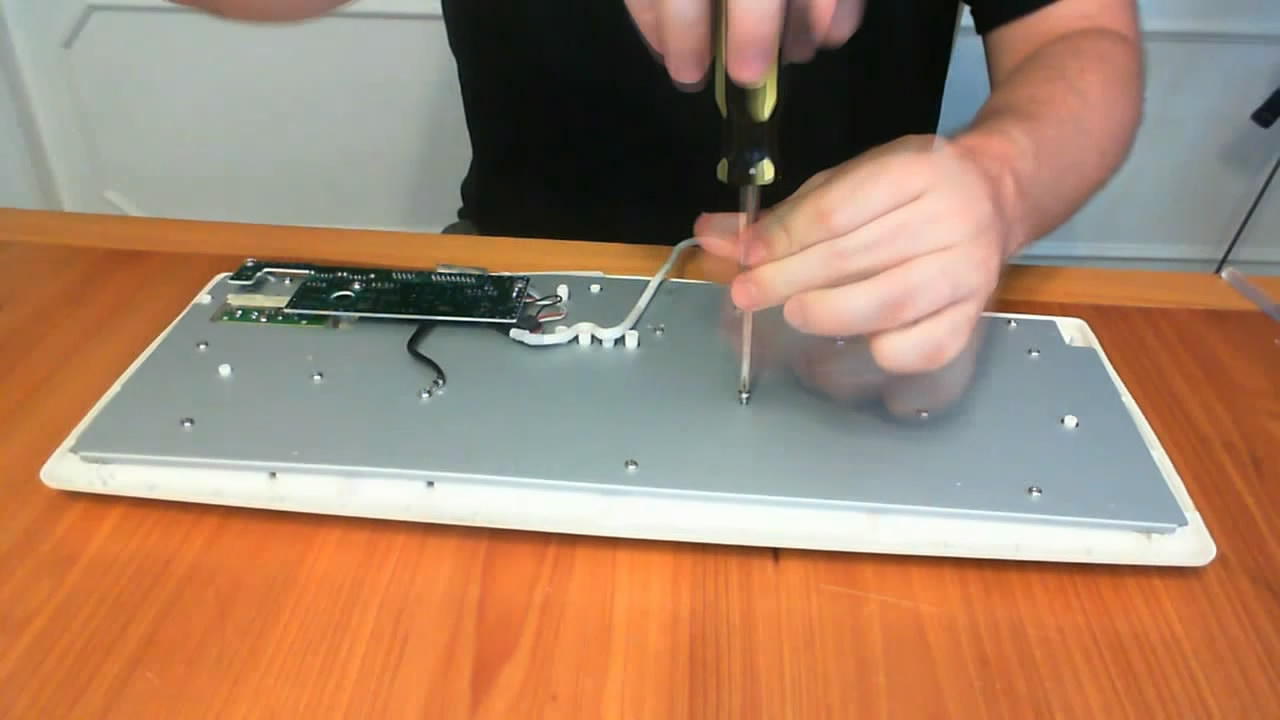


Begin by flipping the keyboard over and removing all of the screws that hold it together. This will allow you to remove the keyboard backing. Then remove the inside screws and the screws holding together the circuit board. This will allow you to remove the internal circuitry of the keyboard.
Make an Entry Point
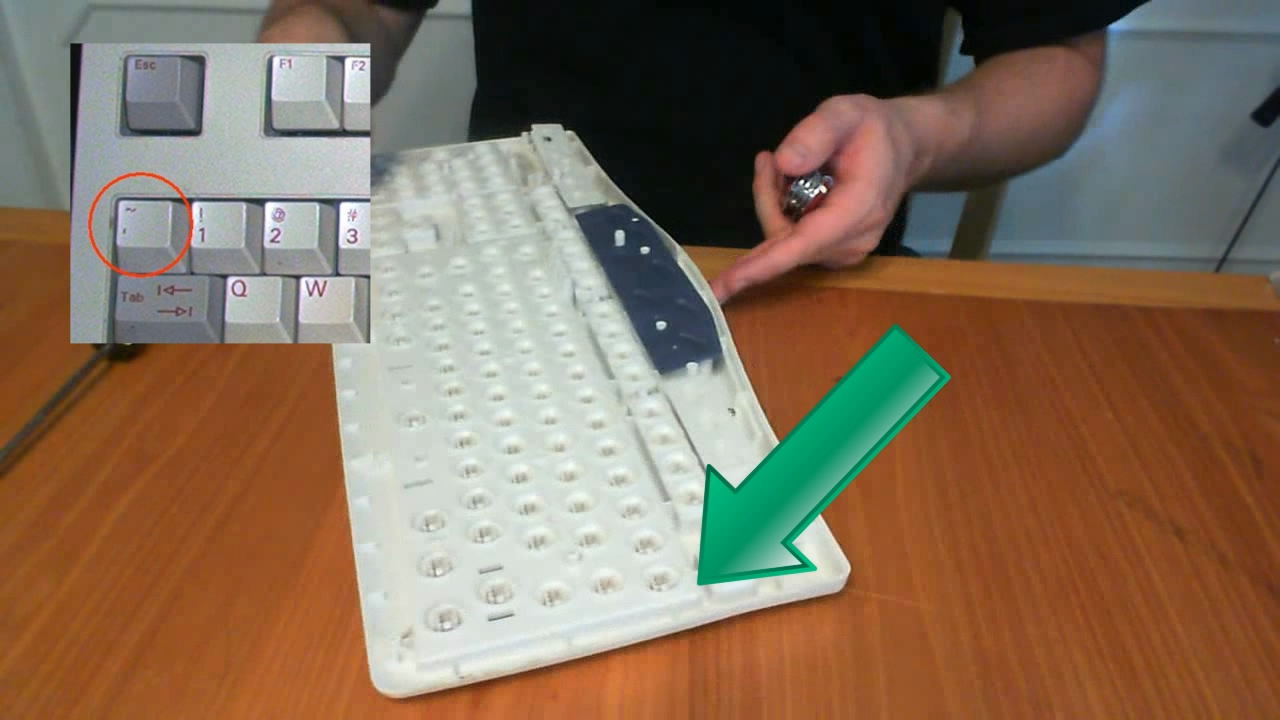


We will need the El wire to pass from the back of the keyboard to the front, so we will need to make a hole and thread the El wire through it. Find the upper right corner of the keyboard. When flipped over, it should be the corner above the tilda key (show tilda graphic). You want to use a knife or a drill to cut a hole into this corner and thread the el wire through the hole. You may need to remove the tilda key in order to thread it completely through.
Making Room for the Transformer


Now comes the tricky part. We need to find a way to fit the transformer into the keyboard. For some of you, your keyboard may already have enough extra room for it. For me, I was able to remove one of the “extra” shortcut keys from the keyboard using a dremel, but you’ll just have to see what extra room your keyboard has for this to fit. After hot gluing it into place, I reassembled the keyboard and flipped it back over.
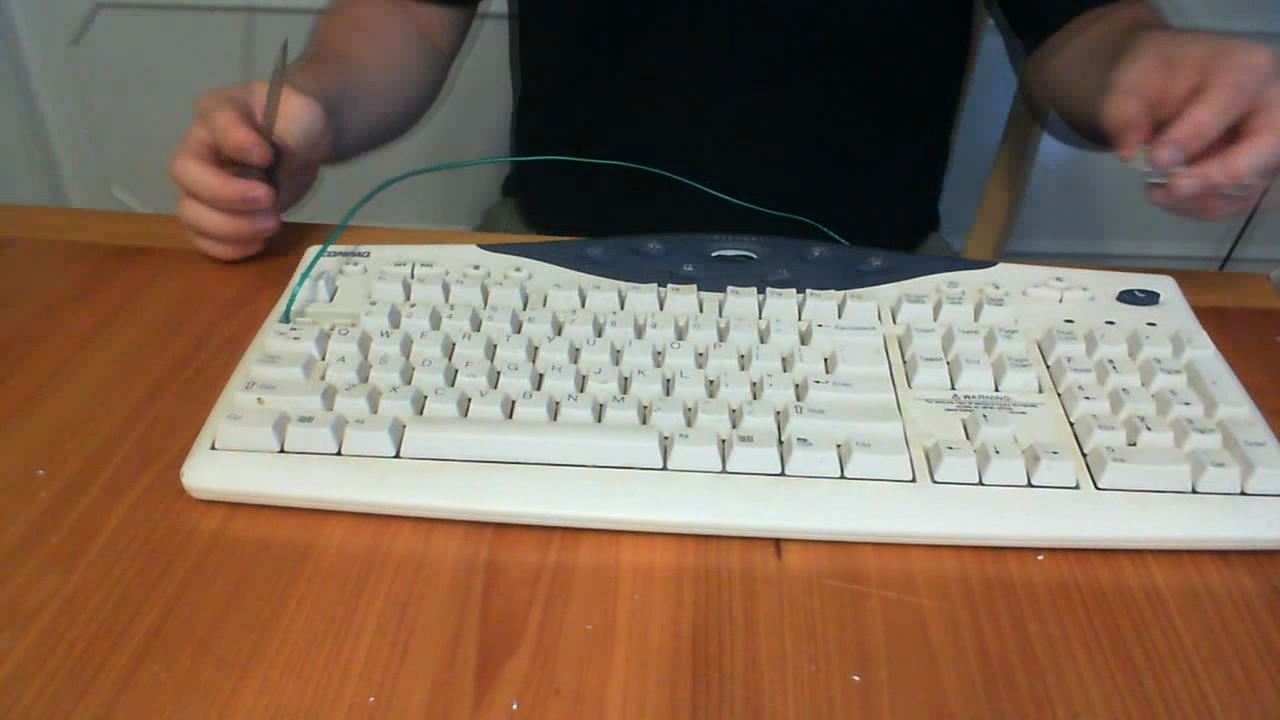
Running the El Wire


Using a flat-head screw driver, start removing the keyboard keys. When taking them out, remember to place them in order somewhere else so that you don’t forget where they go. Either that are snap a picture of the keyboard before continuing. Once you have all the keys removed, start zig-zagging the El wire around the keys. You can hold the El wire in place by putting down dabs of hot glue every couple keys.
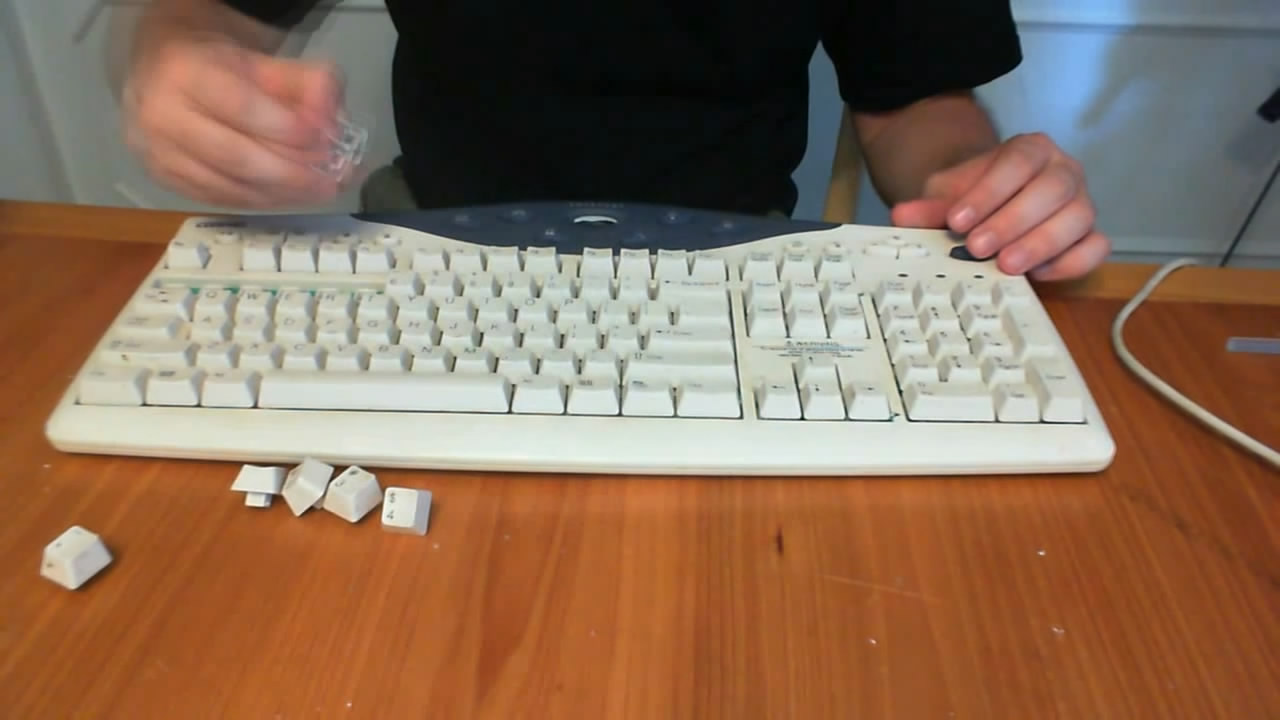
Finished Product

After you’ve got it the way you want it, you can replace the keys and plug in the keyboard to see how it looks.