How To: Make a Leather Wallet
by The Rambler in Craft > Leather
21097 Views, 216 Favorites, 0 Comments
How To: Make a Leather Wallet

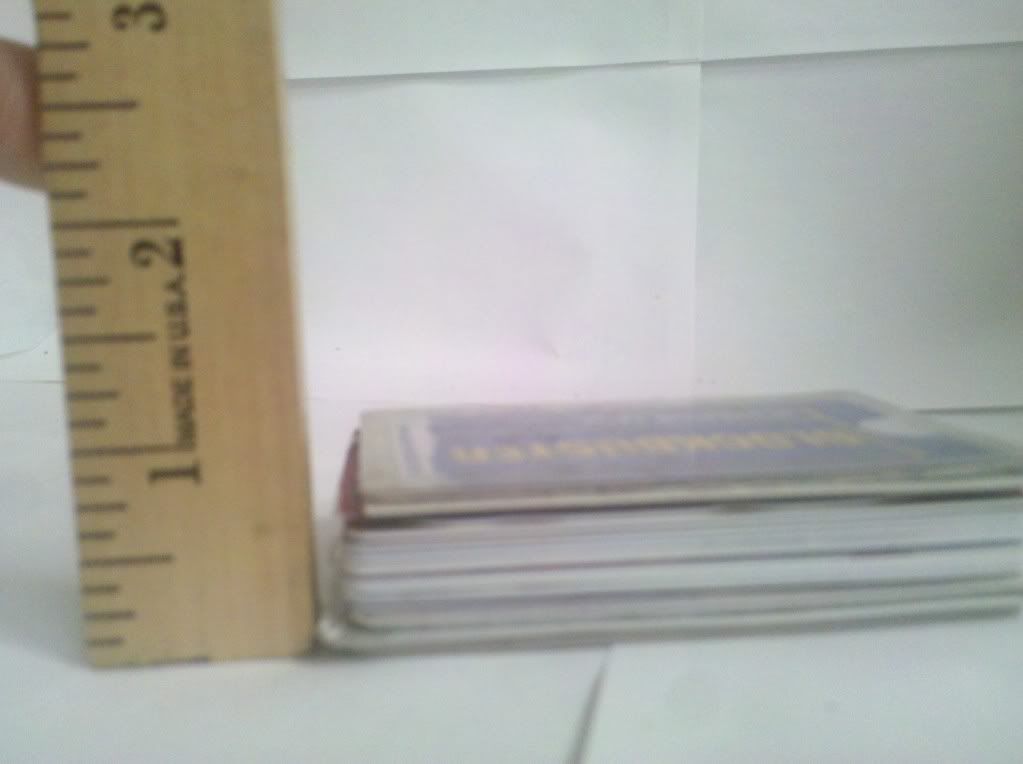
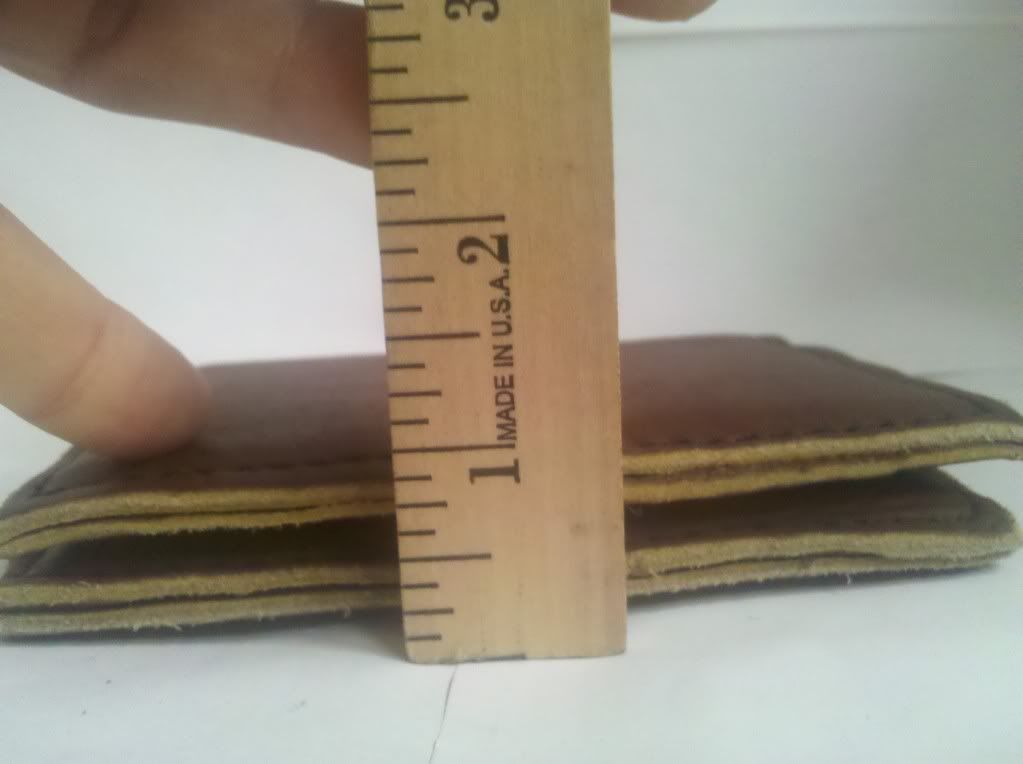
I have a pretty fat wallet. Not that any of it's money. It's mostly various cards to help me save money. I'm addicted to savings cards! My wallet is full of membership cards, bonus cards, punch cards, you name it. If it might somehow save me money one day I keep it. This pile of cards has become this blurry picture...
That's right. About an inch sans wallet. Adding the wallet makes it even thicker.
Yowzers.
In fact, I started carrying my wallet around open so that it wasn't so thick, but I feel so insecure everytime I take it out. I'm always glancing around thinking I must have dropped something important.
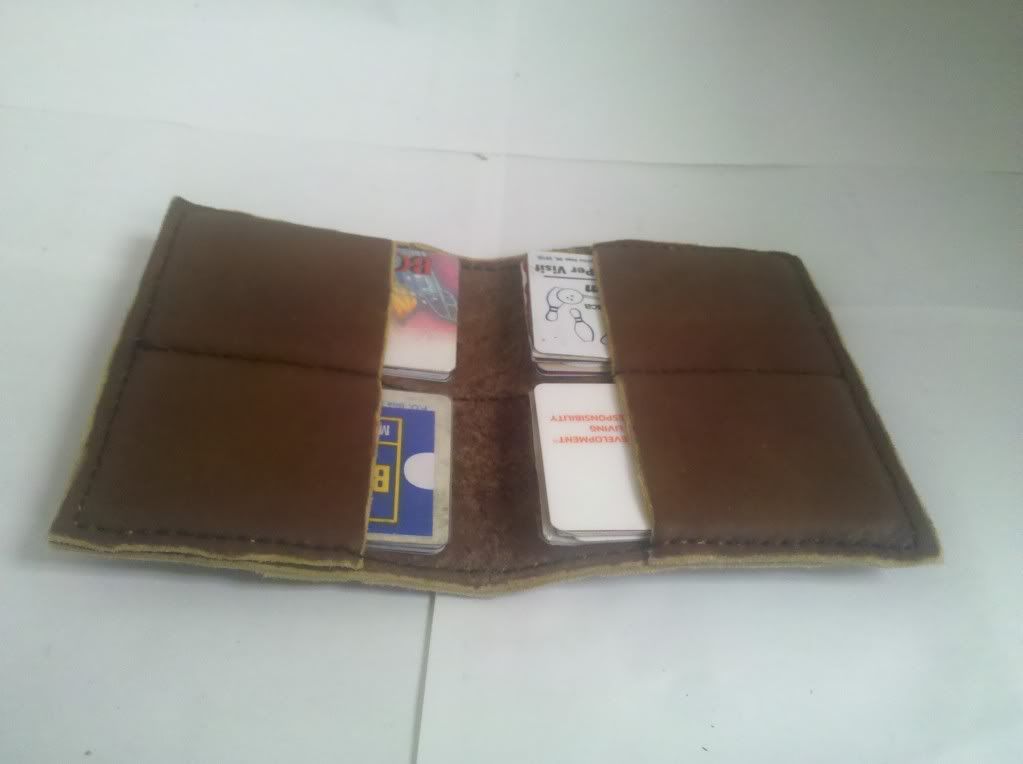
The challenge I gave myself was to make a wallet that was as secure as my current is when closed, but as thin as it is when open. I think I've succeeded.
To the leather scraps!
Selecting and Cutting Your Leather

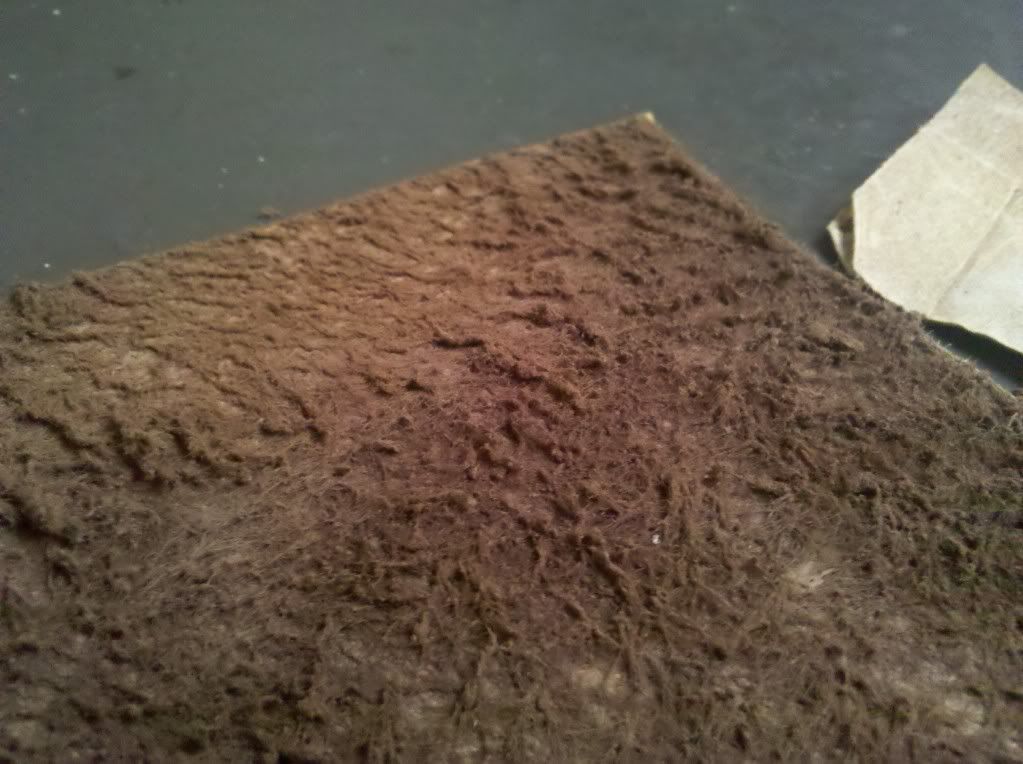
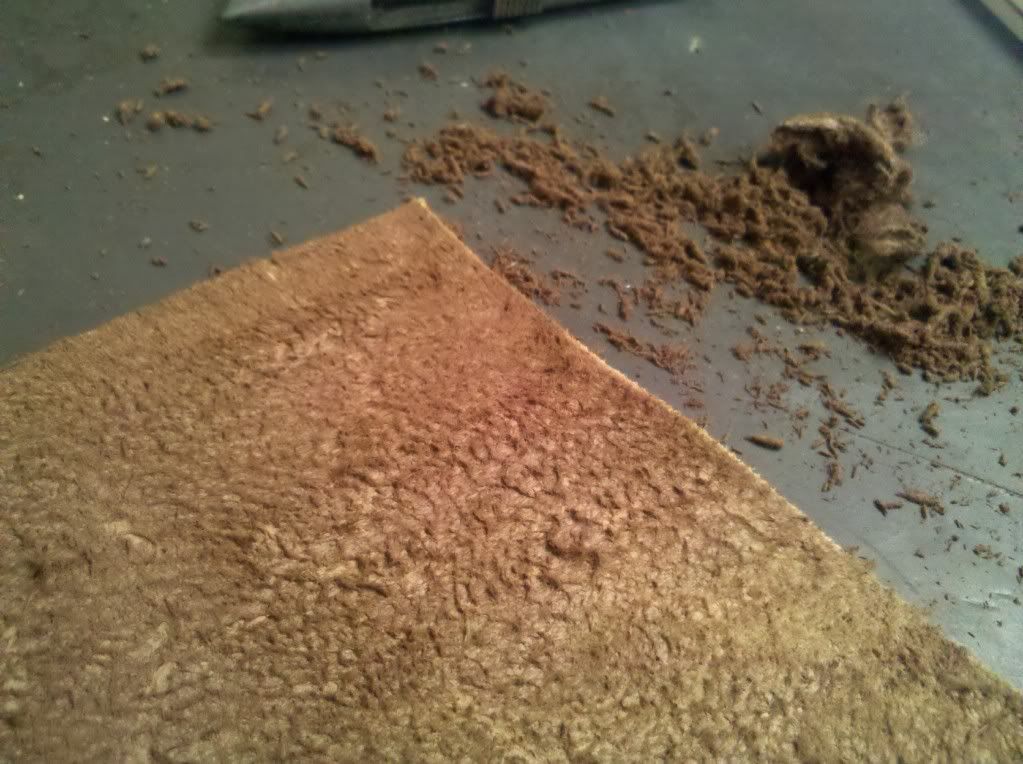
The leather I wanted to use was really "woolly" so I used sandpaper to smooth it out a bit.
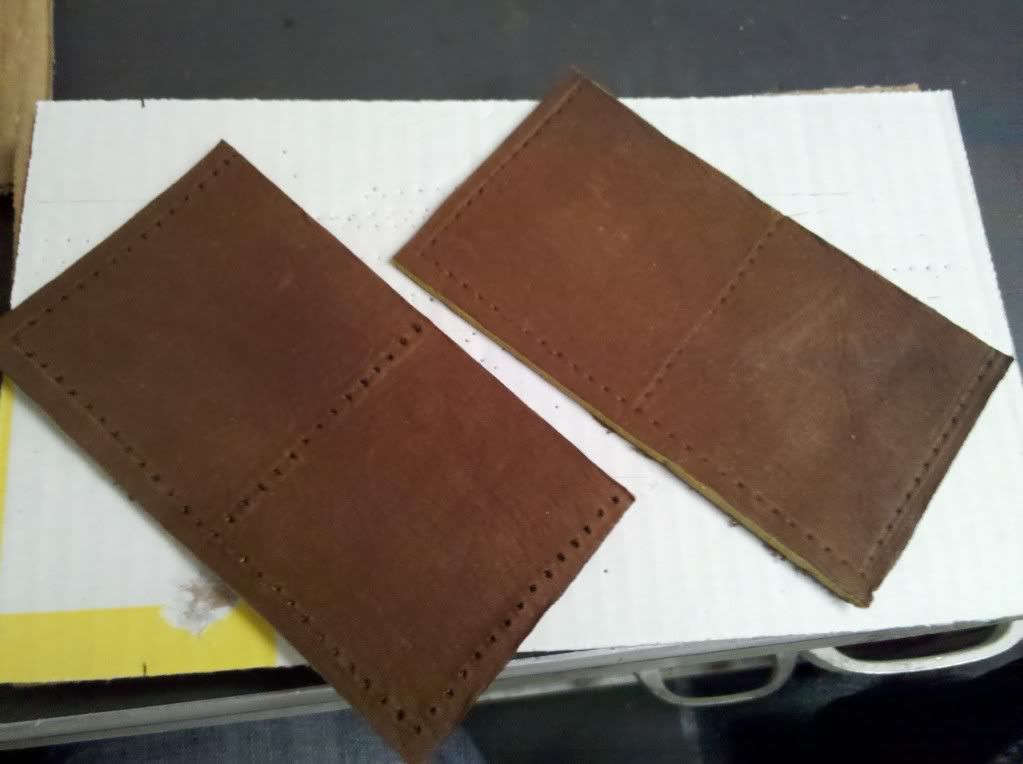
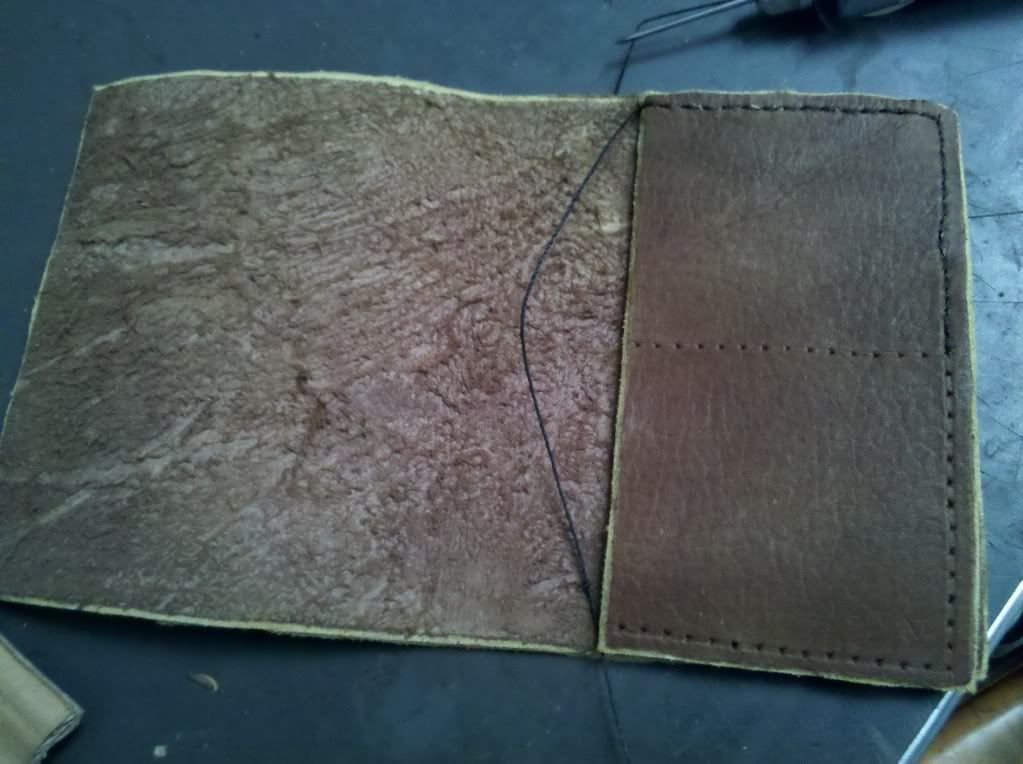
The plan was to have four pockets to carry my various cards so they would be more spread out rather than just one big stack like my previous wallet. I needed three pieces for my design. One large piece and two small pieces that would be the pockets. I used the cards from my wallet to figure the size.
As you can see here I've already skipped ahead to the next step.
Not pictured: I also used an edge beveler to shave the edges down and make them more rounded and less jagged.
Putting the Pieces Together

Once I had my pieces cut out and sanded down it was time to start sewing them together. To get nice evenly spaced holes you can start by using a stitching wheel that lays out a row of marks for you to stitch through or you could use a fork to do the same thing... or you could just wing it. Also, when it comes to the holes themselves you can pre-punch them with an awl of a leather punch or you can just use a stitching awl. I used a stitching wheel and then started pre-punching the holes until I realized I didn't have to since I was going to use the stitching awl.
I planned out my stitching like a map so I wouldn't end up sewing over the same area twice. Sewing over it twice is hard because you're trying to fit twice as much thread in one area, plus the needle on my sewing awl is actually semi bladed to help go through the leather and if you run it through a hole that already has thread you risk cutting that thread. I know this because I did it once on my journal.
Wetforming

Once everything was stitched together I had to size it correctly for the cards. I used a template initially to make sure that it would be the right size, but I wanted it to be a tight fit so I only made it just big enough. To make up for this I needed to stretch the leather. The best way to stretch the leather to the right size was to use the cards that would eventually be filling the wallet.
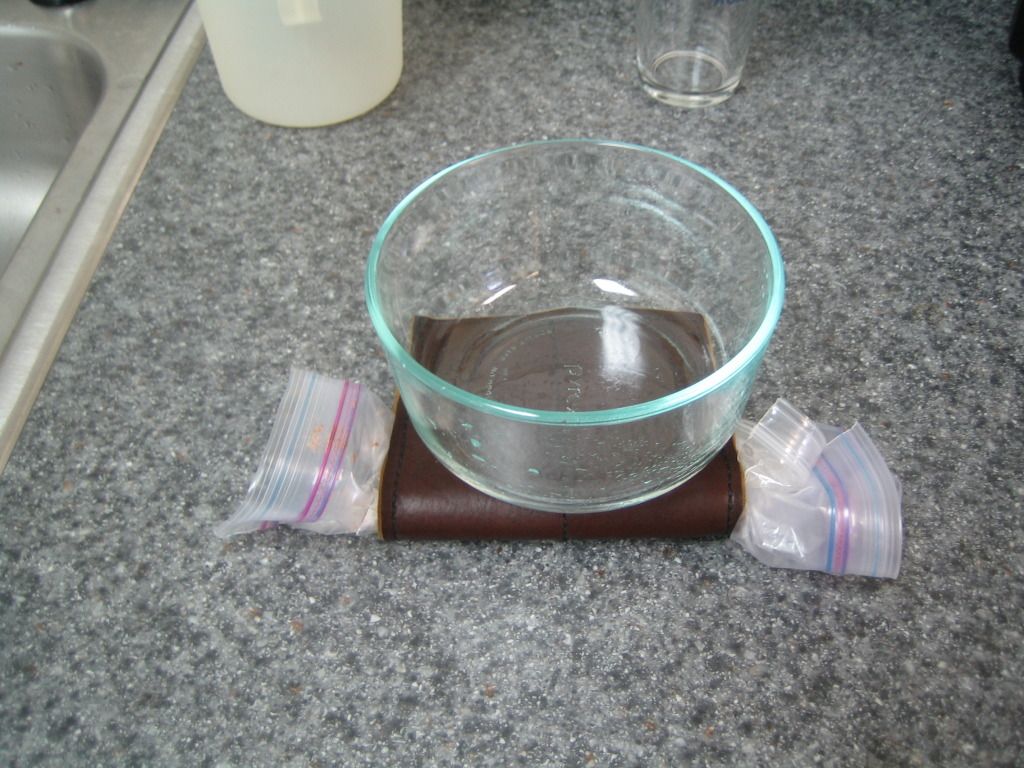
First I tossed the wallet in a pitcher of water to soak for about ten minutes.
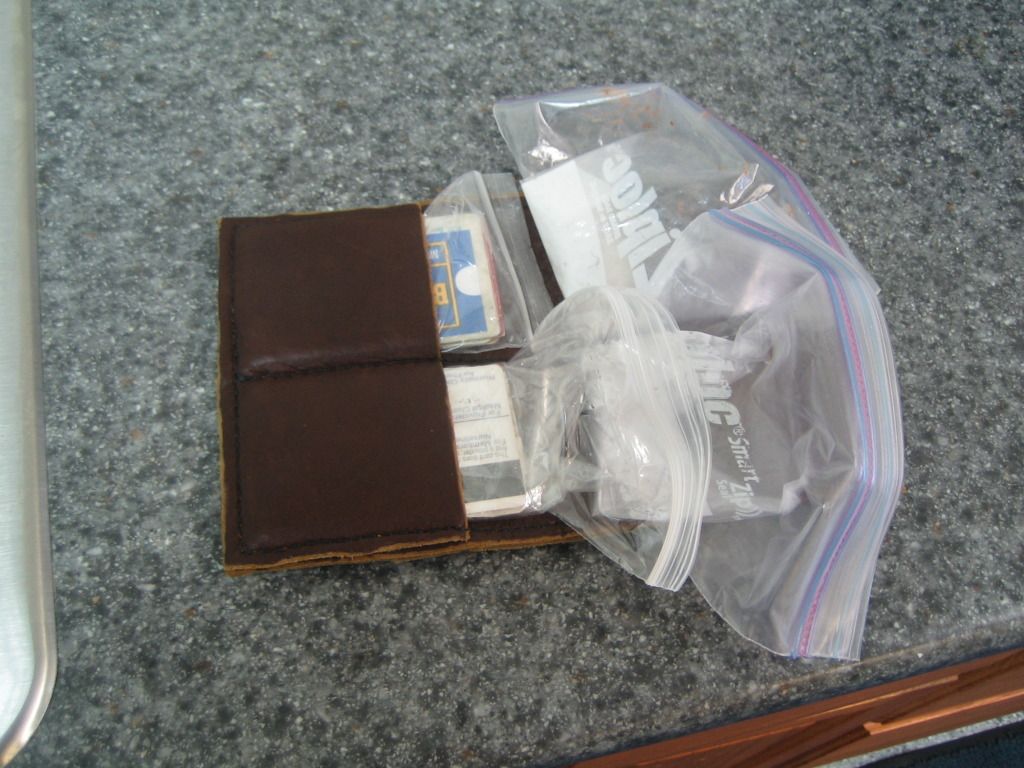
While that was soaking I got my "forms" ready. I took all of my cards and made four separate stacks of equal size. Then I put them each in a ziplock bag and put a little clear packing tape around them to keep them tight. Once the wallet was thoroughly soaked I put each little packet into a a pocket, set a dish on it for some weight, and let it dry.
You can put it somewhere warm to help speed up the drying process. Once it dries you can put the cards in sans the bags.
Finishing

There are plenty of other things you can do to a leather wallet. You can do some tooling to get some cool designs. If you're working with undyed leather you could do some different things with leather dyes. That wasn't what I was looking for this time around so I kept it simple; just a basic leather wallet that holds everything I need it too. In fact, you may have noticed, I didn't even include a place for cash. If I do happen to have any I just fold it and put it in one of the pockets but that doesn't happen very often...
The surface area of the wallet is a tad large. It's about the size of my back pocket. But with this design you can adjust that. You could do the same style with only two pockets. Most importantly though is the fact that I met my goal!
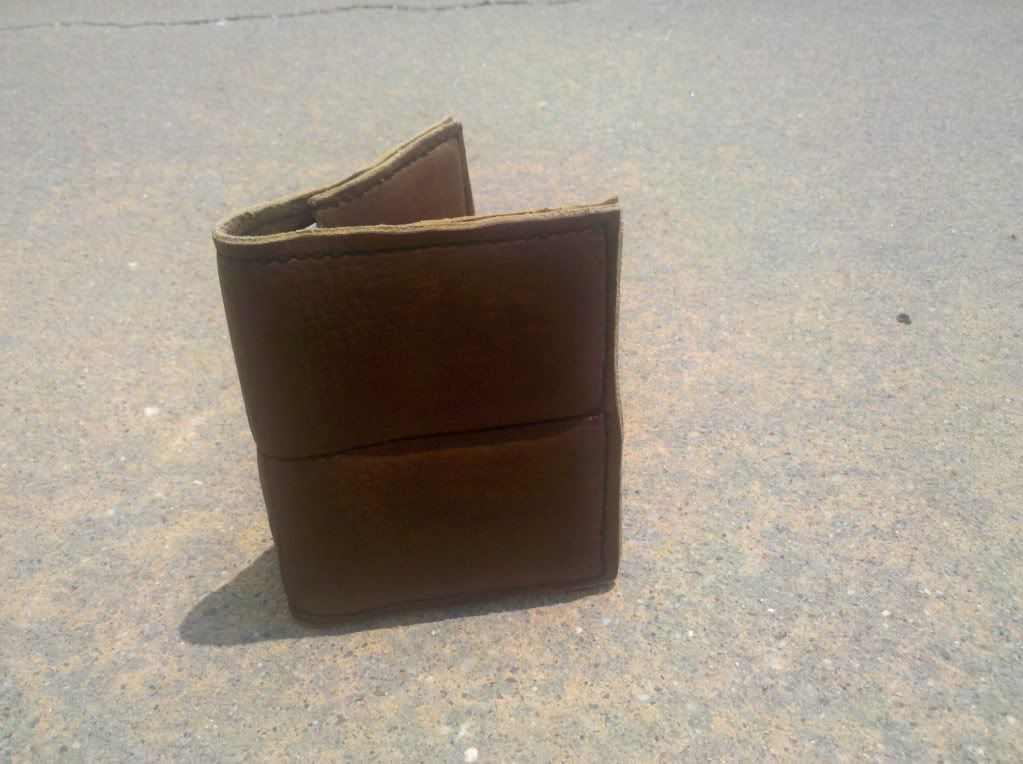
With the wallet it's still only as thick as the entire stack of cards!
