How We Made a 30CM Athena Warrior Goddess Silicone Mold for Plaster Casting
by bksilicone studio in Workshop > Molds & Casting
55 Views, 1 Favorites, 0 Comments
How We Made a 30CM Athena Warrior Goddess Silicone Mold for Plaster Casting
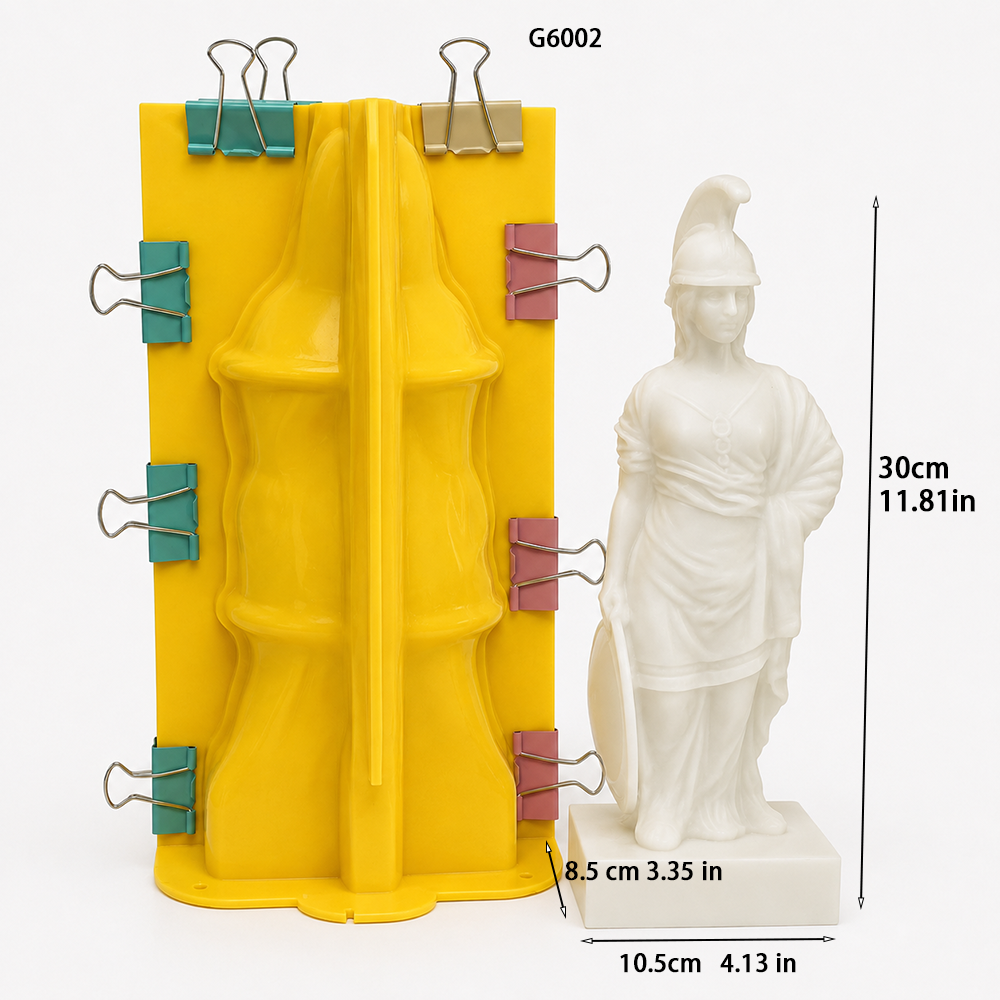
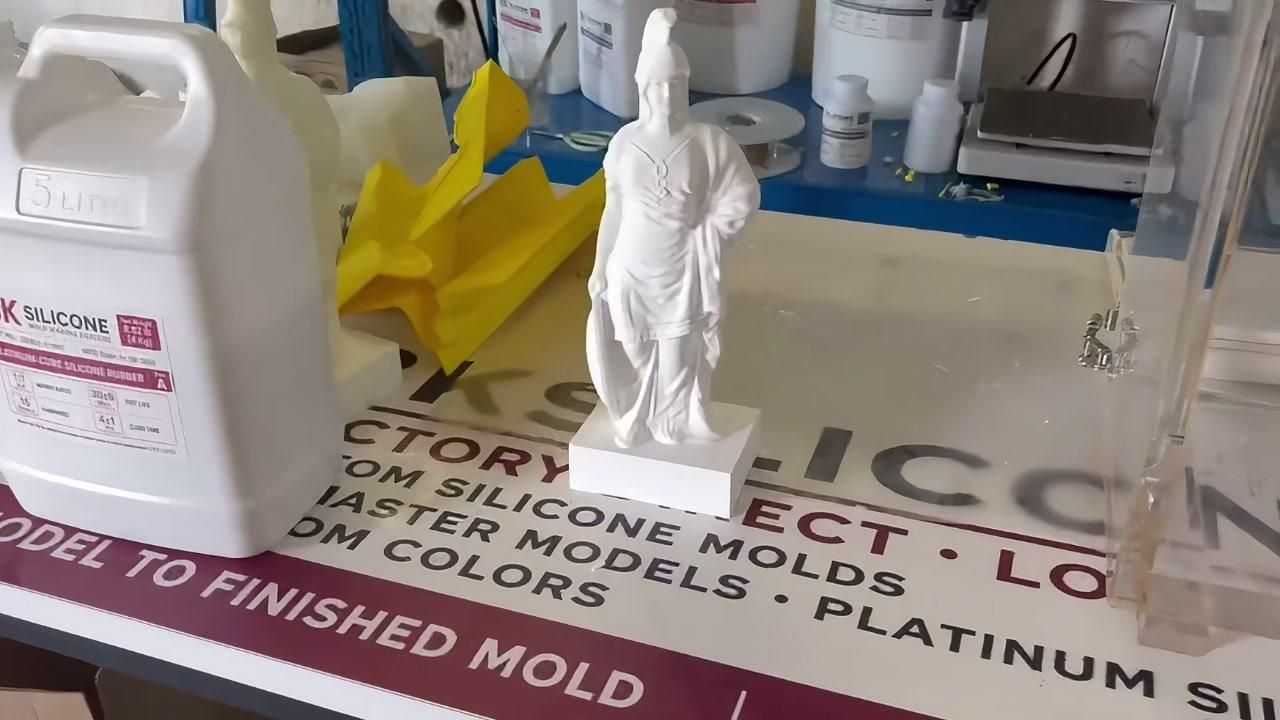
In this project, we made a large 30CM silicone mold of an Athena Warrior Goddess statue from a 3D printed master model.
Because of the size and level of detail, the master was supported by a rigid mold housing during the silicone pouring process. Instead of filling the entire housing in one heavy pour, we first added a small controlled batch of silicone. This helped reduce pressure at the bottom of the housing and lower the risk of silicone leaking through the bottom seal.
About 40 minutes later, we completed the second silicone pour and filled the mold to the required level.
After the silicone had cured, we removed the mold, trimmed and finished the edges, and then tested it with plaster. The plaster casting allowed us to inspect the reproduction of the statue's surface details and the overall mold structure.
The final stages included plaster demolding, sanding the back parting line, and a final inspection of the finished casting.
This Instructable documents the complete G6002 mold-making process from the 3D printed master to the final plaster result at the BK Silicone workshop.
The full mold-making process is shown in the video below.
Supplies
3D-printed Athena Warrior Goddess master model
Rigid mold housing
Double-sided tape for securing the mold housing
Two-part platinum-cure silicone (Part A and Part B mixed 1:1 by weight)
Silicone mixing containers and stir sticks
Digital scale
Plaster or gypsum for the test casting
Utility knife and trimming tools
Sandpaper or small finishing tools
Preparing the 3D Printed Master and Mold Housing
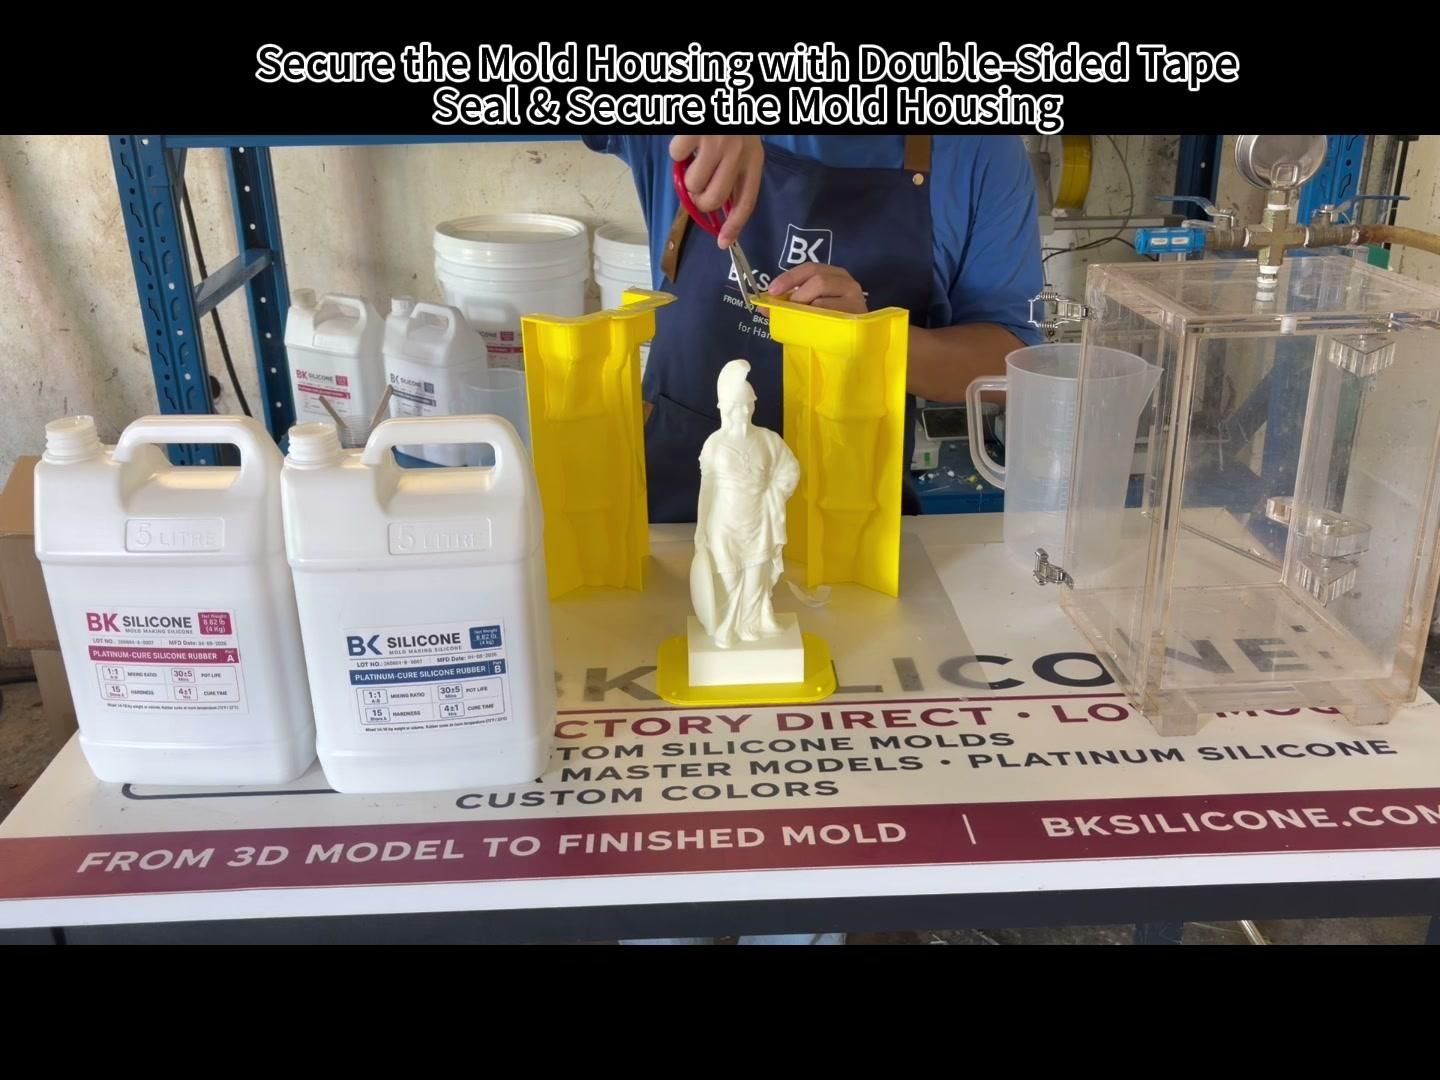
The project starts with the completed 3D printed Athena Warrior Goddess master model and the mold housing prepared for silicone casting.
Before pouring silicone, we inspect the master model and make sure it is positioned correctly inside the housing. For a large and detailed mold like this, the outer housing is important because it helps support the silicone and maintain the intended mold shape.
For this G6002 project, double-sided tape was used to secure and seal the mold housing. The lower area and edges were checked carefully before pouring because gaps or weak sealing areas can allow liquid silicone to escape.
First Small-Batch Silicone Pour
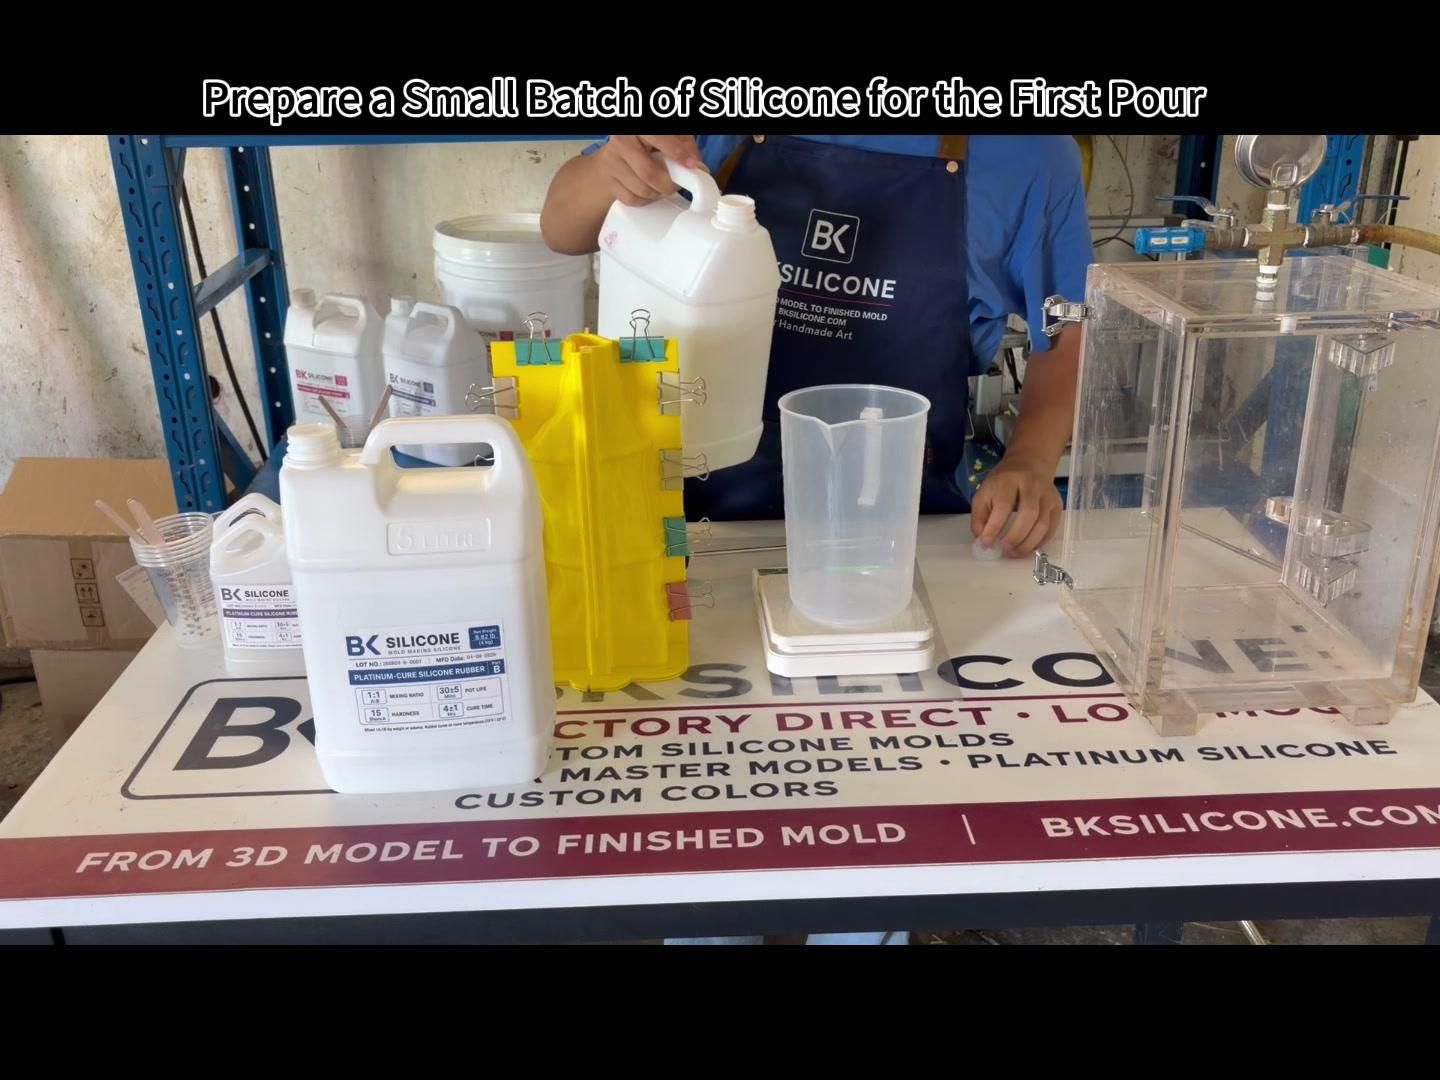
Instead of immediately filling the entire mold housing, we started with a relatively small batch of silicone.
This first controlled pour reduces the amount of liquid silicone pressing against the bottom of the housing at one time. For a large mold, this can help reduce pressure on the bottom seal and lower the risk of silicone leaking from the housing.
Pour the silicone steadily and allow it to spread around the lower part of the master model.
Waiting Before the Second Pour
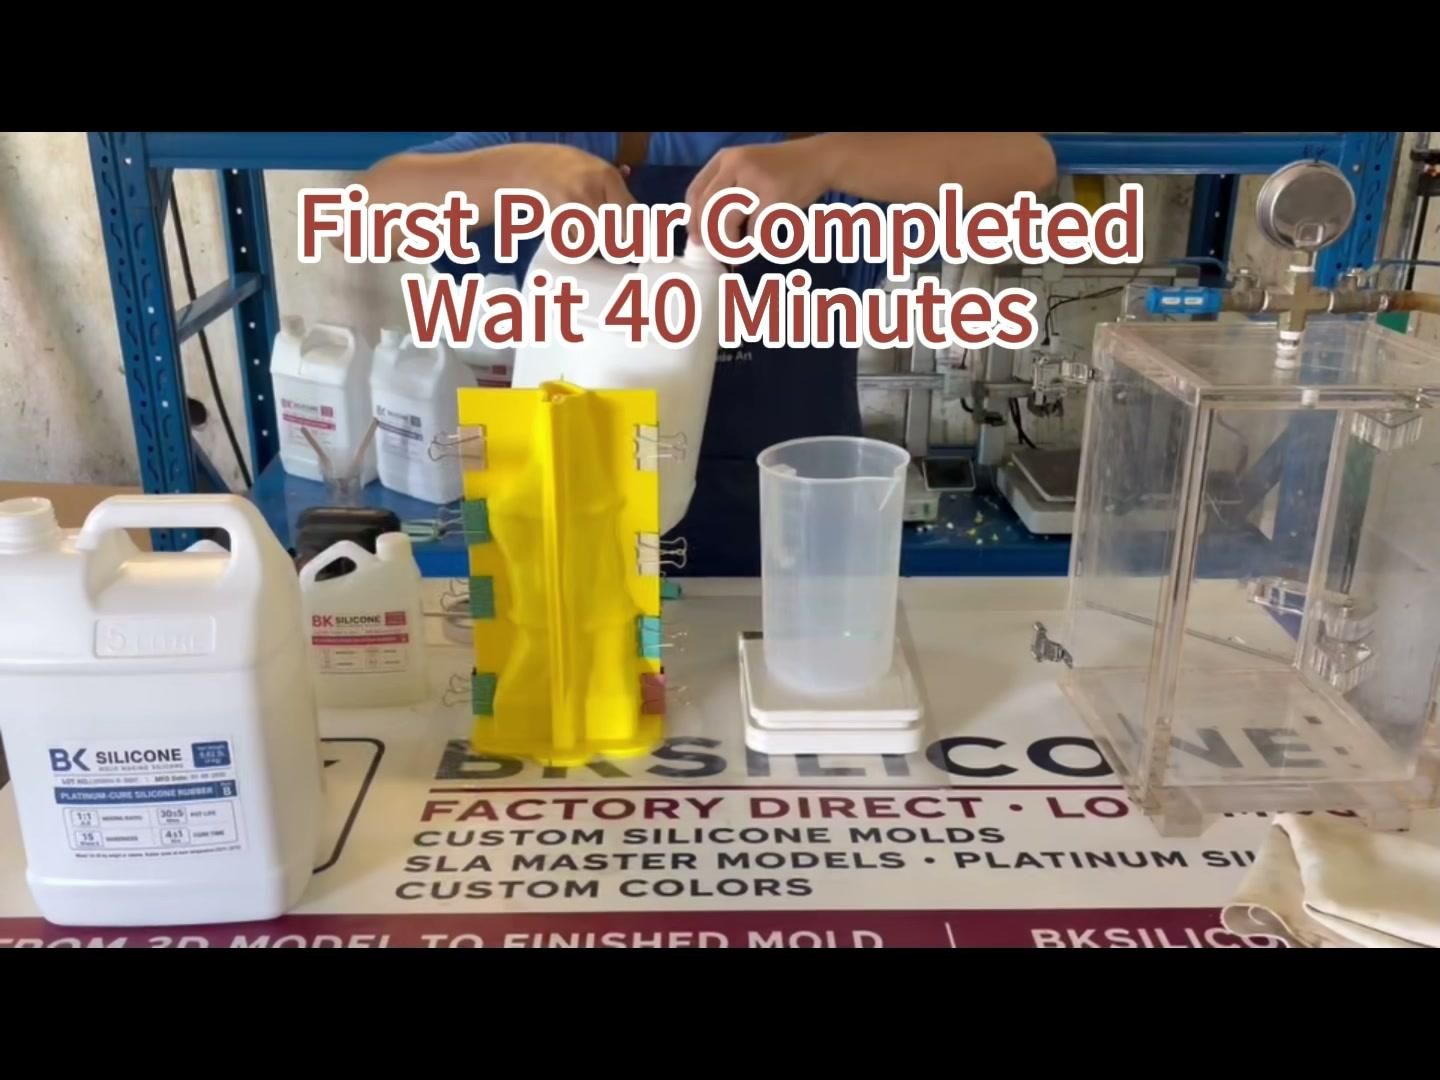
After the first controlled silicone pour, we waited approximately 40 minutes before continuing.
This allows the first silicone layer to begin stabilizing before the larger second pour is added.
For this G6002 project, the recorded waiting time between the two pours was approximately 40 minutes. This interval was specific to this project and is not presented as a required waiting time for every silicone mold project.
Completing the Second Silicone Pour
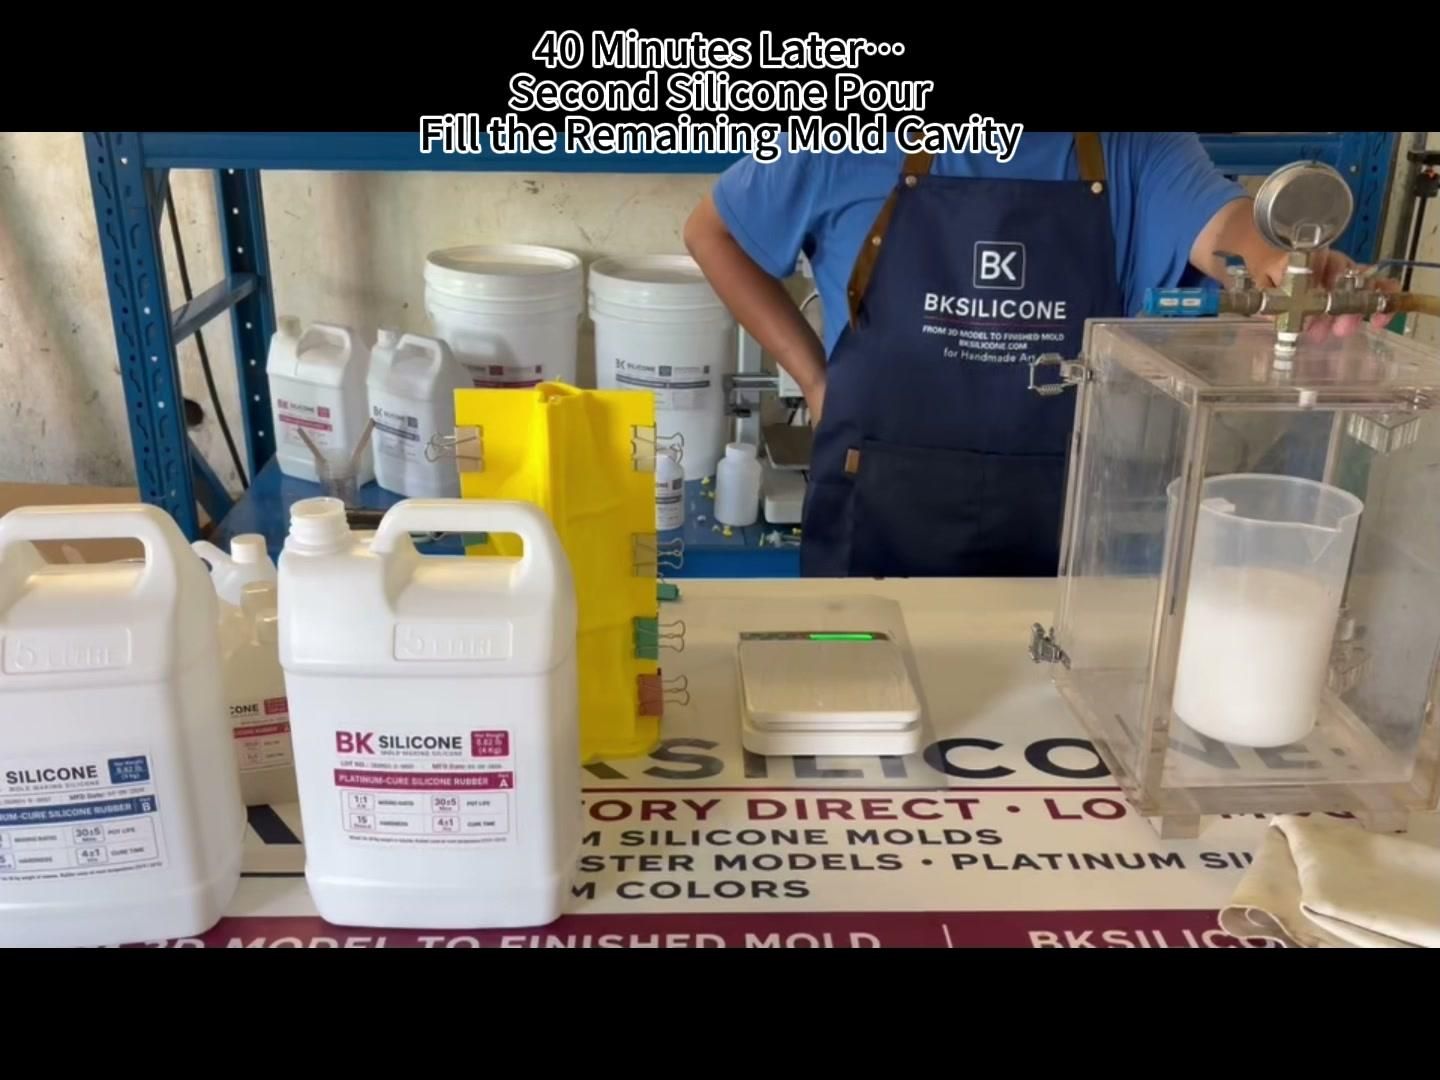
After the initial layer had stabilized, we continued with the second silicone pour.
The remaining silicone was added gradually until the mold housing reached the required fill level and the master model was properly surrounded.
For large molds, controlled pouring also makes it easier to watch the housing and check for possible leakage while the silicone level rises.
Allowing the Silicone to Cure
Once the silicone pour was complete, the mold was left undisturbed until the silicone had fully cured.
For the BK-A Series material instructions used as the processing reference, Part A and Part B are mixed 1:1 by weight. At 23°C / 75°F, the published typical curing time is about 2 hours, with full cured properties referenced after 24 hours. Actual cure time can vary with temperature, mold size, and working conditions.
For this G6002 project, we did not demold until the silicone was fully cured and strong enough to retain its shape. The video itself does not display a separate exact curing-time caption.
Silicone Mold Demolding
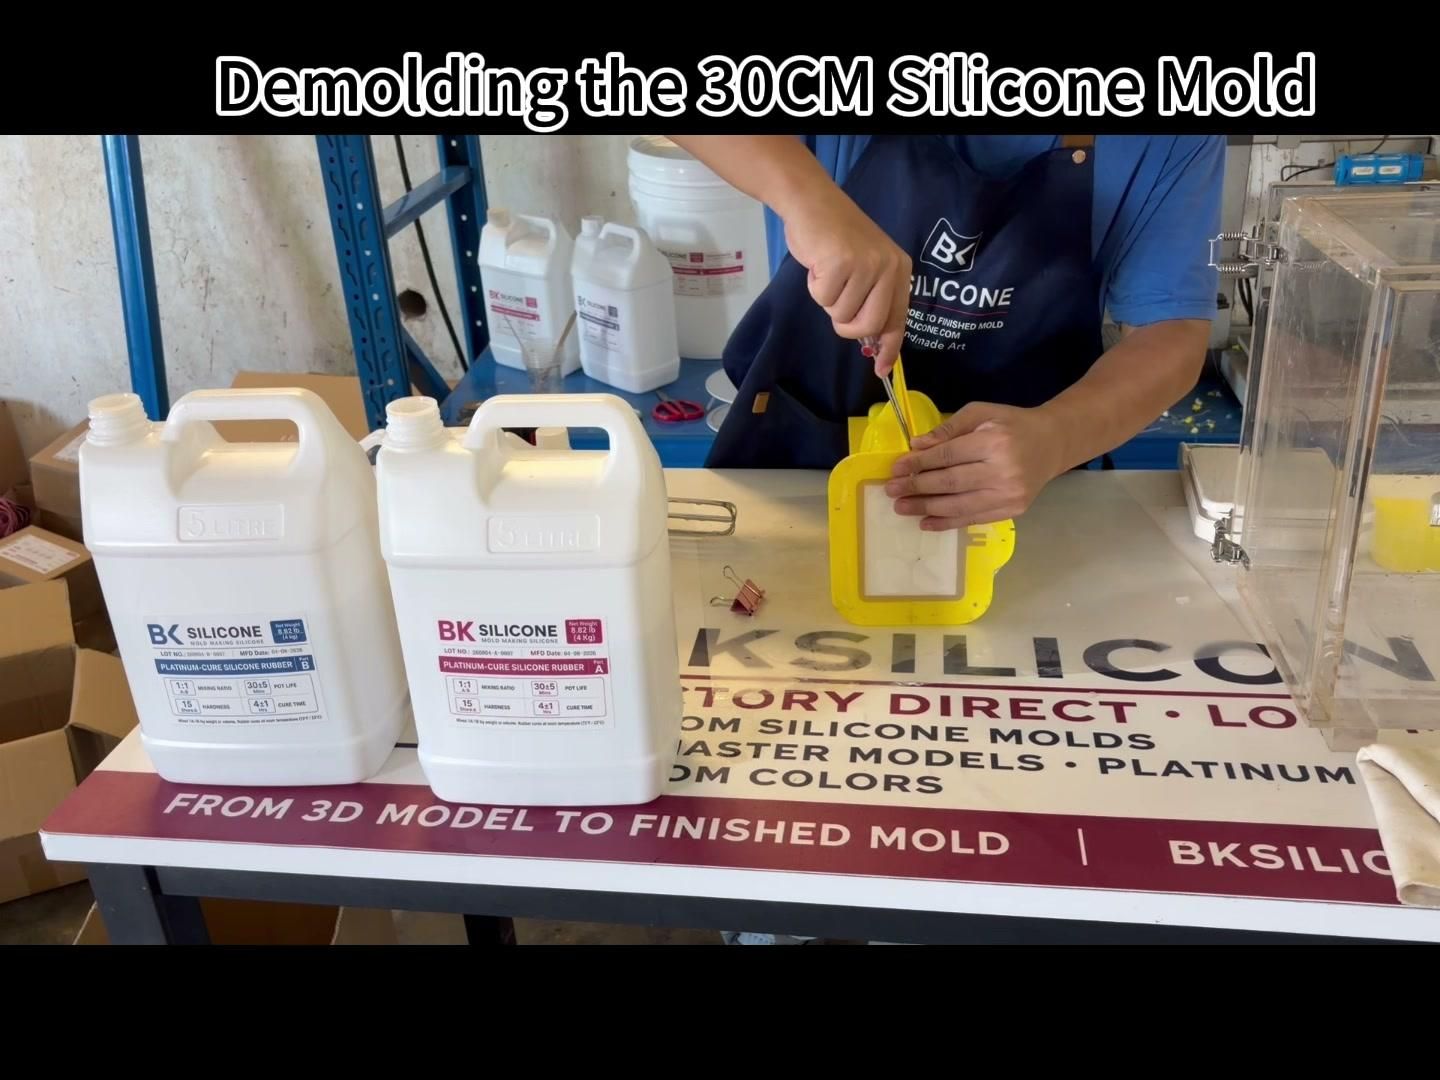
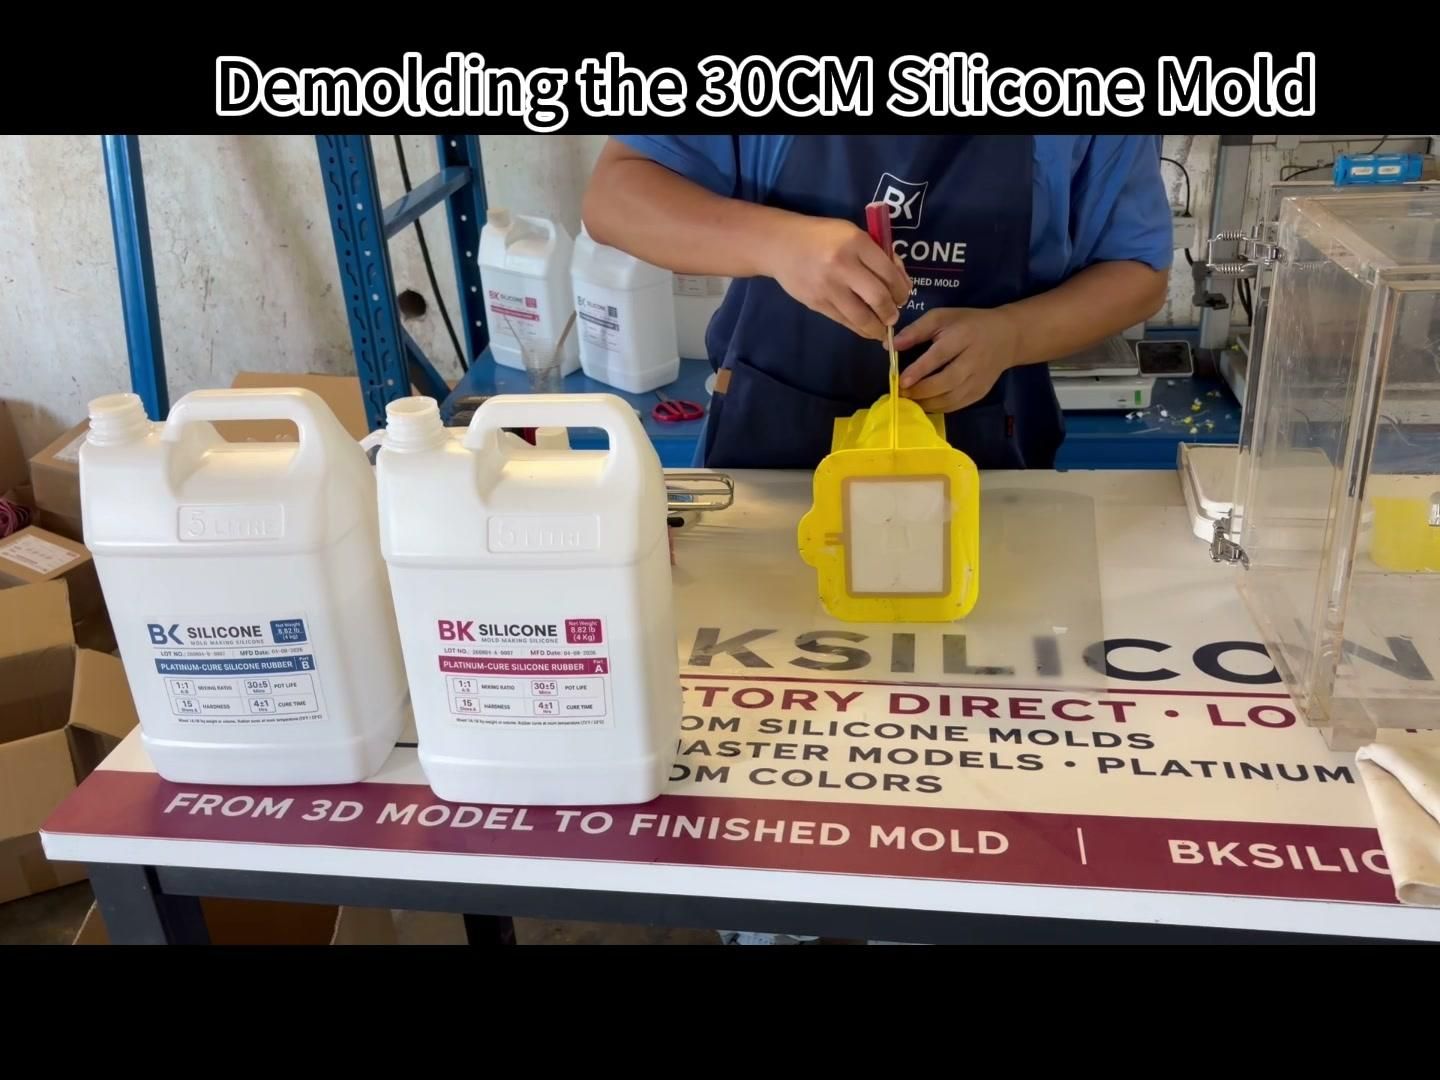
Once the silicone had fully cured, we removed the mold from the housing and began demolding the master model.
Demolding a detailed figure should be done gradually rather than pulling aggressively from one point. The flexible silicone is carefully separated from the detailed surfaces of the master until the model can be released.
This is also the first opportunity to inspect whether fine surface details have transferred correctly into the mold.
Trimming and Finishing the Silicone Mold
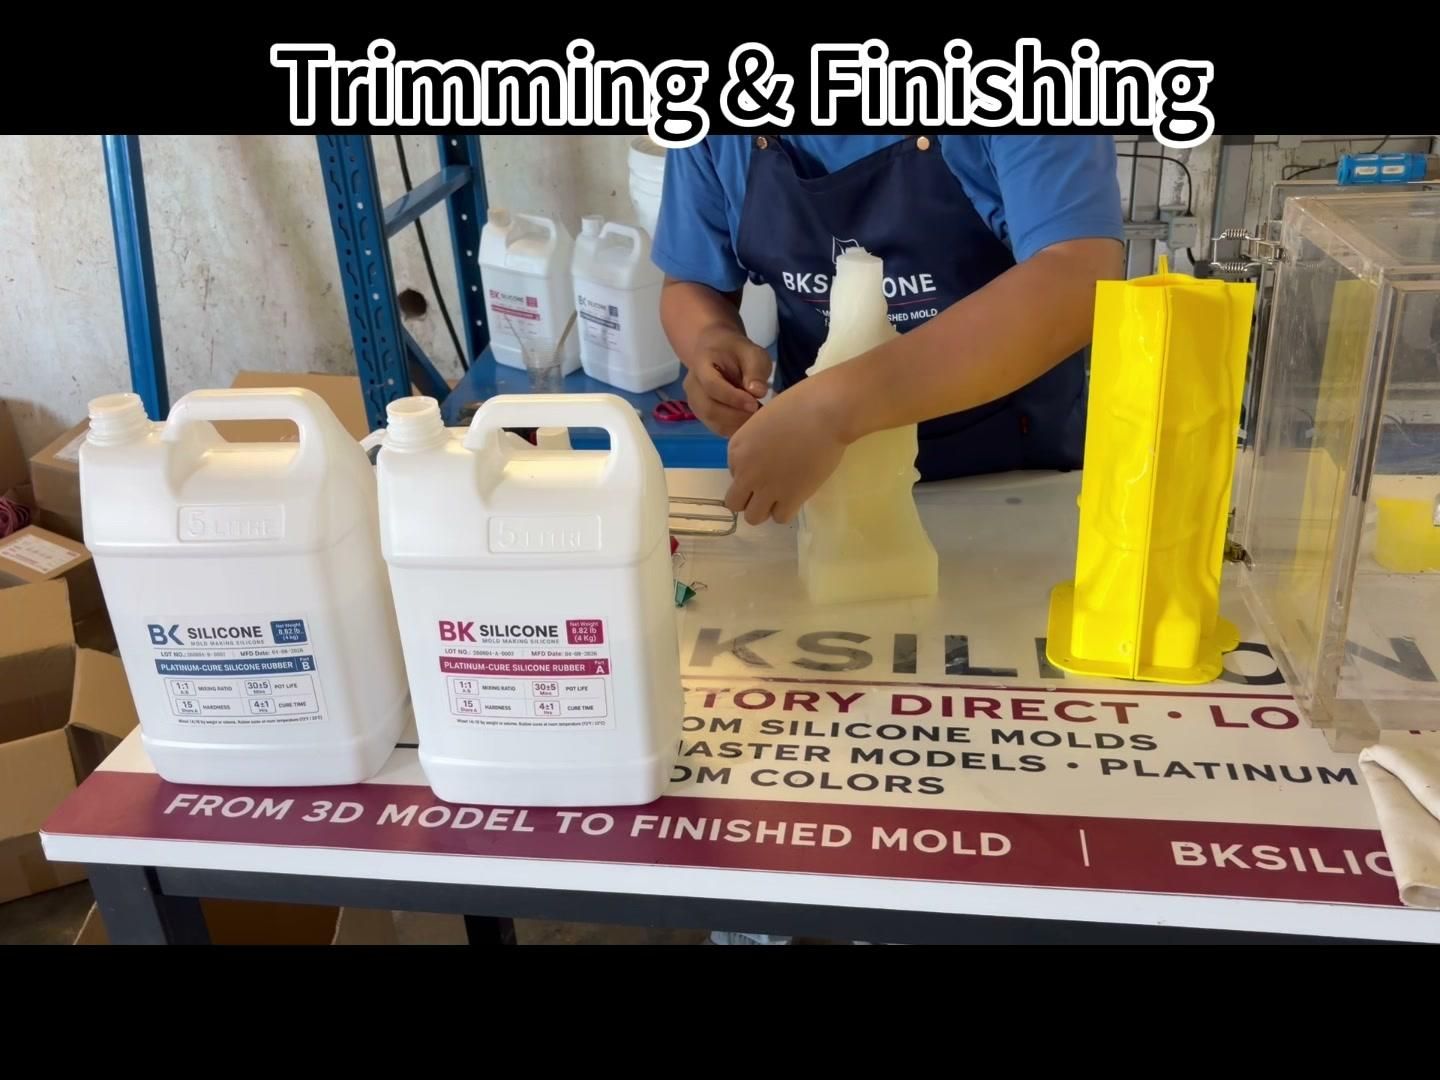
After demolding, excess silicone around the mold edges was trimmed away.
We also inspected the mold opening, edges, and detailed internal surfaces for any areas that required minor finishing.
Trimming helps keep the working edges clean and makes the mold easier to use during the casting test.
Plaster Casting Test
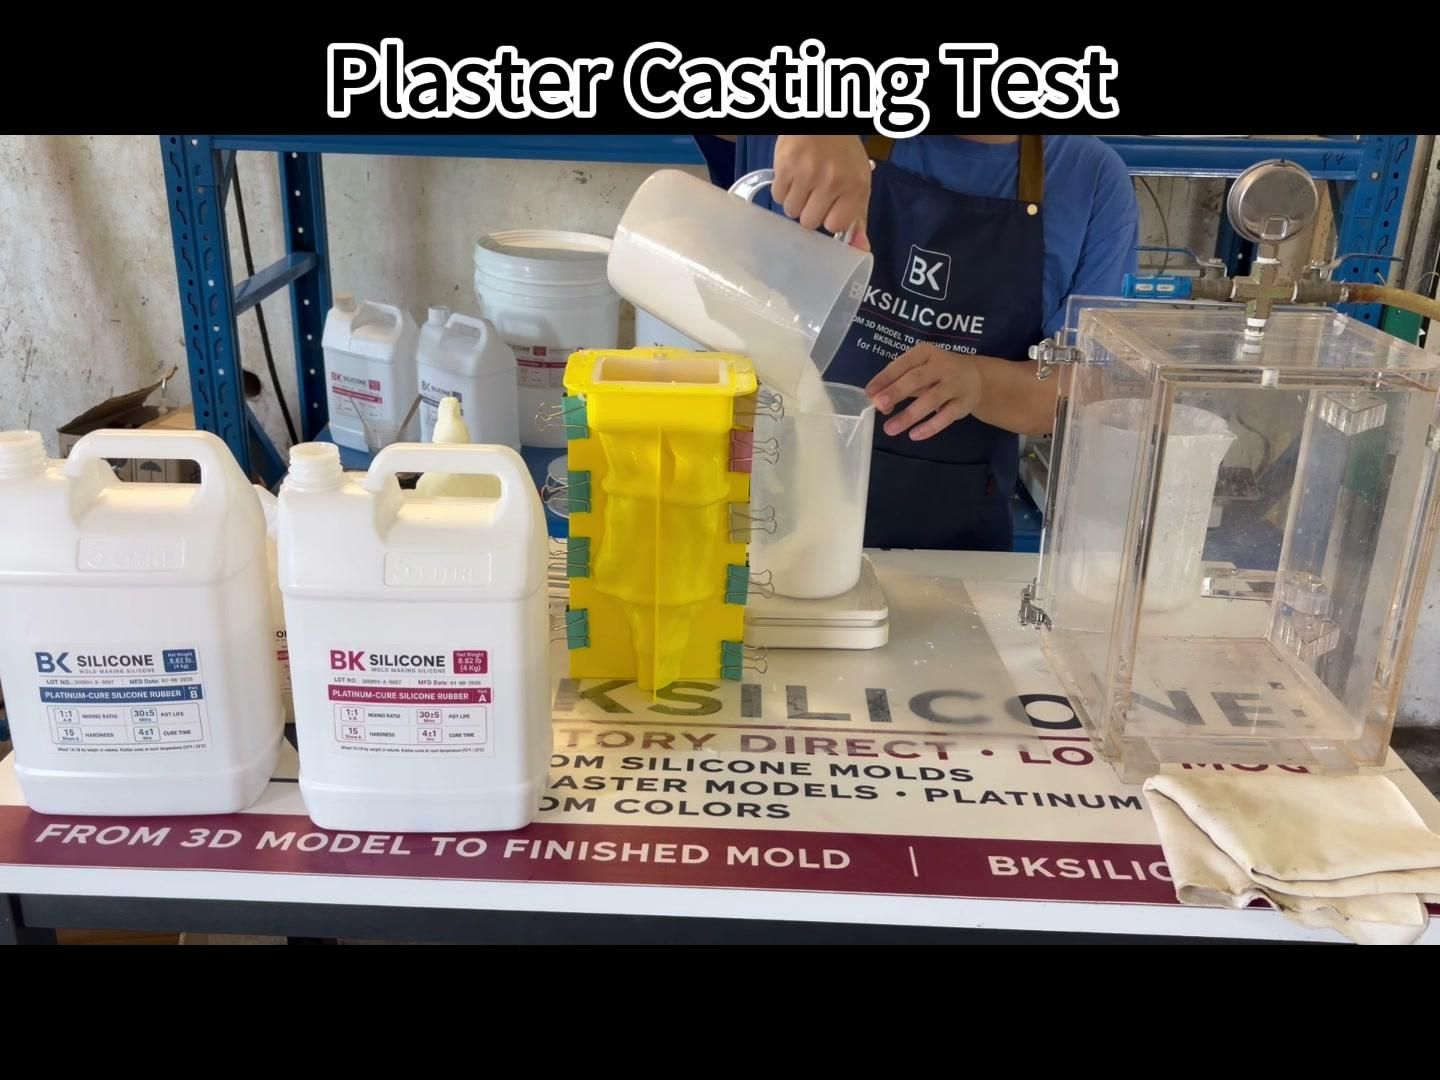
To test the completed silicone mold, we prepared a plaster casting.
The plaster was poured into the silicone mold so we could evaluate both the mold structure and the reproduction of the Athena Warrior Goddess details.
A casting test is useful because it reveals details that may not be obvious when inspecting an empty silicone mold.
Plaster Demolding
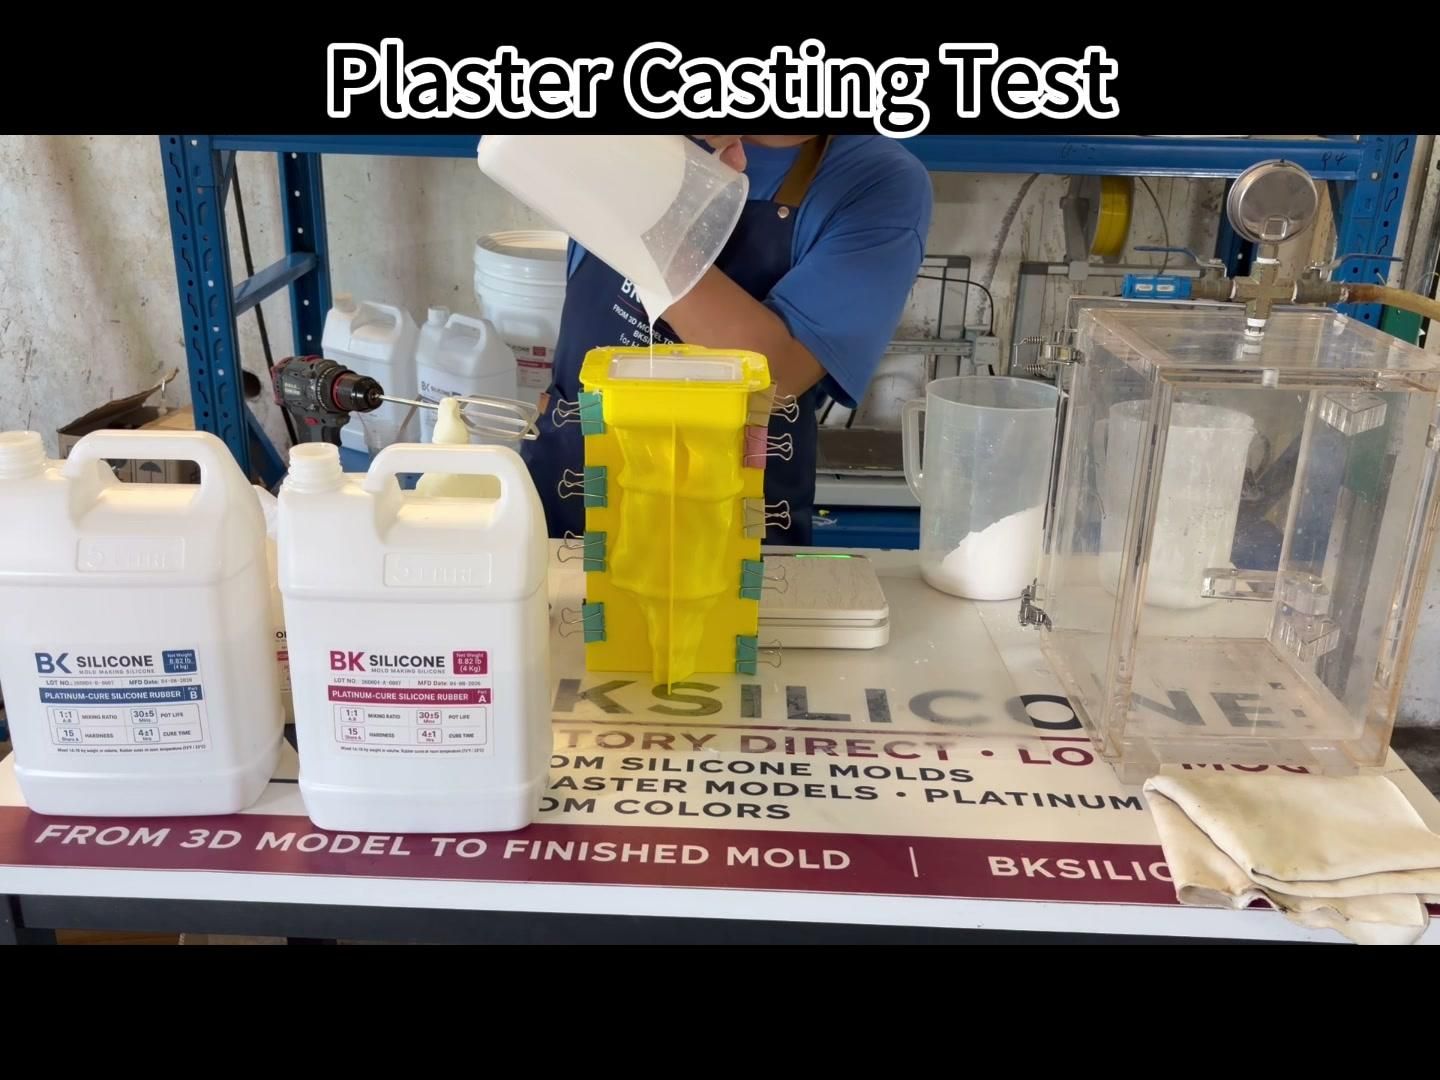
After the plaster had set sufficiently, the finished casting was carefully removed from the silicone mold.
The flexible mold allows the detailed statue to be released gradually while helping protect projecting details and textured areas.
At this stage, we inspected the main surface features and overall casting shape.
Sanding the Back Parting Line
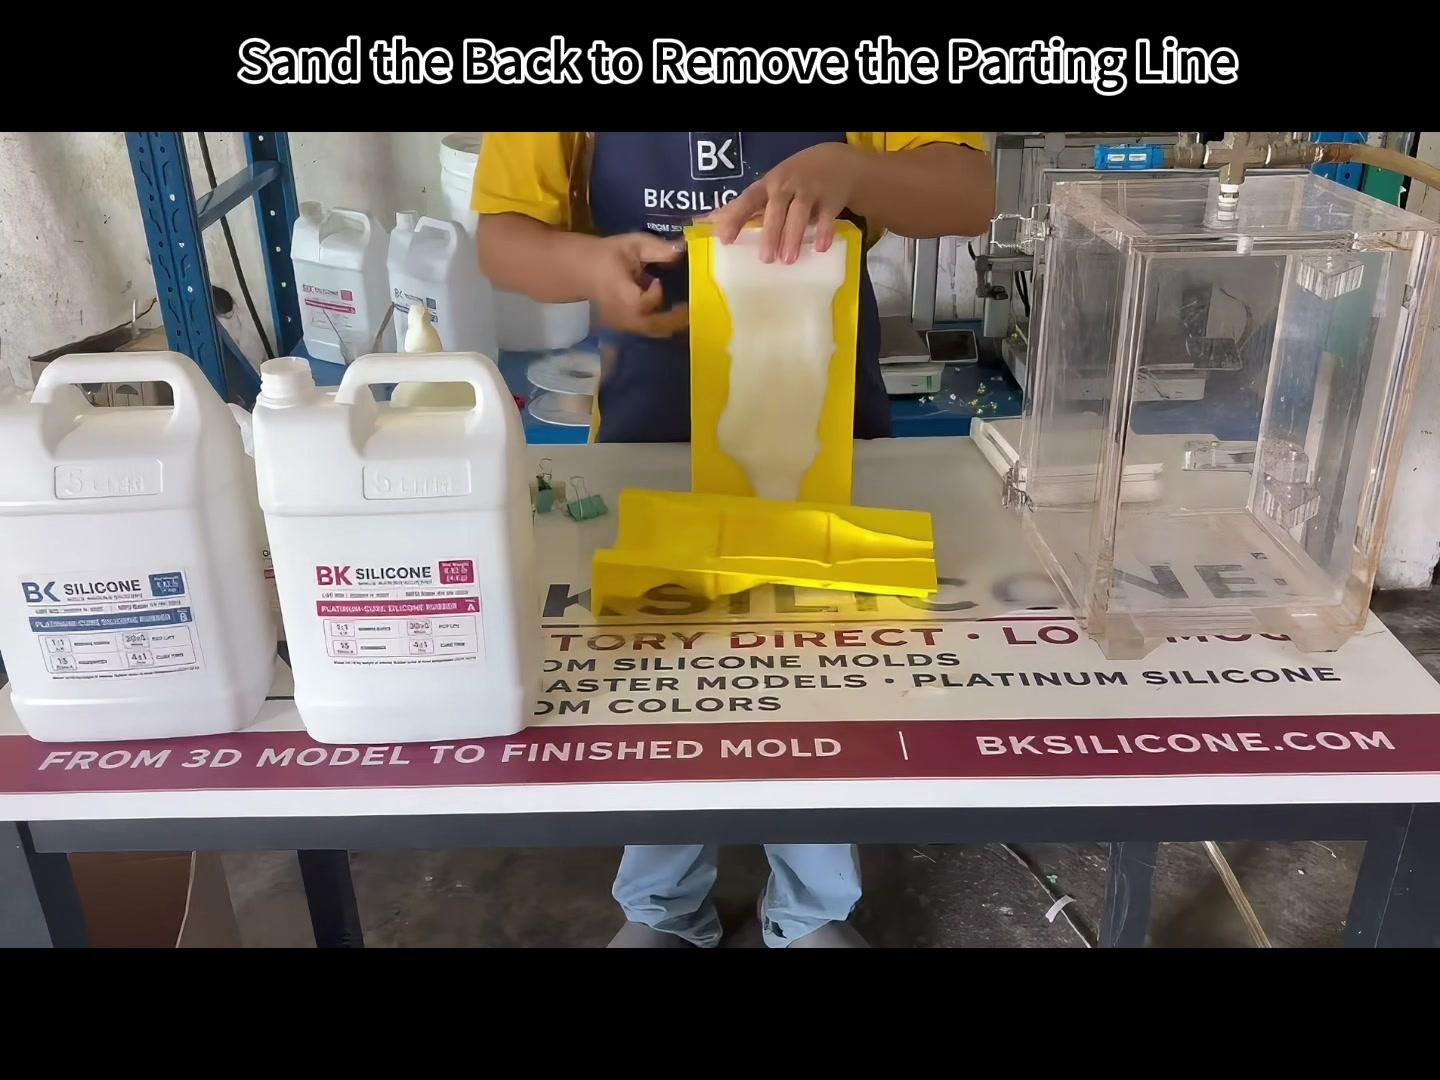
After demolding, the back parting line of the plaster casting was lightly sanded to clean up the final piece.
This is a finishing operation on the casting rather than a repair to the silicone mold.
Only the necessary area was sanded while preserving the main sculpted details of the statue.
Final Inspection and Casting Result
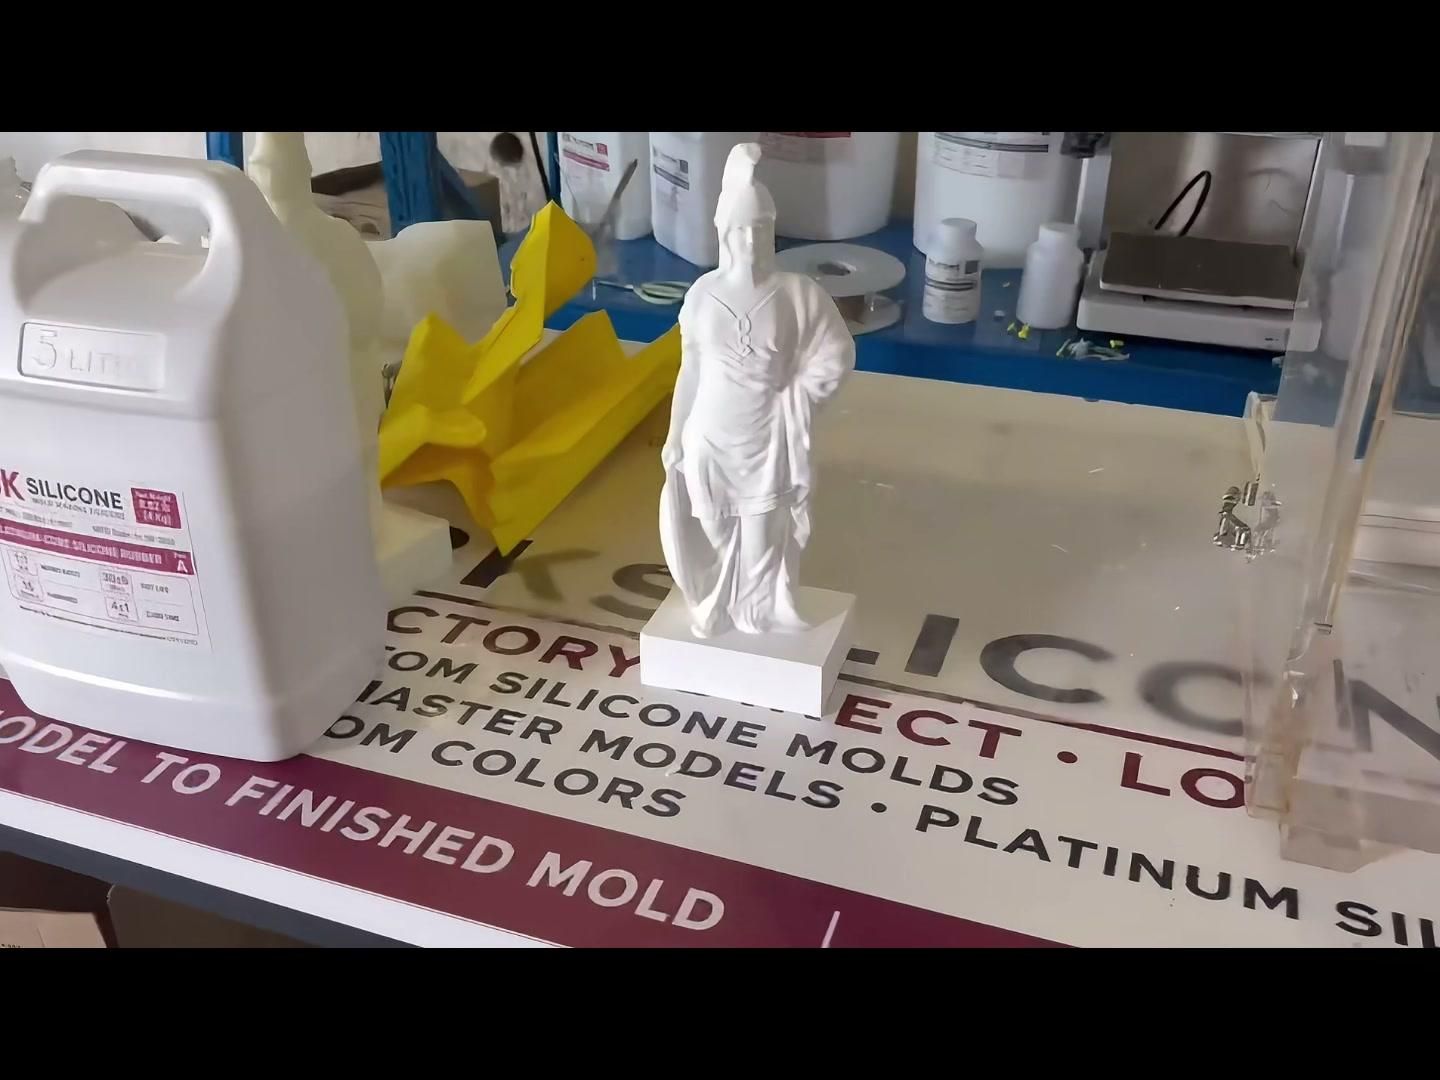
The final step was a visual inspection of the completed plaster casting and the silicone mold.
We checked the overall form, major surface details, mold edges, and the areas around the more complex features of the Athena Warrior Goddess model.
The finished plaster casting demonstrates the complete workflow used for this G6002 project:
3D printed master → mold housing → first controlled silicone pour → second silicone pour → curing → silicone demolding → trimming → plaster casting → plaster demolding → finishing → final inspection.
This project is one example of how a large 3D printed master can be turned into a reusable flexible silicone mold for casting detailed decorative objects.
PROJECT NOTES
Large silicone molds require more attention to housing support, sealing, pouring pressure, and demolding than many small molds.
For this project, one of the important process choices was using a smaller first silicone pour before completing the larger second pour approximately 40 minutes later. This helped control pressure at the bottom of the mold housing.
The plaster casting test then provided a practical way to evaluate the completed mold and inspect the reproduced details.
PROJECT RESOURCES
G6002 Silicone Mold:
https://shop.bksilicone.com/products/30cm-athena-warrior-goddess-statue-silicone-mold
BK Silicone Large Finished Mold Projects:
https://www.bksilicone.com/30cm-plus-finished-products/