How We Made a 30CM Lady Justice Silicone Mold
by bksilicone studio in Workshop > Molds & Casting
4 Views, 0 Favorites, 0 Comments
How We Made a 30CM Lady Justice Silicone Mold
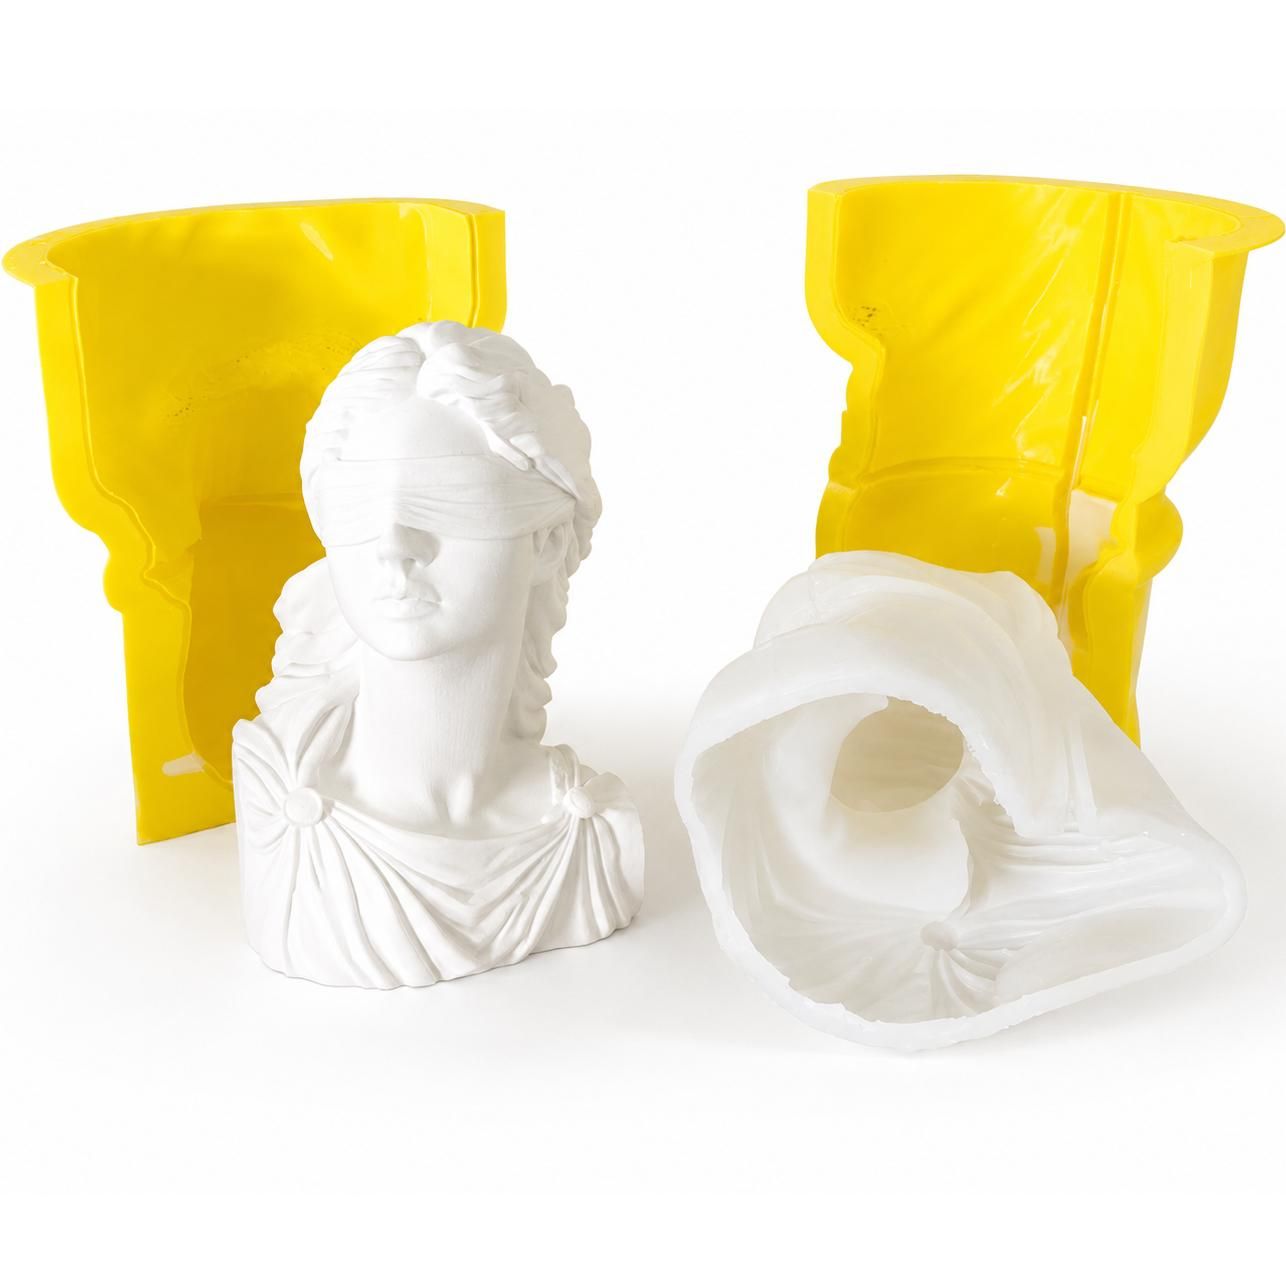
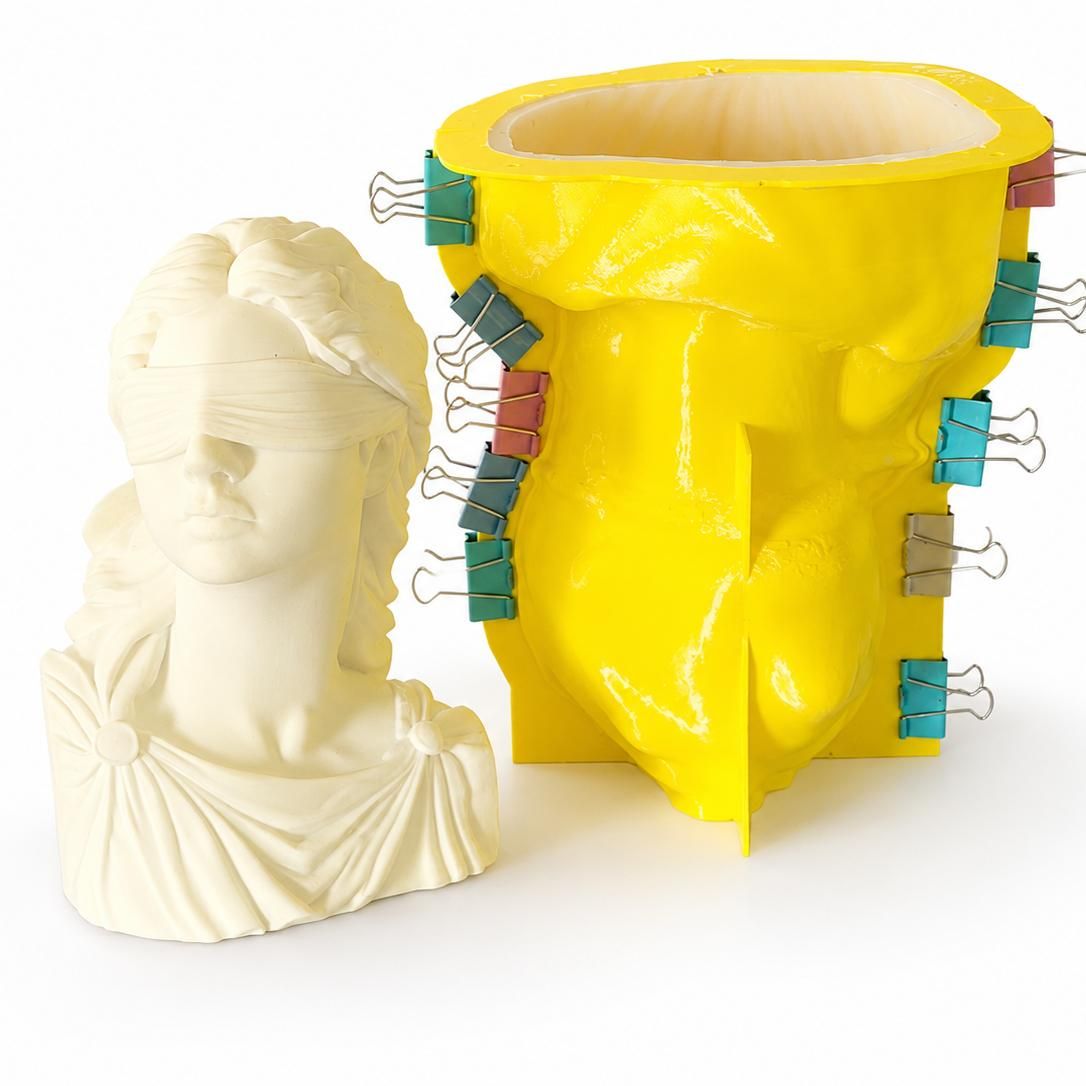
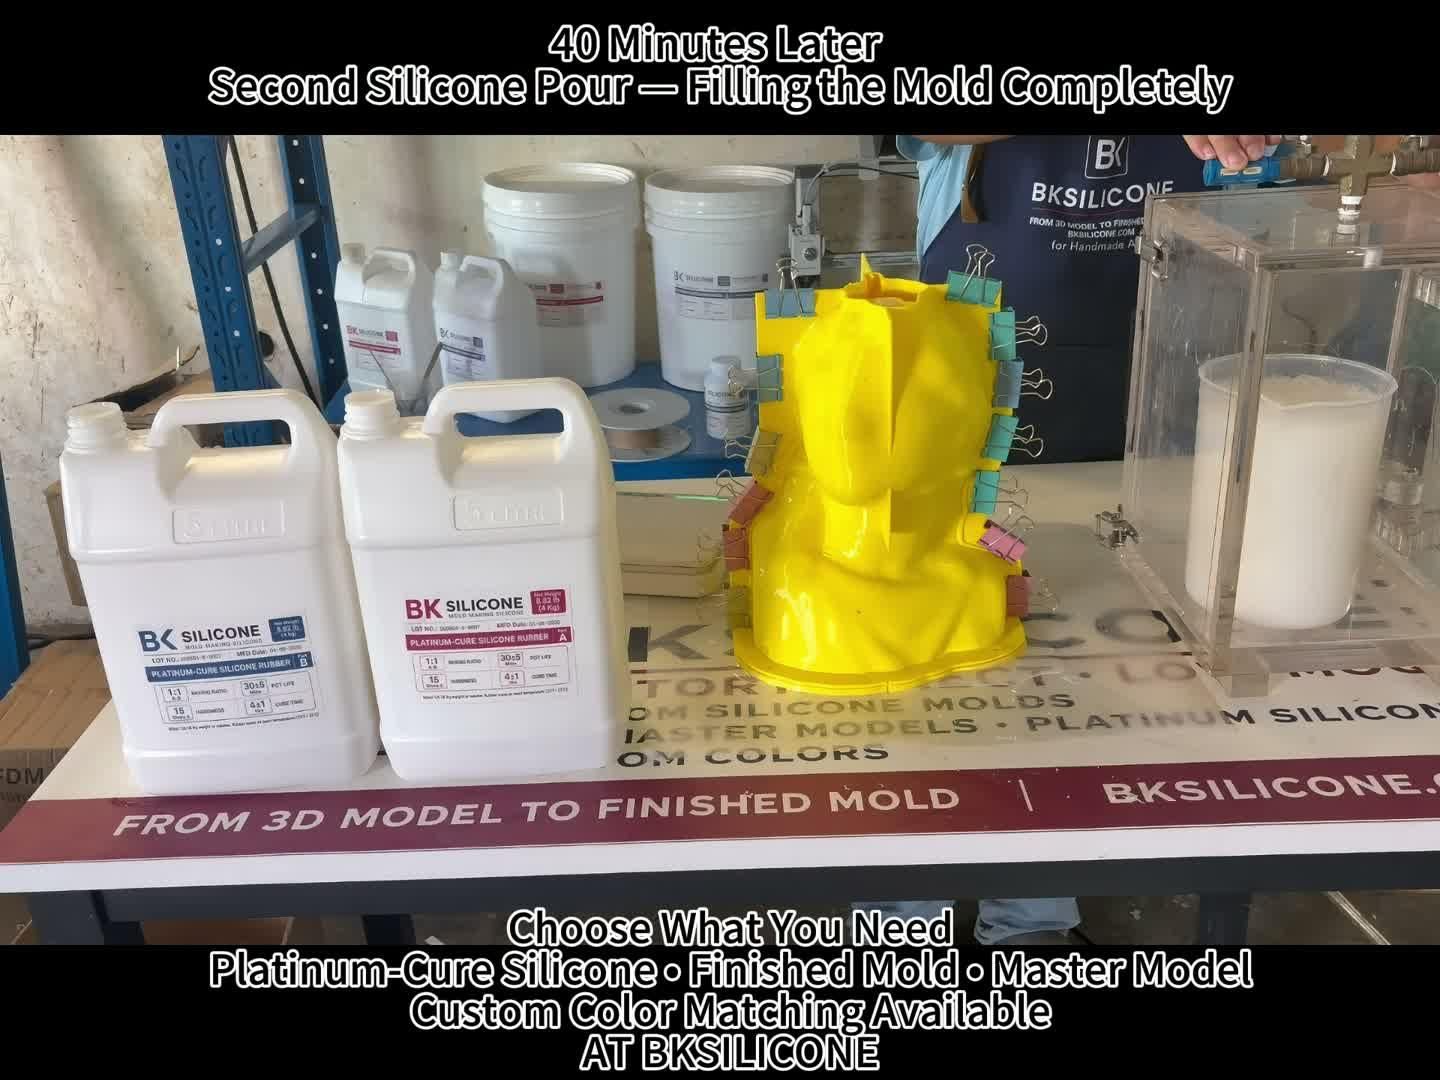
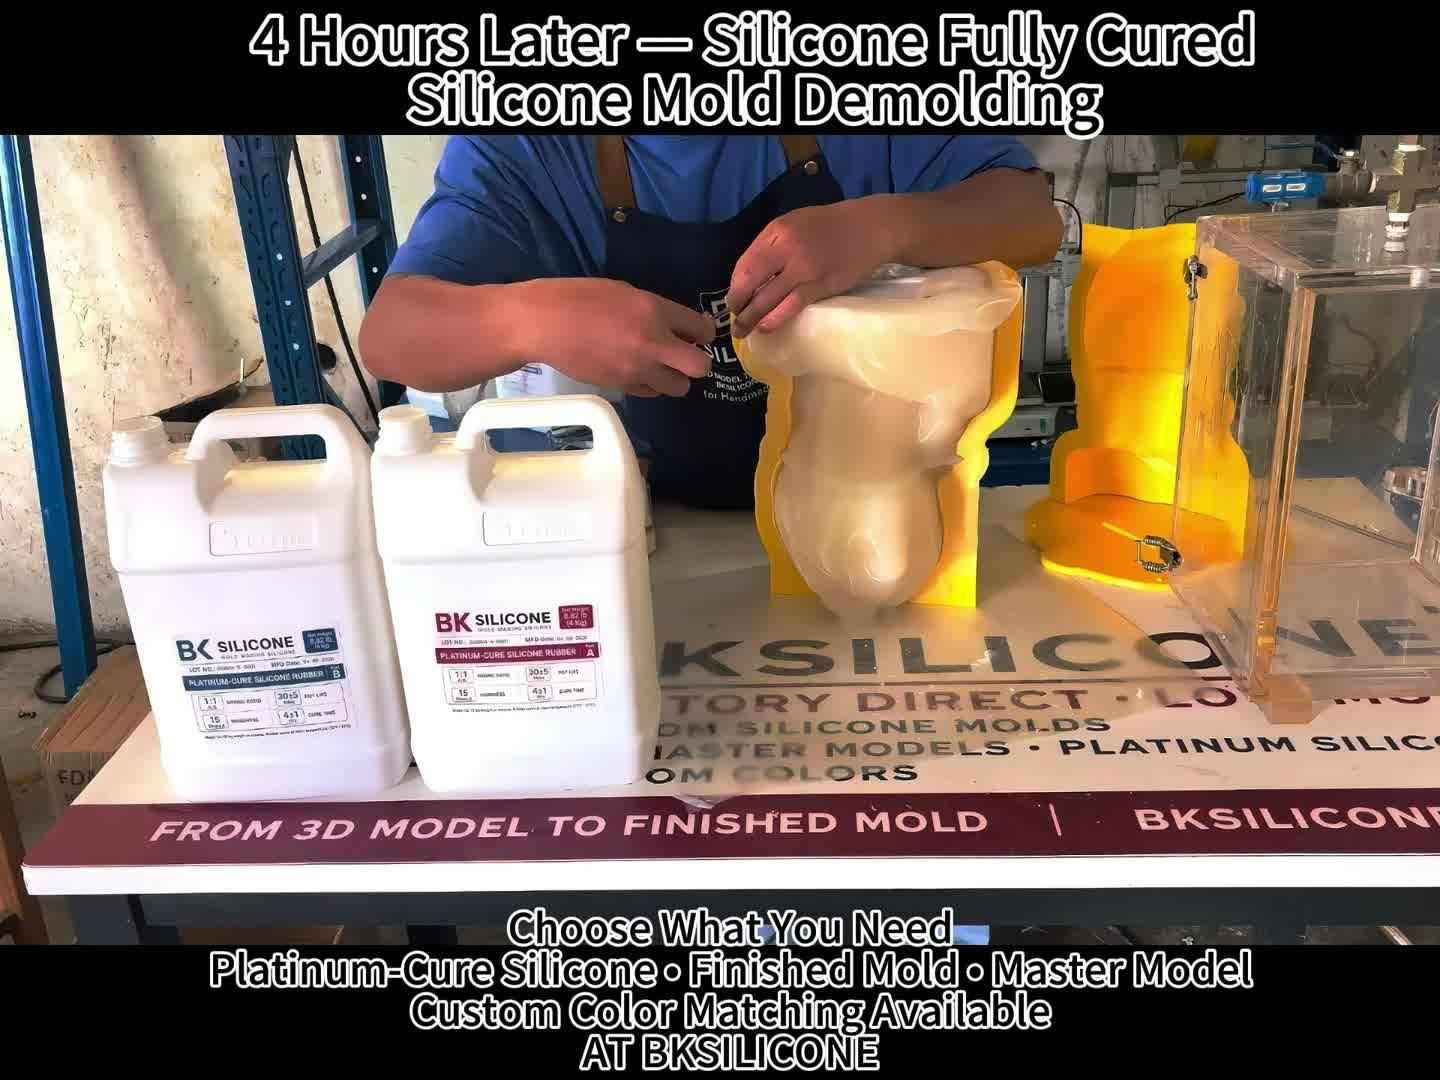
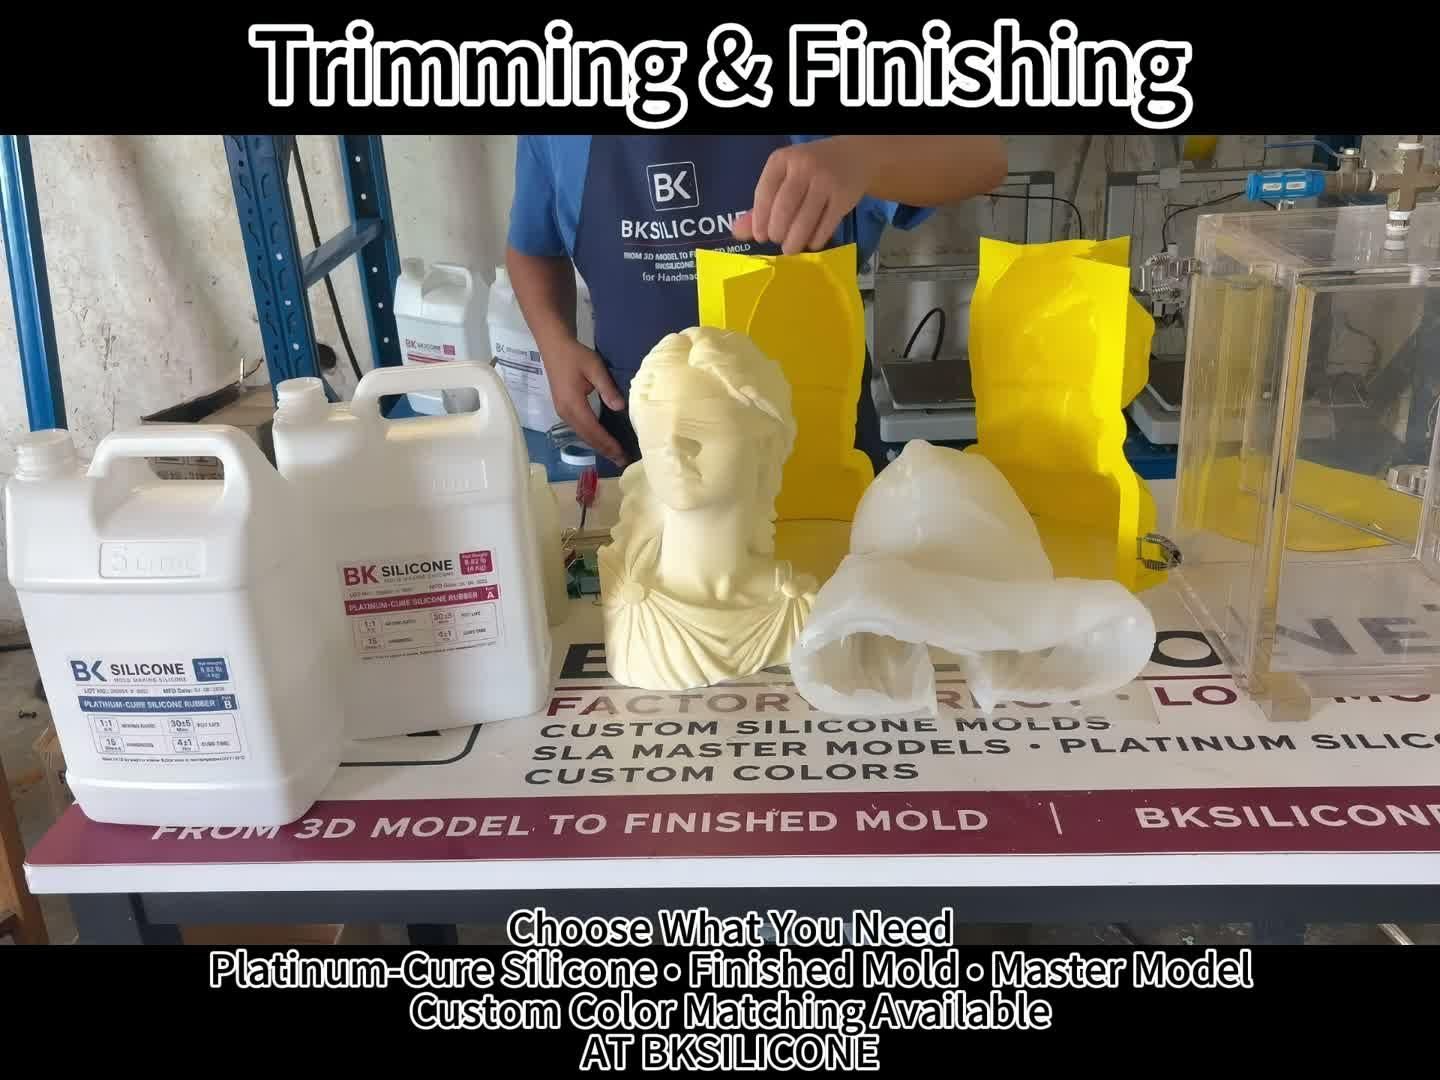
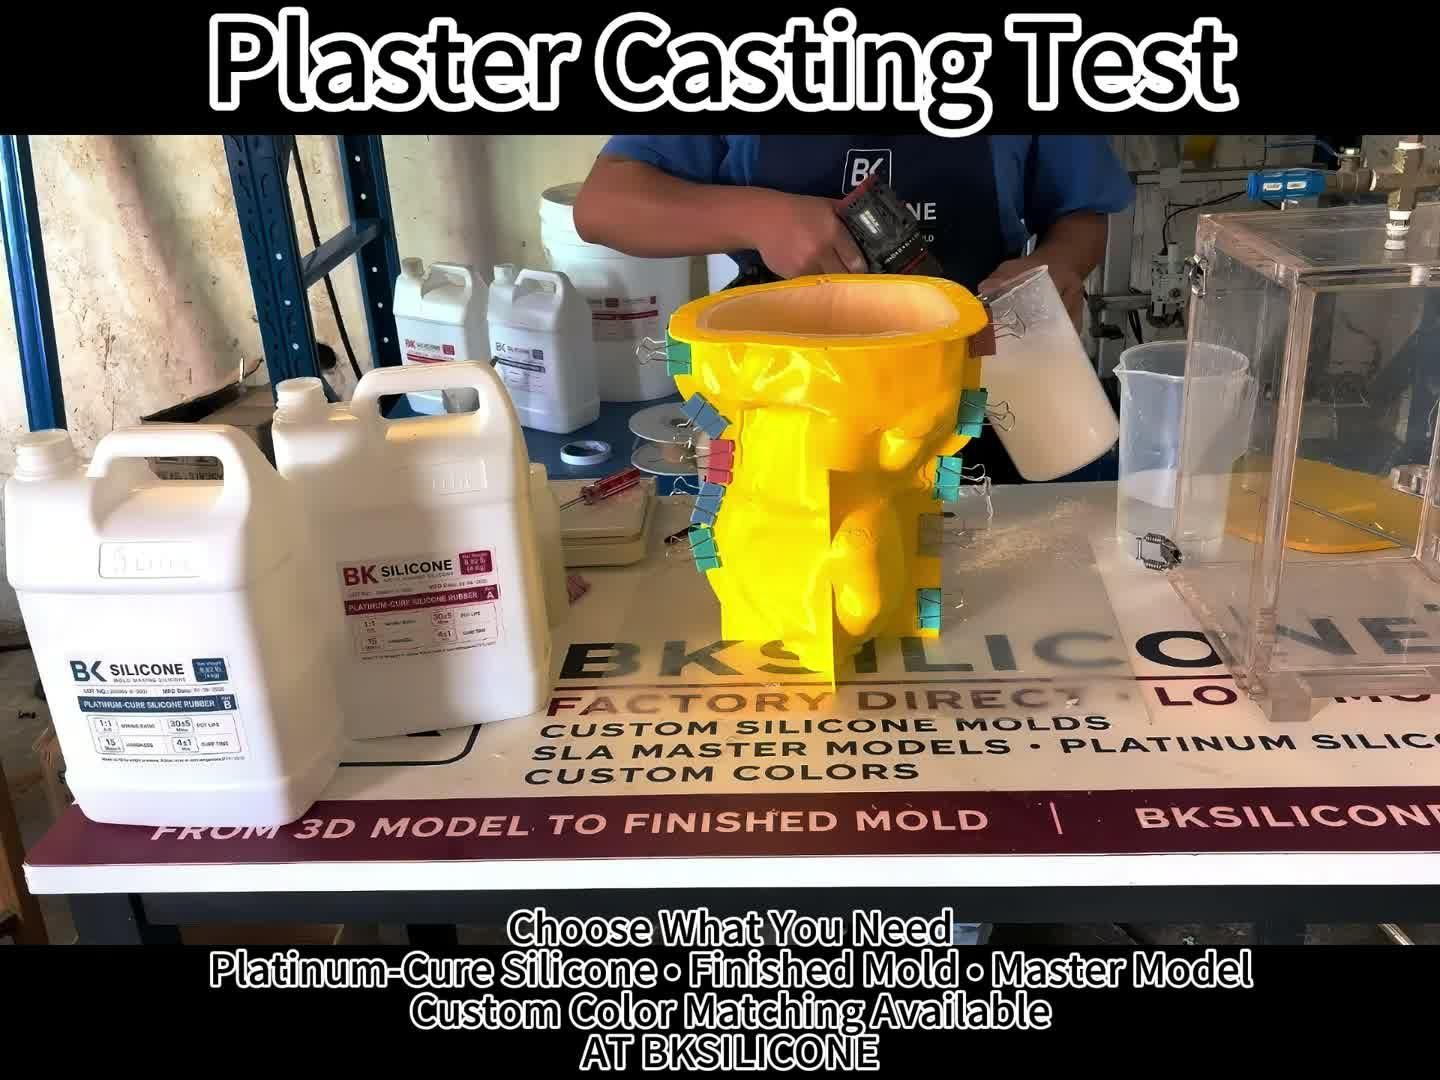
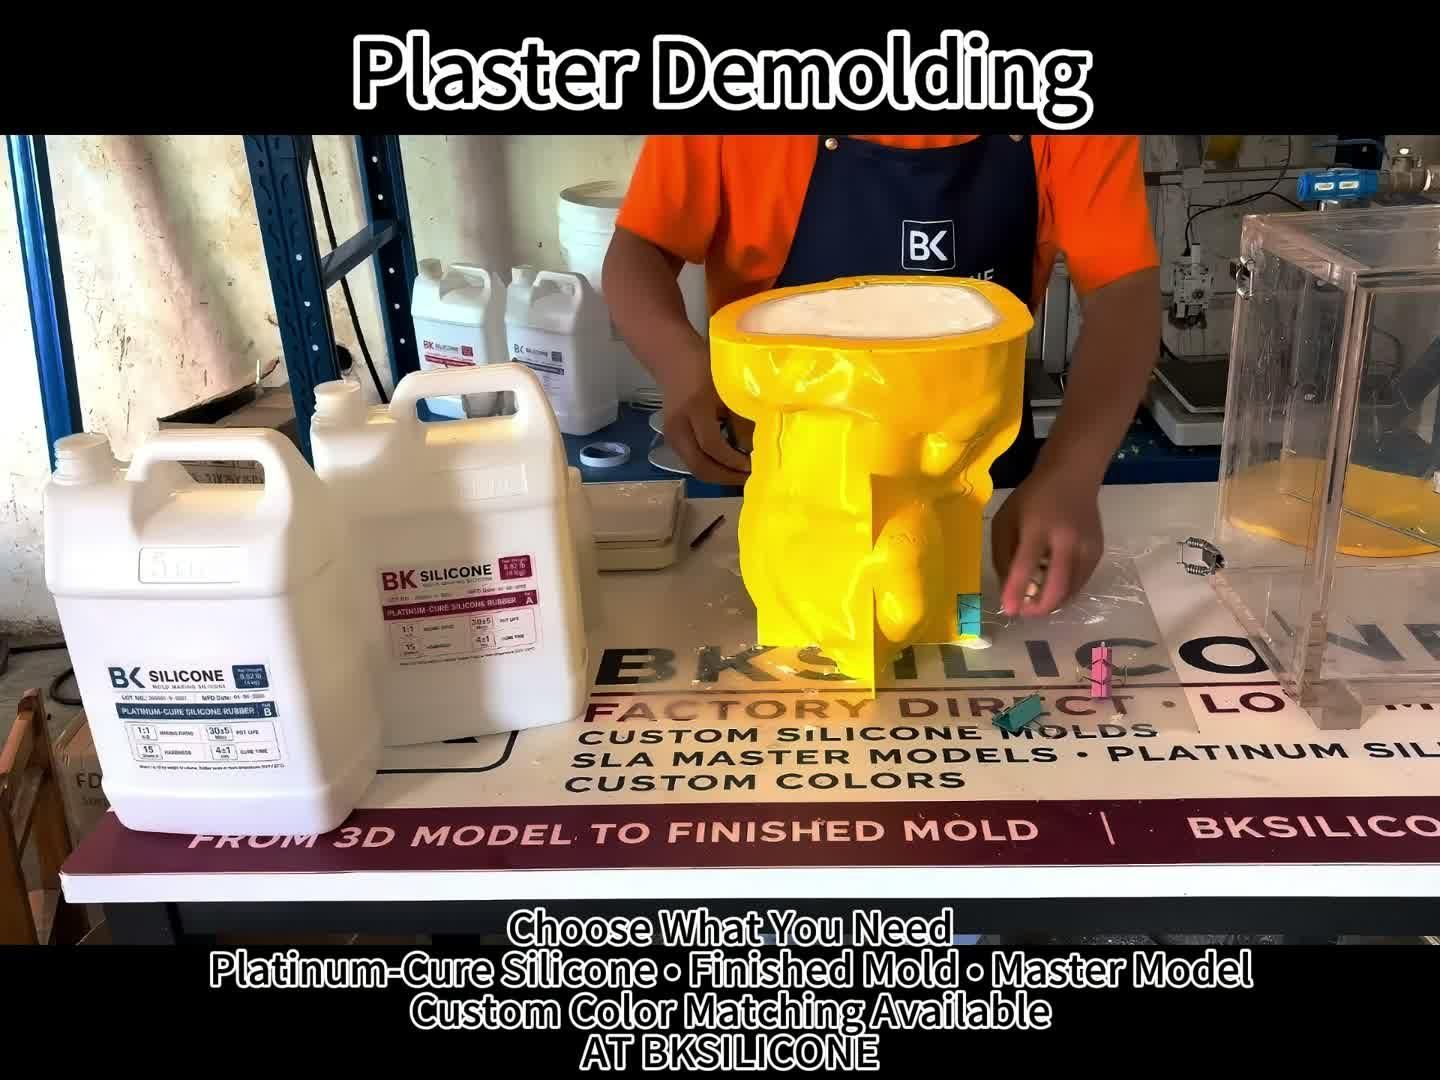
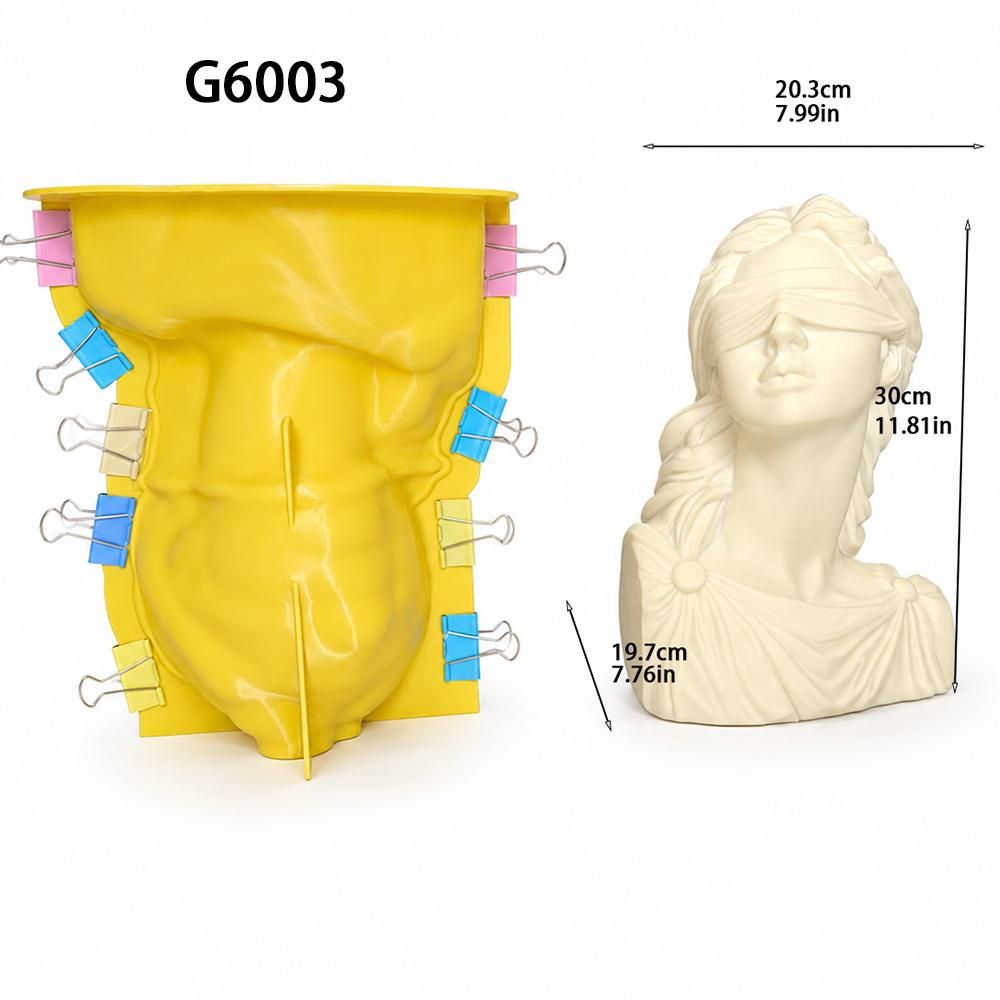
This project documents the real G6003 workshop process for a large Lady Justice bust mold. The mold combines a flexible silicone inner layer with a rigid sectional support shell. The finished casting shown is approximately 30 × 20.3 × 19.7 cm.
The steps follow the supplied video: bottom-edge sealing, a small first pour, a second pour about 40 minutes later, demolding after about 4 hours, trimming, plaster casting and final demolding. Those timings describe this recorded run rather than a universal cure schedule.
Video: https://www.youtube.com/watch?v=sXyhn0autC4
Workshop article: https://www.bksilicone.com/how-30cm-lady-justice-silicone-mold-uses-support-shell-g6003/
Product page: https://www.bksilicone.com/30cm-lady-justice-bust-silicone-mold-with-support-shell-g6003/
Shopify: https://shop.bksilicone.com/products/30cm-lady-justice-bust-silicone-mold-with-support-shell-for-plaster-resin-concrete-casting
Supplies
Materials: Lady Justice master used for this G6003 workshop run; silicone used to form the flexible inner mold; rigid sectional support shell; double-sided tape; binder clips; plaster for the casting test.
Tools: mixing and pouring containers; trimming tool; basic assembly tools shown in the workshop video.
Inspect the Master and Support Shell
Check that the Lady Justice master sits correctly inside the sectional support system. The outer shell must close around the mold while remaining removable for demolding.
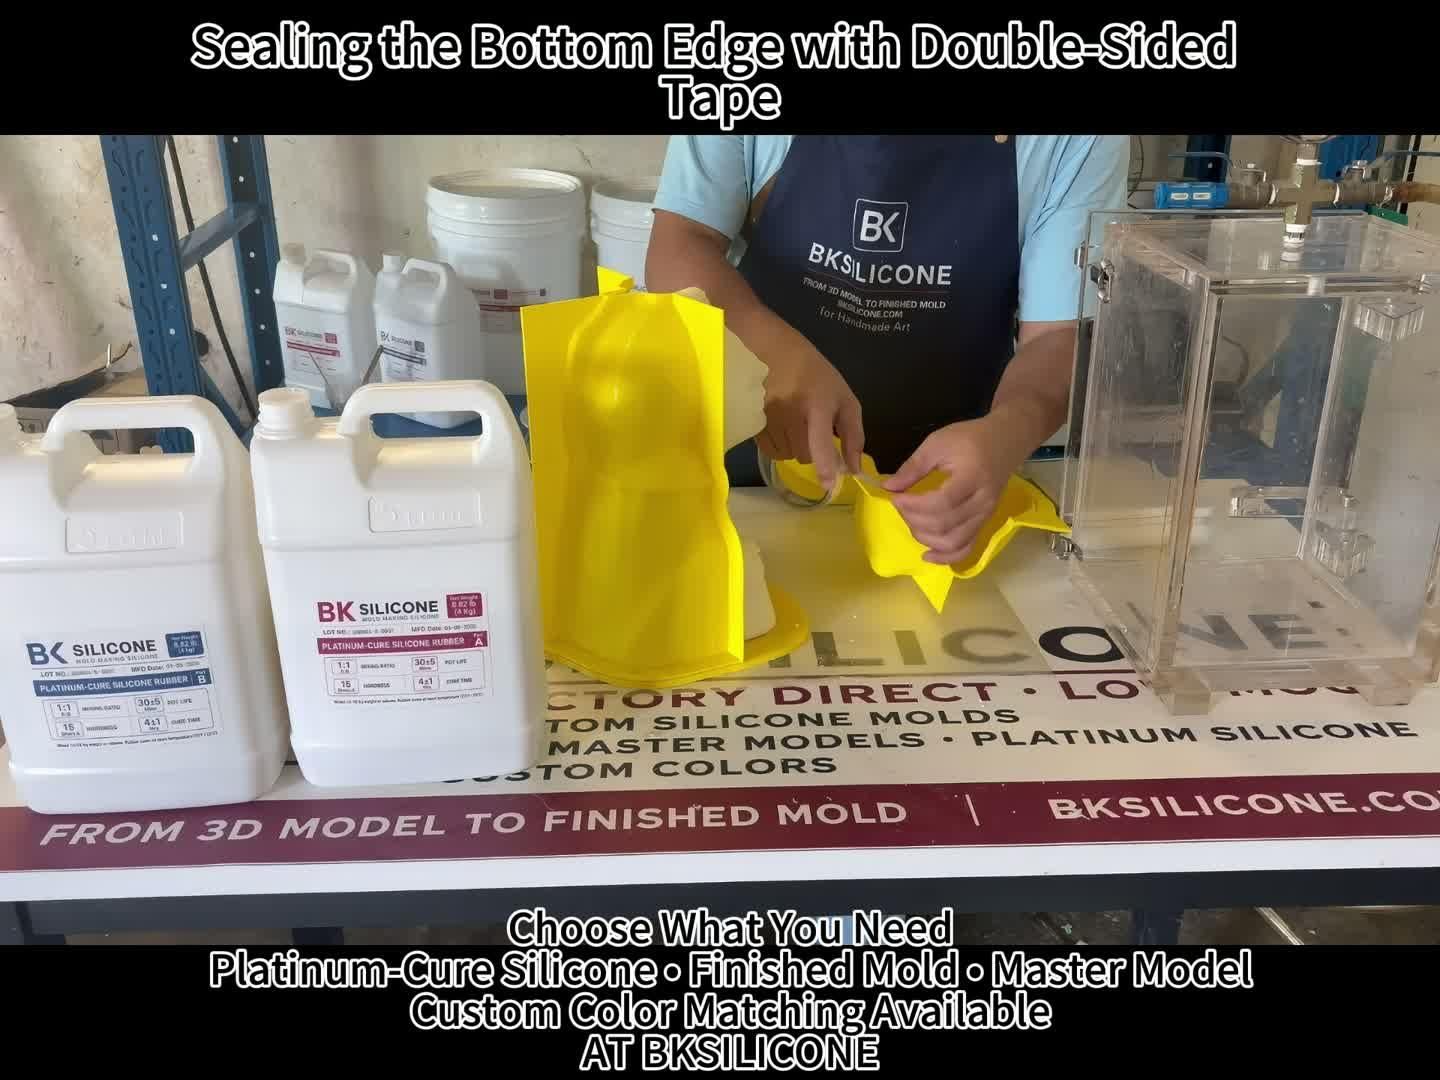
Seal the Bottom Edge
Apply double-sided tape along the bottom edge. The goal is to establish a practical seal before liquid silicone creates pressure at the base.
Clamp the Shell Sections
Join the rigid shell sections with binder clips. The clips hold alignment during pouring and can be removed when it is time to open the mold.
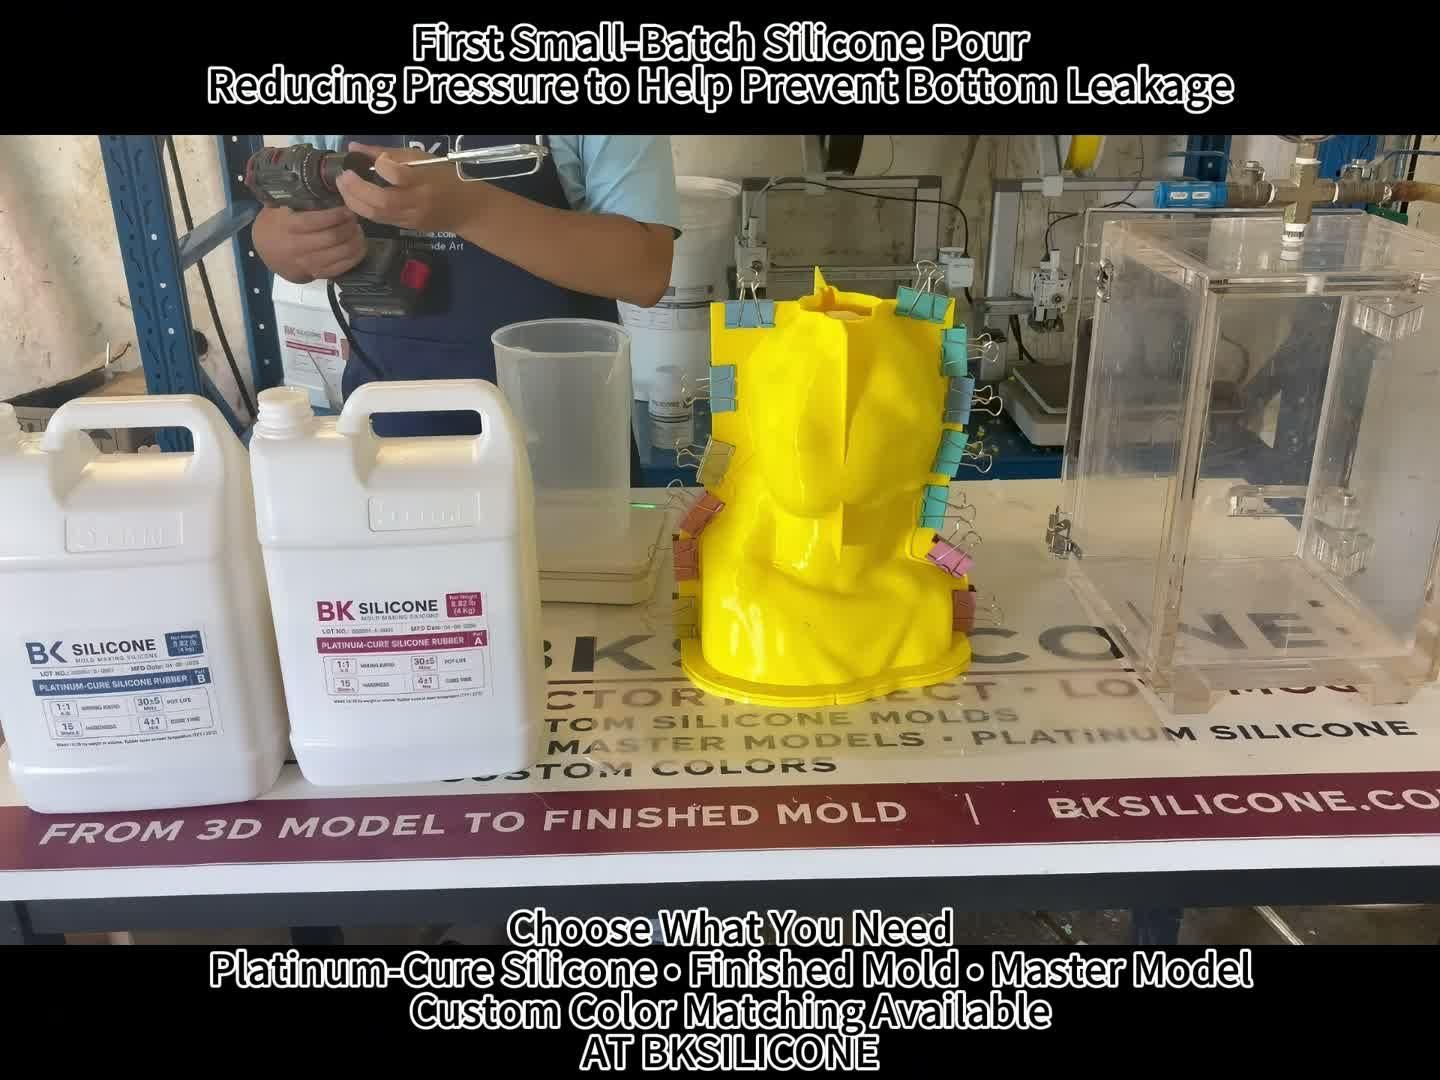
Make the First Small Pour
Start with a small silicone batch. A low initial liquid level reduces pressure at the bottom and allows the seal to be checked before more material is added.
Complete the Second Pour
About 40 minutes later in this recorded G6003 run, add the remaining silicone to complete the inner mold. This is project evidence, not a universal timing rule.
Allow This Run to Cure
The workshop video returns about 4 hours later, when the silicone is fully cured for this run. Check the instructions for any different silicone system.
Open the Support Shell
Remove the clips and separate the rigid shell sections carefully so the cured silicone inner mold and the master are not damaged.
Demold and Inspect
Separate the flexible silicone mold and inspect the Lady Justice detail. The silicone holds the sculptural surface while the outer shell provides structural support.
Trim and Finish the Mold
Trim excess silicone around the opening and edges. A clean opening makes reassembly and casting easier.
Run a Plaster Casting Test
Reassemble the silicone inner mold inside the support shell, secure the sections, and fill with plaster. No special plaster formula is claimed; this is a practical system test.
Demold the Finished Casting
Open the support shell and peel back the silicone carefully. Inspect the finished Lady Justice casting for overall shape and reproduced detail.