How You Can Make Greek and Roman Inspired Pottery From the Ancient Times for People That Don't Have a Pottery Wheel!
by chiquisetas11 in Craft > Clay
551 Views, 4 Favorites, 0 Comments
How You Can Make Greek and Roman Inspired Pottery From the Ancient Times for People That Don't Have a Pottery Wheel!
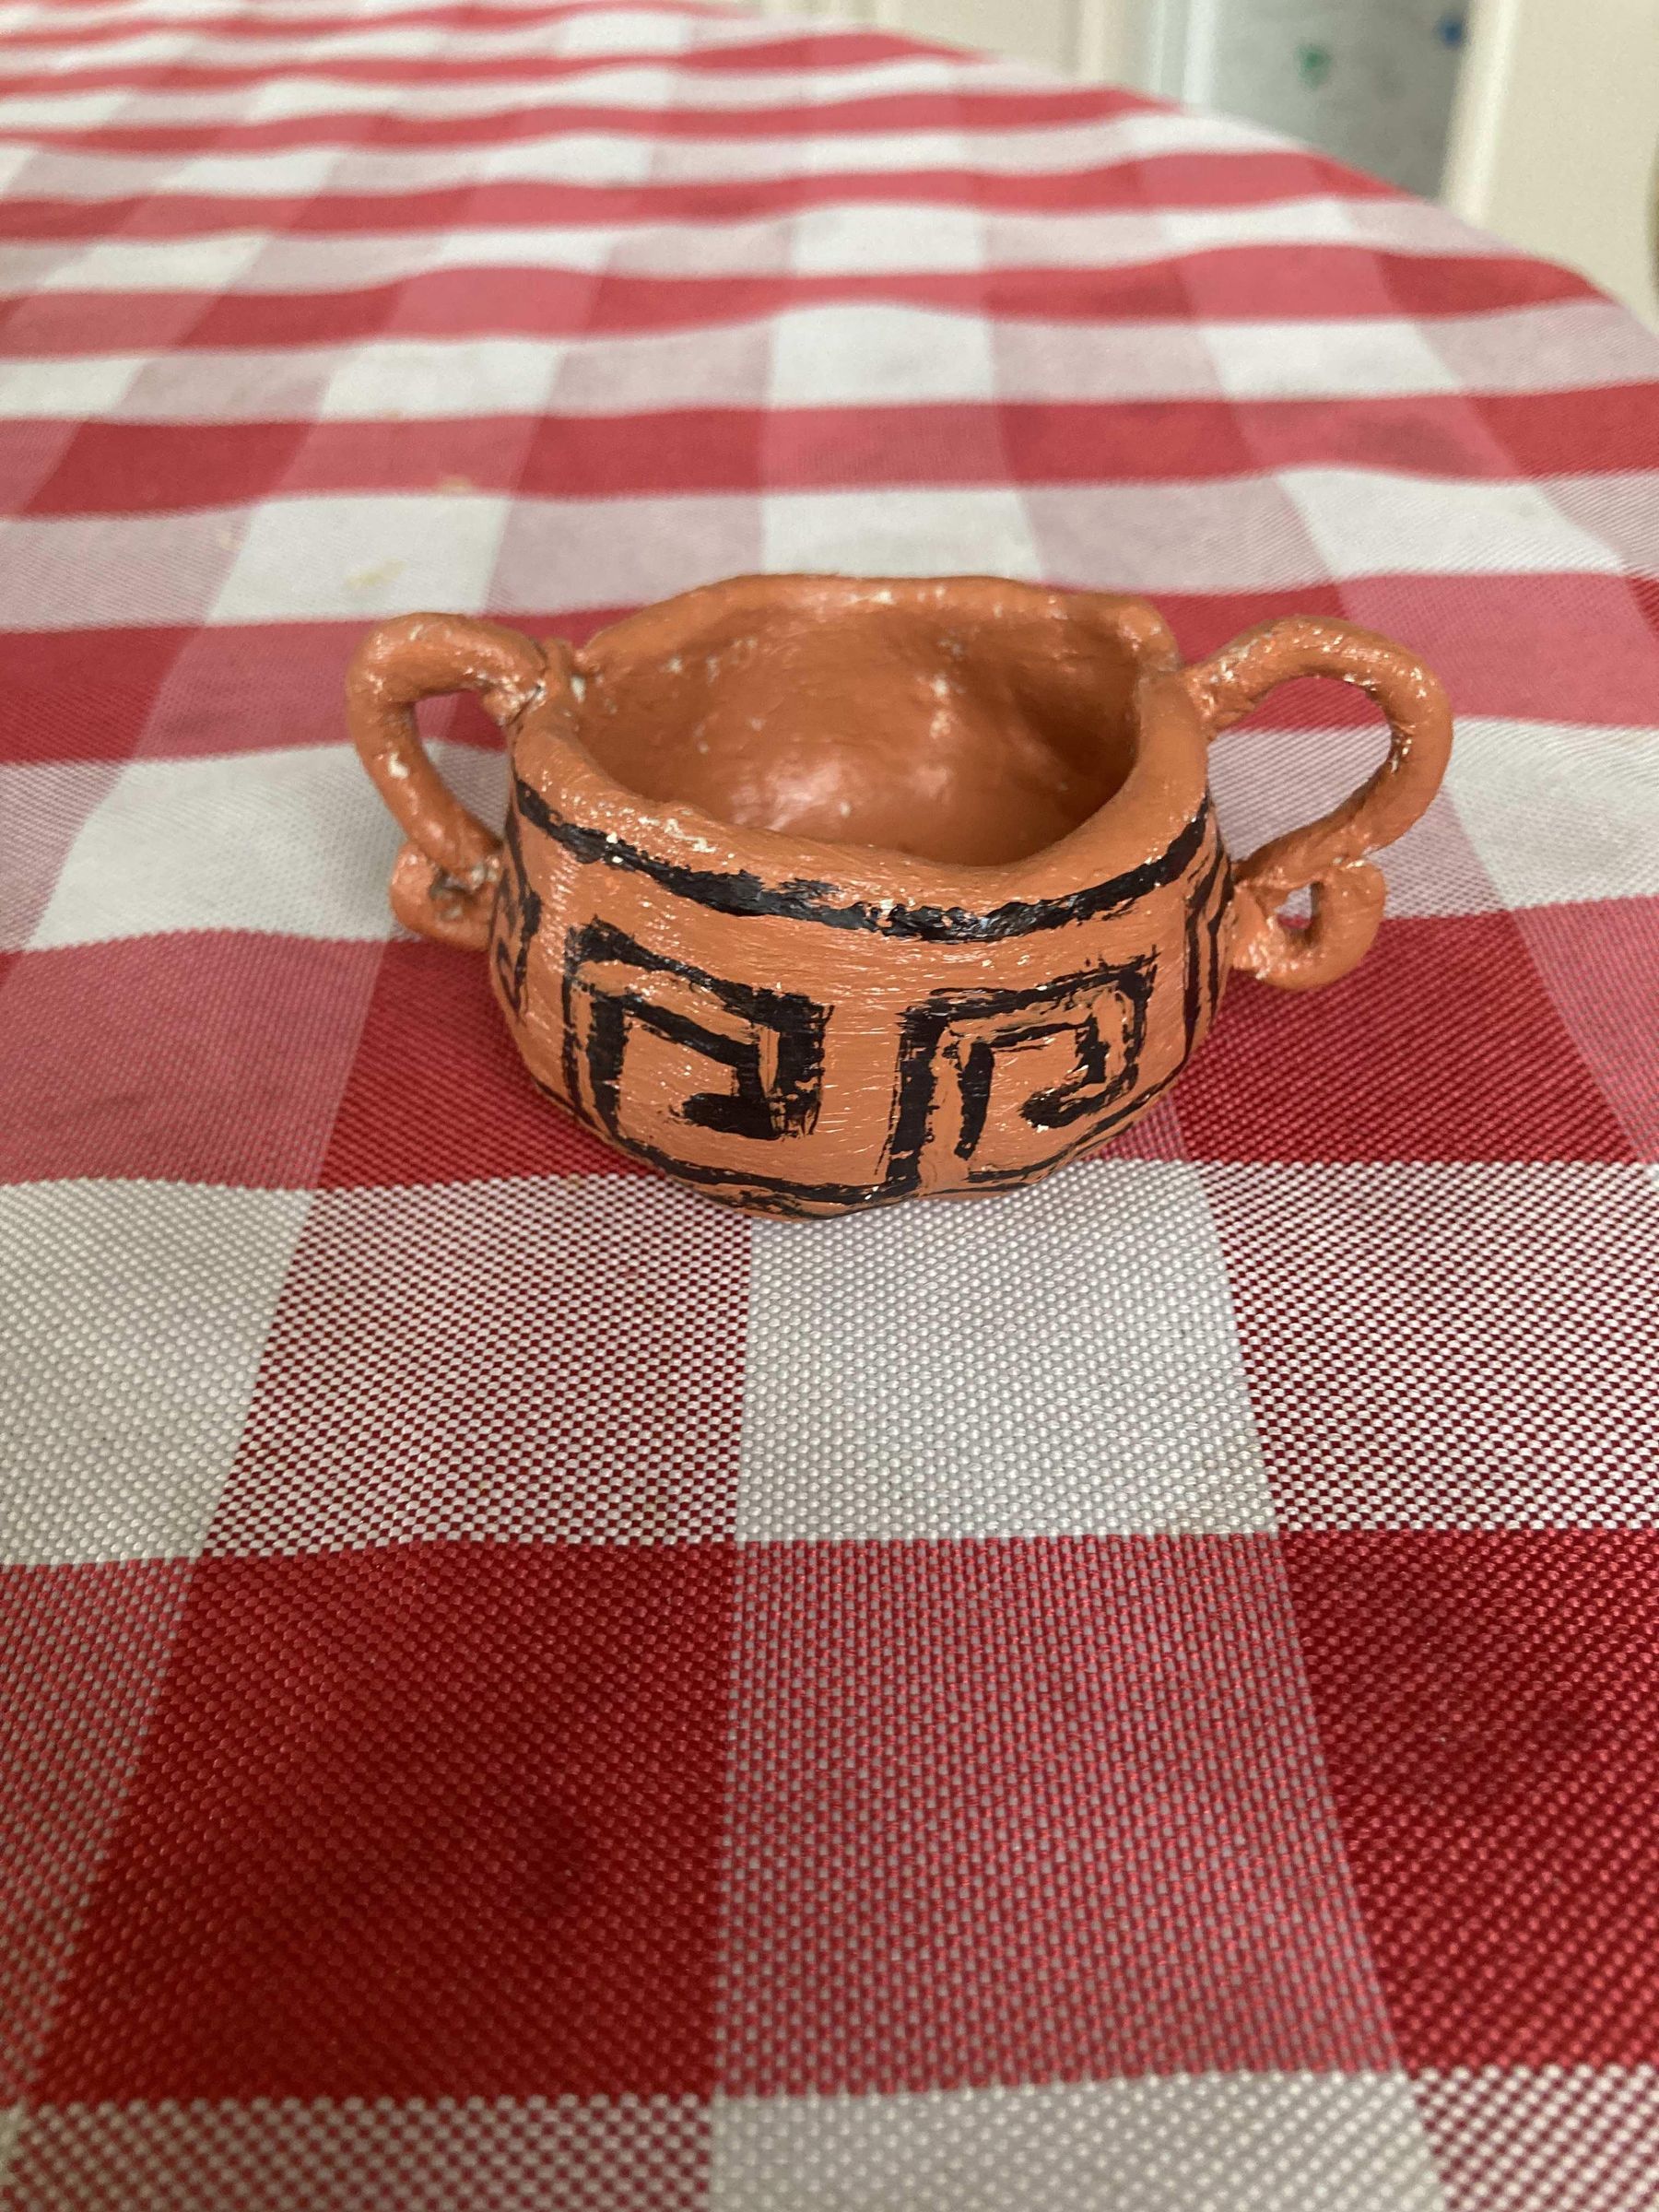
Follow this tutorial to learn how to make a super easy Greek and Roman styled pottery.
Supplies
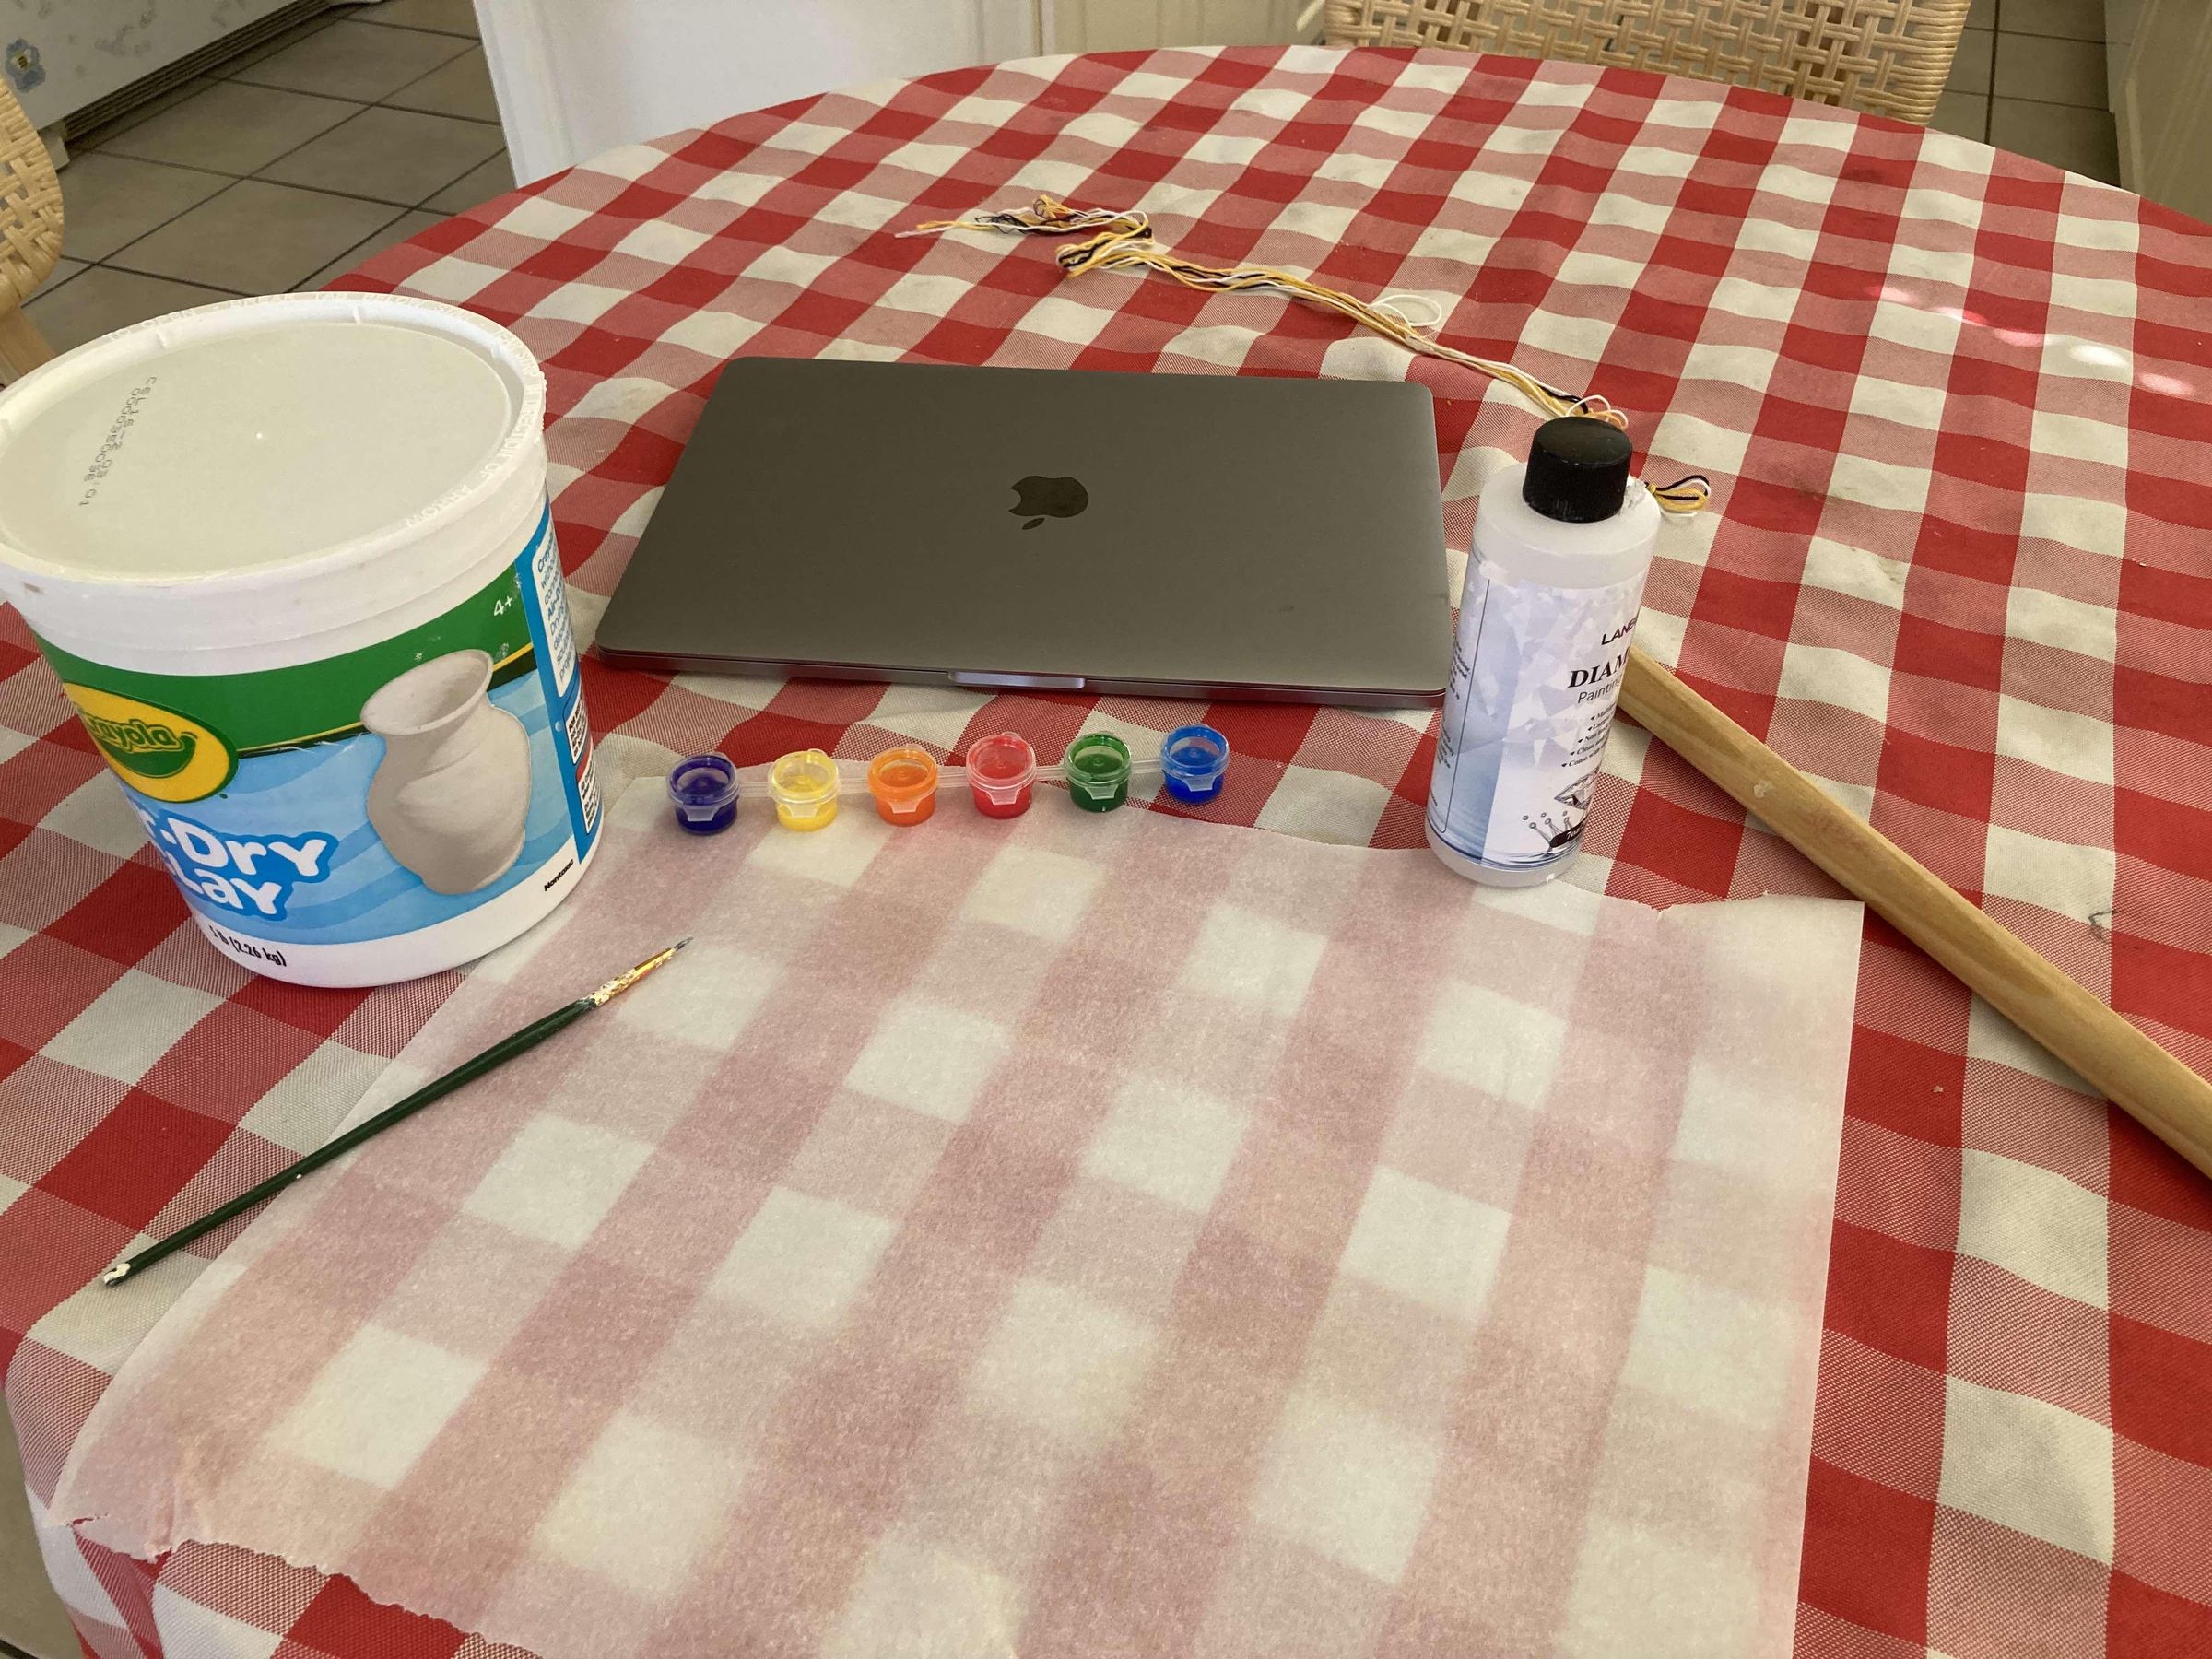
For this project, you will need:
- air dry clay (I used crayola)
- acrylic paint
- clay glaze
- parchment paper
- a plate
- some pottery tools (if not, a pencil should be fine)
- a paintbrush or something to put the paint on your pottery
- a flat surface
- some water
- Your clay creation might break, so some standard glue wouldn't hurt!
Setting Up
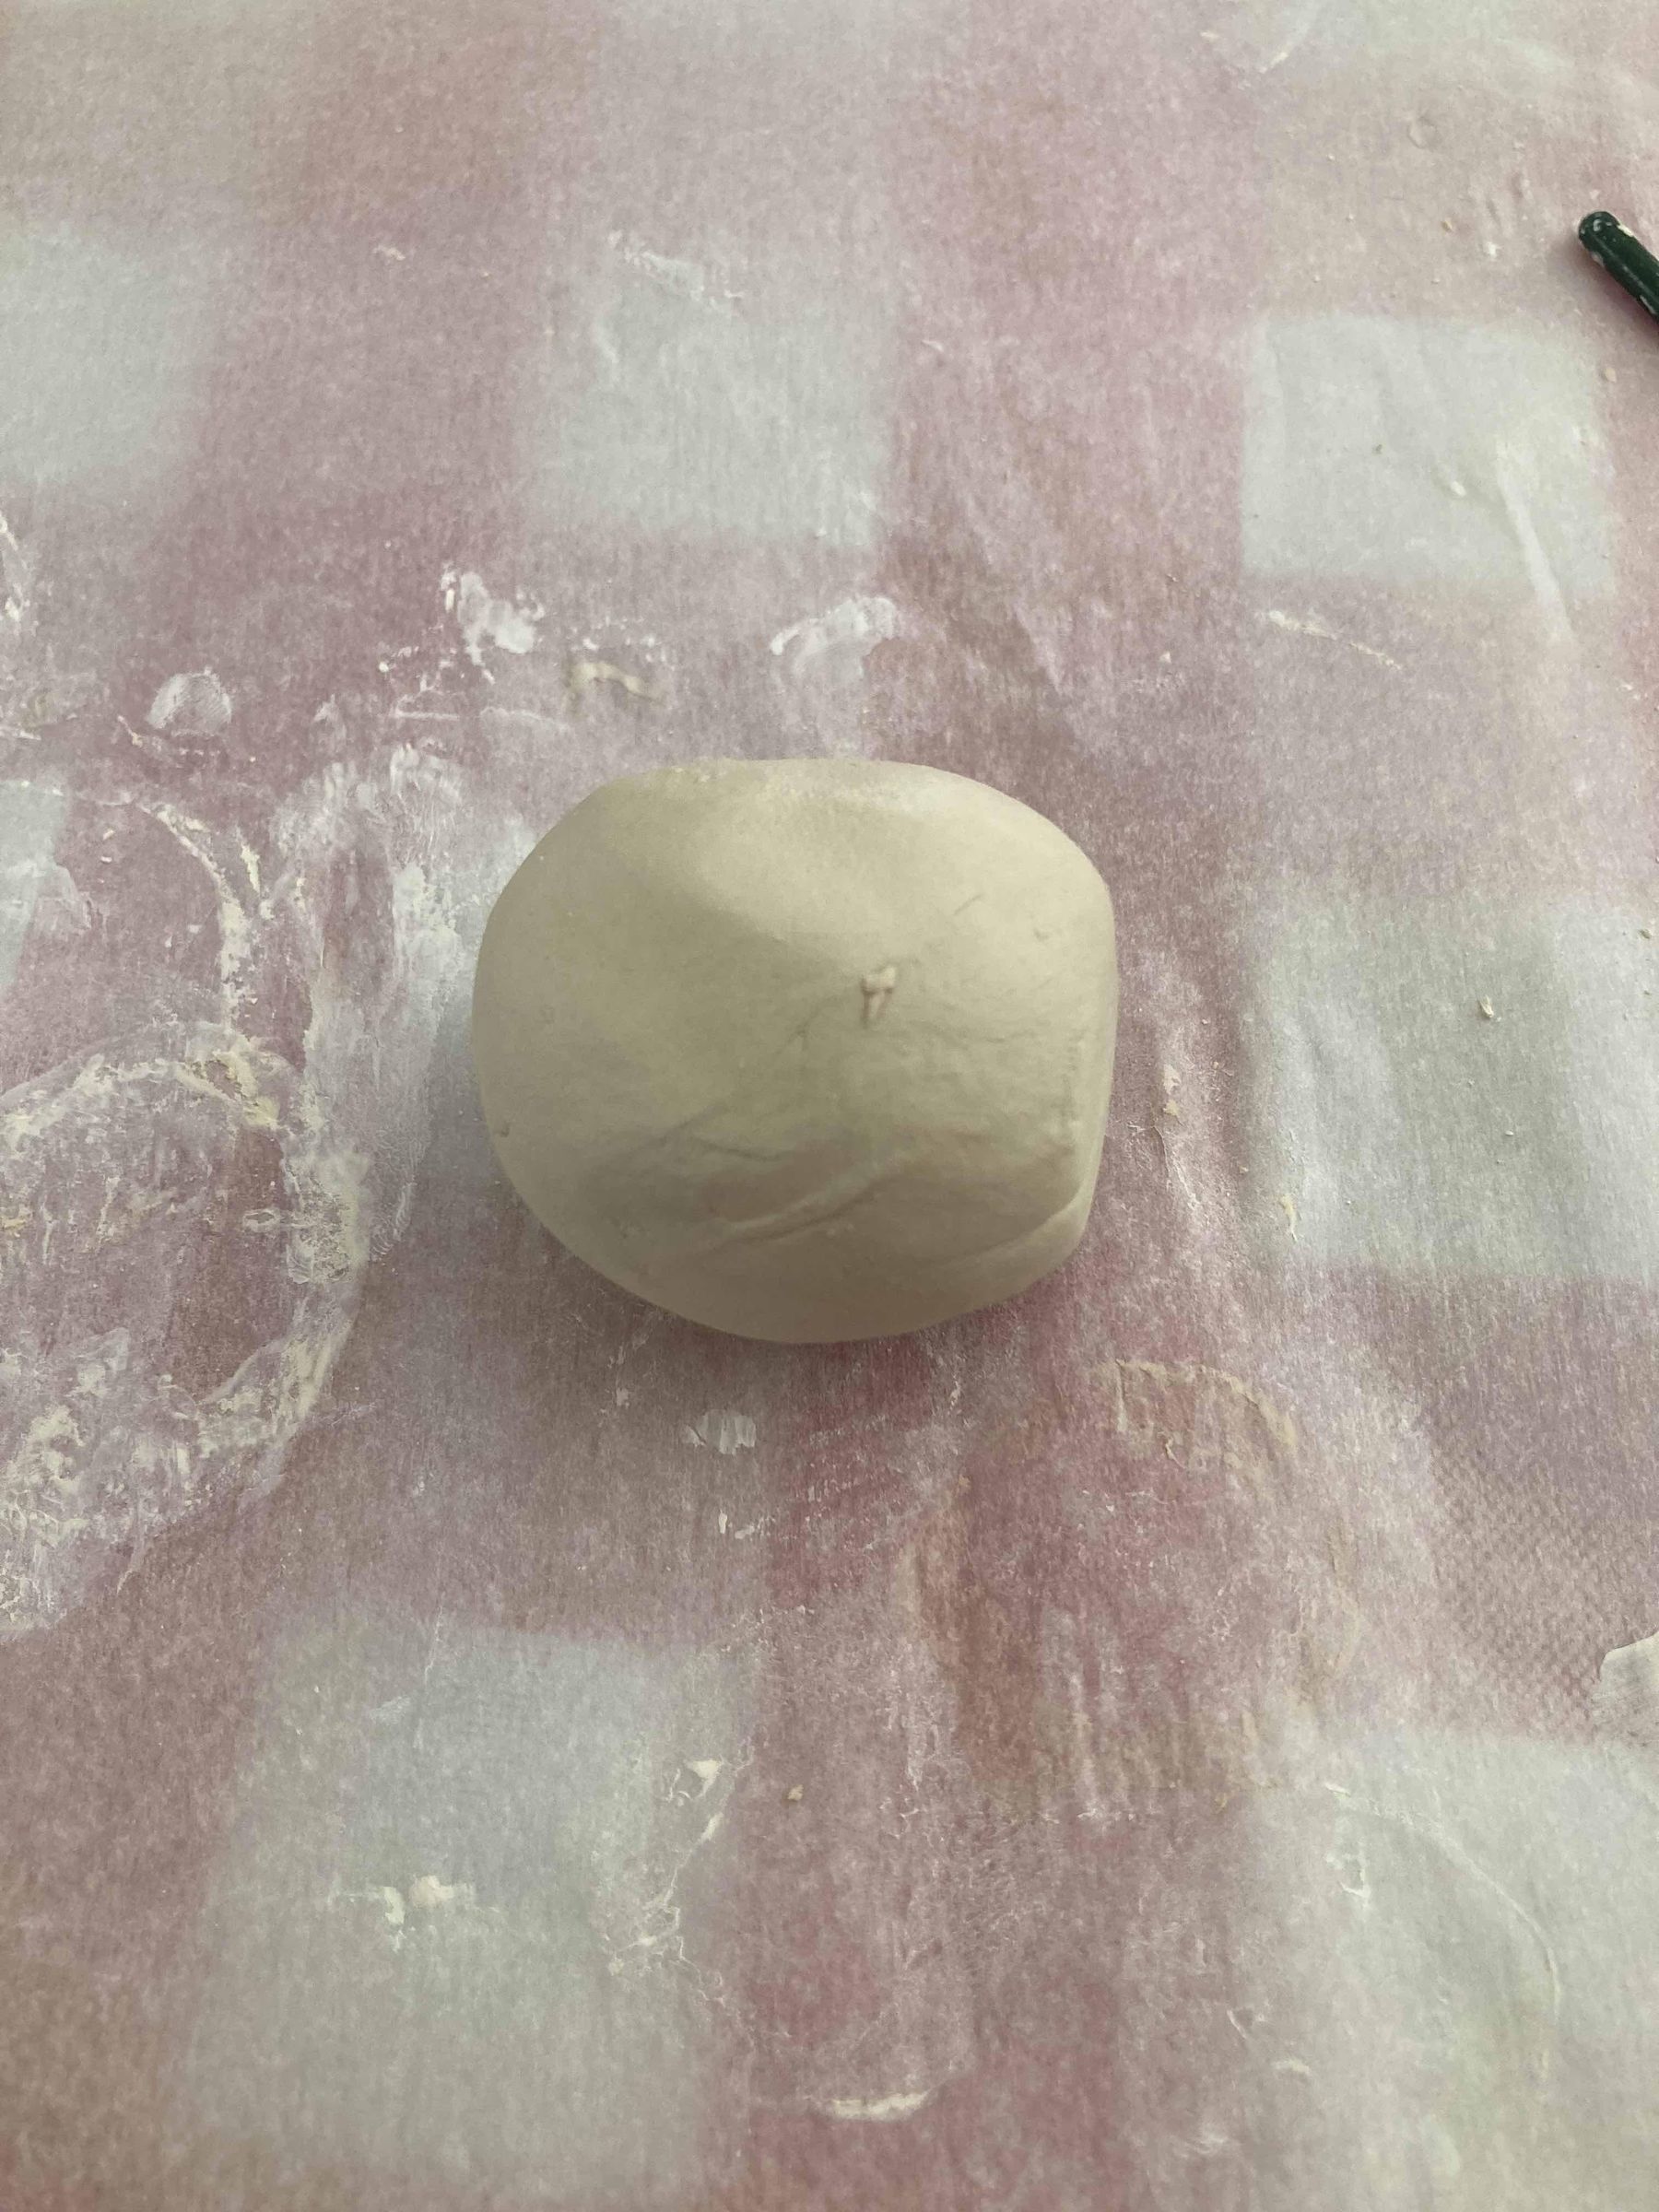
First, cut a piece of parchment paper and put it on top of your flat surface (in my case, a table). We will work with the clay on top of that to ensure that we don't make a mess.
Grab some clay from the container (I decided to make my container pretty small, but that's just me. For the technique that we are going to be using, small amounts are recommended) and make a ball out of it.
Making Your Pinch Pot
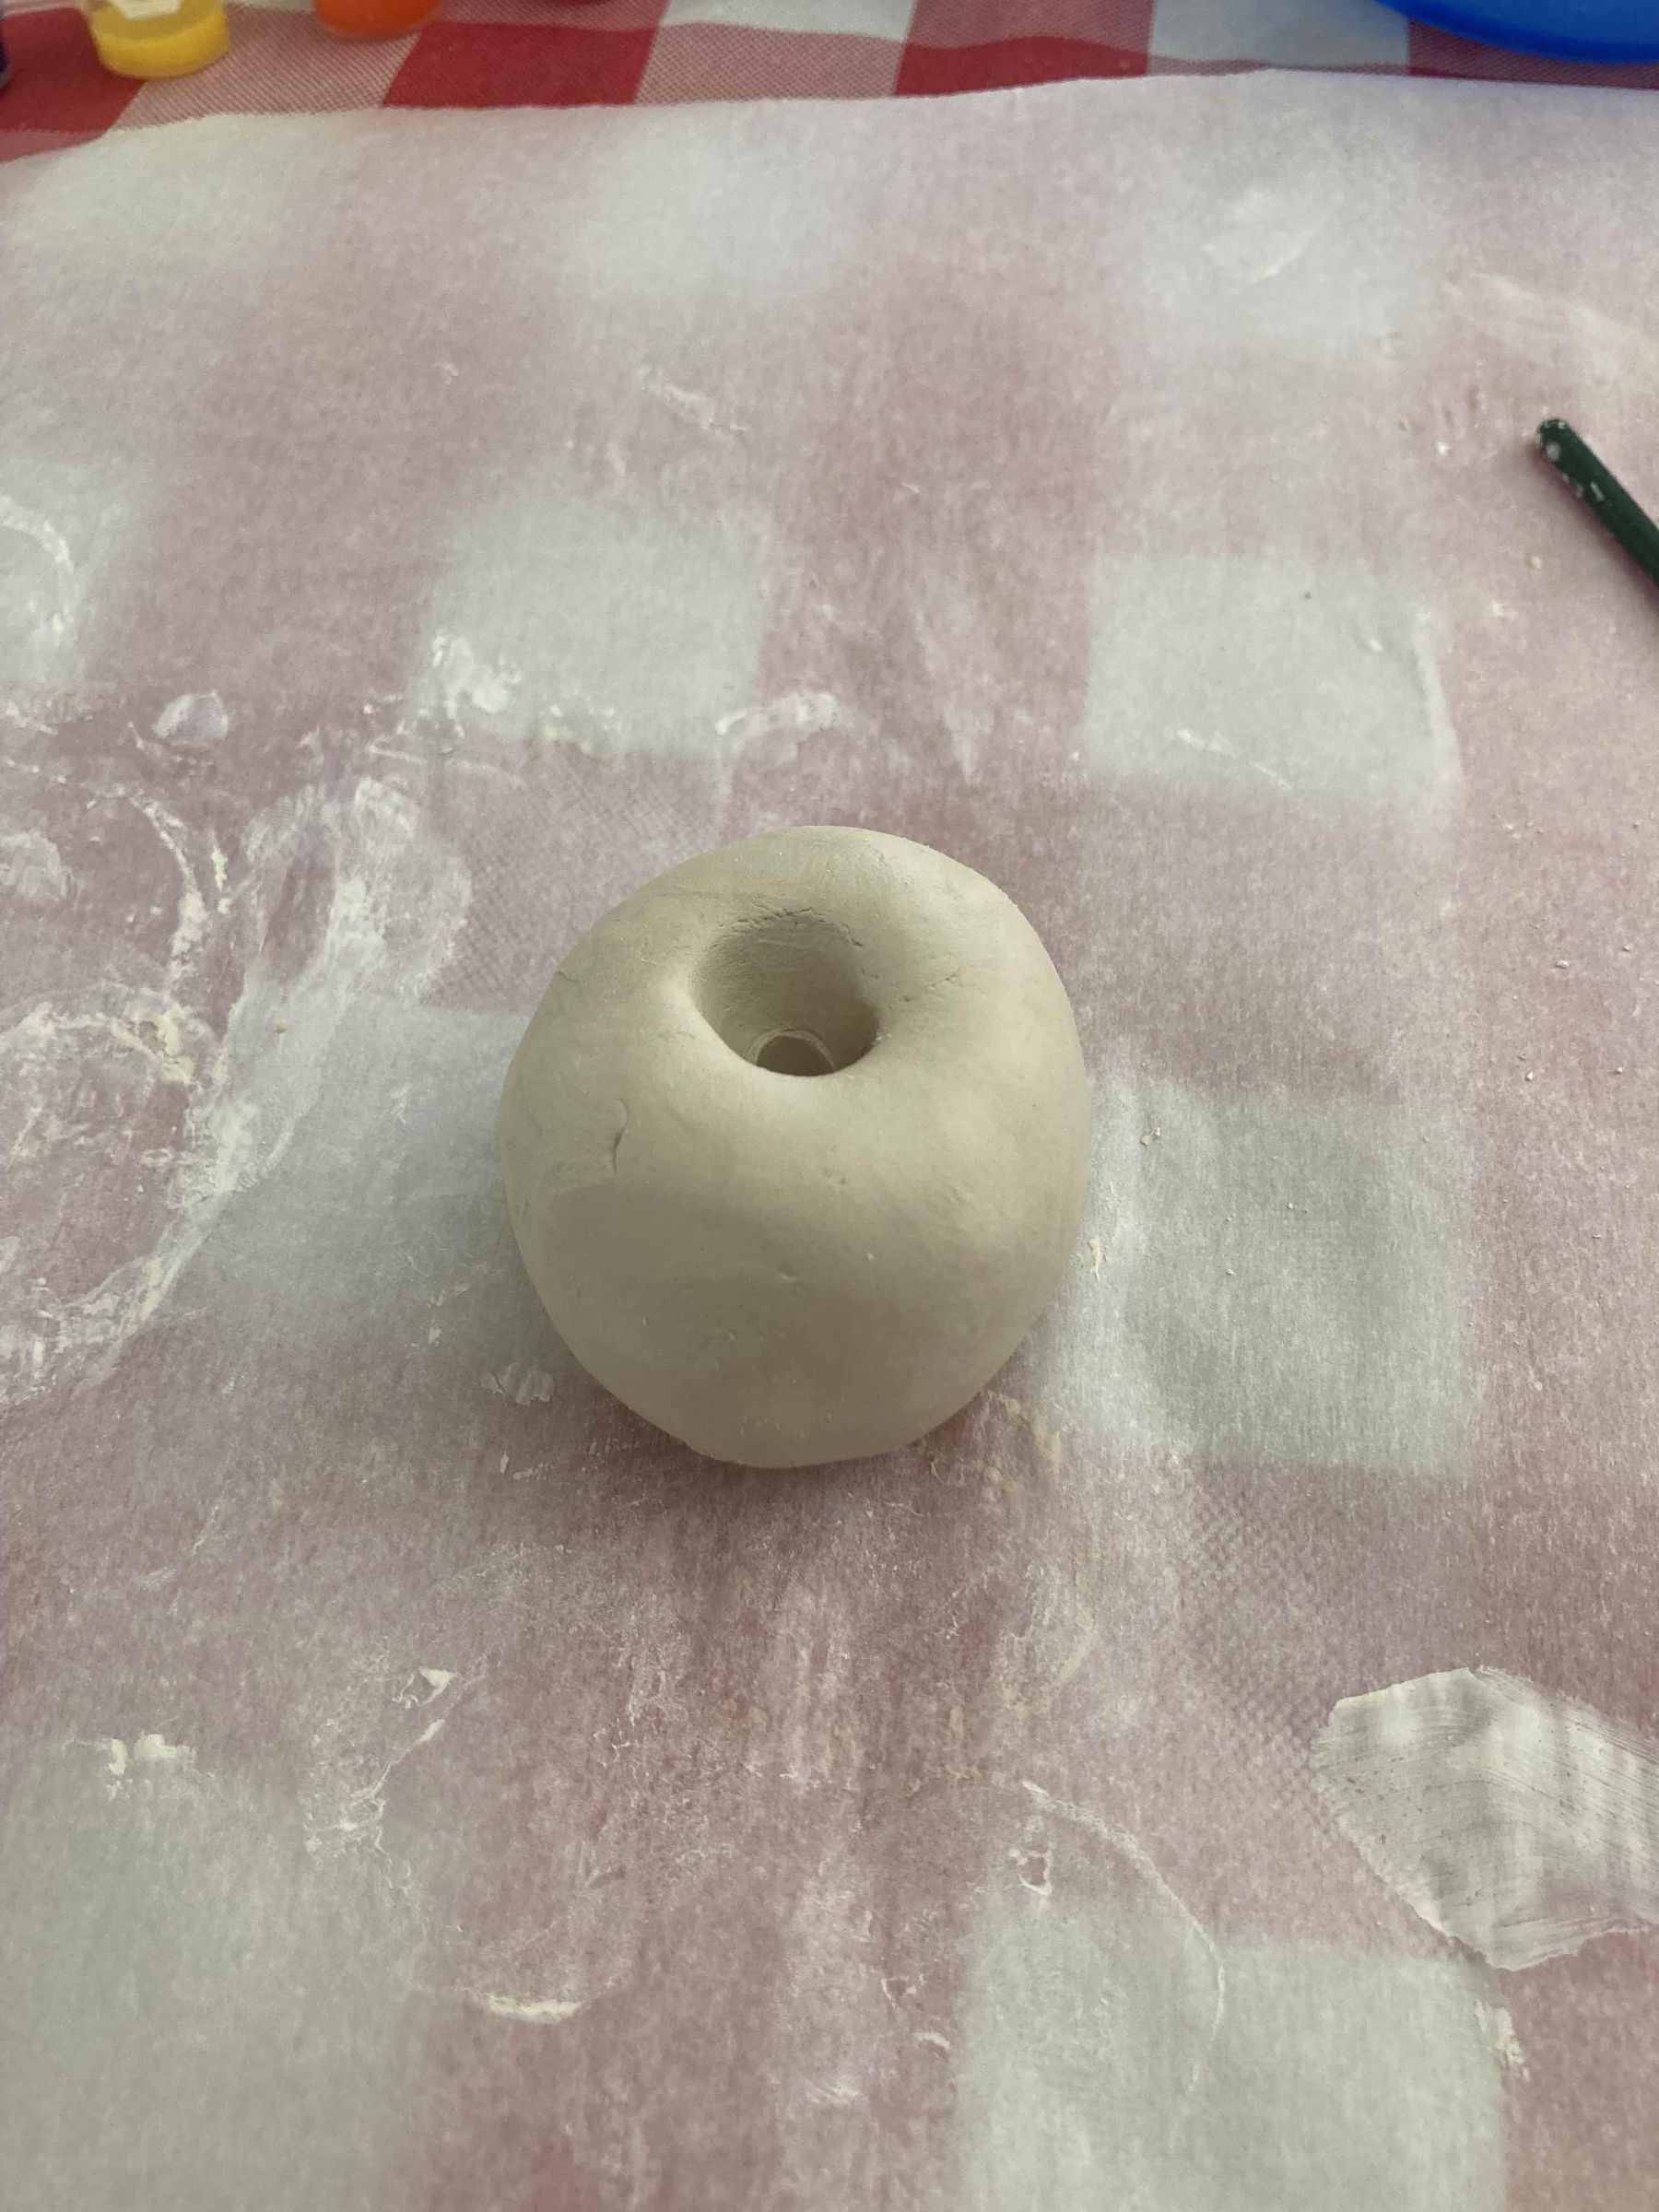
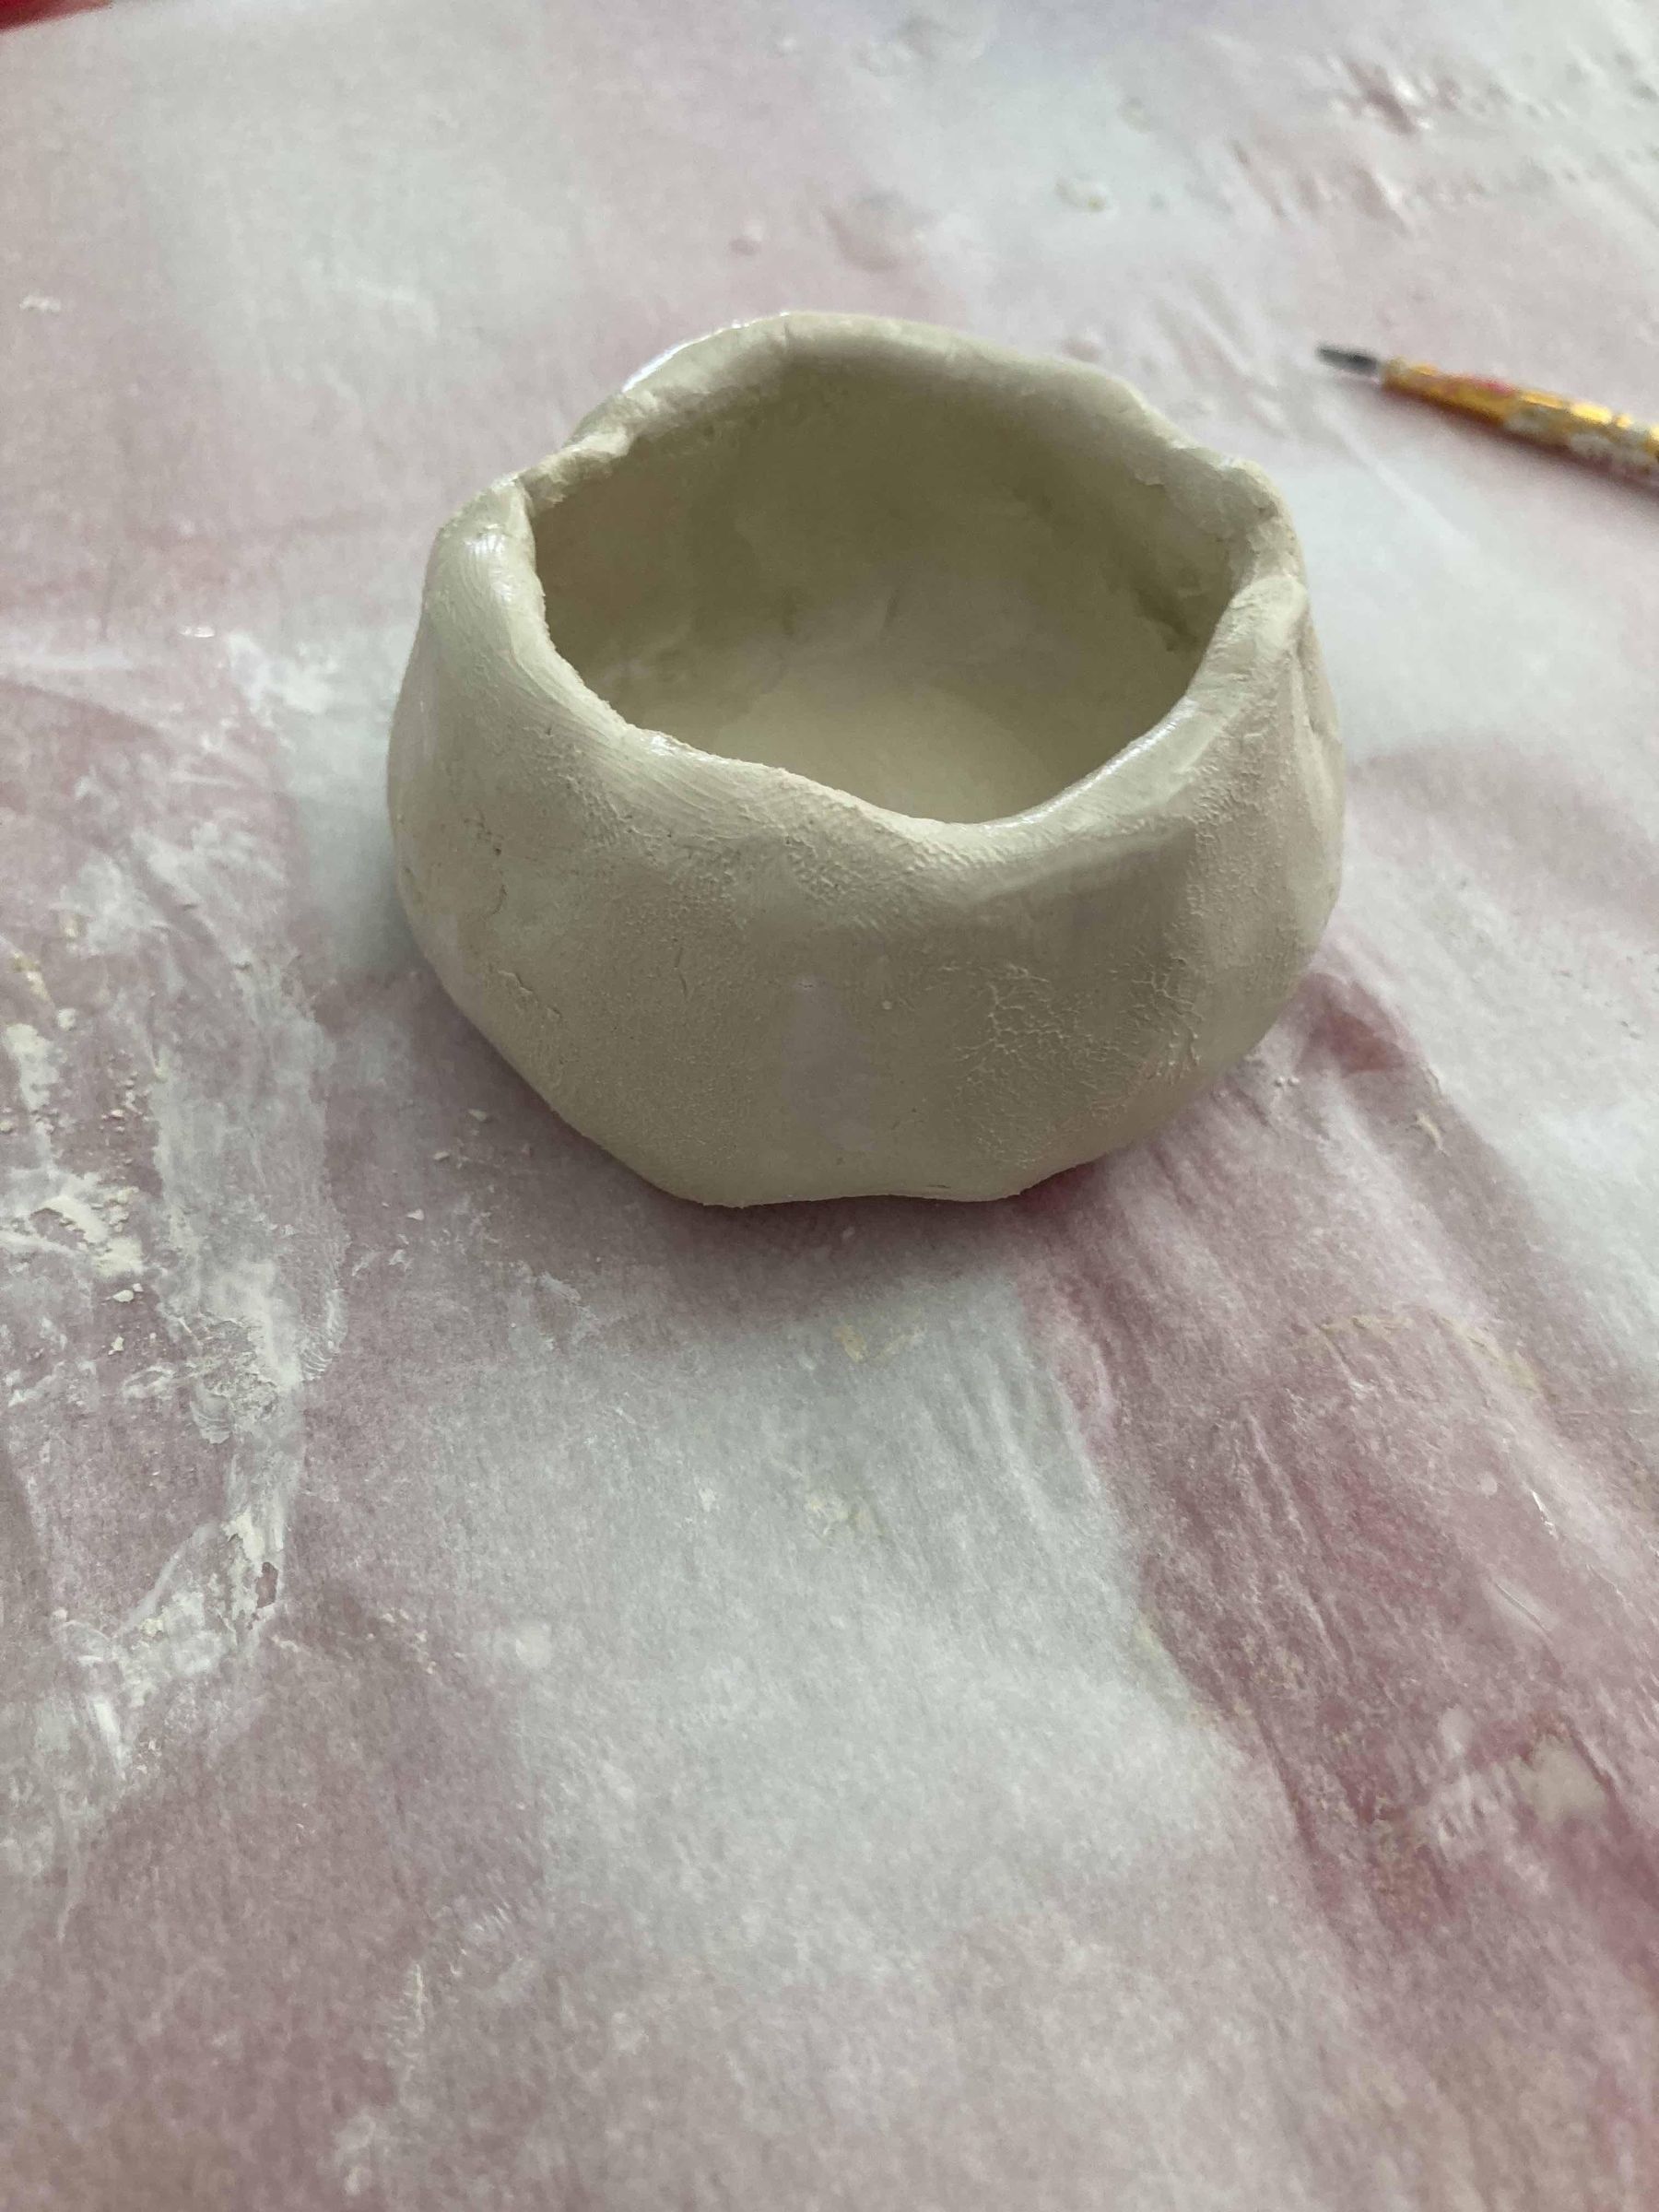
Then, stick your finger into the clay ball and start pinching the edges in a circular motion so that it eventually forms a bowl, or some type of container. Look at the images for an example.
After that, wet your fingers with the water and smooth out any imperfections, or to prevent the clay from cracking or breaking later on.
Making and Attaching the Handles
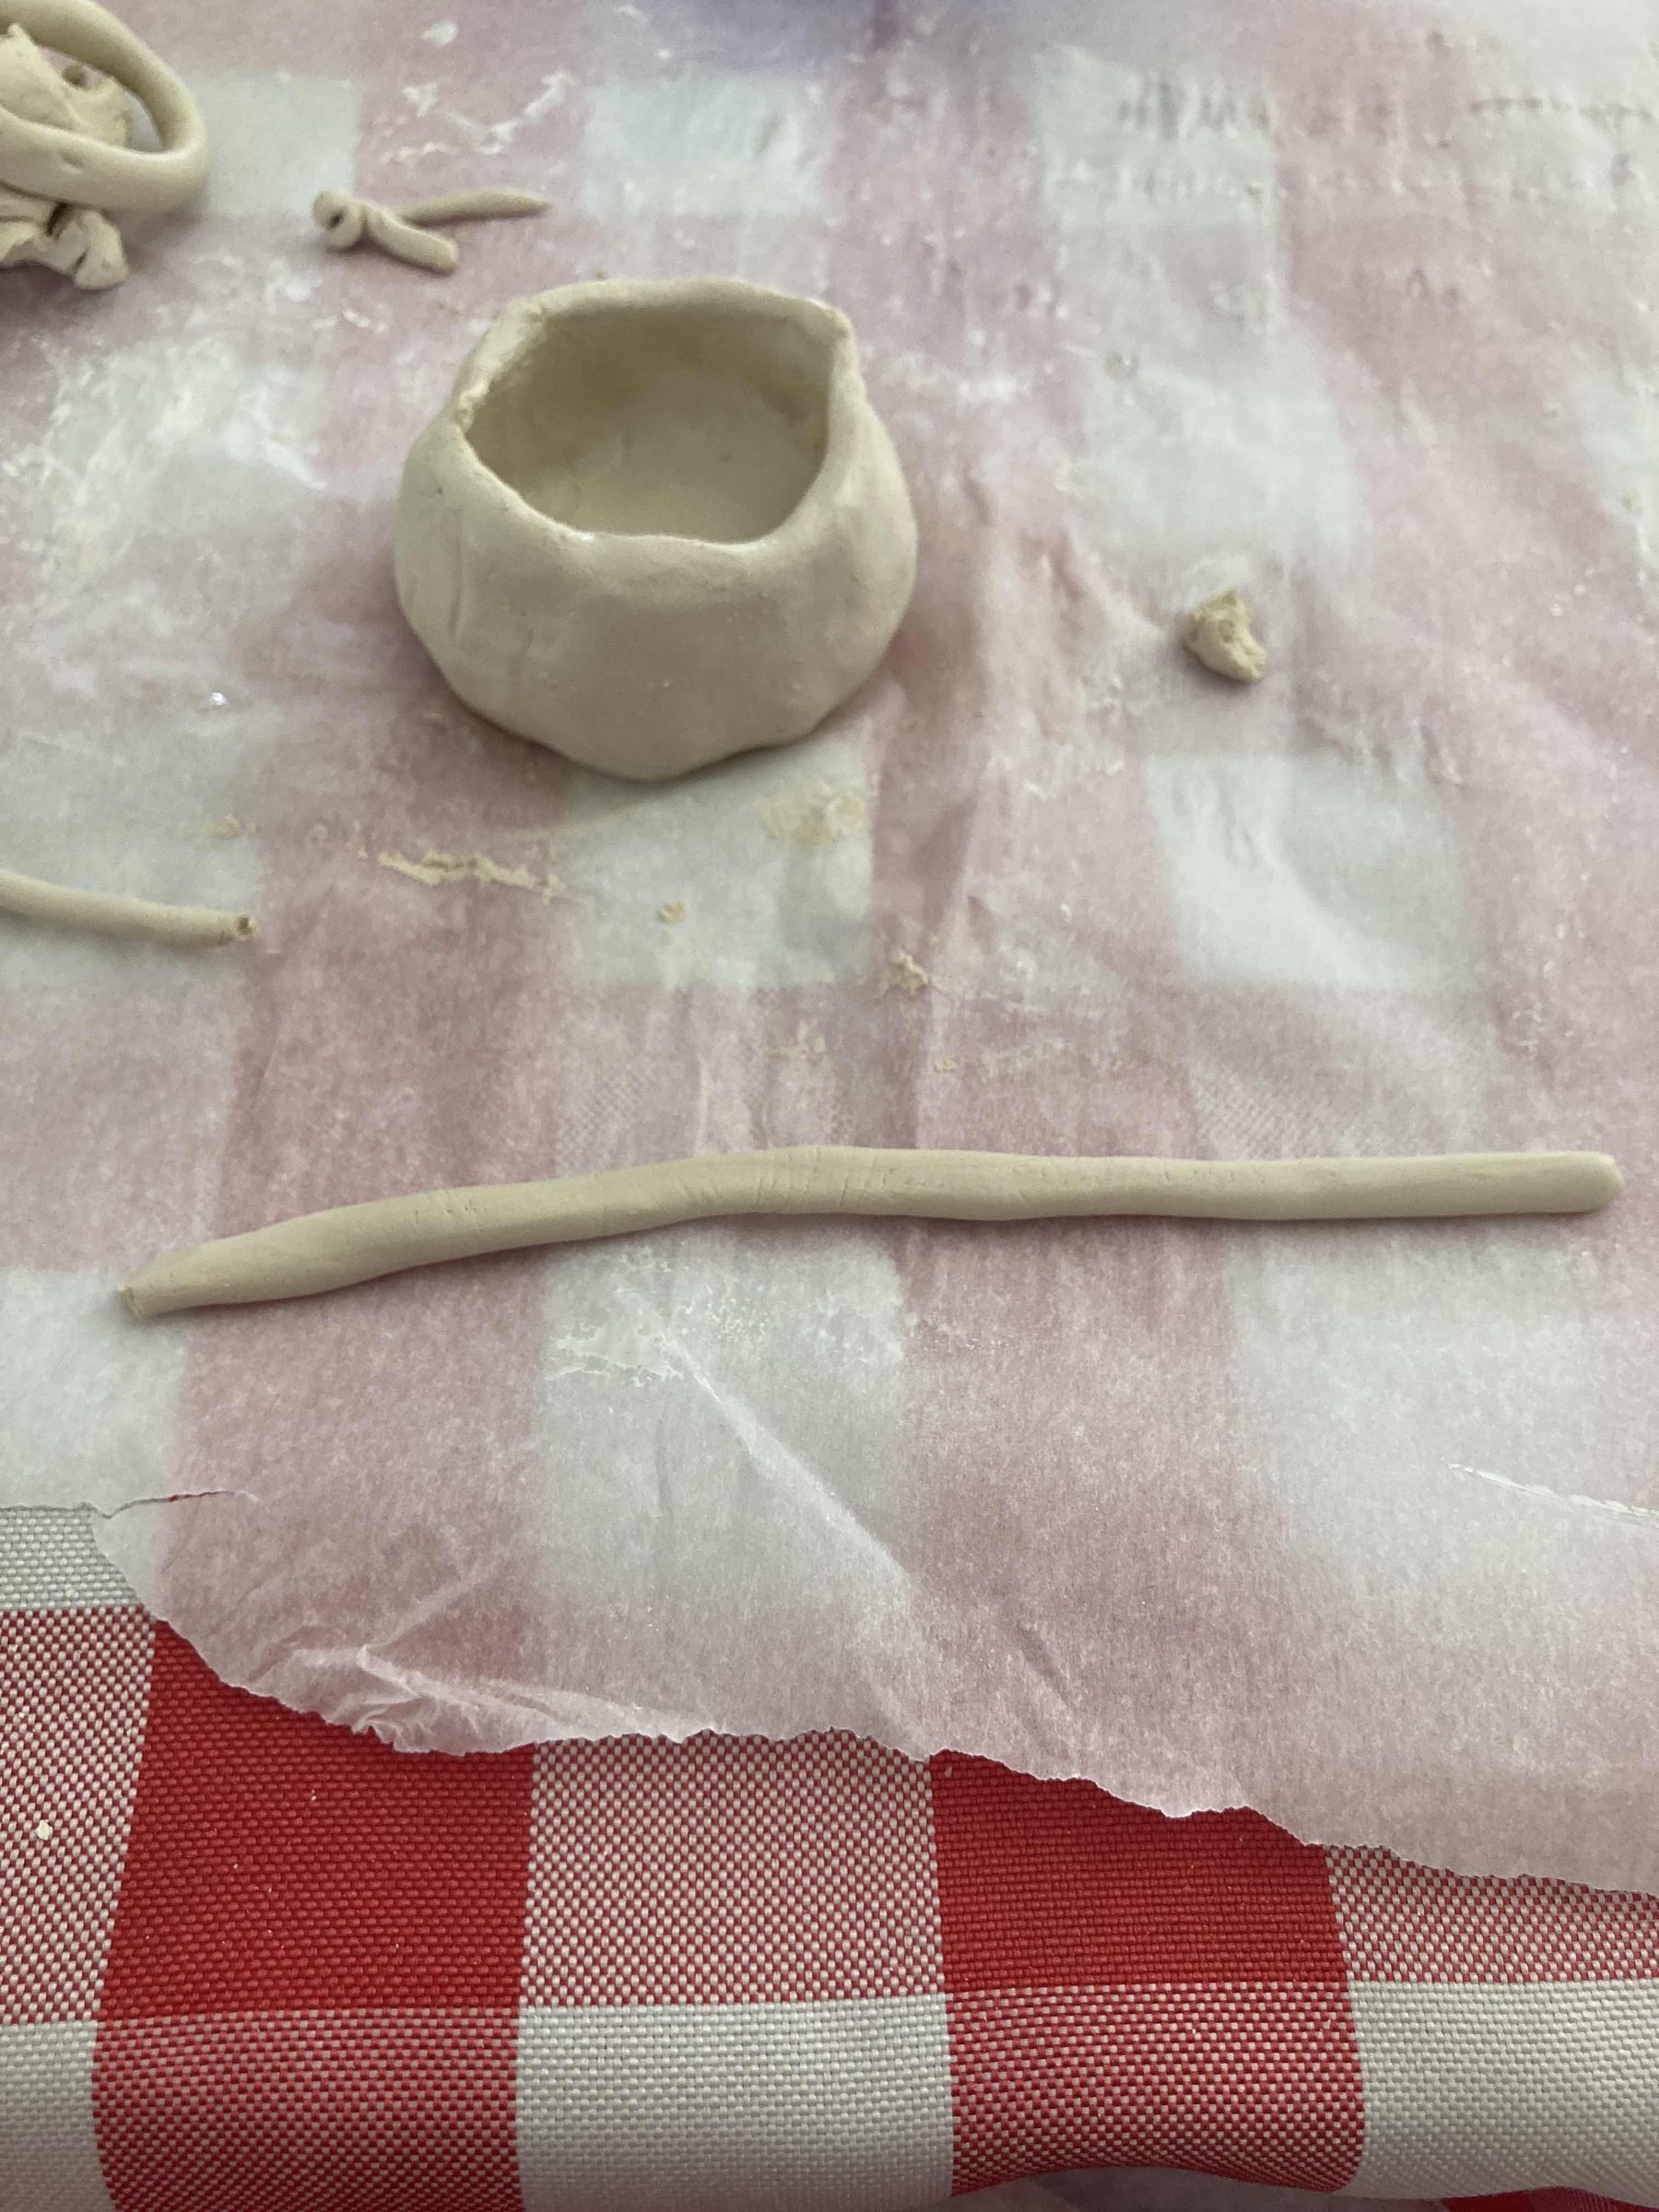
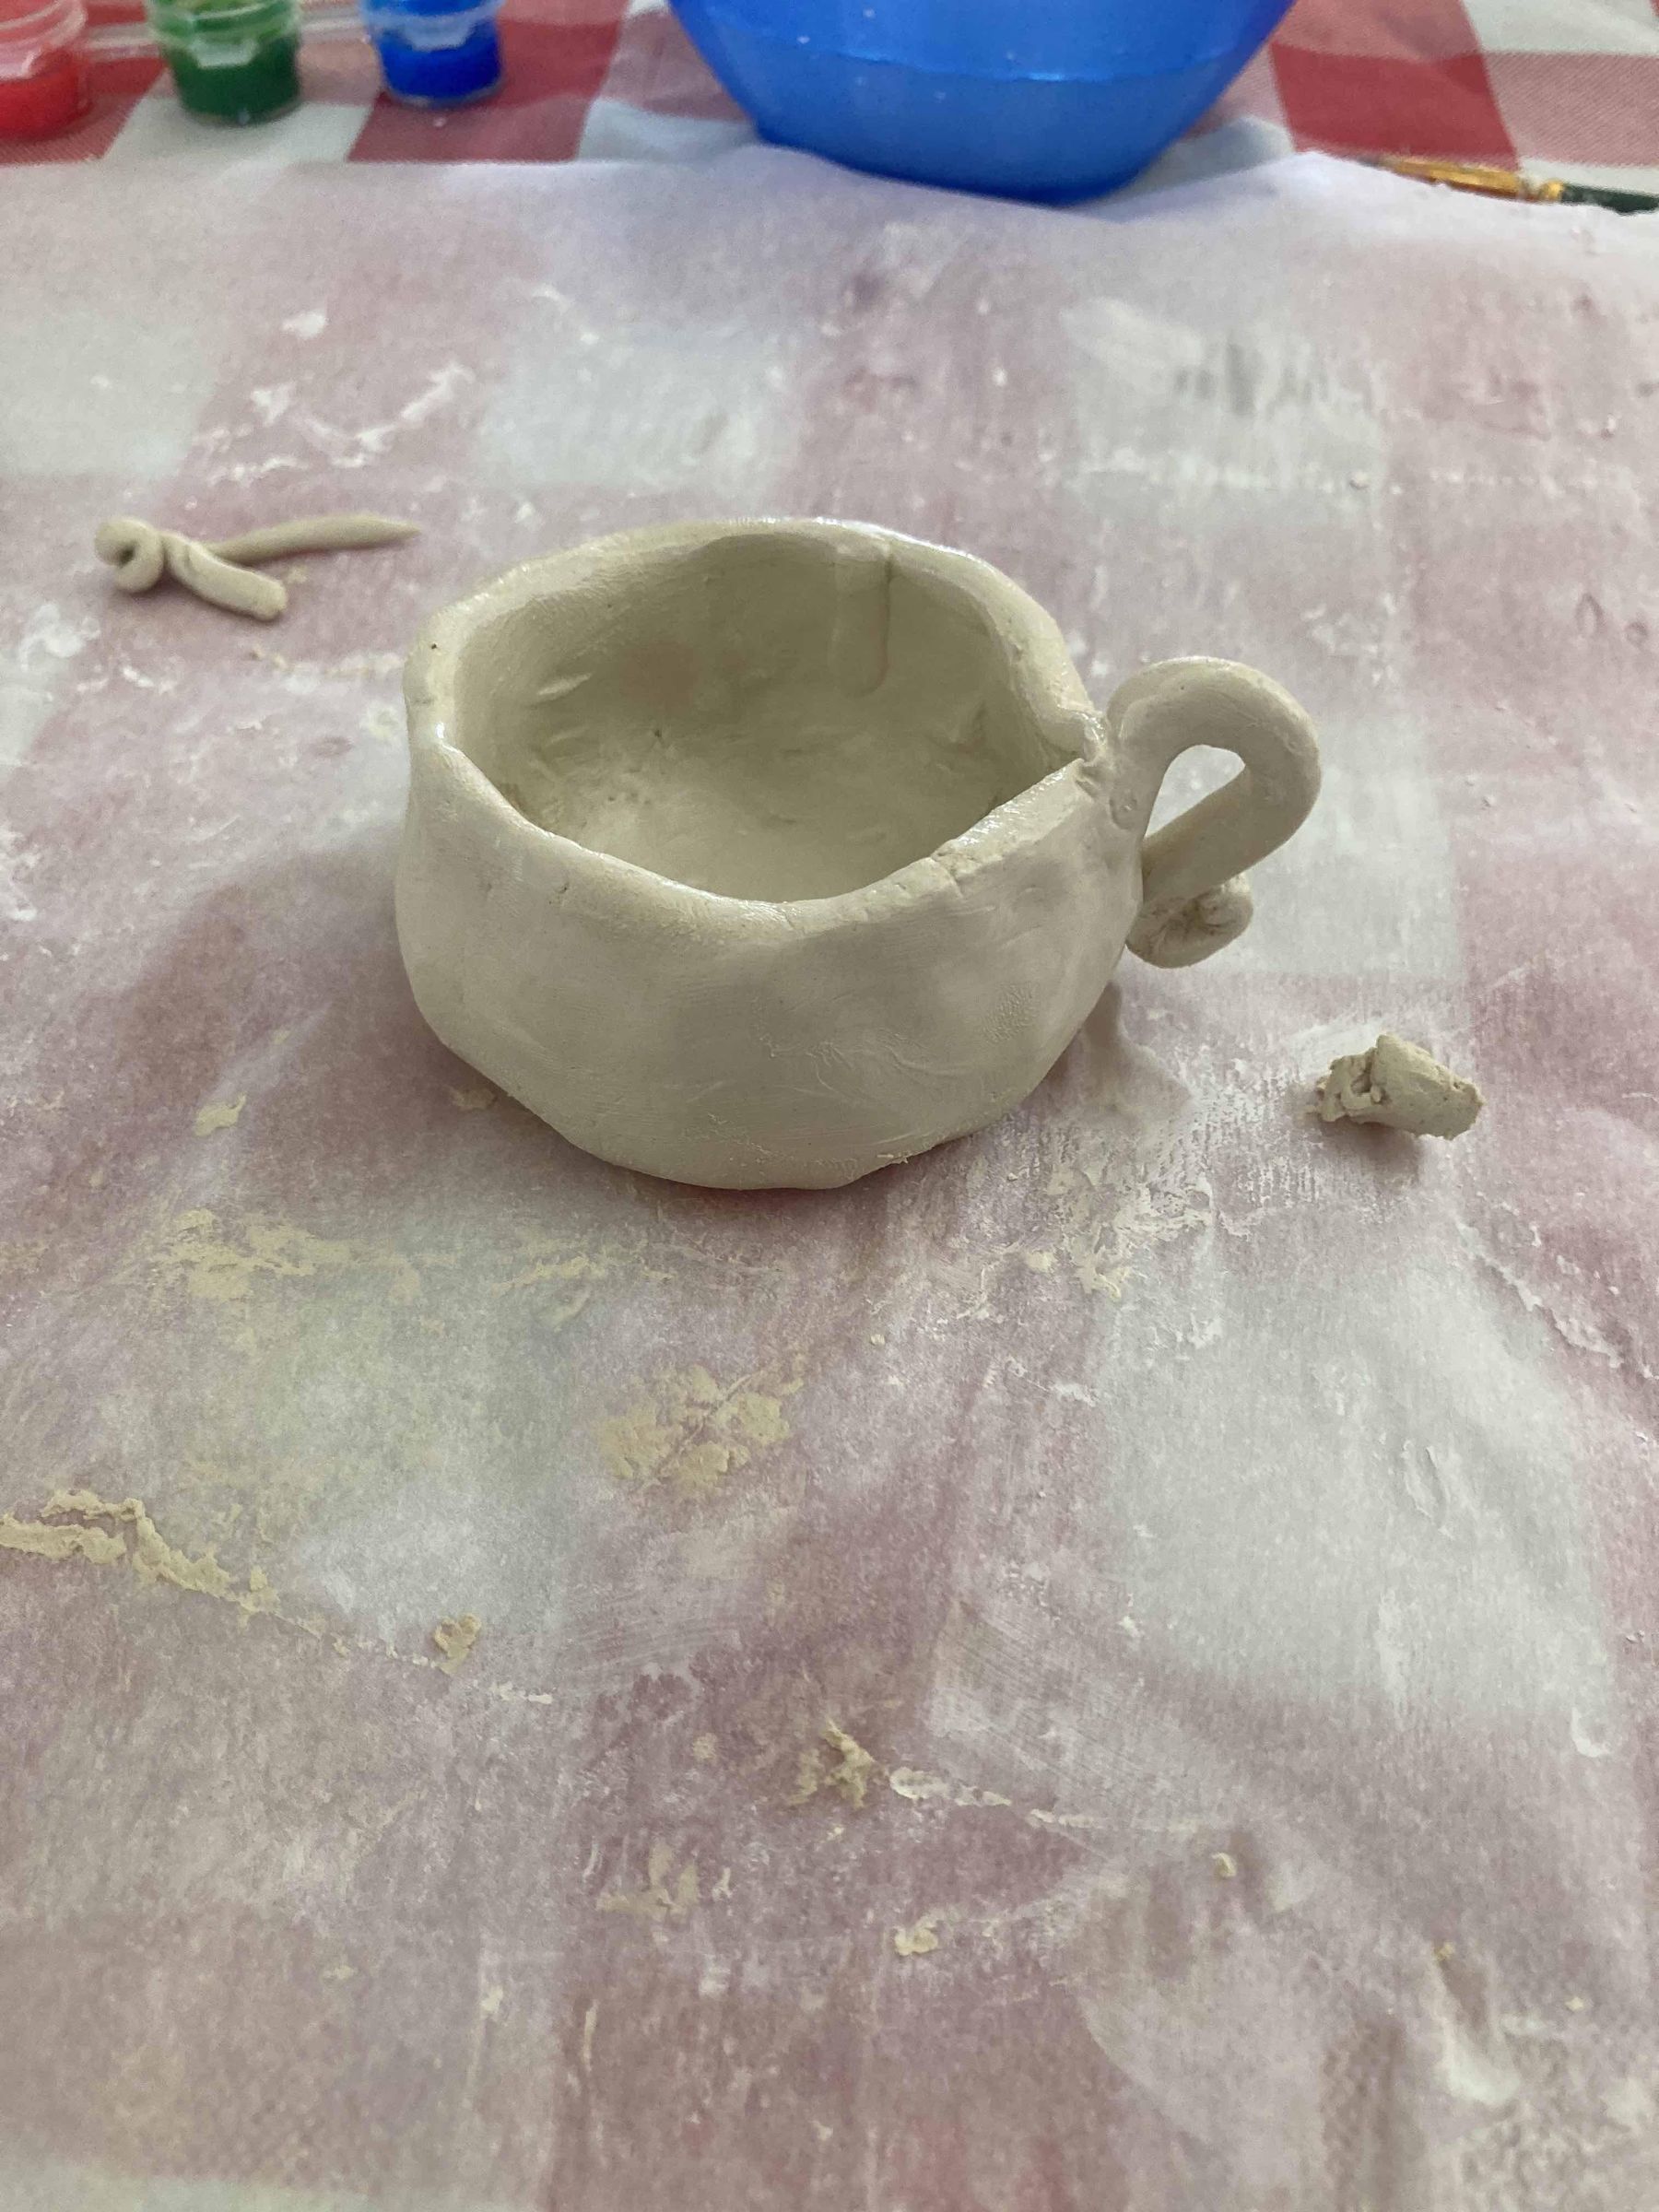
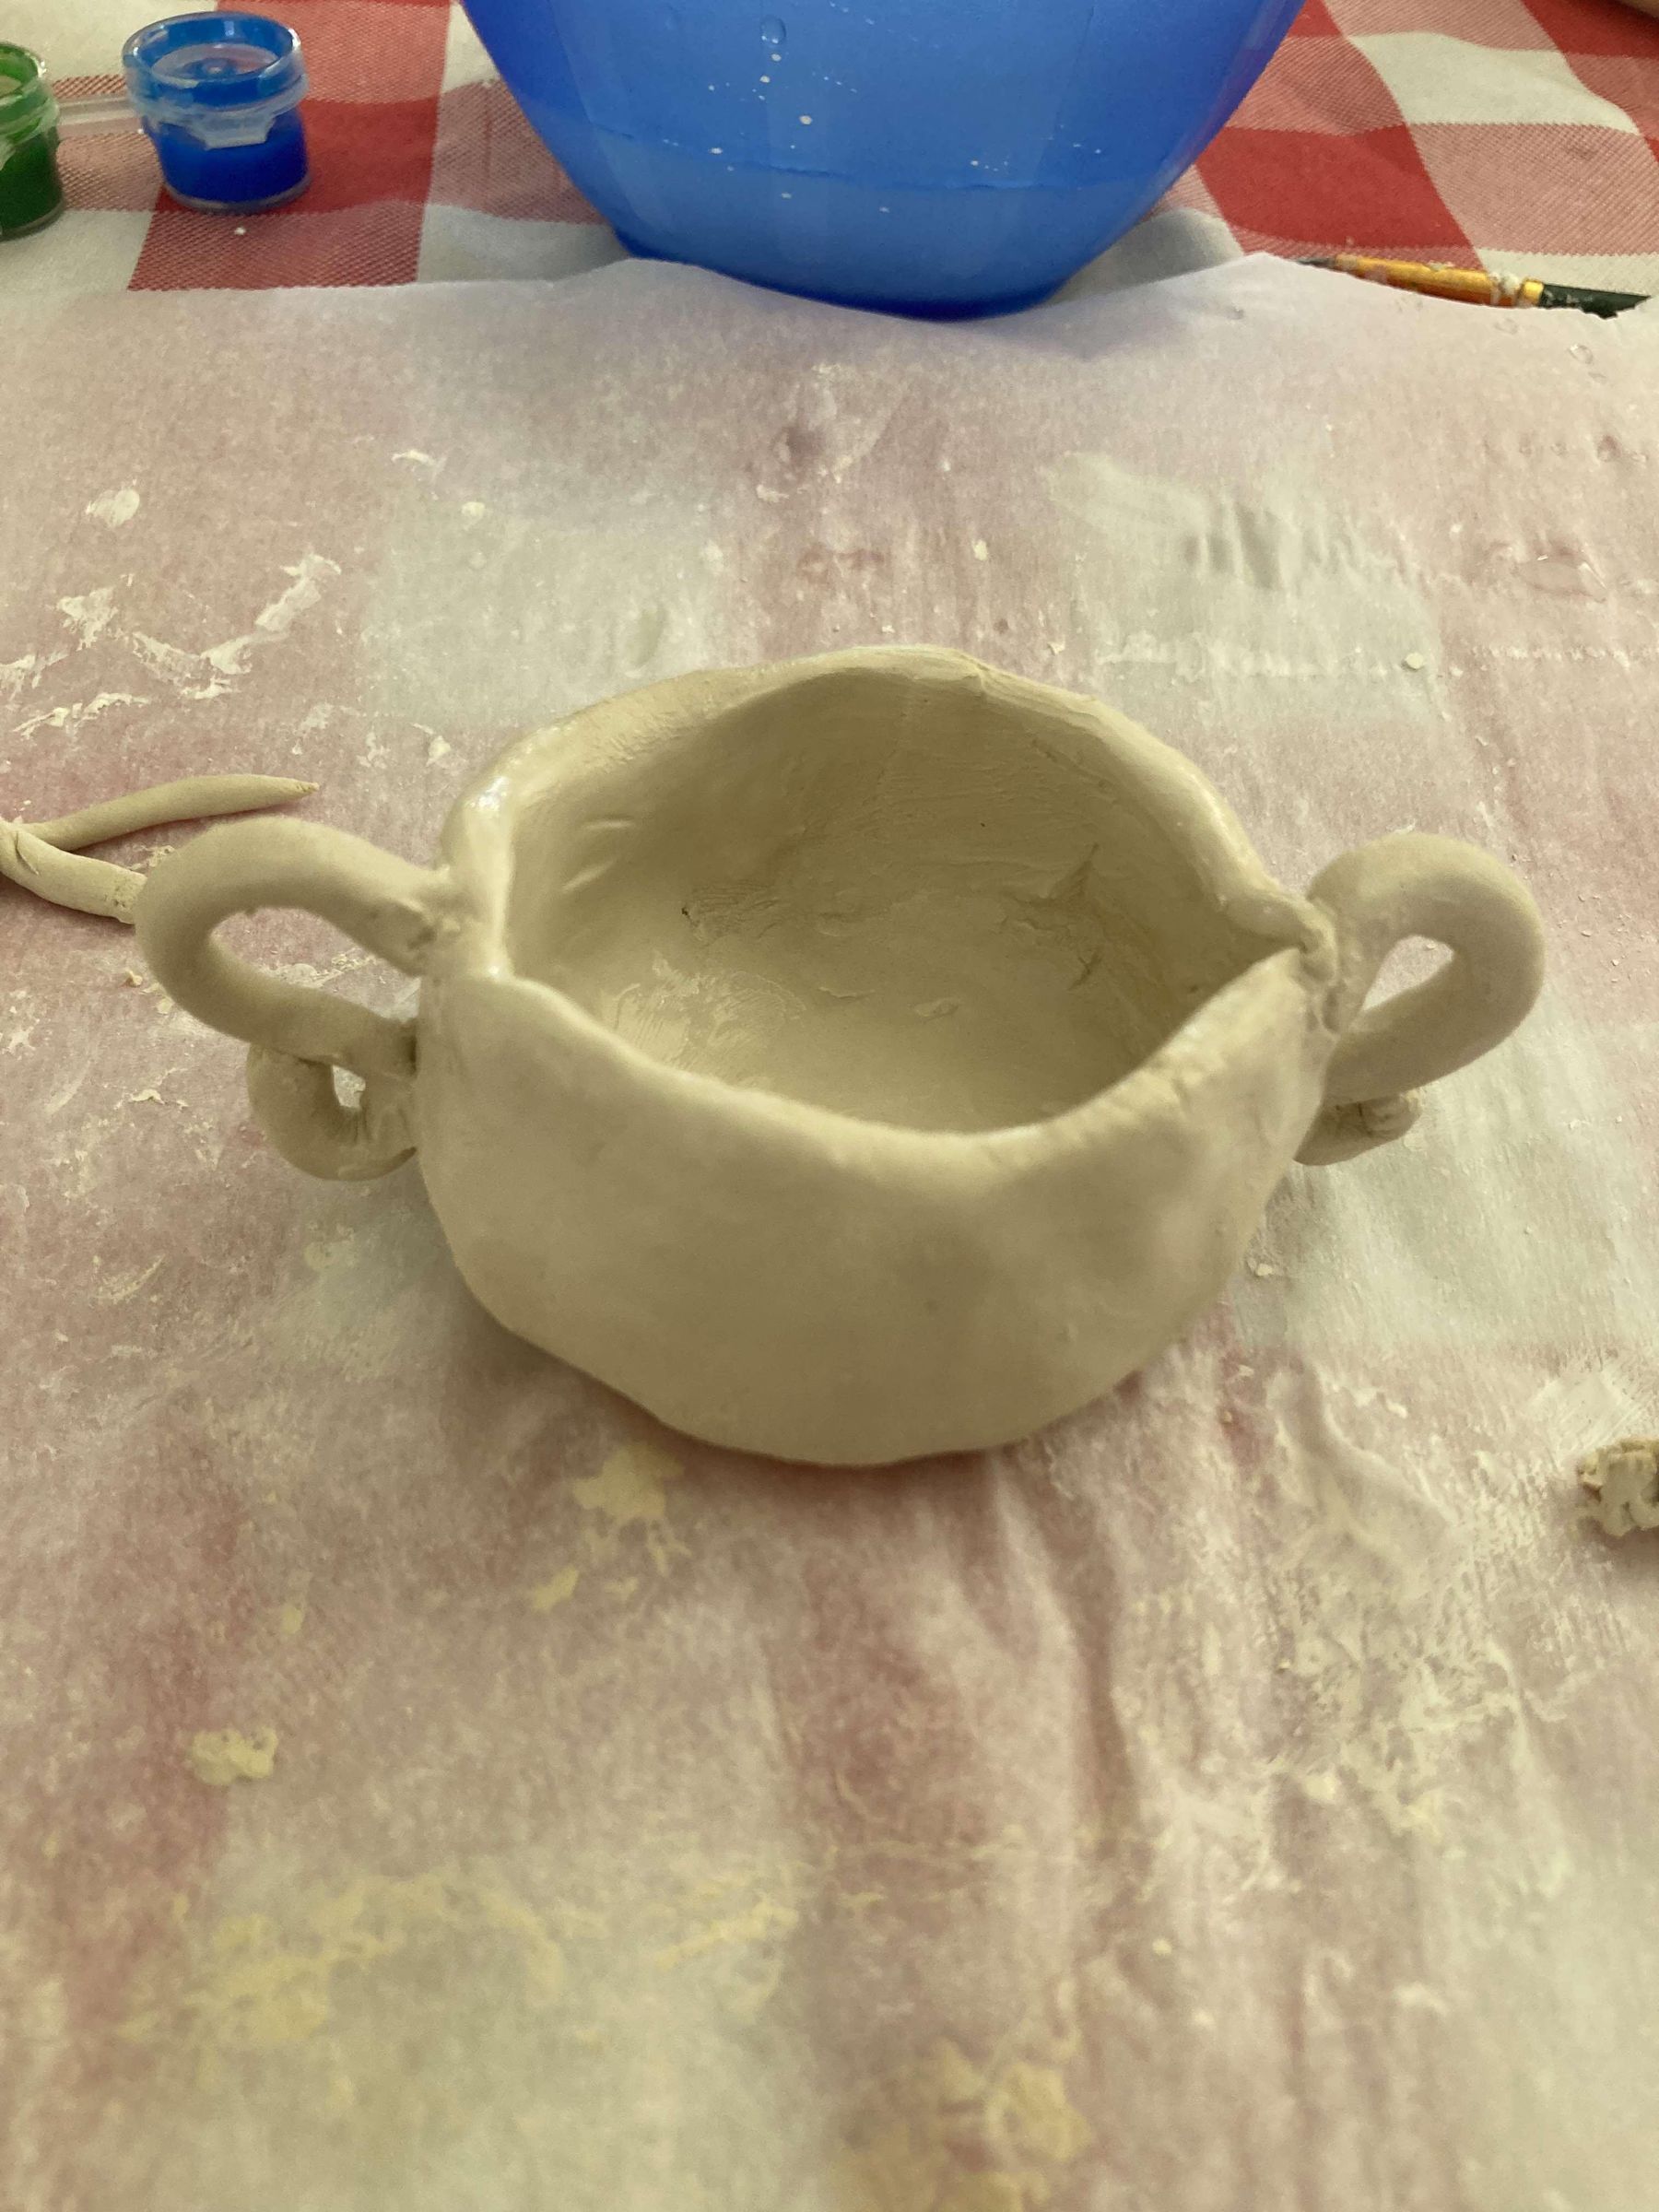
Next, take another small amount of clay and roll it out until it's pretty thin. Cut some pieces so that they are about 3 inches long. Shape them so that they have a curved shape that kind of looks like an "s".
Attach them by "scratching" them (poking holes in them, making indents with your fingernails) and then putting water on the areas that are going to touch. This way, your clay has less possibilities of breaking or cracking later on.
Drying
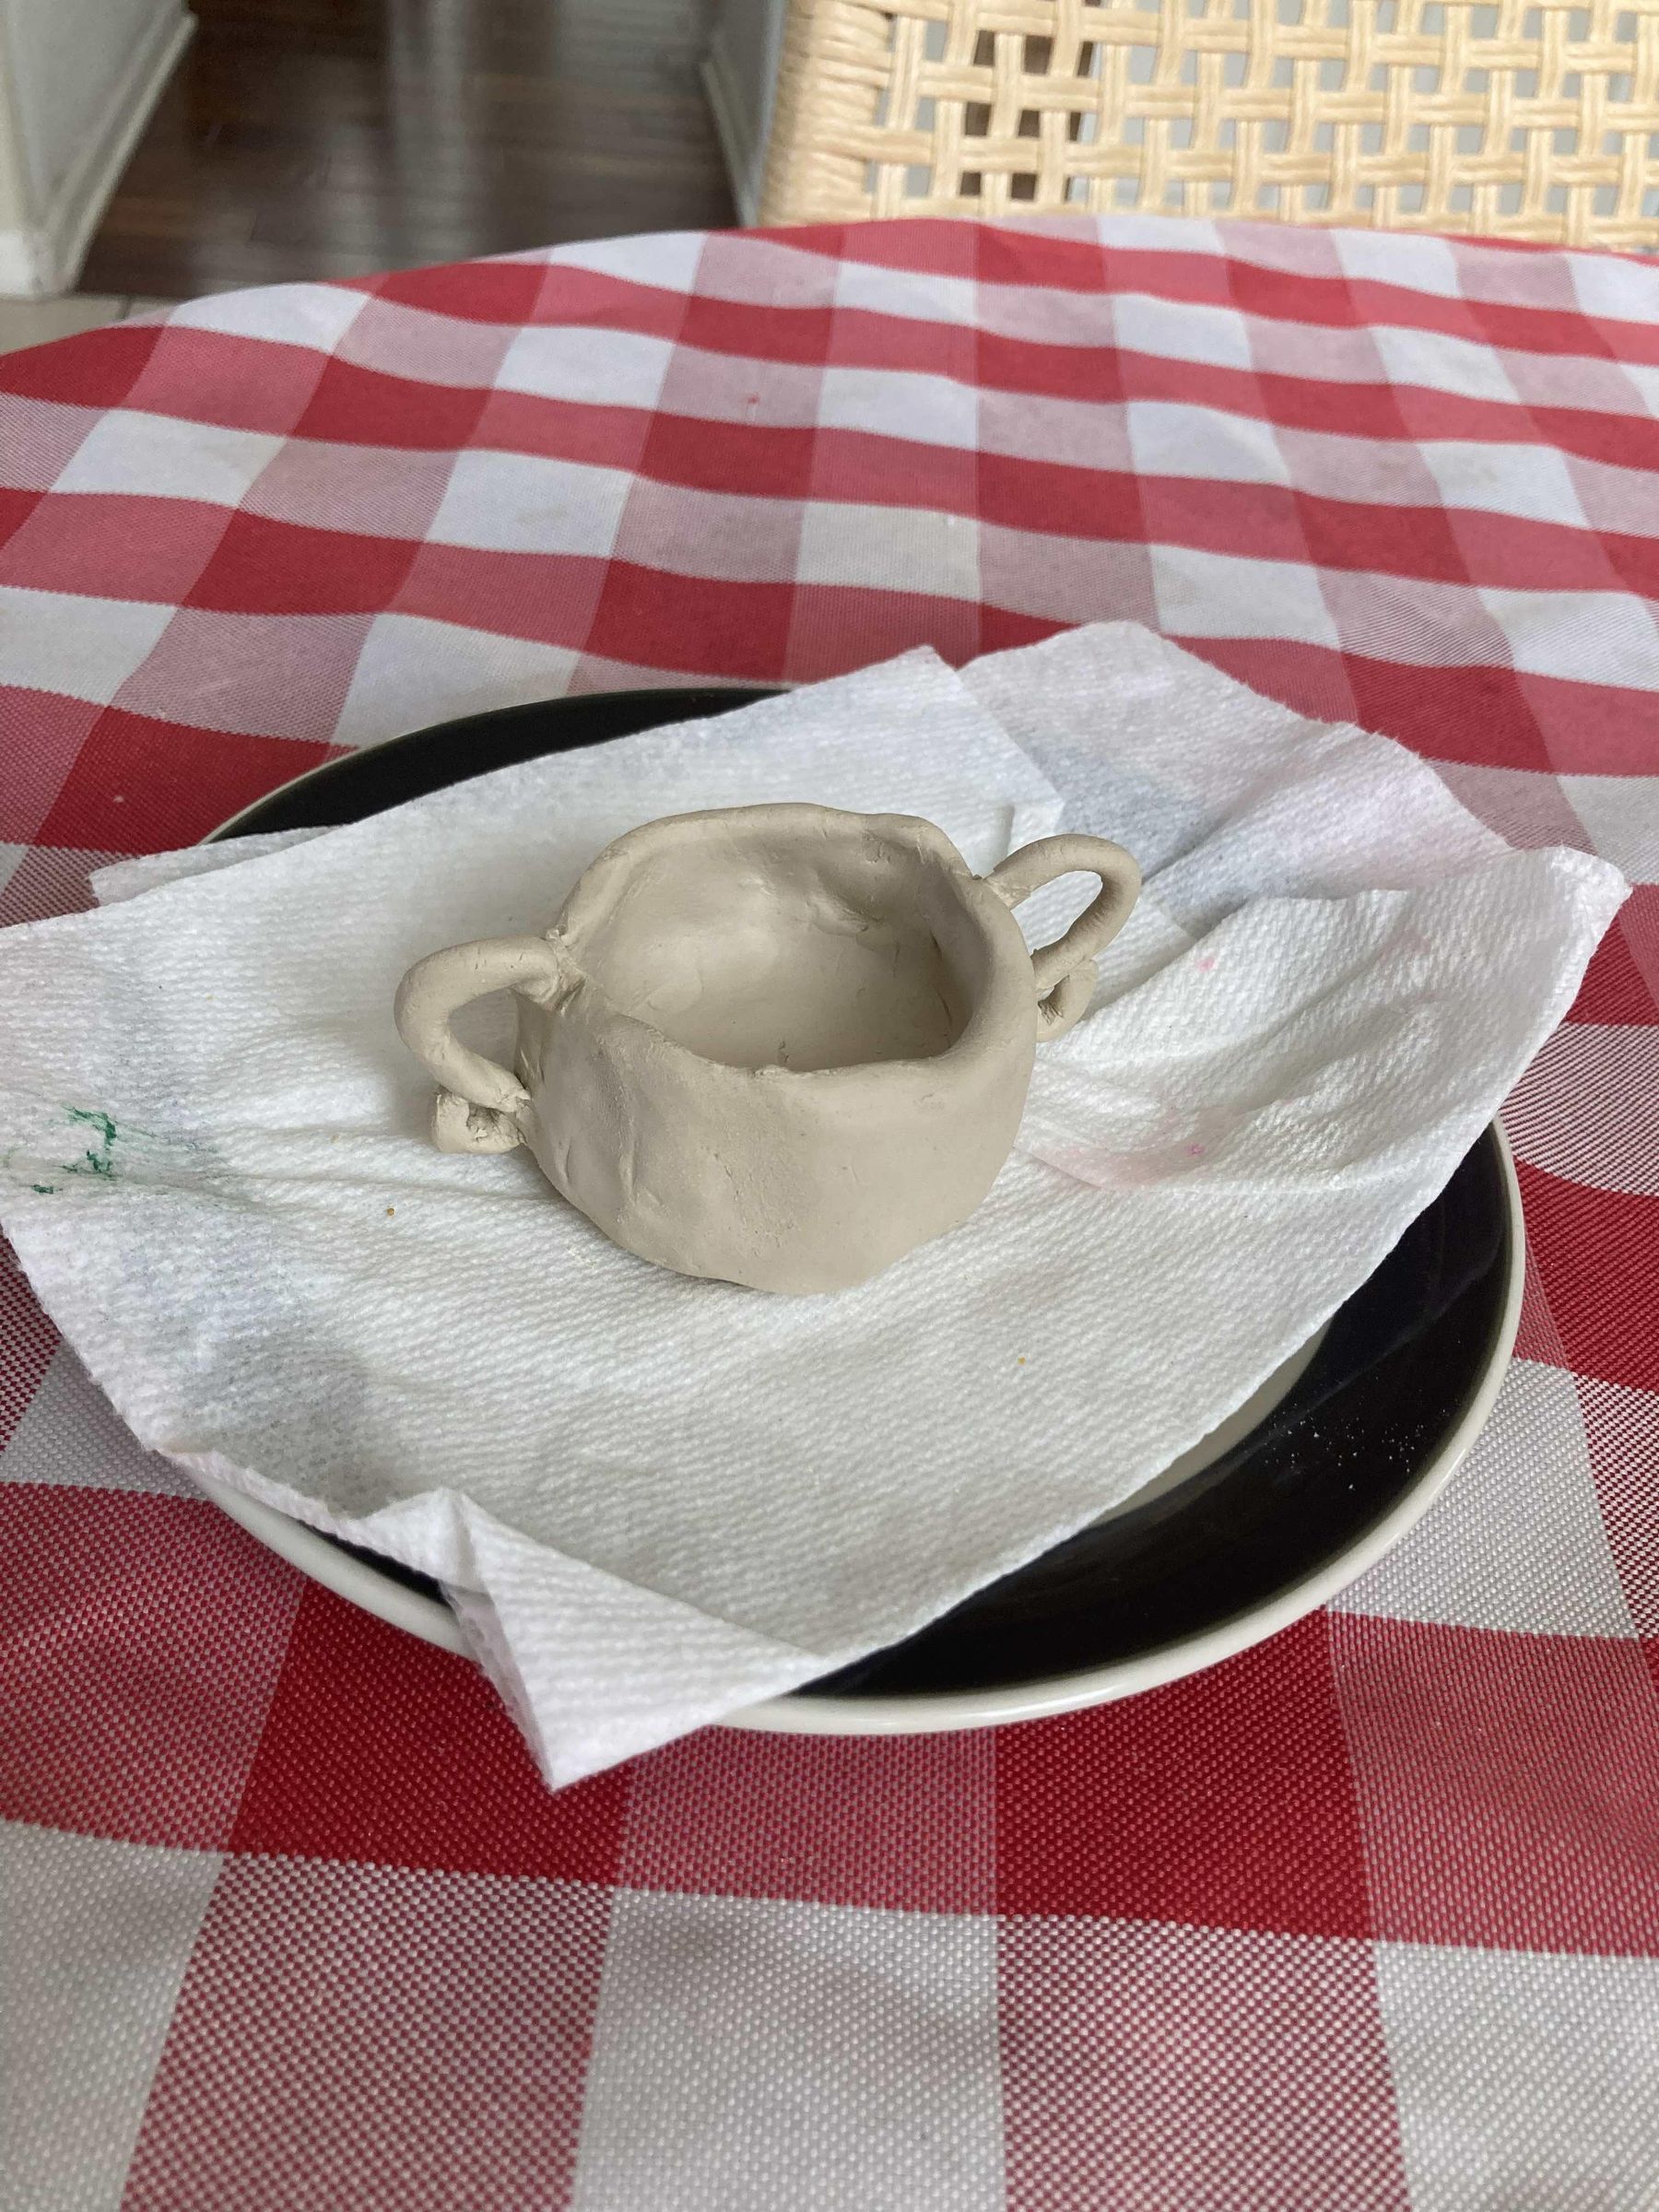
Since the clay that we have is air-dry, you can leave it to dry on top of a paper plate.
If you don't have a paper plate, use a normal plate with a disposable napkin on top of it so that way no clay residue gets on your plate.
Leave the clay to dry for 1-3 days (depends on how big or thick your project is).
Base Coat
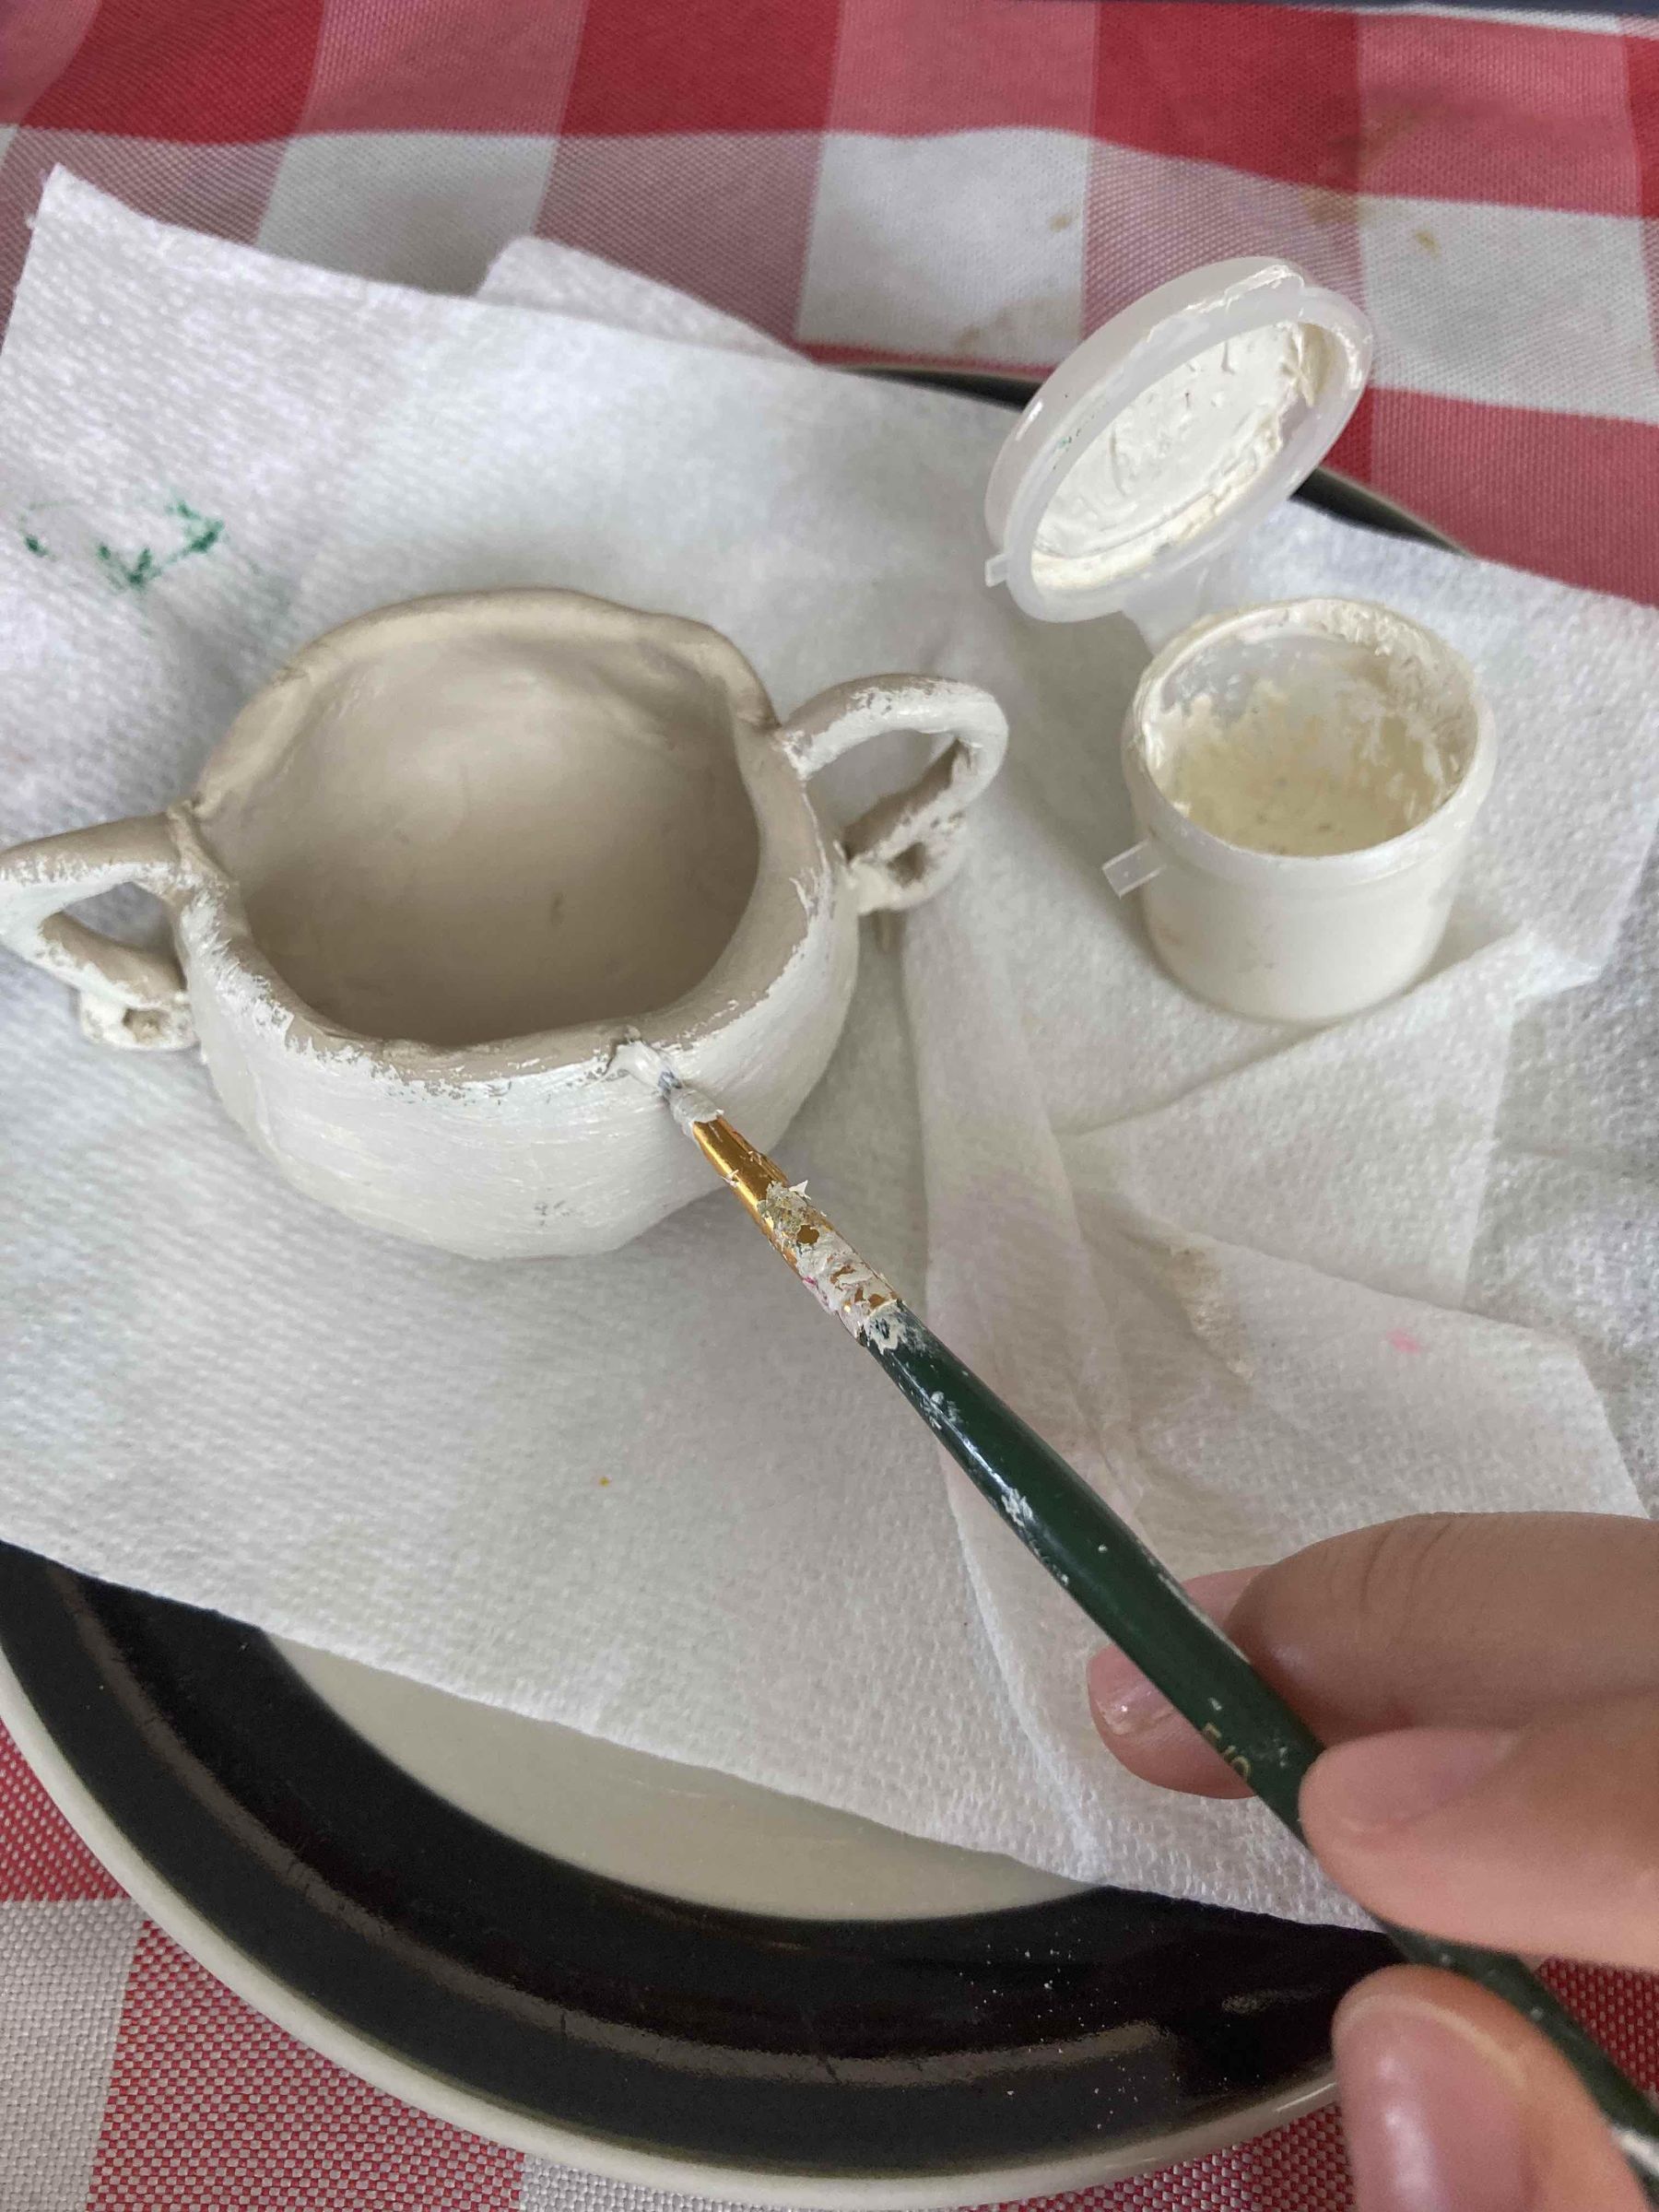
For the base coat, get some white acrylic paint and cover your project with it. This step is important to ensure that the colors that we use later on aren't ruined by the clay's original color.
This step is especially important if your clay is not already white, or close to white.
Brown Coat
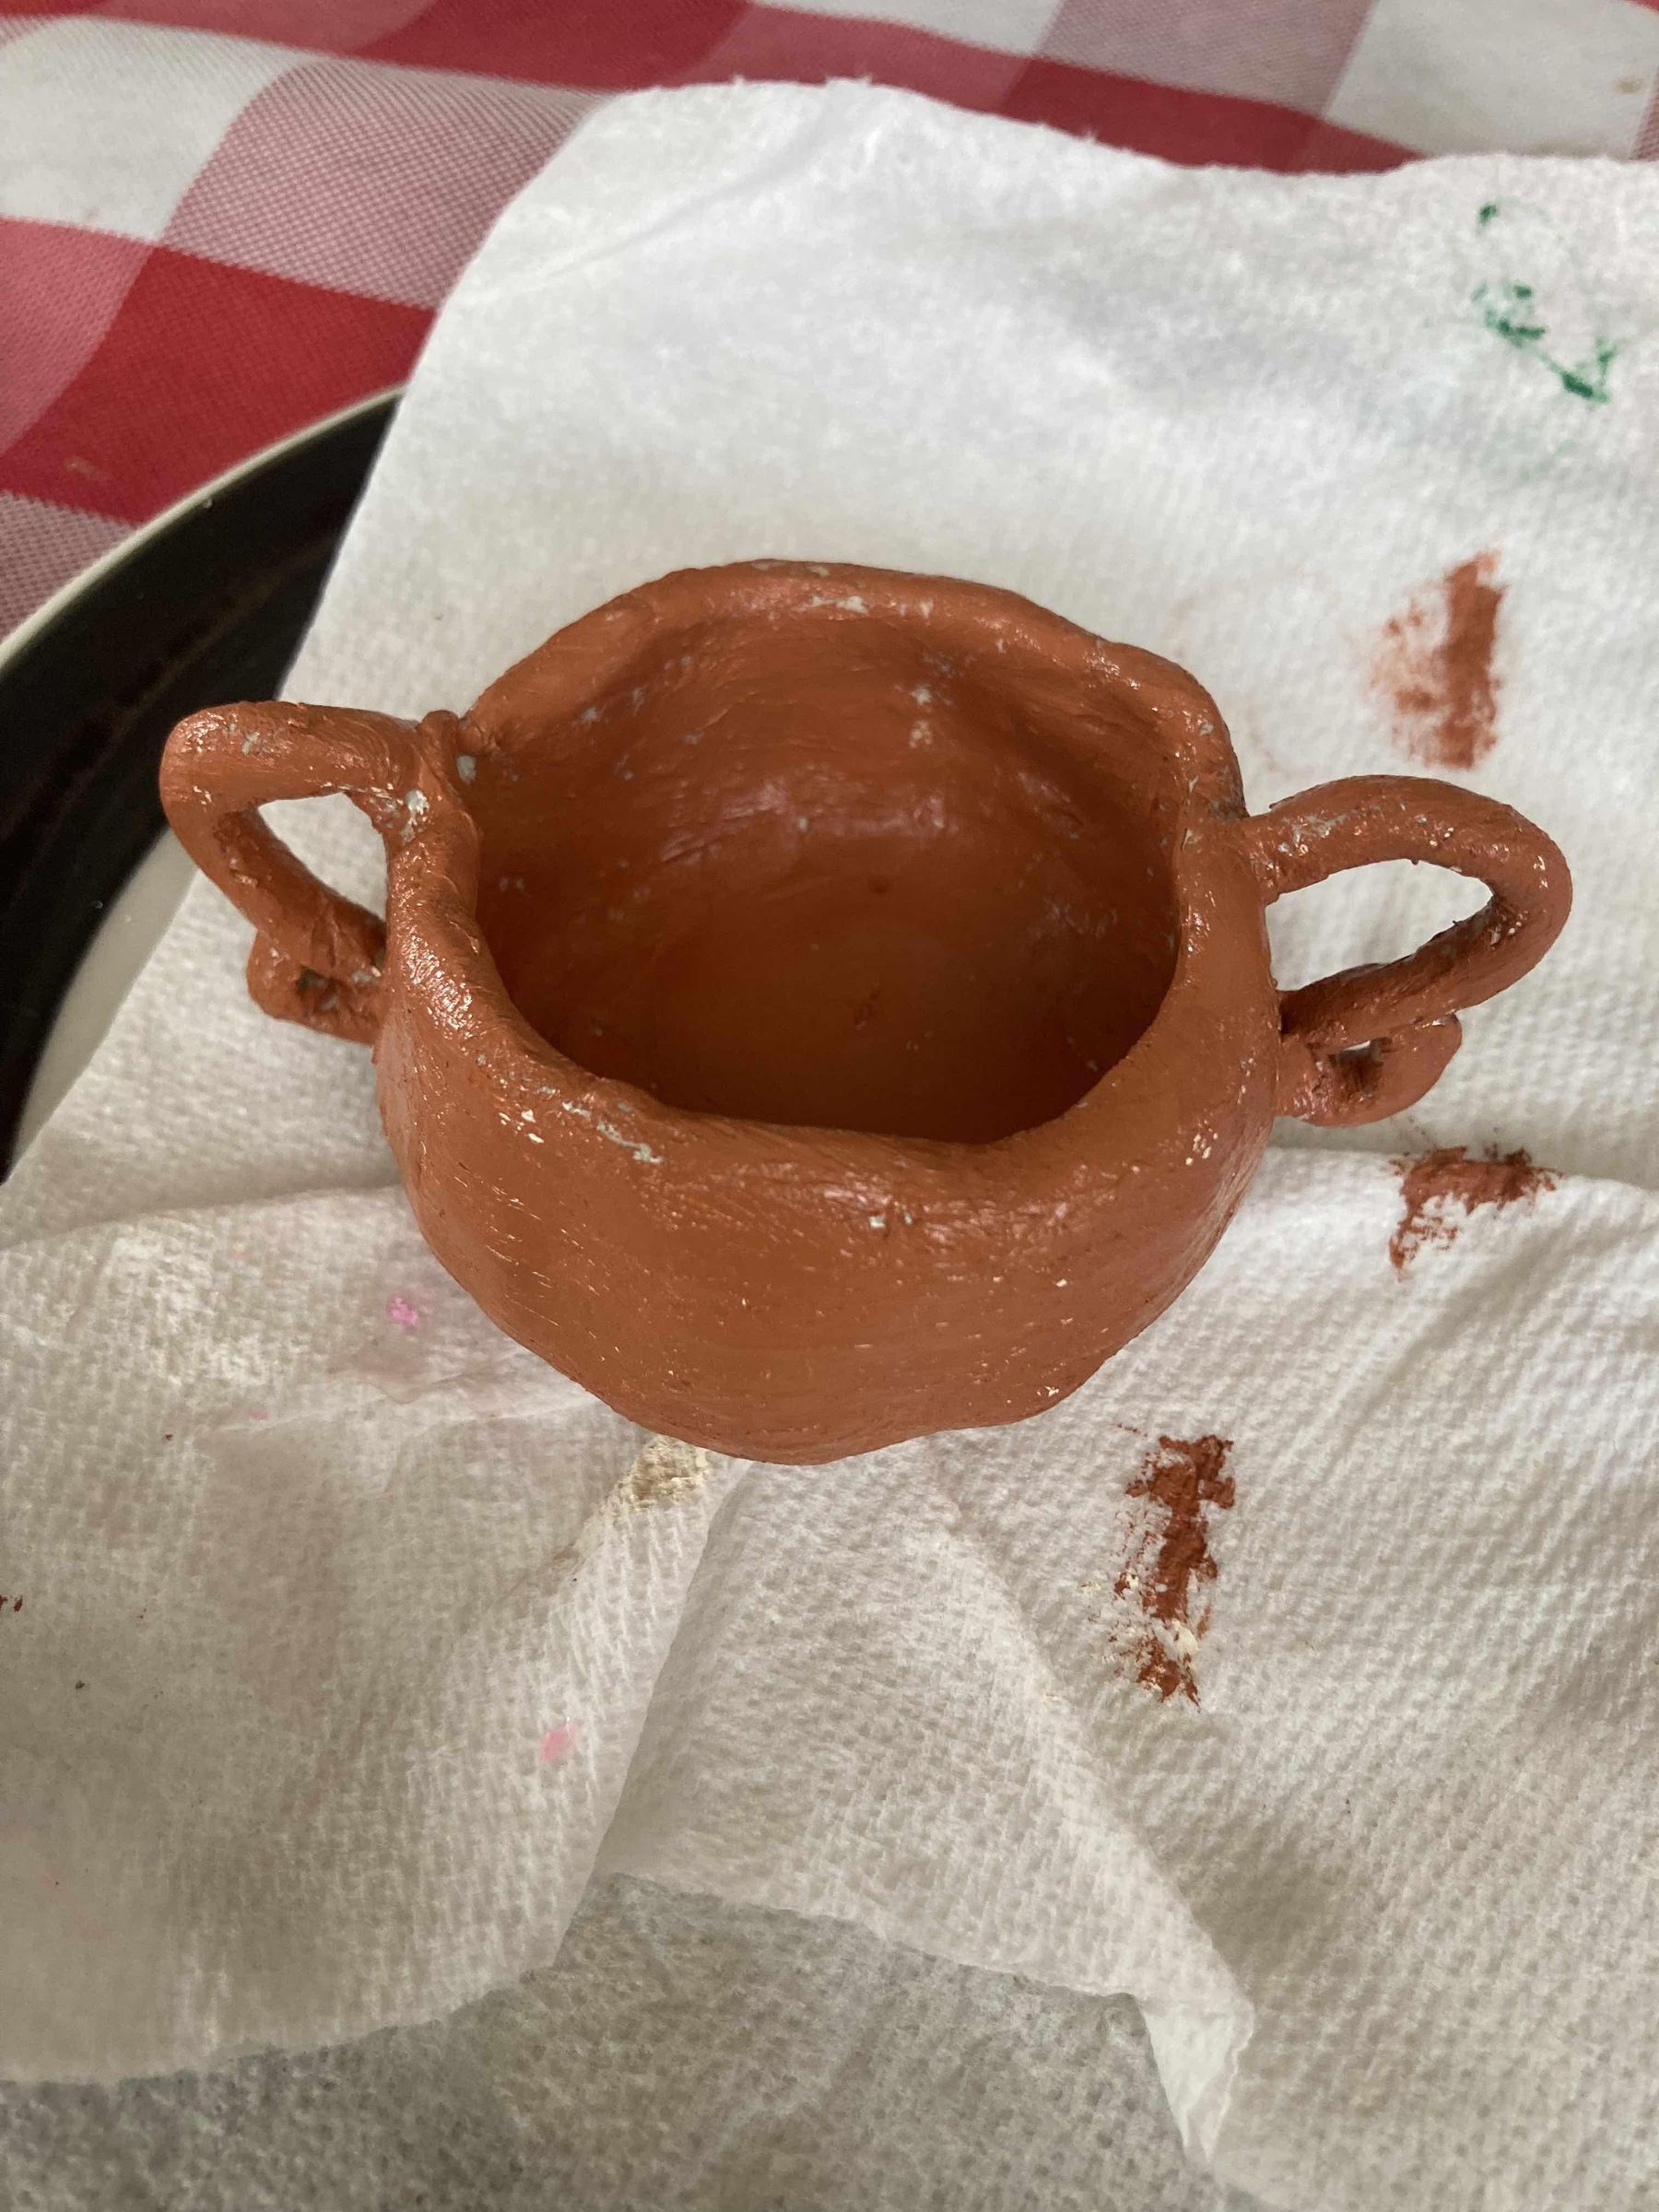
This is basically another base coat, but on top of the white and its brown. Try to get as close to the terra-cotta color as possible.
Planning Out and Painting Your Design
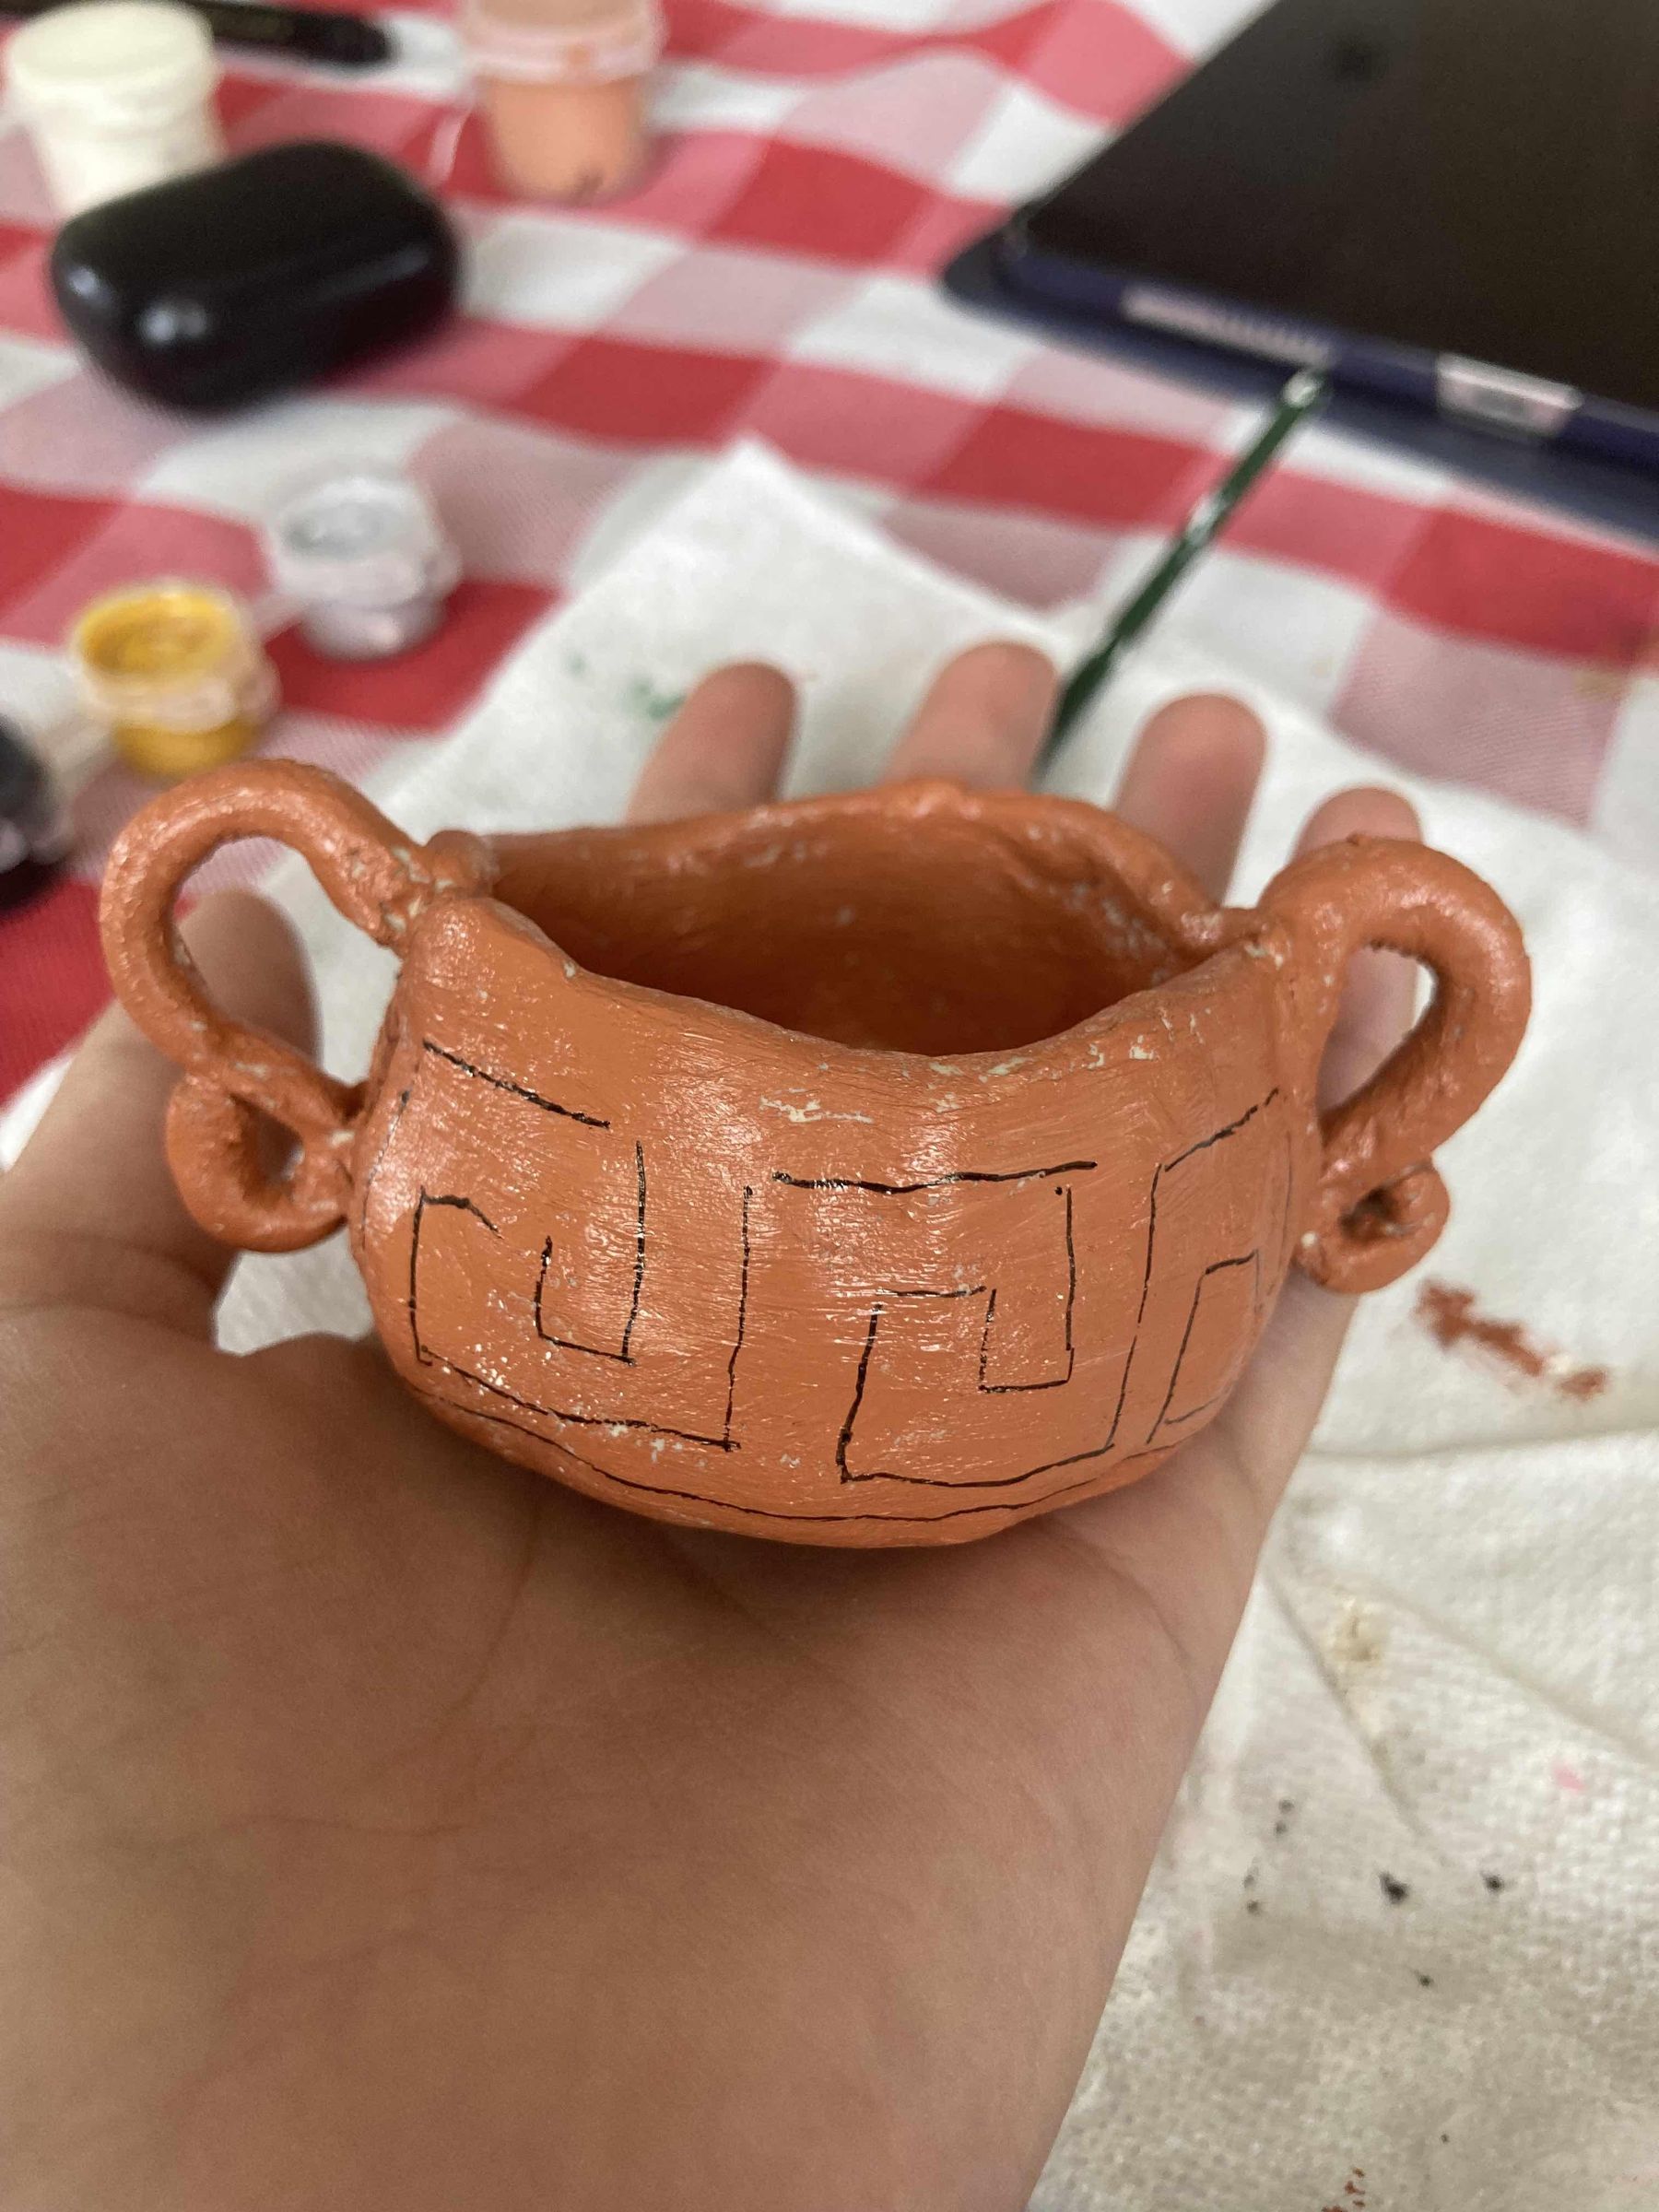
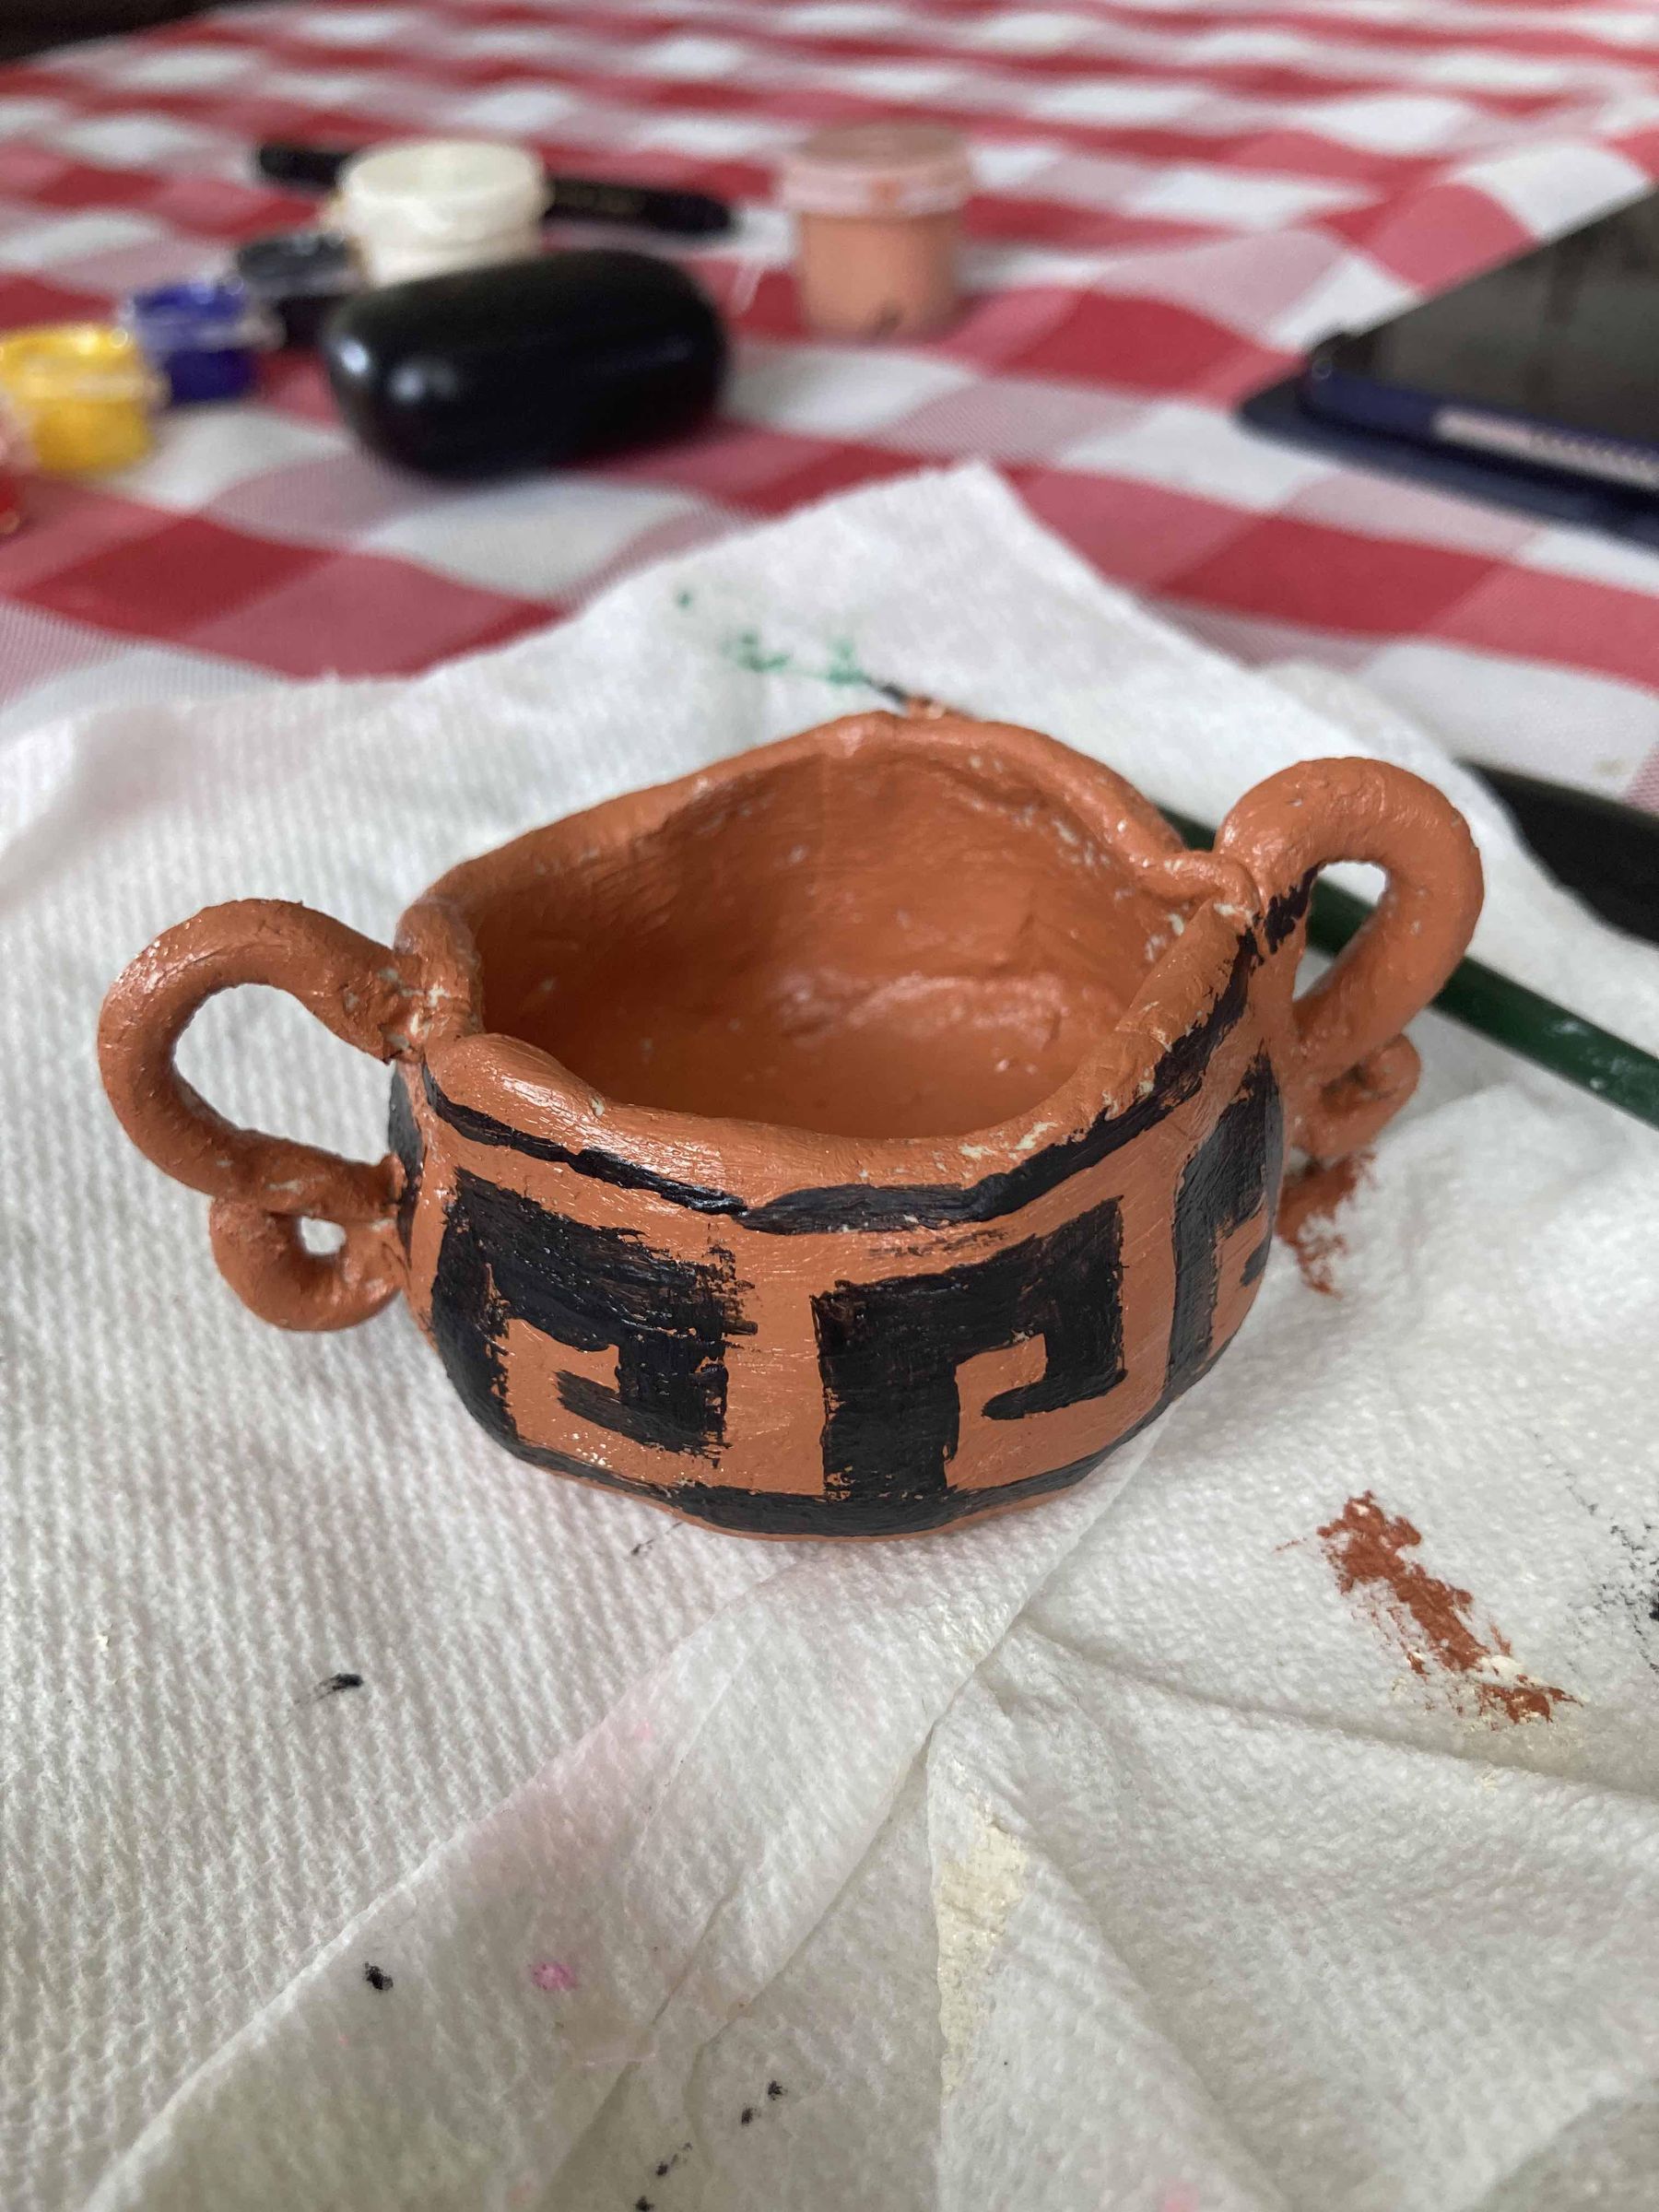
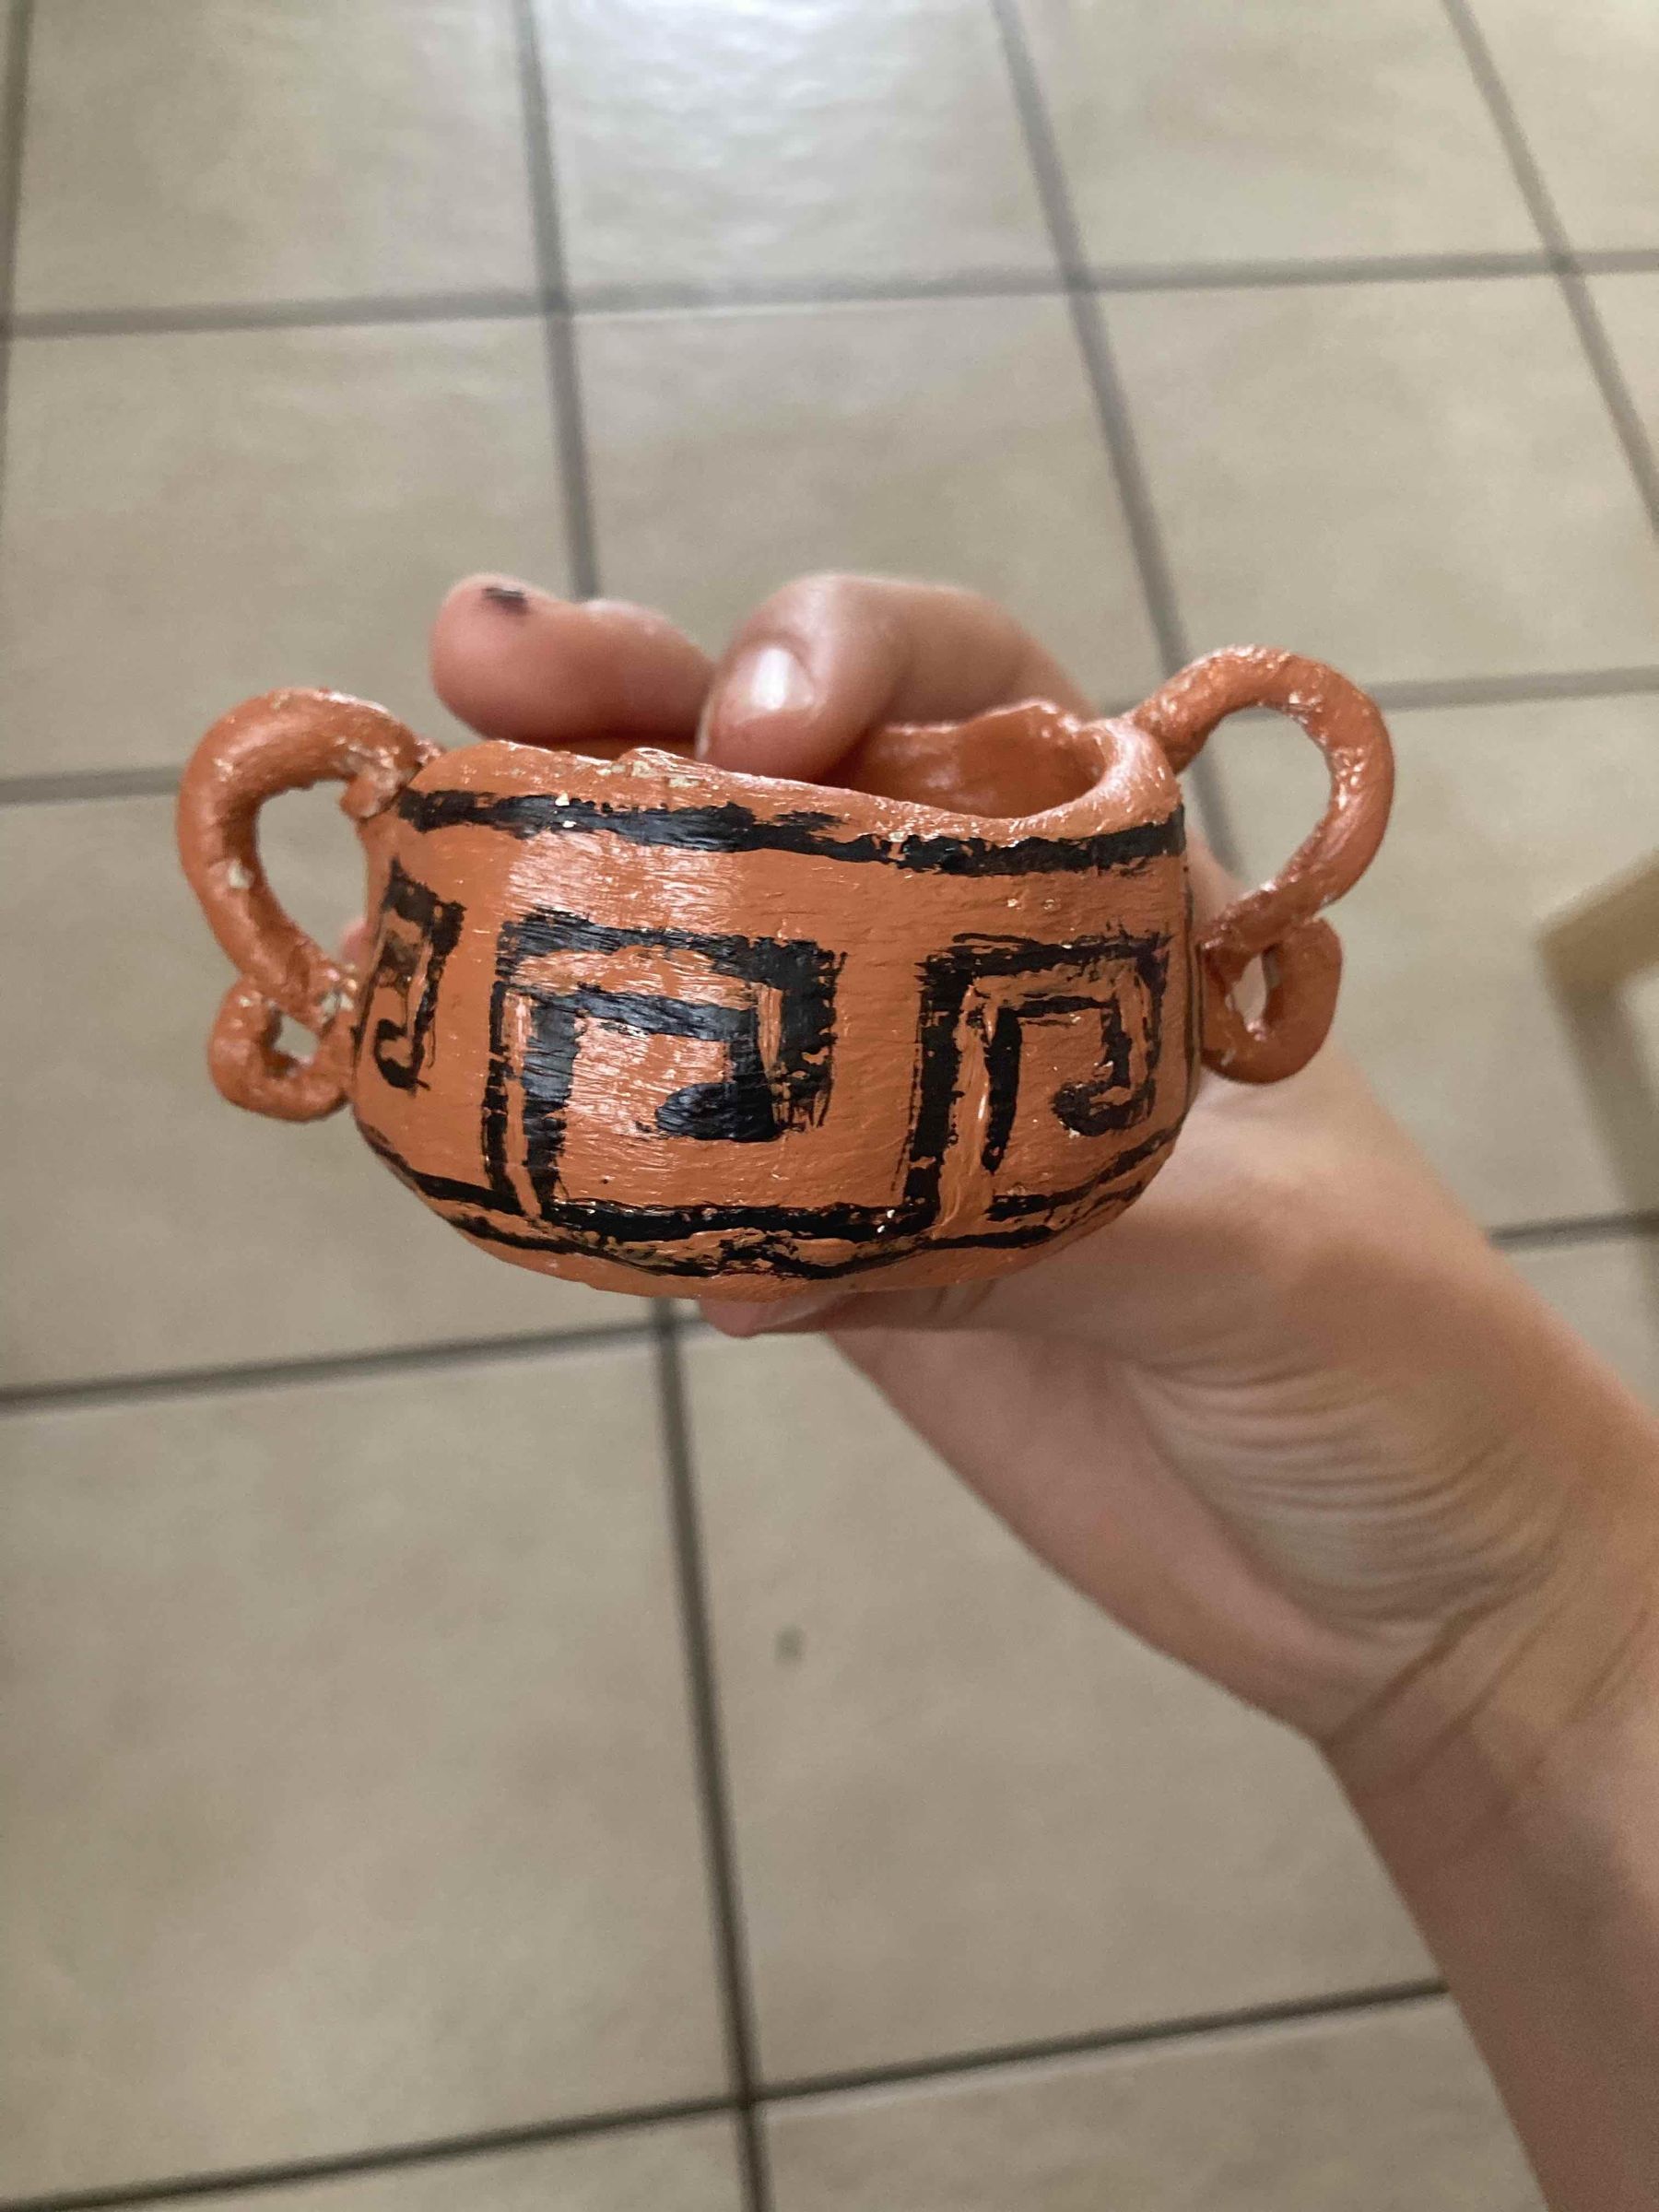
This is when you want to plan out your actual design. I decided to go with a traditional greek pattern, called meander.
When you are done tracing and planning out your design, get some black paint and fill it in!
In the end, I decided that I didn't really like the design that I made (too much black) so I added some brown in the middle to balance it out!
Glazing the Clay
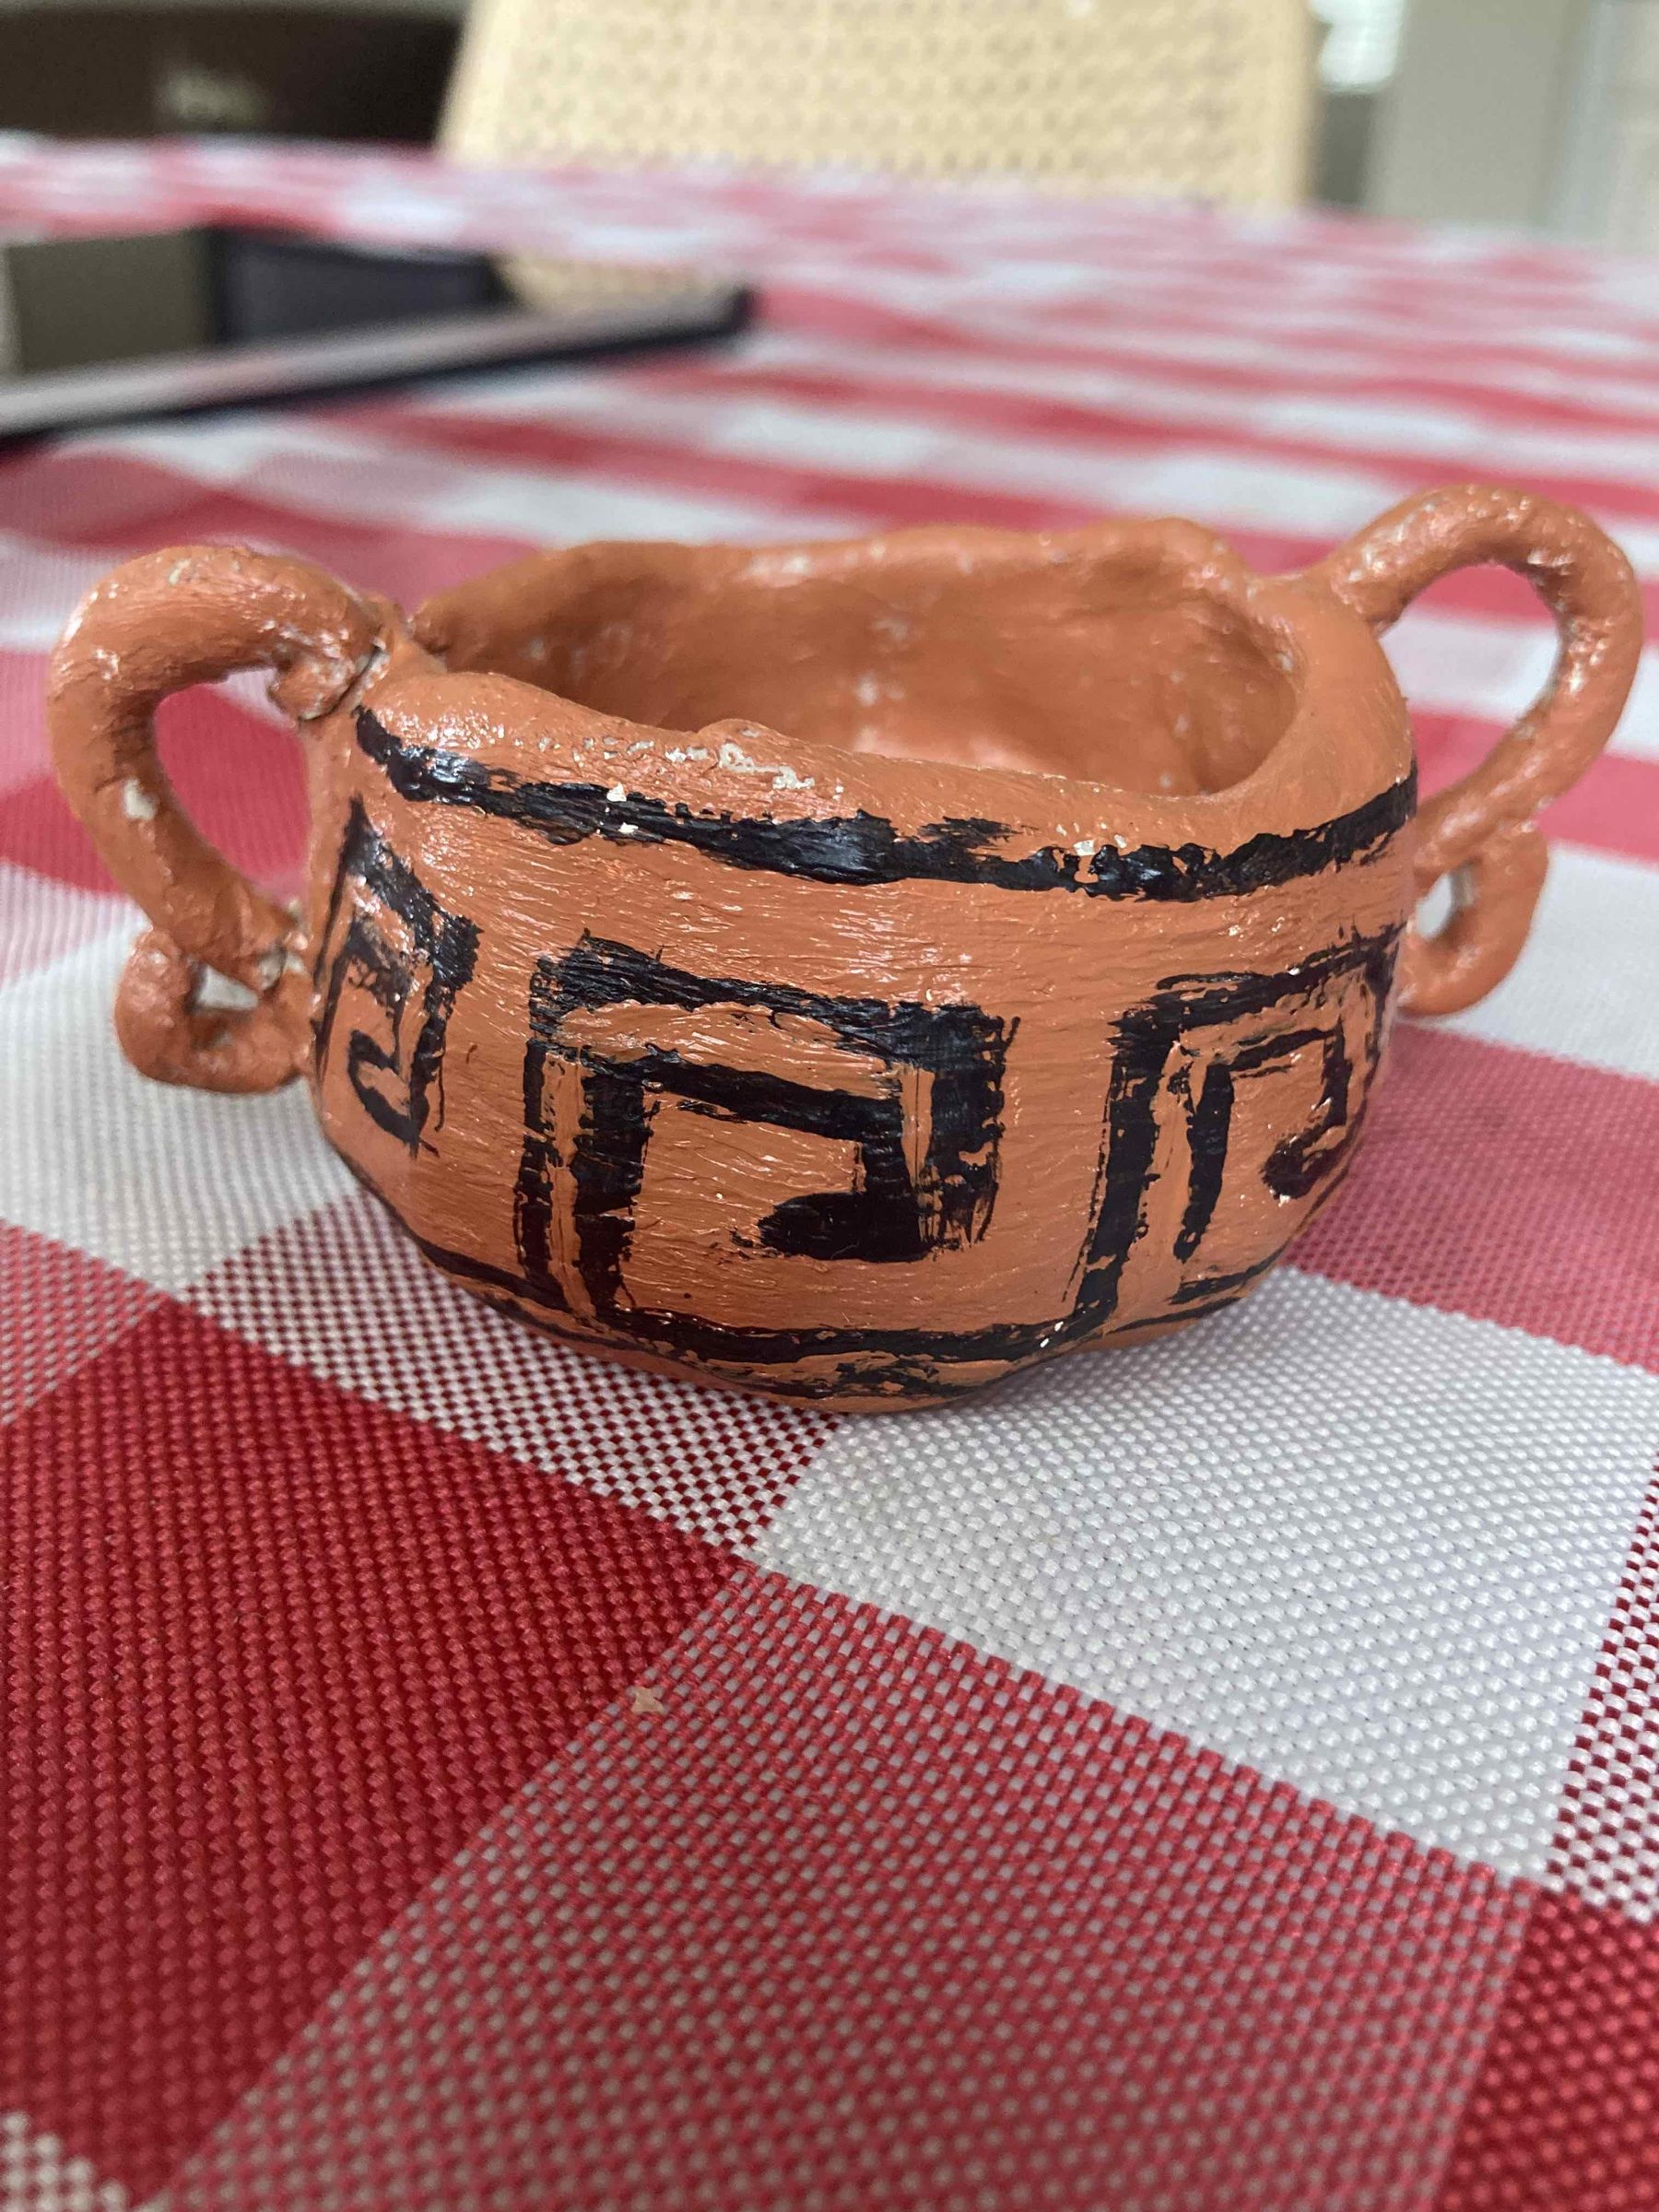
Using a clay glaze, cover the clay. Let it dry for 2-3 days (again, depending on how big your project is) and you're done!
At this point, one of my handles had broken, but I attached it back with glue and it worked out fine.