How to Build a Rolling Cart From Old CDs and Plastic Cups
by kaungnyilinnmusic in Craft > Reuse
20 Views, 0 Favorites, 0 Comments
How to Build a Rolling Cart From Old CDs and Plastic Cups
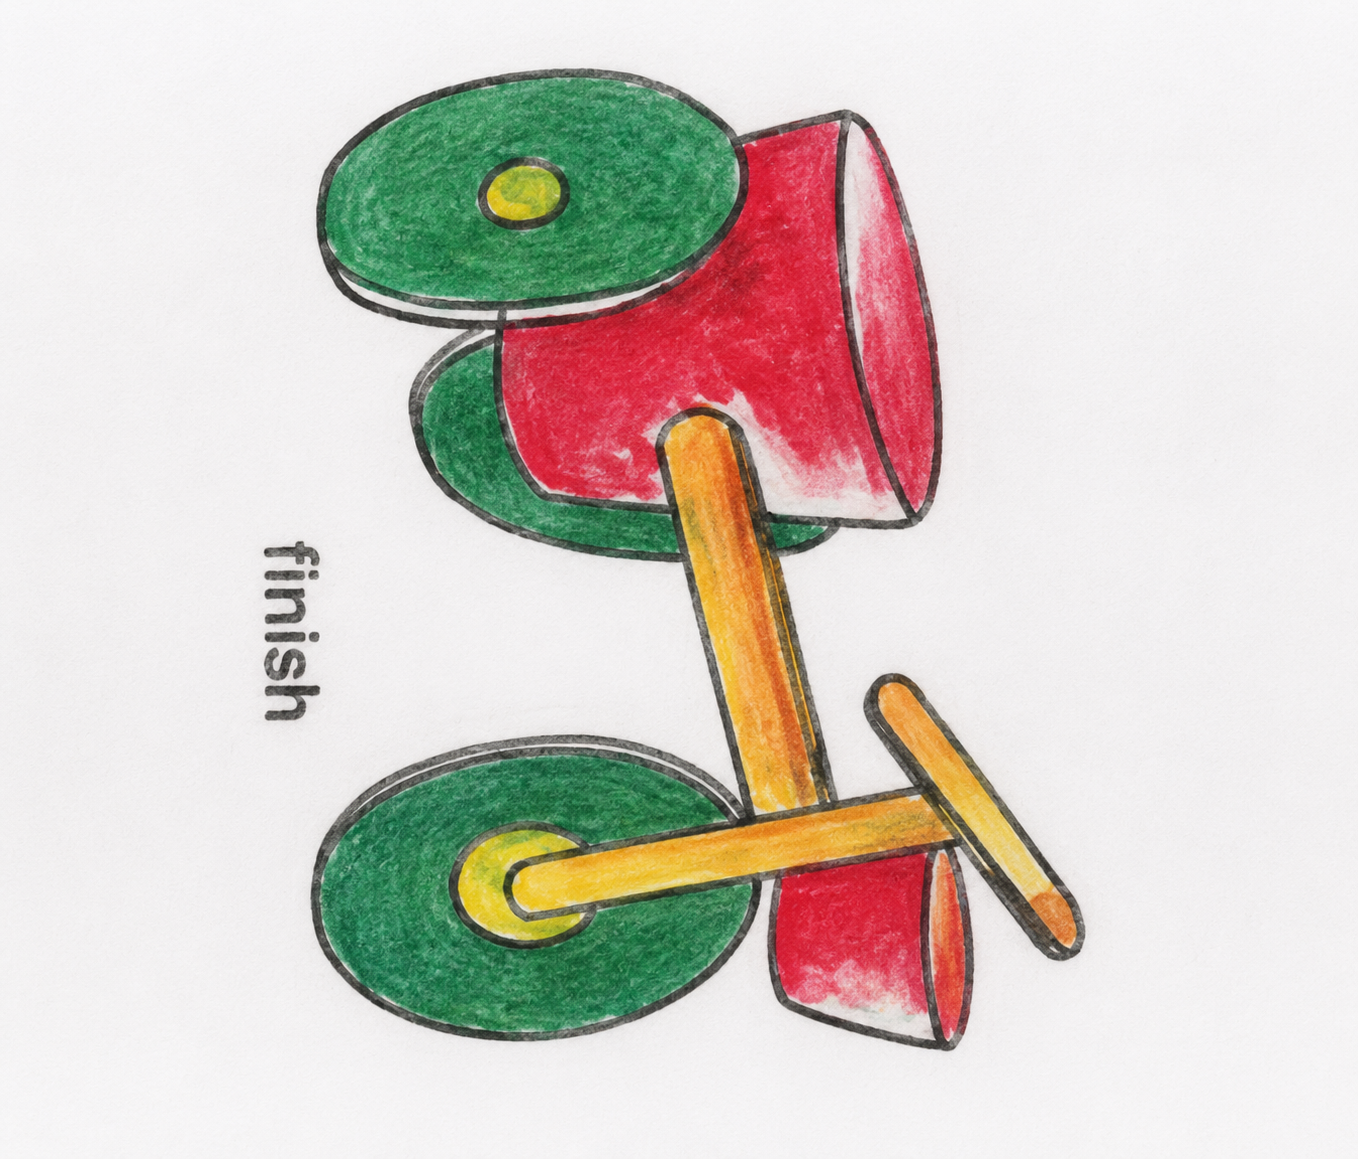
Before you throw away those scratched CDs and empty plastic cups, why not upcycle them into a fully functional toy cart? This step-by-step guide will show you how to turn ordinary household waste into a creative, rolling project. It requires zero expensive materials, takes under an hour to make, and is a perfect introduction to crafting with recycled goods. Let’s get building and keep some plastic out of the bin!
Supplies
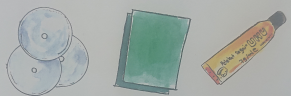
Laser CDs
Colored Papers
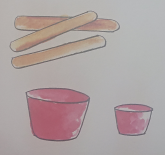
Ice Cream Stick
Plastic Cup
UHU Glue
Prepare the Side Panels and Wheels
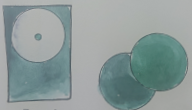
Before assembling the full cart, we need to prep the main side structures that will hold our wheels in place.
What to do:
- Cut the cardboard panels: Cut out two matching rectangular pieces of cardboard to act as the sturdy side walls of your cart.
- Mark the wheel placement: Mark a central point near the top of each cardboard panel where the wheel axle will pass through.
- Prepare the CD wheels: Gather your CDs (as shown by the green discs in the drawing) which will serve as the large, smooth-rolling wheels for your cart.
Connect the Axle to the Wheel
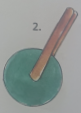
Now that the materials are ready, we will join the wooden dowel to the CD to create the spinning axle assembly.
What to do:
- Align the components: Take one of your ice-cream stick (the axle) and insert its end directly into the center hole of the CD wheel.
- Apply the glue: Put a generous amount of UHU glue right around the joint where the stick meets the center hole of the CD. Hold it steady until the glue dries completely to ensure a secure, wobble-free wheel.
Create the T-Joint Support
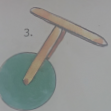
Now we will attach a crossbar to the axle to create a secure T-shape handle or support bracket for the cart frame.
What to do:
- Position the crossbar: Place a second ice-cream stick horizontally across the top tip of your vertical axle stick to form a "T" shape.
- Glue the joint together: Place a strong dab of glue right at the intersection where the two sticks cross. Hold the sticks perpendicular to each other for a few moments until the glue sets firmly.
Attach the Frame Support to the Cup
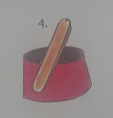
Next, we will mount a wooden stick onto the plastic cup to build out the main body frame of the cart.
What to do:
- Position the stick: Take the plastic cup and place it upside down or tilted as shown. Lay a ice-cream stick diagonally along the outer wall of the cup.
- Glue the stick in place: Apply a line of glue along the surface where the stick rests against the plastic cup. Press and hold it firmly until the glue sets so that the wooden frame is securely joined to the plastic body.
Mount the Wheel and Axle to the Cup Frame
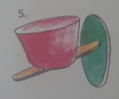
Now we will connect our main wheel mechanism to the plastic cup body to create the rolling base of the cart.
What to do:
- Align the pieces: Guide the wooden axle stick (with the CD wheel attached) so that it connects flush against the diagonal frame support on your cup.
- Glue the parts securely: Apply a generous amount of glue along the overlapping section where the two wooden sticks meet. Make sure the CD wheel is positioned straight and has enough clearance to turn freely without rubbing against the cup body while the glue dries.
Complete the Dual-Wheel Base
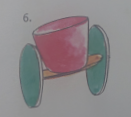
In this step, we finish the main rolling section of the cart by adding the second wheel.
What to do:
- Attach the second wheel: Take your second CD wheel and attach it to the opposite side of the wooden support stick running underneath or behind the cup.
- Glue firmly: Apply a generous amount of glue to hold the wheel straight. Make sure the cup is perfectly balanced between both green CD wheels so it can sit upright and roll smoothly.
Build the Front Handlebar Assembly
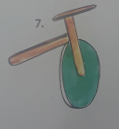
Now we will finish the steering or front-end section of the vehicle using the T-joint piece built earlier.
What to do:
- Position the extension arm: Take the T-joint handle assembly (from Step 3) and line up another wooden stick diagonally against the vertical fork.
- Glue the front frame: Apply glue to join these pieces together tightly. This diagonal arm will act as the connecting frame that links your front wheel handle directly to the cup body in the next step.
Final Assembly - Connect the Cart Together!
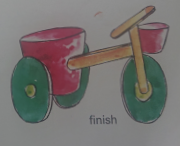
Now it is time to bring both halves of your project together to finish your upcycled laser CD cart!
What to do:
- Join the front and back frames: Take the front handlebar and wheel assembly (from Step 7) and attach the diagonal connecting arm to the front base of the plastic cup assembly (from Step 6).
- Apply final glue: Put a generous amount of glue right at the main joint where the front frame connects to the cup. Hold everything stable and balanced until the glue dries completely.
Once the glue dries, your custom 3-wheeled trash racer is officially finished and ready to roll!