3D Printed Bluetooth Speaker – AI-Designed Airtight Enclosure
by _Mr_I_C_ in Circuits > Audio
20 Views, 0 Favorites, 0 Comments
3D Printed Bluetooth Speaker – AI-Designed Airtight Enclosure
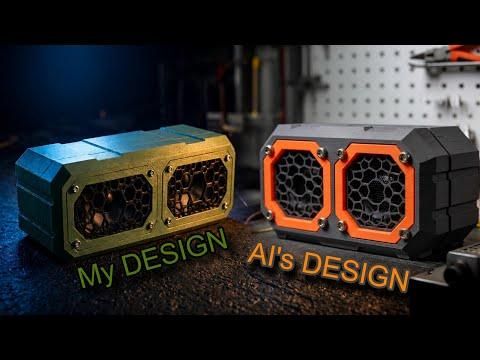
Have you ever wanted to build a portable Bluetooth speaker that doesn’t sacrifice punchy, rich sound for a compact form factor?
In this project, I took an AI-generated 3D enclosure design and brought it into the real world, fine tuning the internal structure to create isolated, fully airtight speaker chambers. Standard small 3D-printed speakers often sound tinny because air leaks destroy low-end frequencies. By engineering a custom oiled gasket seal, integrating threaded hex nuts, and isolating the acoustic drivers, this build delivers surprising bass response and crystal clear sound.
Beyond the acoustics, this project addresses a common frustration with cheap DIY charging circuits: USB-C Power Delivery compatibility. Using a modified TP4056 module equipped with custom 4.7K CC pull-down resistors, this speaker safely charges off any modern Type-C charger.
Supplies
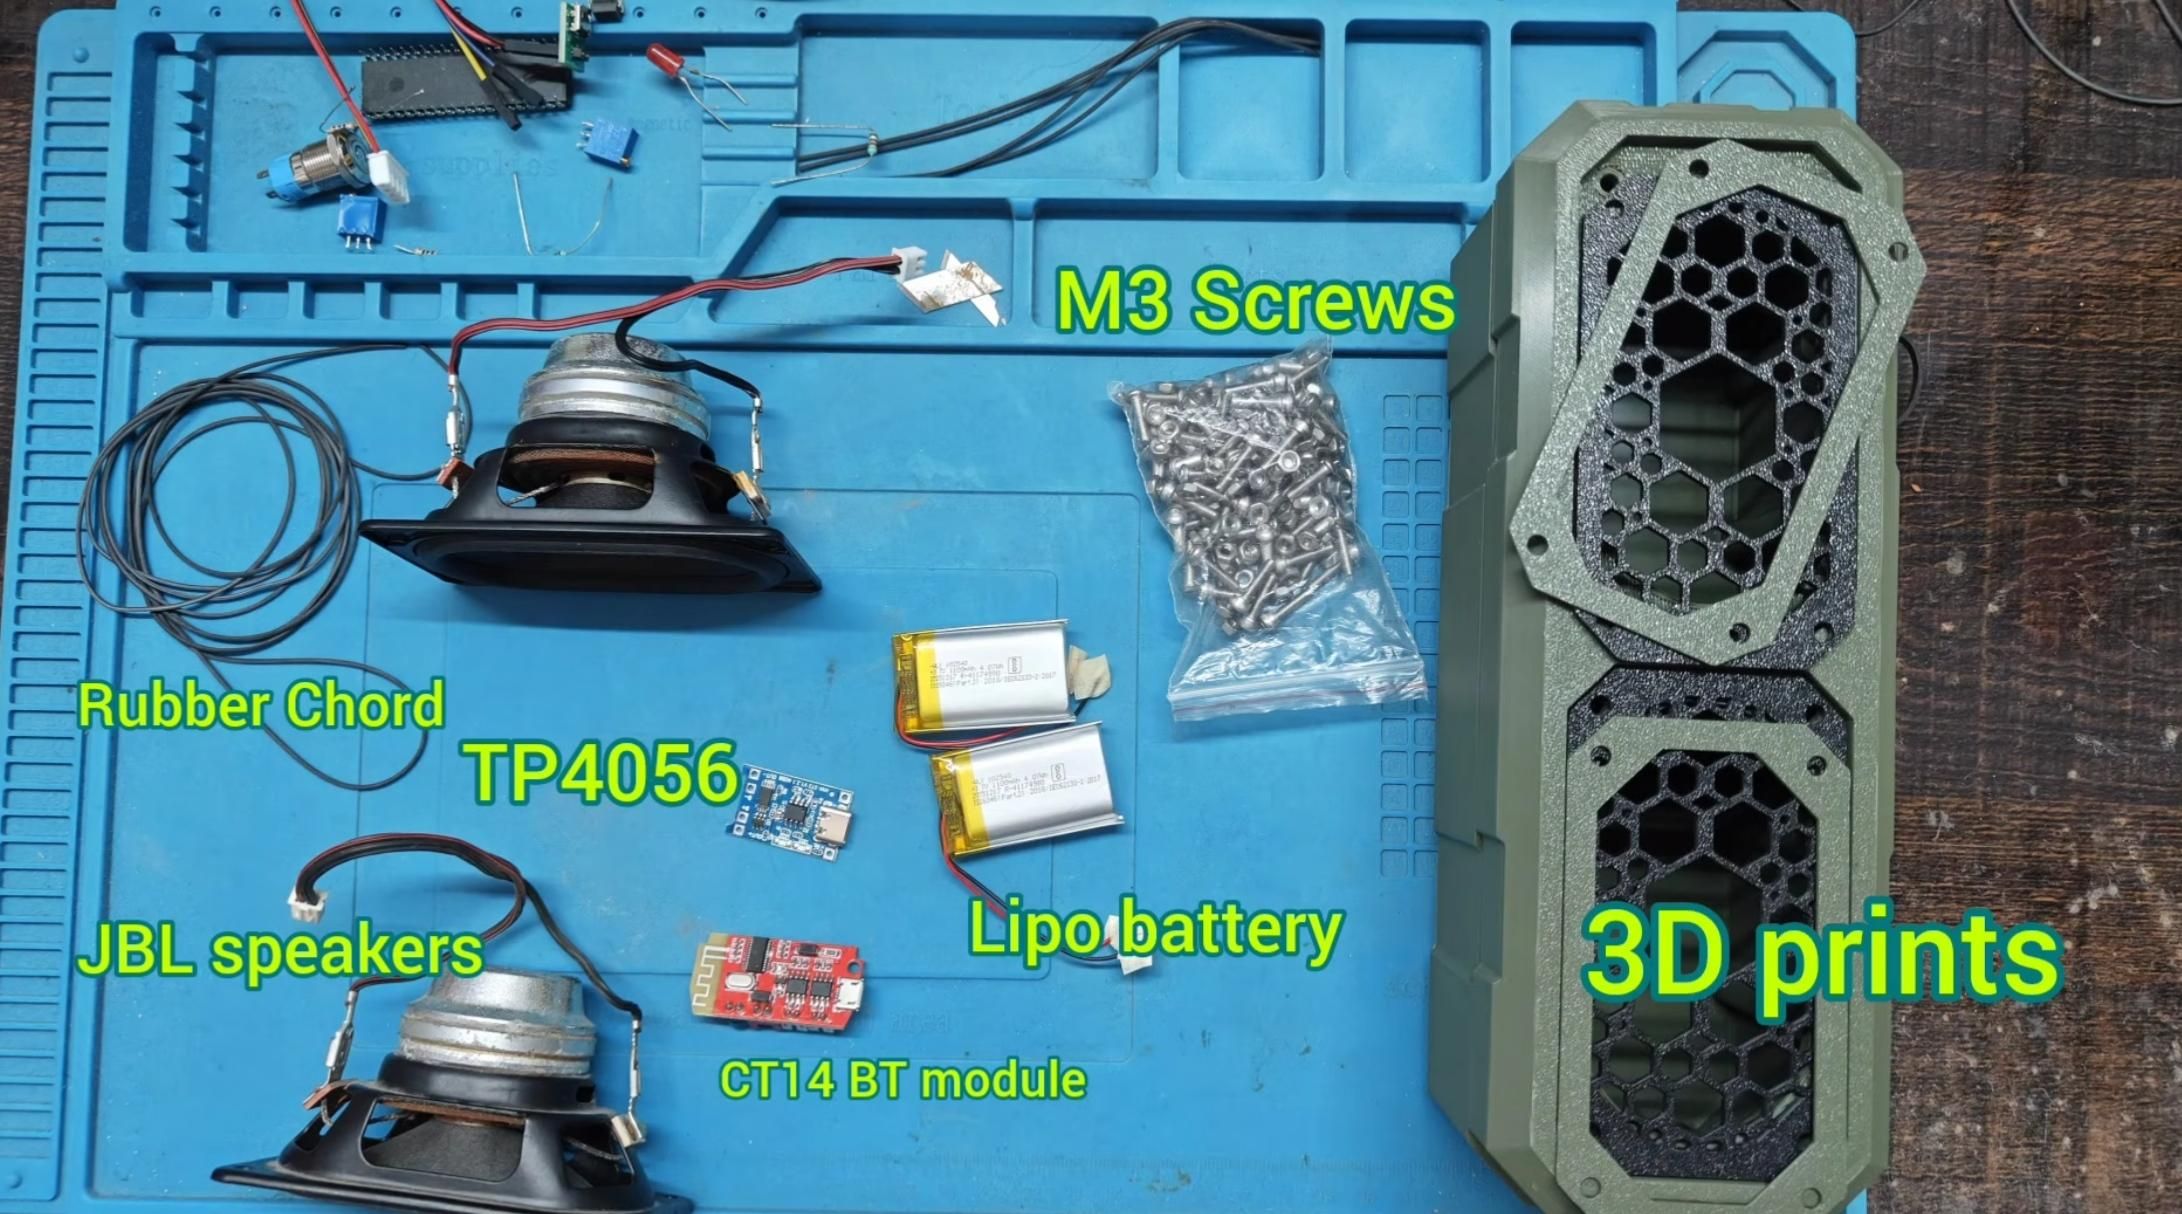
1. 3D Printed Enclosure parts (Front Housing & Rear Enclosure, get the files for free from the link below).
2. 2x JBL Speaker Drivers.
3. CT14 Bluetooth Amplifier Board
4. TP4056 USB-C LiPo Charging Board (modded with 4.7K CC resistors for full USB-C PD compatibility)
5. LiPo Battery (1100mAh)
6. 12mm Power Switch with inbuilt LED
7. M3 Socket Head Screws (16mm) & M3 Hex Nuts
8. Superglue, Thimble Wires/Connectors, and Custom Gasket Oil/Sealant
Mounting the Speaker Drivers
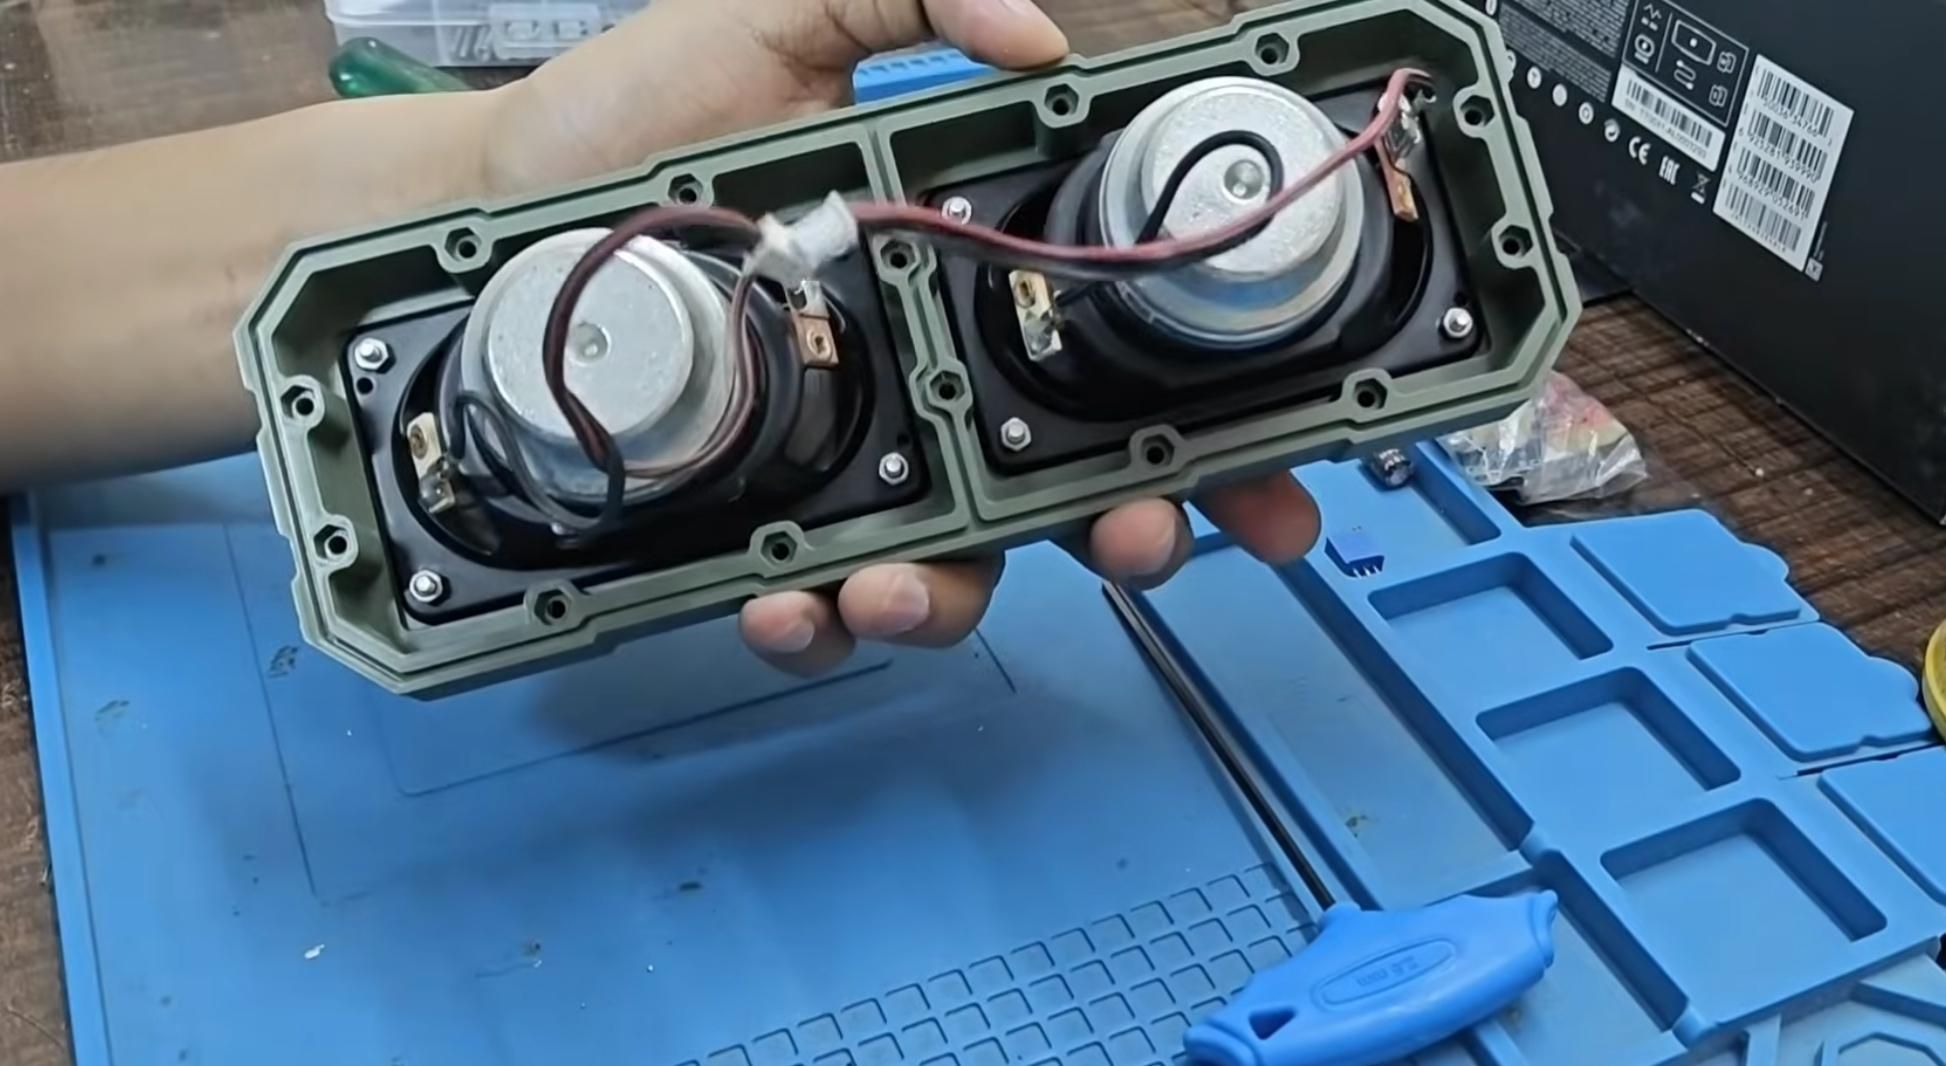
Secure the two speaker drivers into the front 3D-printed housing using M3 16mm socket head screws.
Modding & Preparing the Electronics
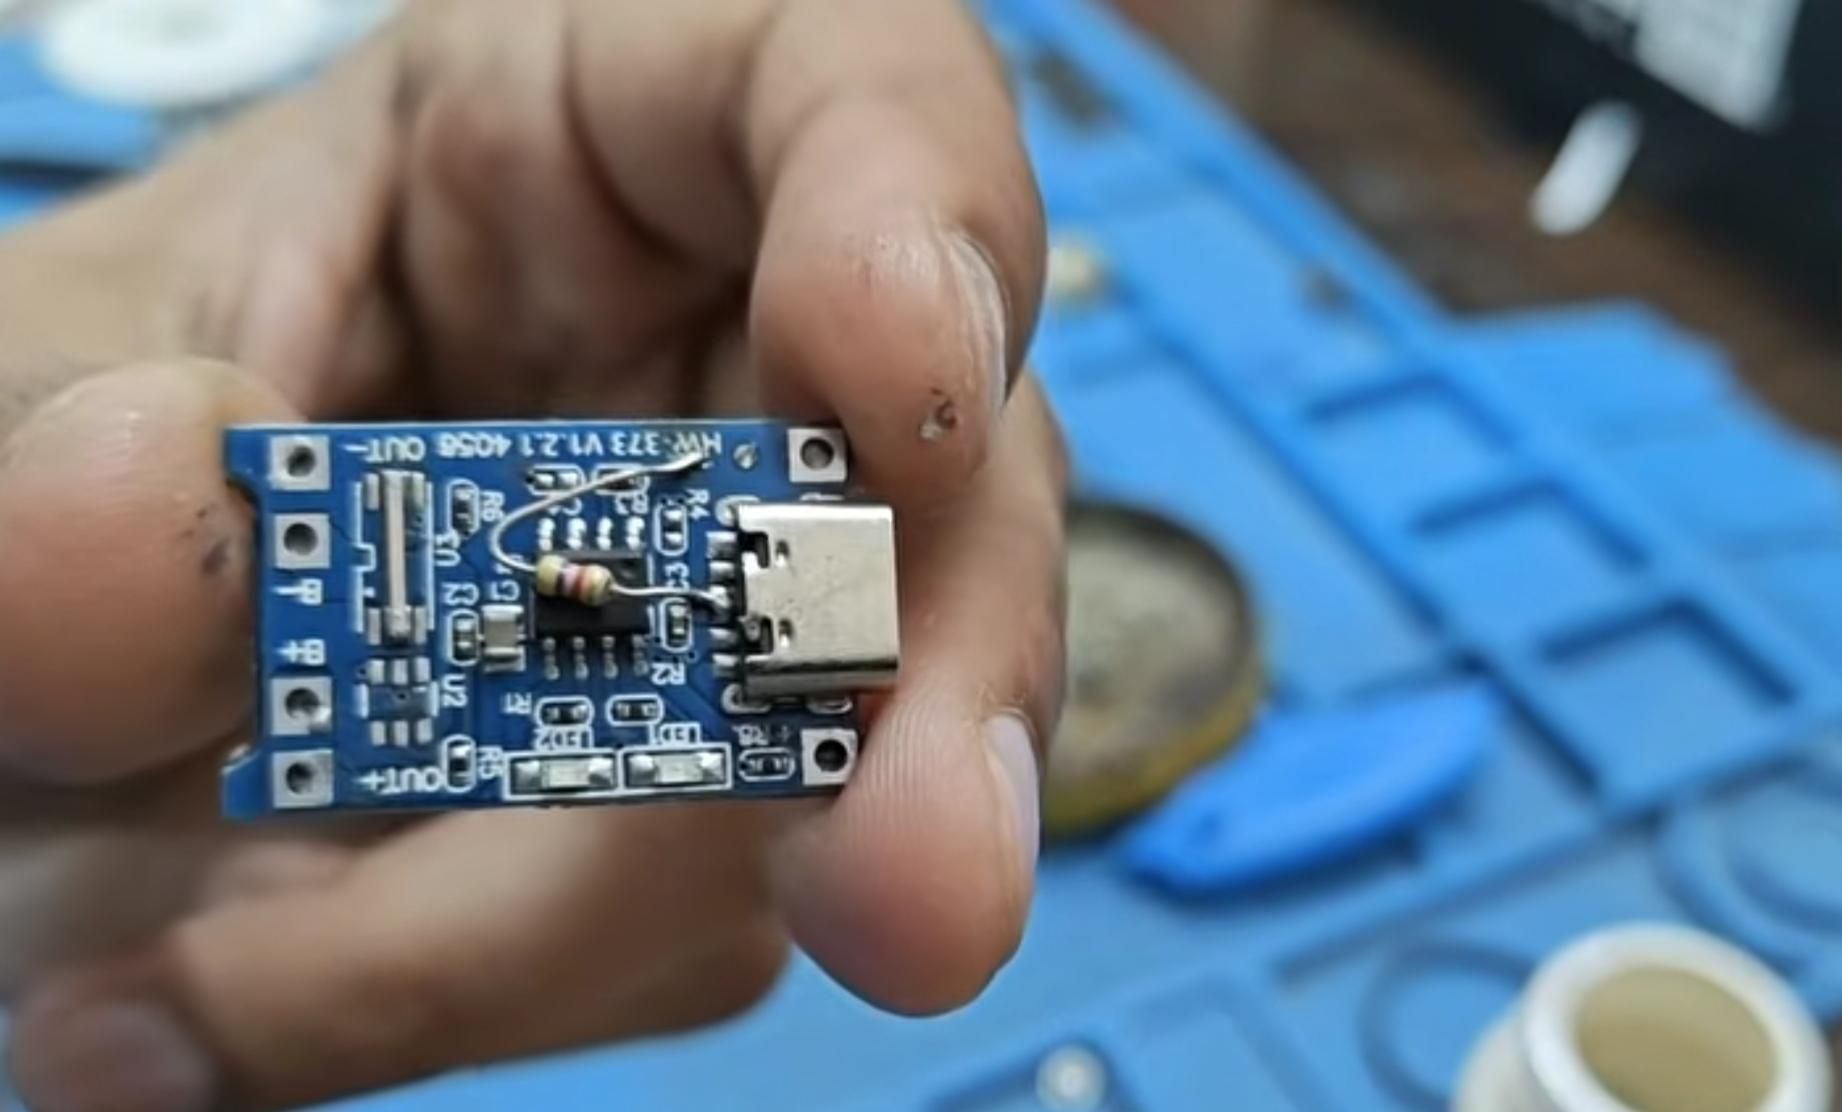
1. TP4056 Mod: Short the center CC pins and connect a 4.7K(5.1K preferred but 4.7K will work) resistor to ground so the speaker charges smoothly on any Type-C charger.
2. Protection IC Adjustment: Bypass the onboard TP4056 protection MOSFET if using a LiPo battery with built-in protection circuitry.
3. Wire the LED power indicator and power lines directly through the illuminated main switch.
Enclosure Assembly & Airtight Gasket Sealing
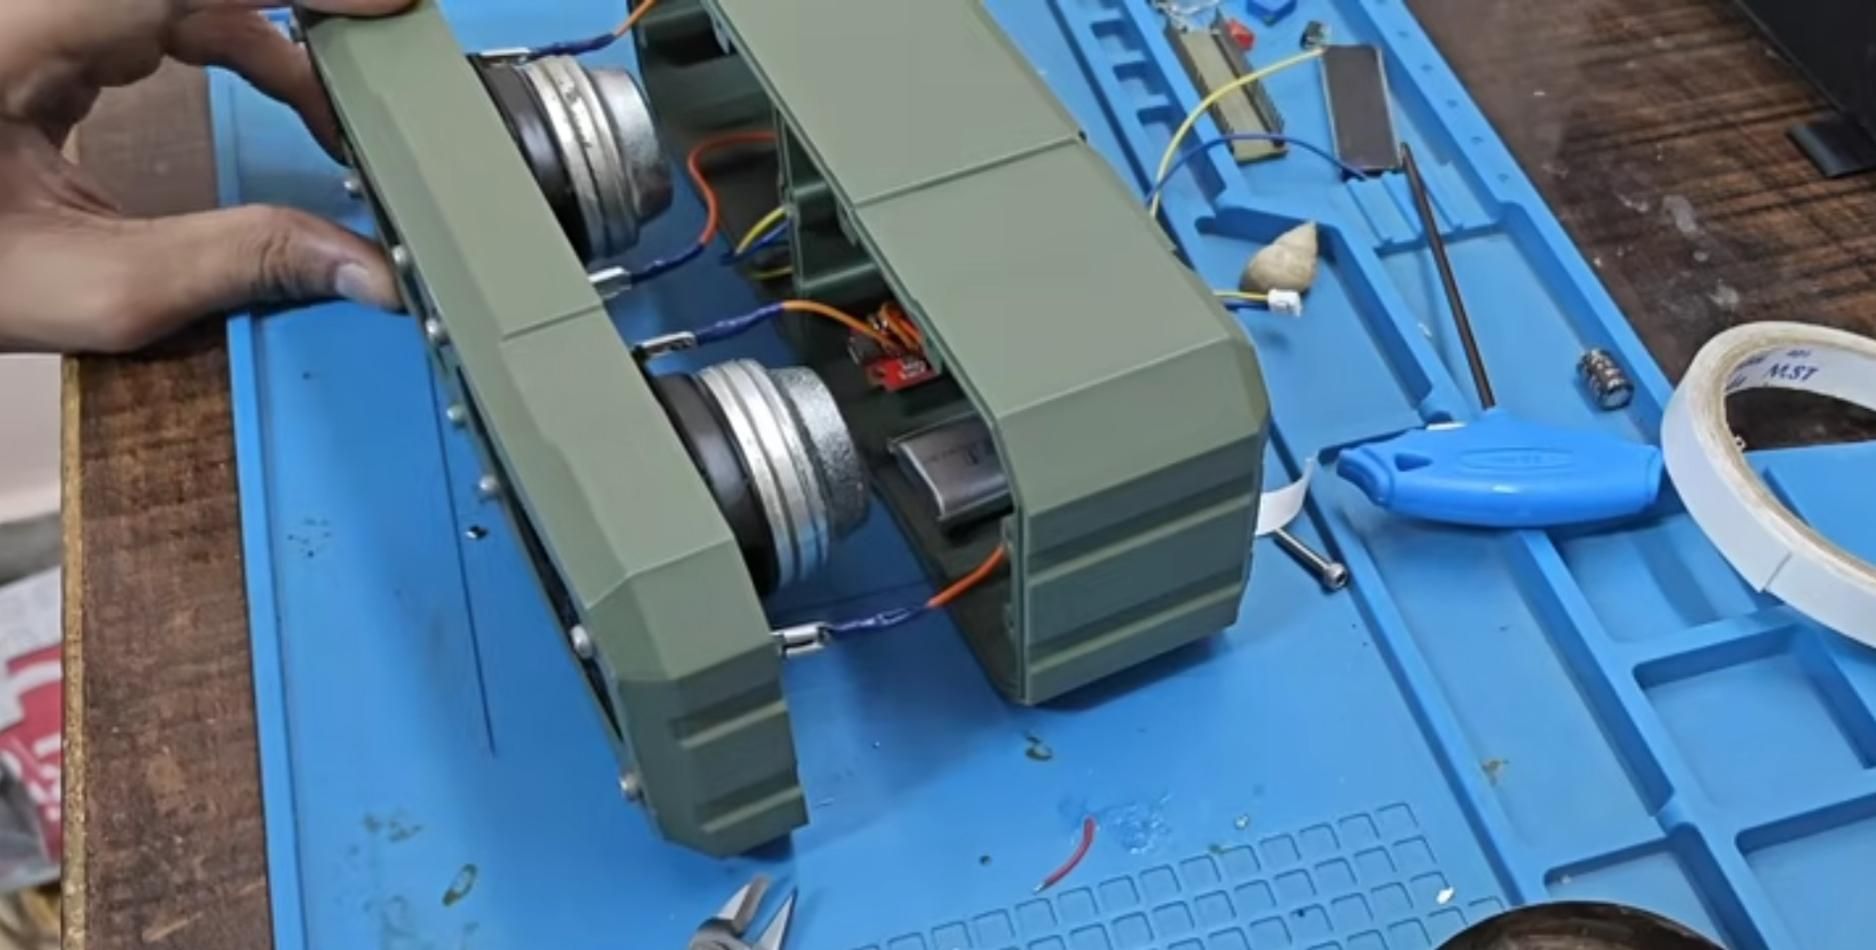
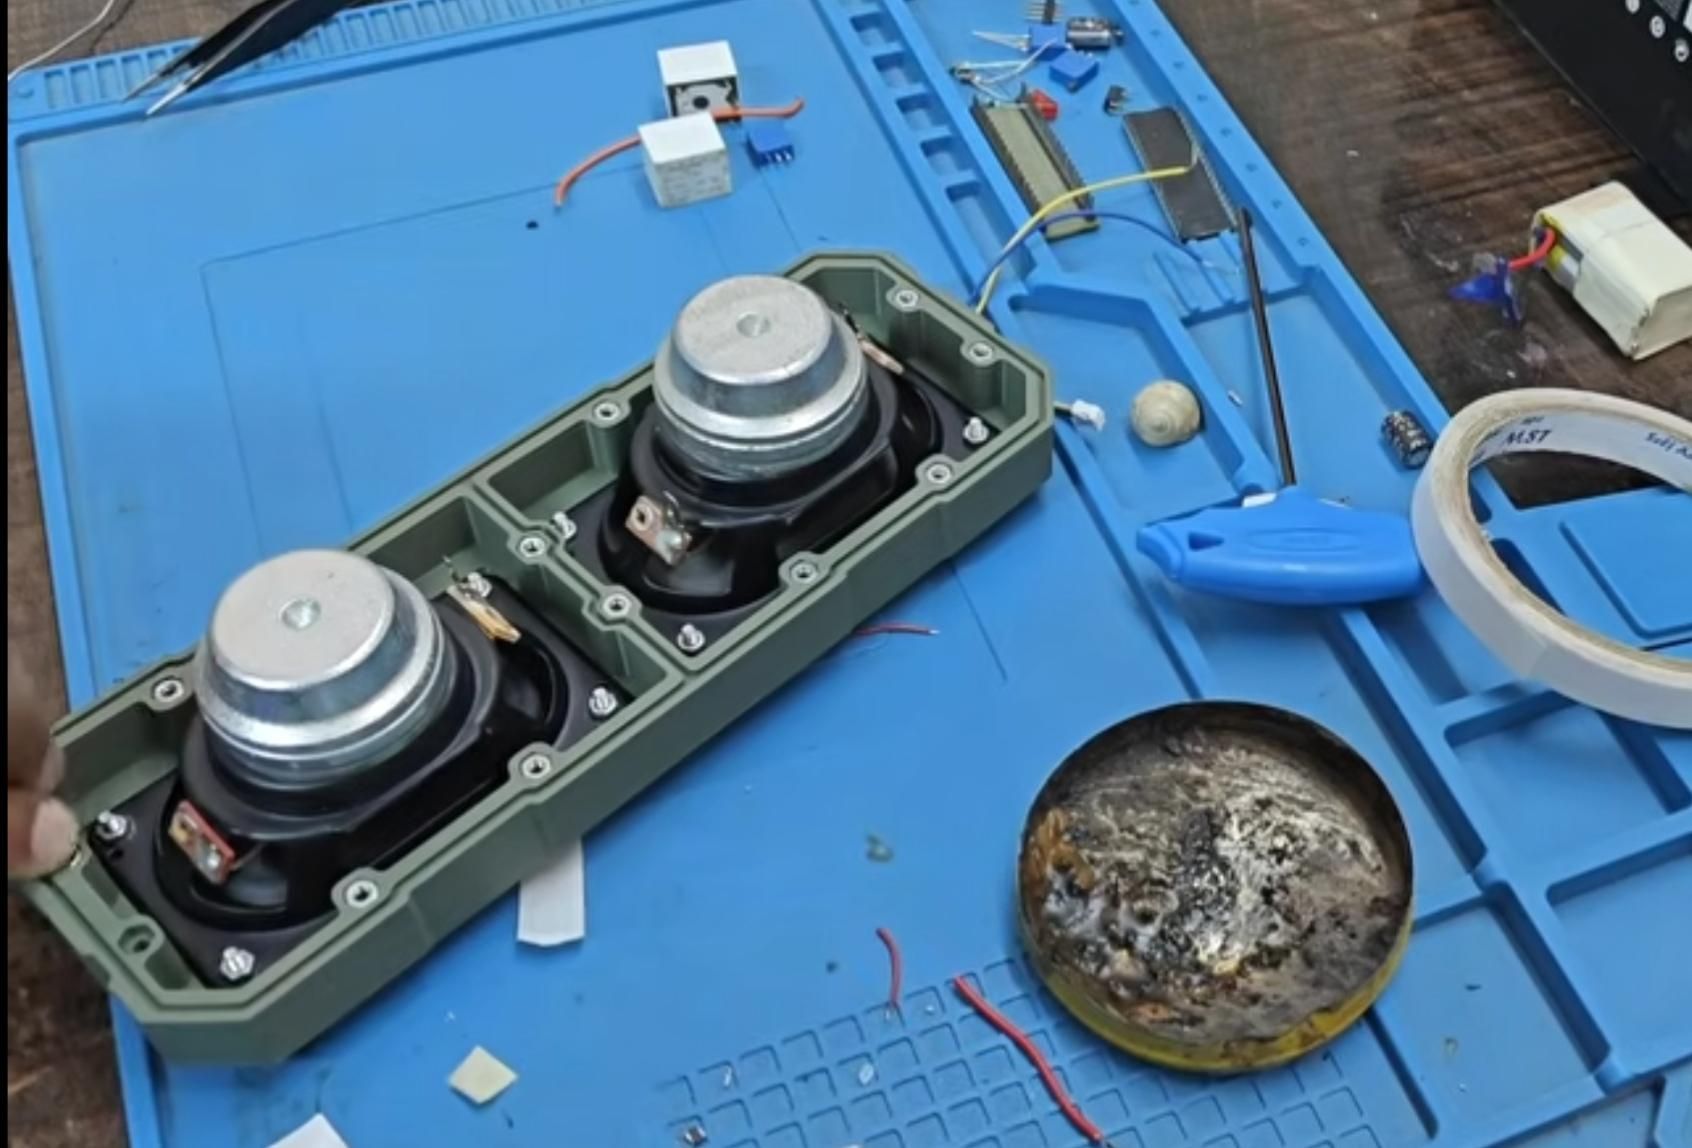
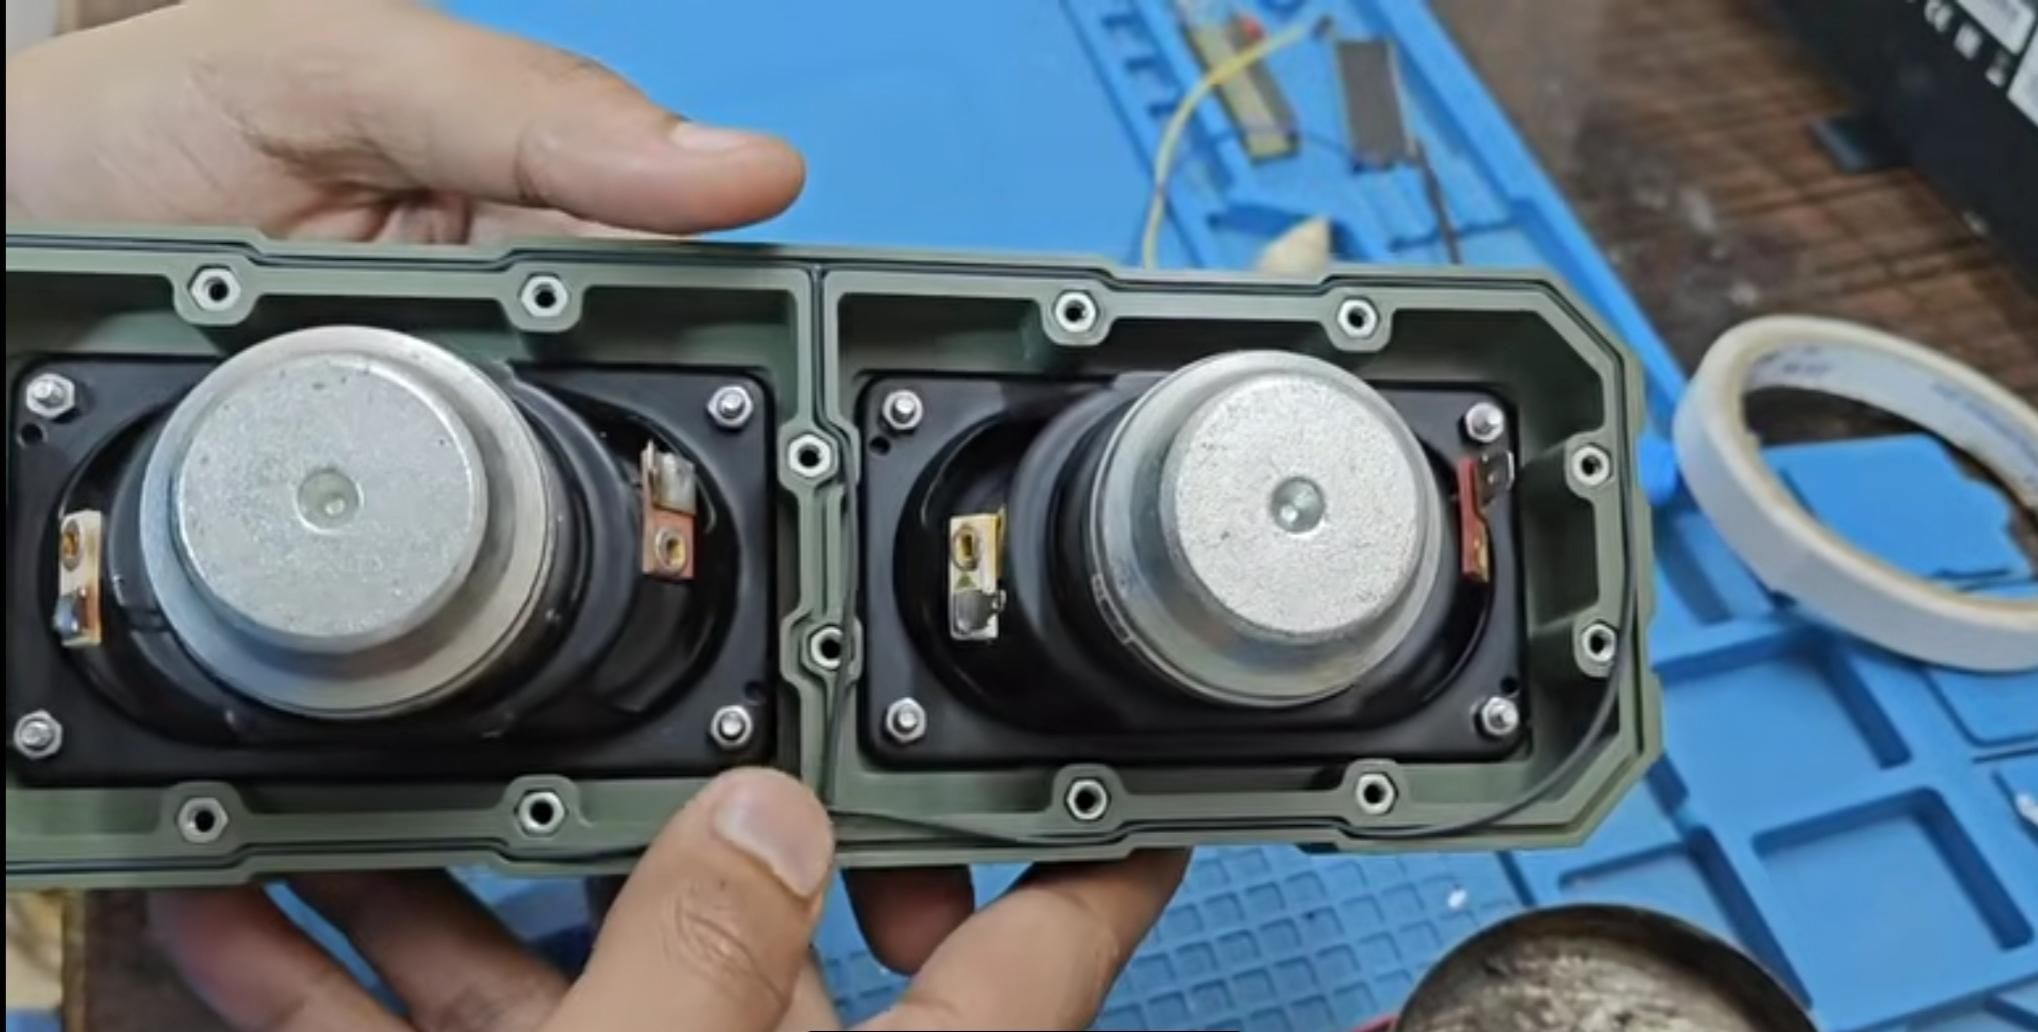
1. Glue the M3 hex nuts into their designated 3D-printed mounting sockets.
2. Treat and fit the flexible gasket between the front and rear housings to ensure an airtight seal, crucial for punchy bass response from small enclosures.
3. Secure the battery and module inside the rear chamber using thimble connectors for easy assembly.
Final Testing & Sound Impressions
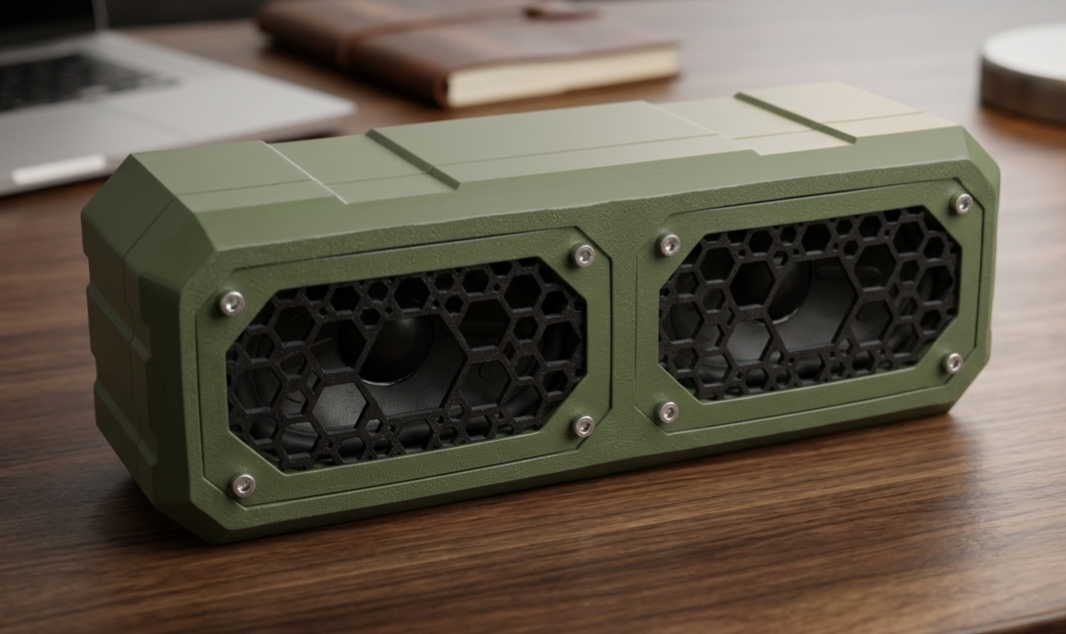
1. Connect terminals, close the housing tightly, pair via Bluetooth, and enjoy the rich, isolated bass response!
2. For more details and sound quality test, watch my video. You will be amazed.