How to Build an Open-Source ESP32 Hardware Wallet
by dibachain in Circuits > Microcontrollers
265 Views, 0 Favorites, 0 Comments
How to Build an Open-Source ESP32 Hardware Wallet
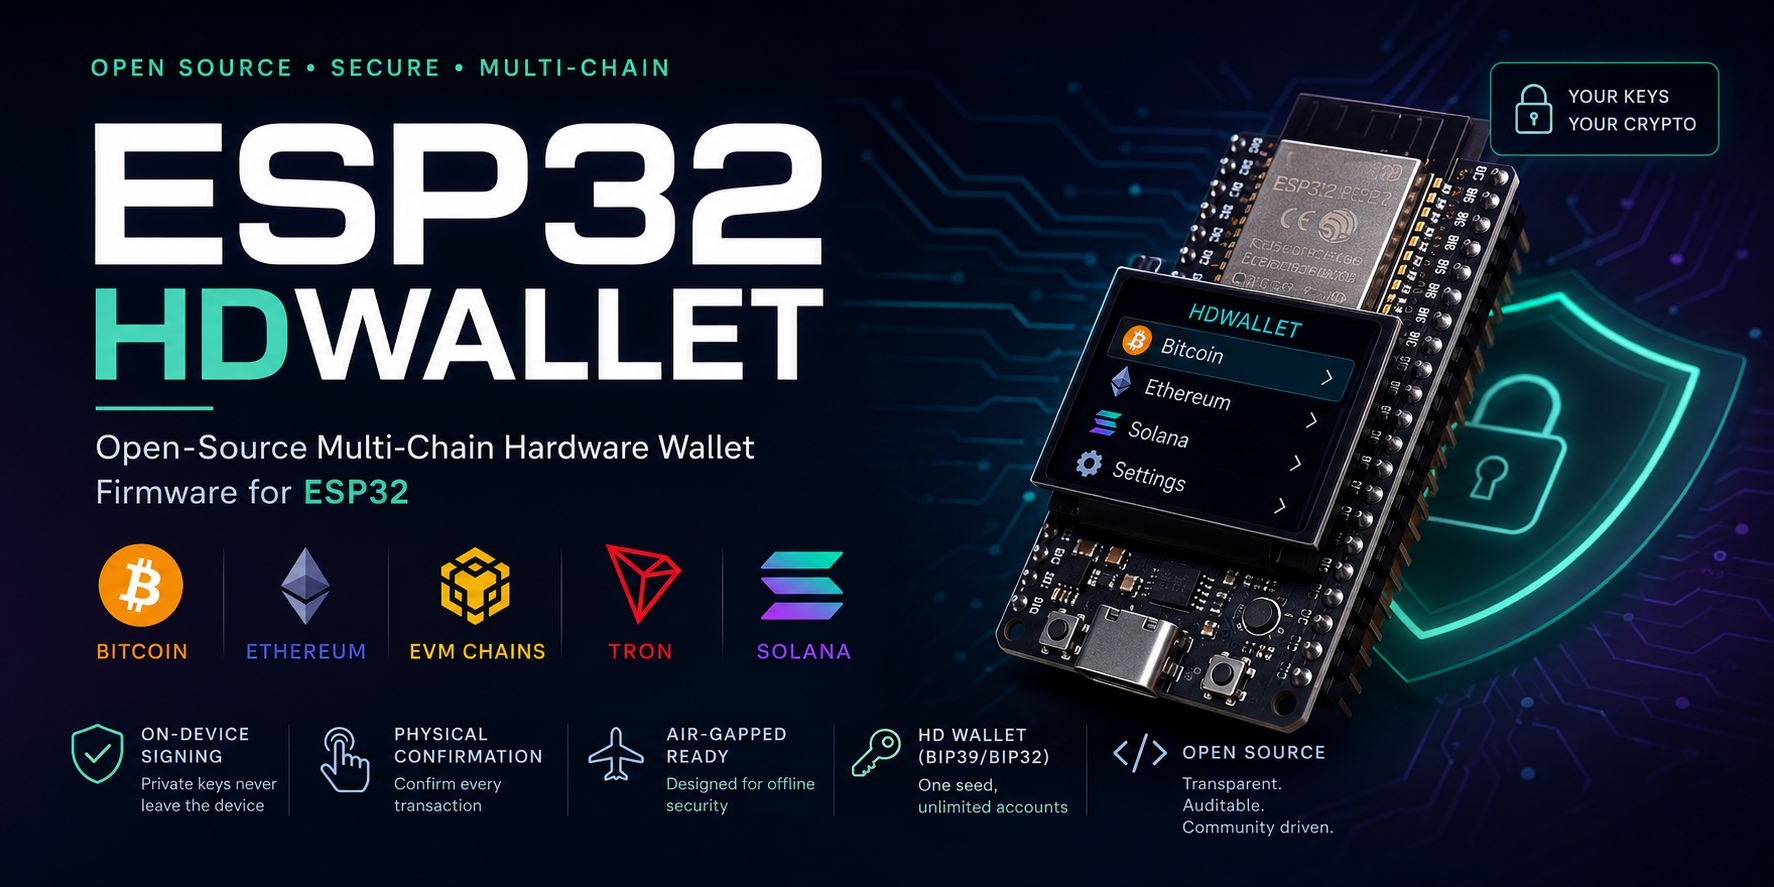
In this project, I will show you how I built an experimental open-source hardware wallet using an ESP32 microcontroller.
ESP32-HDWallet is designed as a lightweight platform for exploring hierarchical deterministic wallets, blockchain address generation, embedded cryptography, and on-device transaction signing.
The project aims to keep sensitive wallet operations on the device while providing a modular foundation that developers can study, modify, and extend.
This is currently an experimental project intended for development, research, and educational use. It has not undergone a professional security audit and should not be used to protect significant funds.
Supplies
Hardware
- ESP32 development board
- Compatible display module
- Physical buttons or input controls
- USB data cable
- Breadboard or prototype board
- Jumper wires
- Optional enclosure
- Optional secure element module
Software
- ESP-IDF or PlatformIO
- Git
- C/C++ development environment
- ESP32-HDWallet source code
- Serial monitor
Source Code
The complete firmware and project files are available on GitHub:
Understanding the ESP32-HDWallet
ESP32-HDWallet is an experimental open-source firmware project that explores how an ESP32 can be used as the foundation of a hardware cryptocurrency wallet.
The device is responsible for wallet-related operations such as key derivation, address generation, and transaction signing.
The primary design goals are:
- Keeping sensitive operations on the ESP32
- Supporting hierarchical deterministic wallets
- Providing a modular firmware architecture
- Requiring physical confirmation for sensitive actions
- Supporting future offline and air-gapped workflows
- Making the complete implementation available for inspection
This project should be treated as a development and educational platform until its implementation has received extensive testing and an independent security audit.
Preparing the ESP32 Hardware
Begin by preparing the ESP32 development board and the display or input components used by the wallet interface.
Connect the display and buttons according to the pin configuration defined in the firmware. Before powering the device, verify every connection and confirm that the selected GPIO pins match the configuration in the source code.
At this stage:
- Connect the display to the ESP32.
- Connect the navigation and confirmation buttons.
- Check the power and ground connections.
- Connect the ESP32 to the computer using a USB data cable.
- Verify that the board is detected correctly.
Avoid entering or displaying any real recovery phrase while developing or photographing the project.
Downloading the Source Code
Clone the ESP32-HDWallet repository from GitHub:
The repository contains the firmware source code, wallet-related modules, device interface components, and project documentation.
Before building the firmware, read the repository README and check the configuration files for the required board, display, libraries, and pin assignments.
Configuring the ESP32 Board
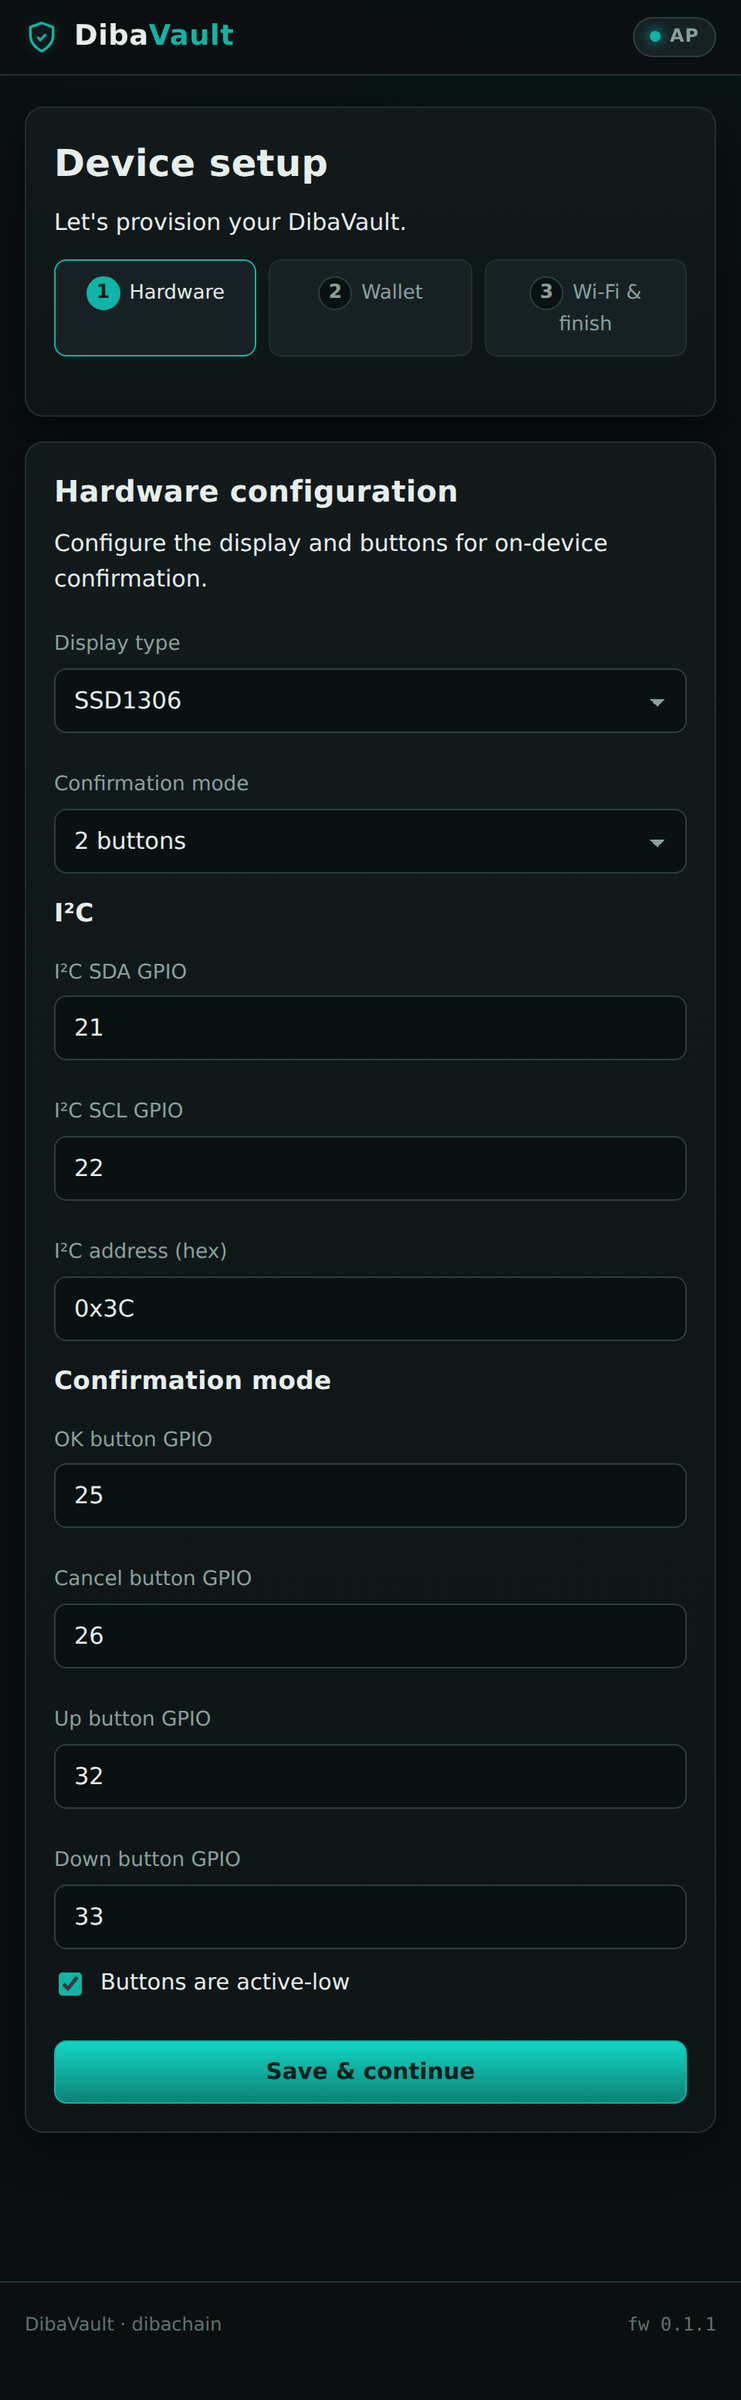
Open the project using the development environment supported by the repository.
Review the configuration before compiling:
- ESP32 board model
- Display driver
- Display dimensions
- GPIO pin assignments
- Button configuration
- Serial communication settings
- Enabled blockchain modules
- Debug and production settings
Do not enable wireless communication by default unless it is specifically required for your test setup.
For a security-focused device, unused interfaces should remain disabled whenever possible.
Building and Flashing the Firmware
Connect the ESP32 to the computer and build the firmware.
Using PlatformIO:
To upload the firmware:
To monitor the serial output:
After the upload is complete, restart the ESP32 and watch the display and serial output for initialization messages.
If the build fails, verify the selected board, installed libraries, USB driver, and serial port.
Initializing the Wallet
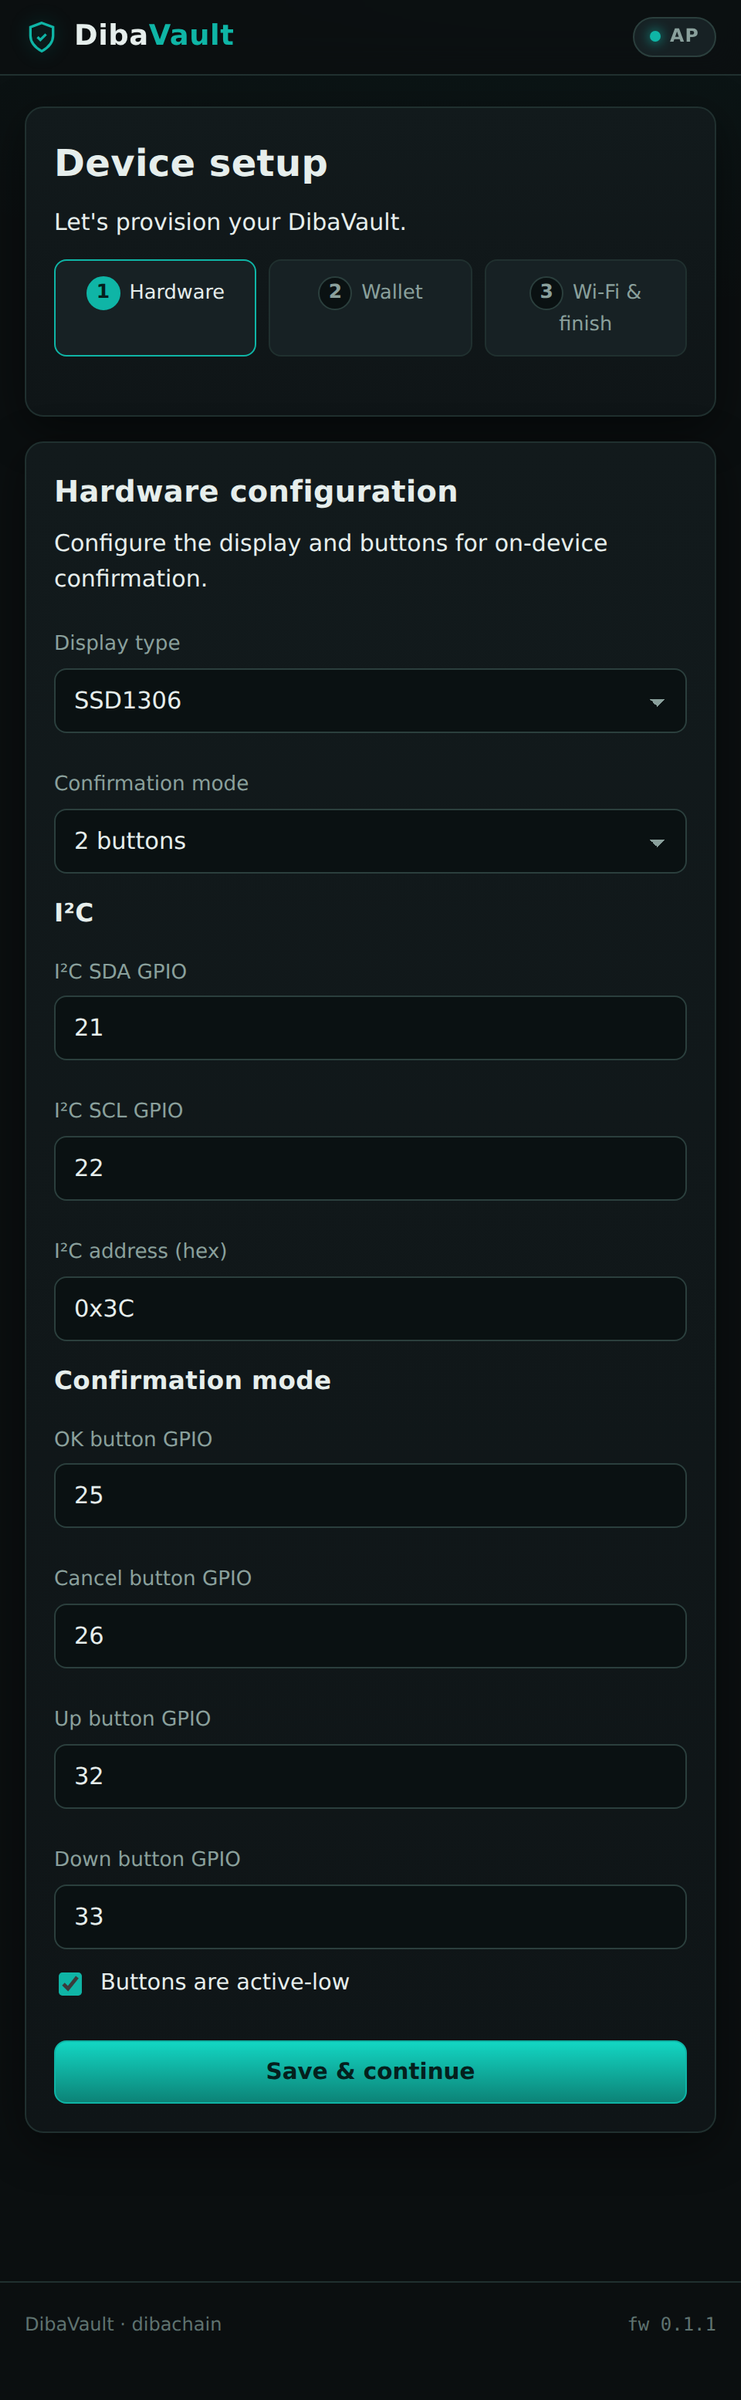
After the firmware starts, follow the on-device interface to initialize the wallet.
Depending on the current firmware implementation, the device may allow you to create a new wallet, import test wallet data, or derive blockchain addresses.
For safe testing:
- Use the device only with test wallets.
- Never photograph a real recovery phrase.
- Never paste real private keys into development tools.
- Do not use the project with significant funds.
- Reset the test wallet after demonstrations.
When generating or importing wallet data, carefully confirm every value displayed by the device.
Generating Blockchain Addresses
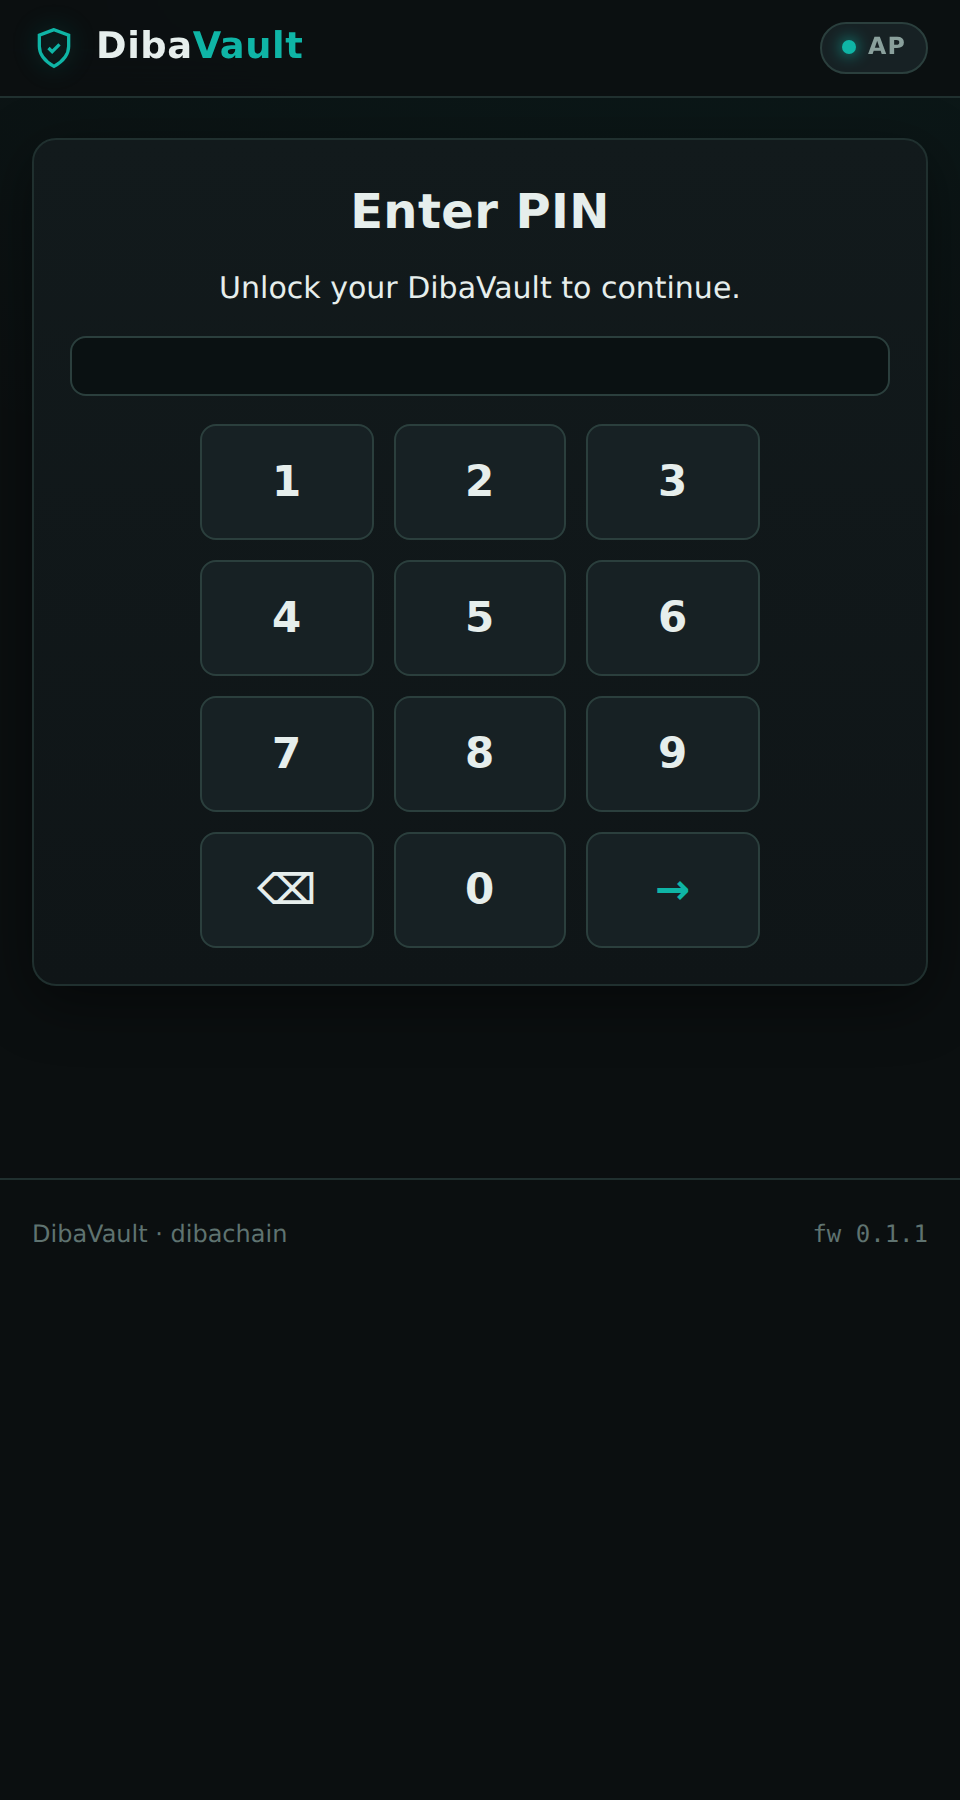
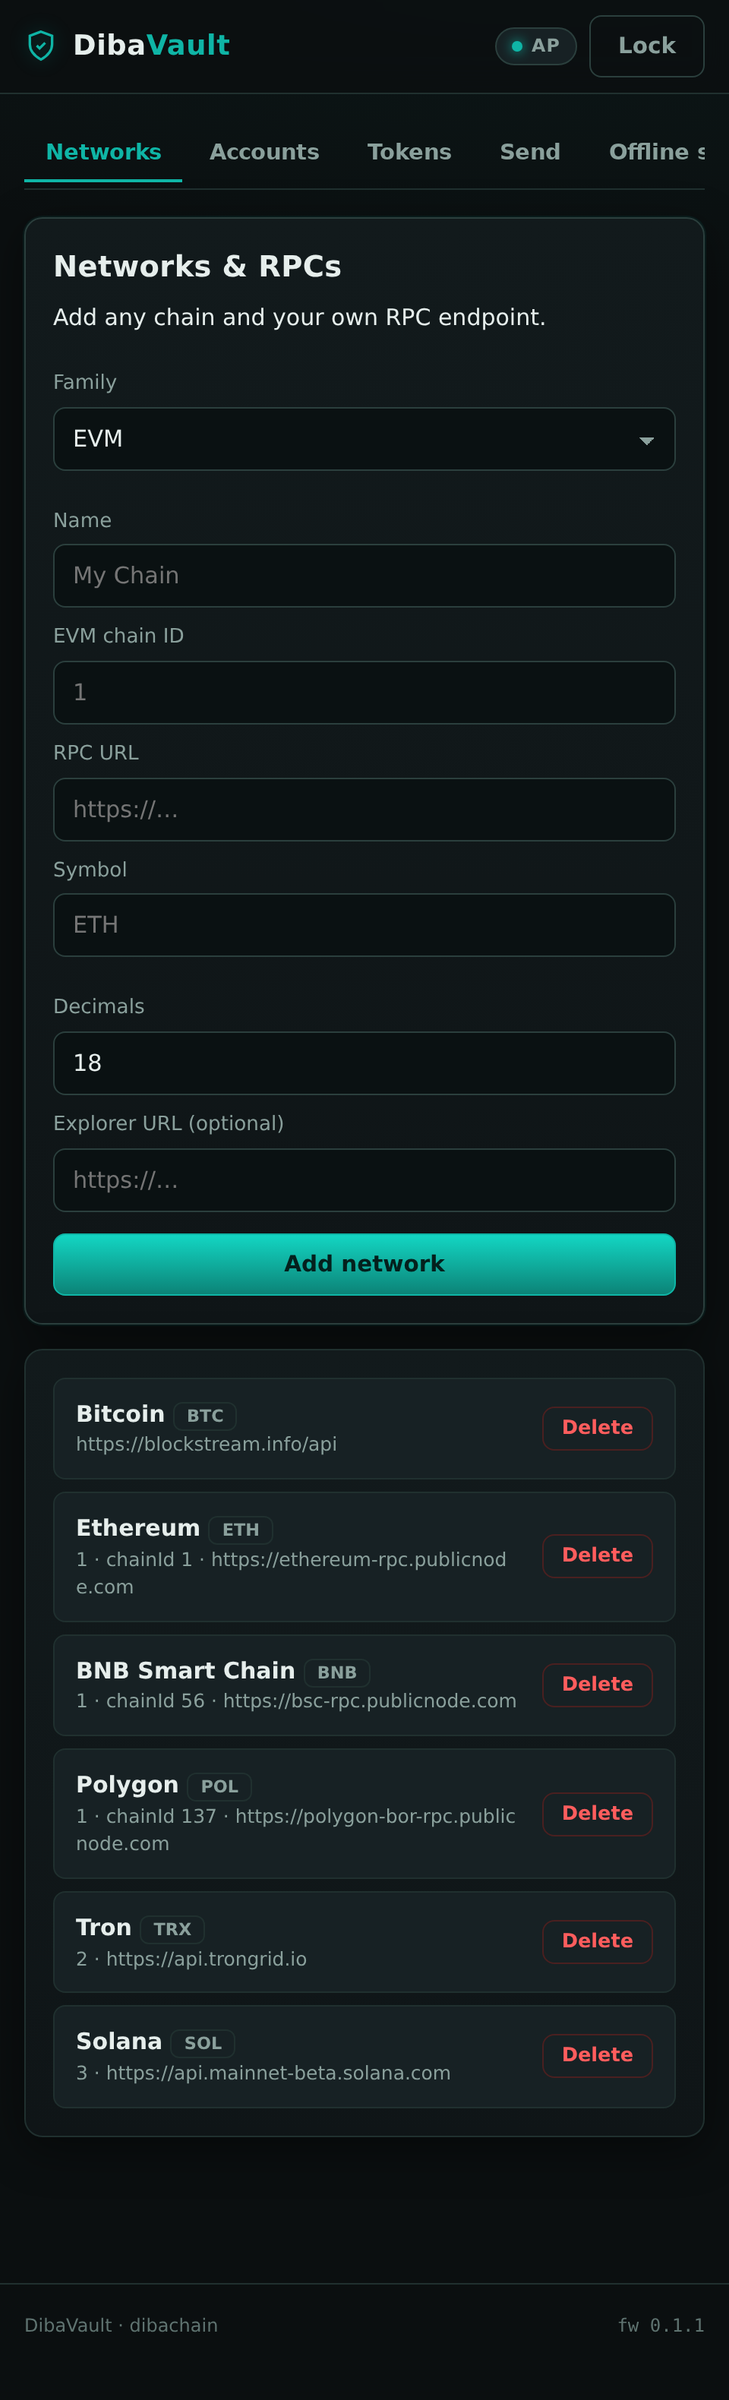
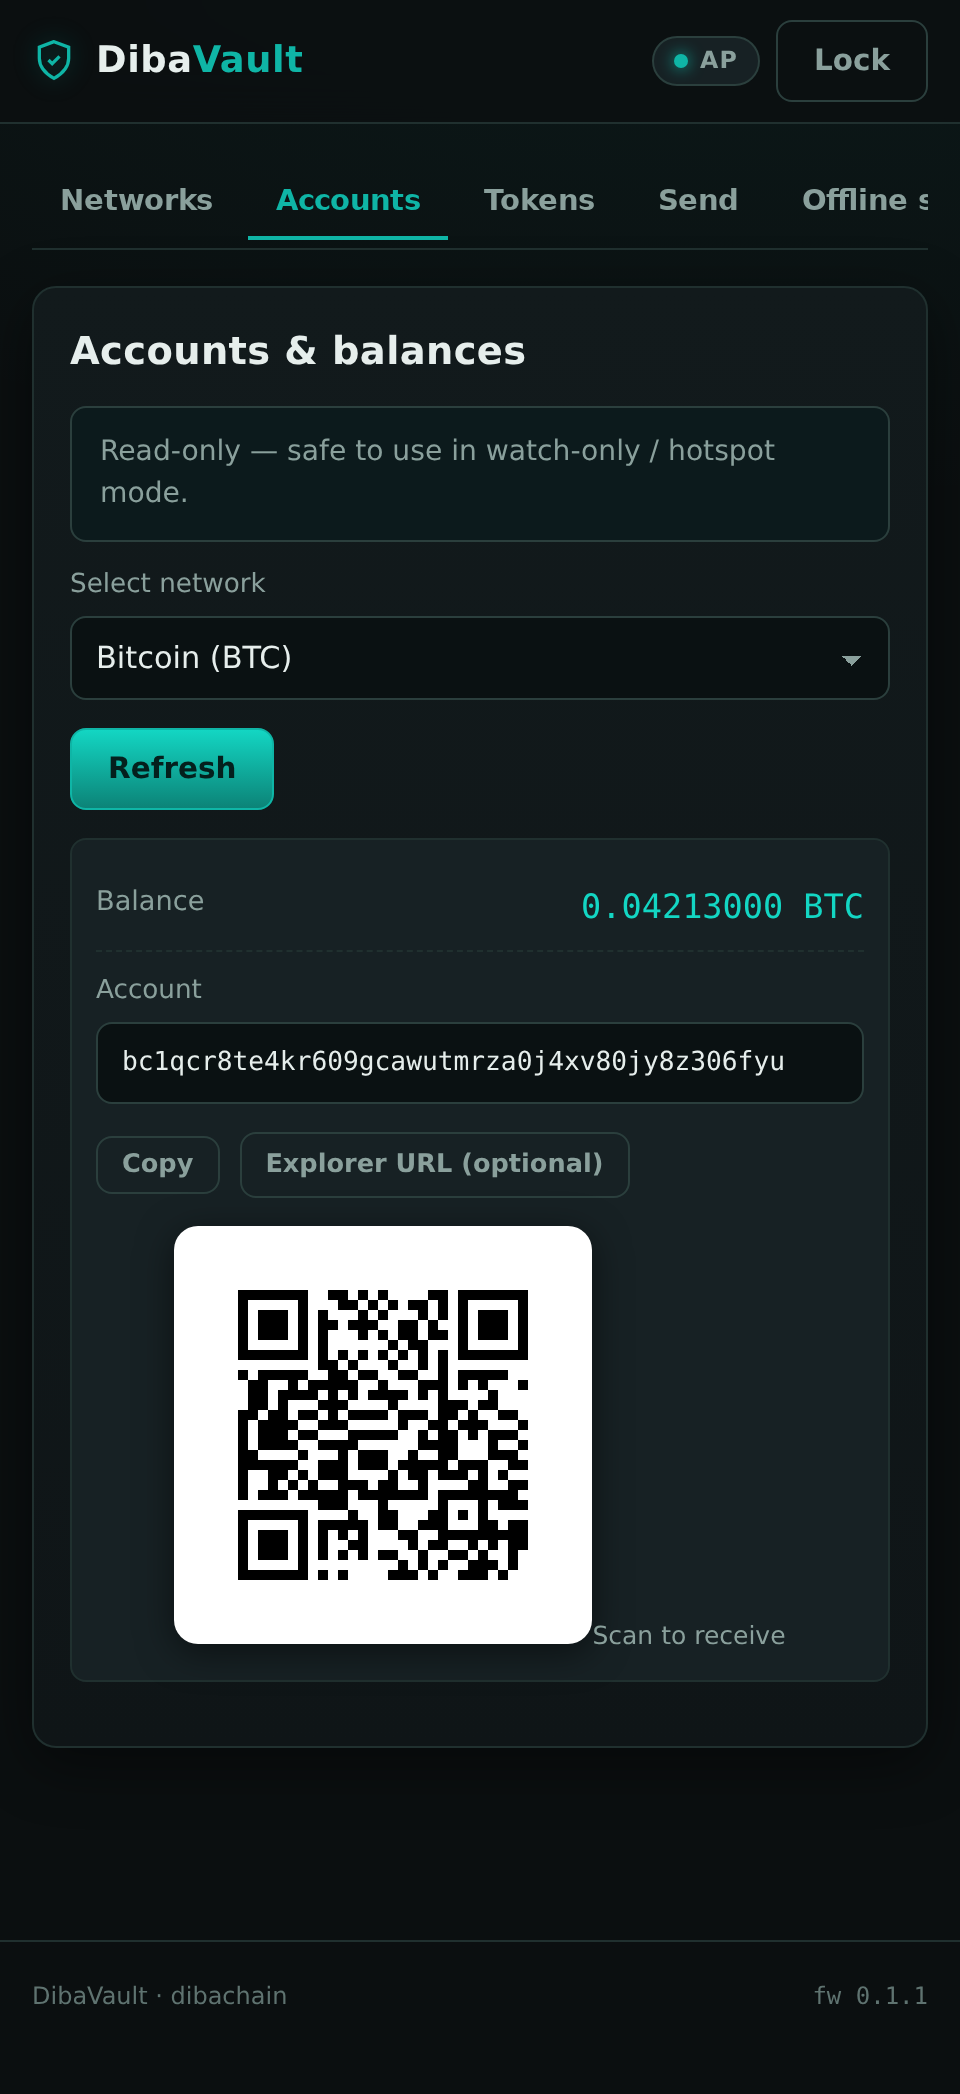
The wallet derives addresses from the wallet seed using hierarchical deterministic derivation.
Select a supported blockchain from the device interface and generate a test address.
Verify that:
- The selected network is correct.
- The derivation path matches the intended blockchain.
- The address shown on the host matches the address displayed by the device.
- No private key is transmitted to the host application.
For development, use testnet networks or wallets created only for testing.
Signing a Test Transaction
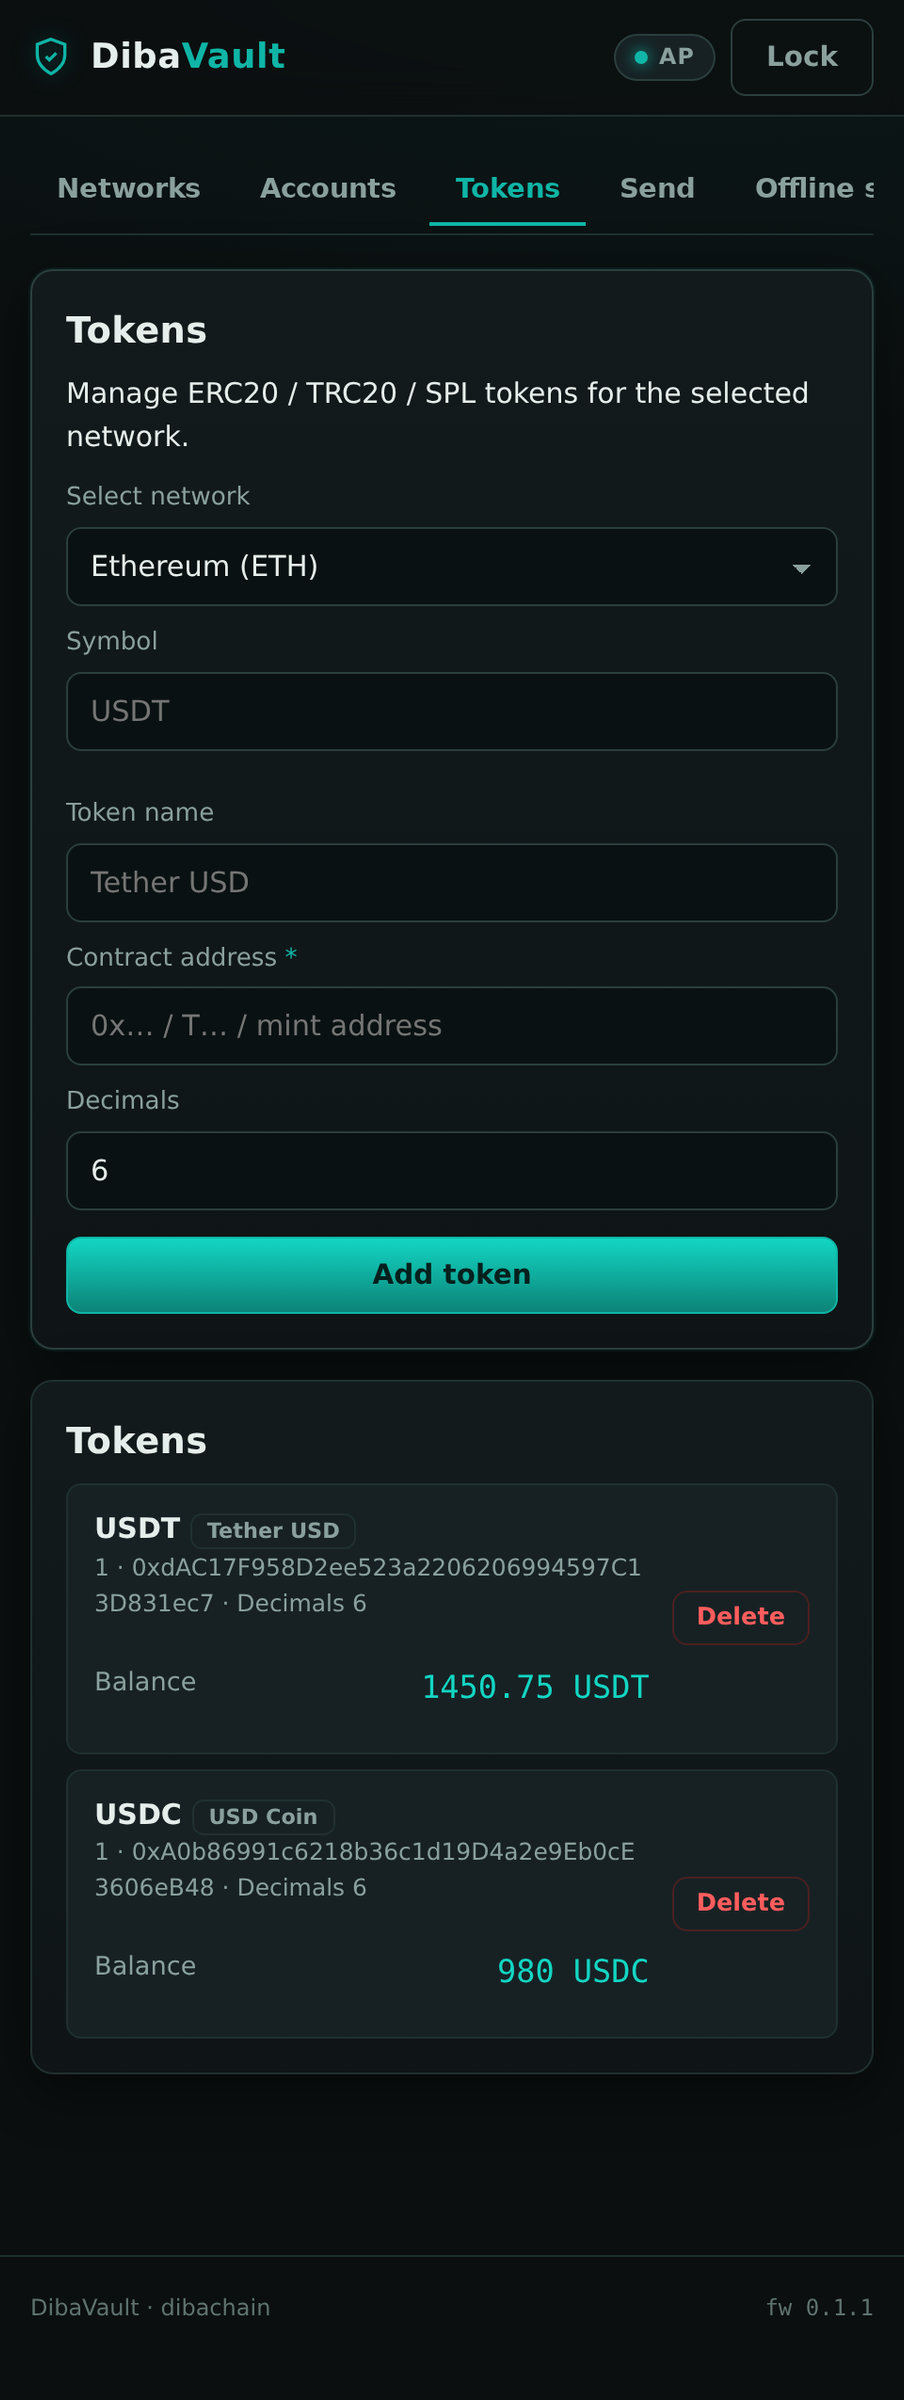
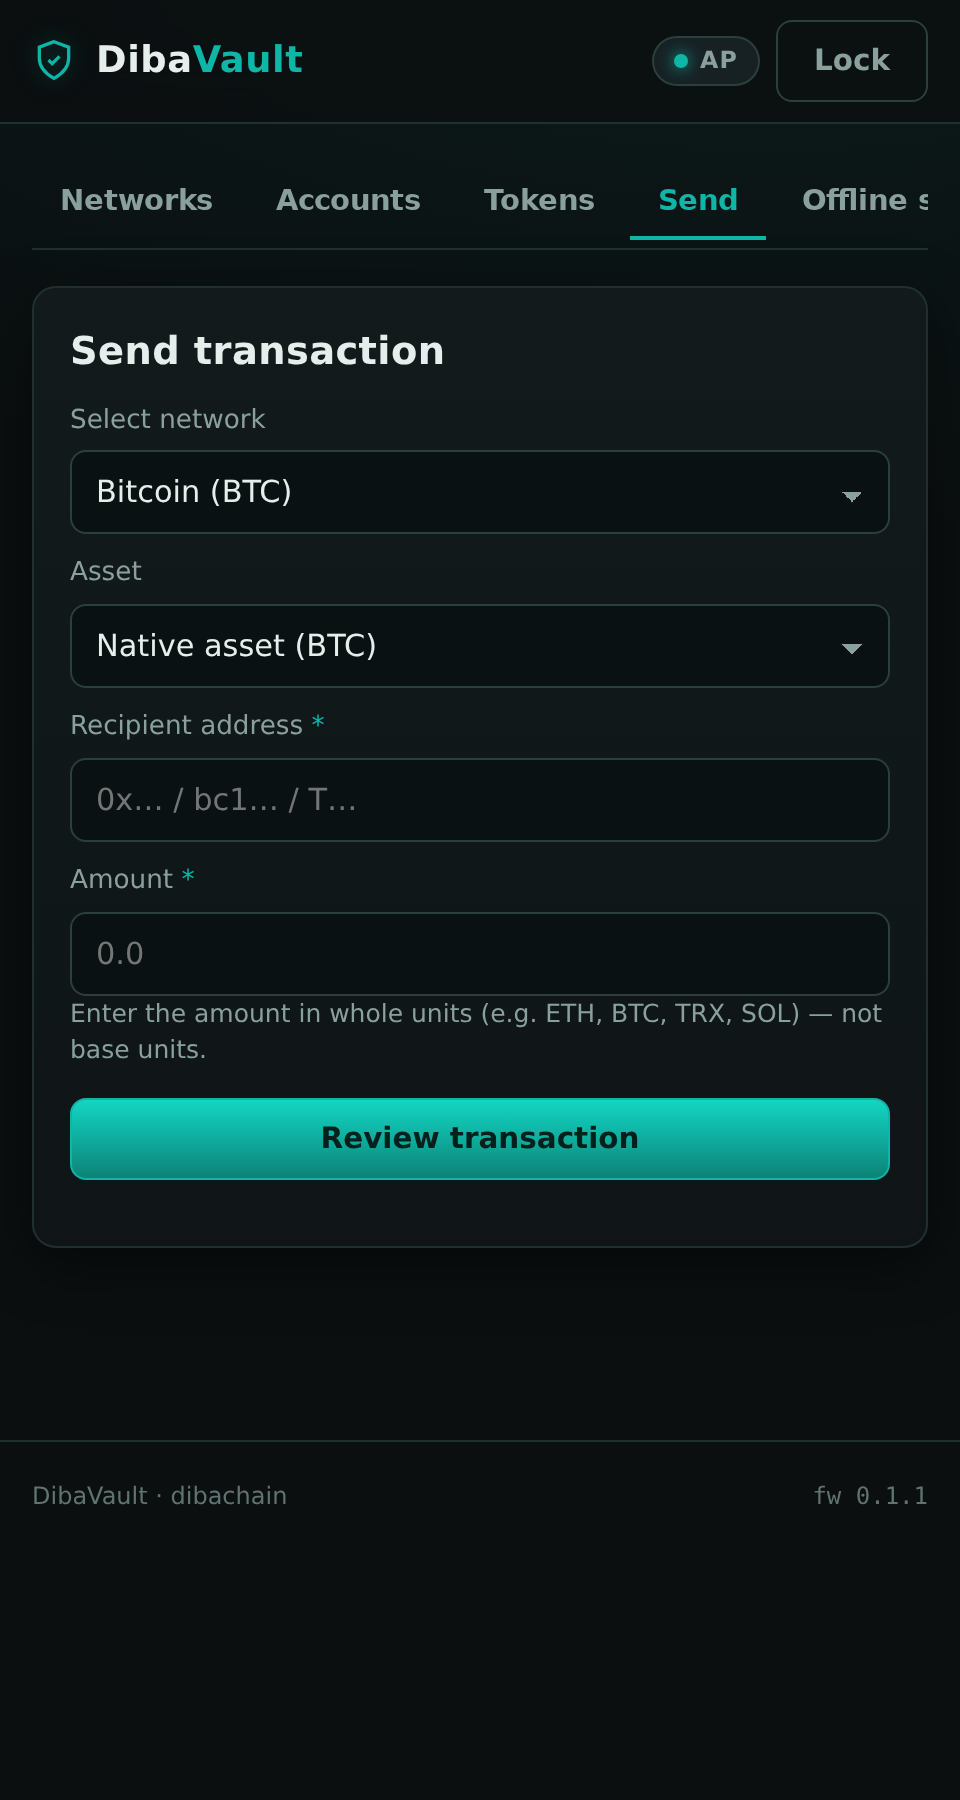
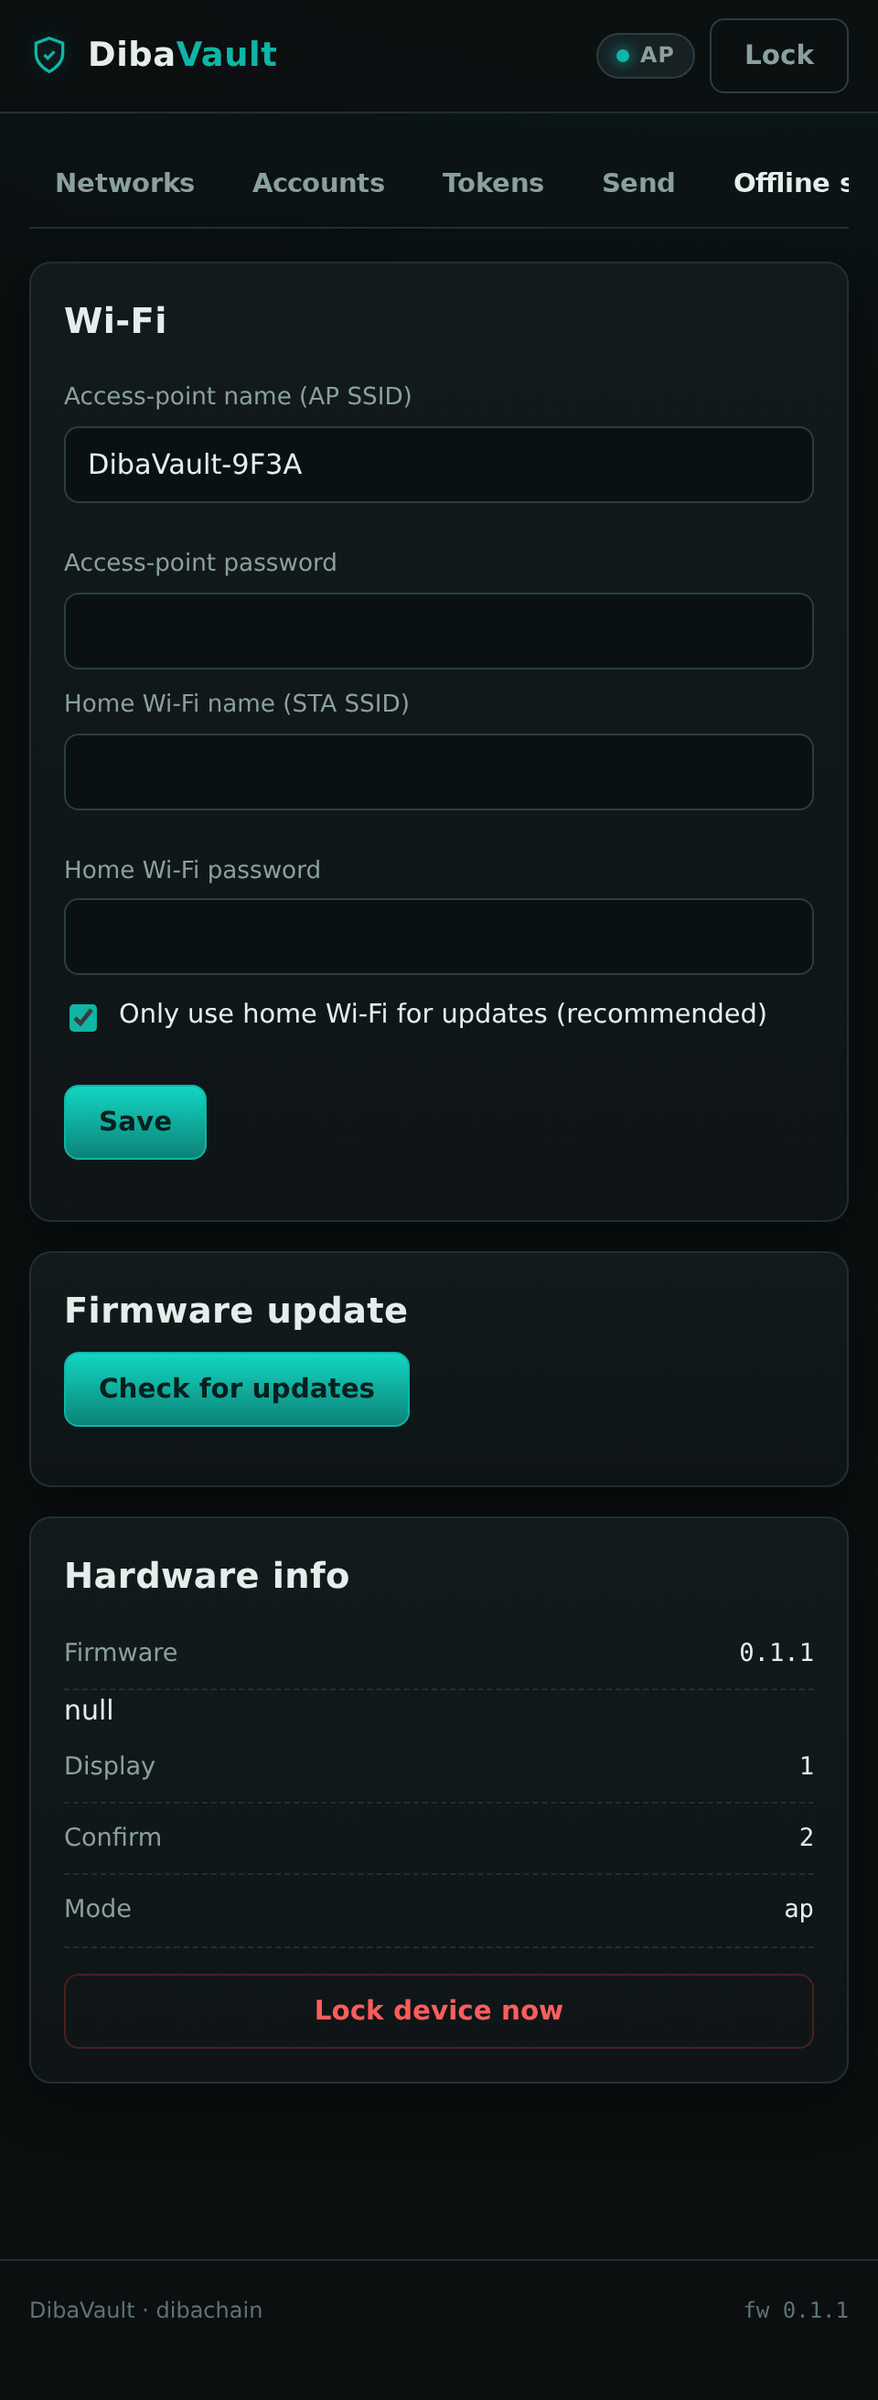
Create a test transaction using a testnet network or a wallet containing no valuable assets.
The expected signing flow is:
- The host application prepares an unsigned transaction.
- The transaction data is sent to the ESP32.
- The device displays the important transaction details.
- The user reviews the destination address and amount.
- The user physically confirms or rejects the transaction.
- The ESP32 signs the approved transaction.
- The signed result is returned to the host.
- The host broadcasts the transaction.
Always verify the destination address and transaction amount directly on the hardware device before confirming.
Security Limitations and Important Warnings
This project is experimental and should not yet be considered a replacement for a professionally audited commercial hardware wallet.
Important security considerations include:
- The firmware has not received an independent security audit.
- A standard ESP32 is not automatically equivalent to a dedicated secure element.
- Recovery phrase protection depends on the complete hardware and firmware design.
- Debug interfaces may expose sensitive data during development.
- Wireless interfaces can increase the attack surface.
- Physical access attacks require additional protection.
- Supply-chain and firmware integrity must be considered.
- Random-number generation and key storage require extensive review.
- Side-channel and fault-injection resistance are not guaranteed.
Use this project for research, learning, prototyping, and testnet experiments. Do not rely on it to secure significant real-world funds.
Exploring the Firmware Architecture
esp32-hdwallet/
├── src/
├── include/
├── lib/
├── docs/
├── assets/
└── README.md
The firmware is organized into separate modules so that device drivers, wallet logic, cryptographic operations, blockchain-specific functionality, and the user interface can be developed independently.
A modular architecture makes it easier to:
- Add new blockchain adapters
- Replace the display or input hardware
- Test wallet components independently
- Review security-sensitive code
- Maintain the firmware over time
Refer to the GitHub repository for the current and complete project structure.
Future Development
ESP32-HDWallet is still evolving.
Potential future improvements include:
- QR-based offline transaction transfer
- Better air-gapped workflows
- Secure element integration
- Signed firmware updates
- Improved transaction verification screens
- Expanded automated testing
- Additional blockchain integrations
- Companion desktop or mobile applications
- Independent security review
Contributions, testing, documentation improvements, and security feedback are welcome.