How to CAD Model a Die With Fusion360
by Anshula1 in Living > Toys & Games
320 Views, 0 Favorites, 0 Comments
How to CAD Model a Die With Fusion360

I made a die by using basic modelling techniques in Fusion 360.
Dublin Jerome High School
Supplies
- Fusion360
- Computer
- Mouse
Sketching the Base

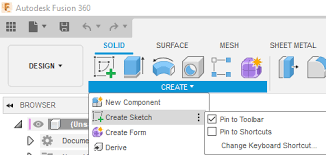
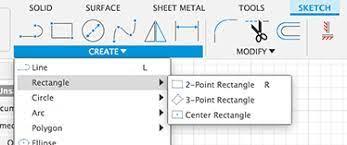

- find 'create new component' in the dropdown menu (upper left hand side)
- click 'create sketch' (upper left hand corner)
- select the 'rectangle' tool (upper left hand corner)
- click on the sketch plane and set the dimensions to '25x25' mm
- click the green 'finish sketch' button in the upper right hand corner
Making the Cube

- select the blue shaded square
- click the 'extrude' button from the menu bar (on top)
- type in 25 mm
- click enter to finish extruding
Rounding the Corners

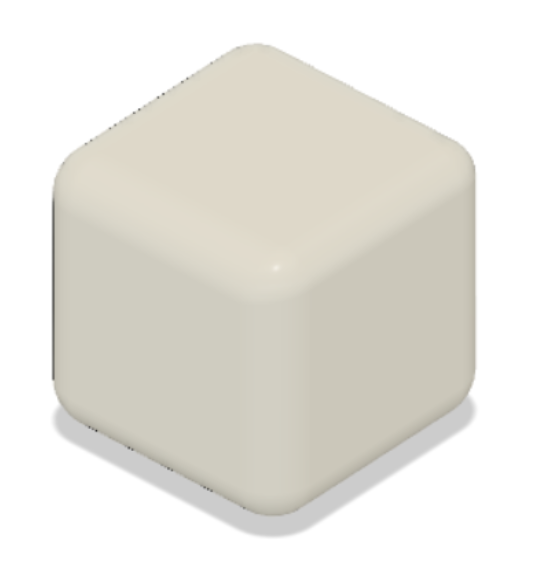
Now we have a cube (25mm x 25mm)
- select the 'fillet' tool from the menu bar
- click the 12 edges and fillet by 3mm
refer to the images above
The Faces of the Die (the Numbers)


- select one of the faces on the cube
- click 'create sketch' (upper left hand side)
- draw lines from corner to corner
- draw lines from center to center (refer to image above)
then,
- click the center circle tool
- align the center of the circle to where you want the dot to be and press
- type in 4mm
- press enter
- continue until you have your desired amount of circles where you want them
(the example is for 5)
Indenting the Dots
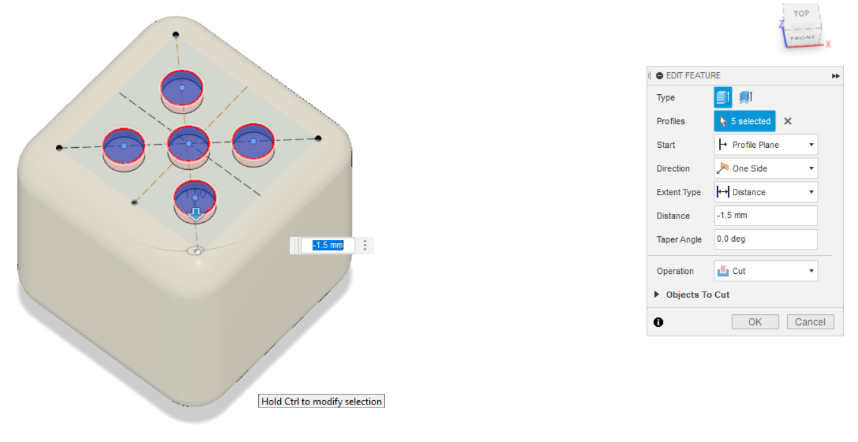
- click extrude from the menu bar
- select all the dots (make sure ONLY the circles are highlighted)
- type -1.5 in the extrude text box
- enter
Finishing Up the Dots
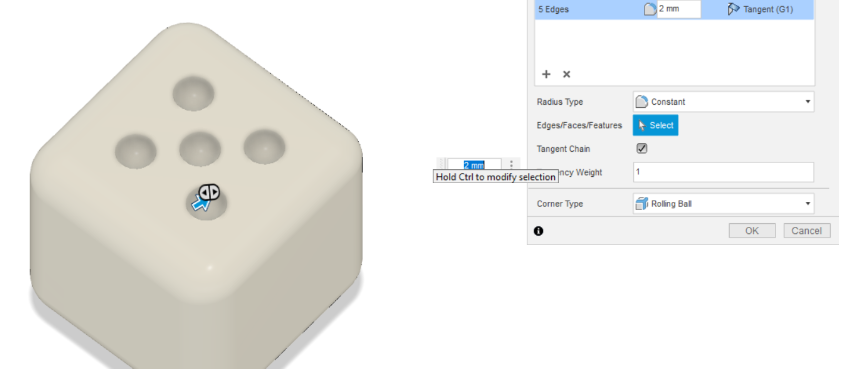
Now that we have a face with dots that are slightly indented, we need to make them curved like the model die
- select the fillet tool from the menu bar
- click the circles, but make sure you have the ones UNDERNEATH the face, like the second layer that was extruded down
- type in 2mm
- enter
Colors

Almost done!
- press the 'a' key on your keyboard
- scroll down on the menu that pops up
- click plastics
- find the colors you want and drag them back up
- now, you can drag the colors onto your die wherever you want them
SAVE!
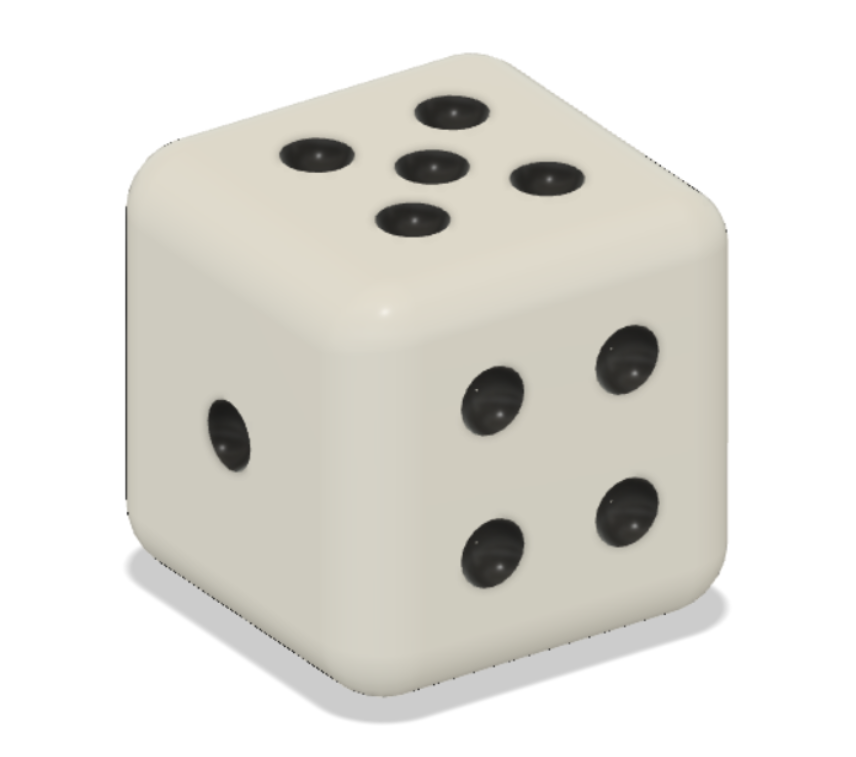

make sure you click the save button so you don't lose all your progress!!!