How to Center a Light Without Any Renovations?
by Aprendiz in Living > Decorating
345 Views, 3 Favorites, 0 Comments
How to Center a Light Without Any Renovations?


The need for an extra room in the house led us to move the desk to the living room.
The lamp above the dining table was no longer centered and we didn’t want to replace it to avoid having to repair and paint the false ceiling.
So, we saw an opportunity to add a touch of color, cheer and charm to the living room with these colorful cranes.
Supplies
- 20 Origami paper
- 1 Lamp cord set (HEMMA from IKEA). https://www.ikea.com/us/en/p/hemma-cord-set-white-50386580
- 1 Needle
- 2 Meter thread
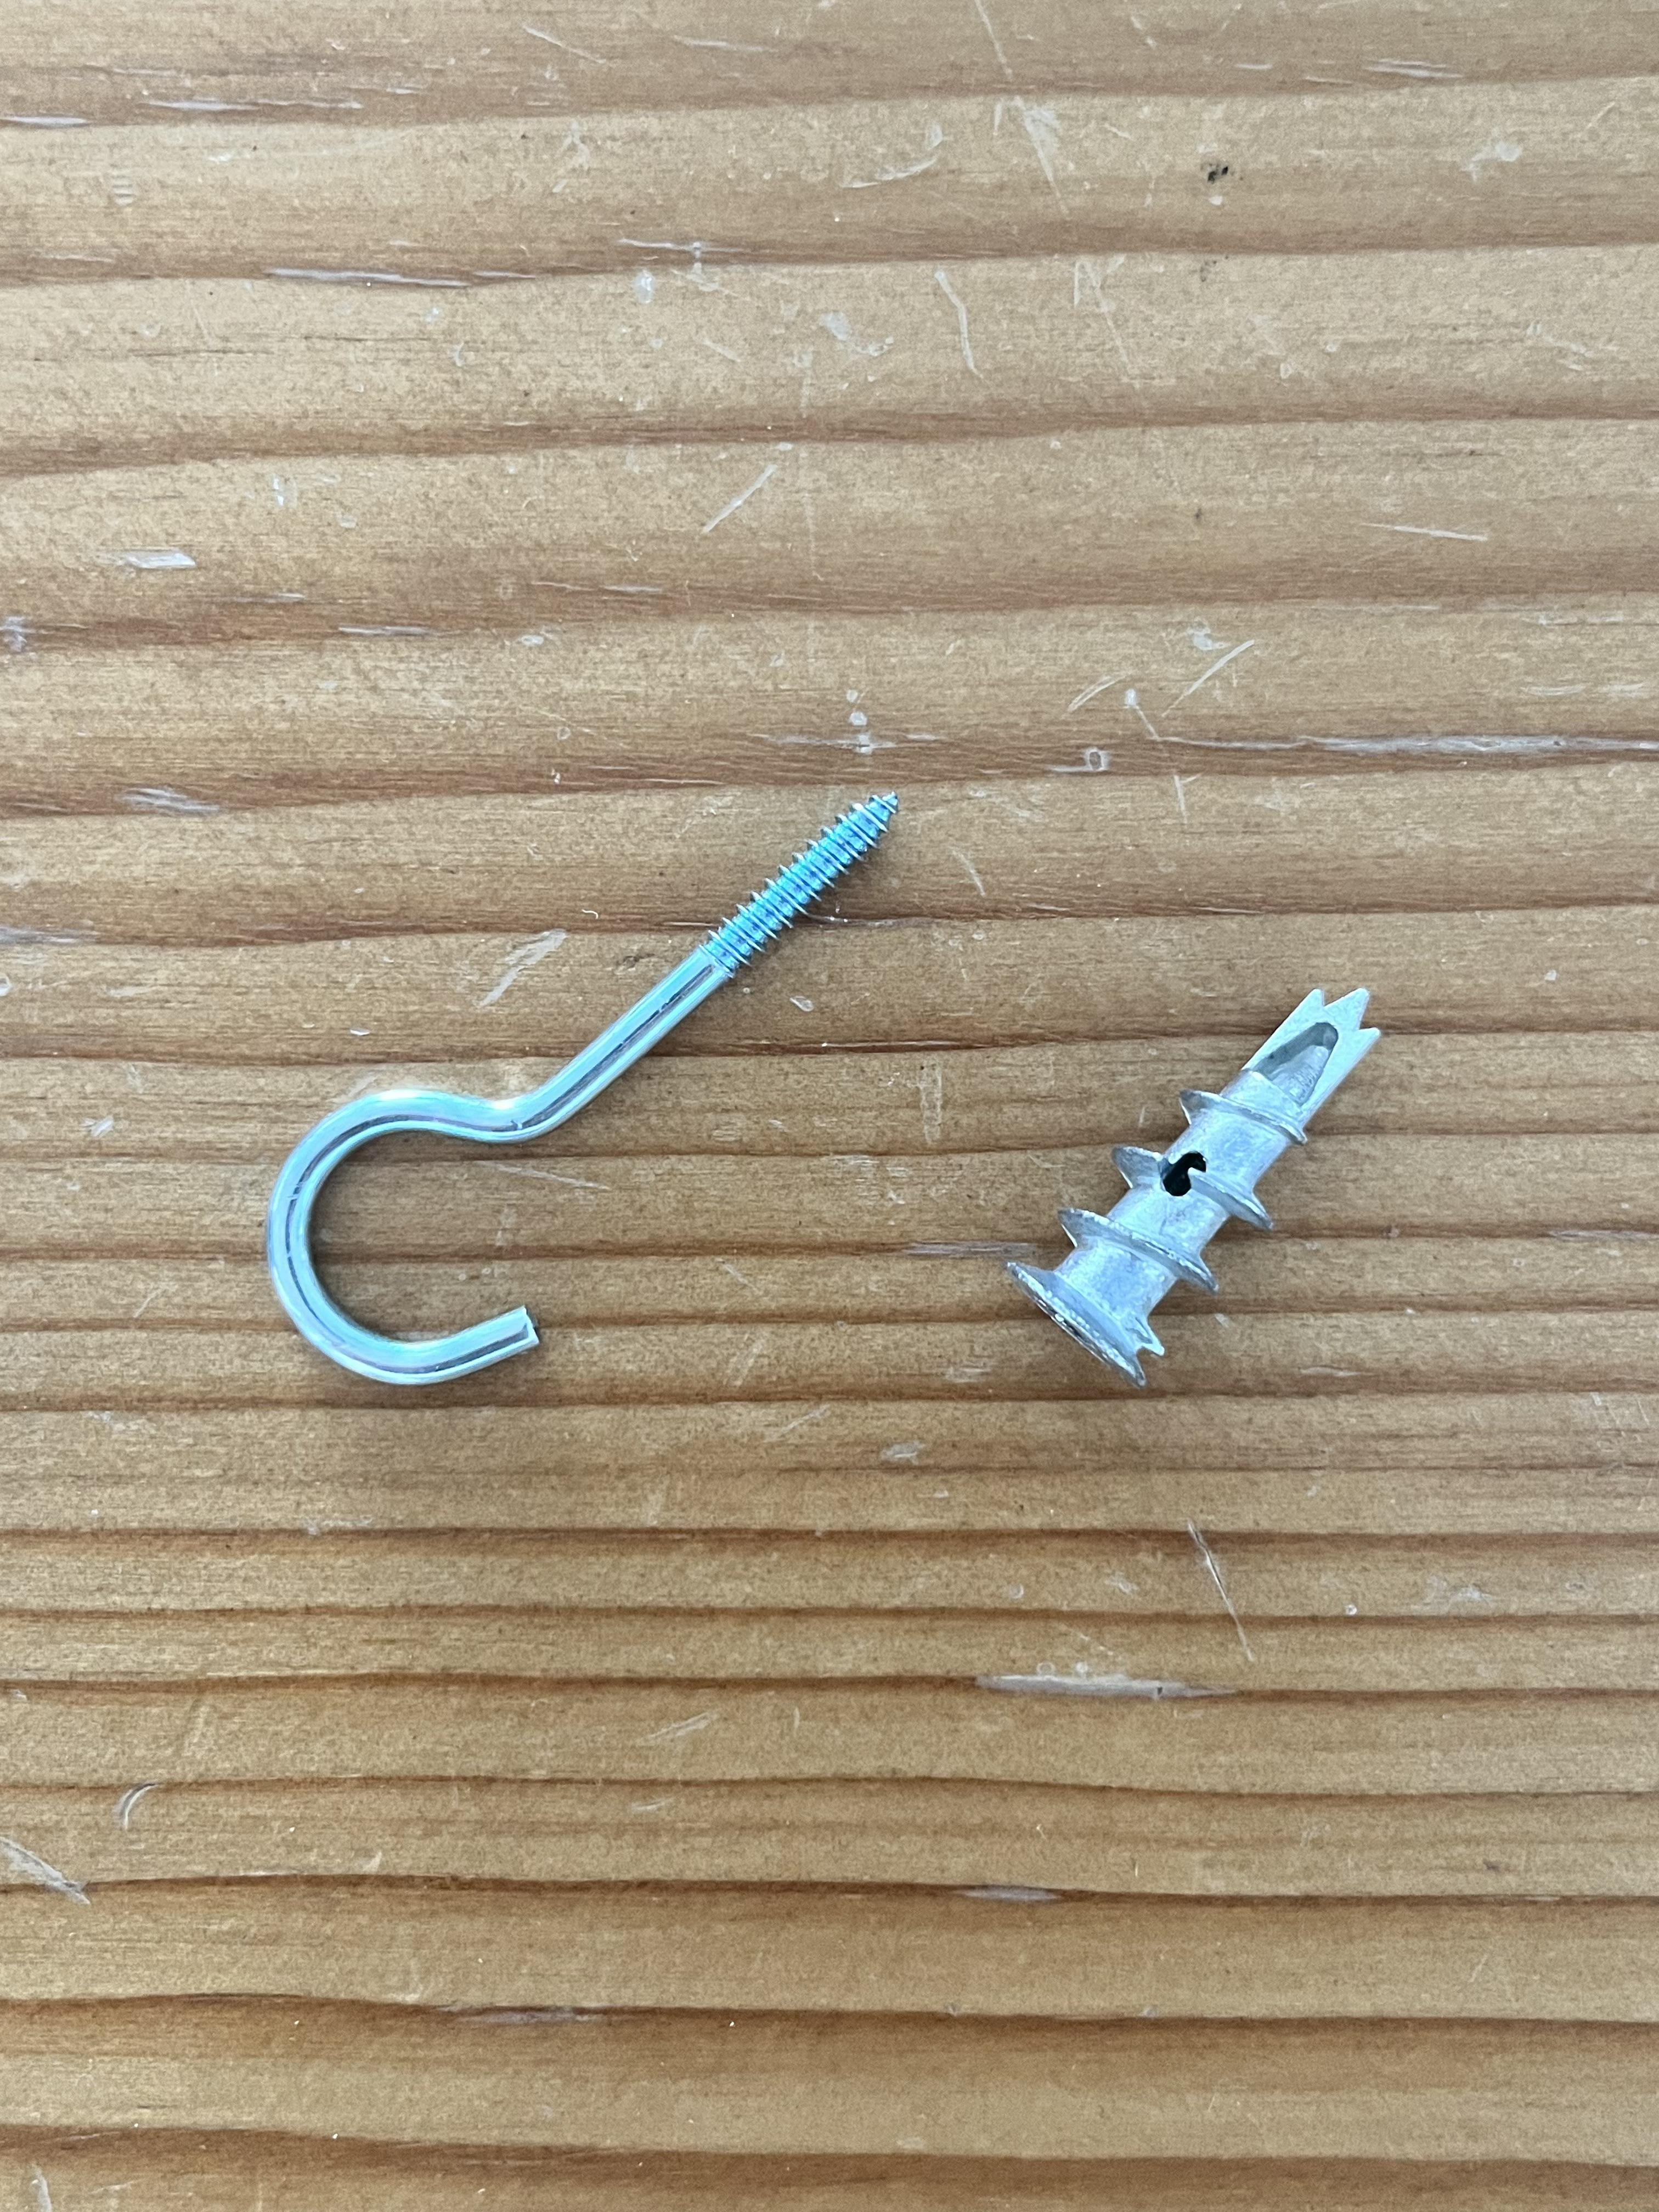
- 1 Open eye bolt
- 1 Self-drilling drywall anchor
- 1 Zip nylon tie, white colour
Remove Old Lamp Cord Set

- Switch off the circuit breakers for the lighting.
- Check with a multimeter that there is no voltage at the lamp terminals.
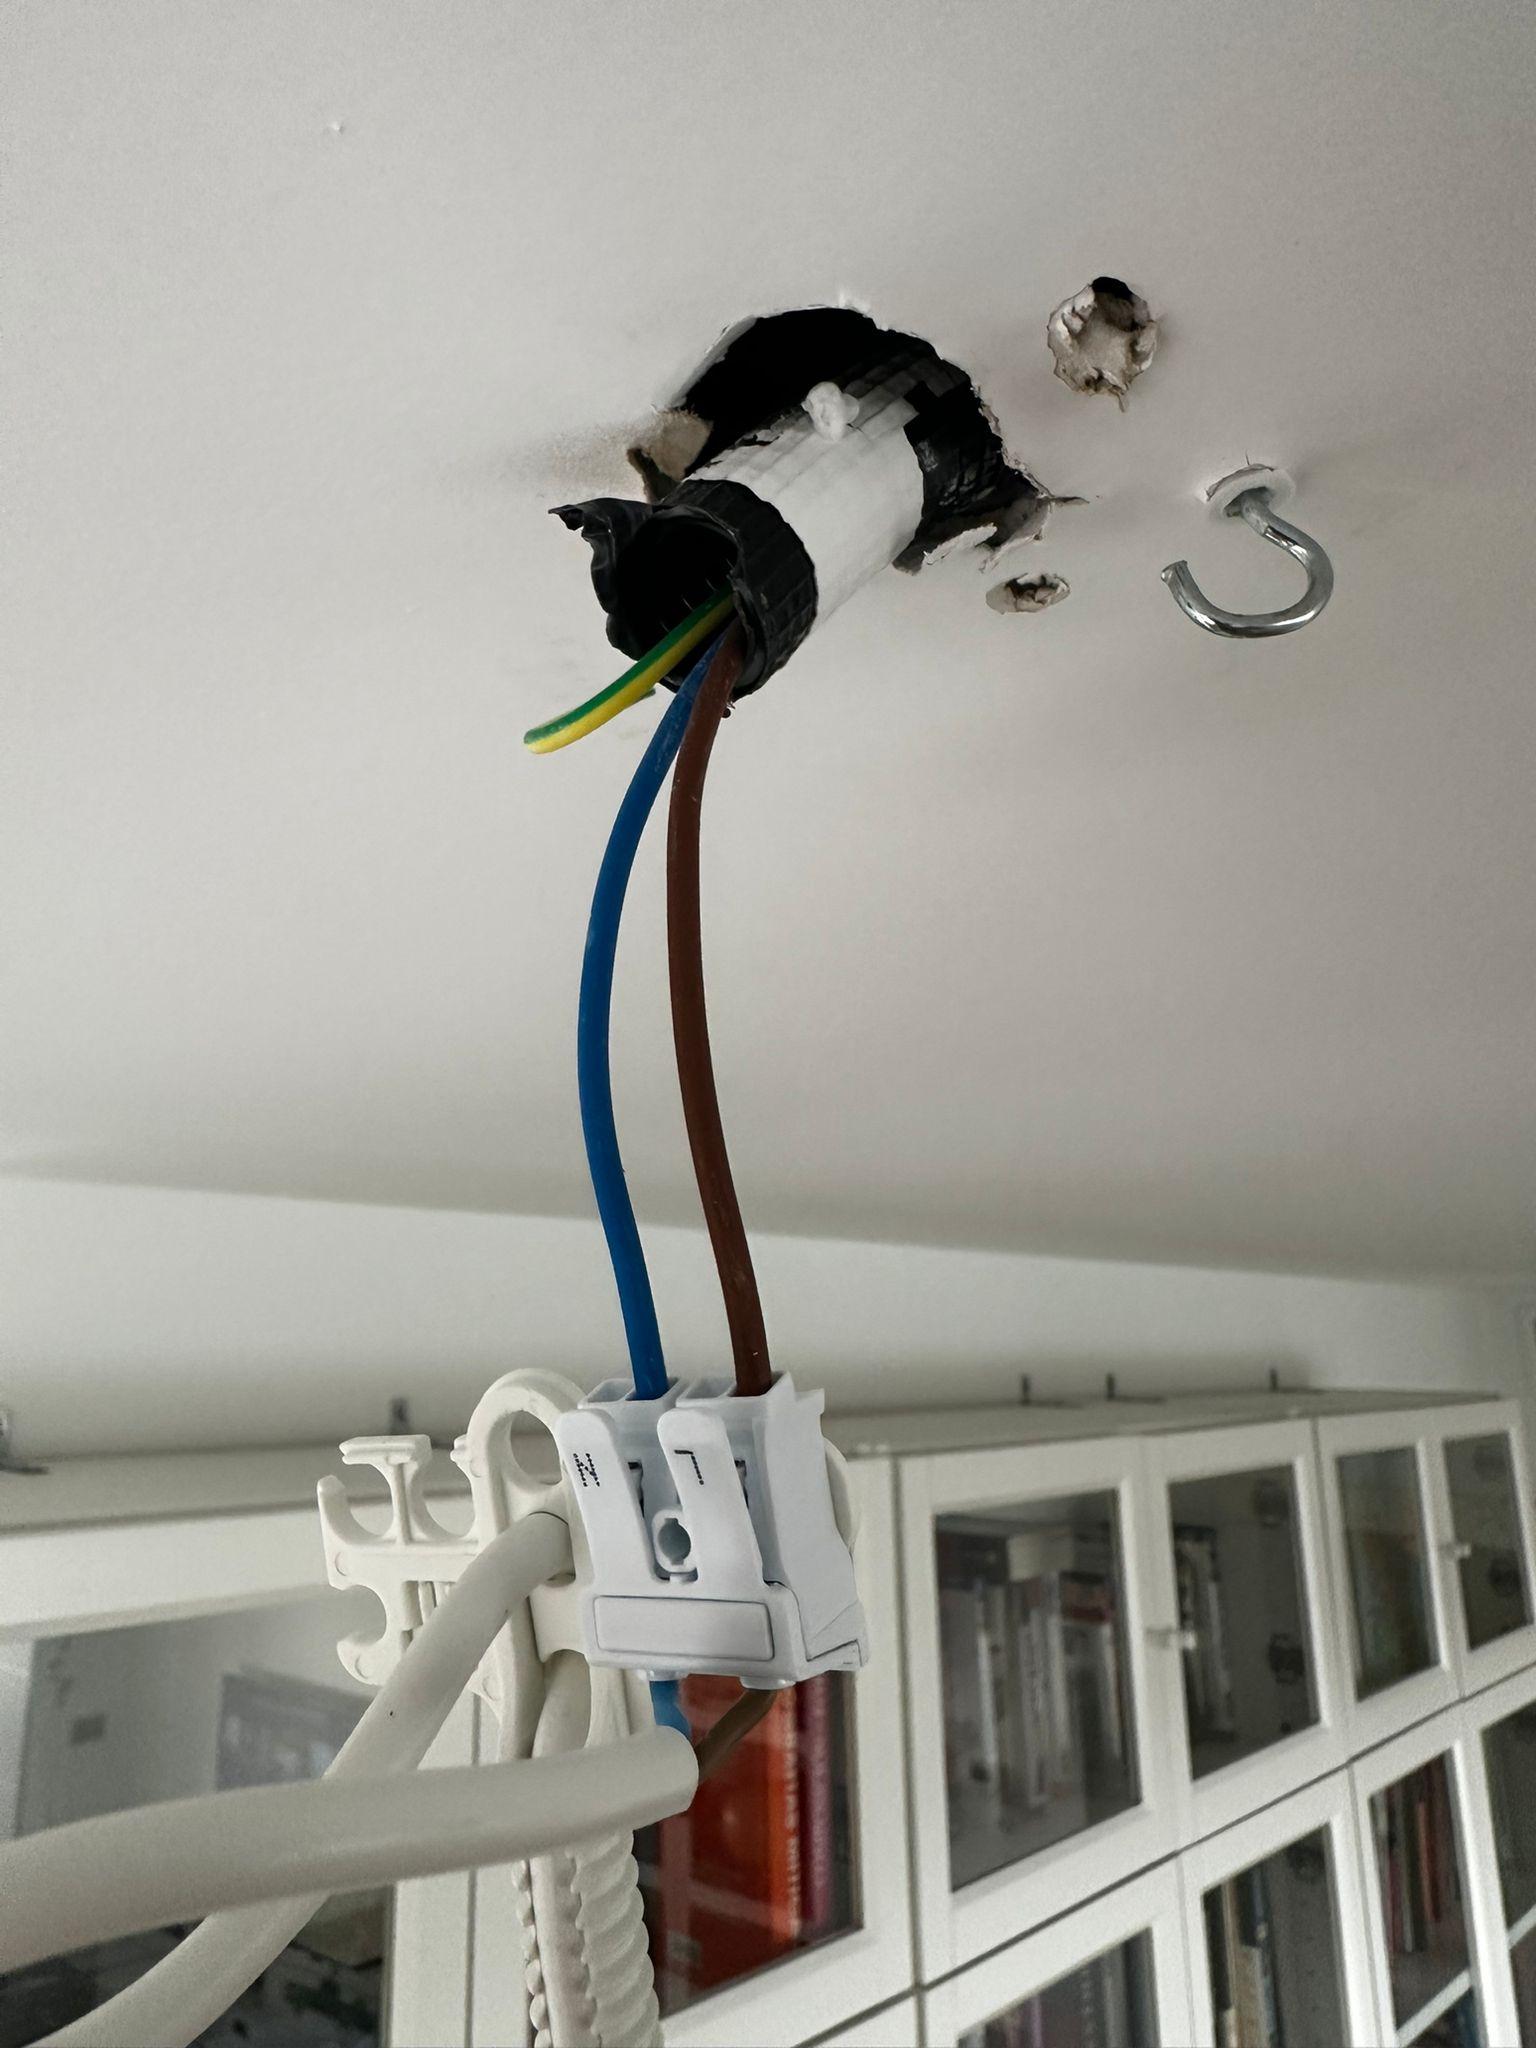
- Remove the old lamp cord set, taking care not to damage the ceiling attachment.
Preparing the New Lamp Position
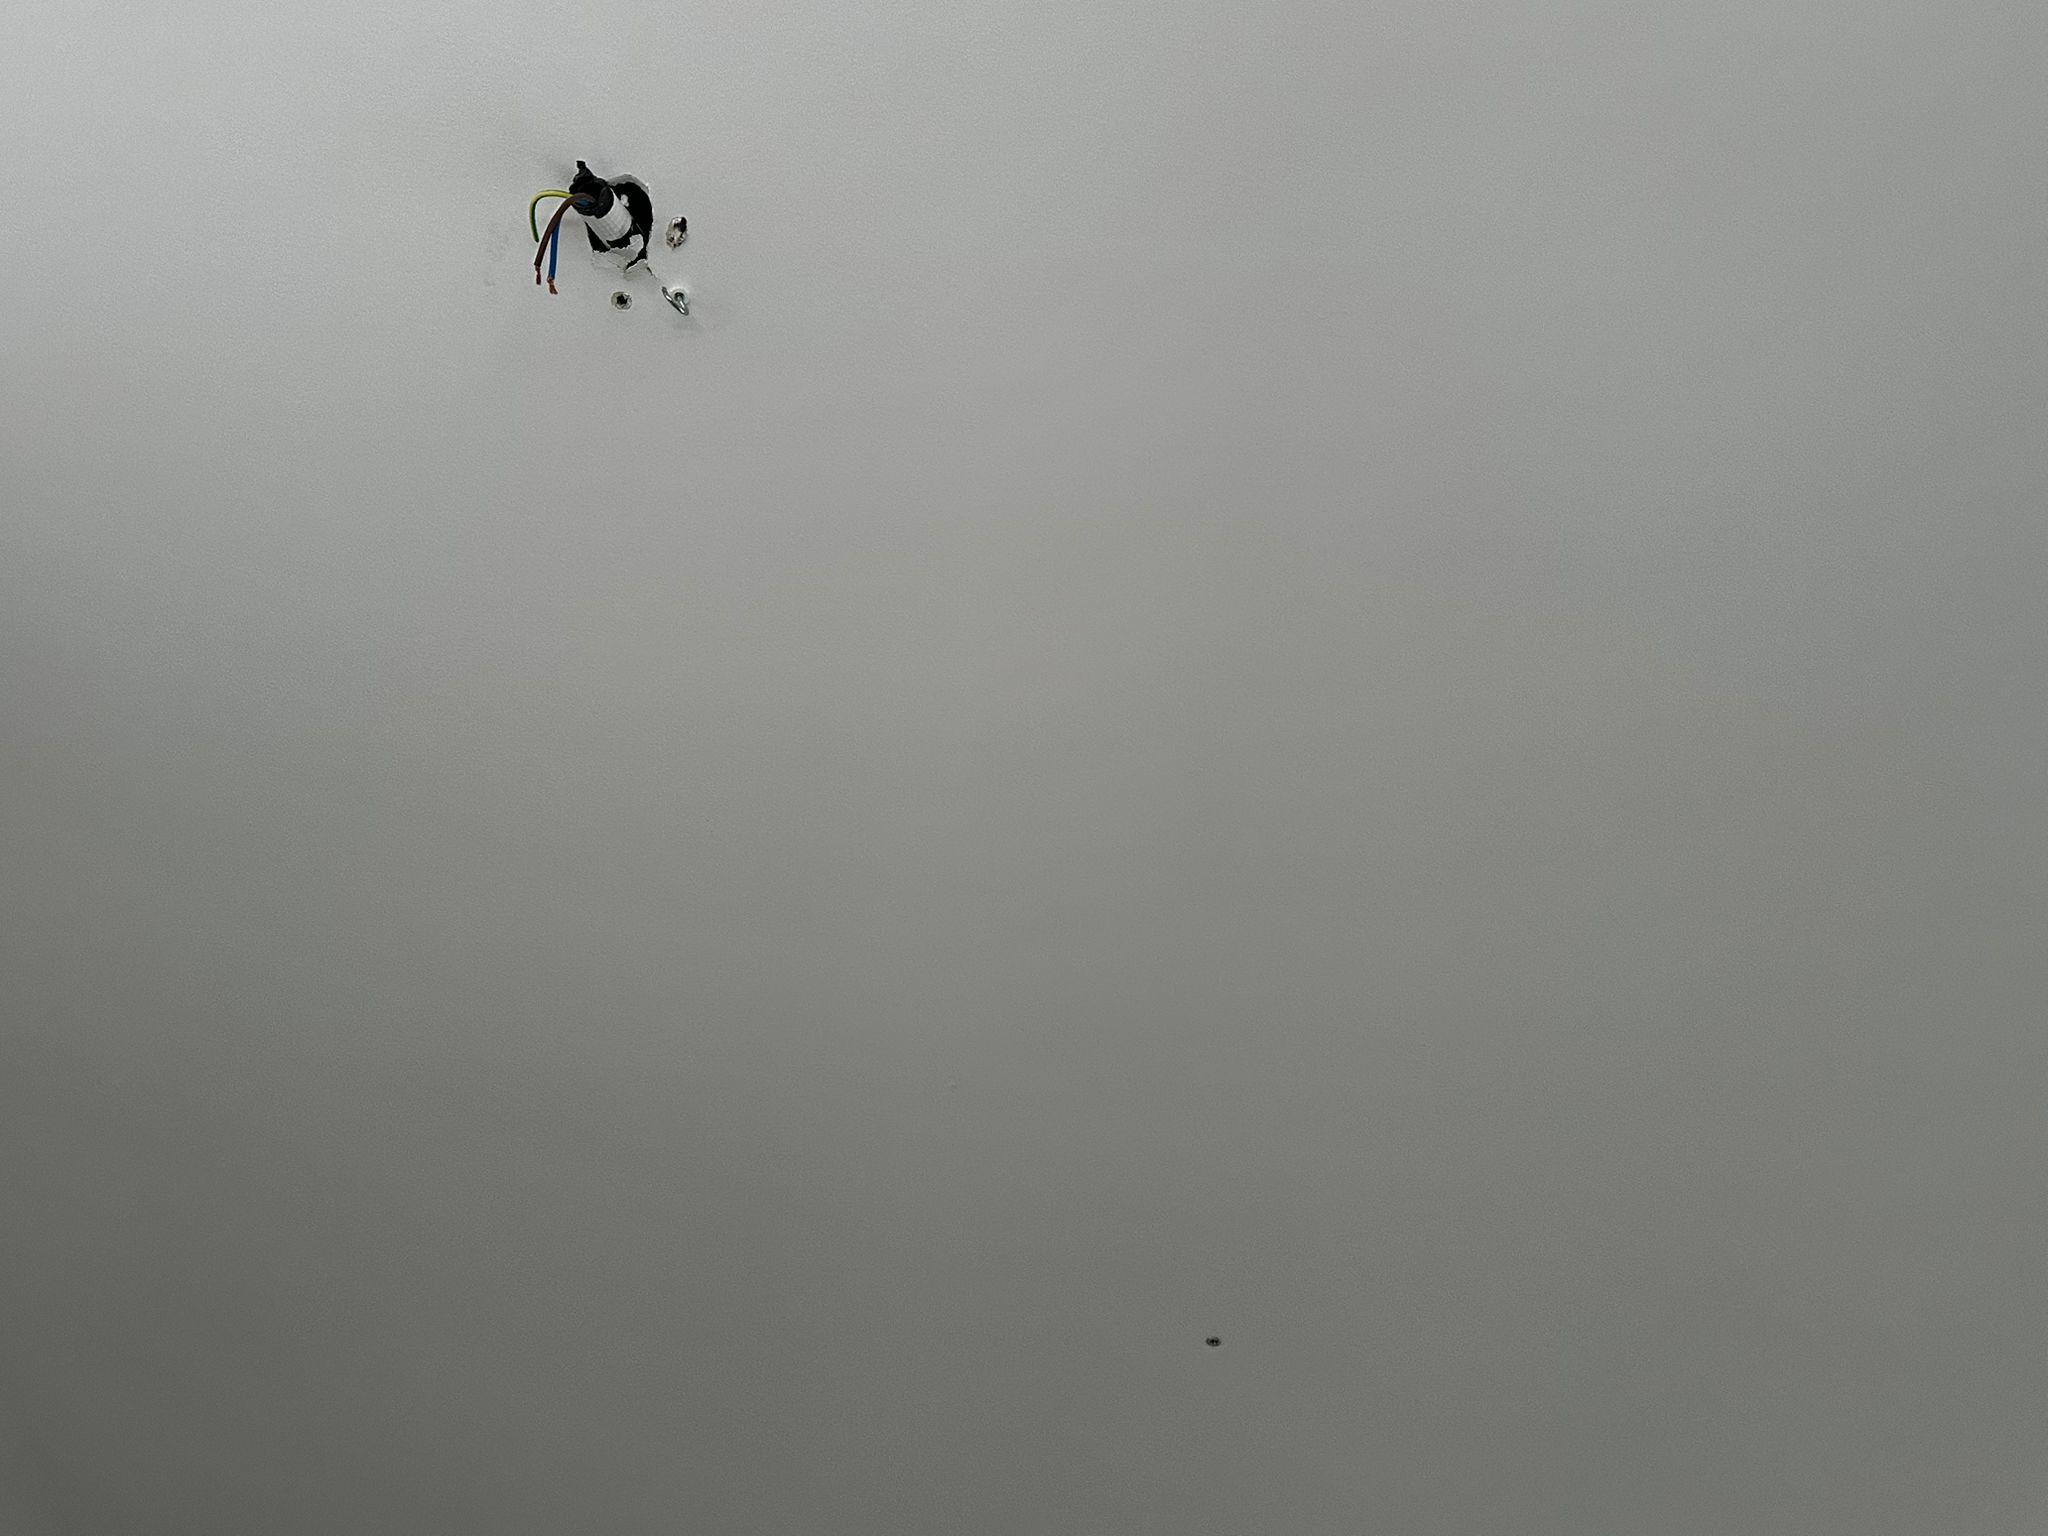
- Mark with a pencil on the false ceiling where you want to position the lamp.
- Using a screwdriver, insert the self-drilling drywall anchor into the drywall.
- Insert the openeye bolt.
Placing the New Cord Set


- Hang the new cord set from the old open eye bolt.
- Connect the existing electrical terminals (neutral and live) to the terminal block included with the cord set.
- Hold the plastic cup against the ceiling while screwing in the plastic screw with your other hand.
- Secure the other end of the cord set to the new open eye bolt with a zip tie, as shown in the picture.
Add Paper Cranes of Different Sizes and Colors


- Make origami cranes of different sizes and colors using an origami book or a video, for example: https://www.google.com/url?sa=t&source=web&rct=j&opi=89978449&url=https://www.youtube.com/watch%3Fv%3DKfnyopxdJXQ%26pp%3D0gcJCfwAo7VqN5tD&ved=2ahUKEwjyjb-v37ePAxUjTaQEHex2Fx4QtwJ6BAgYEAI&usg=AOvVaw177GjCosco55aX0zzoJGcK
- Attach a thin thread to each crane using a needle as shown in the picture. This thin thread will be used to hang them from the thick thread.
- Attach the cranes to the thick thread like you prefer.
- Enjoy your new coloured living room!! :)