How to Change a Headlight on a Toyota 4Runner
by thegraceyoung in Workshop > Cars
375 Views, 0 Favorites, 0 Comments
How to Change a Headlight on a Toyota 4Runner

Many vehicle owners experience a burned-out headlight at some point, yet they may not know how to replace it properly. This problem can reduce visibility while driving and increase the risk of accidents, especially at night or during poor weather conditions. In addition, driving with a faulty headlight may result in traffic citations and costly repairs if the issue is ignored. Replacing a headlight can seem intimidating for beginners, but with proper instructions and preparation, it can be completed safely and efficiently. A way to address this problem is to provide vehicle owners with a clear, instruction based manual that explains how to replace a headlight.
Replacing the high beam headlight bulb on a 2014 Toyota 4Runner is a quick maintenance task that improves nighttime visibility and overall driving safety. By following these steps and using the correct 9005 (HB3) replacement bulb, you can restore your high beams in about 10-20 minutes without the need for special tools.
Materials
Replacement 9005 (HB3) high beam headlight bulb
Nitrile or latex gloves
Clean microfiber cloth
Flashlight (optional)
Safety glasses (optional)
Vehicle owner’s manual (optional)
Supplies
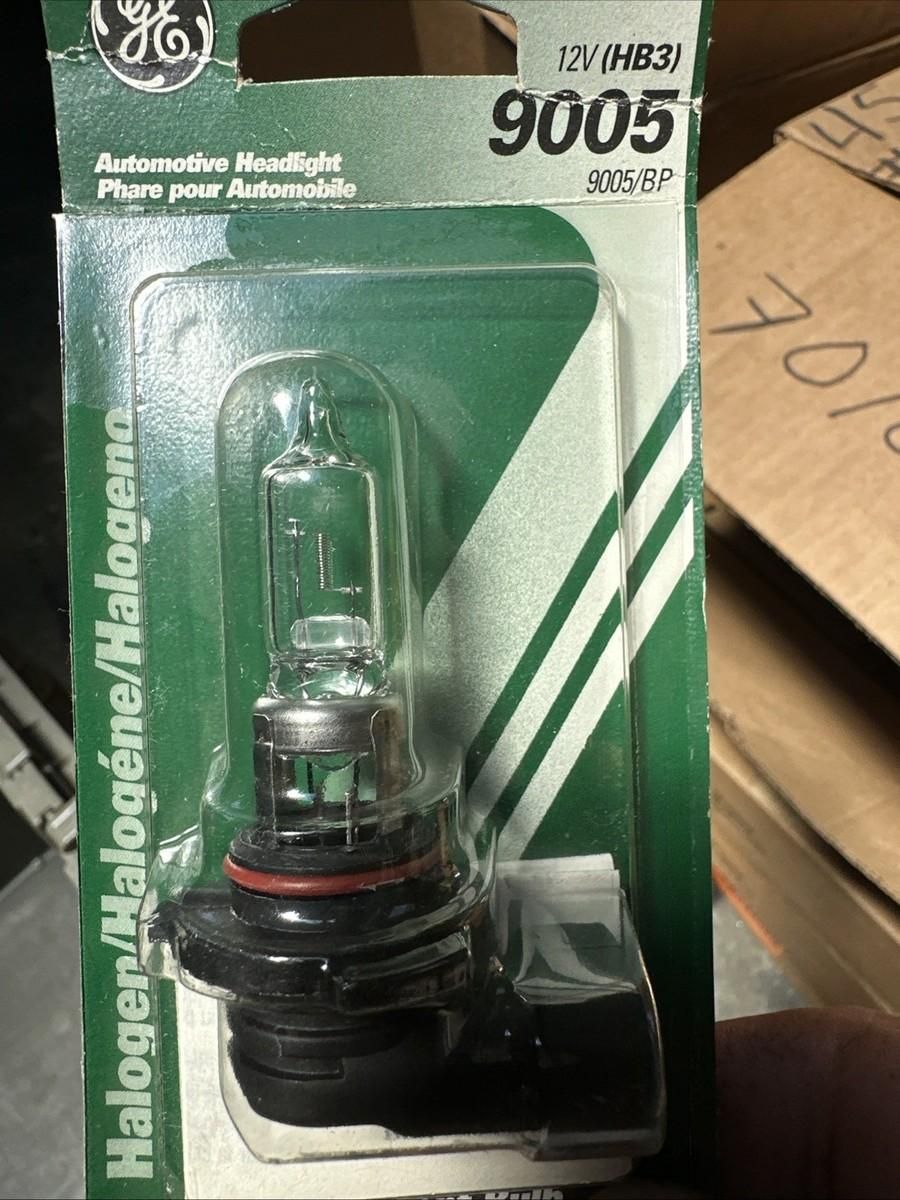

Before you begin, gather all the necessary materials to make the headlight replacement process easier and safer.
Before replacing the headlight bulb on a Toyota 4Runner, gather the following materials:
Replacement headlight bulb: The 2014 Toyota 4Runner typically uses an H11 halogen bulb for the low beam and a 9005 (HB3) halogen bulb for the high beam. Verify which bulb you need by checking your owner’s manual or inspecting the current bulb before purchasing.
Safety glasses (optional): Protect your eyes from dust and debris while working under the hood.
Clean microfiber cloth: If you accidentally touch the glass of the new bulb, wipe it clean with the cloth before installation.
Flashlight (optional): Provides better visibility when locating and replacing the bulb inside the engine compartment.
Owner’s manual (optional): Helpful for confirming the bulb type and locating the headlight components.
No special tools are required to replace the headlight bulb on most Toyota 4Runner models, as the bulb can usually be accessed by hand from behind the headlight assembly.
Estimated Time: 10–20 minutes
Difficulty Level: Beginner
Gather Your Supplies
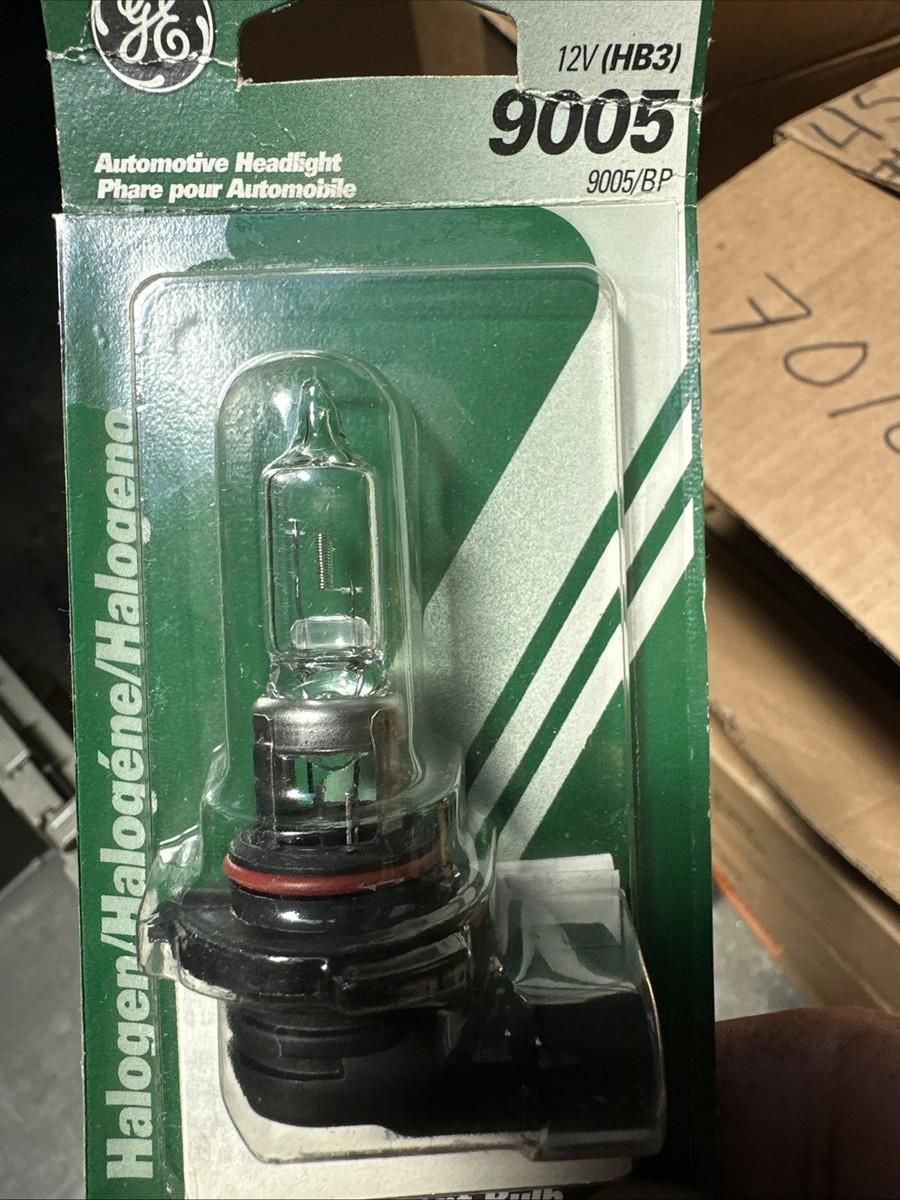
Collect all necessary materials before beginning the replacement. Verified that the replacement bulb is a 9005 (HB3) bulb and inspected for any damage before install installation.
Park the Vehicle Safely

Park the Toyota 4Runner on a level surface, place the transmission in park, turn off the engine, engaged, the parking brake, and remove the keys. Allow the engine to go before working under the hood.
Open the Hood
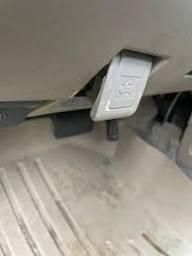
Pull the hood release lever inside the vehicle. Go to the front of the 4Runner, release the secondary hood latch, and lift the hood. Secure it with the hood support if needed.
Locate the High Beam Bulb
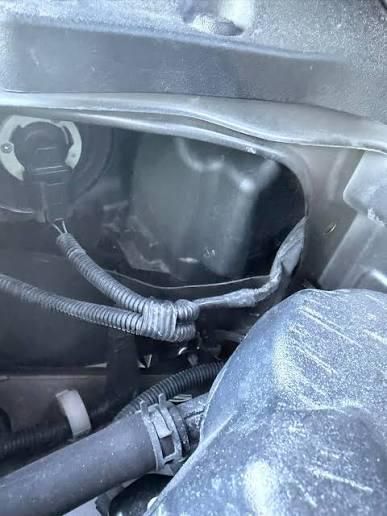
Stand behind the headlight assembly that connects the burned out high beam. The high beam bulb is the inner bulb closest to the grill on the back of the headlight assembly.
Disconnect the Electrical Connector
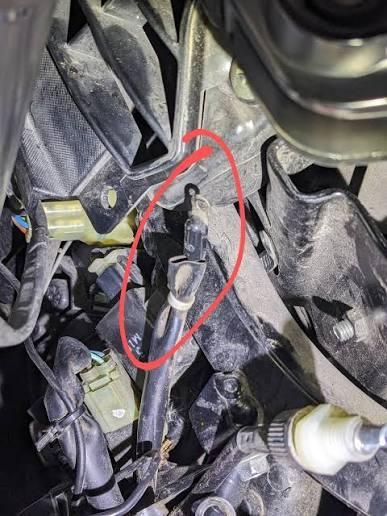
Press the locking tab on the electrical connector and carefully pull it straight off the back of the bulb. Avoid pulling on wires to prevent damage.
Remove the Old High Beam Bulb
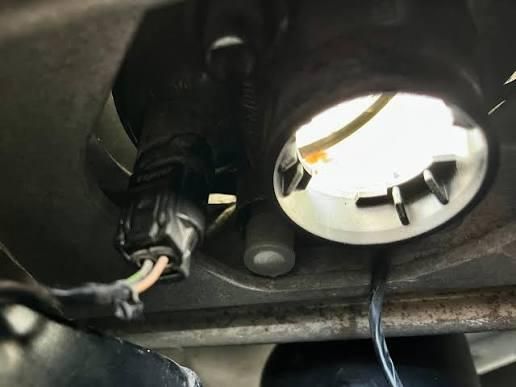
Hold the base of the bulb and rotate it counterclockwise about 1/4 turn. Pull the bulb straight off the headlight housing.
Install the New High Beam Bulb
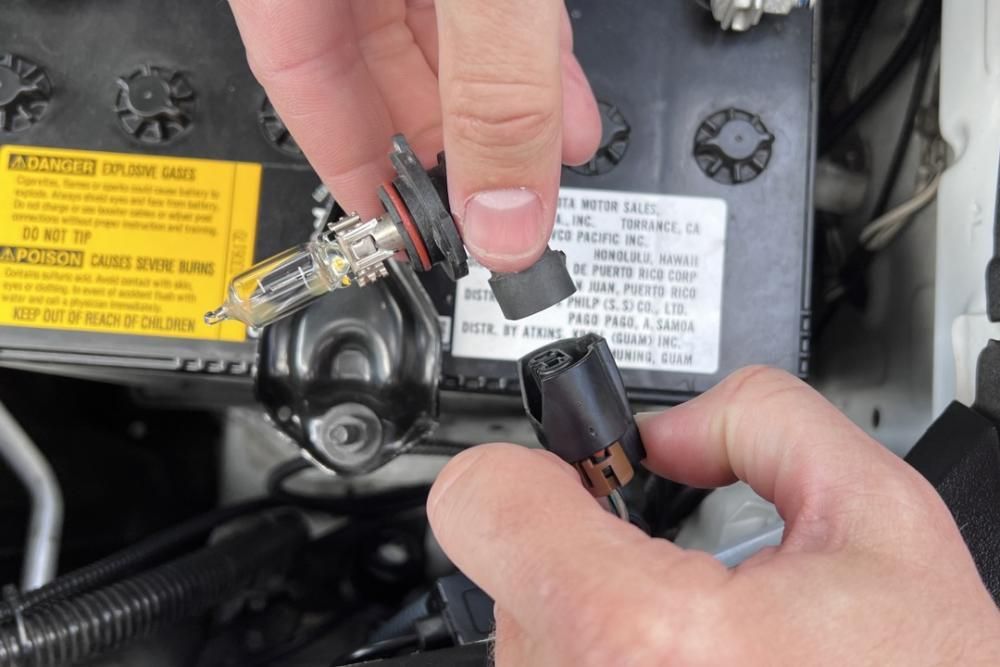
While wearing gloves, insert the new 9005 (HB3) bulb into the housing. Align the tabs with the slots and rotate the bulb clockwise until it locks securely into place. Do not touch the glass portion of the bulb.
Reconnect Electrical Connector
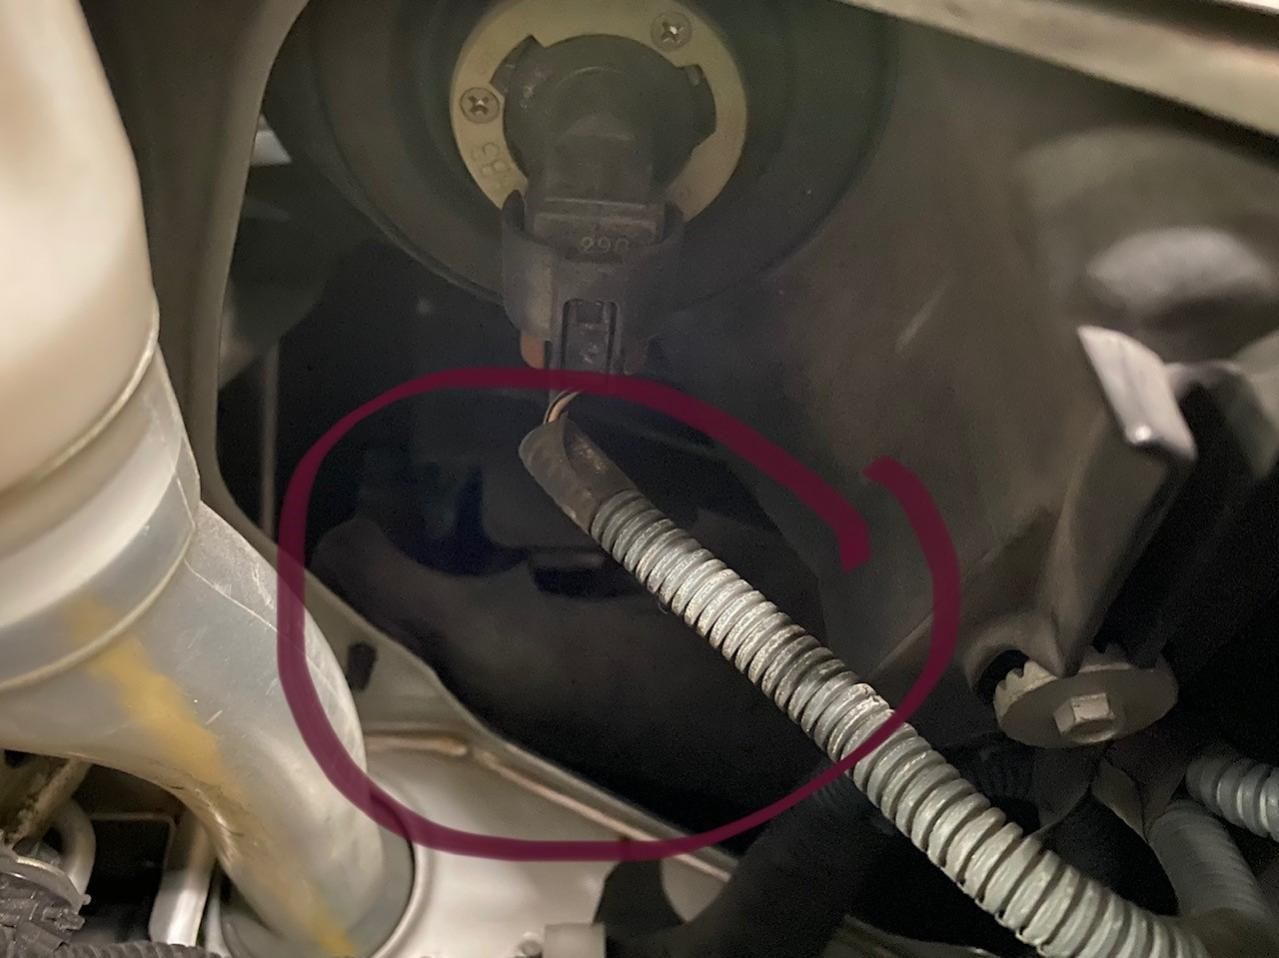
Push the wiring connector onto the back of the new bulb until it clicks in the place. Gently tug on the connector to ensure it is secure.
Test the High Beams

Start the vehicle or turn the ignition on to the accessory position. Turn on the high beams and activate the high beam to confirm the new bulb is working correctly.
Close the Hood

Lower the hood carefully and press down until it latches securely. Clean up your tools and probably dispose of the old bulb if required.