How to Change a Trucks Cabin Air Filter
95 Views, 0 Favorites, 0 Comments
How to Change a Trucks Cabin Air Filter
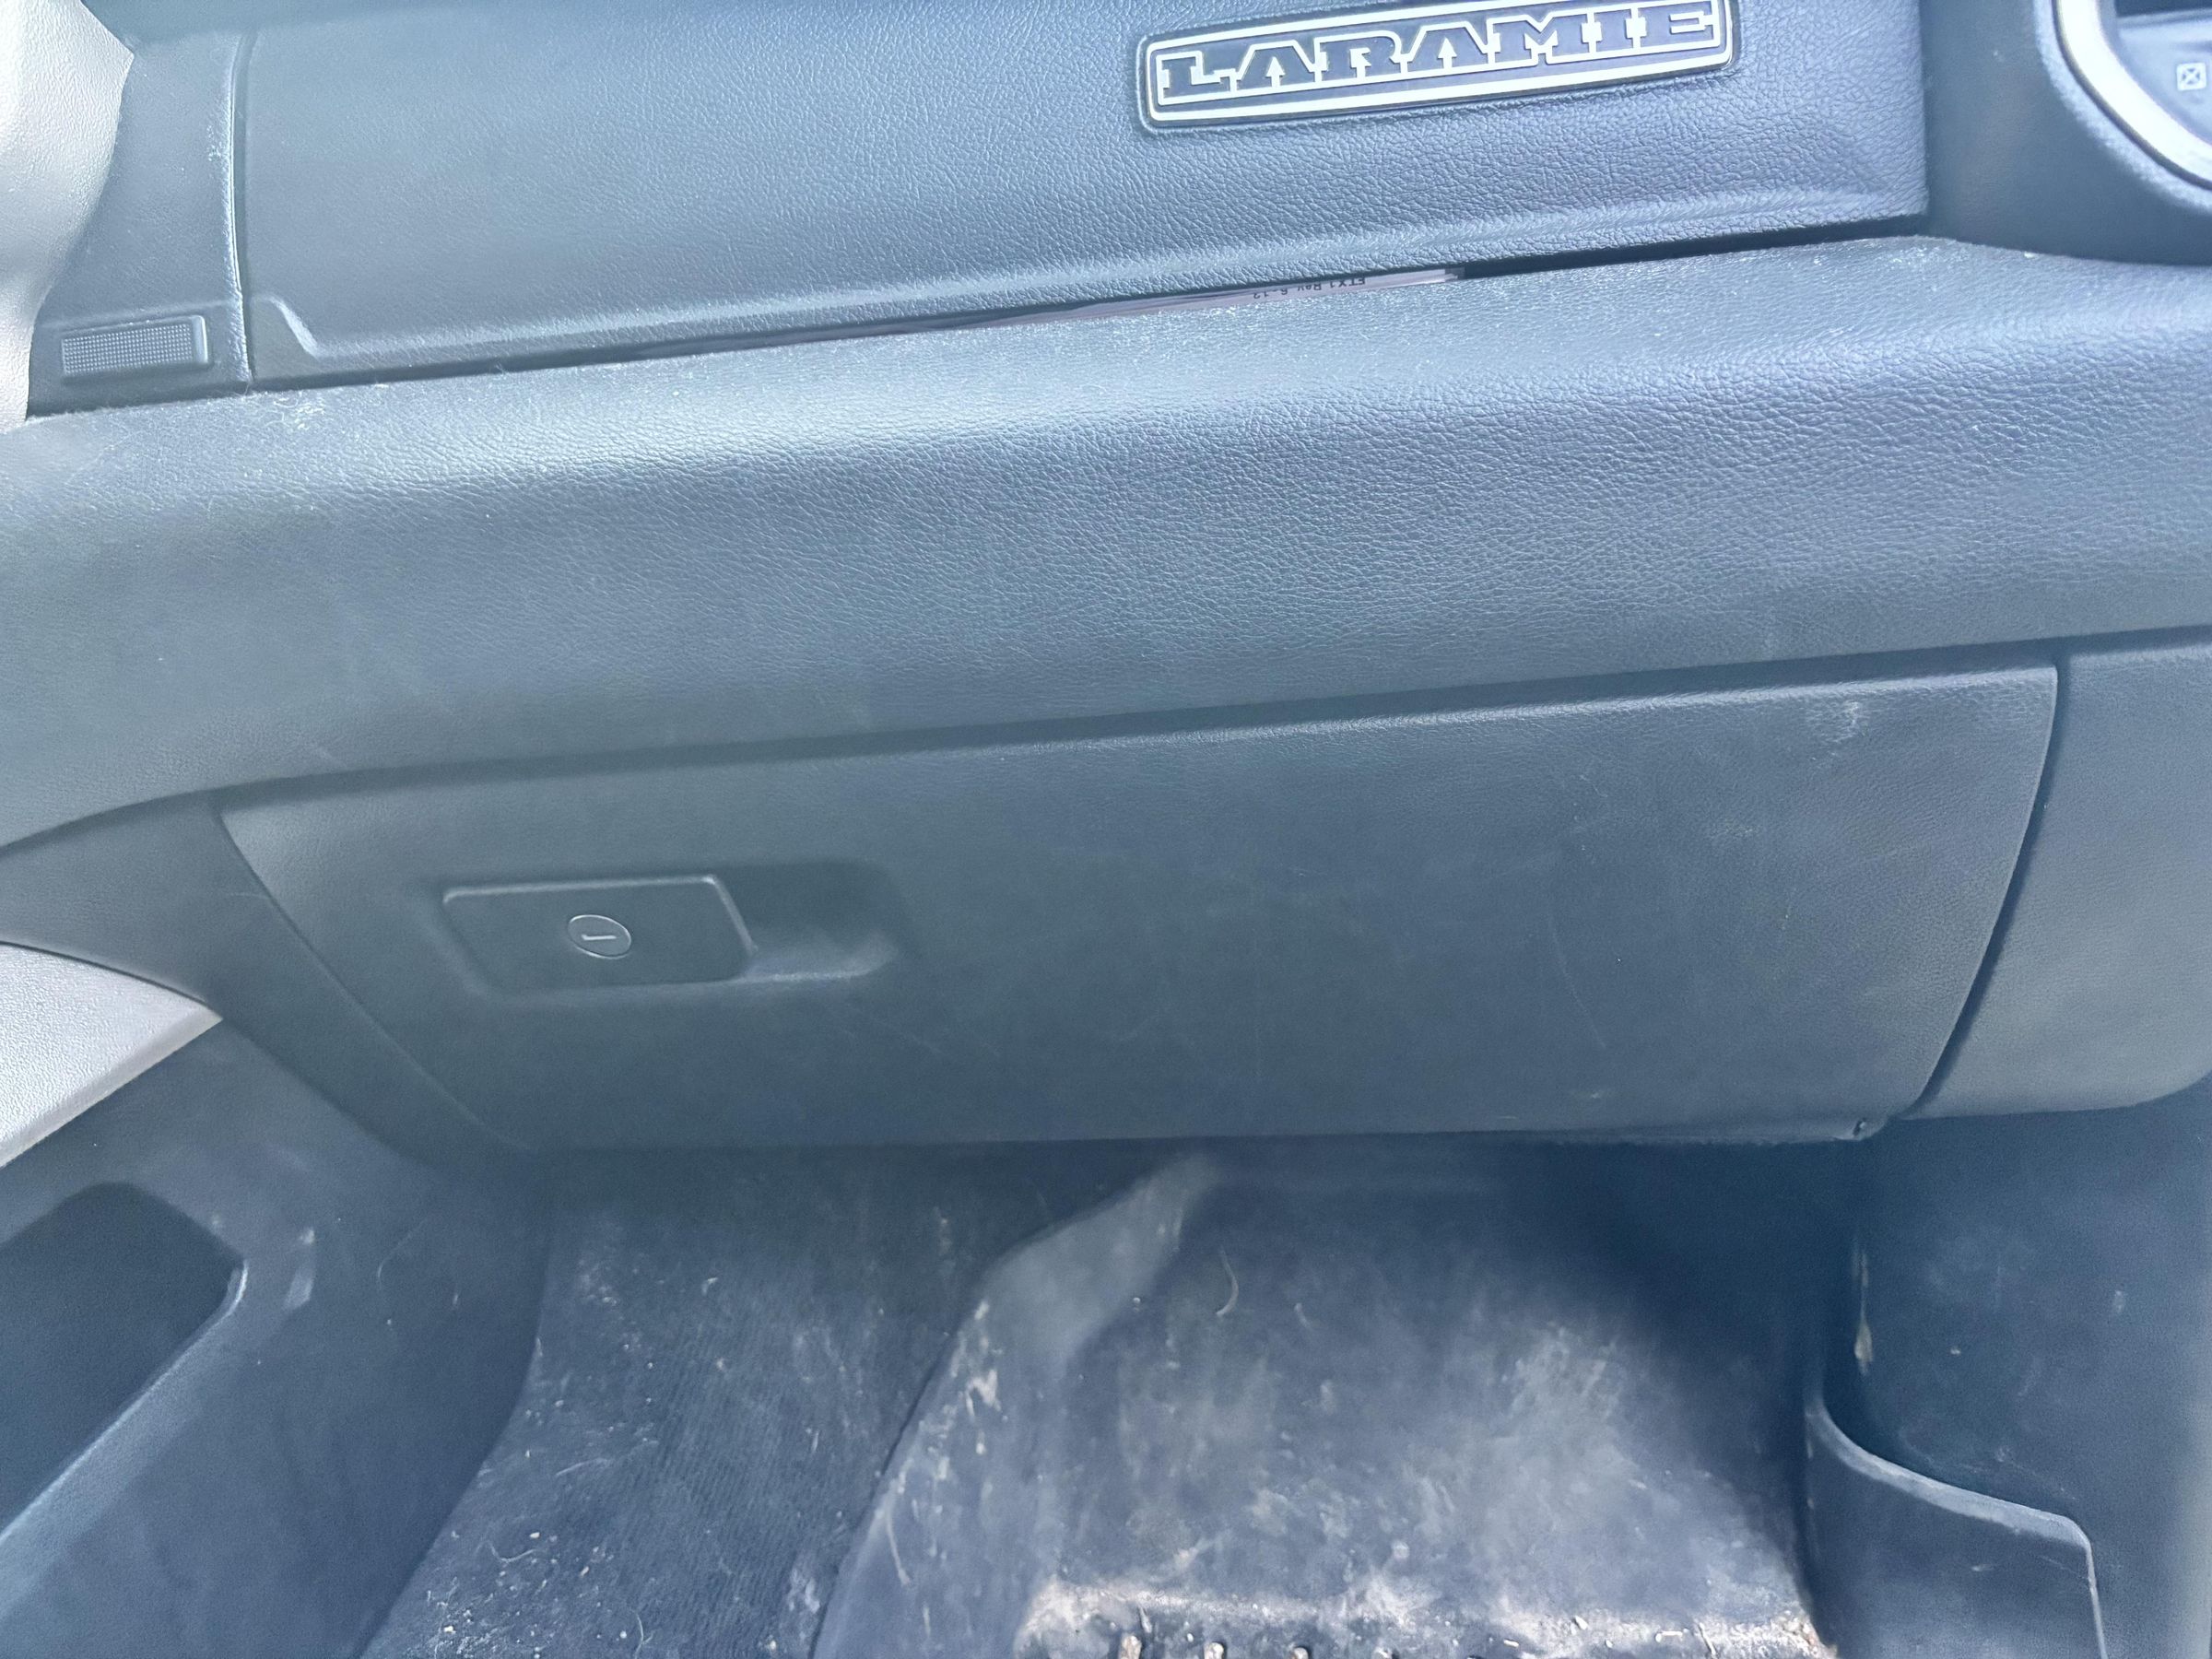
If your truck’s AC is smelling a little musty or blowing with the enthusiasm of a tired sigh, there is a very high probability your cabin air filter is choked with dust, pollen, and road debris. The cabin air filter is your HVAC system's gatekeeper, screening out the junk before it reaches your vents. While dealerships often treat replacing this filter like a major mechanical operation—charging anywhere from $50 to $100 for the privilege—it is actually one of the easiest DIY maintenance tasks you can perform. In most trucks, the filter is tucked right behind the glovebox and requires zero specialized tools to access. Spending five minutes swapping it out yourself will not only save you a chunk of cash, but it will also instantly improve your truck's airflow and ensure you are breathing clean air on your next drive. Here is exactly how to get it done.
Supplies
Fortunately, this project requires a very minimal gear list, and you likely won’t even need to open your main toolbox. The star of the show is a brand-new replacement cabin air filter specific to your truck's make, model, and year. For the actual replacement, most modern trucks feature a completely tool-free, snap-fit filter cover. Finally, because these filters do their job by trapping years of road grime, dust, and outdoor debris, keeping a vacuum cleaner with a hose attachment on standby will let you quickly clean out the empty housing slot before sliding the fresh filter into place.
Clear the Workspace
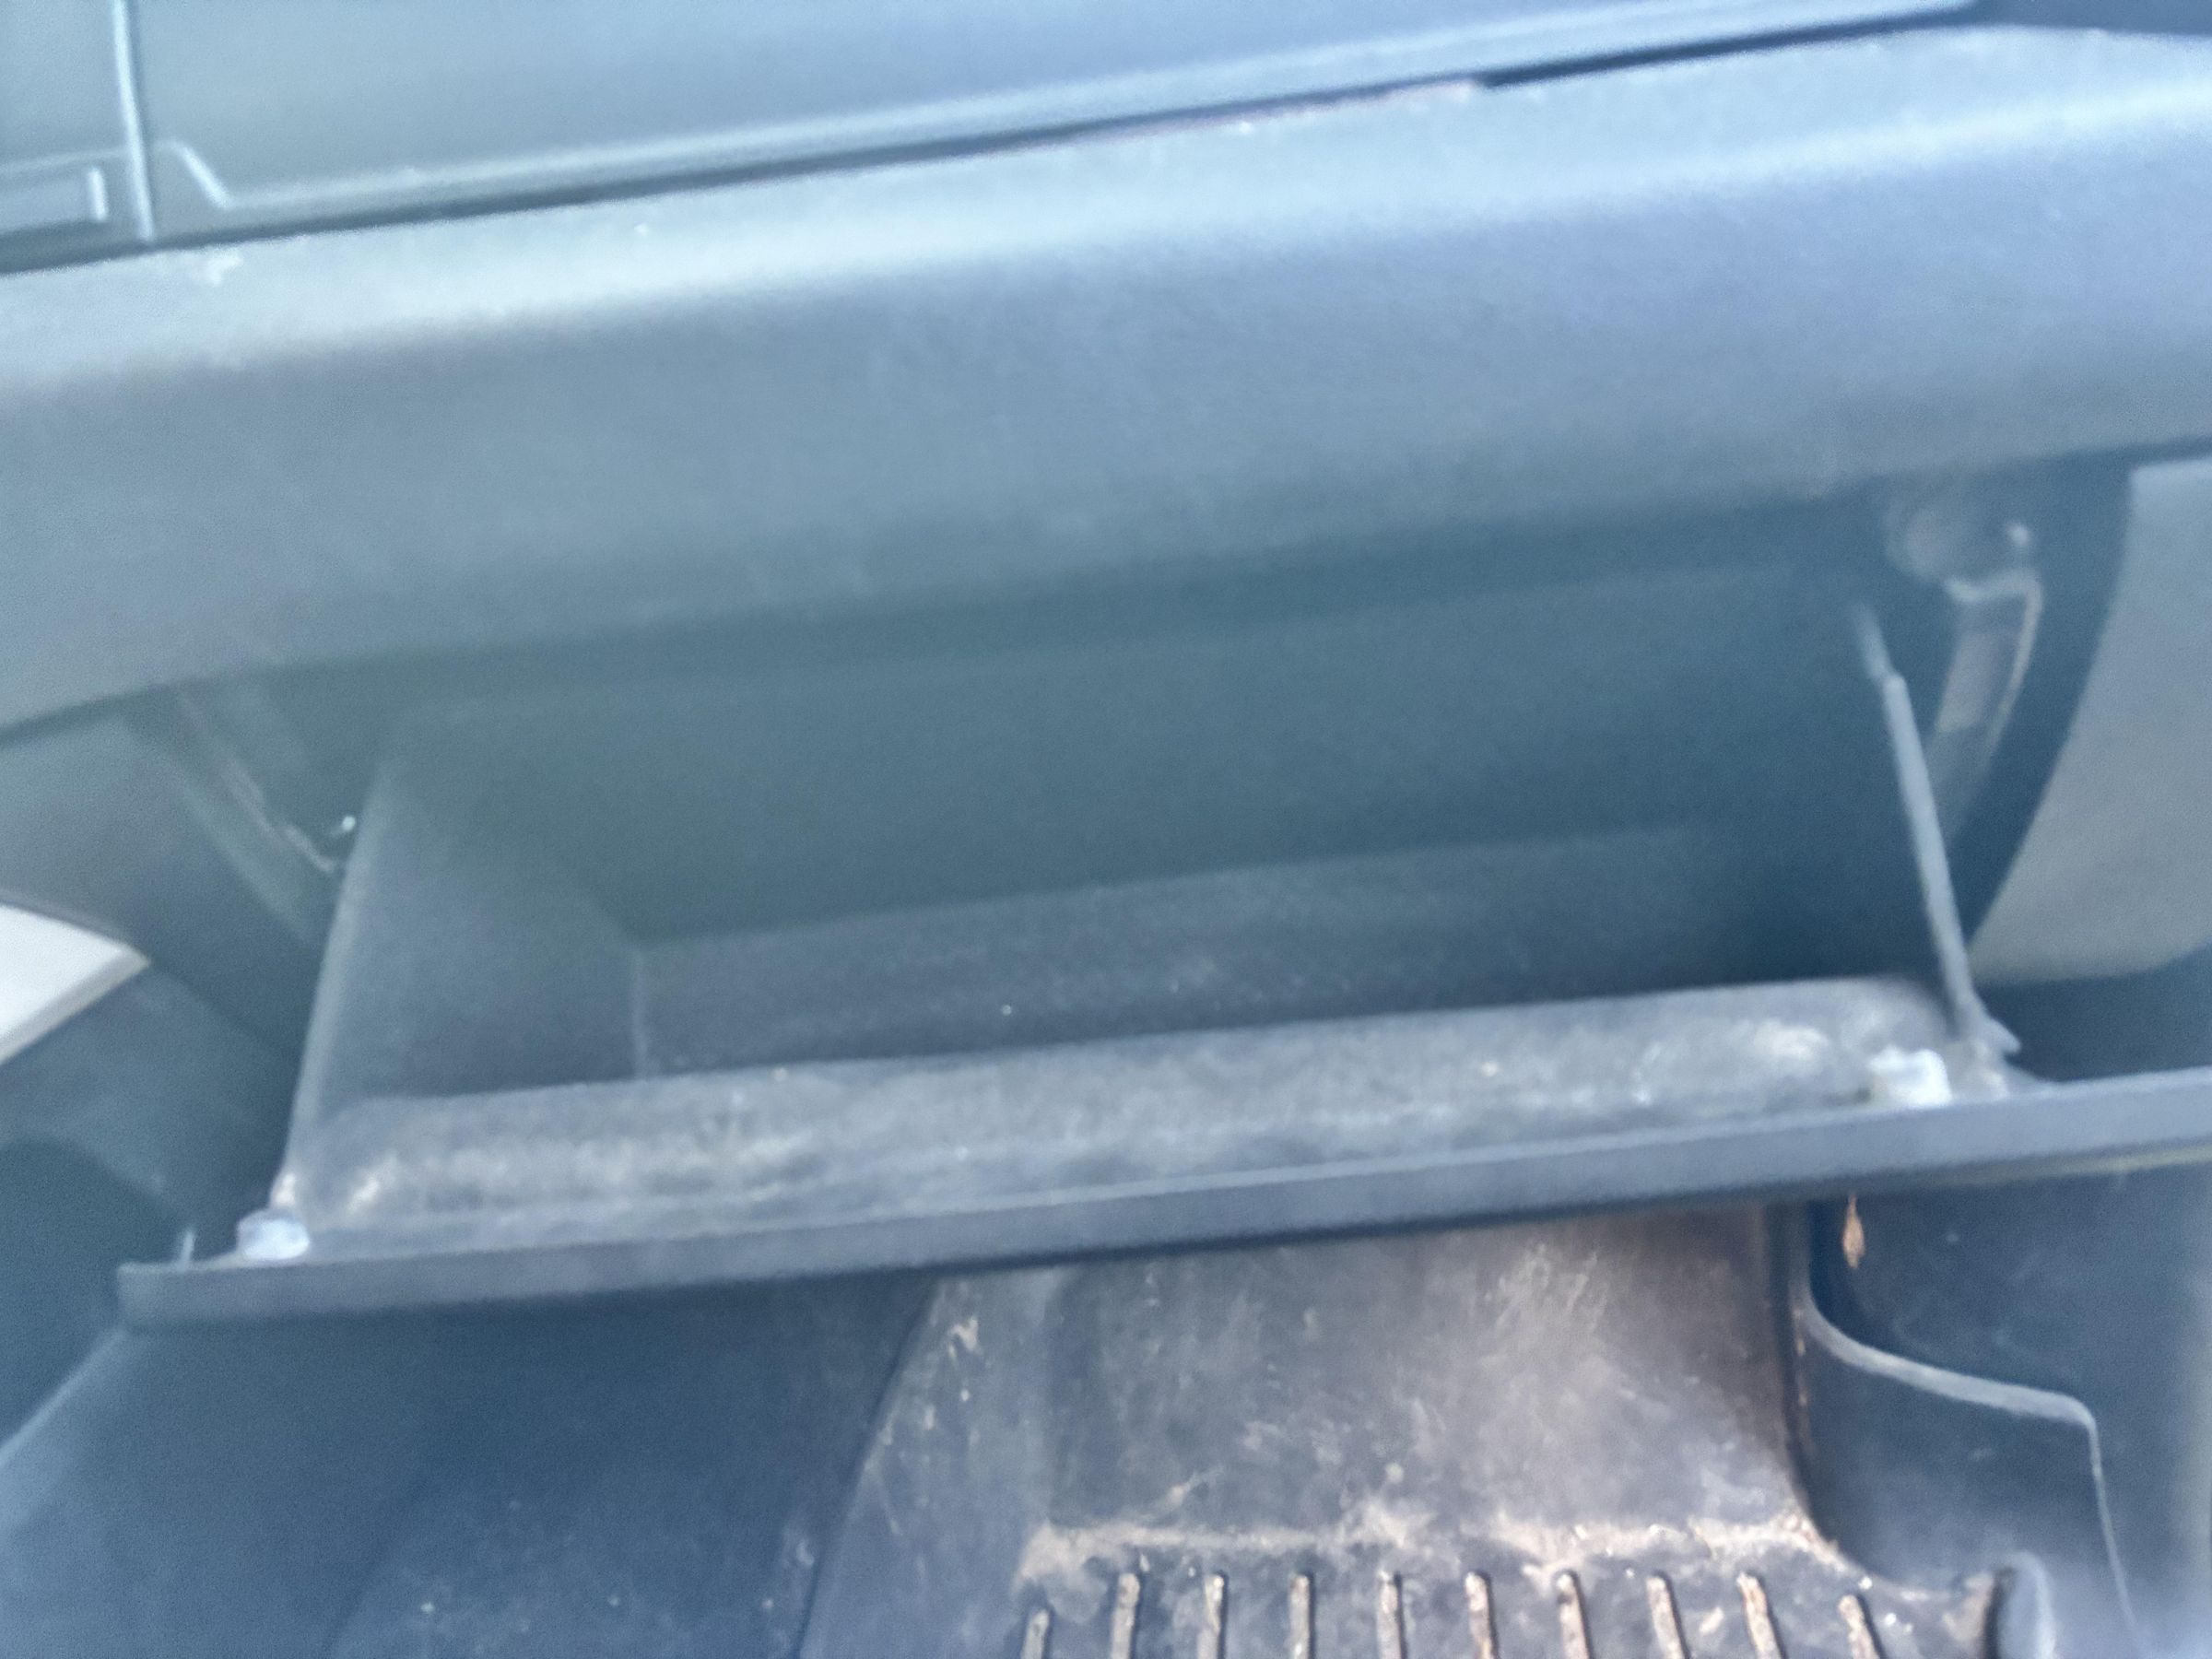
Empty all contents from the passenger-side glove box and clear out the front passenger floorboard space to ensure unobstructed movement.
Release the Glove Box Stop Tabs
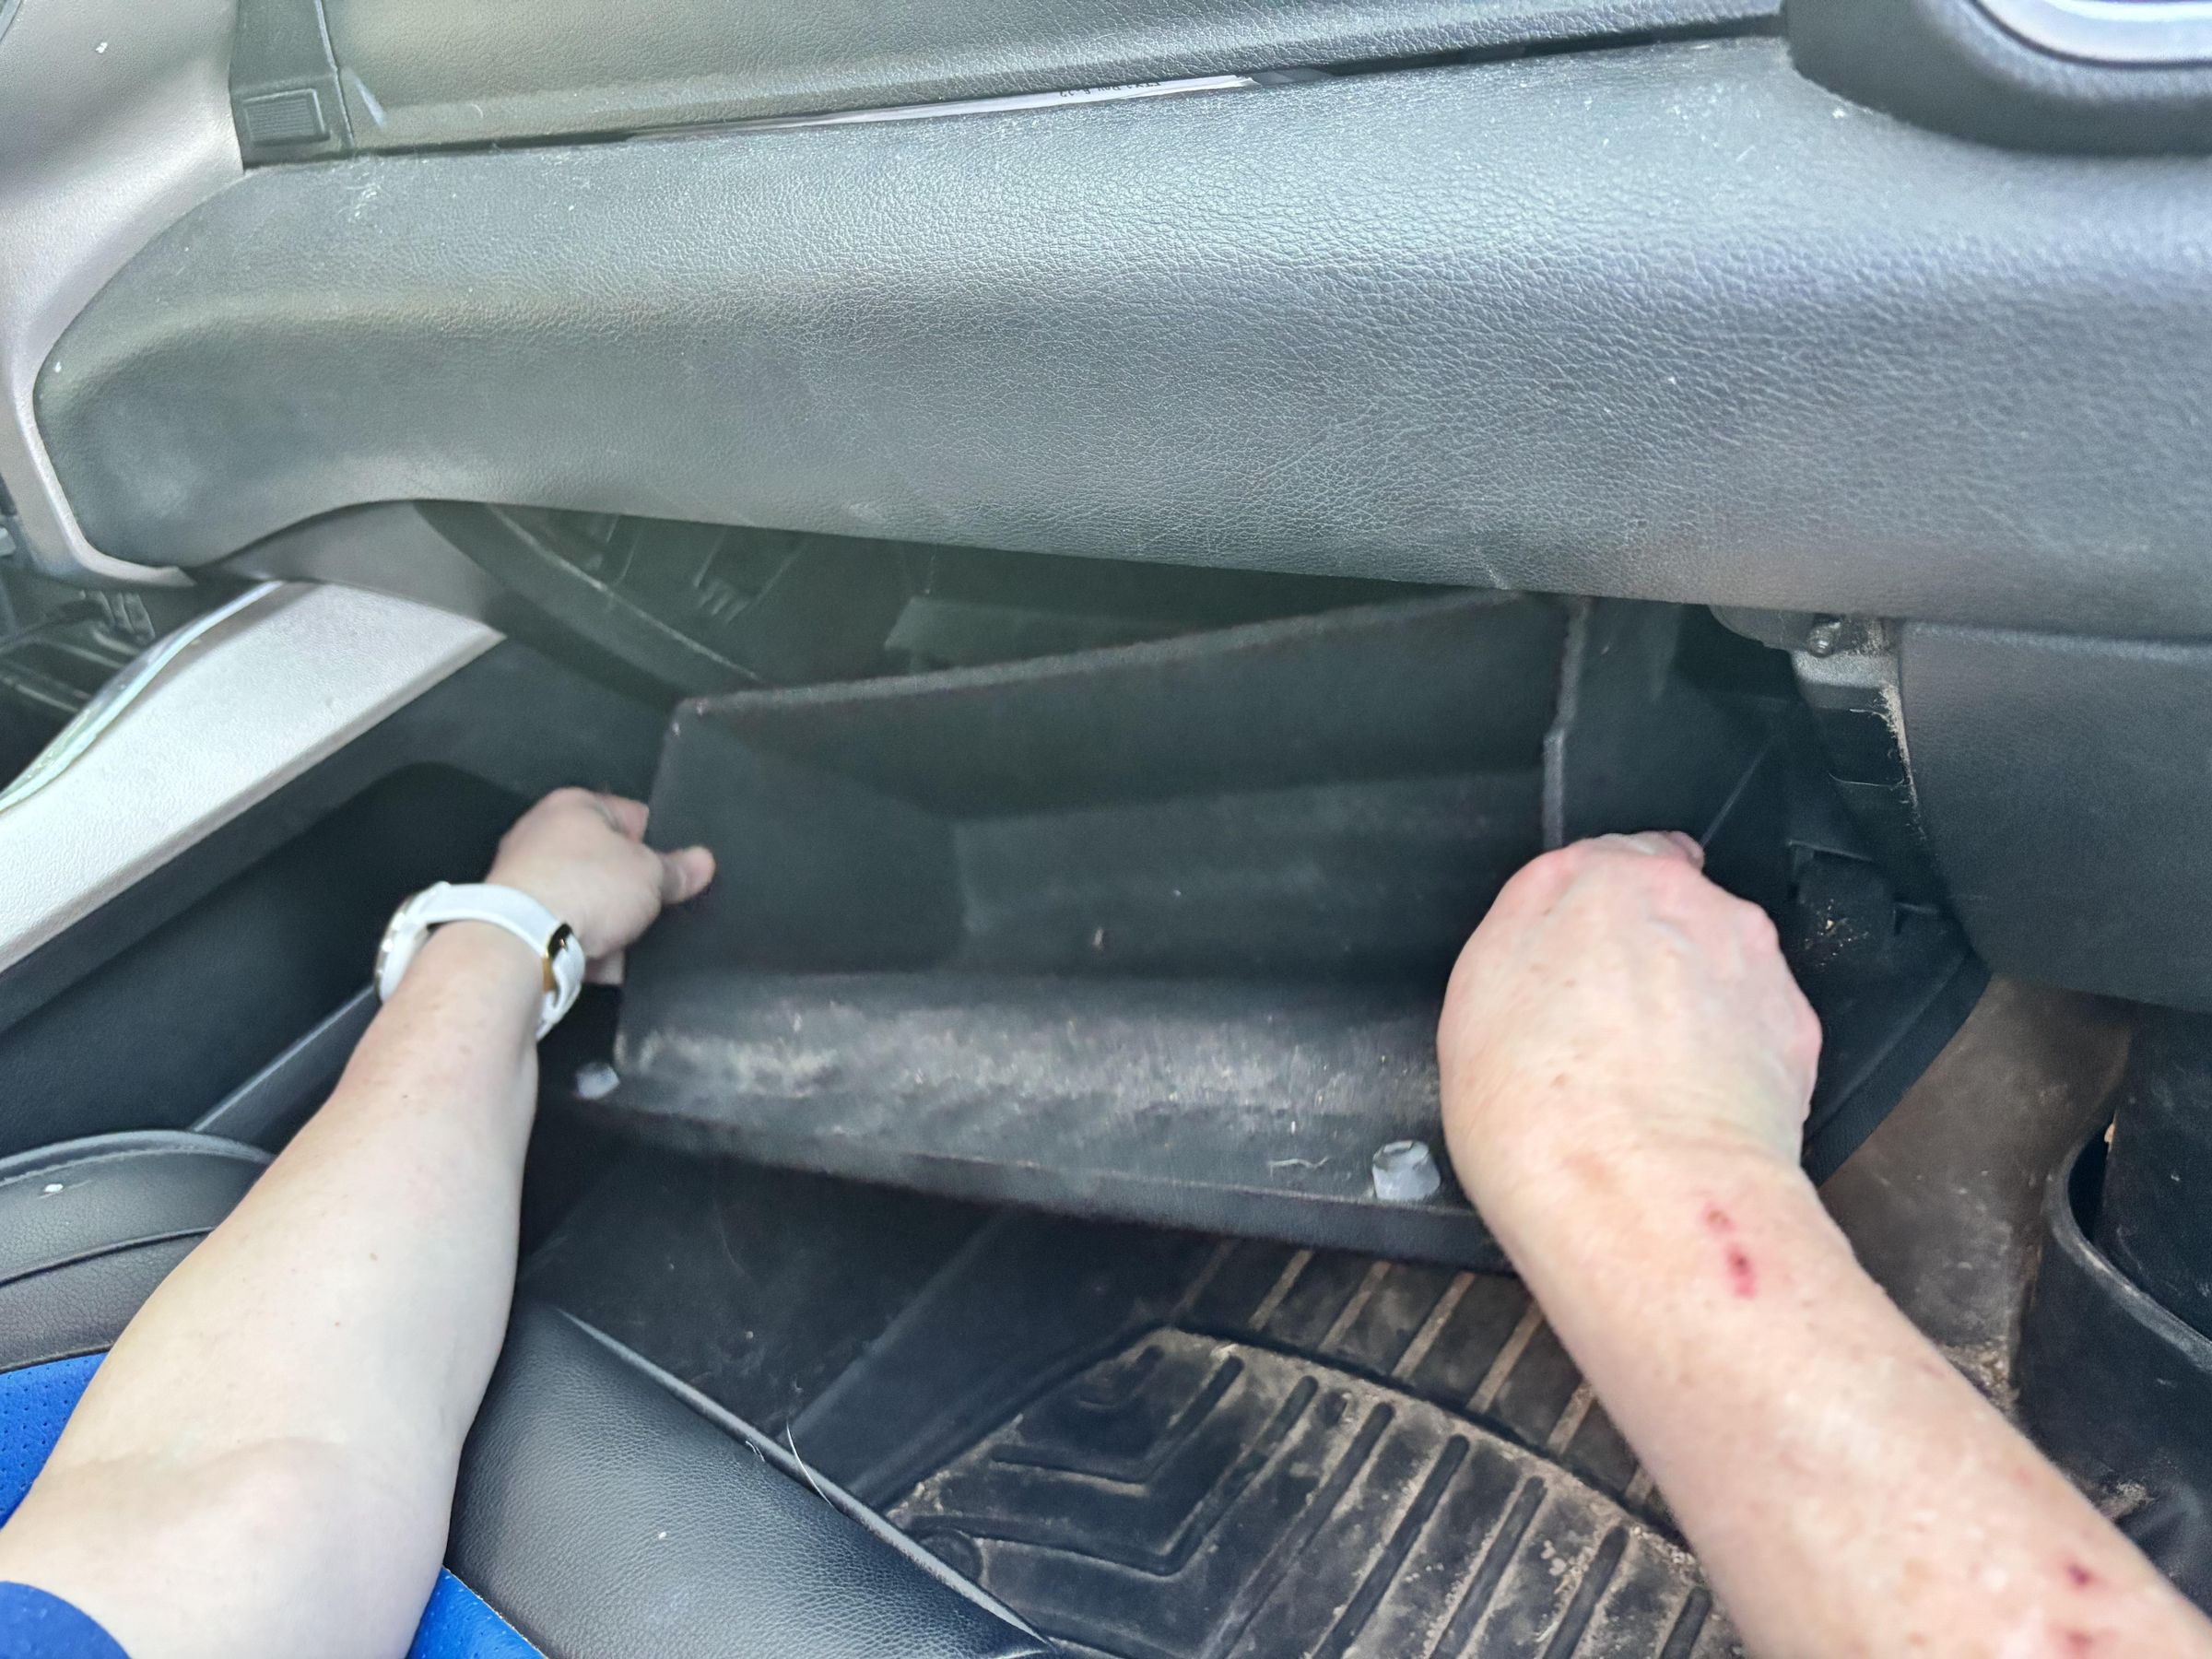
Press inward on the left and right plastic sidewalls of the glove box bin to allow the retaining tabs to clear the dashboard frame.
Lower the Glove Box Assembly
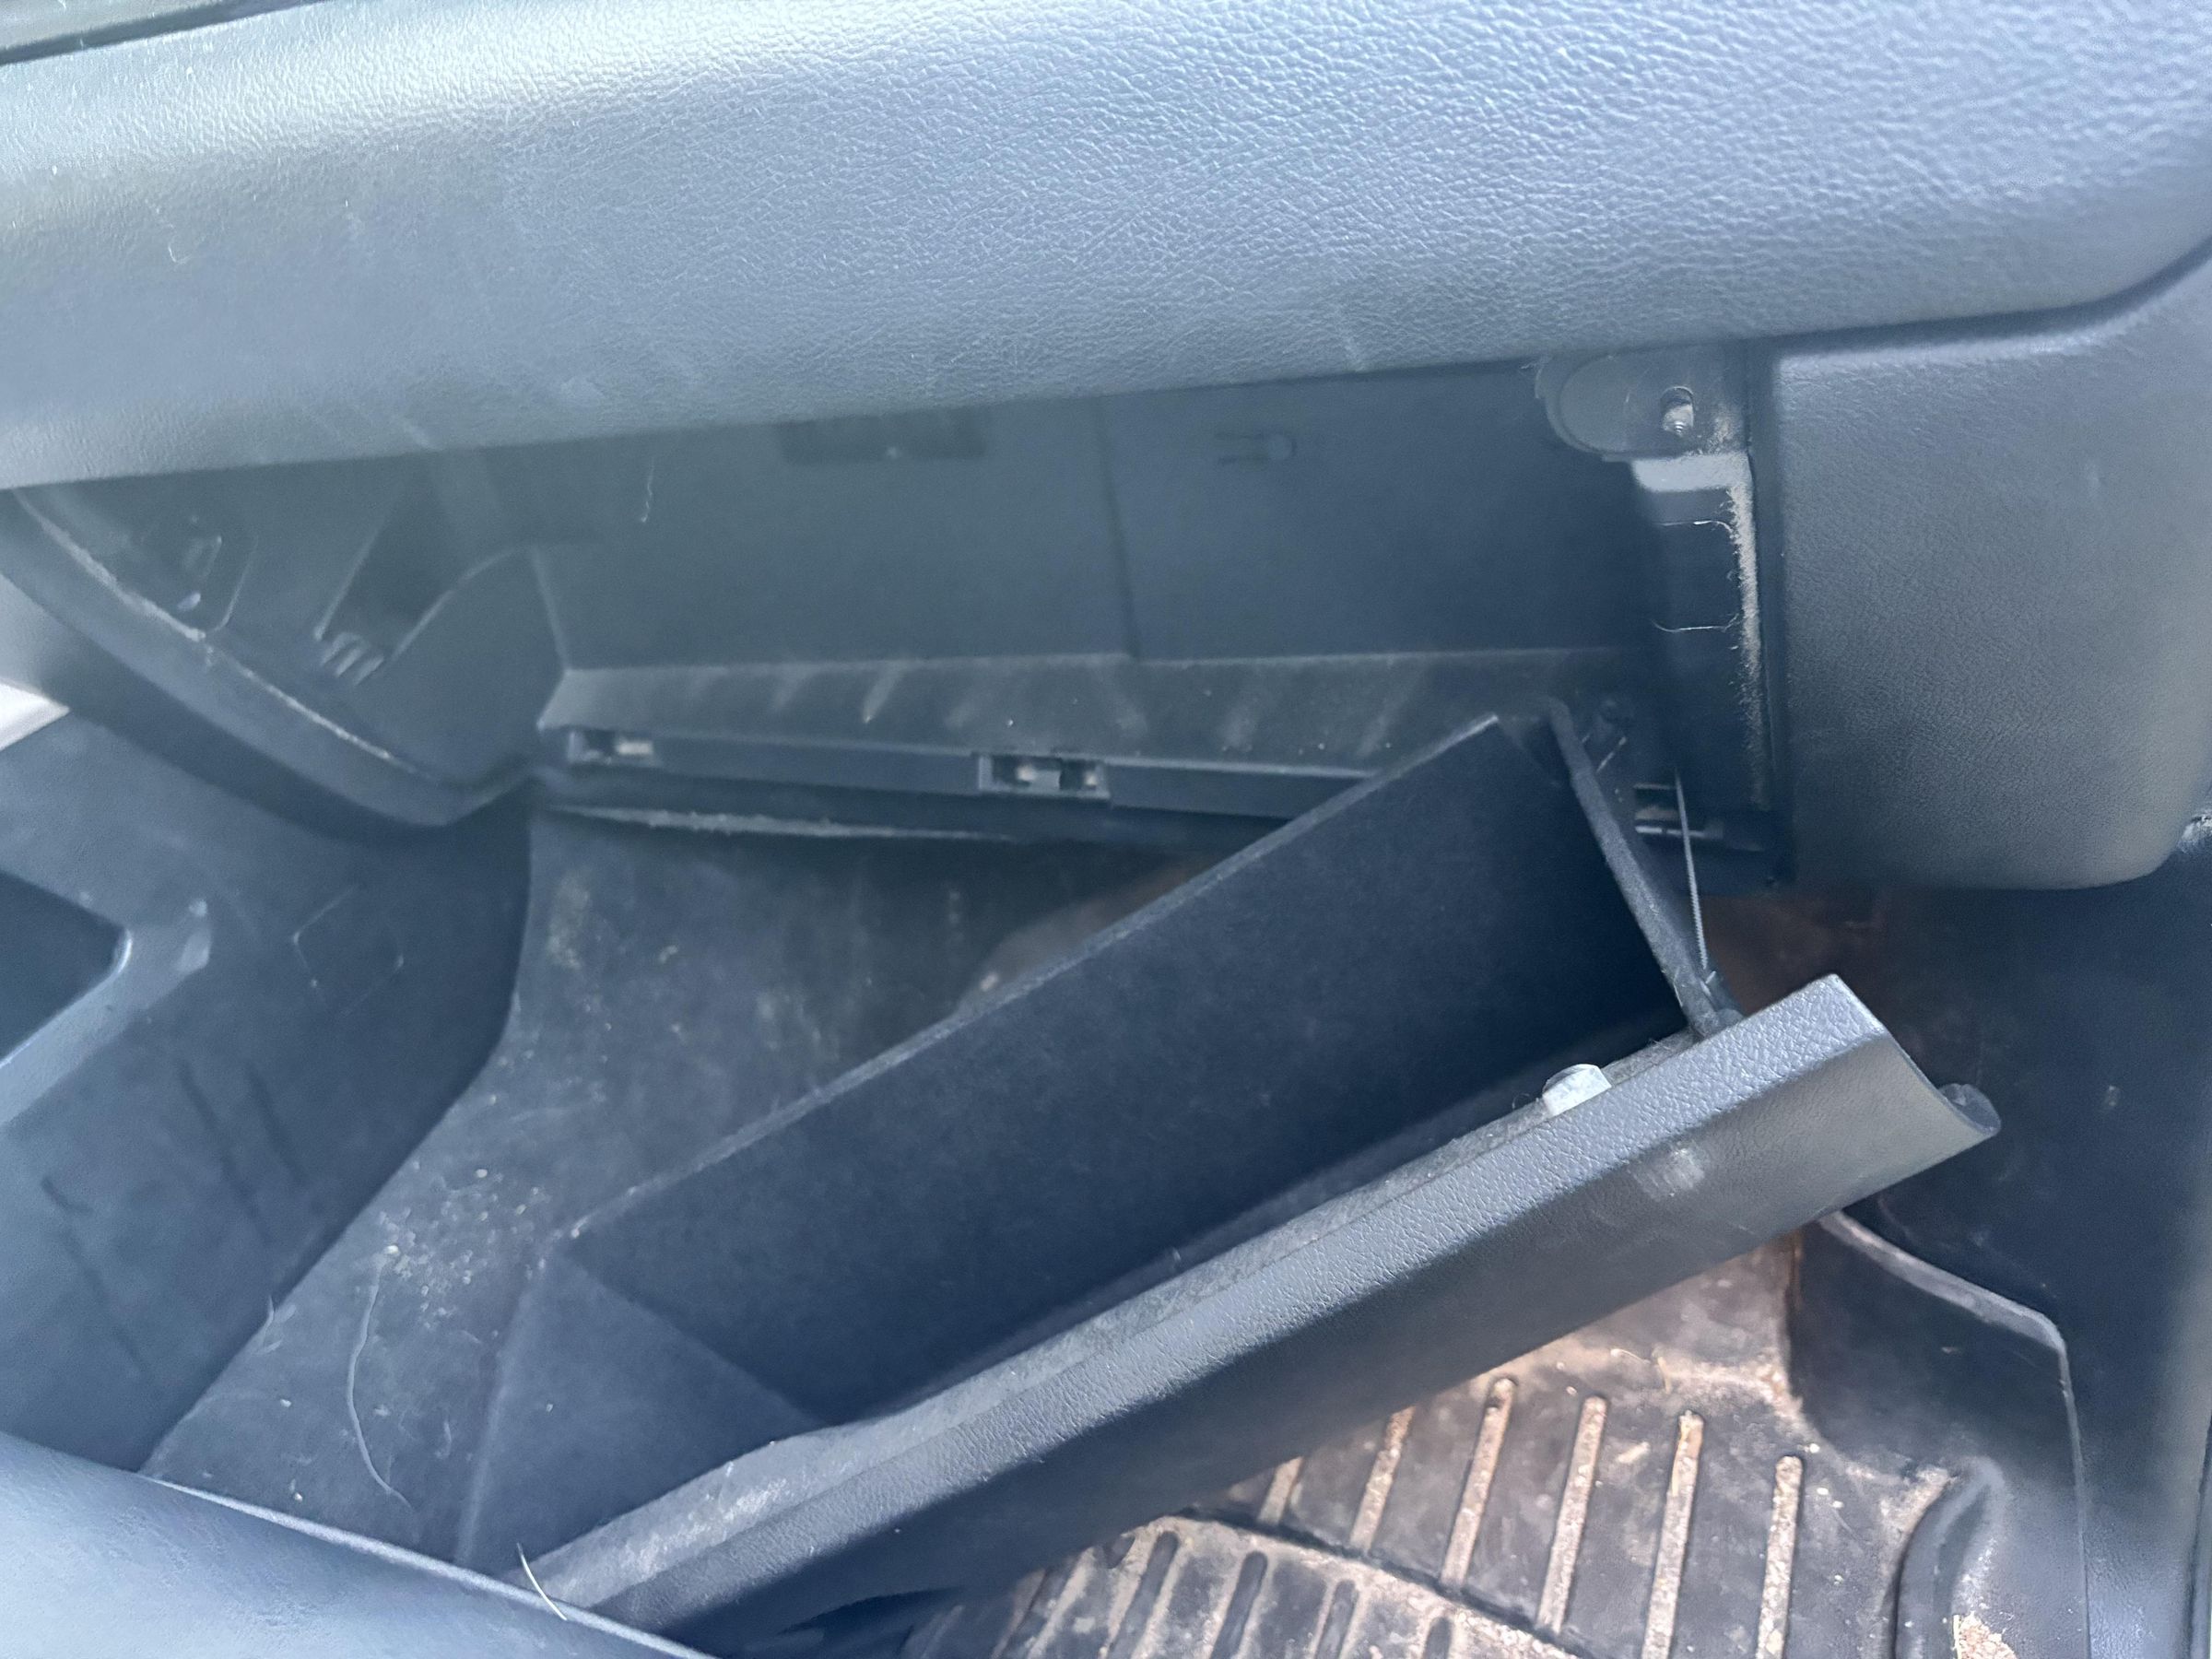
Let the glove box pivot completely downward toward the floorboard, exposing the black plastic HVAC housing unit hidden behind the dash.
Locate the Cabin Air Filter Cap and Remove Cap
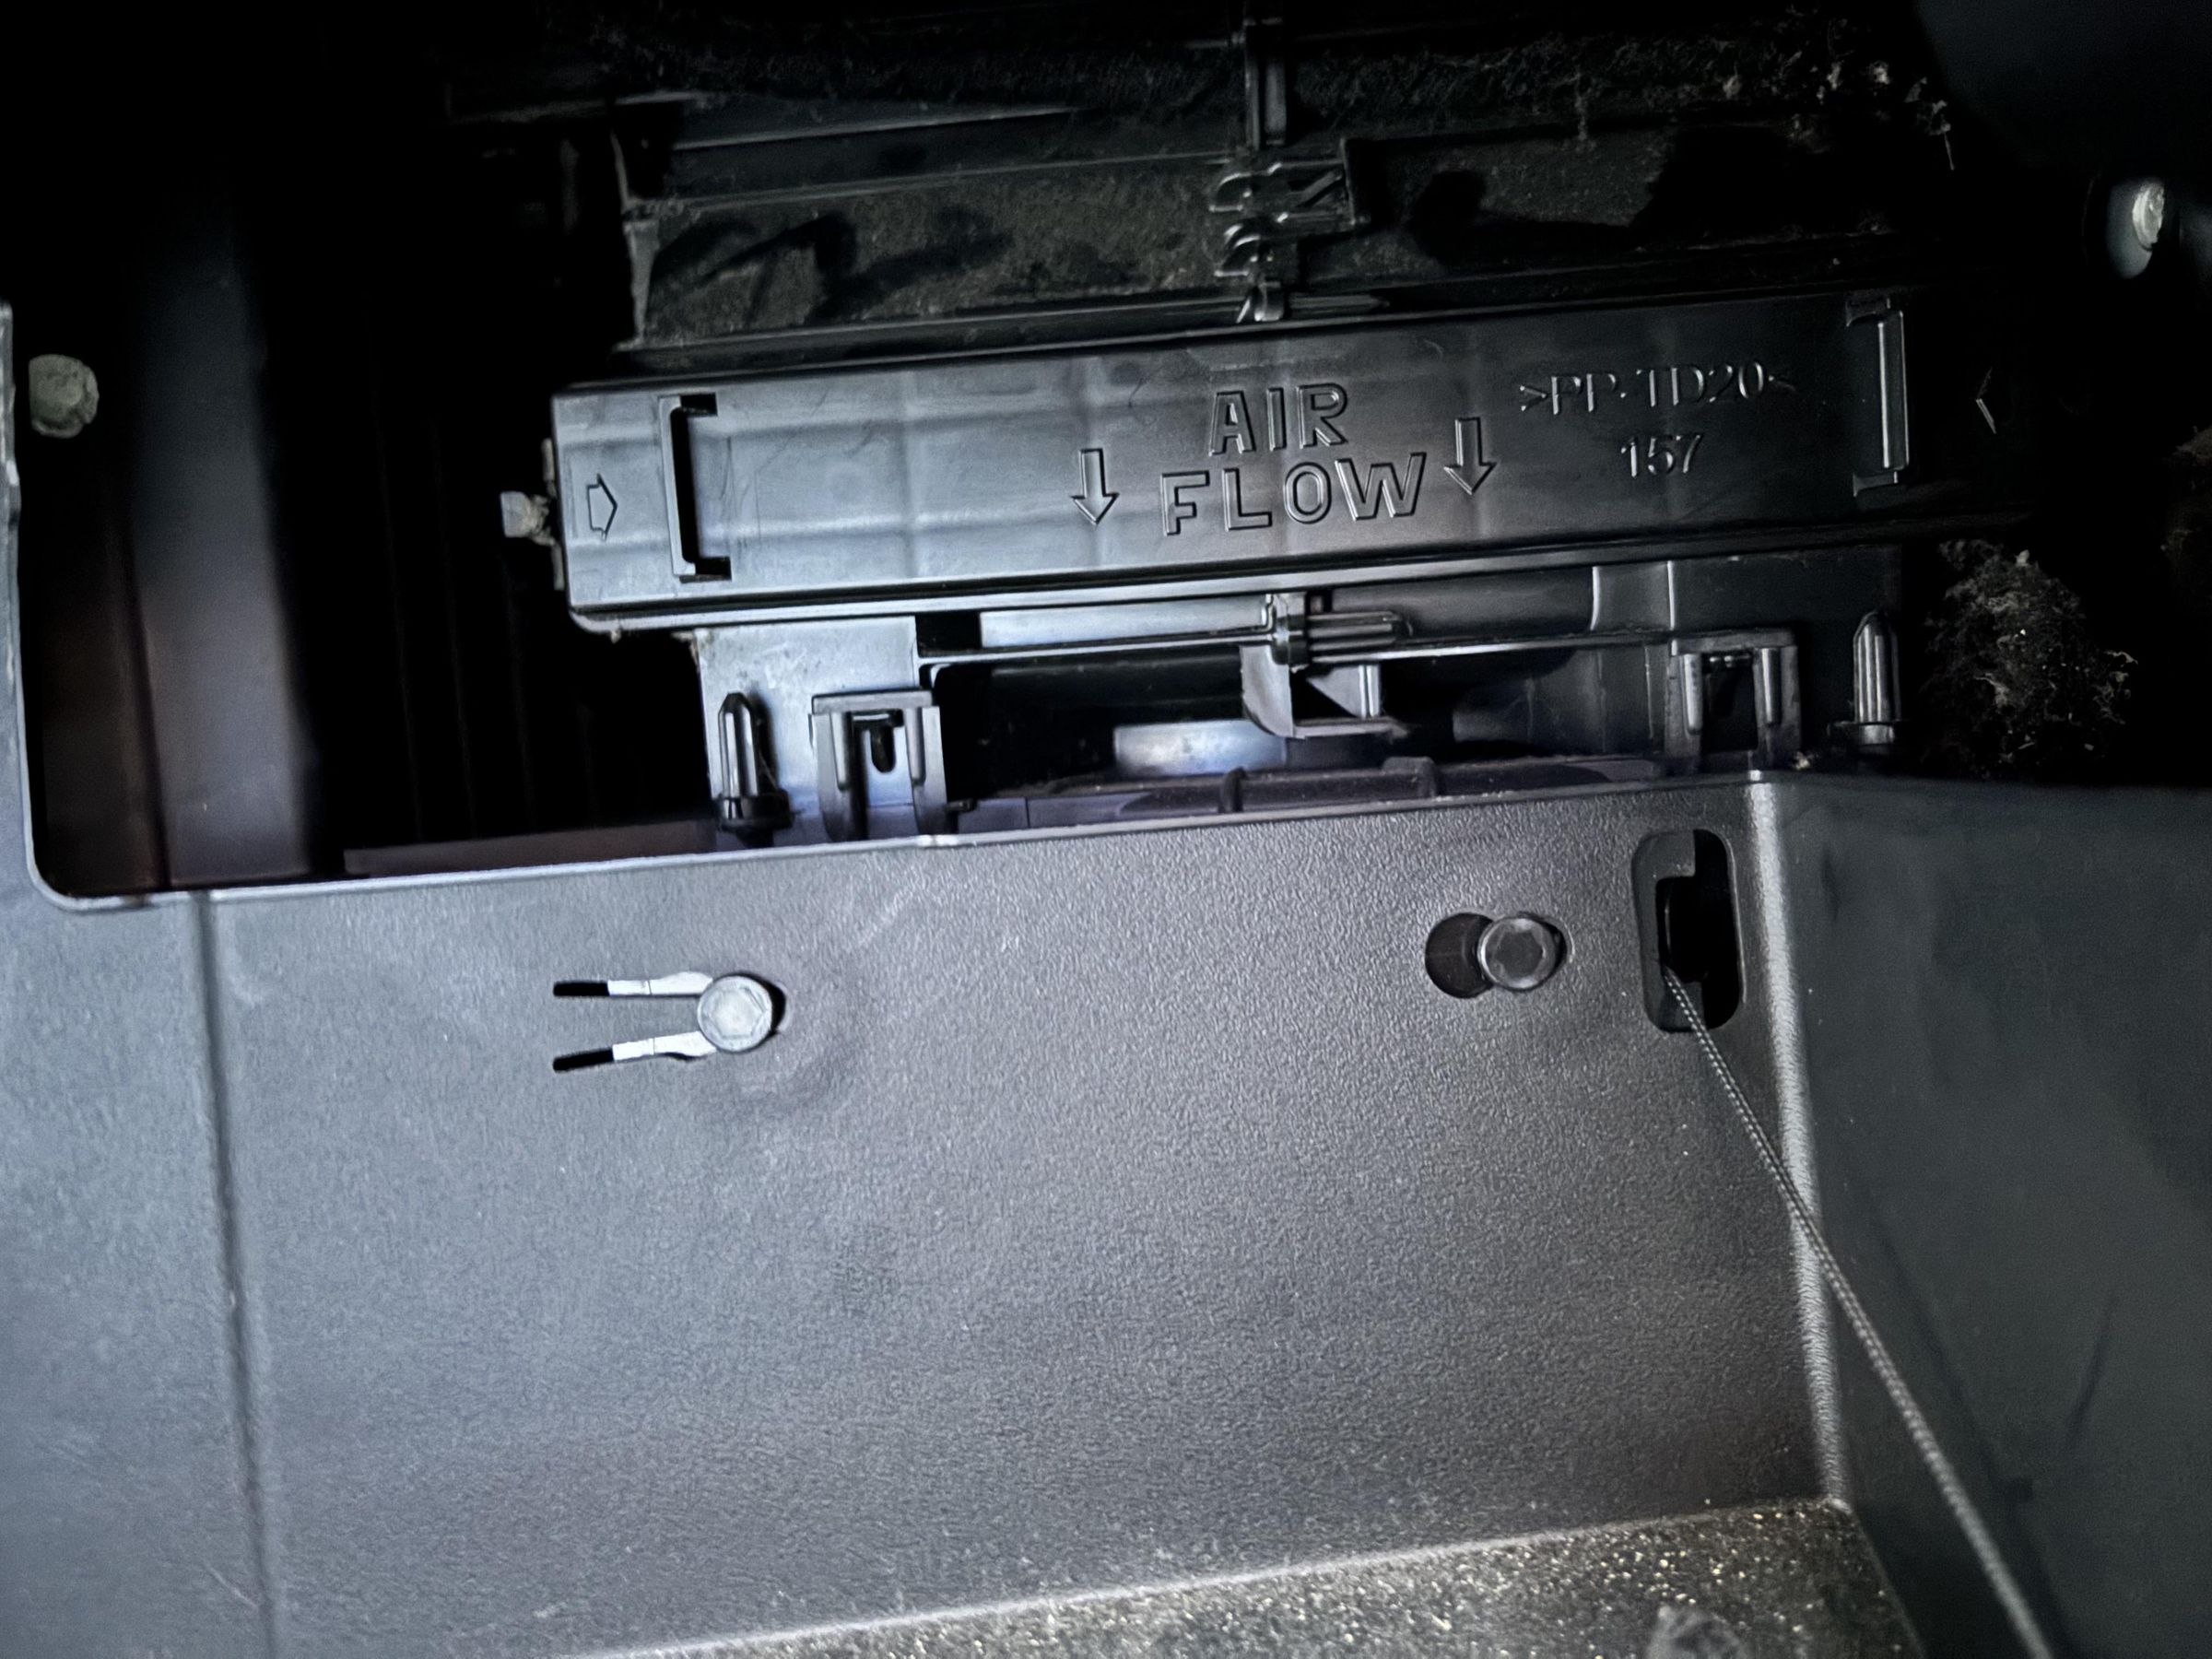
Squeeze the locking tabs on the left and right sides of the rectangular filter cover door and pull it straight off.
Locate the Old Air Filter
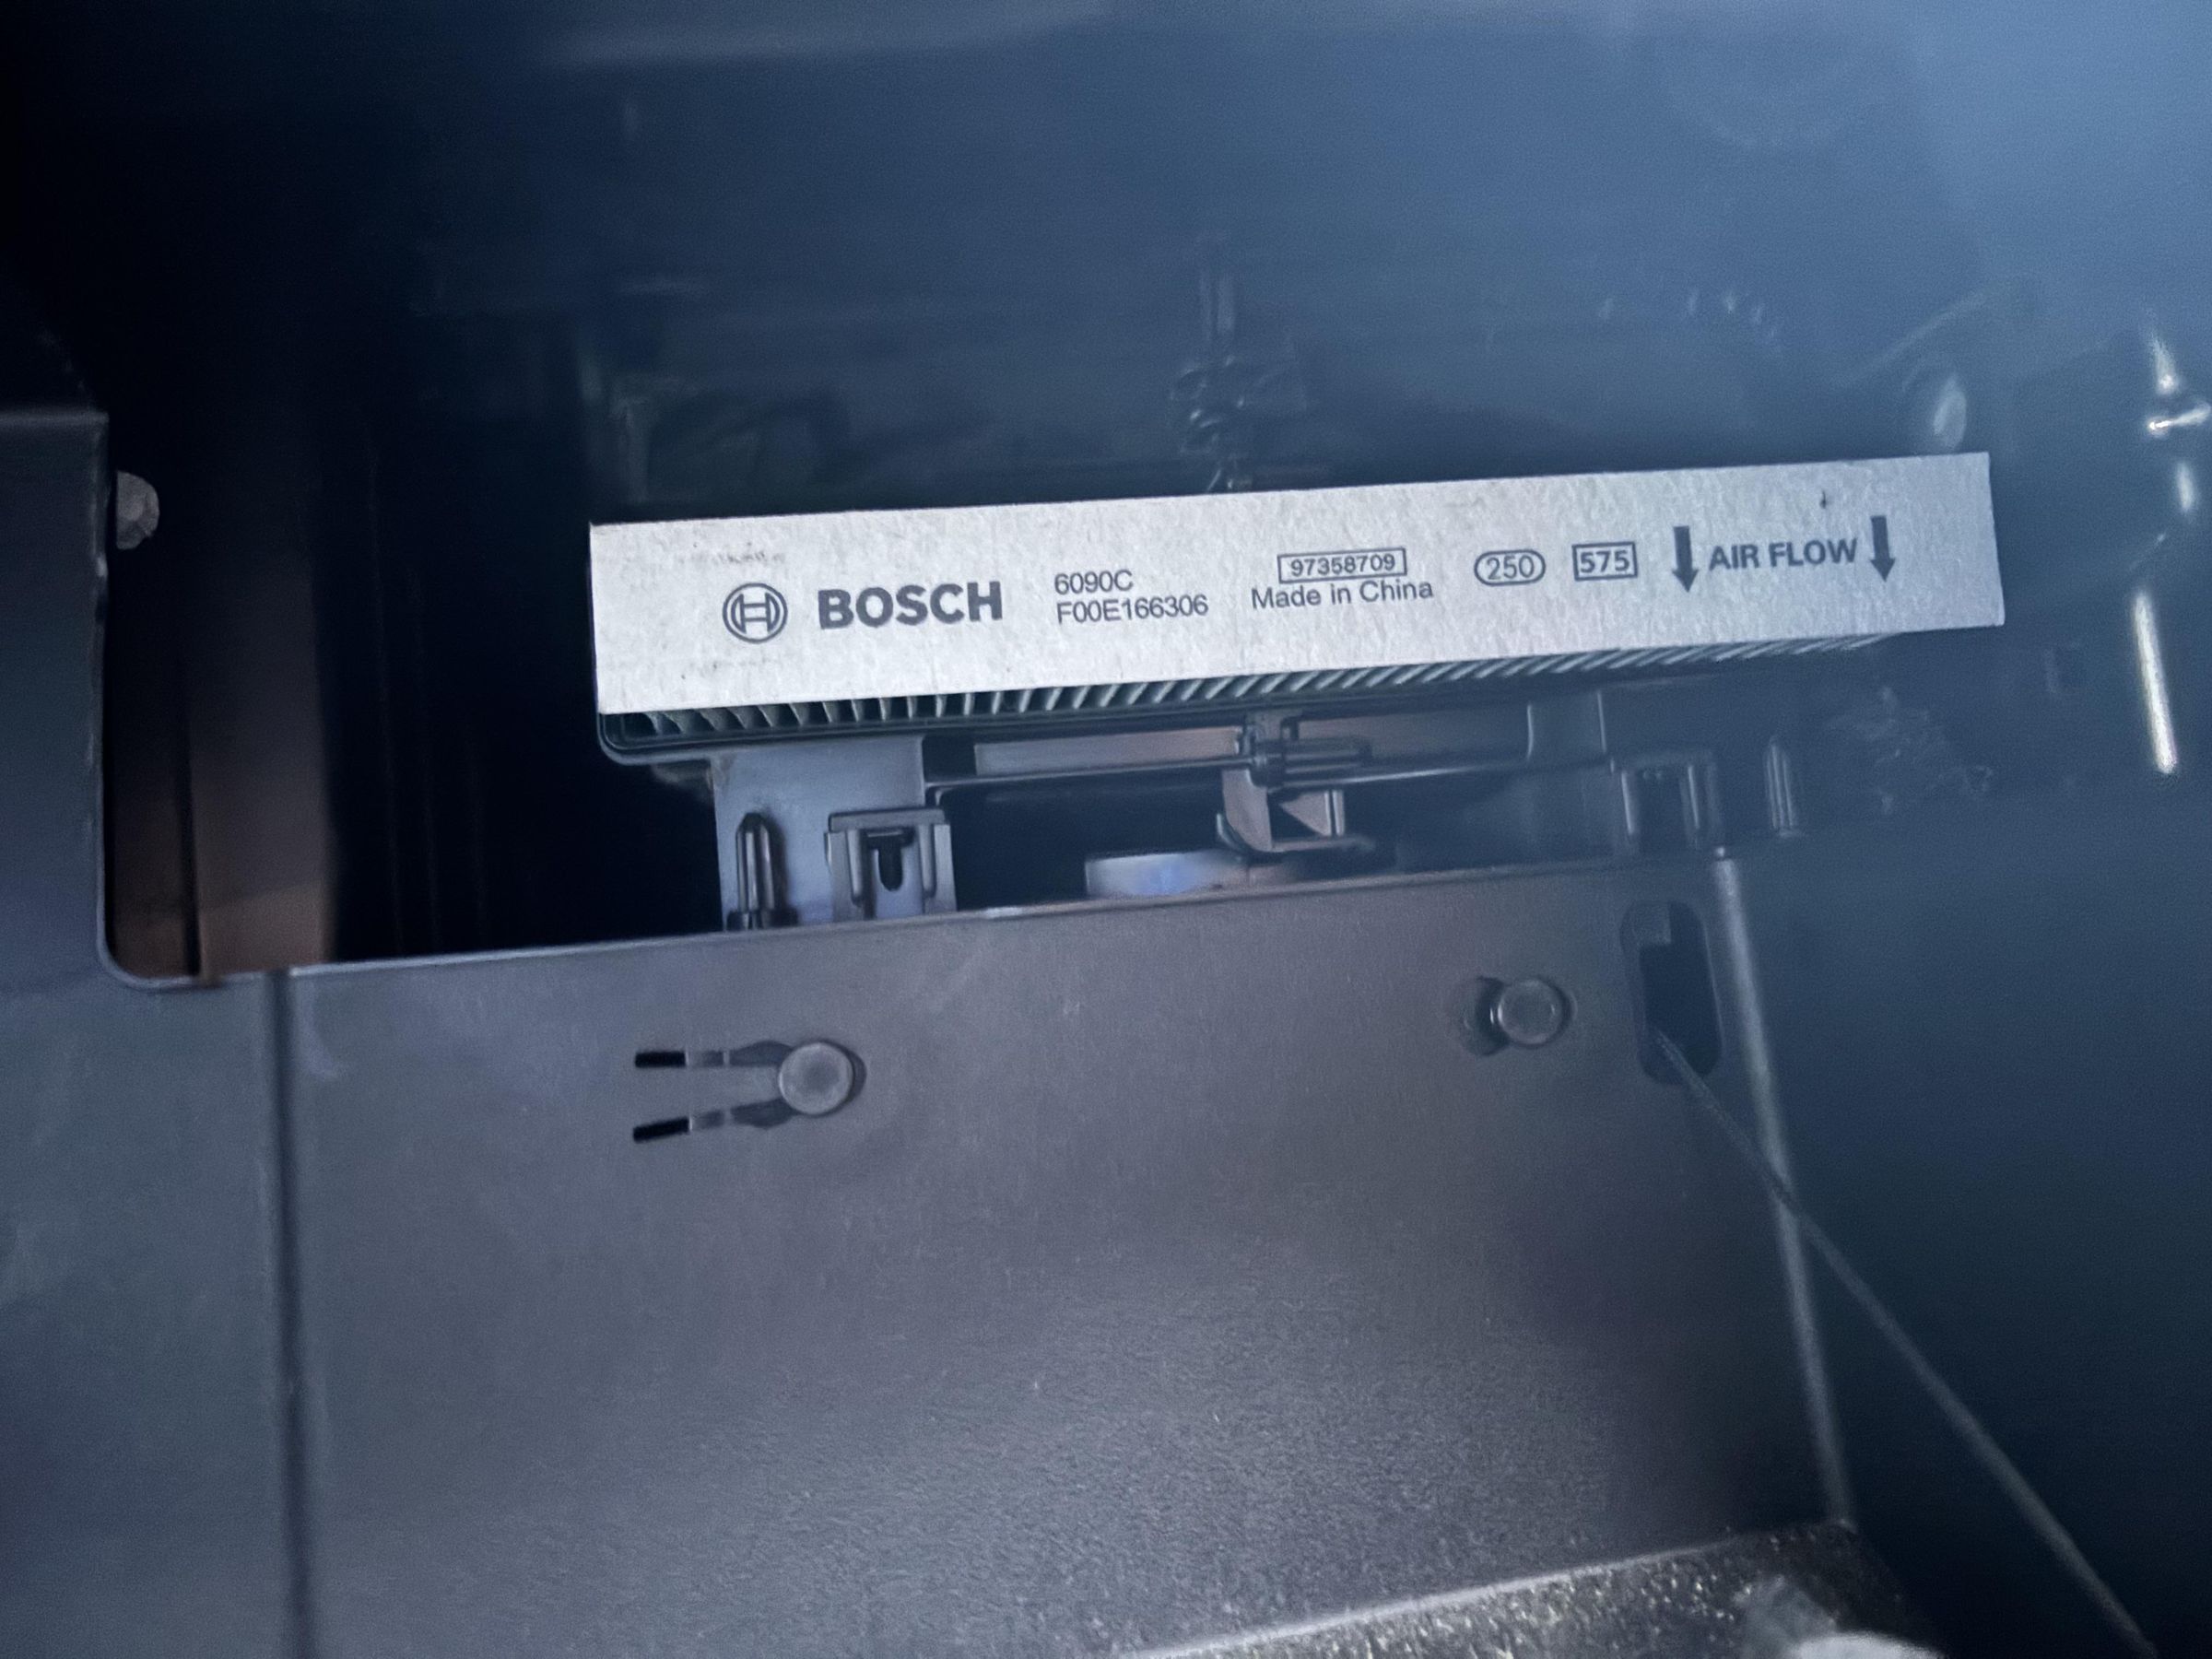
Locate the dirty air filter and notice the arrows facing down to make sure the new and clean one does the same.
Slide Out the Old Air Filter
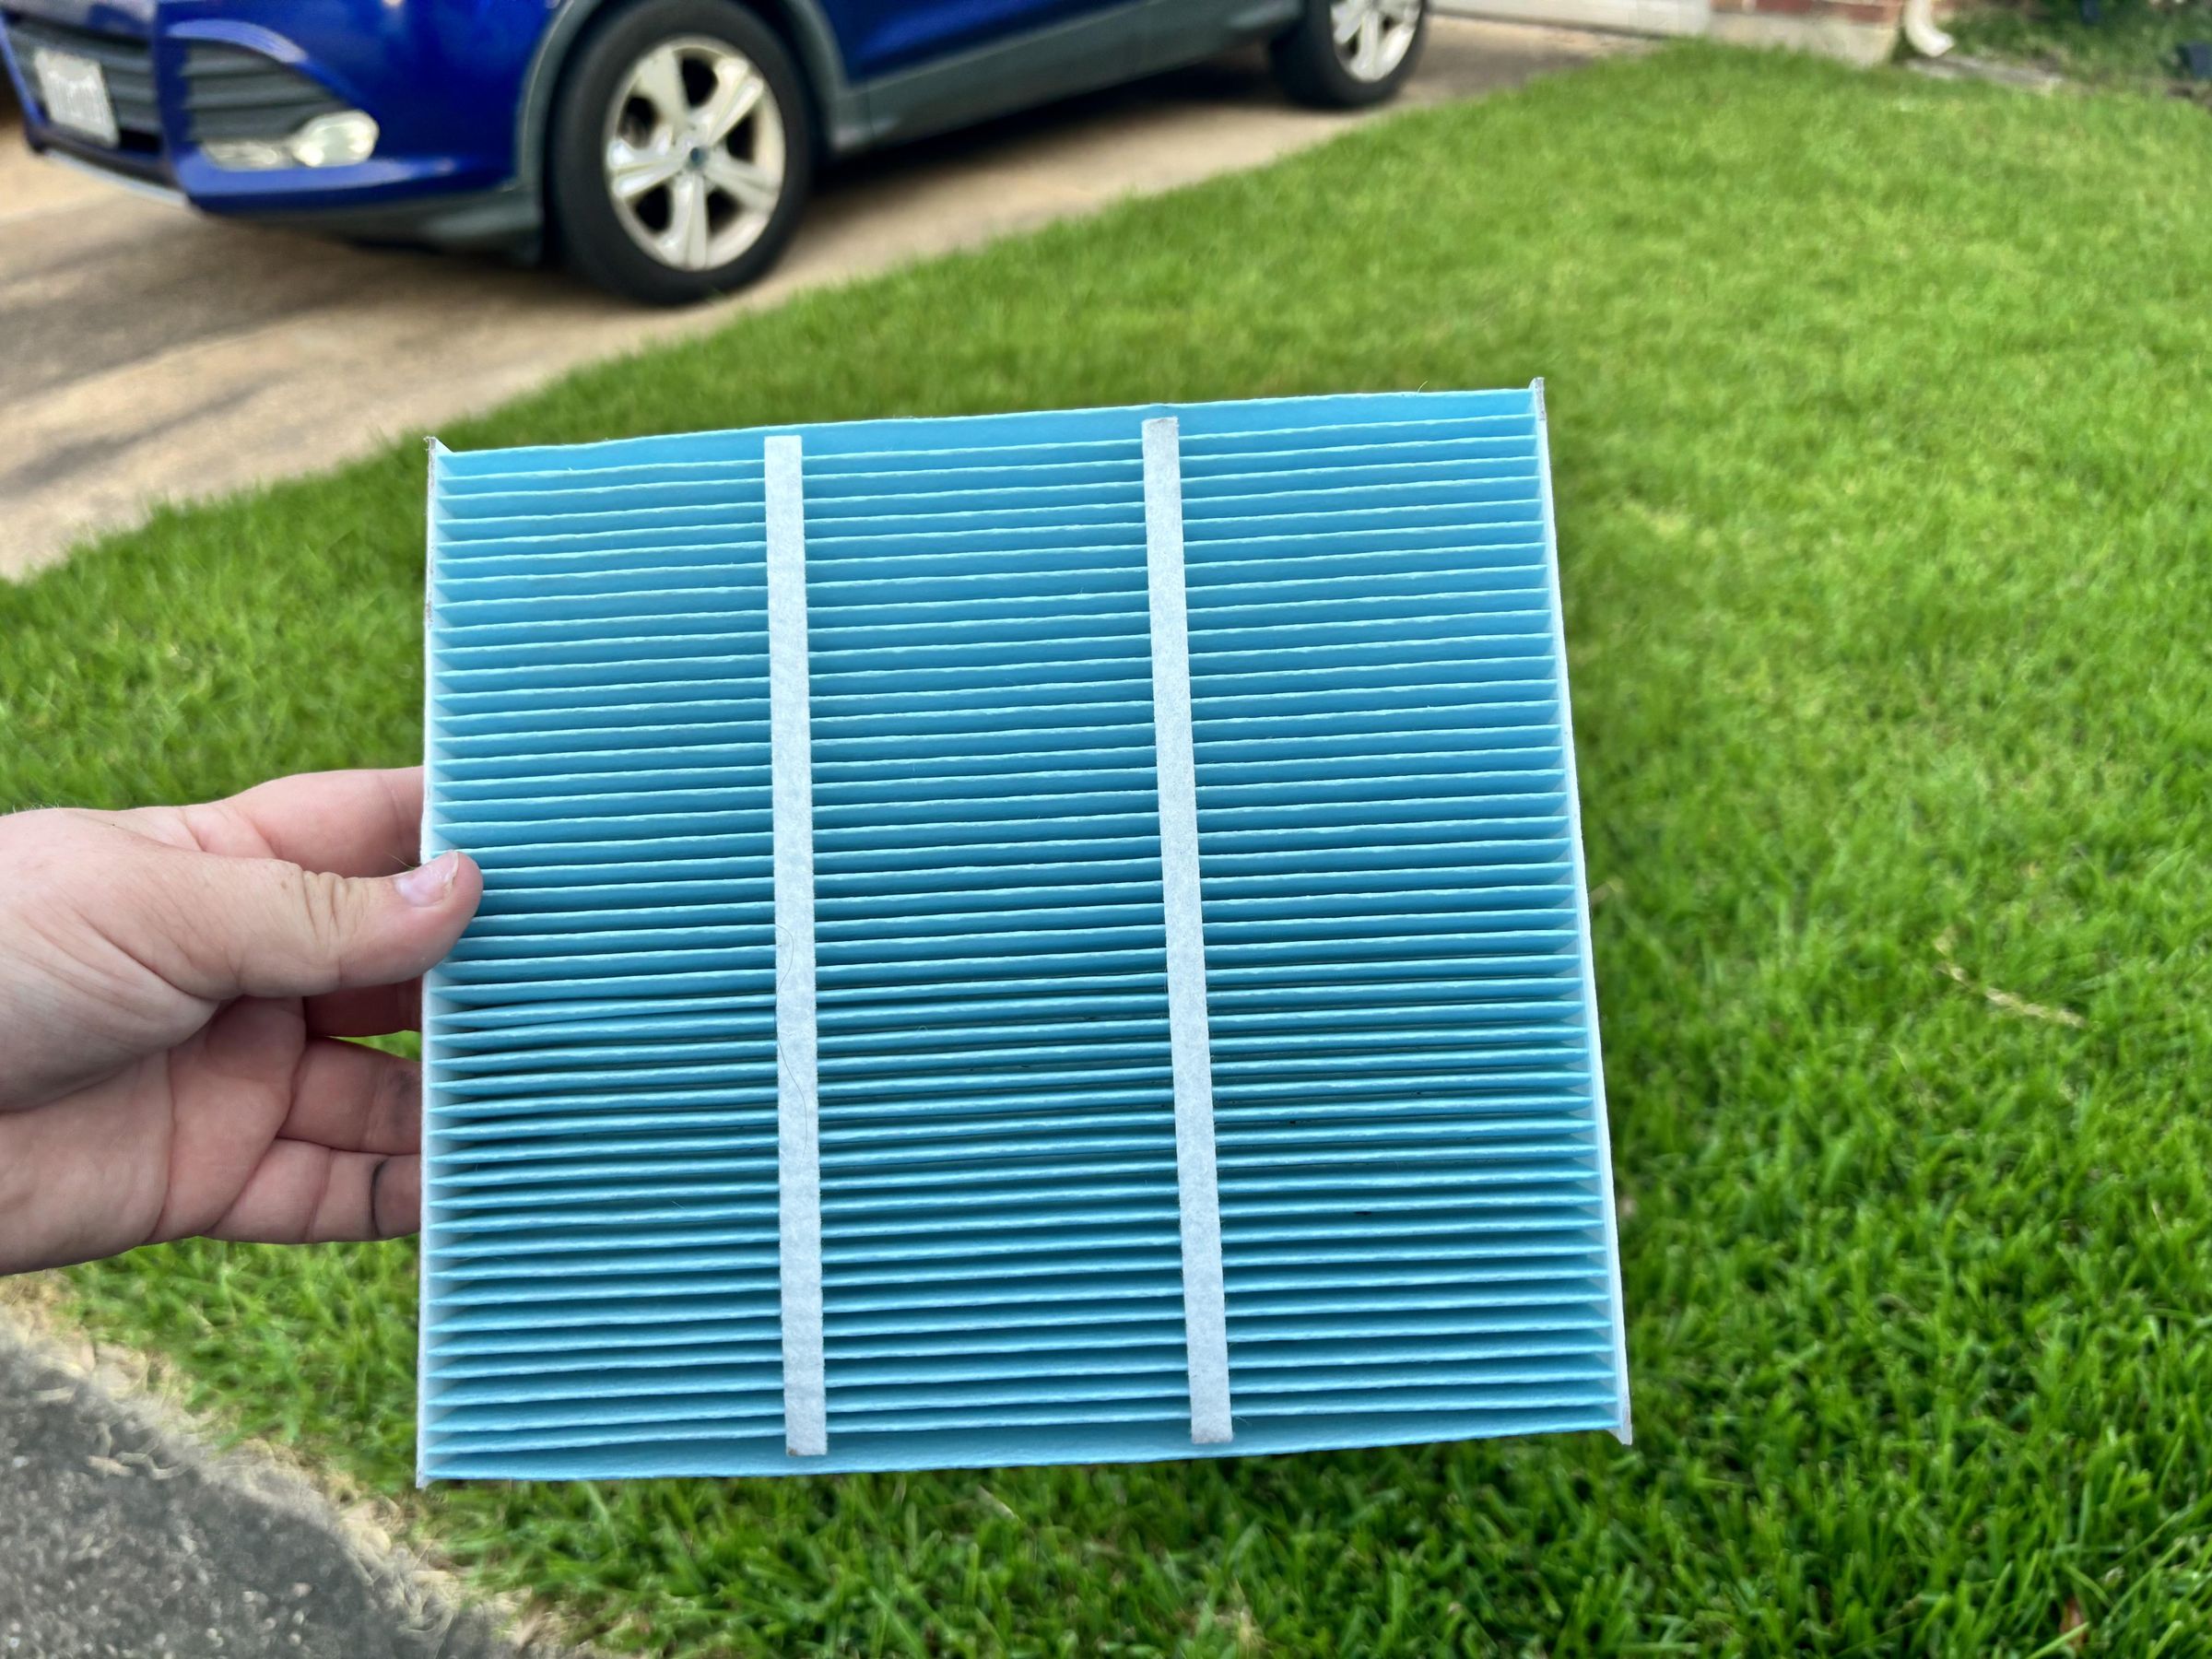
Grasp the edge of the dirty filter and pull it straight out horizontally, keeping it level so trapped leaves, dust, or twigs do not spill into the fan blower below.
Put in the New Cabin Air Filter
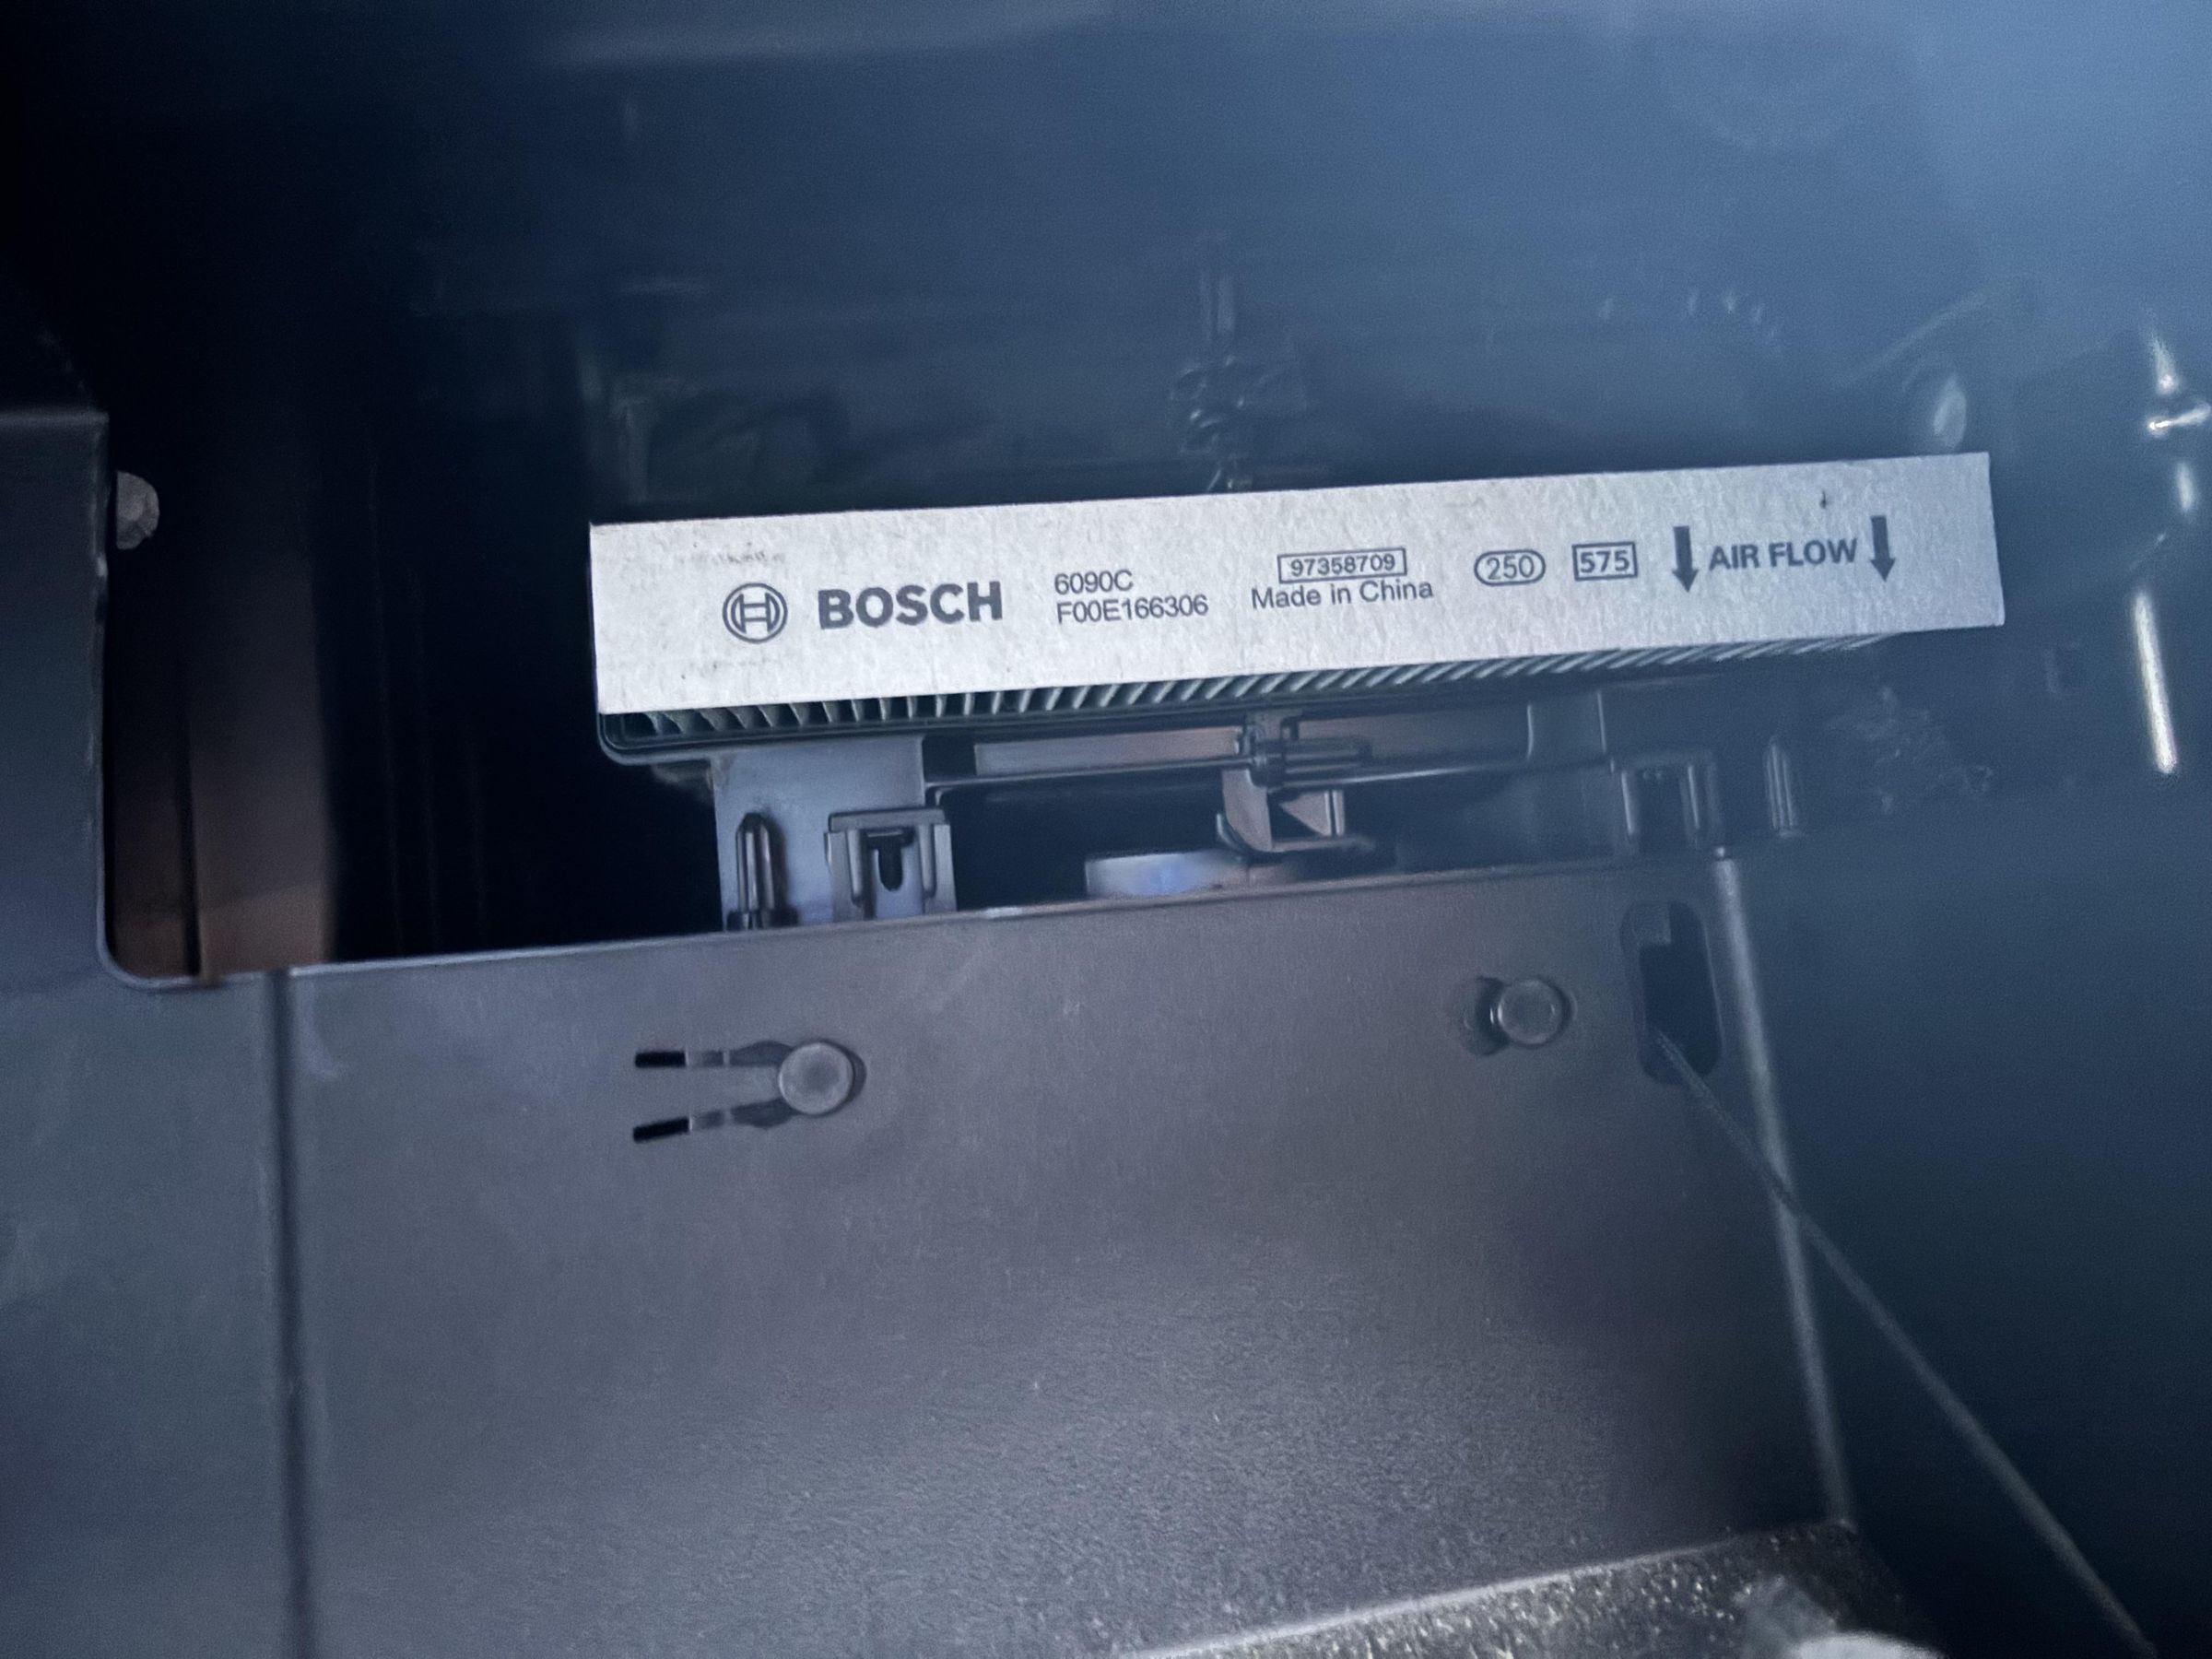
Align the printed arrows on the edge of the new filter with the airflow direction of the housing (usually pointing downward), and slide the filter smoothly into the slot until it sits flush.
Put the Cabin Air Filter Cap Back On
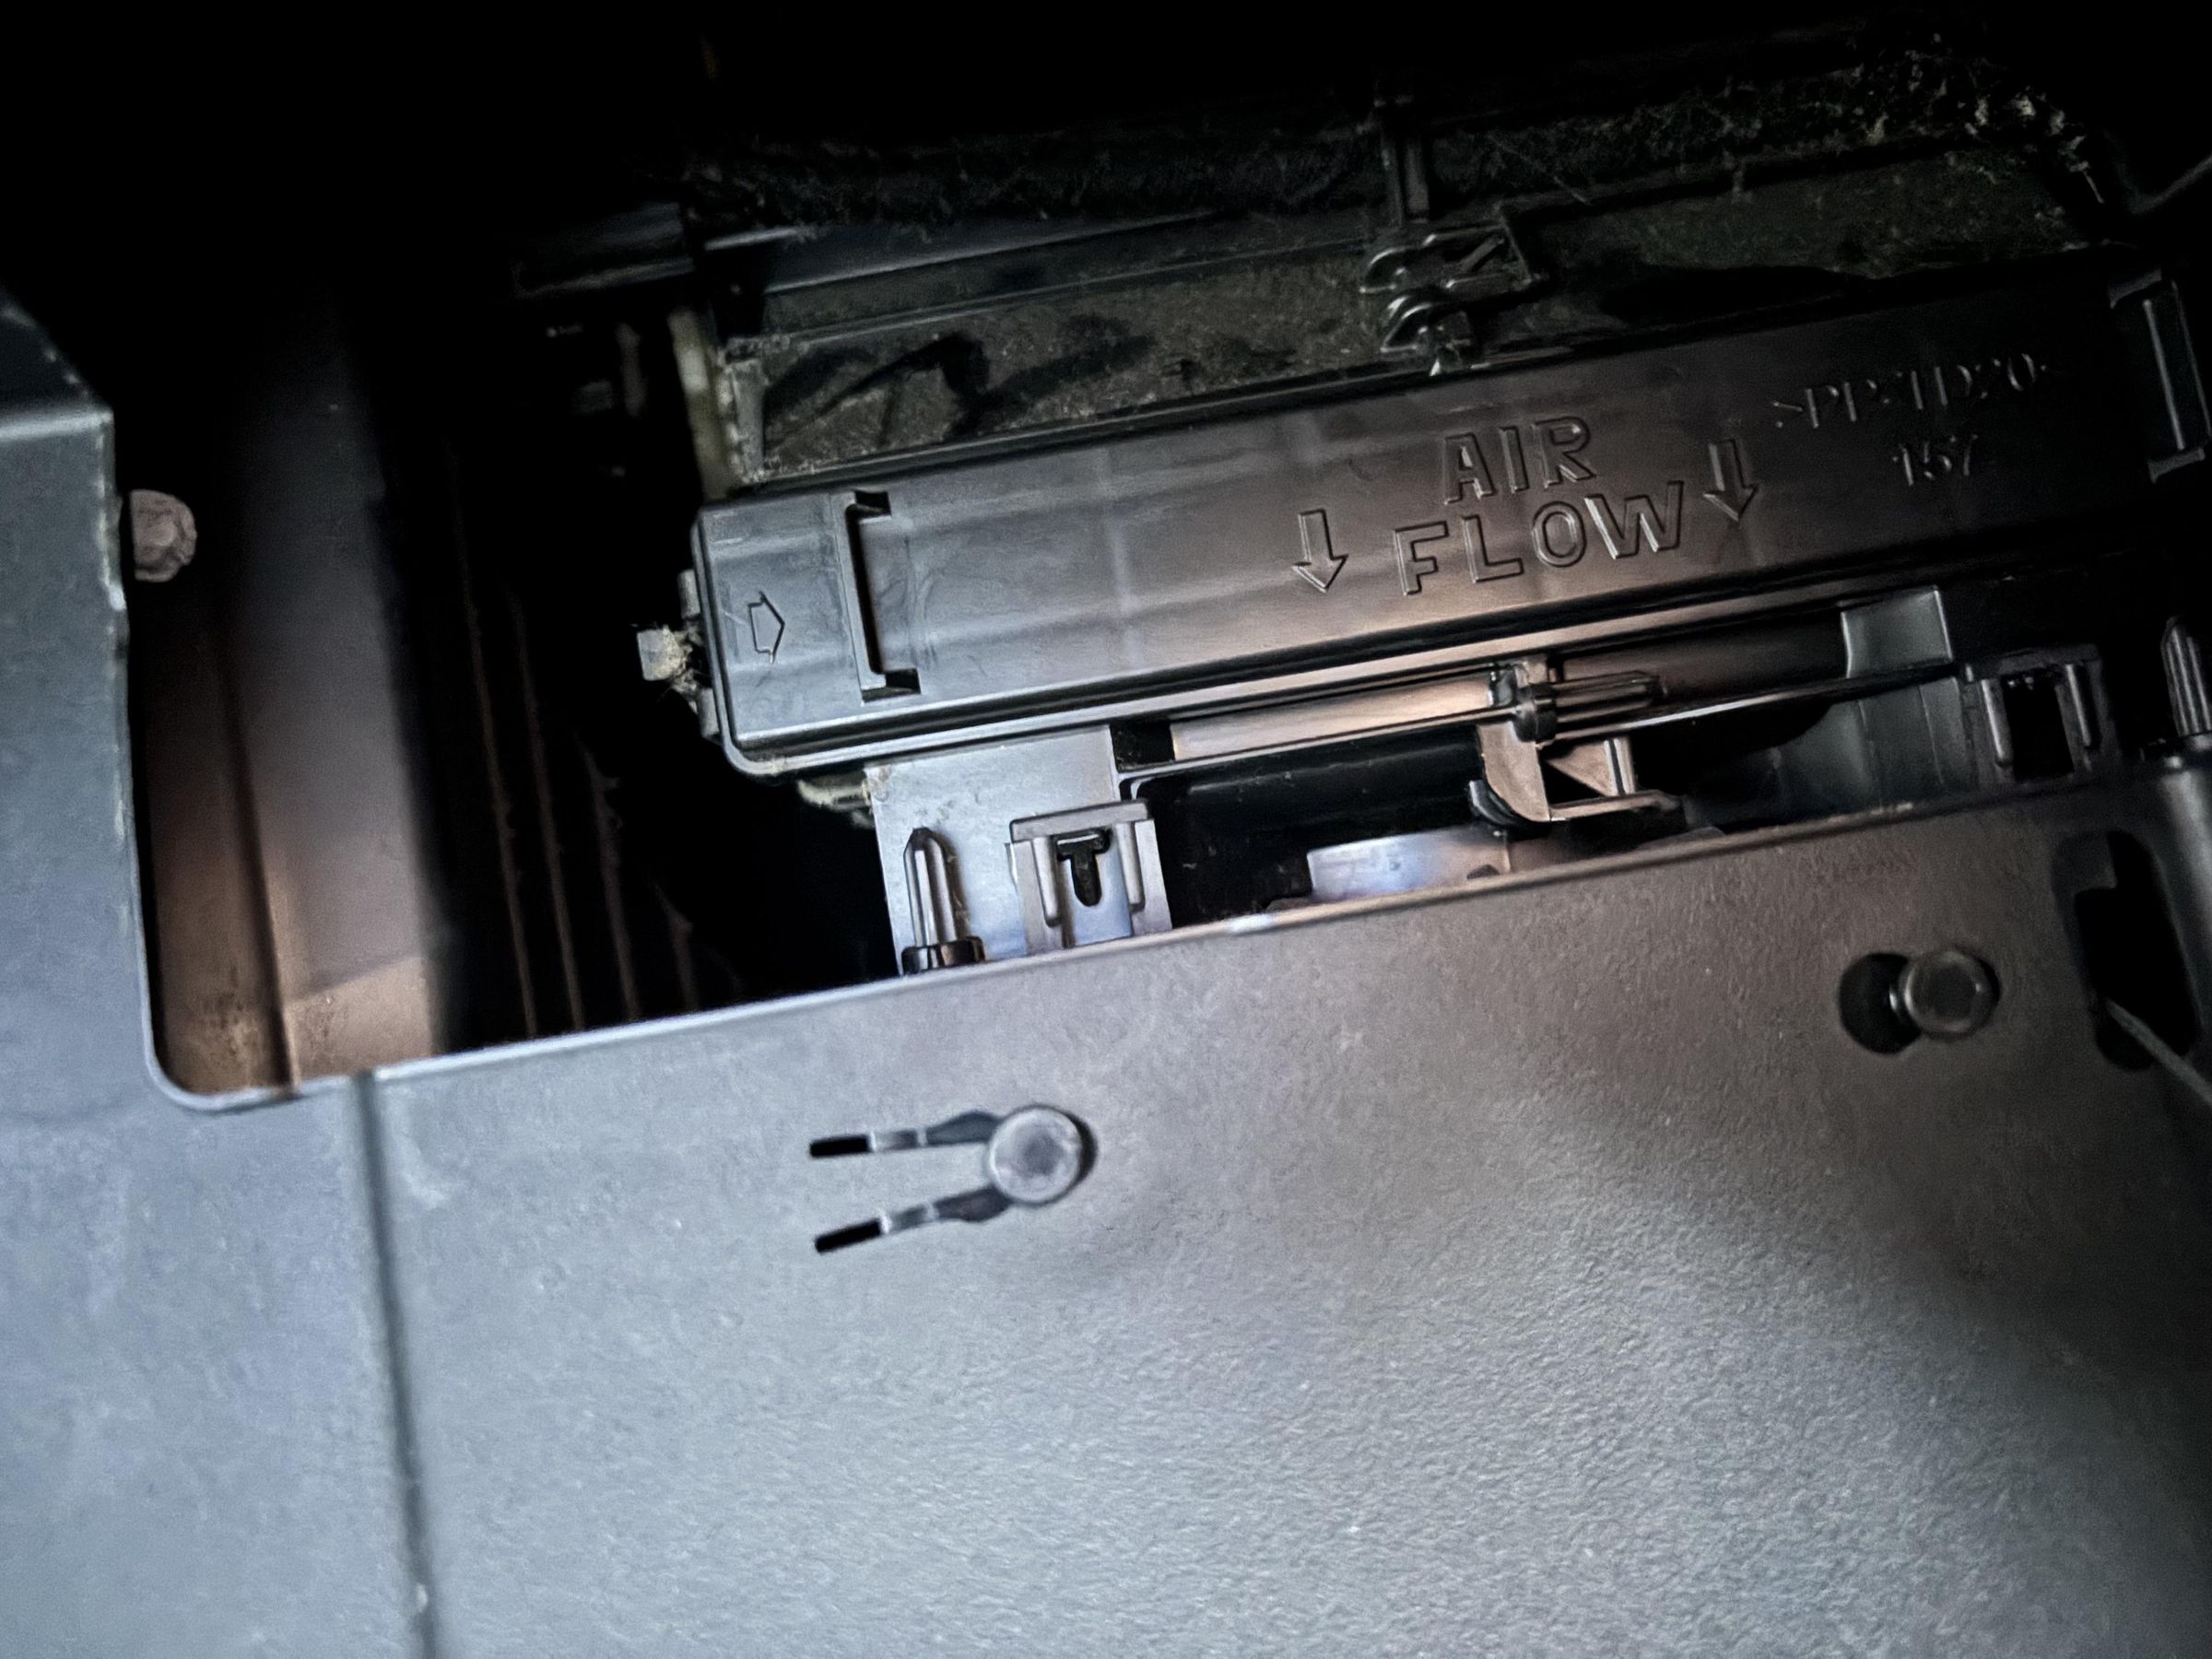
Grab the tabs and lock the cabin air filter cap back in the slot, securing it and making sure the arrows are facing downwards, just like how it was before.
Resecure the Cover and Reassemble the Dash
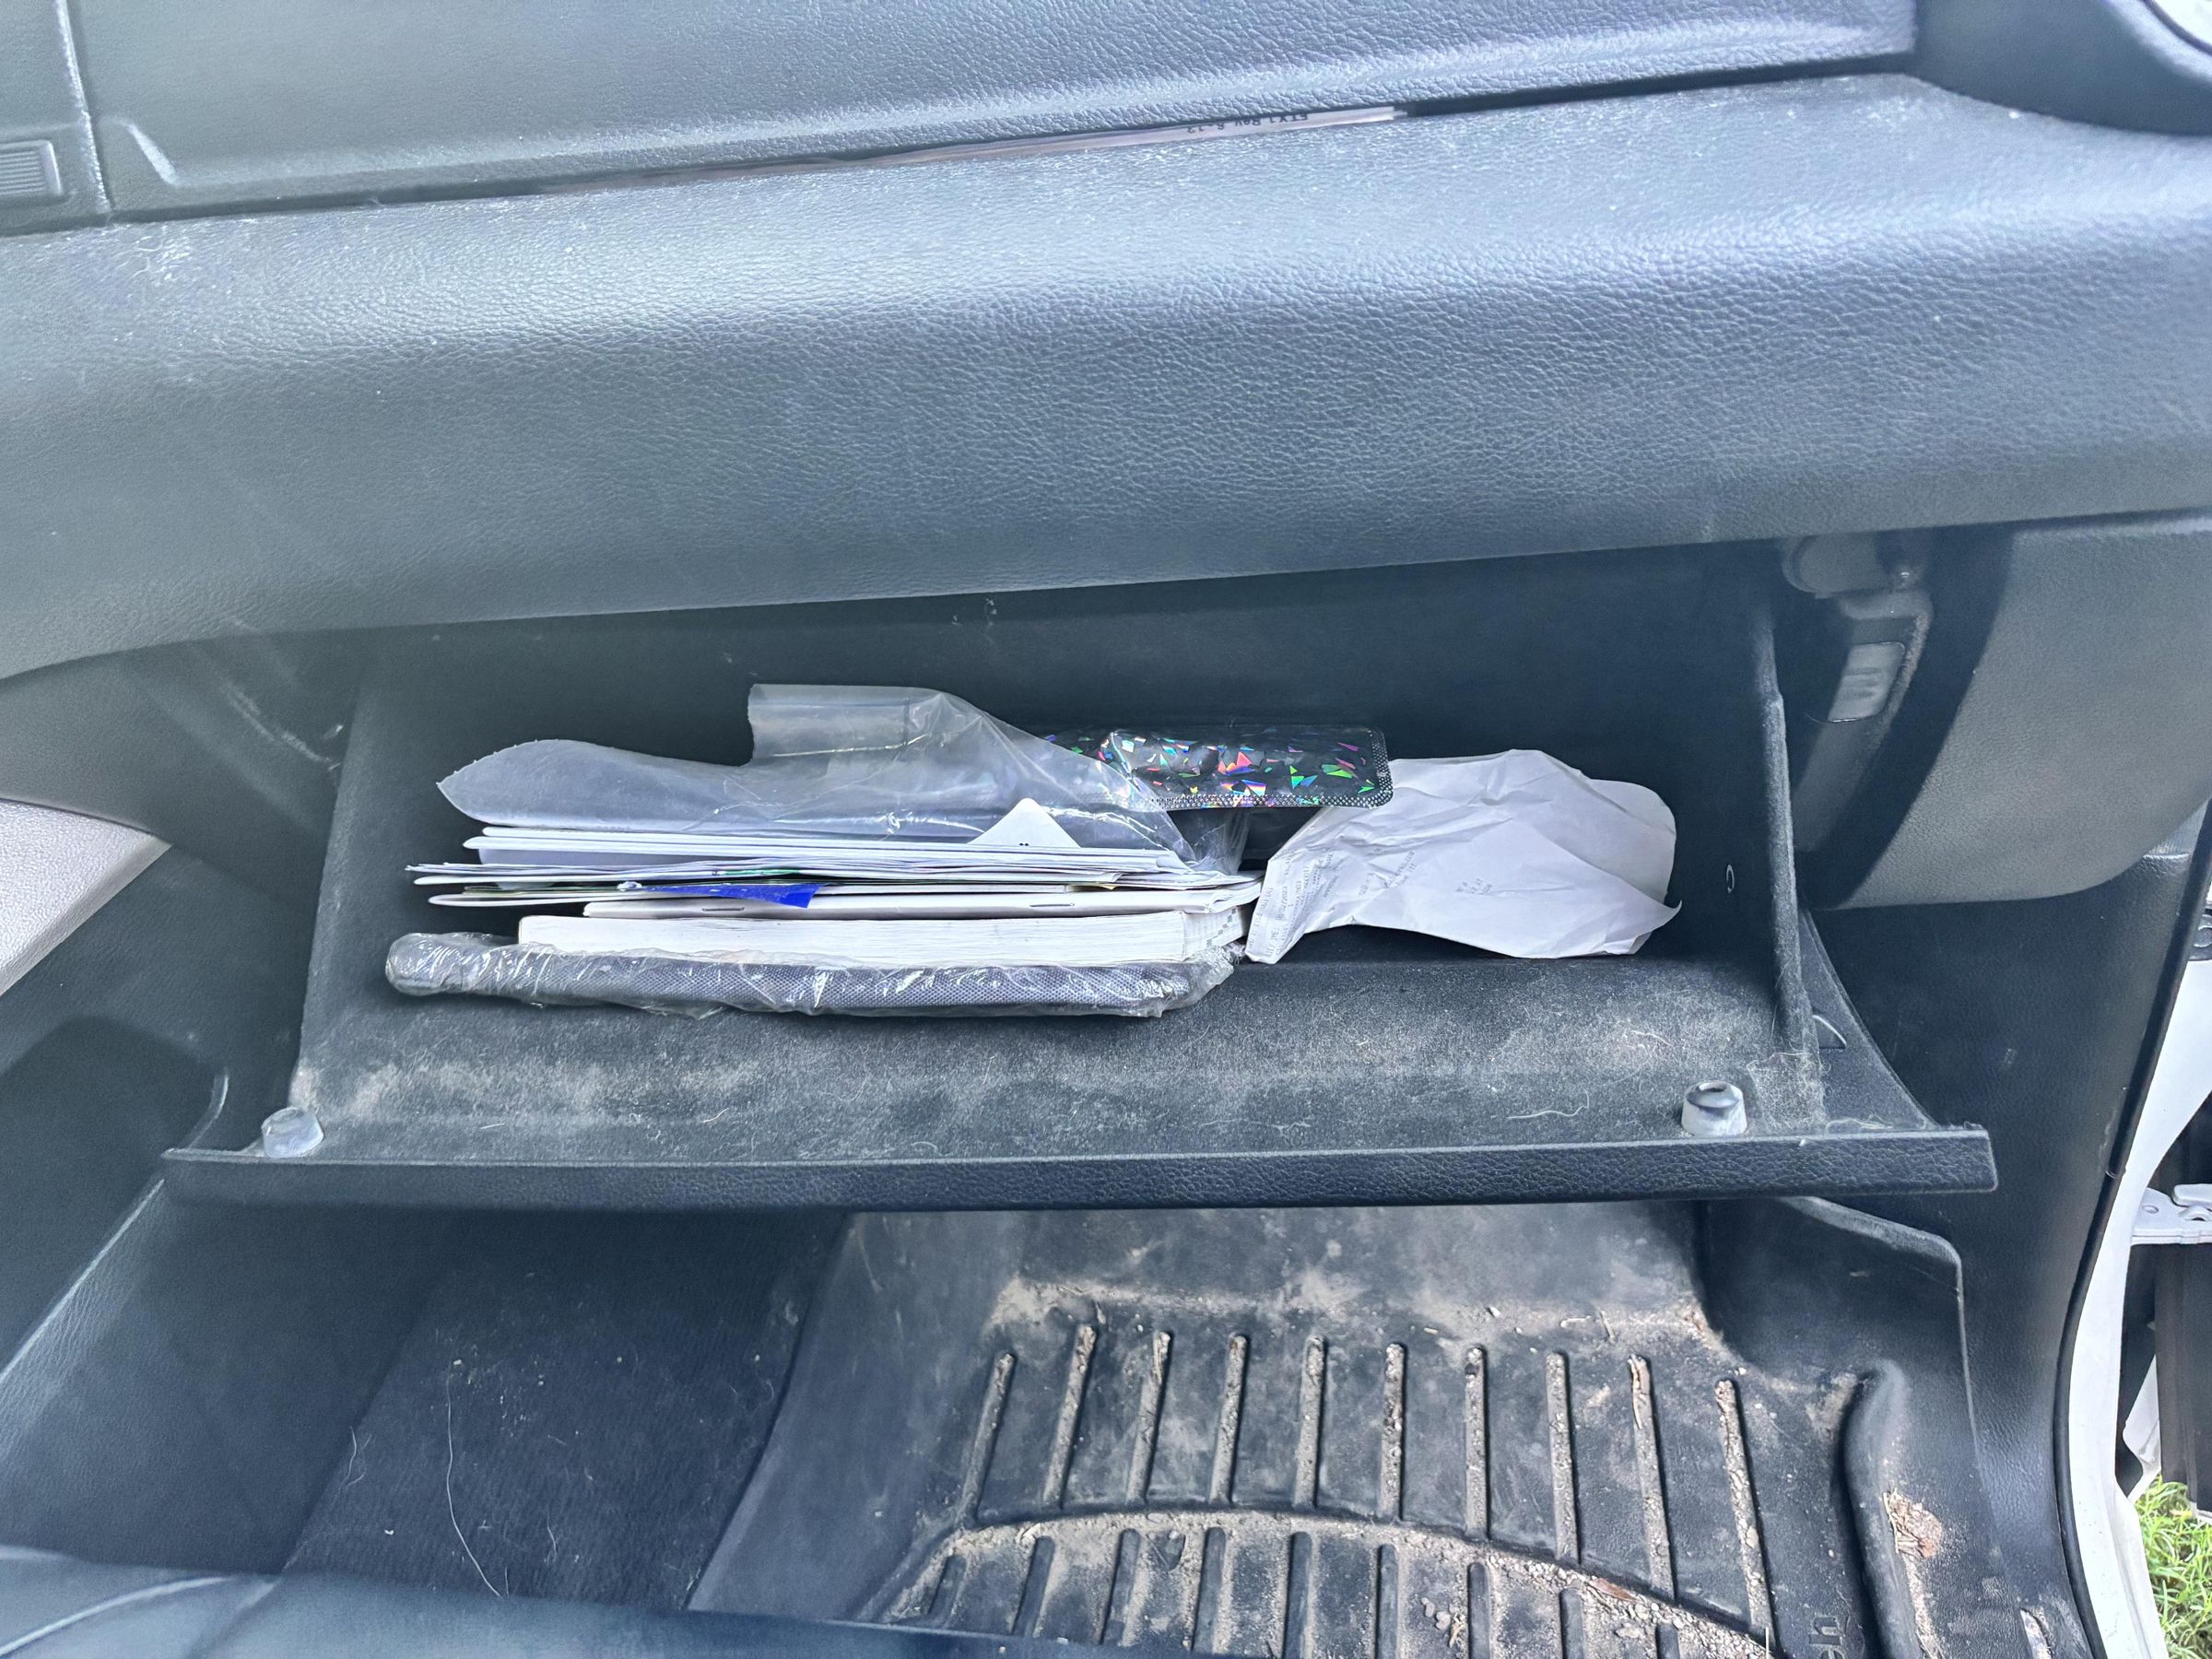
Snap the filter access door back into place until it clicks, lift the glove box back up, press the sidewalls inward past the stops, and snap the dampener arm back onto its pin.
Close the Glovebox and Throw Away the Dirty Air Filter
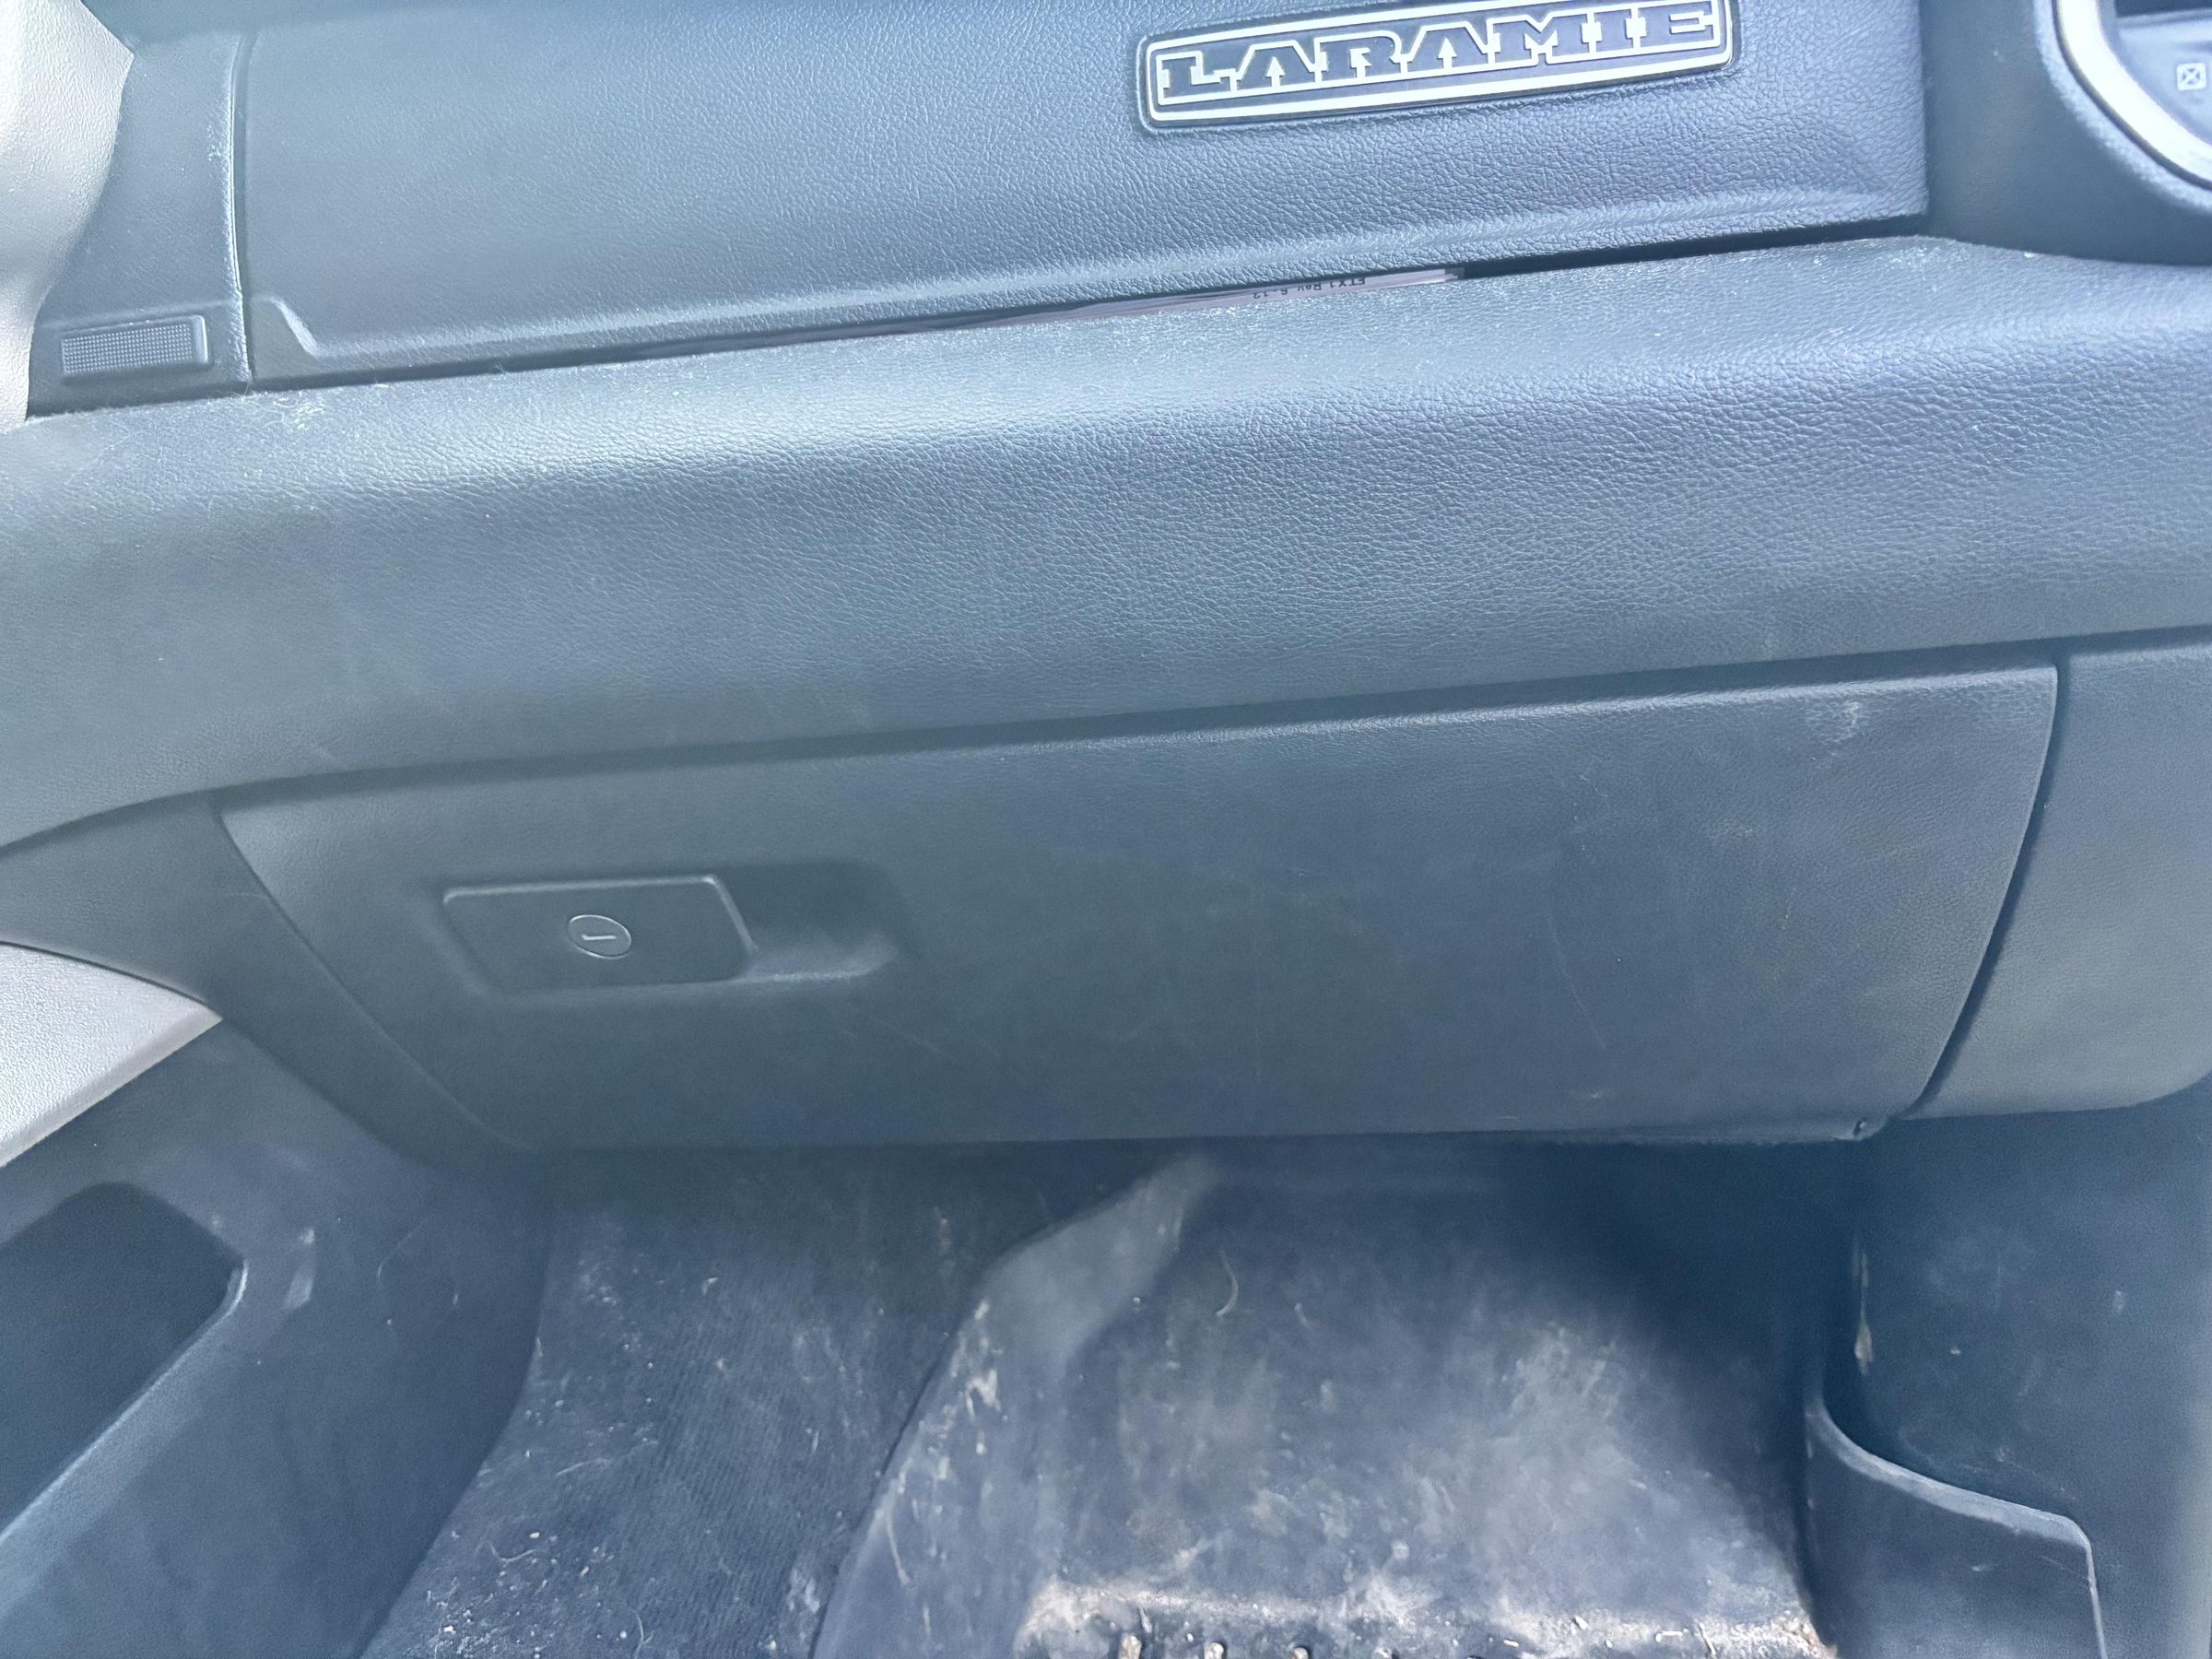
Close the glovebox compartment, ensuring that it will close fully. Then, throw away the dirty cabin air filter.