How to Control Your RC Car With a Gaming Console Controller
by NieuborgJente in Circuits > Electronics
65 Views, 0 Favorites, 0 Comments
How to Control Your RC Car With a Gaming Console Controller
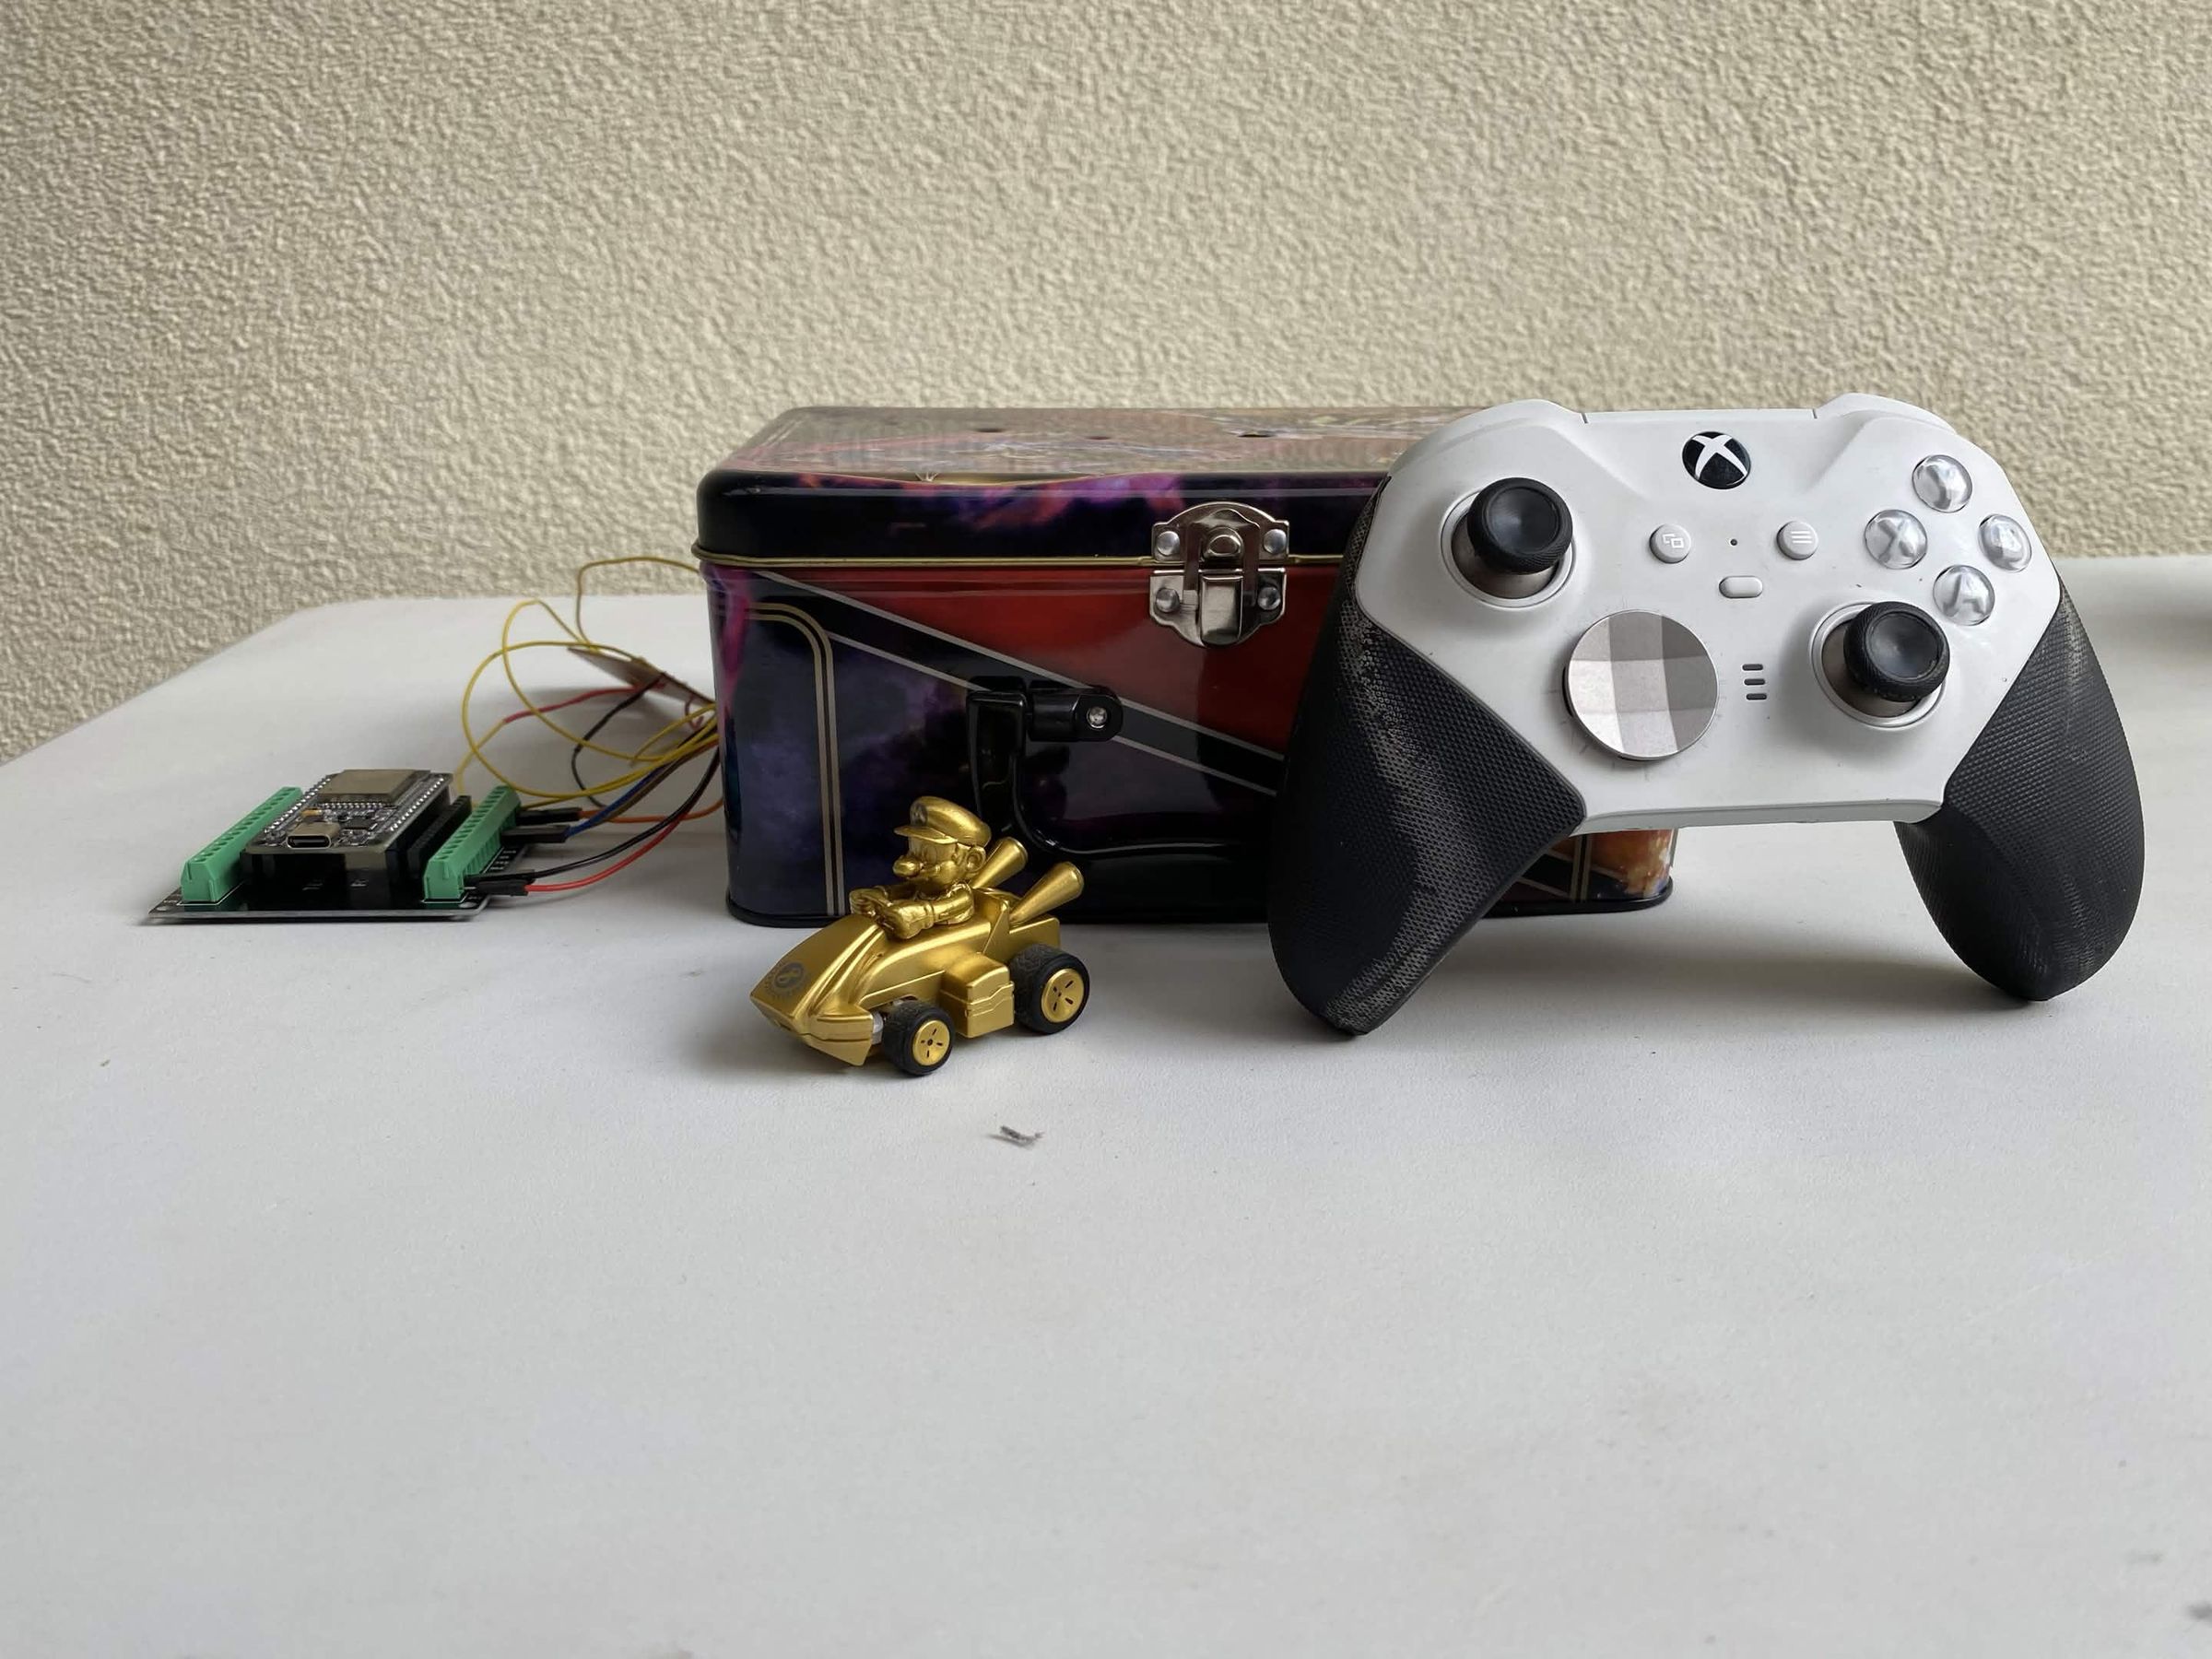
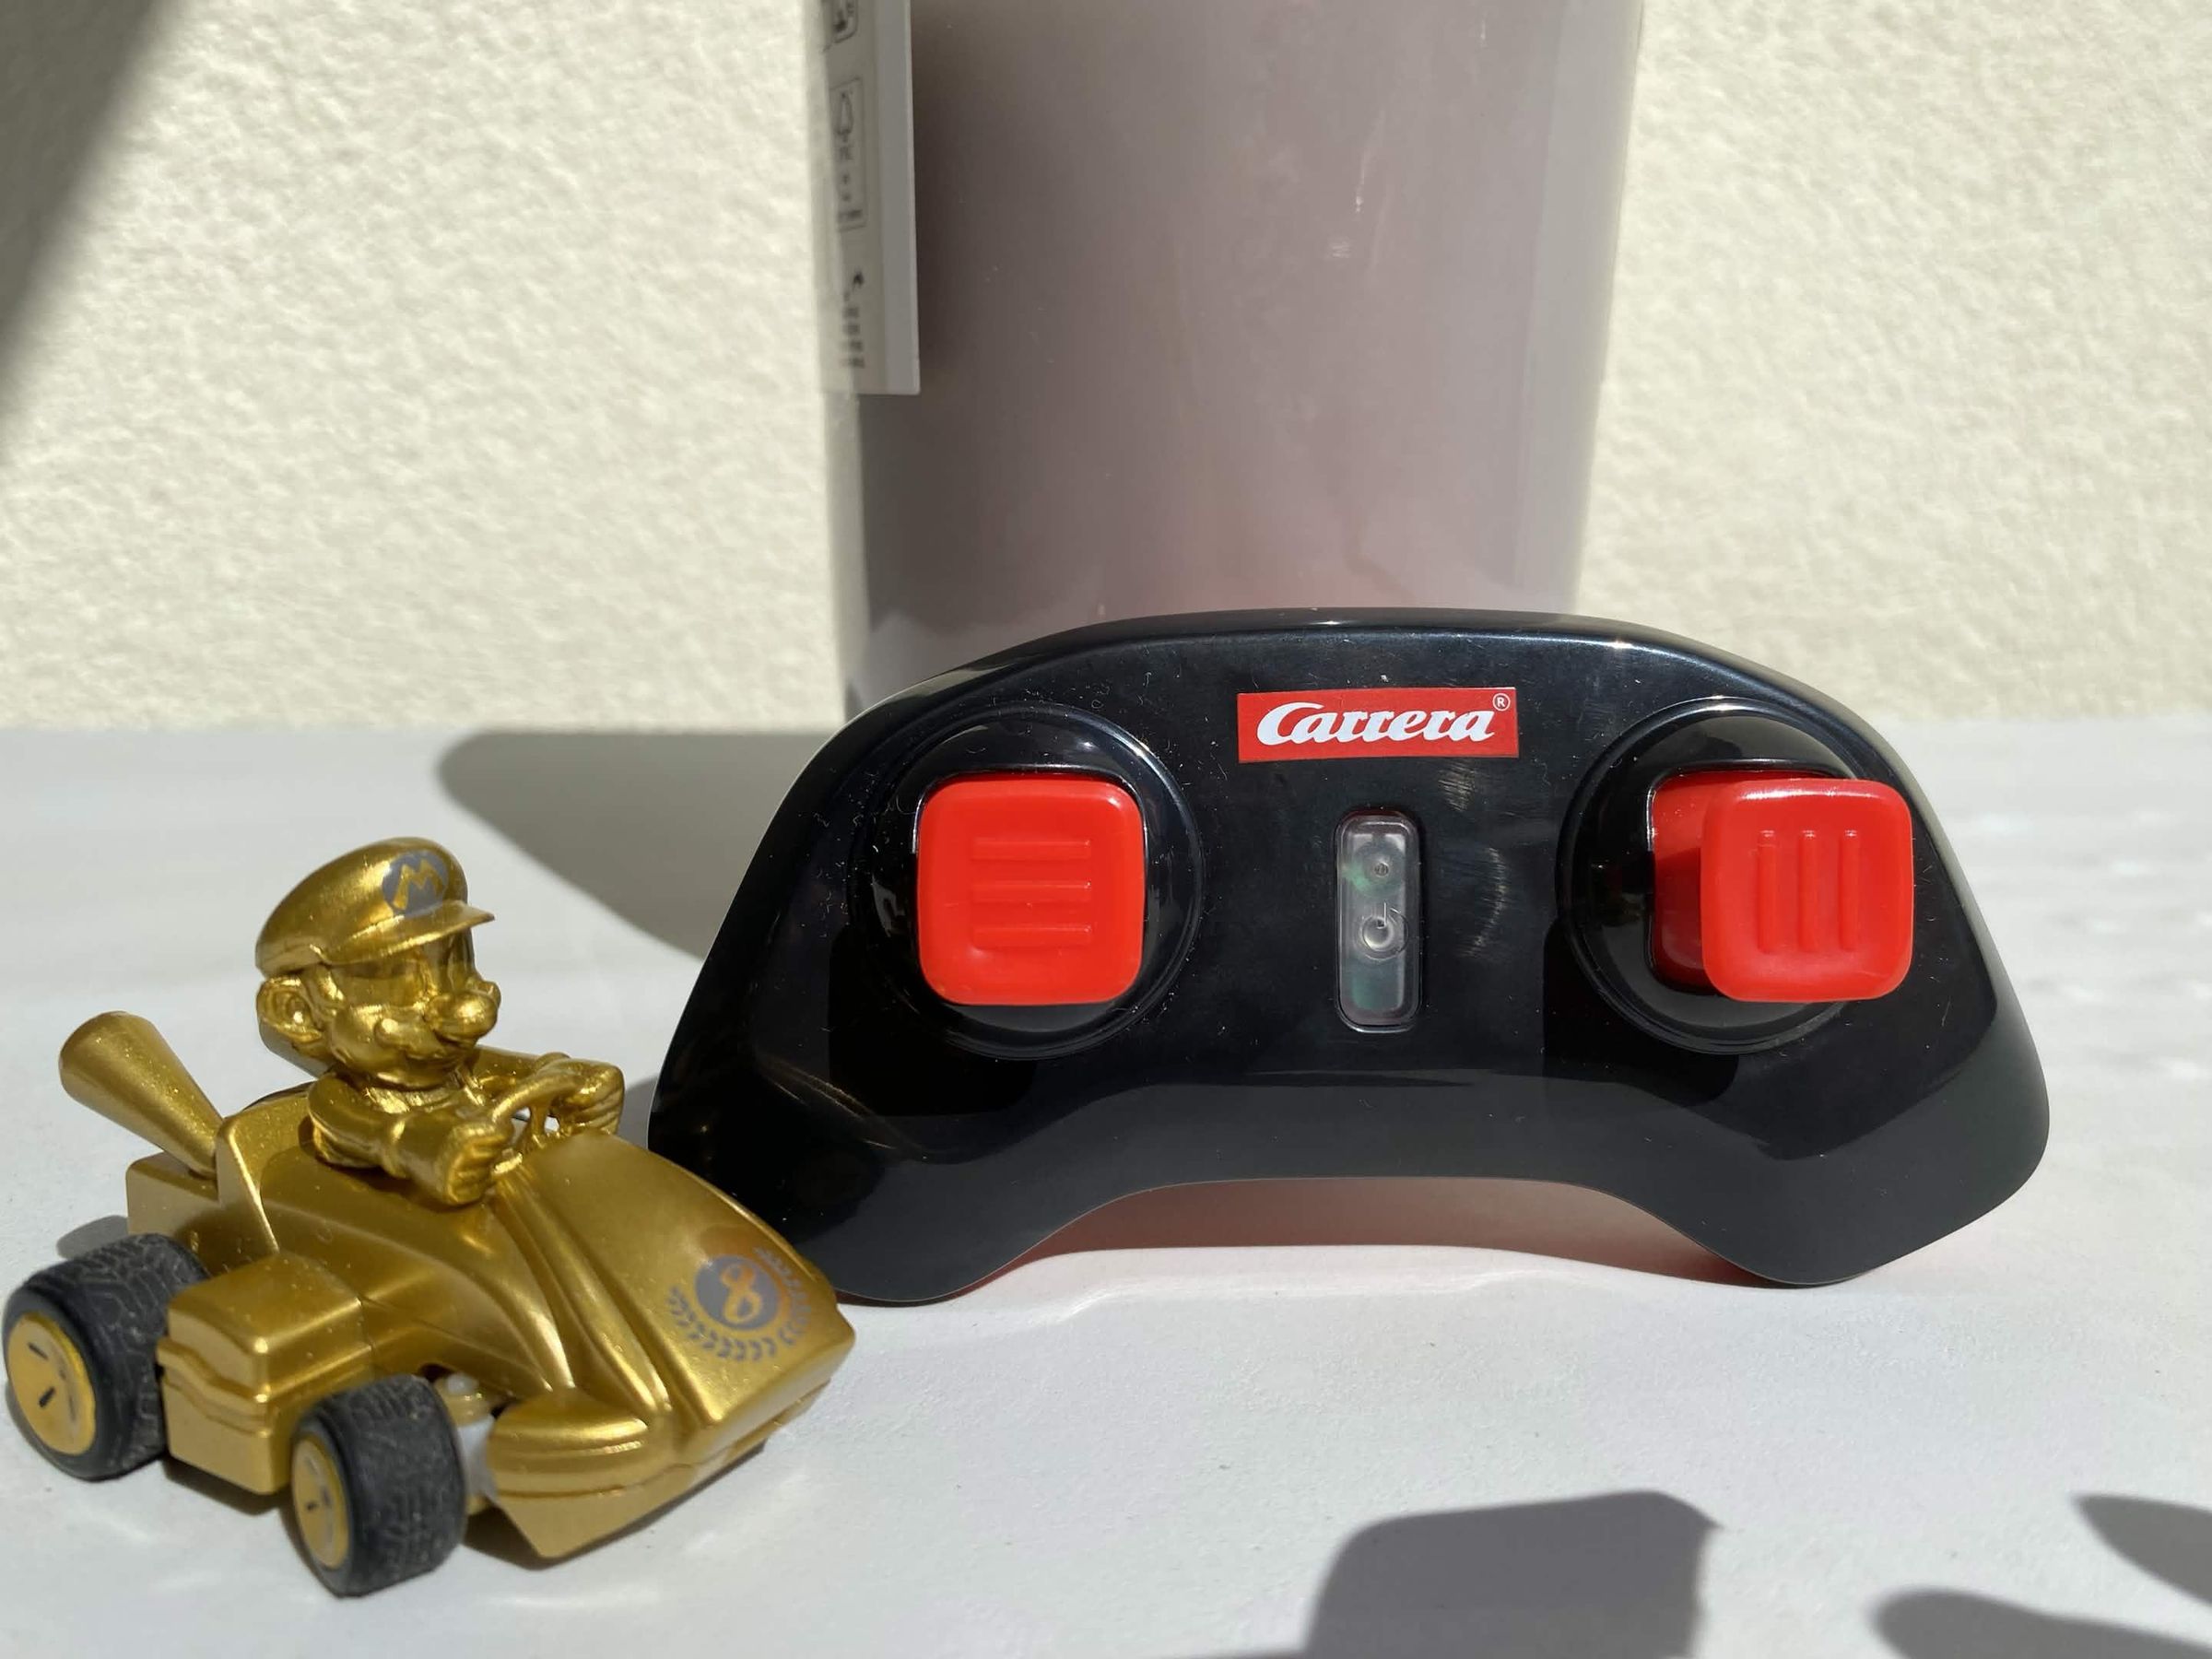
Tired of using the flimsy, cheap stock remote that comes with budget RC cars? In this project, we are upgrading the experience by hacking a cheap RC car and replacing its original controller with a wireless Xbox controller!
Using an ESP32 microcontroller, a custom PN2222 transistor interface circuit, and Bluepad32, you can bridge a modern Bluetooth gamepad directly to the car's built-in button matrix. This setup lets you use the triggers (RT/LT) for smooth throttle control and the joystick for steering—all without modifying the car's internal logic board permanently.
Whether you're an MCT (Multimedia & Communication Technology) student or just an enthusiastic maker looking for a fun weekend project, this guide will show you how to take your RC driving to the next level!
Supplies
Materials:
- 1 RC car + controller
- 4 Transistors (PN2222)
- 1 Bluetooth controller
- 1 Esp32
- Wires
- 4 Resistors 1k ohm
- 1 USB-C cable
Tools:
- Soldering iron + tin
- Screwdriver
Software:
- Arduino IDE
Breaking the Controller
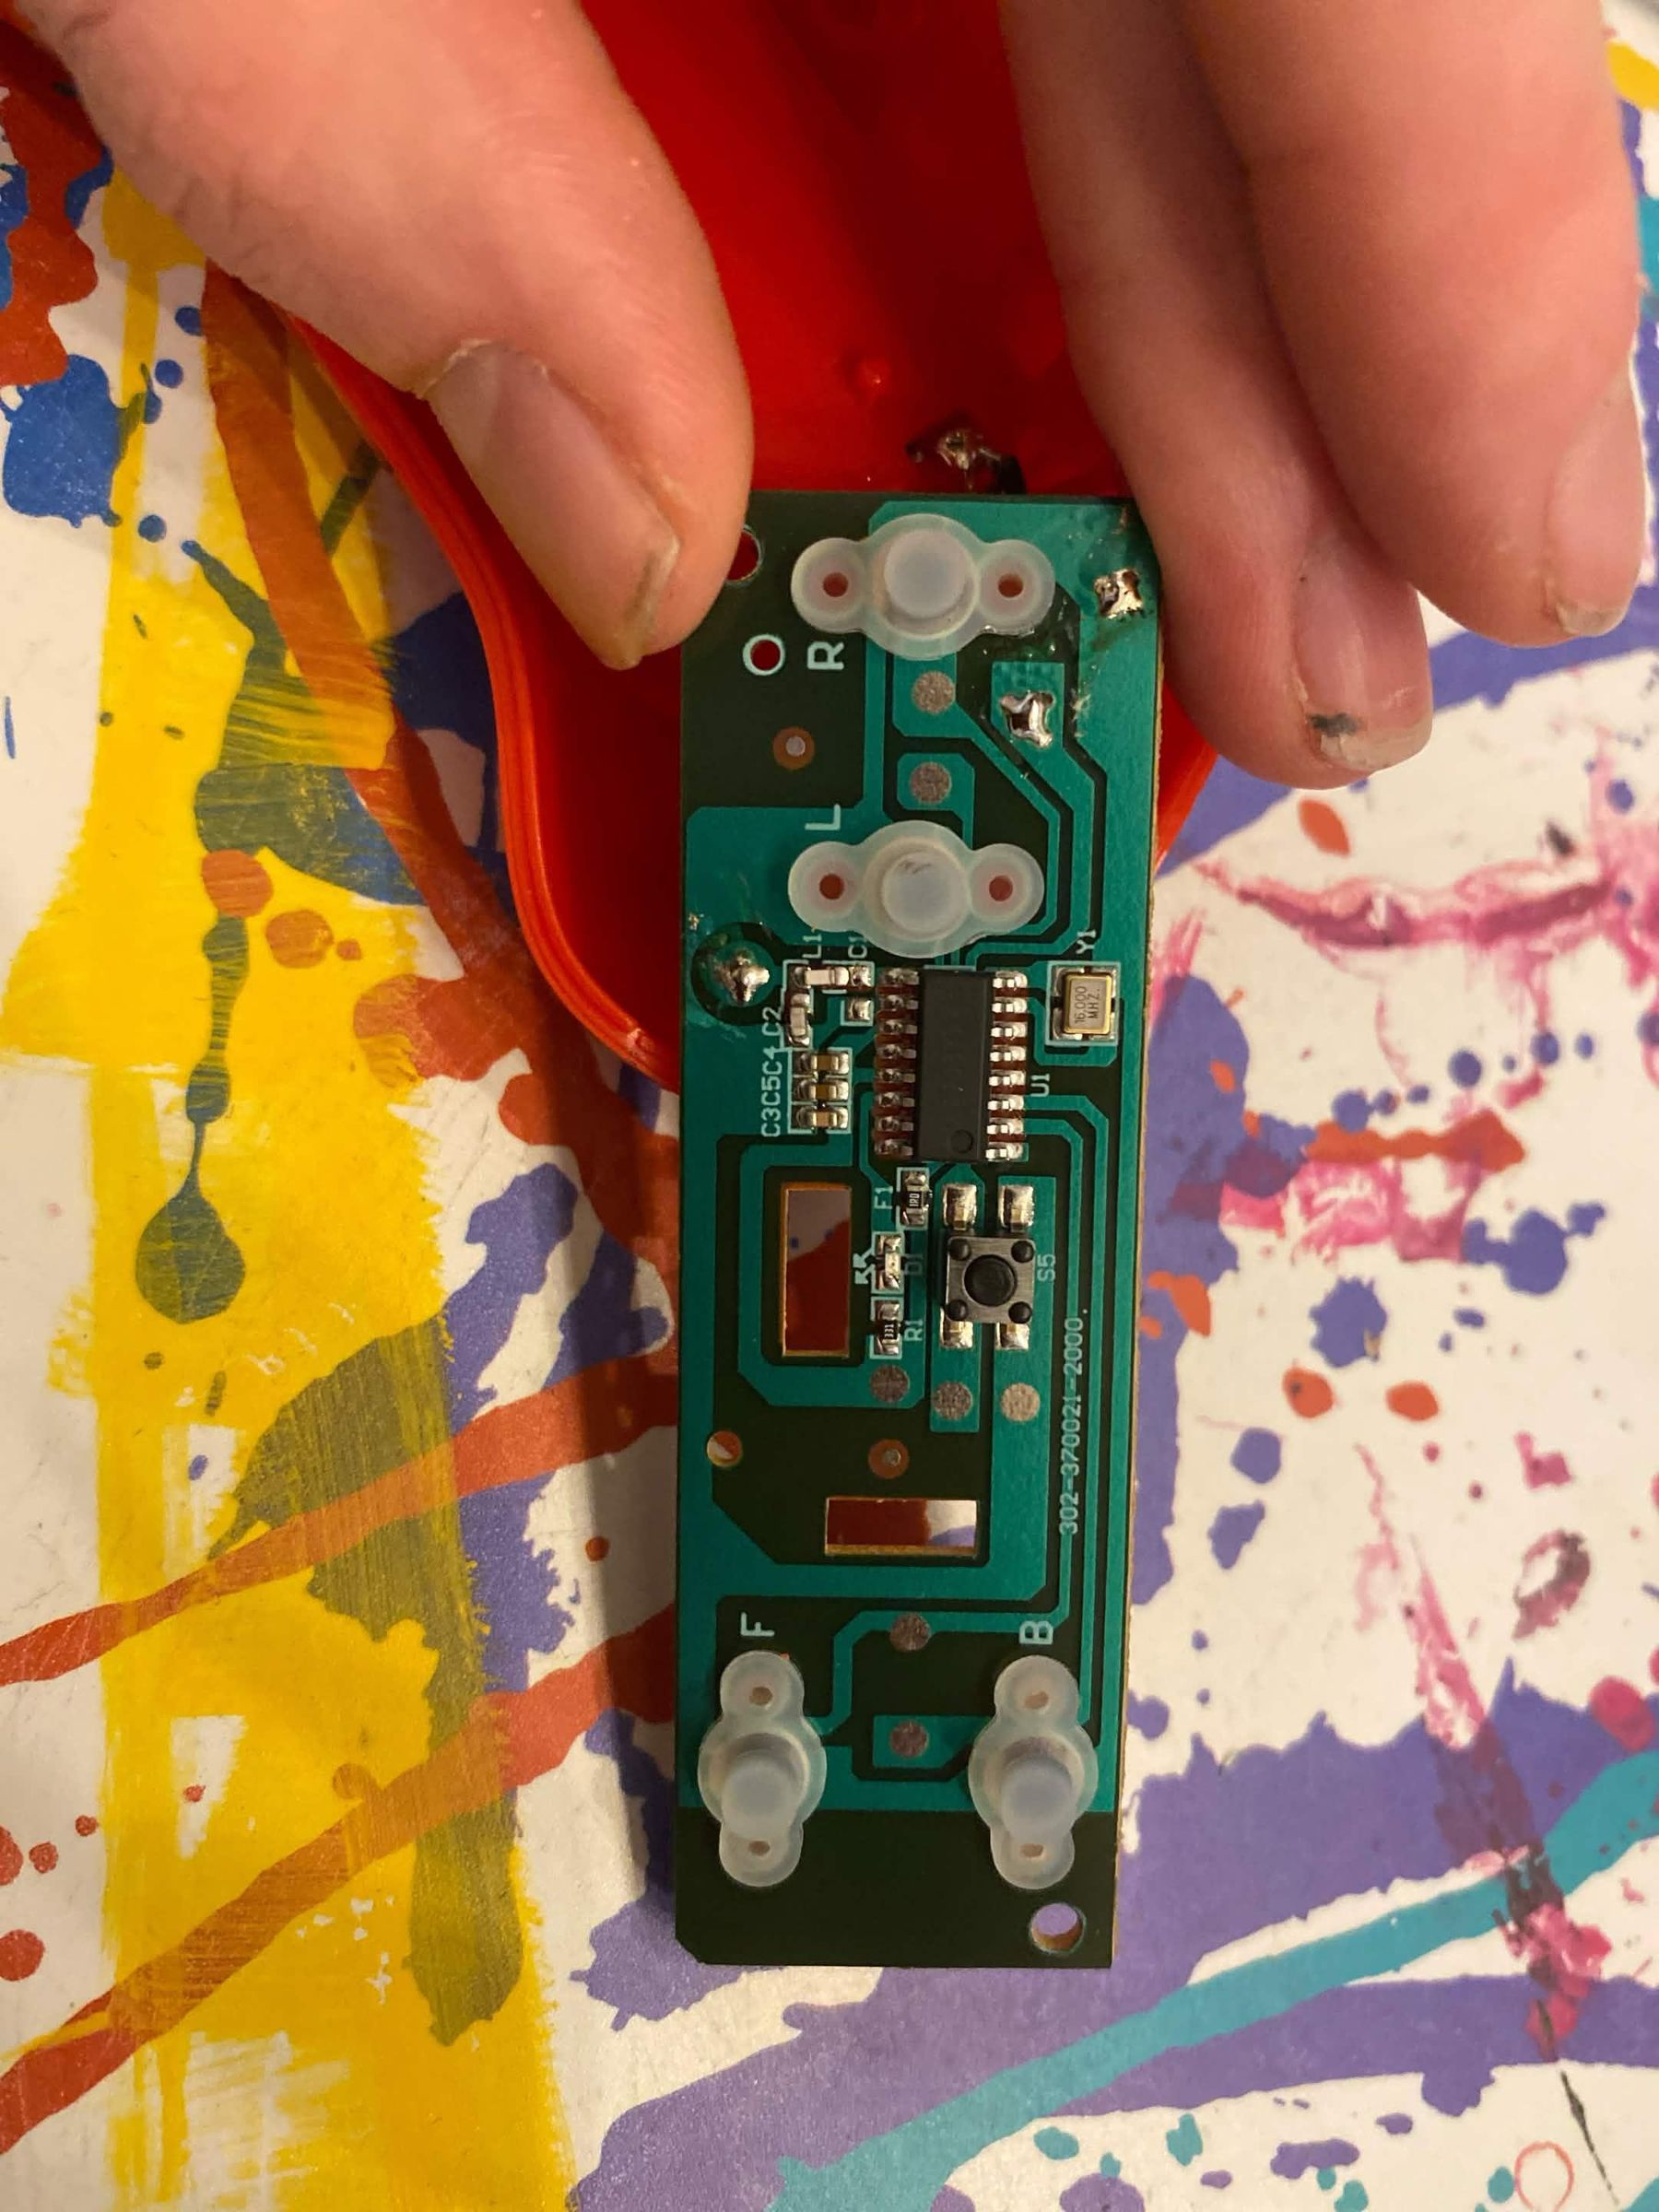
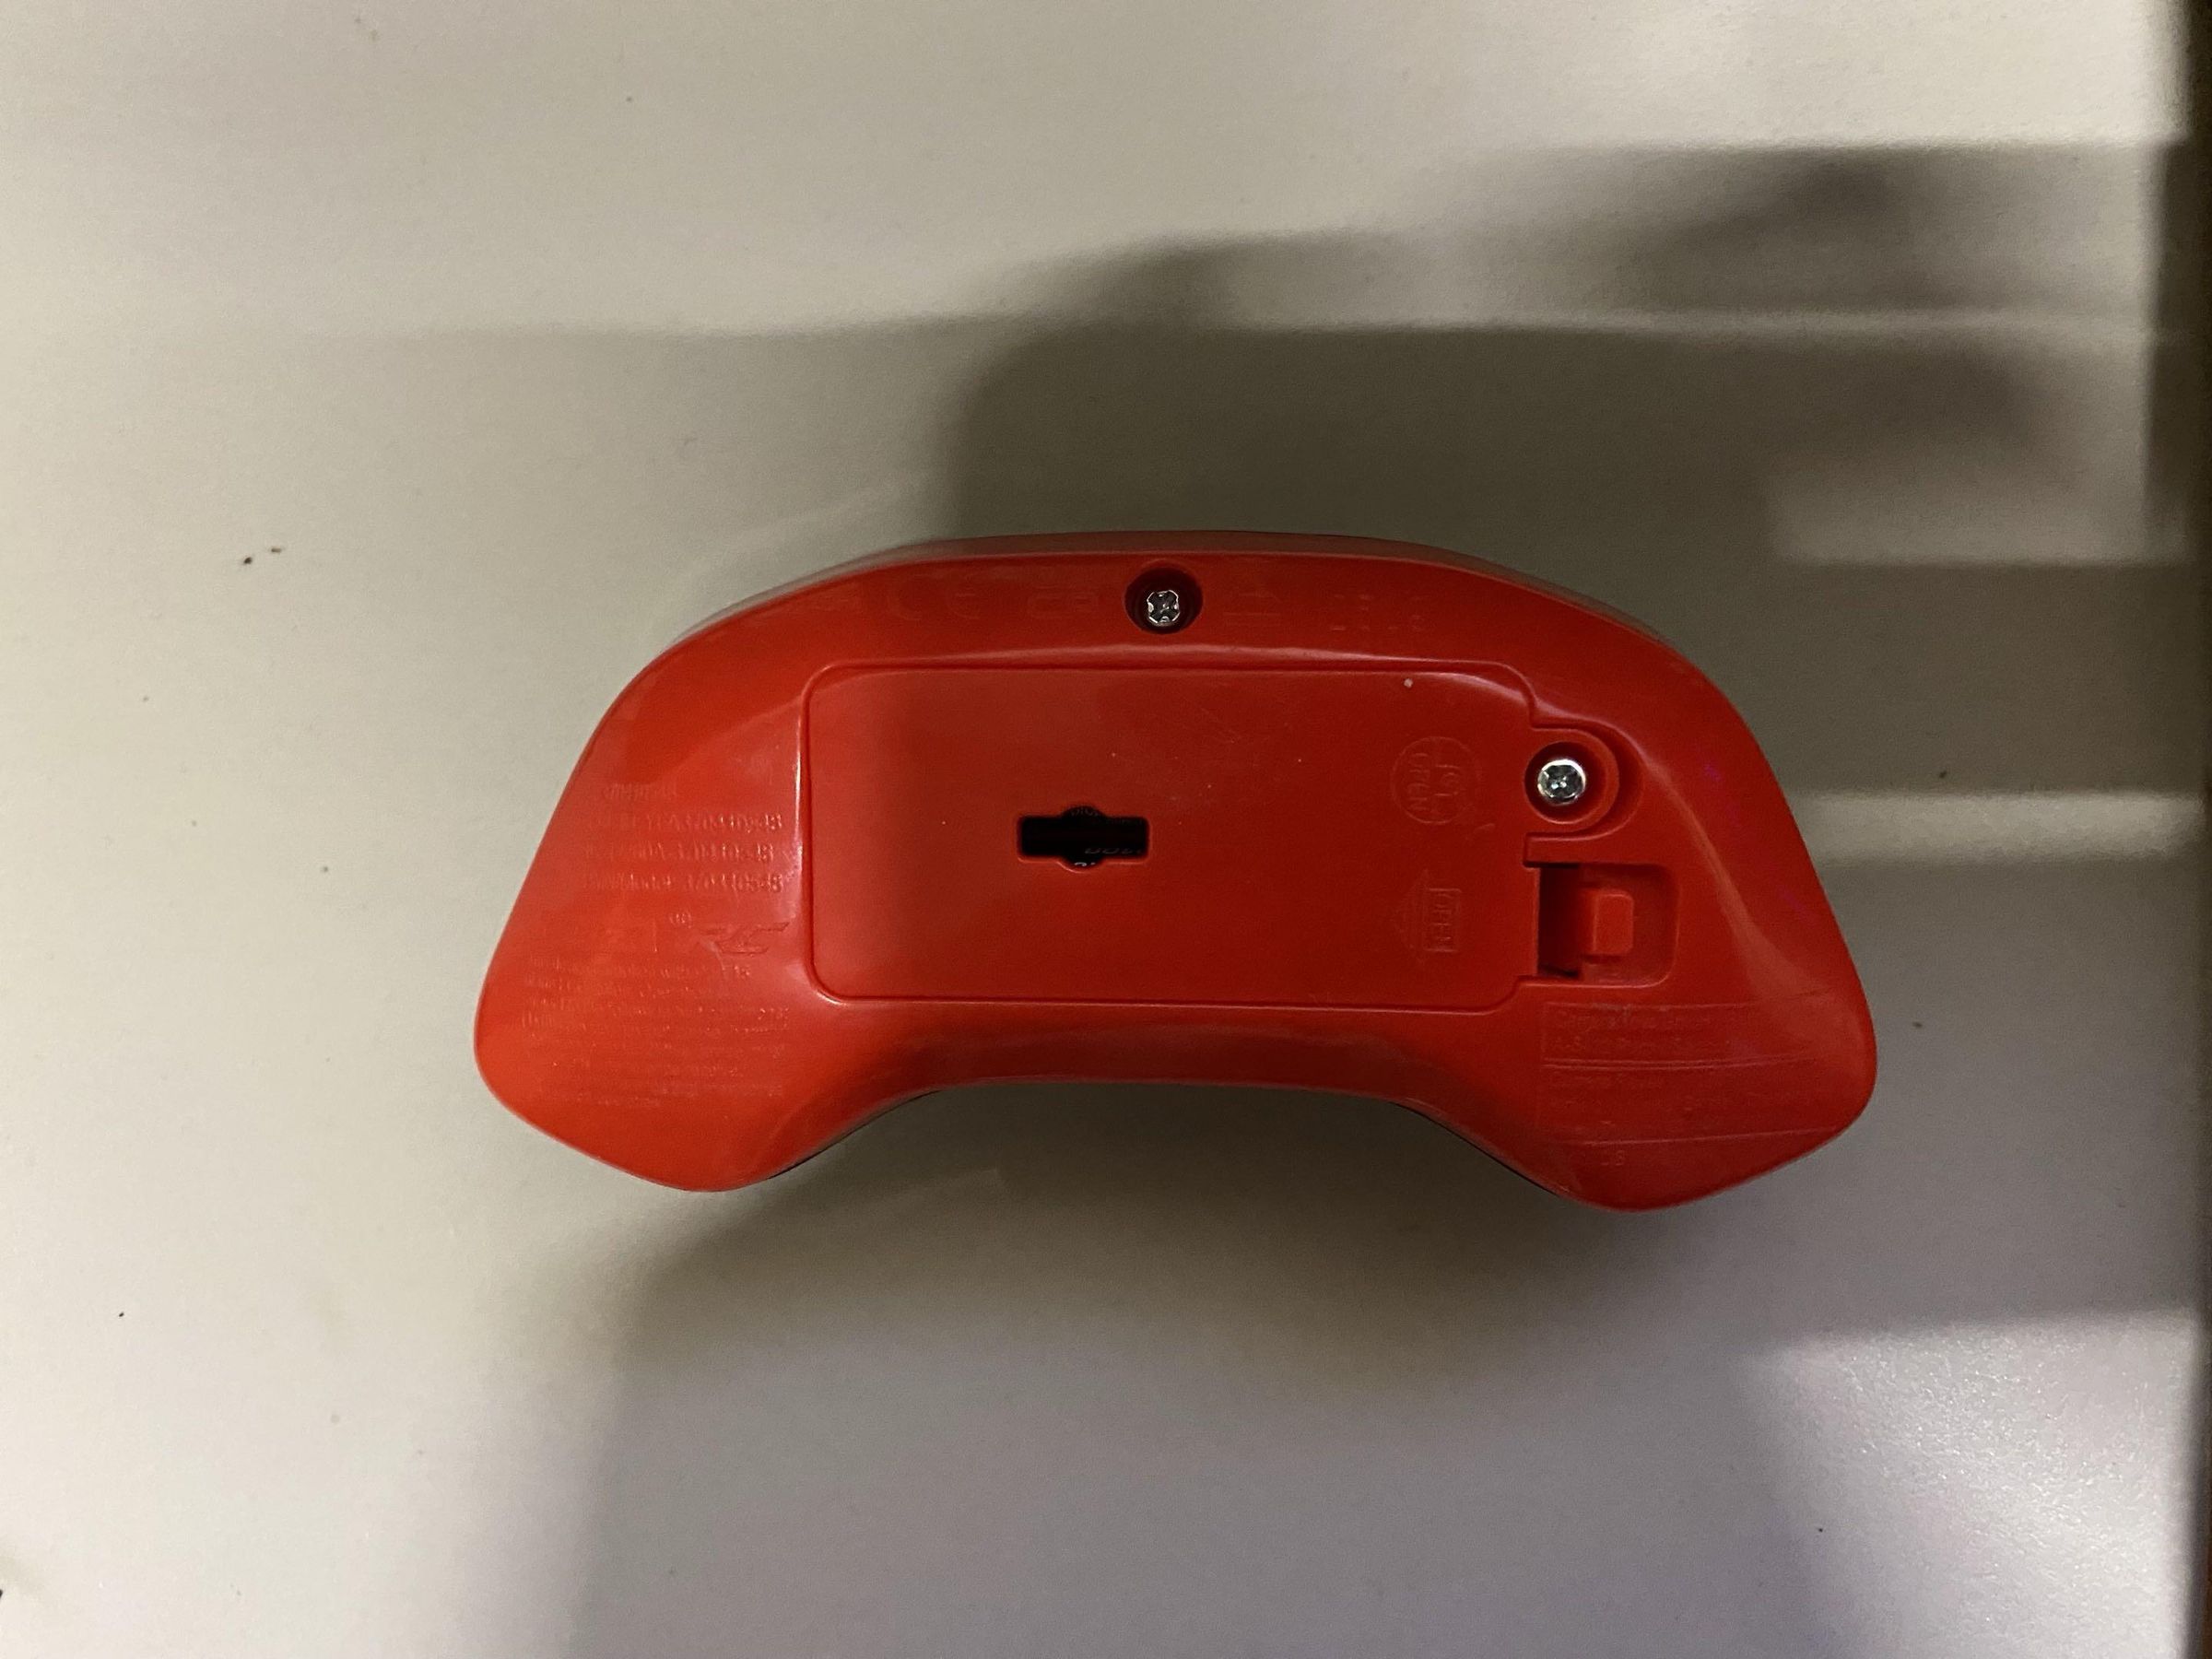
Take a screwdriver to open the controller and take out the PCB. We will need this PCB so the ESP32 can send commands to the RC car. Remove the silicone pads from the PCB.
PCB Soldering
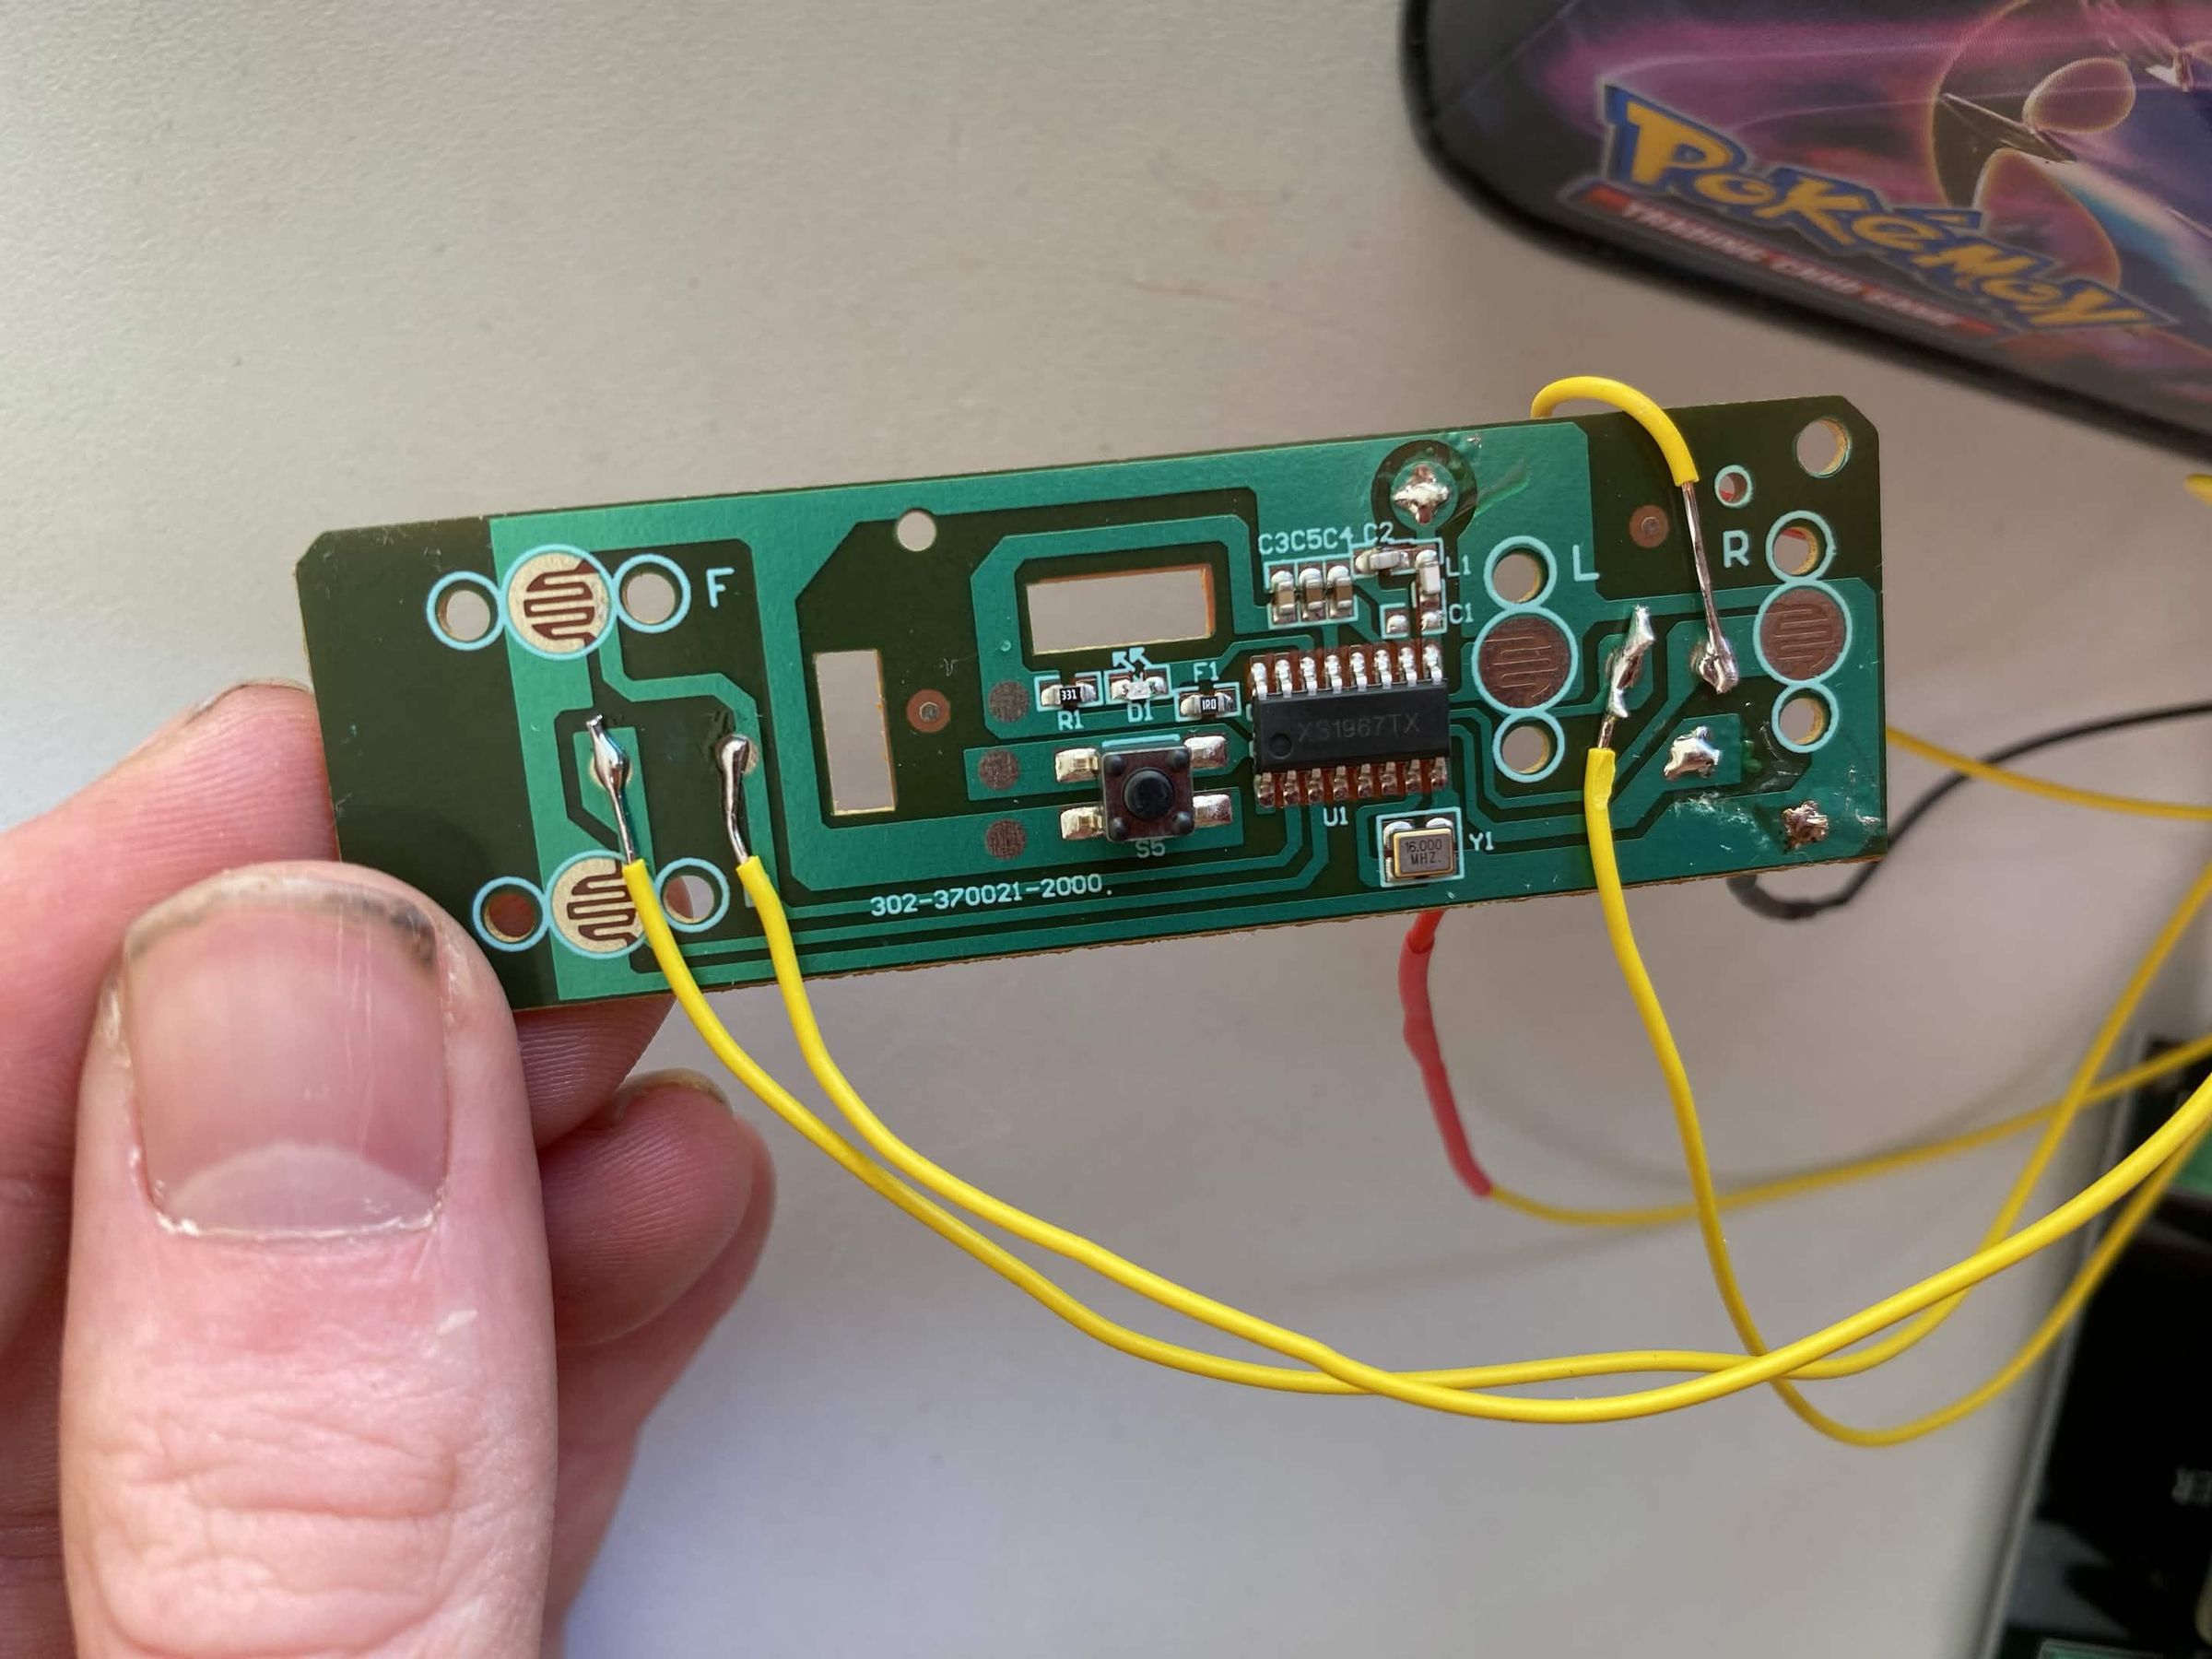
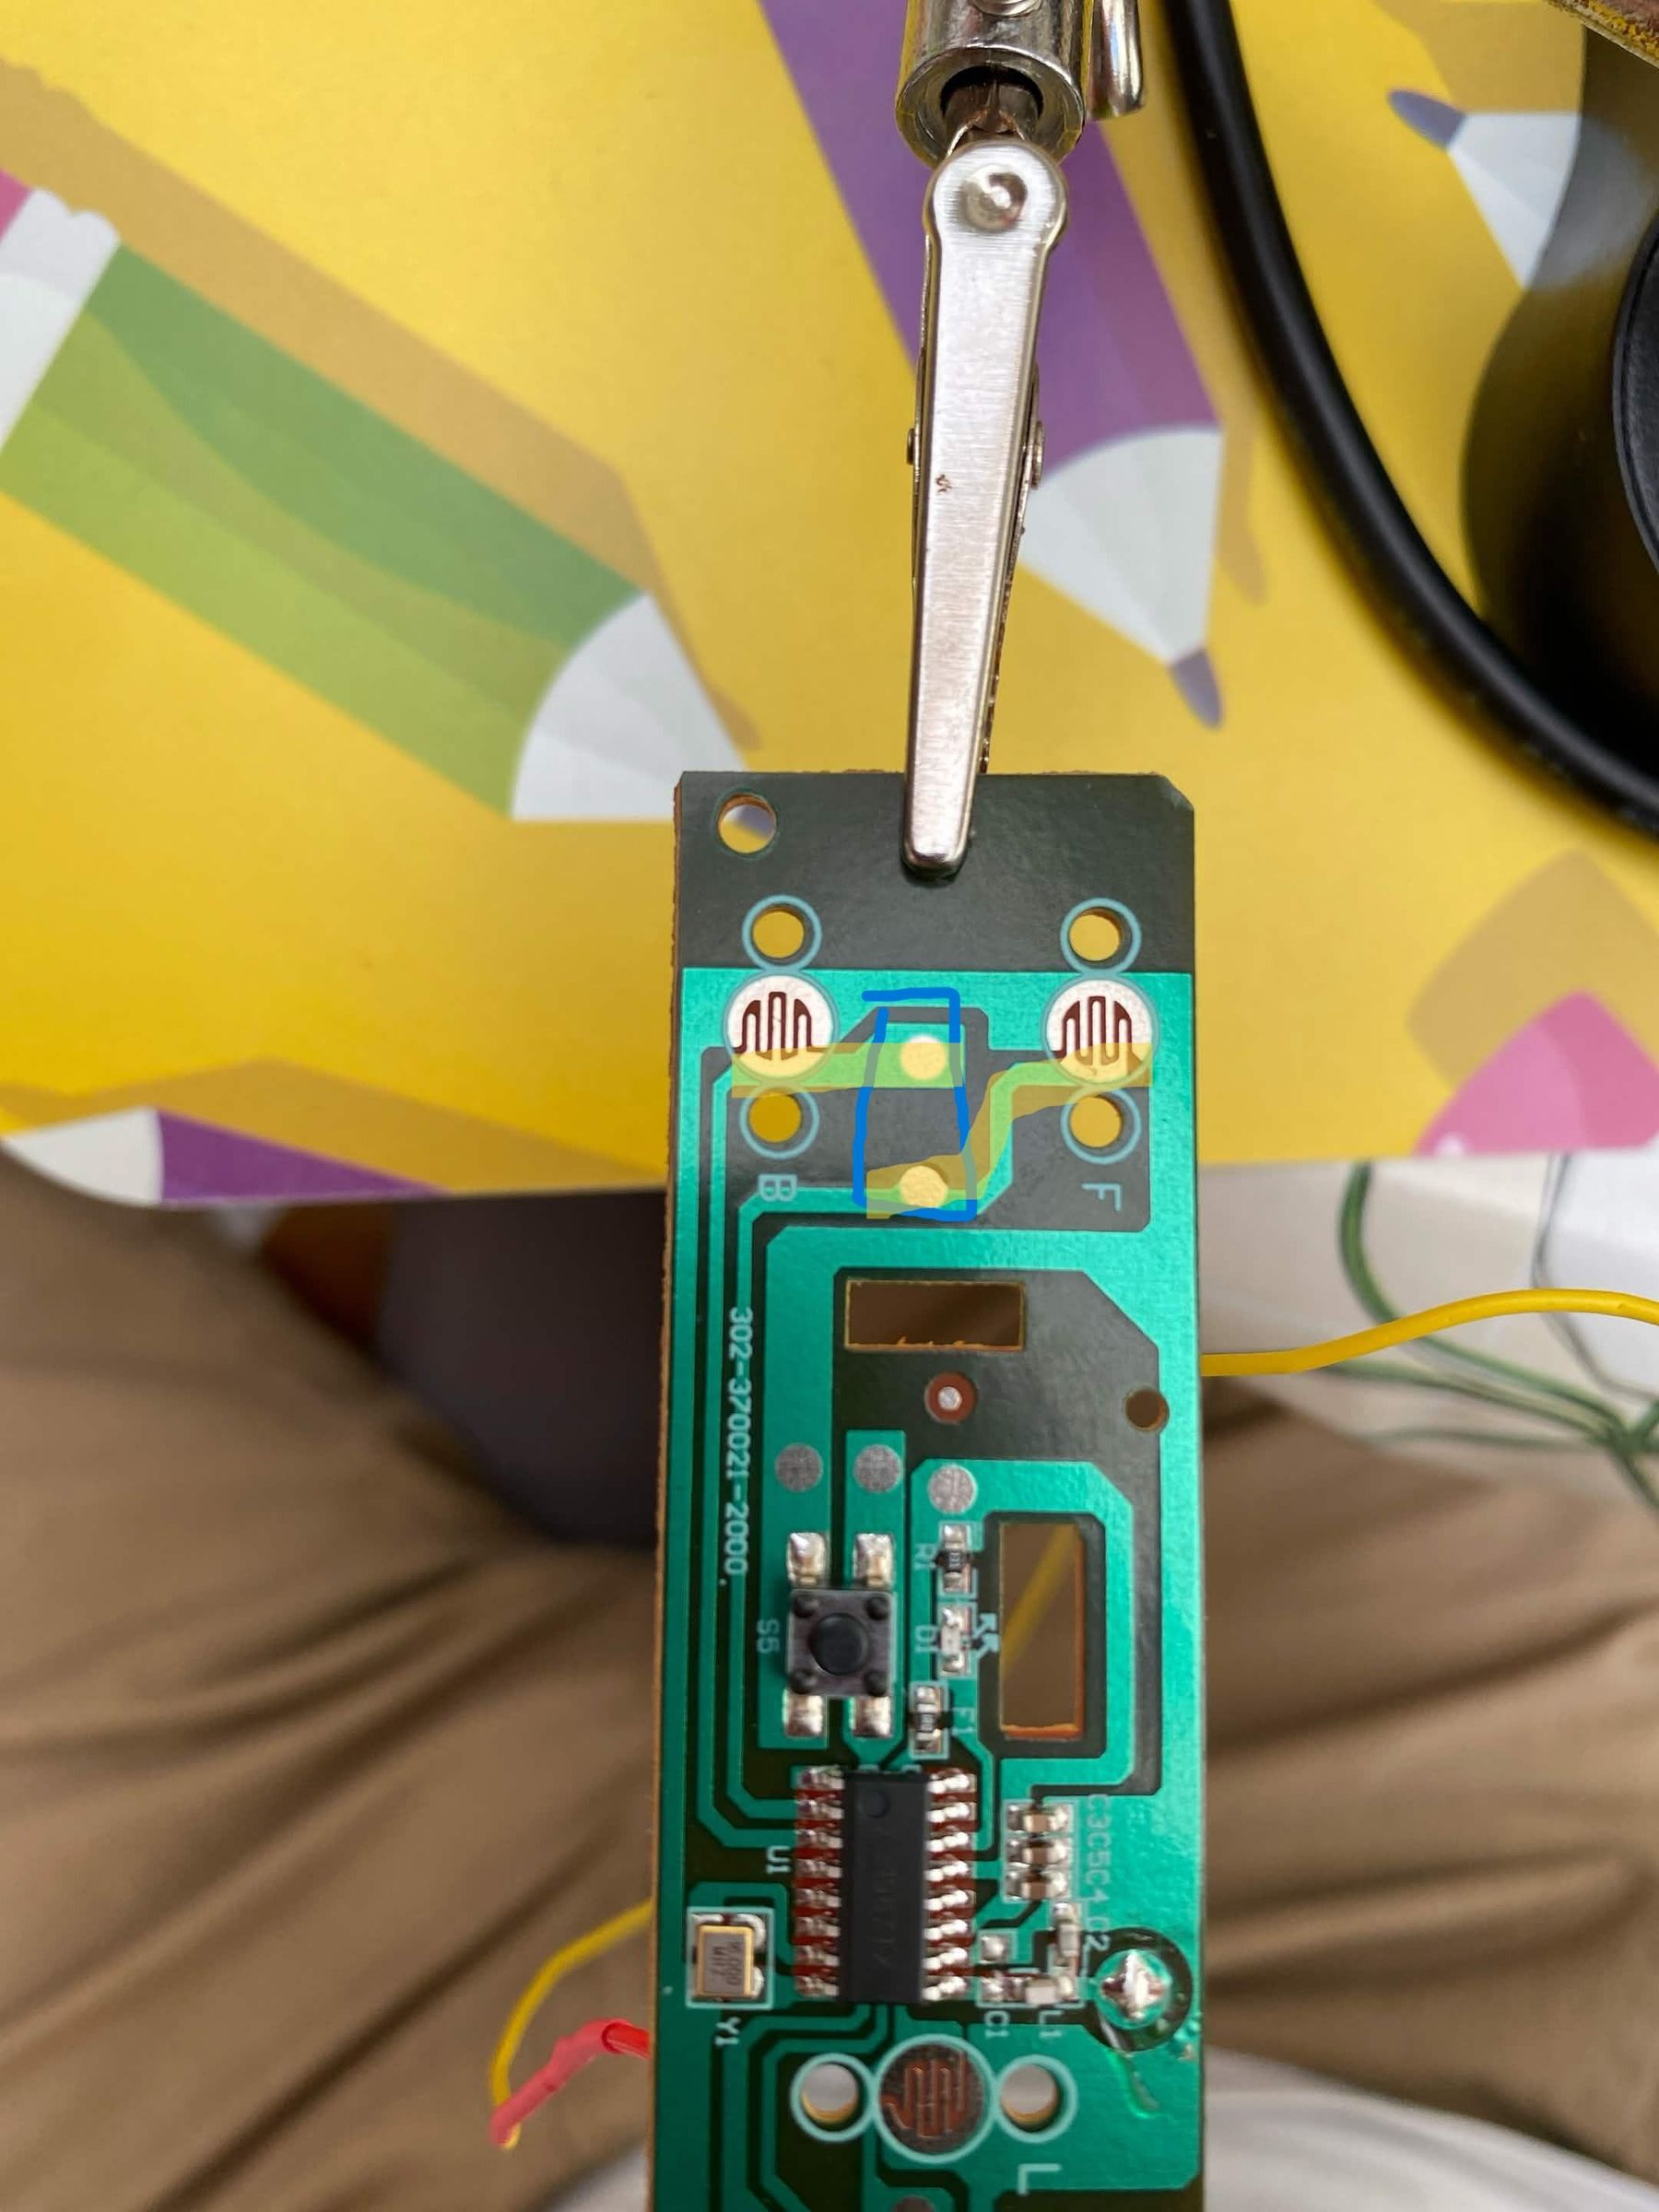
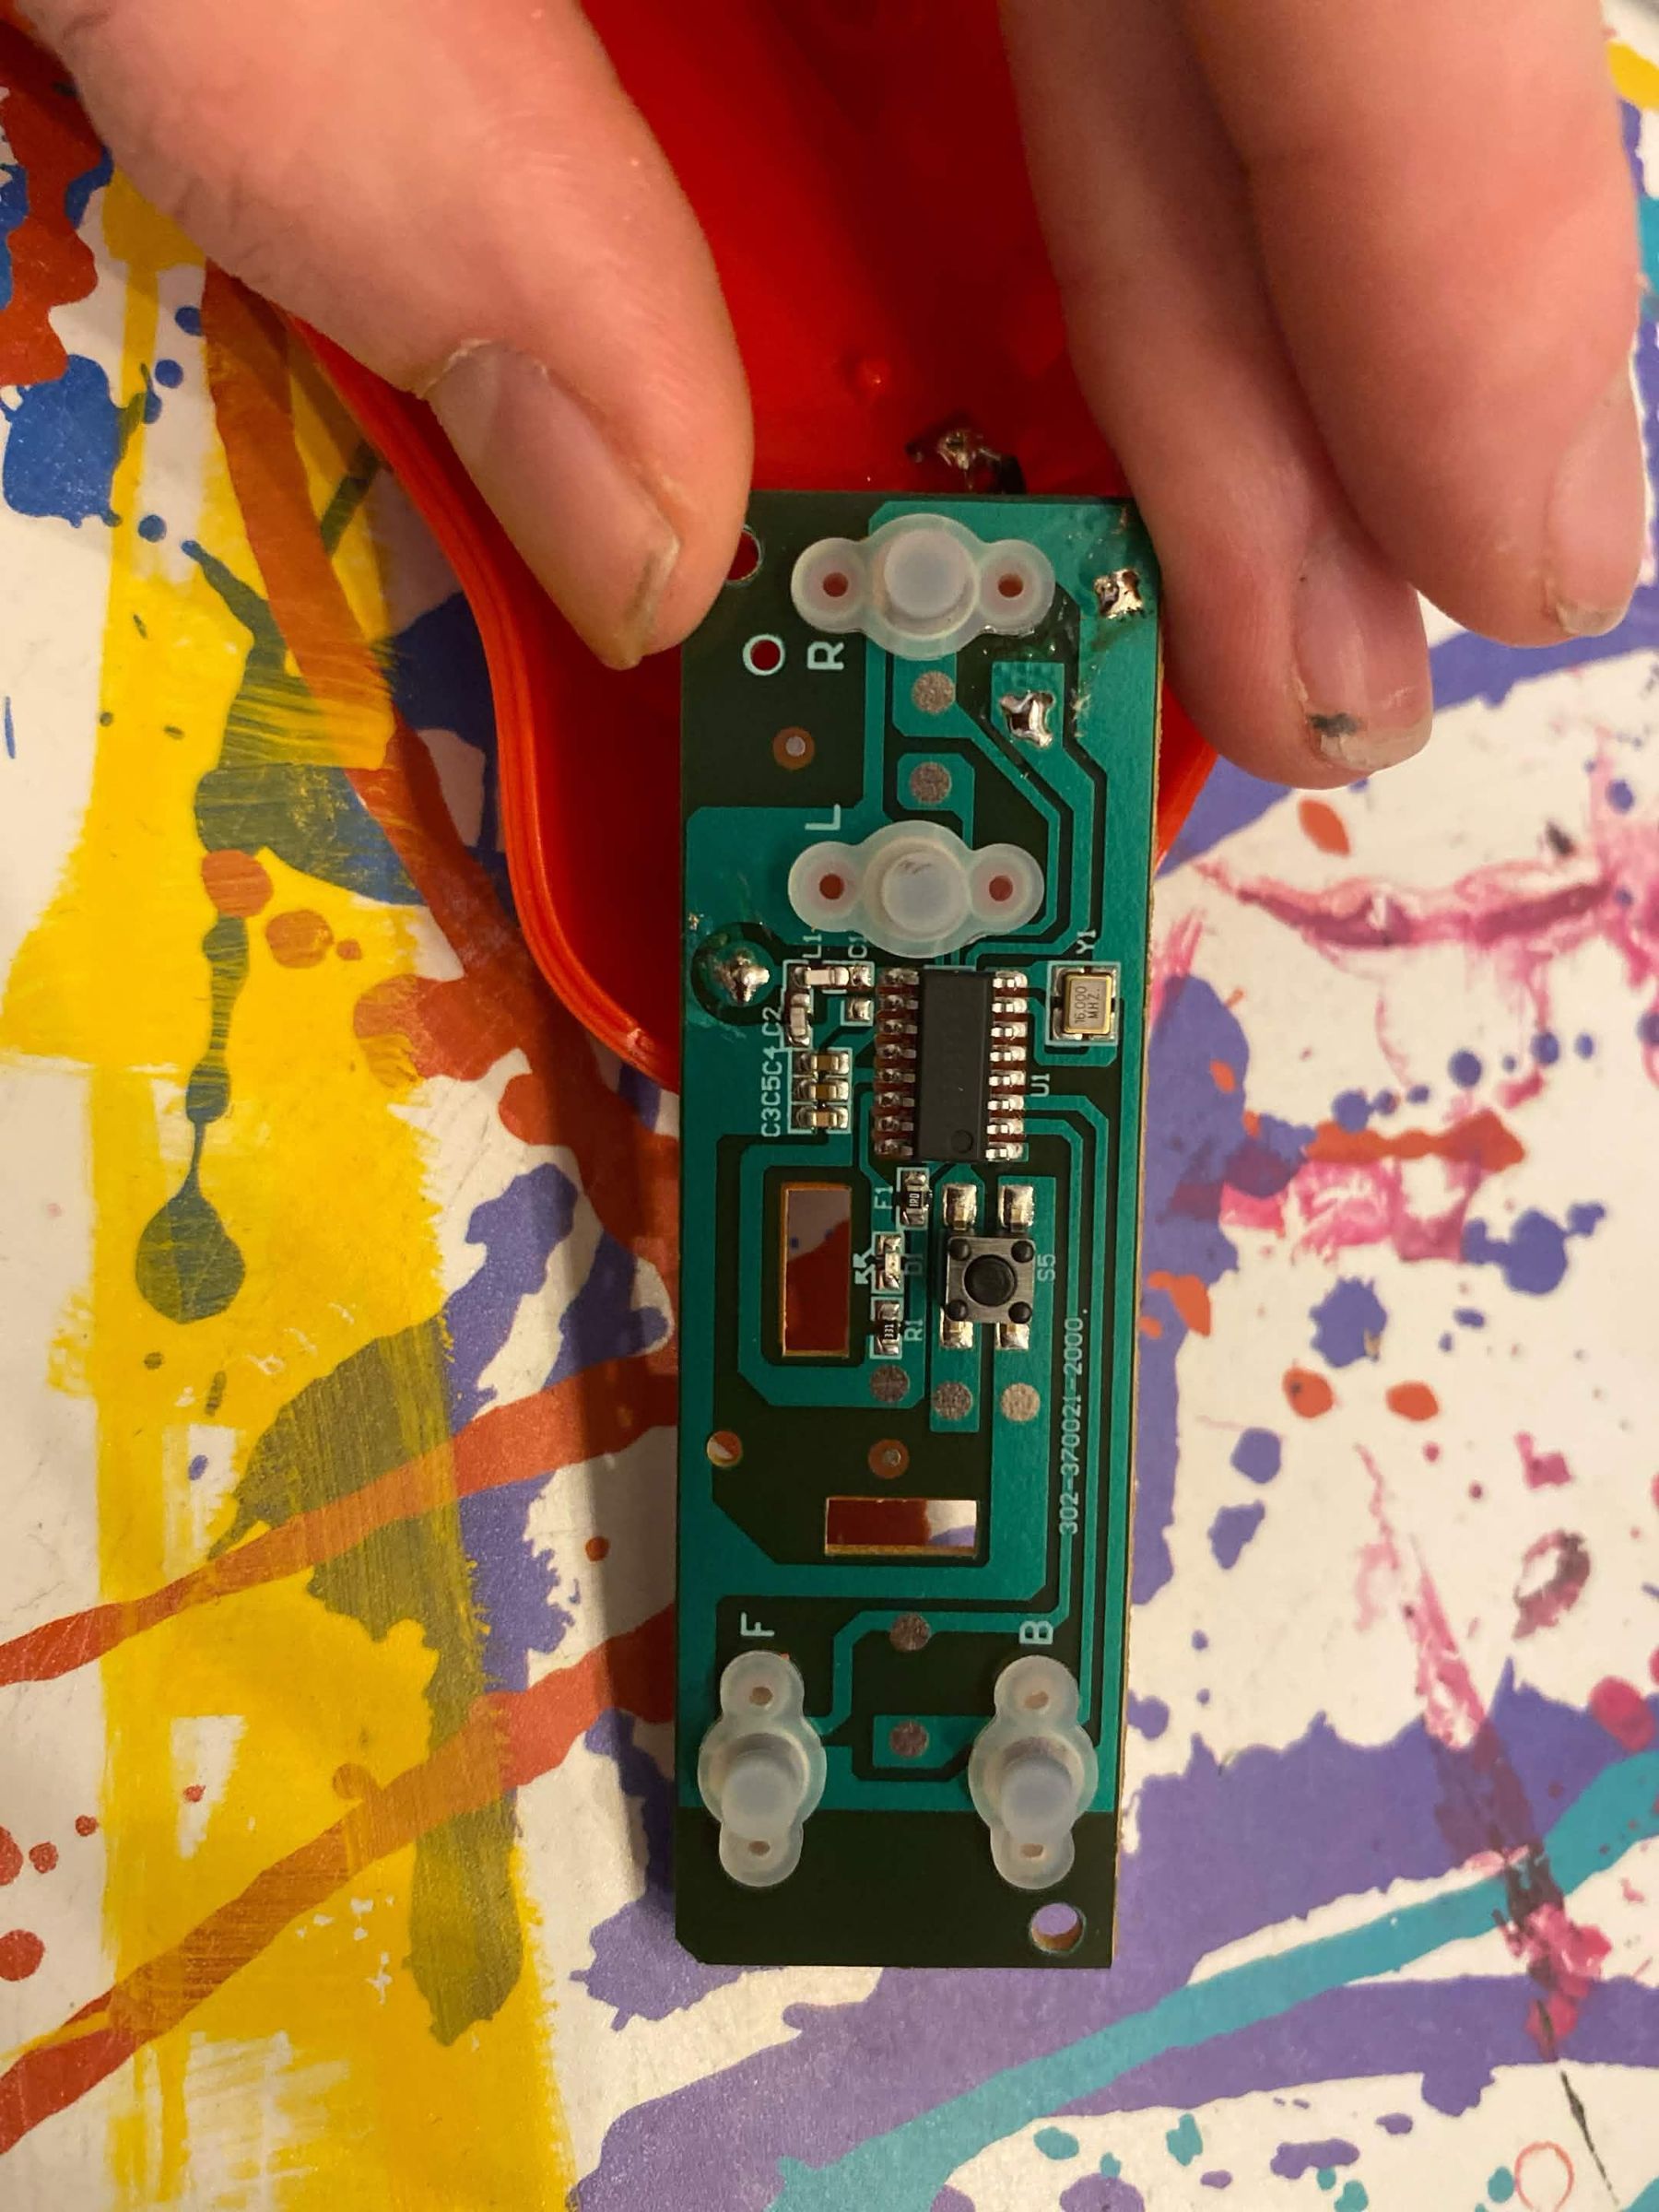
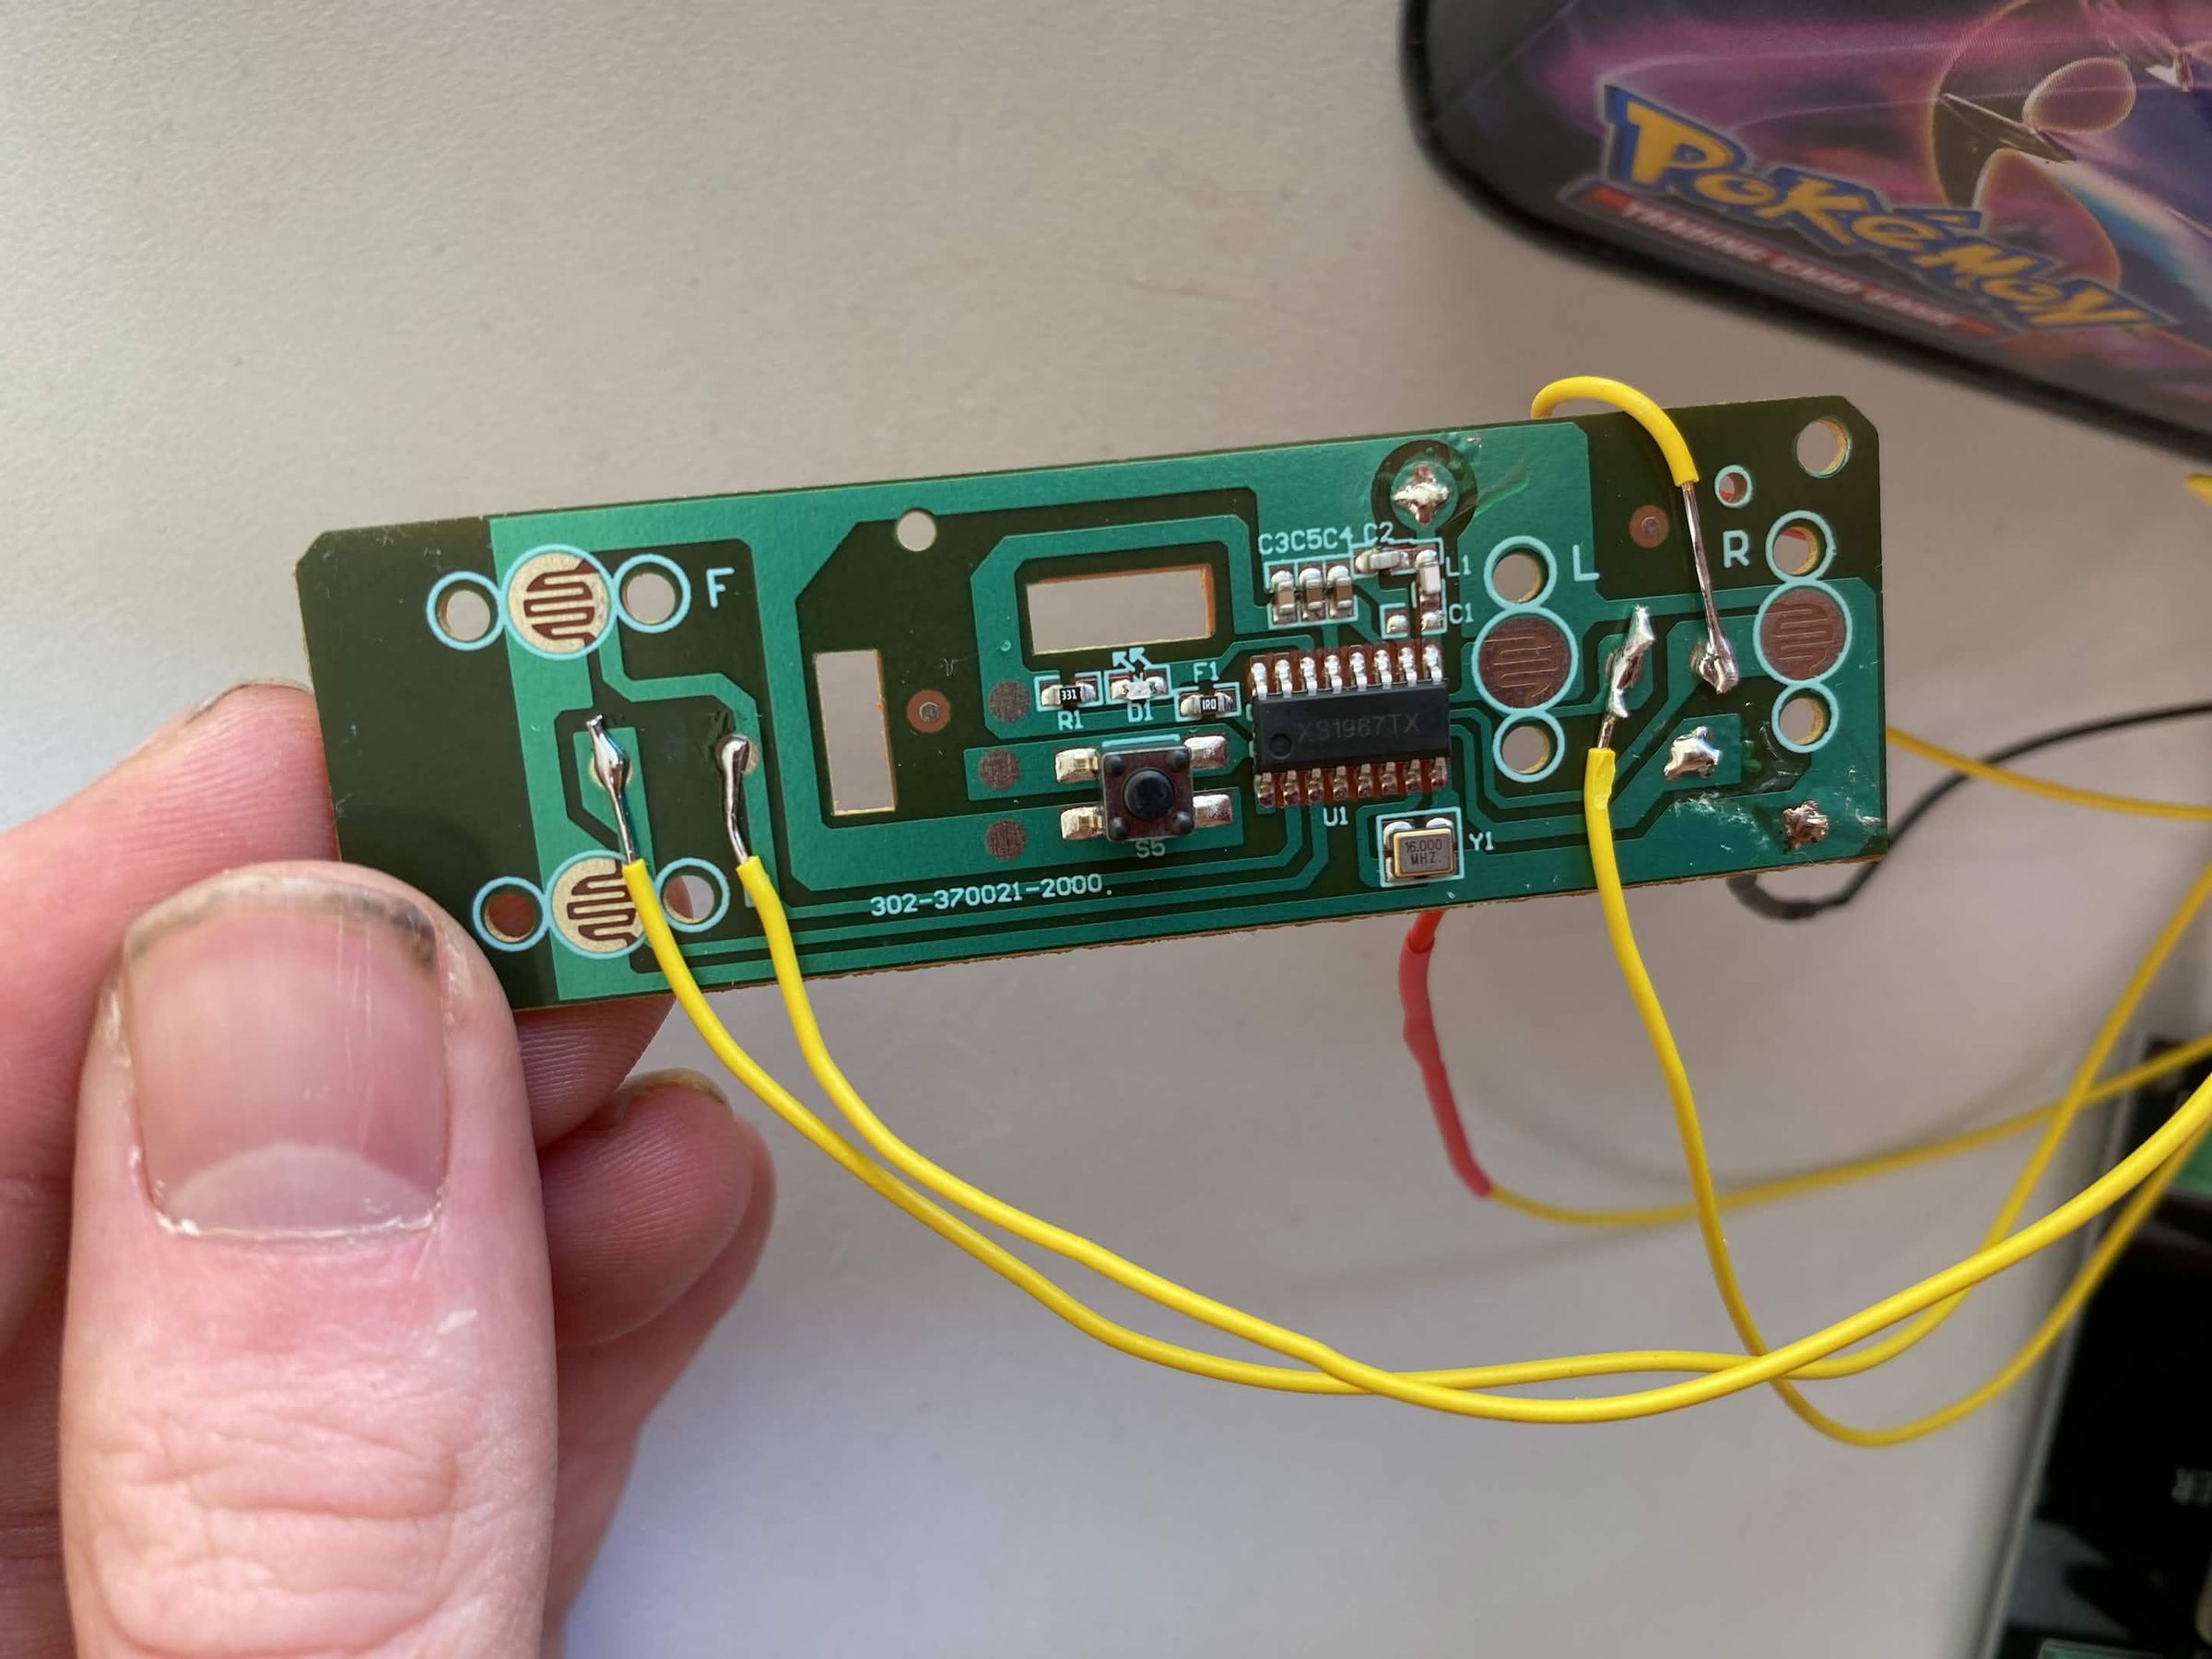
Solder wires to the places where the positive side of the buttons is located (see photo). You need to solder 4 wires.
Connecting
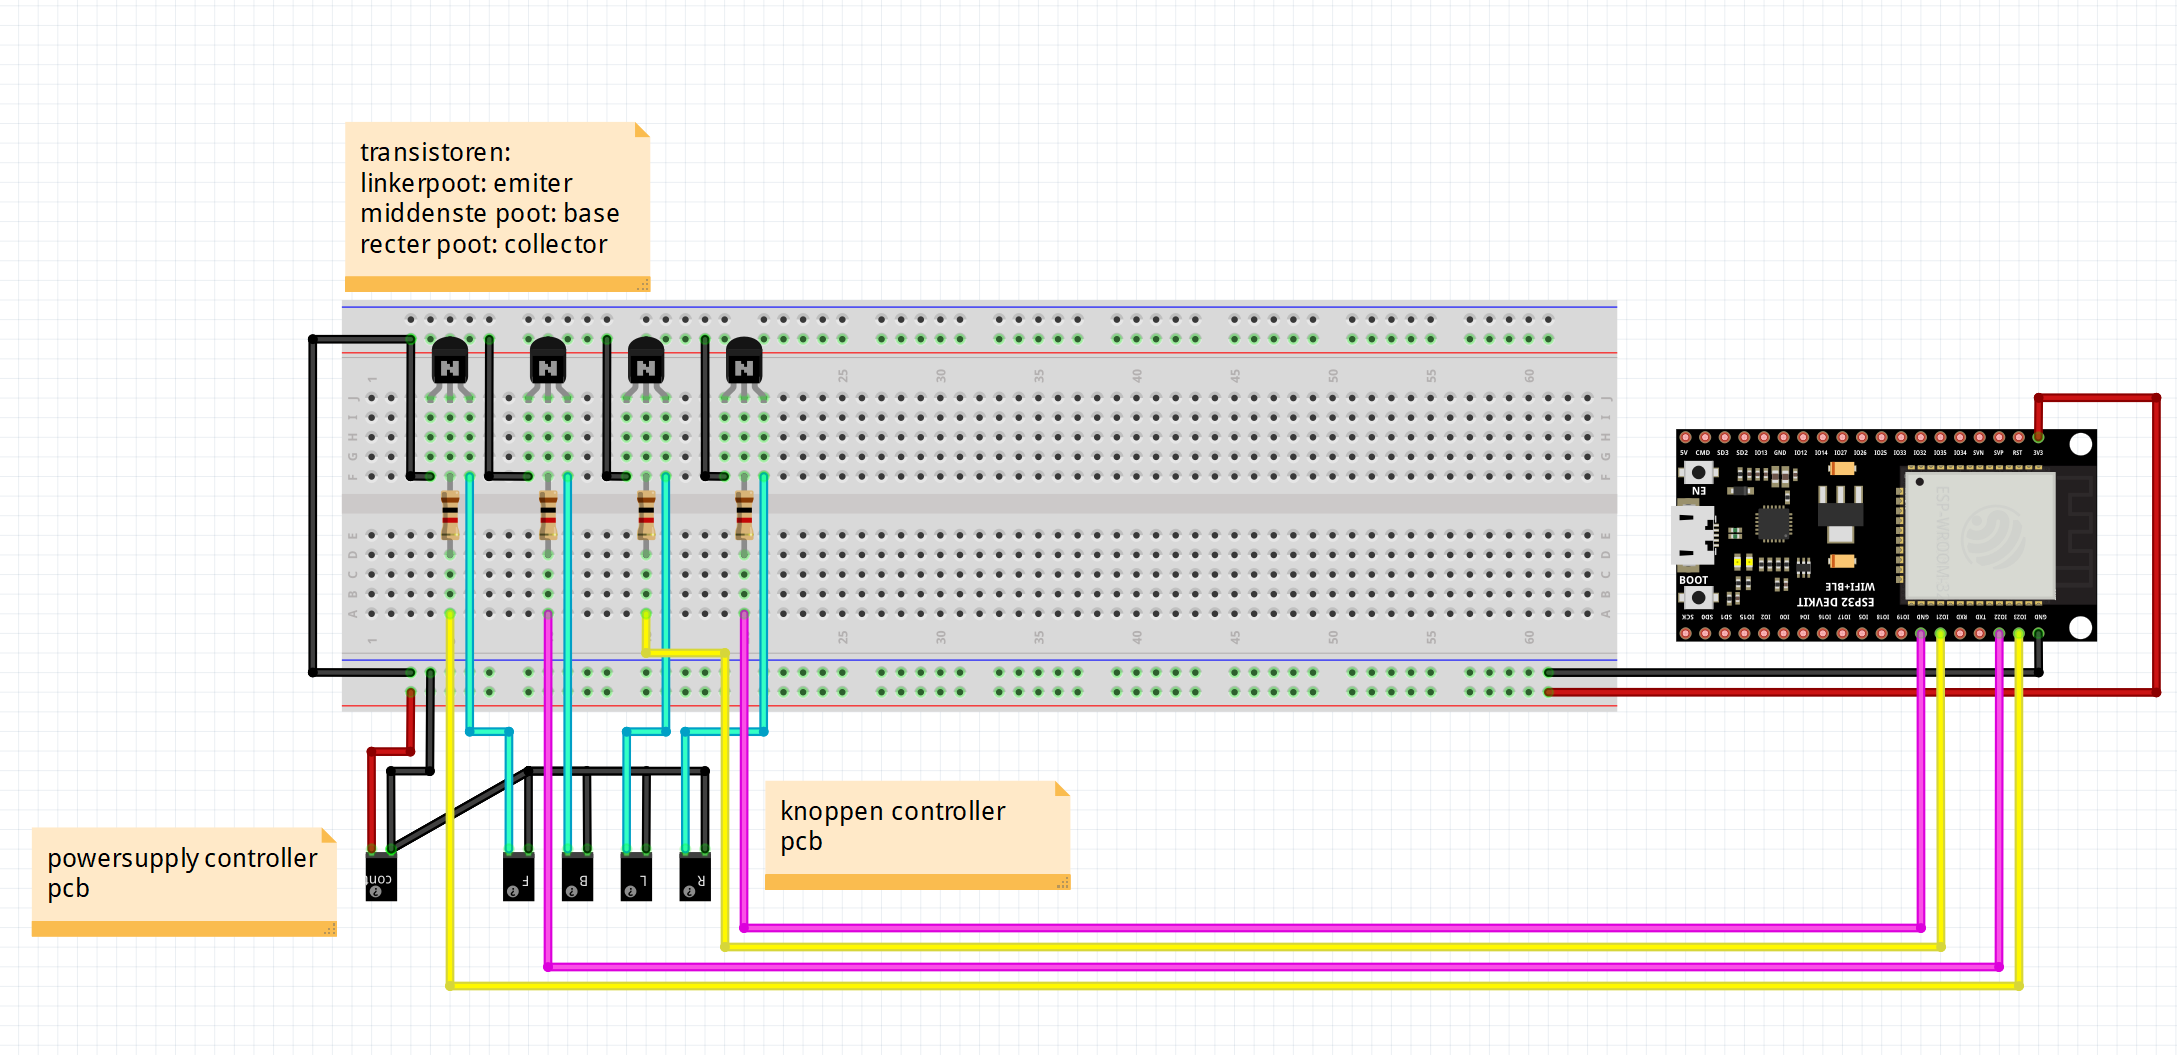
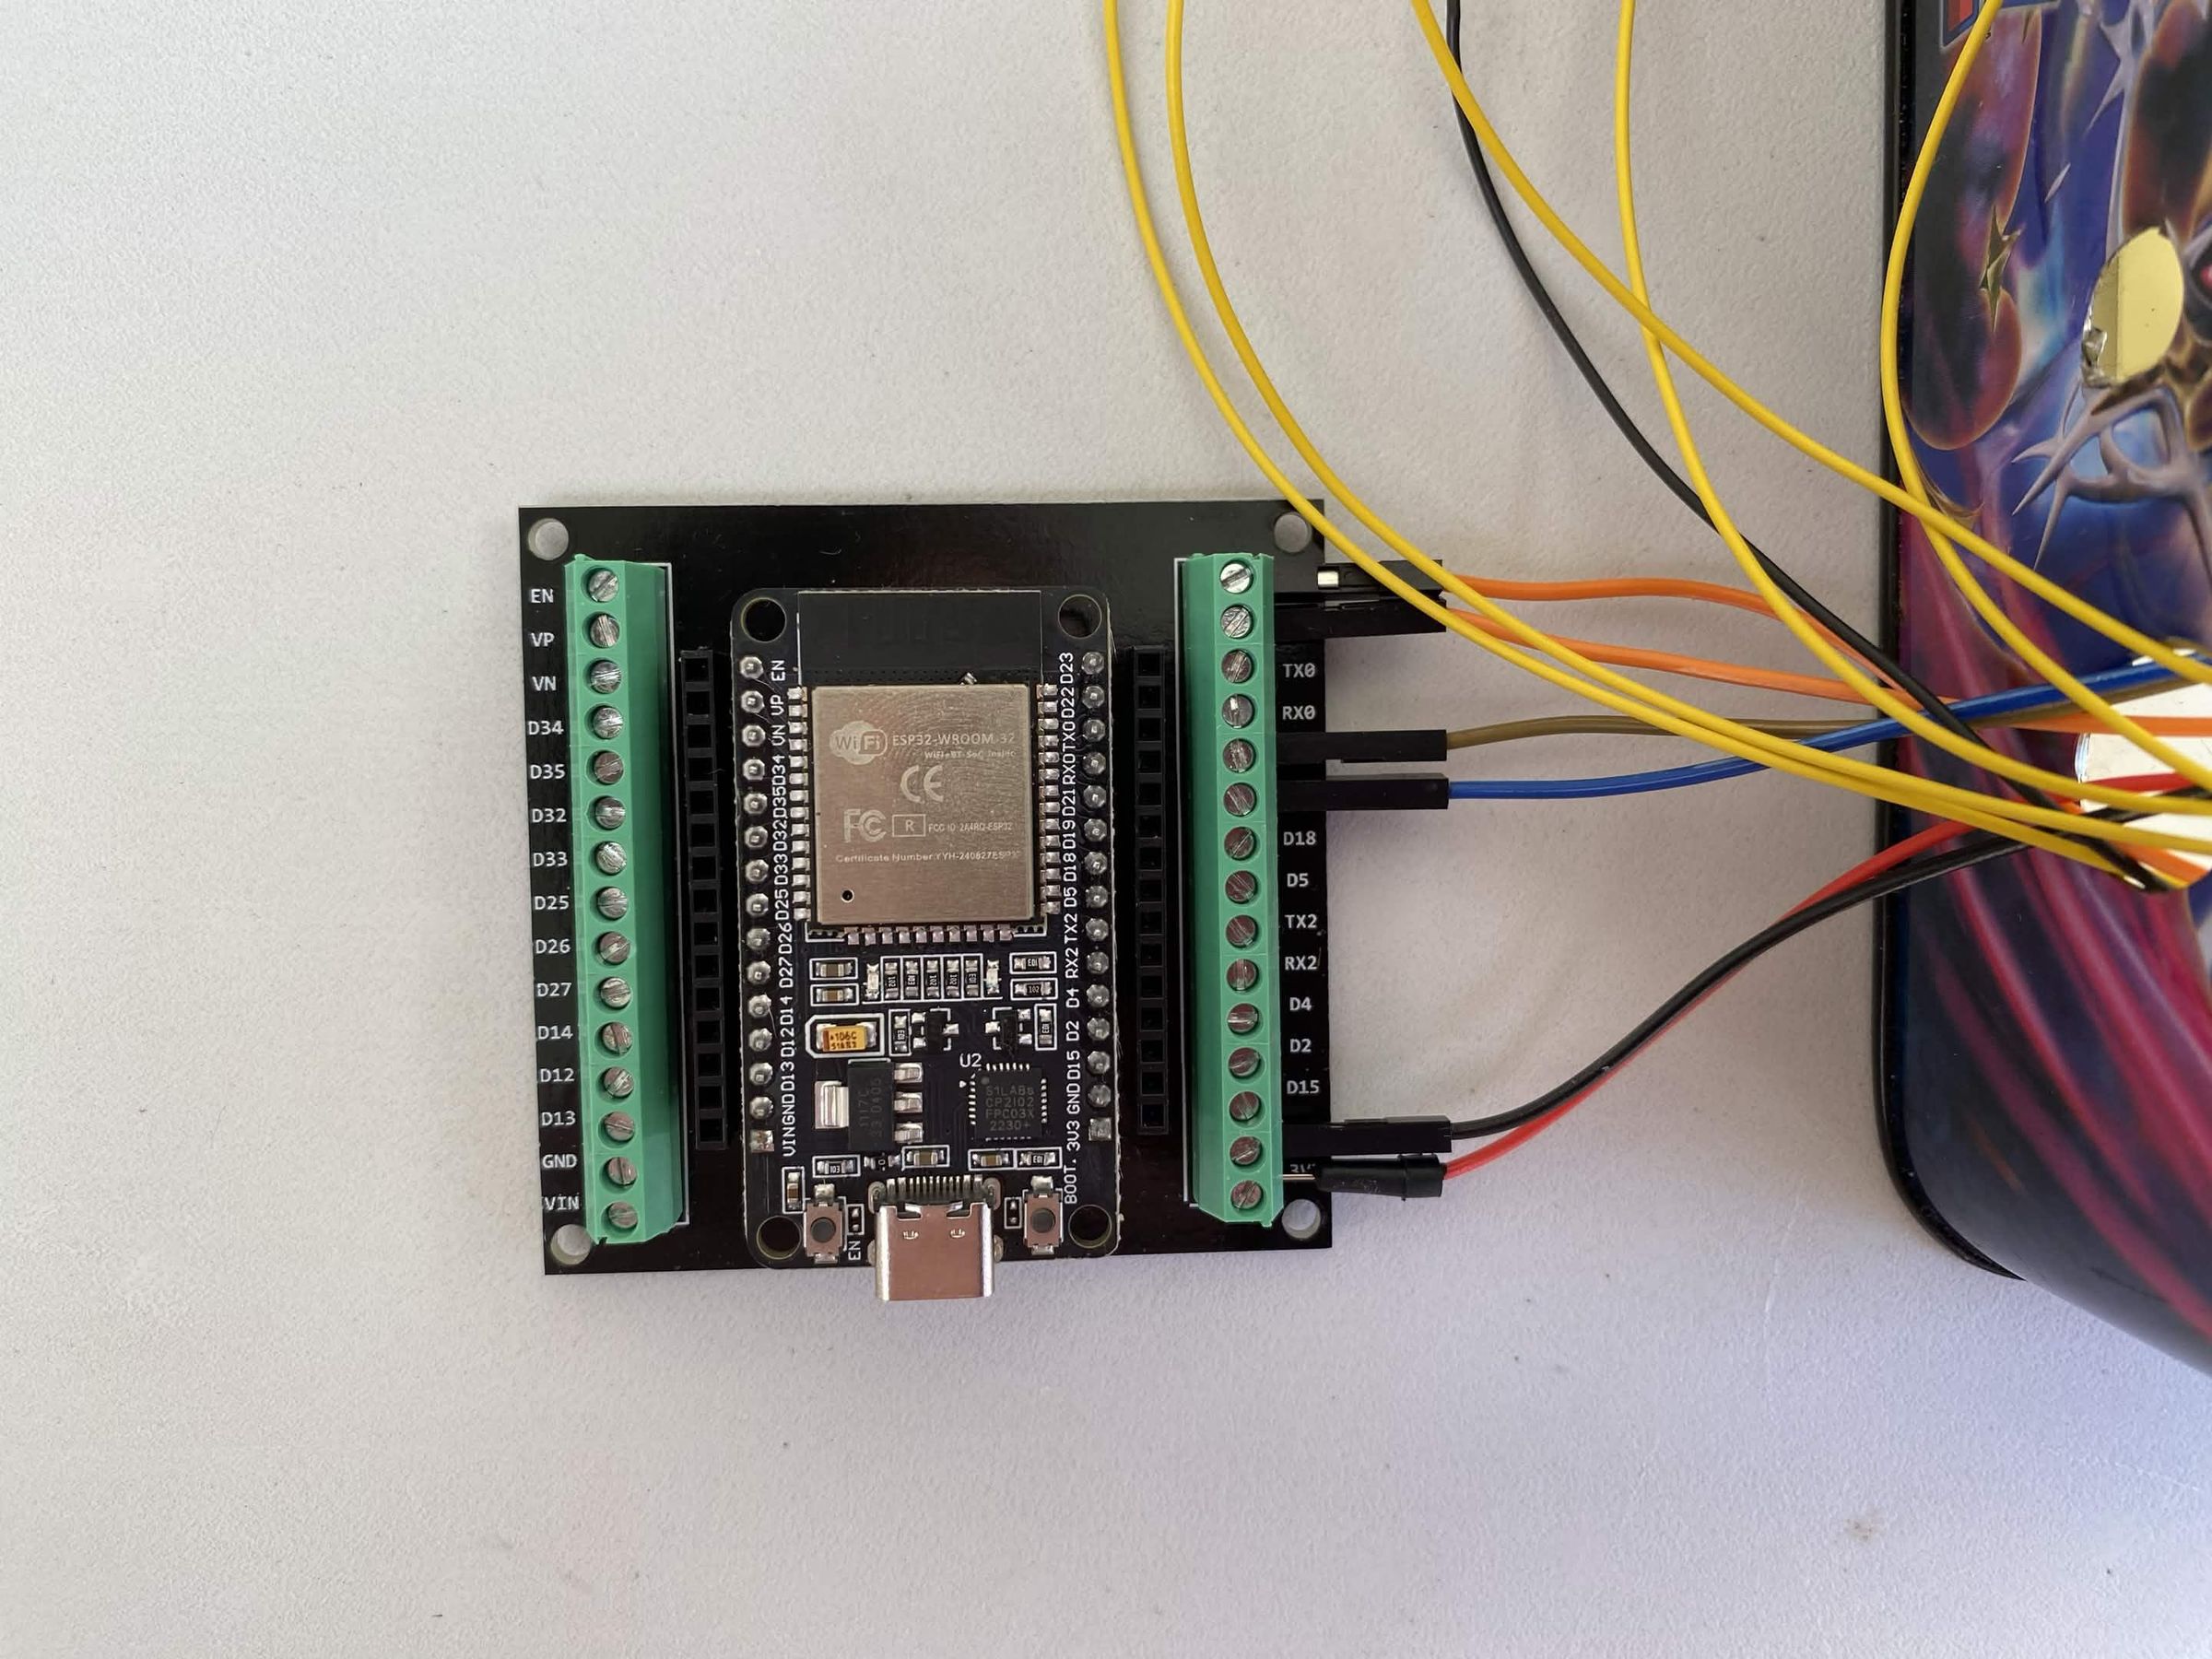
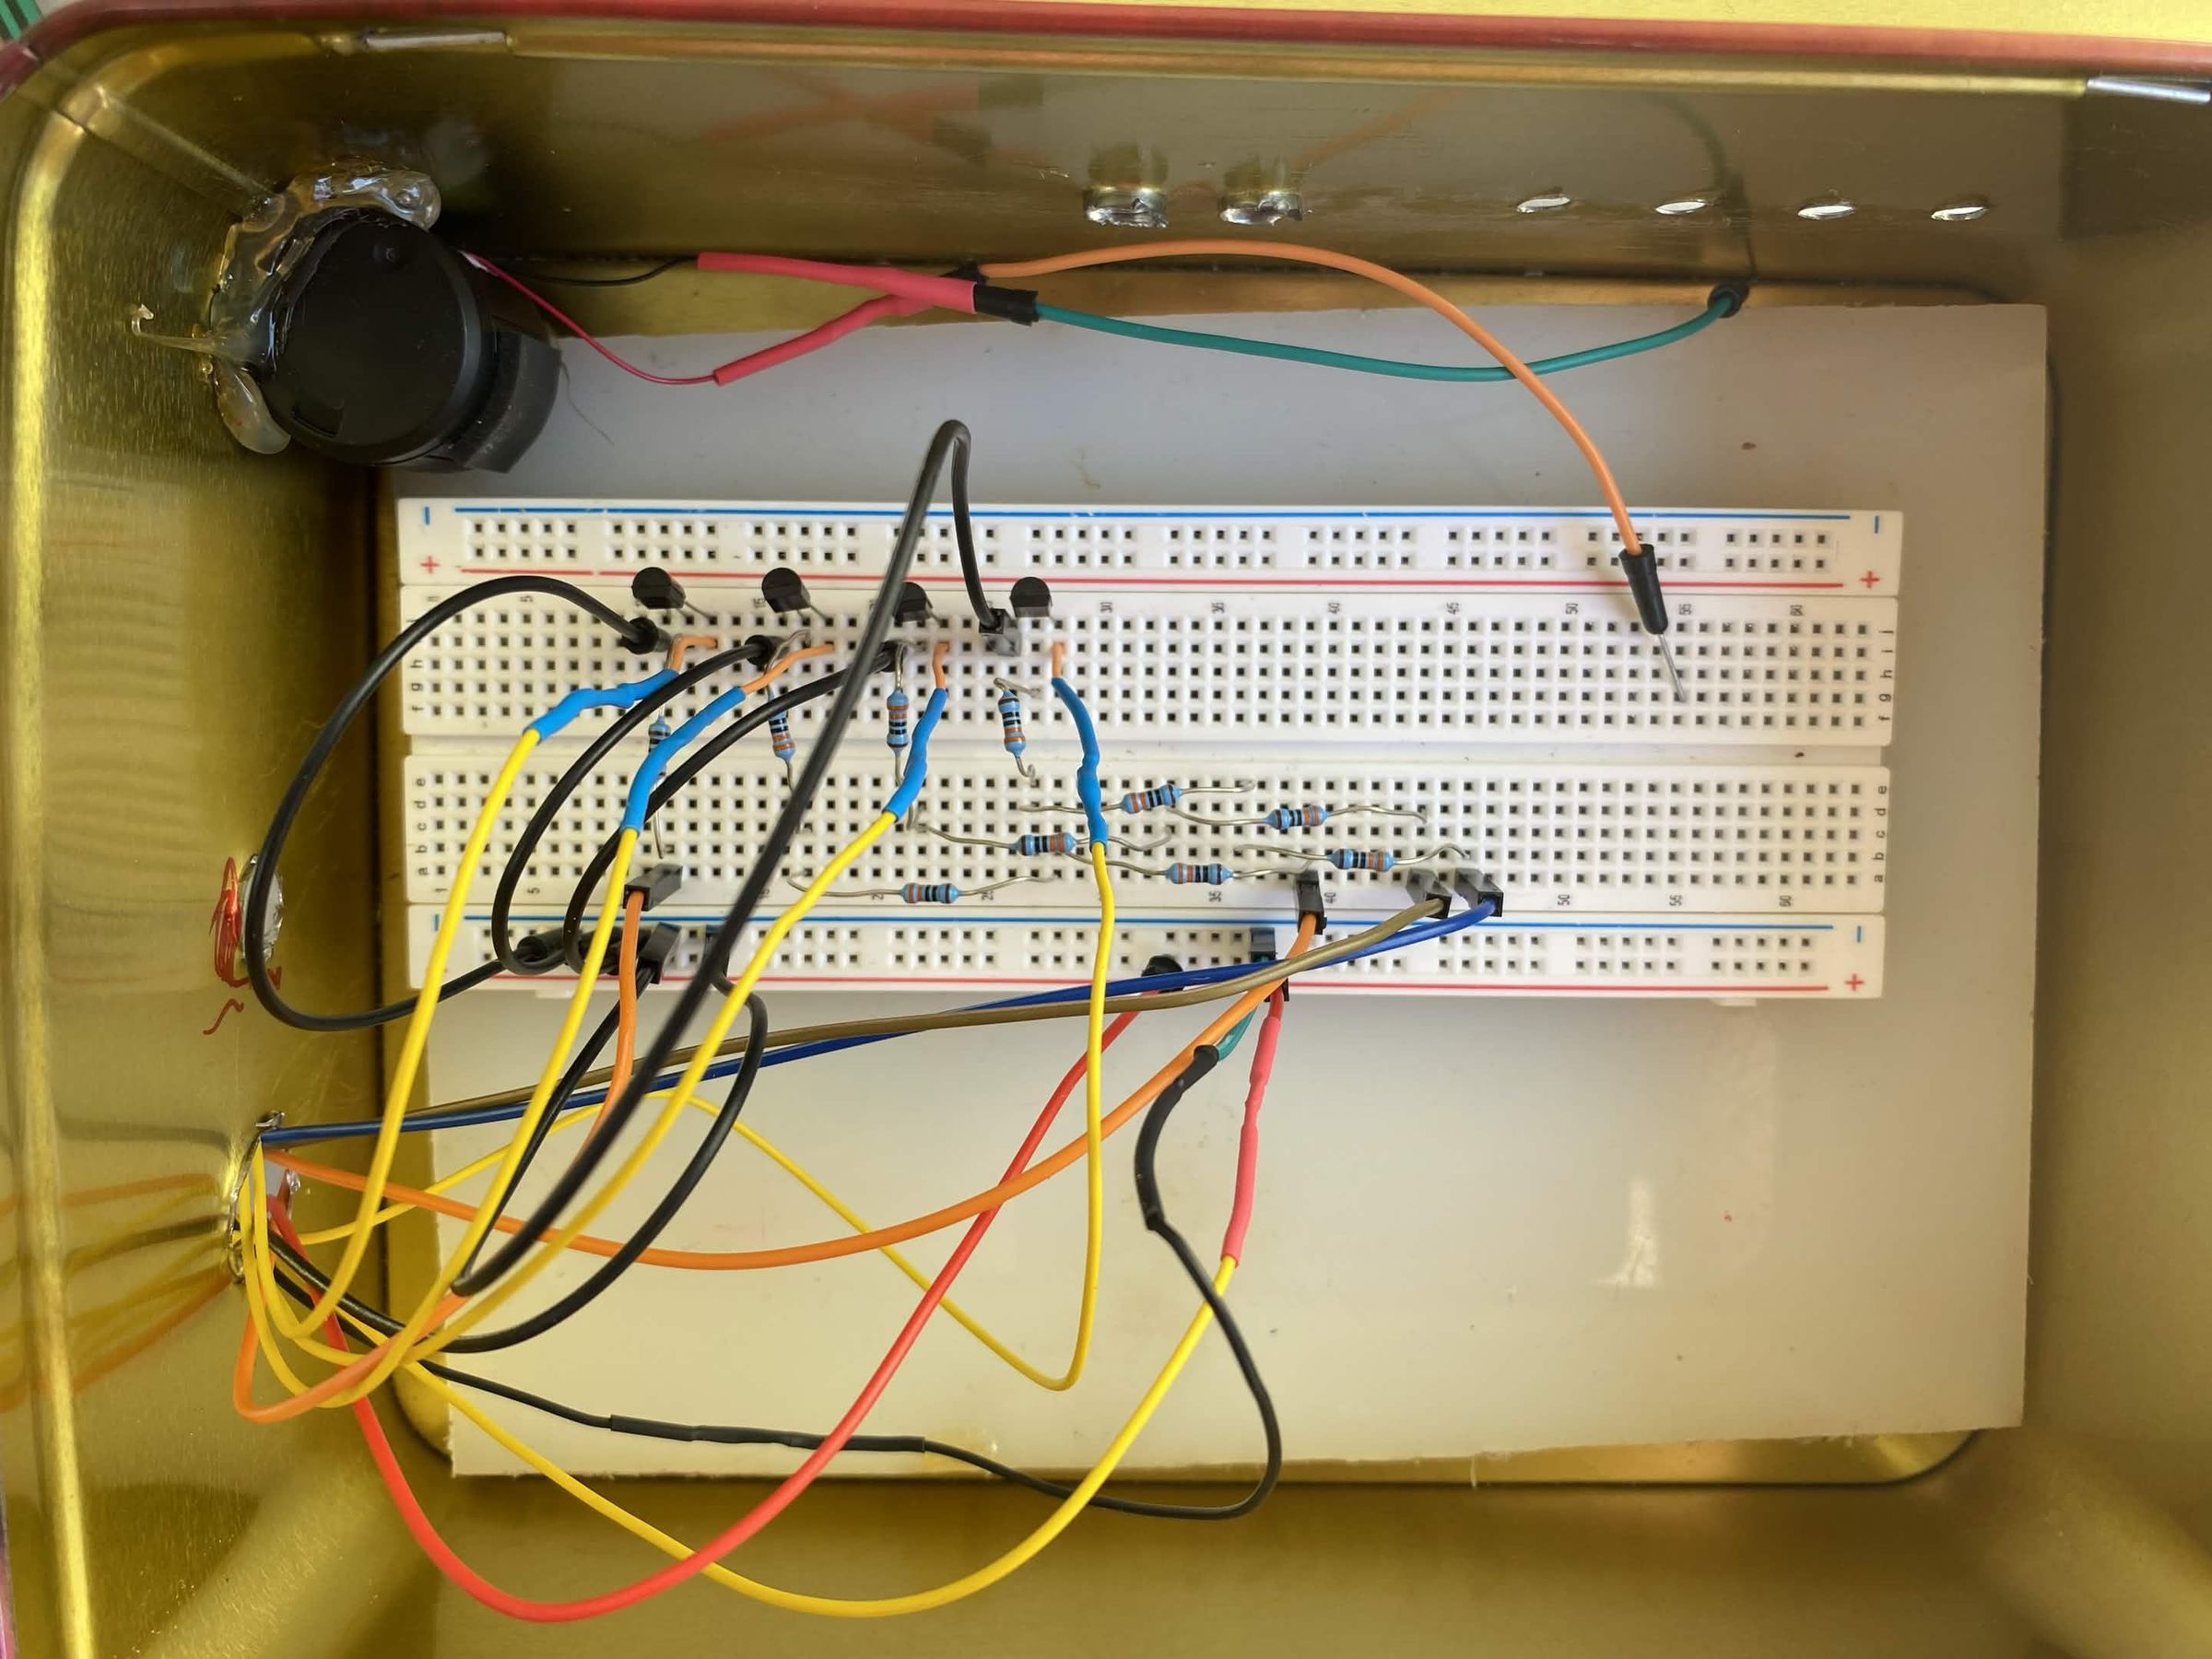
Connect everything together according to the Fritzing diagram. For the transistors, the left pin is the emitter, the middle pin is the base, and the right pin is the collector.
Downloads
Connecting Esp32
Now we are going to connect the ESP32 to the computer. We will do this using this guide.
Code
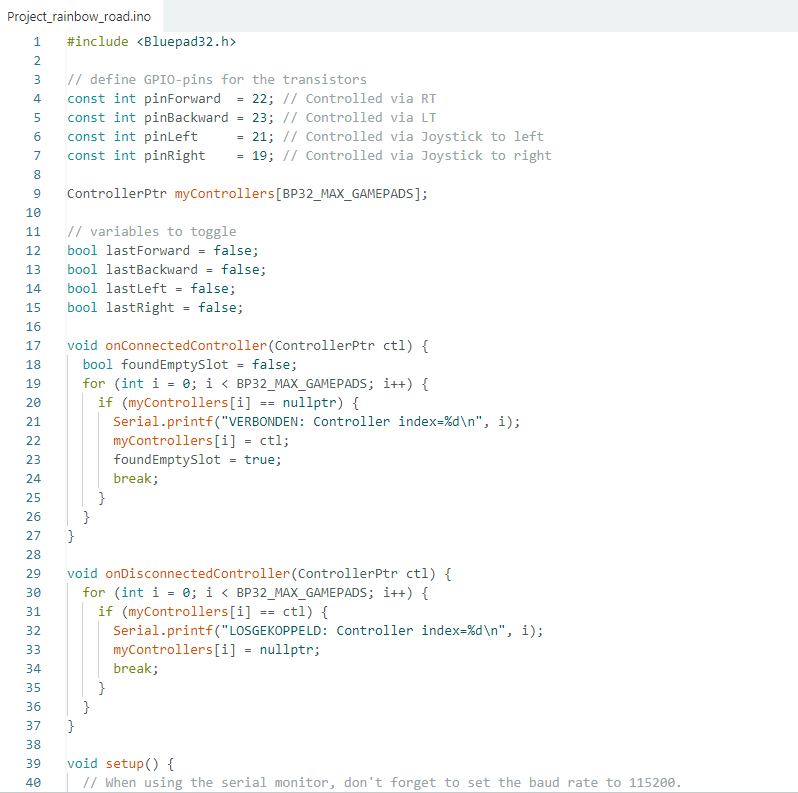
Now, you can upload the code that you can find in my GitHub repository via arduino IDE.
Testing
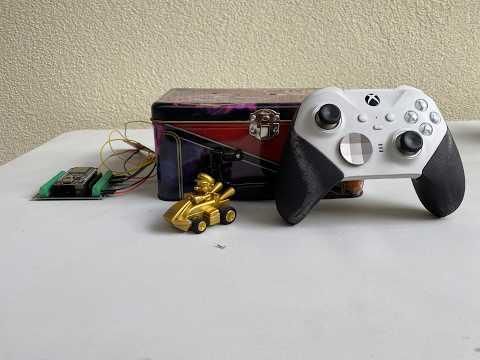
Note: You can also follow the demo video for this step
Open the Serial Monitor (set to 115200 baud) to check the connection status. Turn on your Xbox controller and press the pairing button until it flashes. The ESP32 will automatically connect to the controller via Bluetooth. Use RT (Right Trigger) to go forward, LT (Left Trigger) to go backward, and the Left Joystick to steer left and right. Enjoy your custom wireless RC car!
Time to Race
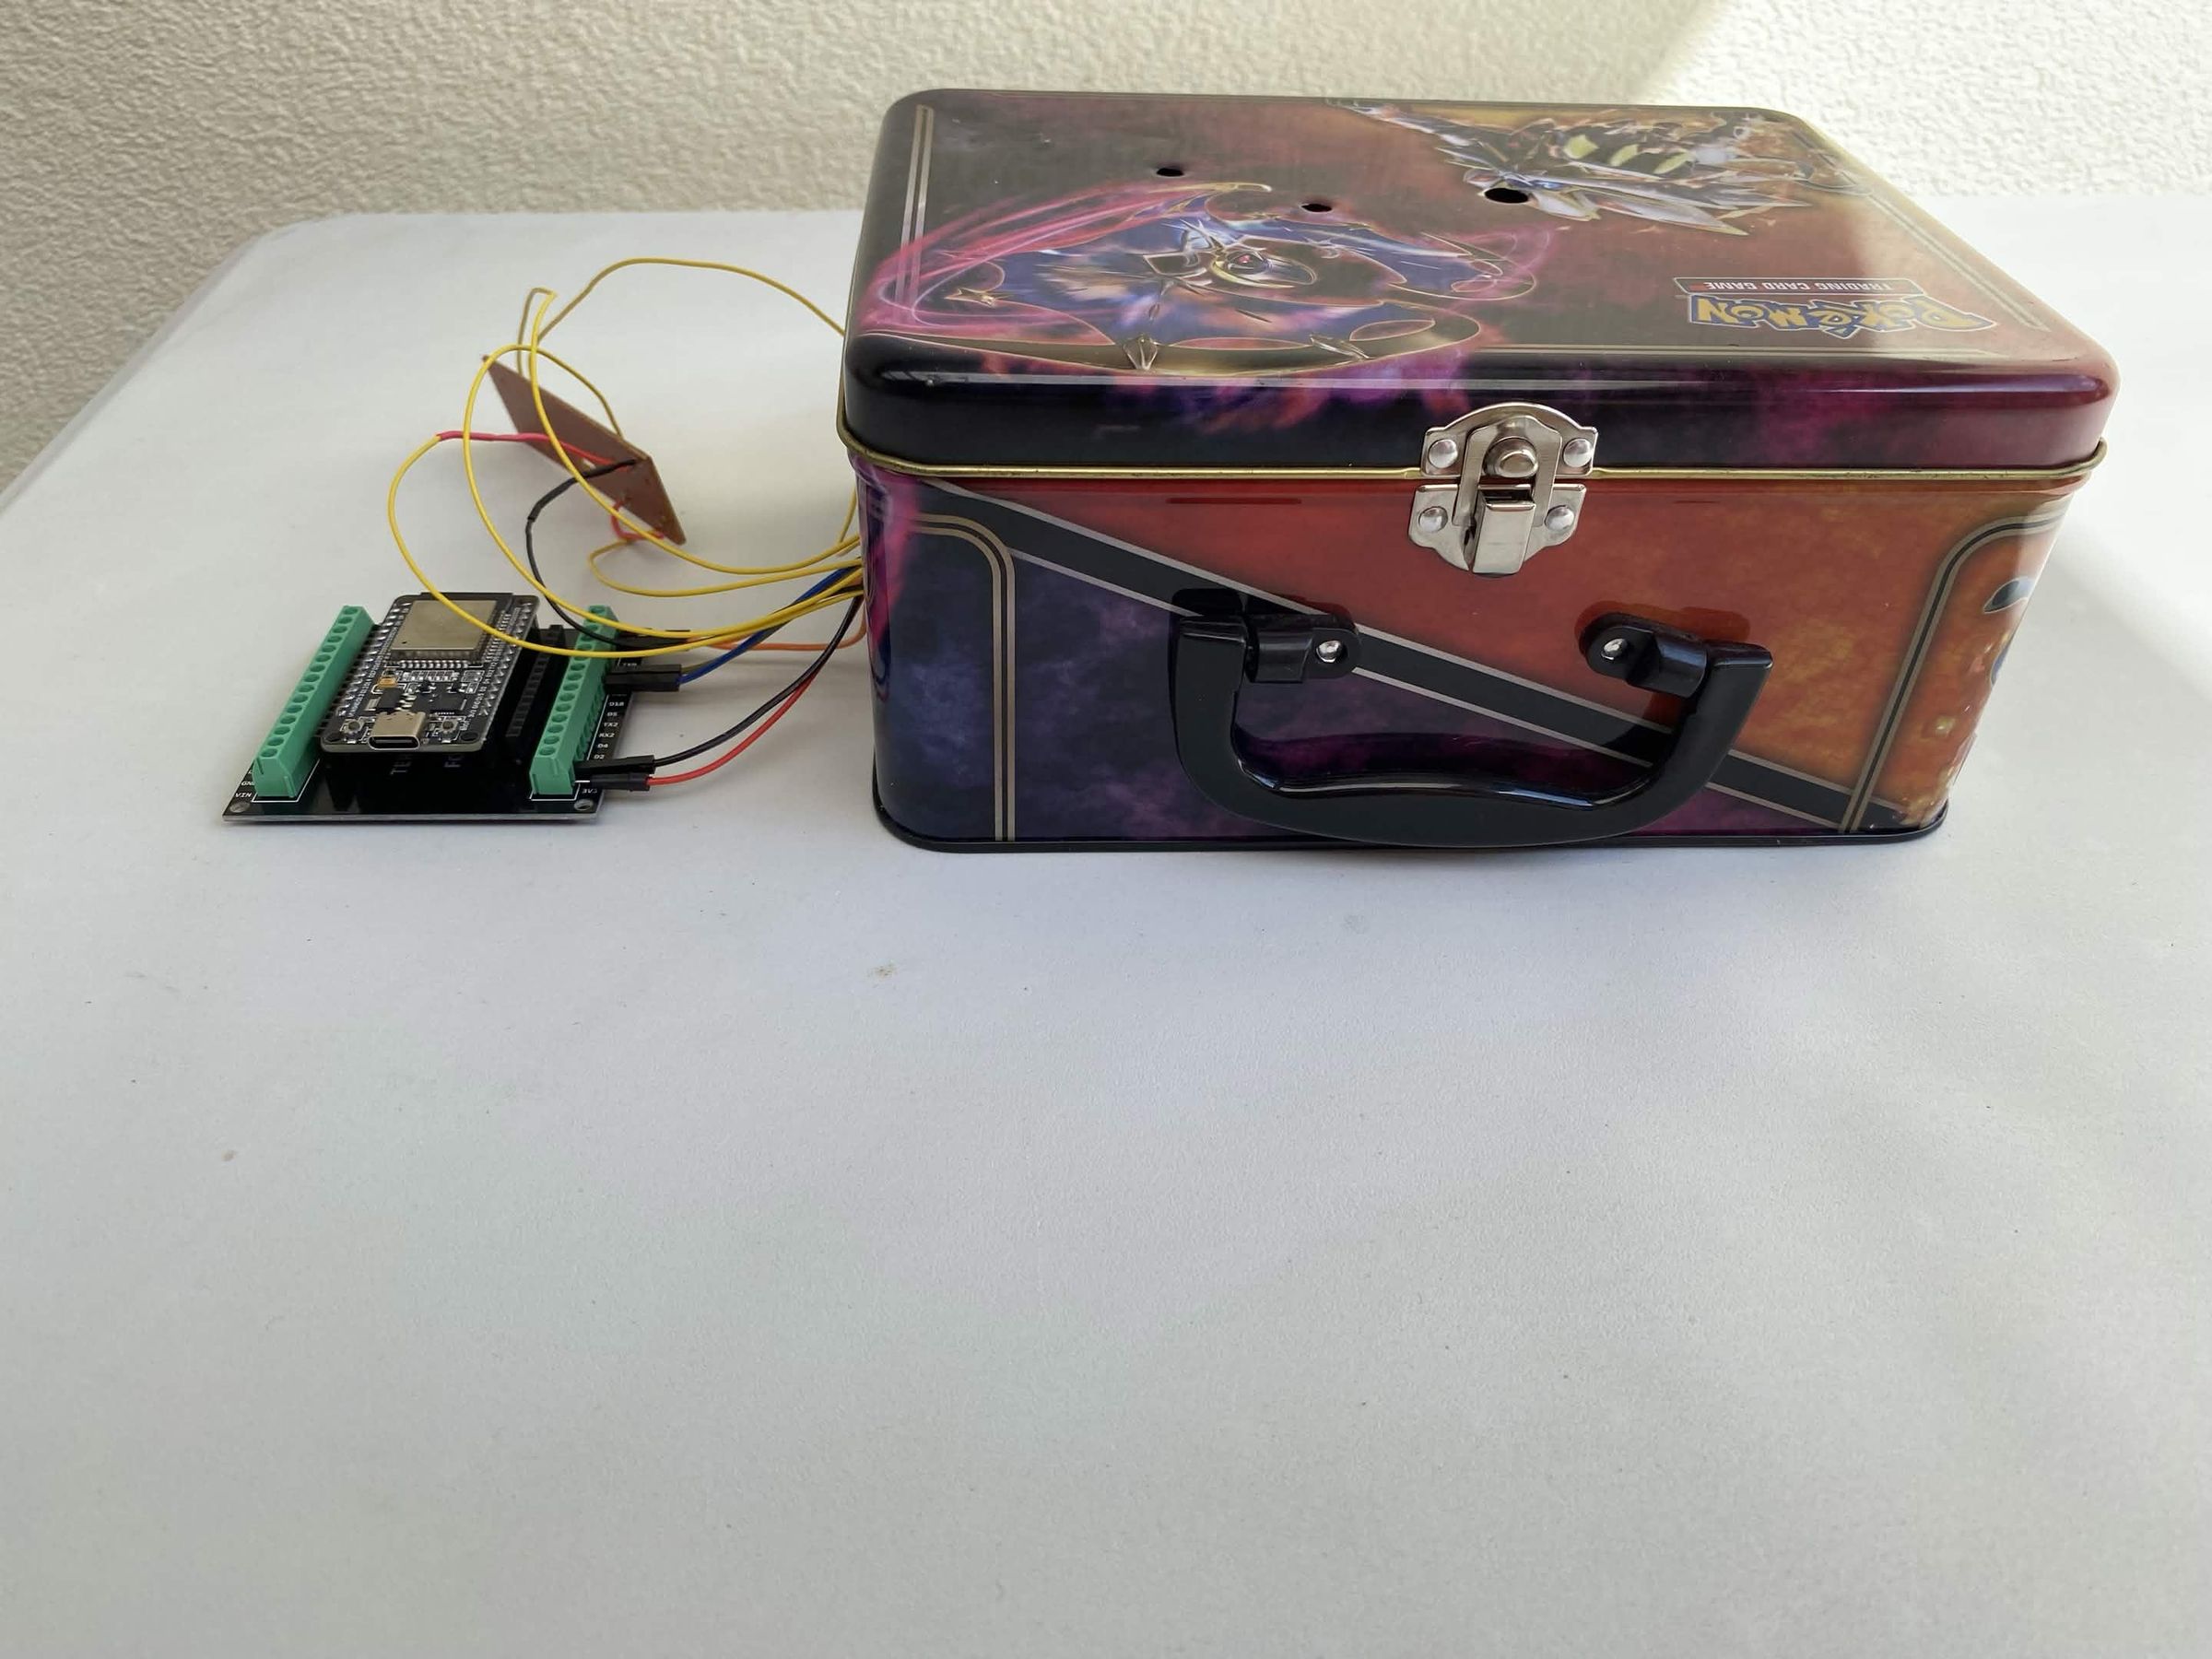
You've successfully hacked your budget RC car and upgraded it with modern, wireless control! By replacing the flimsy stock remote with an Xbox controller, an ESP32 microcontroller, and a transistor switching circuit, you now have a much more responsive and fun driving experience.
Feel free to customize the code further, tweak the deadzones, or even experiment with proportional speed control if your setup supports it. If you run into any issues or have questions, drop a comment below. Happy making, and enjoy racing your custom wireless RC car!