How to Design and Fabricate Your Own Ring!
by SidTheSquid in Craft > Fashion
404 Views, 1 Favorites, 0 Comments
How to Design and Fabricate Your Own Ring!

For a lot of people, 3D design is quite intimidating and looks difficult. I was there once, so I wanted to help beginners in this field really get used to TinkerCAD, and by the end, you will have a stylish ring that is lightweight! In this tutorial, I will teach you how to make your own personalized ring that is tailored to your hands.
Supplies
You will need:
- sheet of paper
- pencil
- glue stick
- scissors
- computer
- 3D printer
- paint (optional)
- sandpaper (optional)
Cut a Small Strip of Paper

Use the scissors and paper to cut a small strip that can comfortably wrap around your finger. It doesn't have to look great, it's just for measuring the dimension of the finger :).
Wrap It Around Your Finger

Choose the finger that you want to wear your ring on. Wrap the paper around your finger like so.
Mark Where the Paper Stops

Use a pencil to draw a line where the paper stops. This is so that you can remove it and glue the paper ring together.
Glue the Ends Together

Glue the ends together. Make sure the outer end stops at the line you drew in the previous step. Make sure your finger fits.
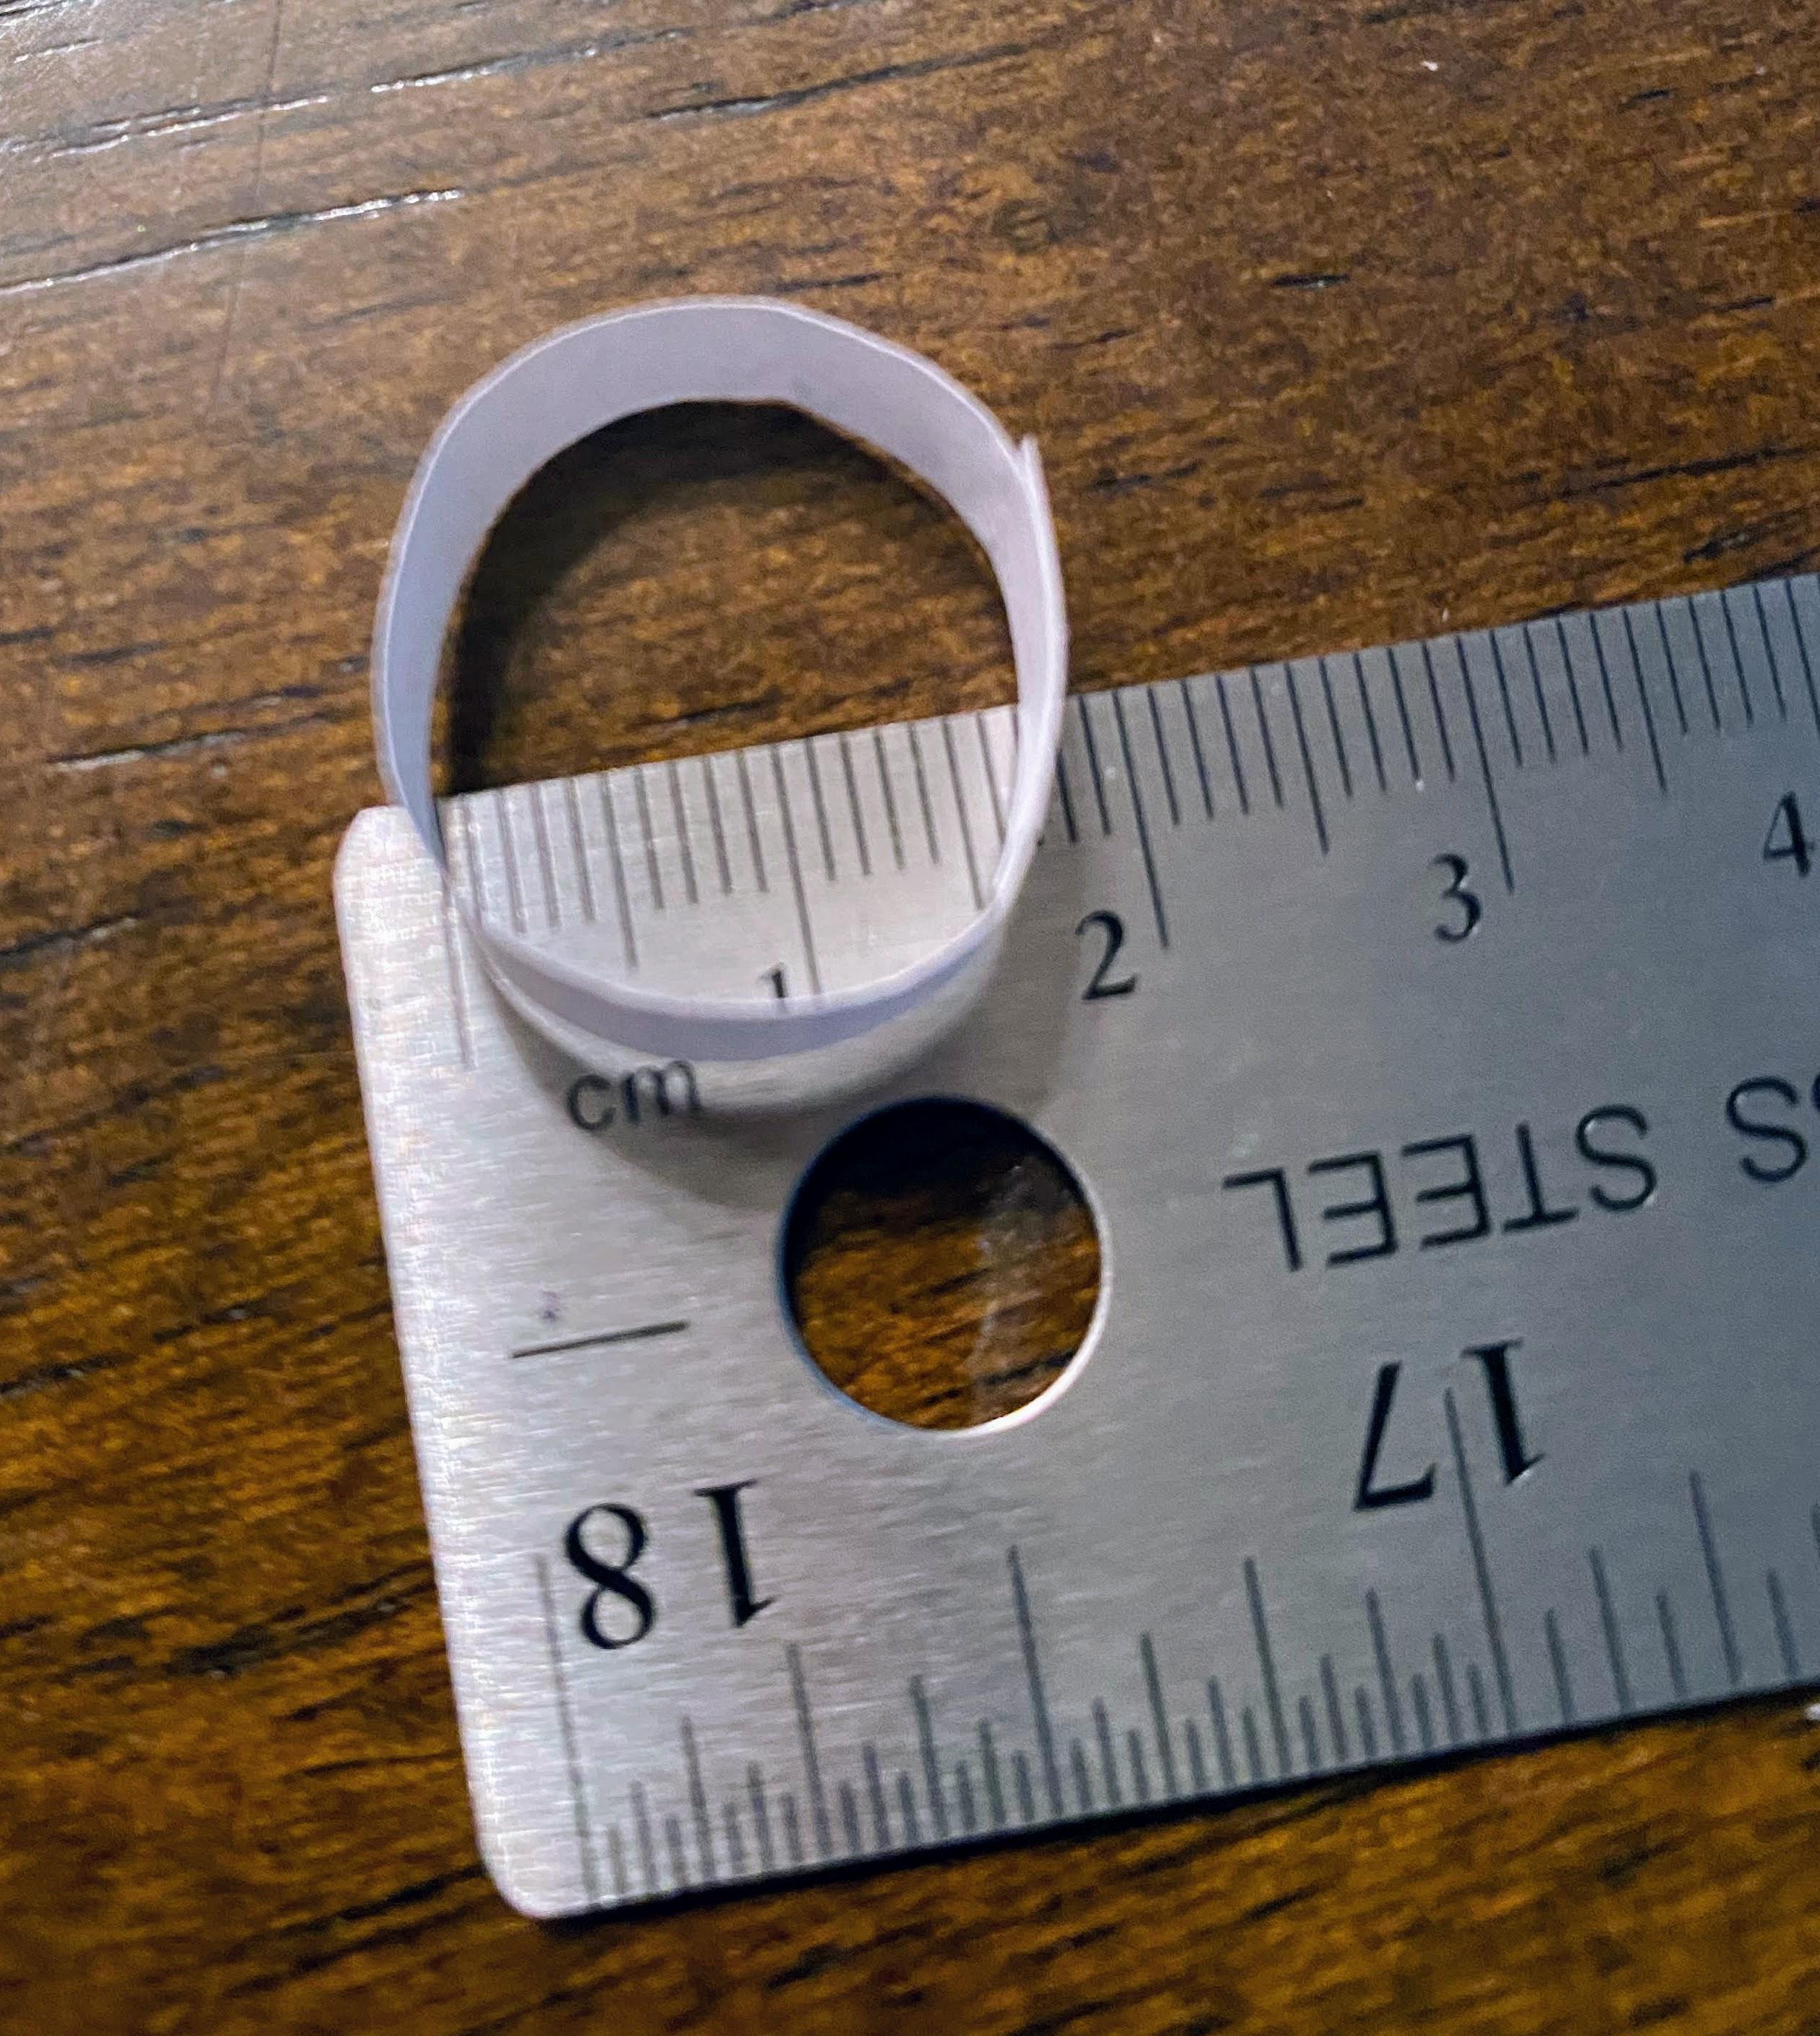
Measure the Dimensions
.jpg)
This is IMPORTANT. You need to measure the length and width of the ring and write it somewhere so that you do not forget. Make sure to use the metric system on your ruler, as that is the system TinkerCAD uses. In my case, my ring was (L x W) 1.8 by 1.9 cm. In order to make my ring perfectly circular, I will make my ring's inner diameter 1.9 by 1.9 cm.
Open TinkerCAD

Go to TinkerCAD, a free user-friendly CAD software. If you do not have an account, make one (it's free and easy :)
Create a Template of the Ring

This is the universal basic template for all 3d printed rings. I will explain in a step-by-step fashion how to achieve a similar result. To anyone who does not have much experience with CAD, you are doing great so far ;)
Shapes Required

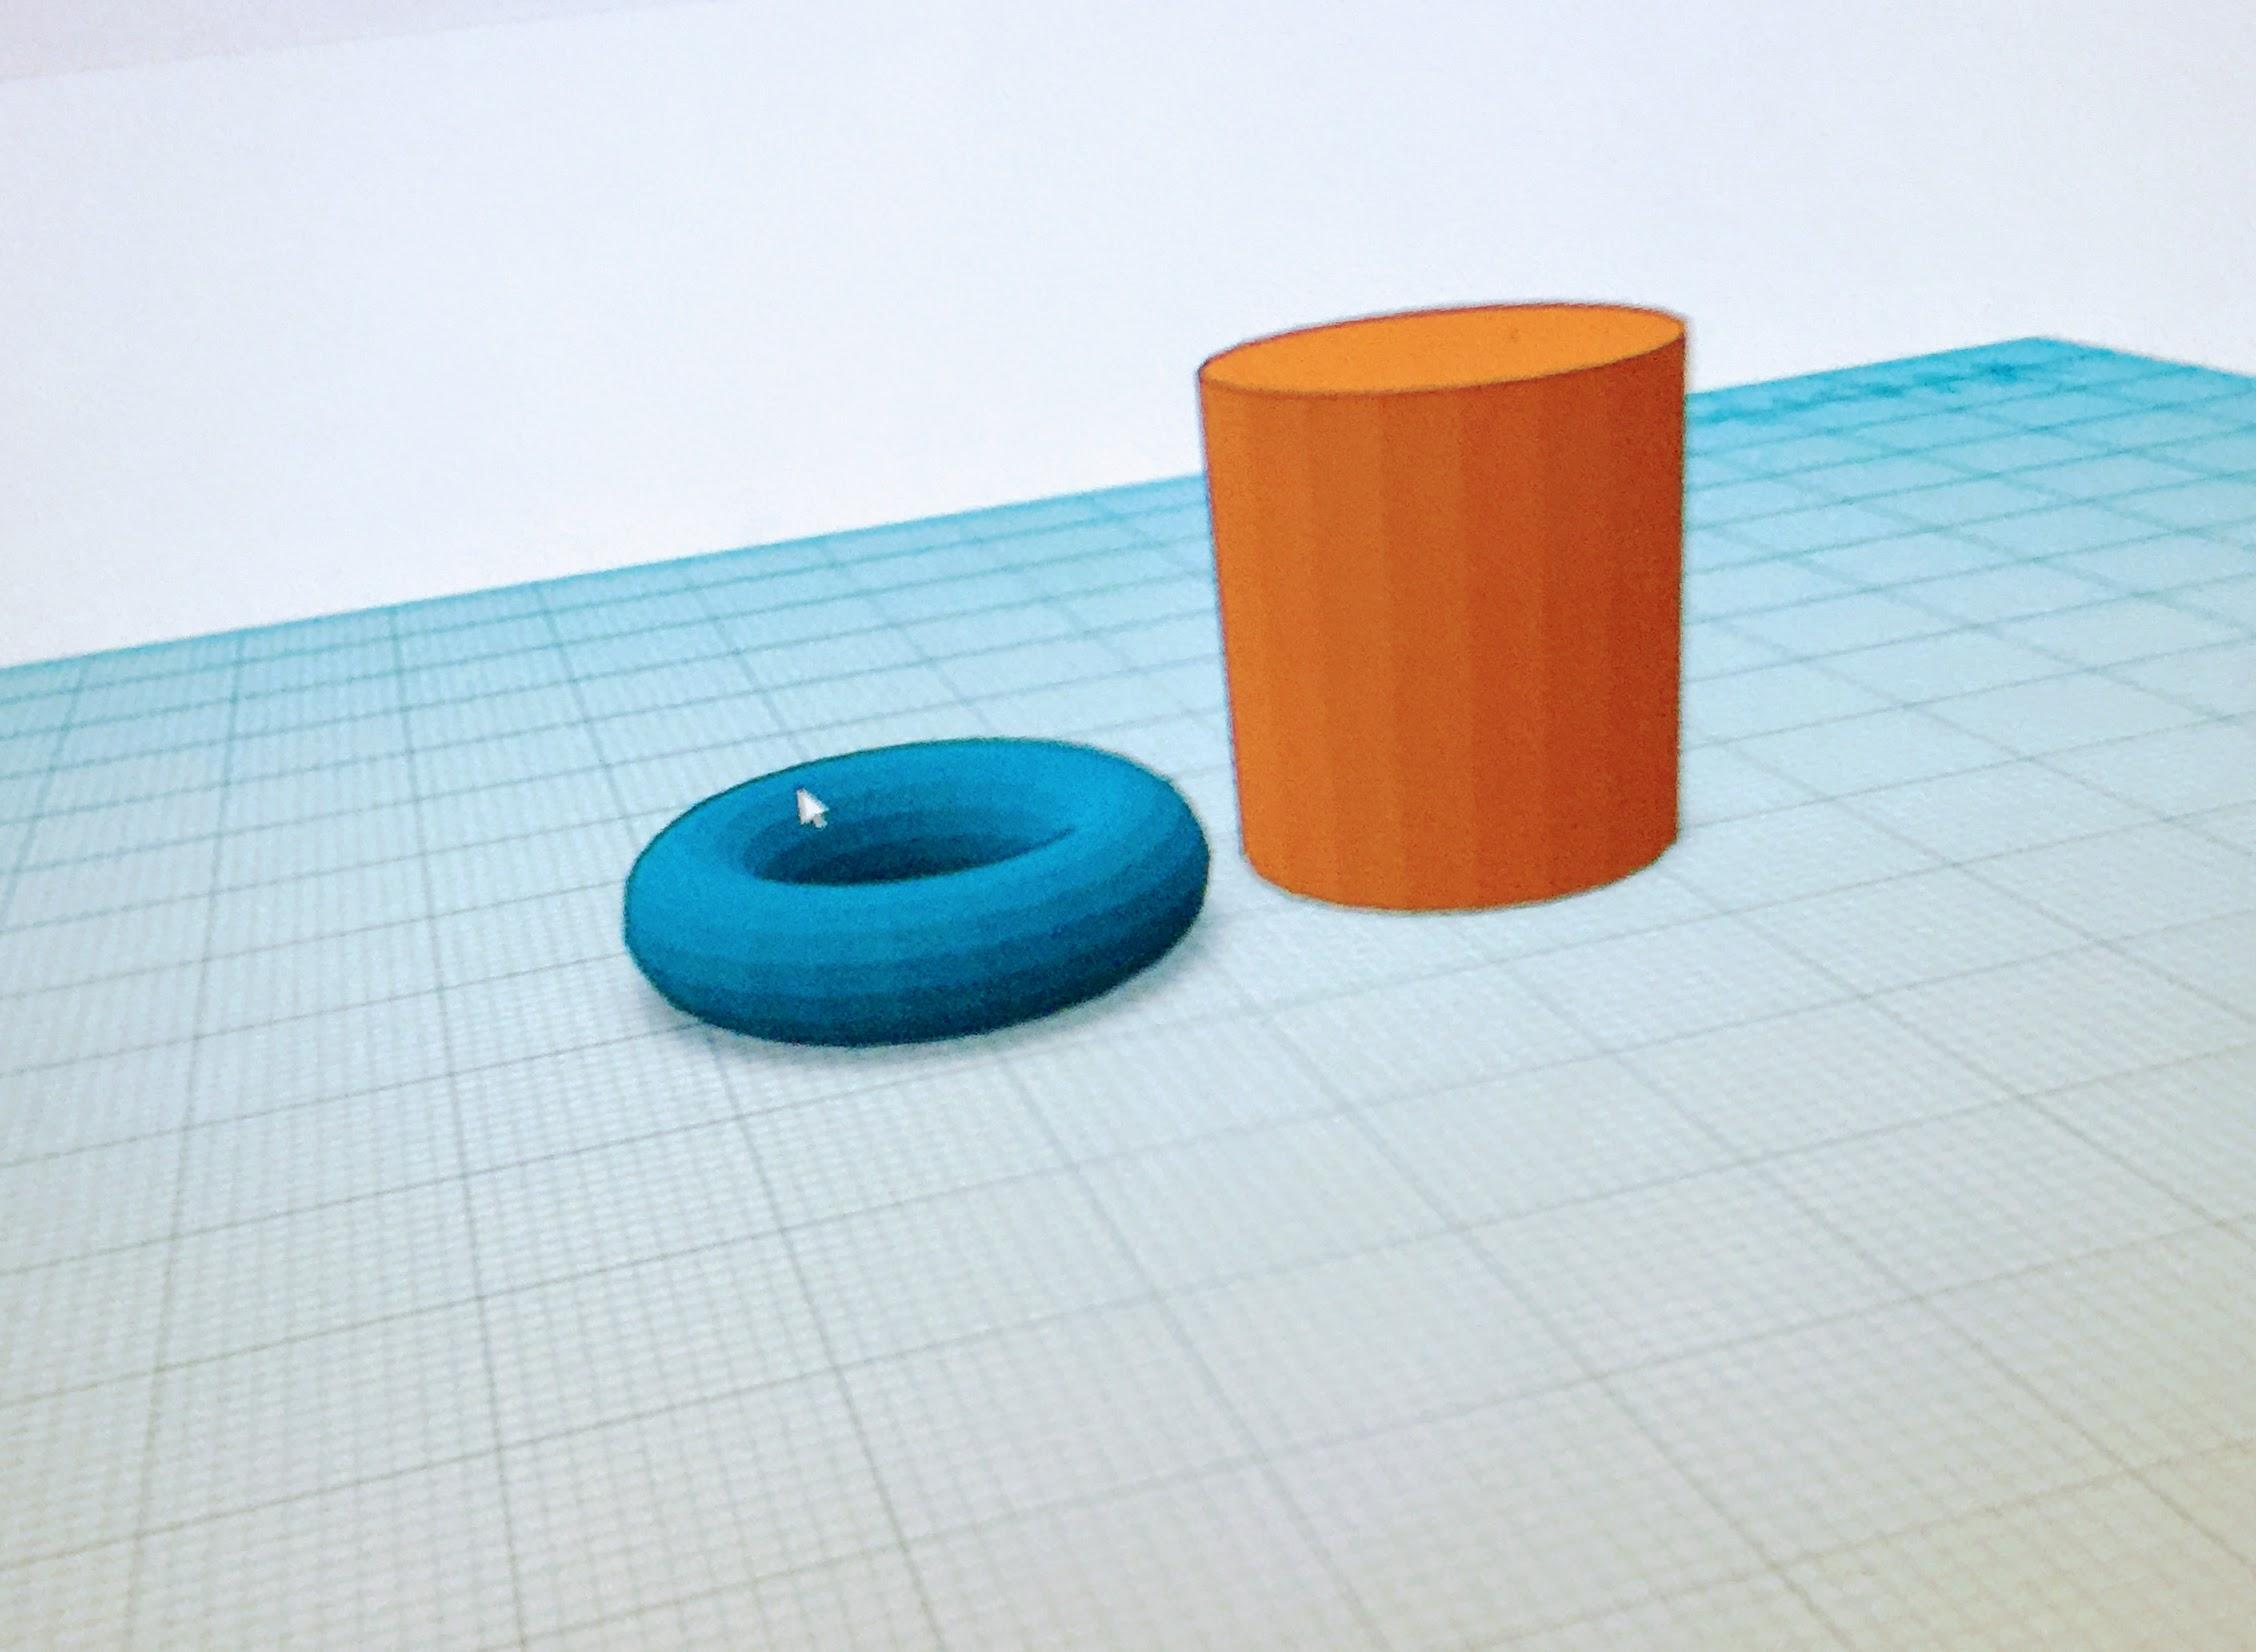
For the template, you will require two shapes: a cylinder and a torus. Make sure the cylinder's length and width is the inner diameter that you measured earlier. The torus will make up the ring, so it can be as thick as you like, but I would recommend that it is 5 mm bigger than your inner diameter for both length and width. The height can be as tall as you want, but I wanted a relatively small ring, so I made the height of my ring 6 mm. You are almost done with the template!
Aligning the Shapes

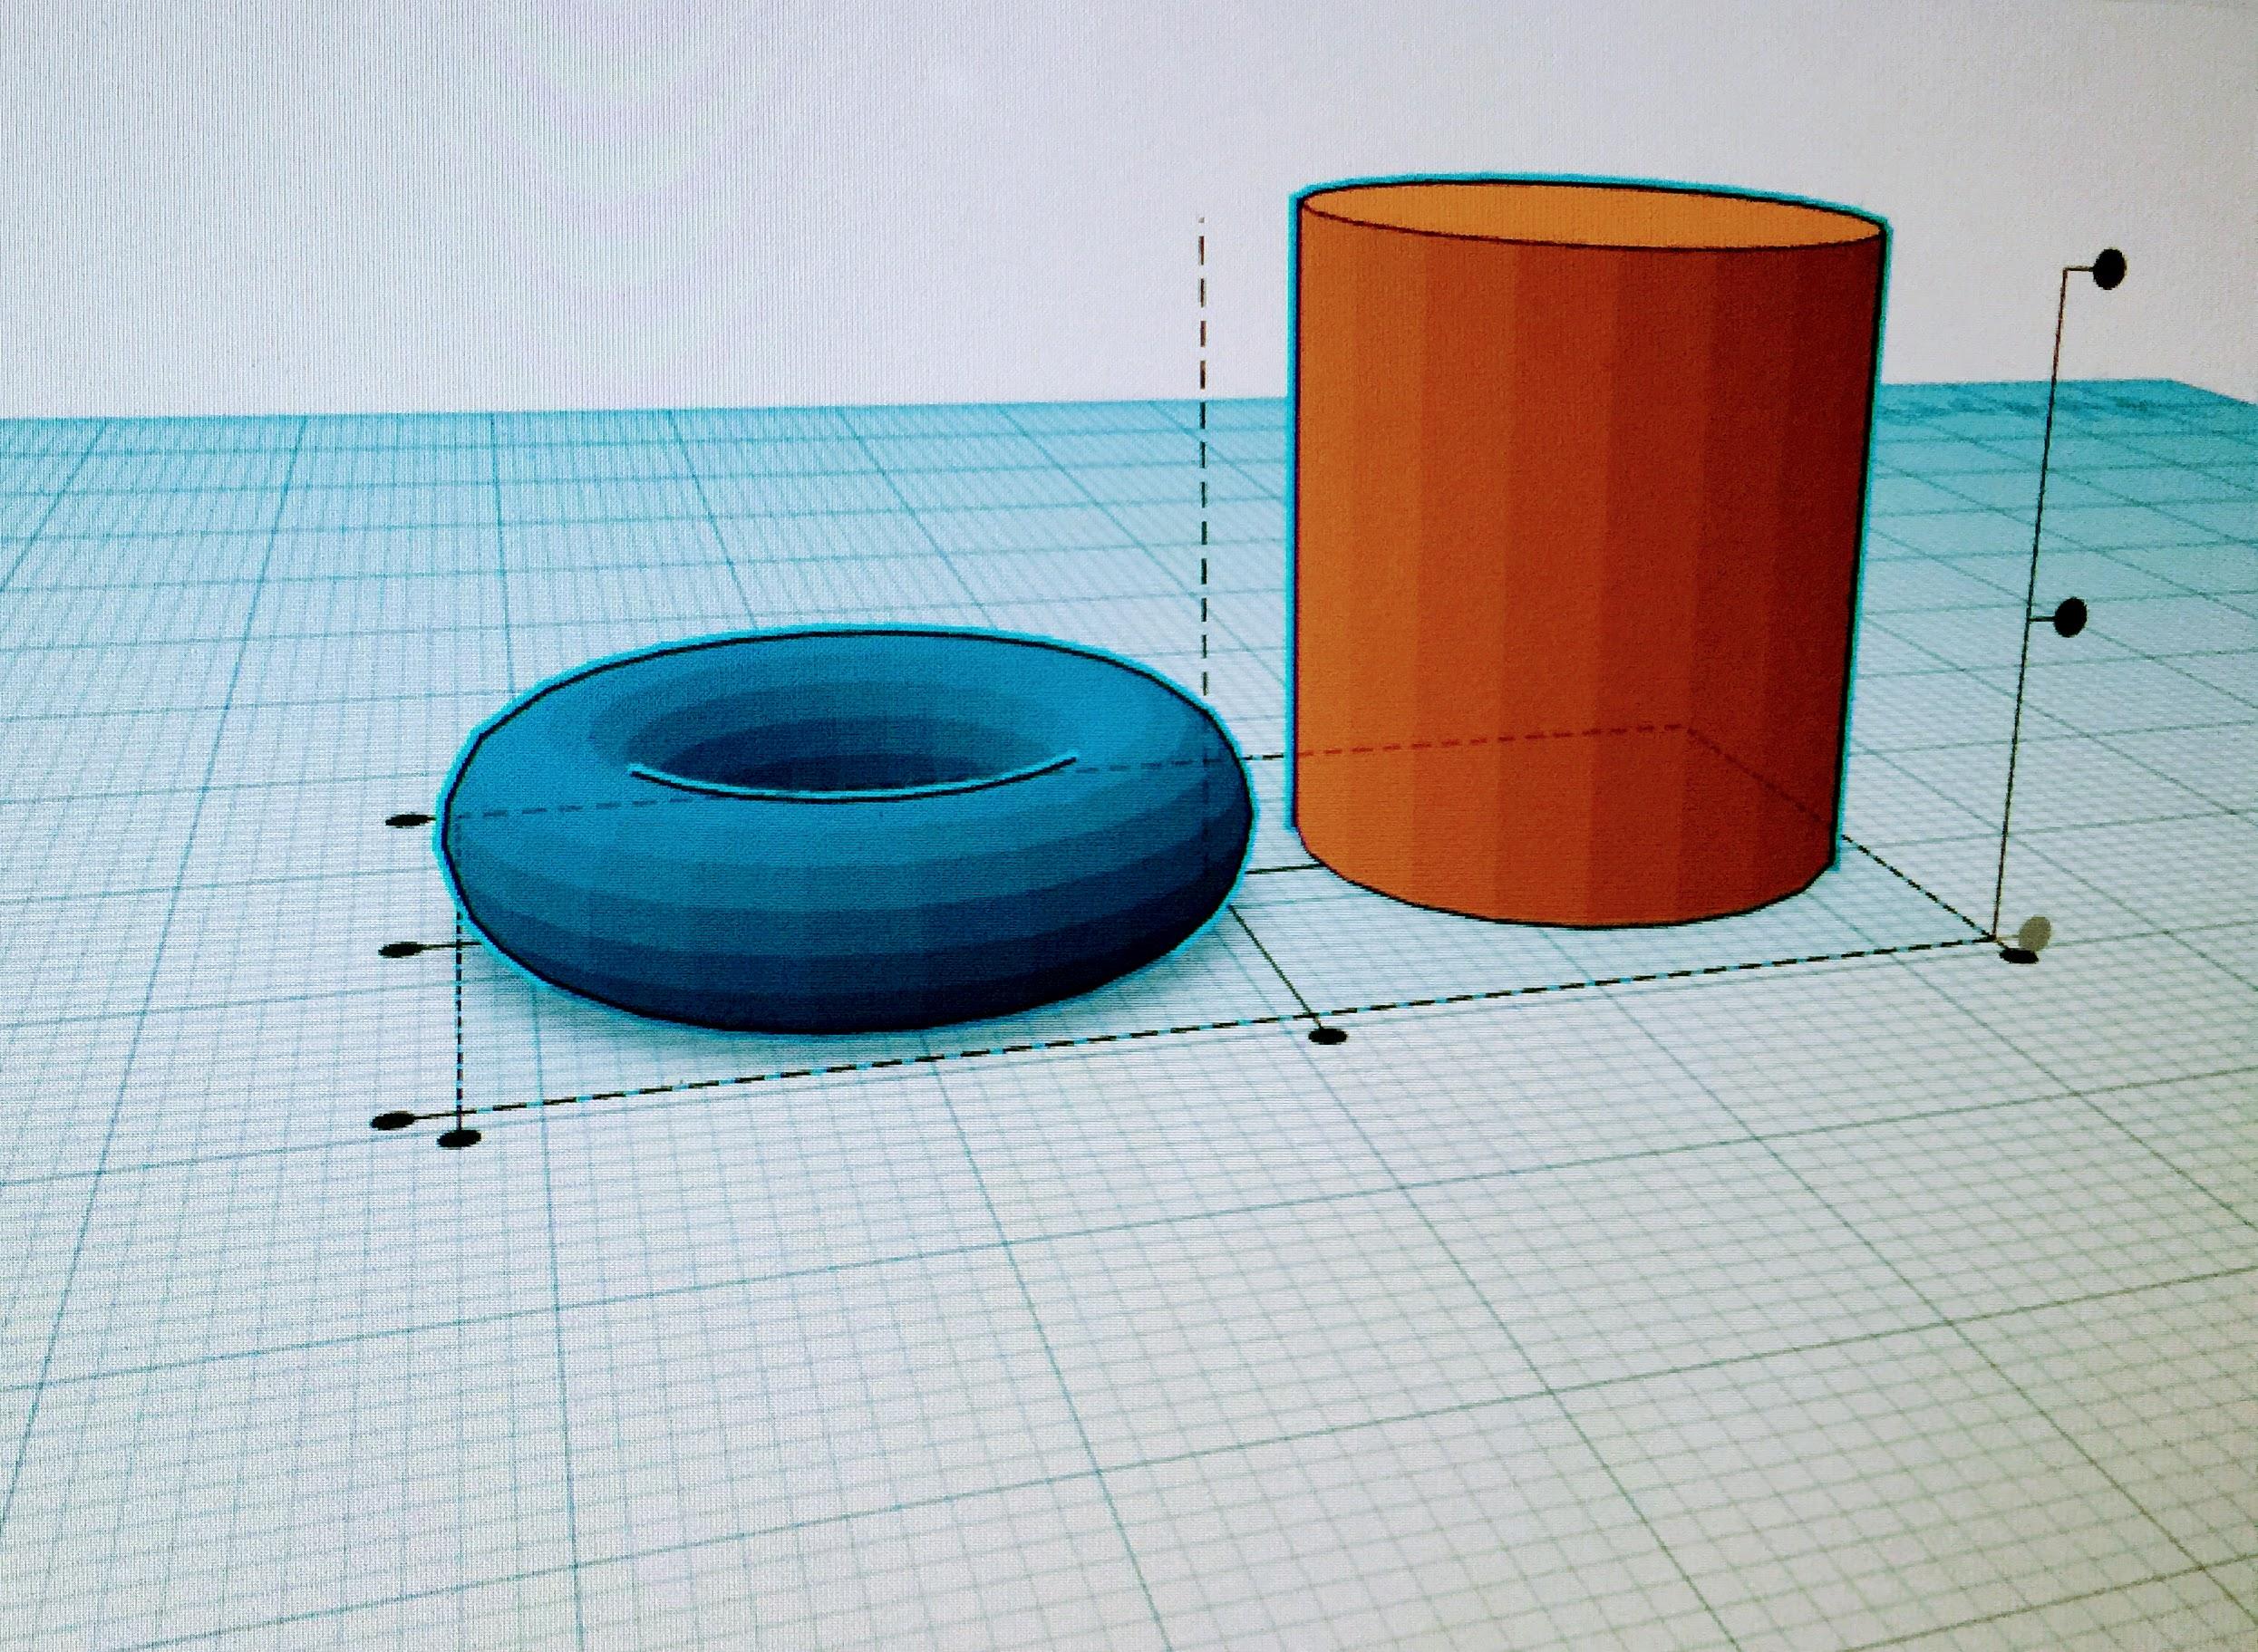
For this step, it is important that the cylinder is taller than the torus so that there is a hole all the way through the torus to make the ring shape. Once this is done, we must align the shapes in order to keep a constant thickness. In order to do this, select both objects and click L on your keyboard. If you did this step correctly, your model will look similar to the picture.
Aligning: Pt 2

Click this button that my cursor is near in order to group it on one axis. You are doing great btw :)
Aligning: Pt 3

Click this other button in order for the two shapes to be centered. Good job, you have finished grouping!
Grouping
.JPG)
This is the final step in making the template. Before we group, click on the cylinder and enable 'Hole'. Once this is done, select the objects again, and use the keyboard shortcut Ctrl-G to group them. You should now have the ring shape.
How to Make My Ring

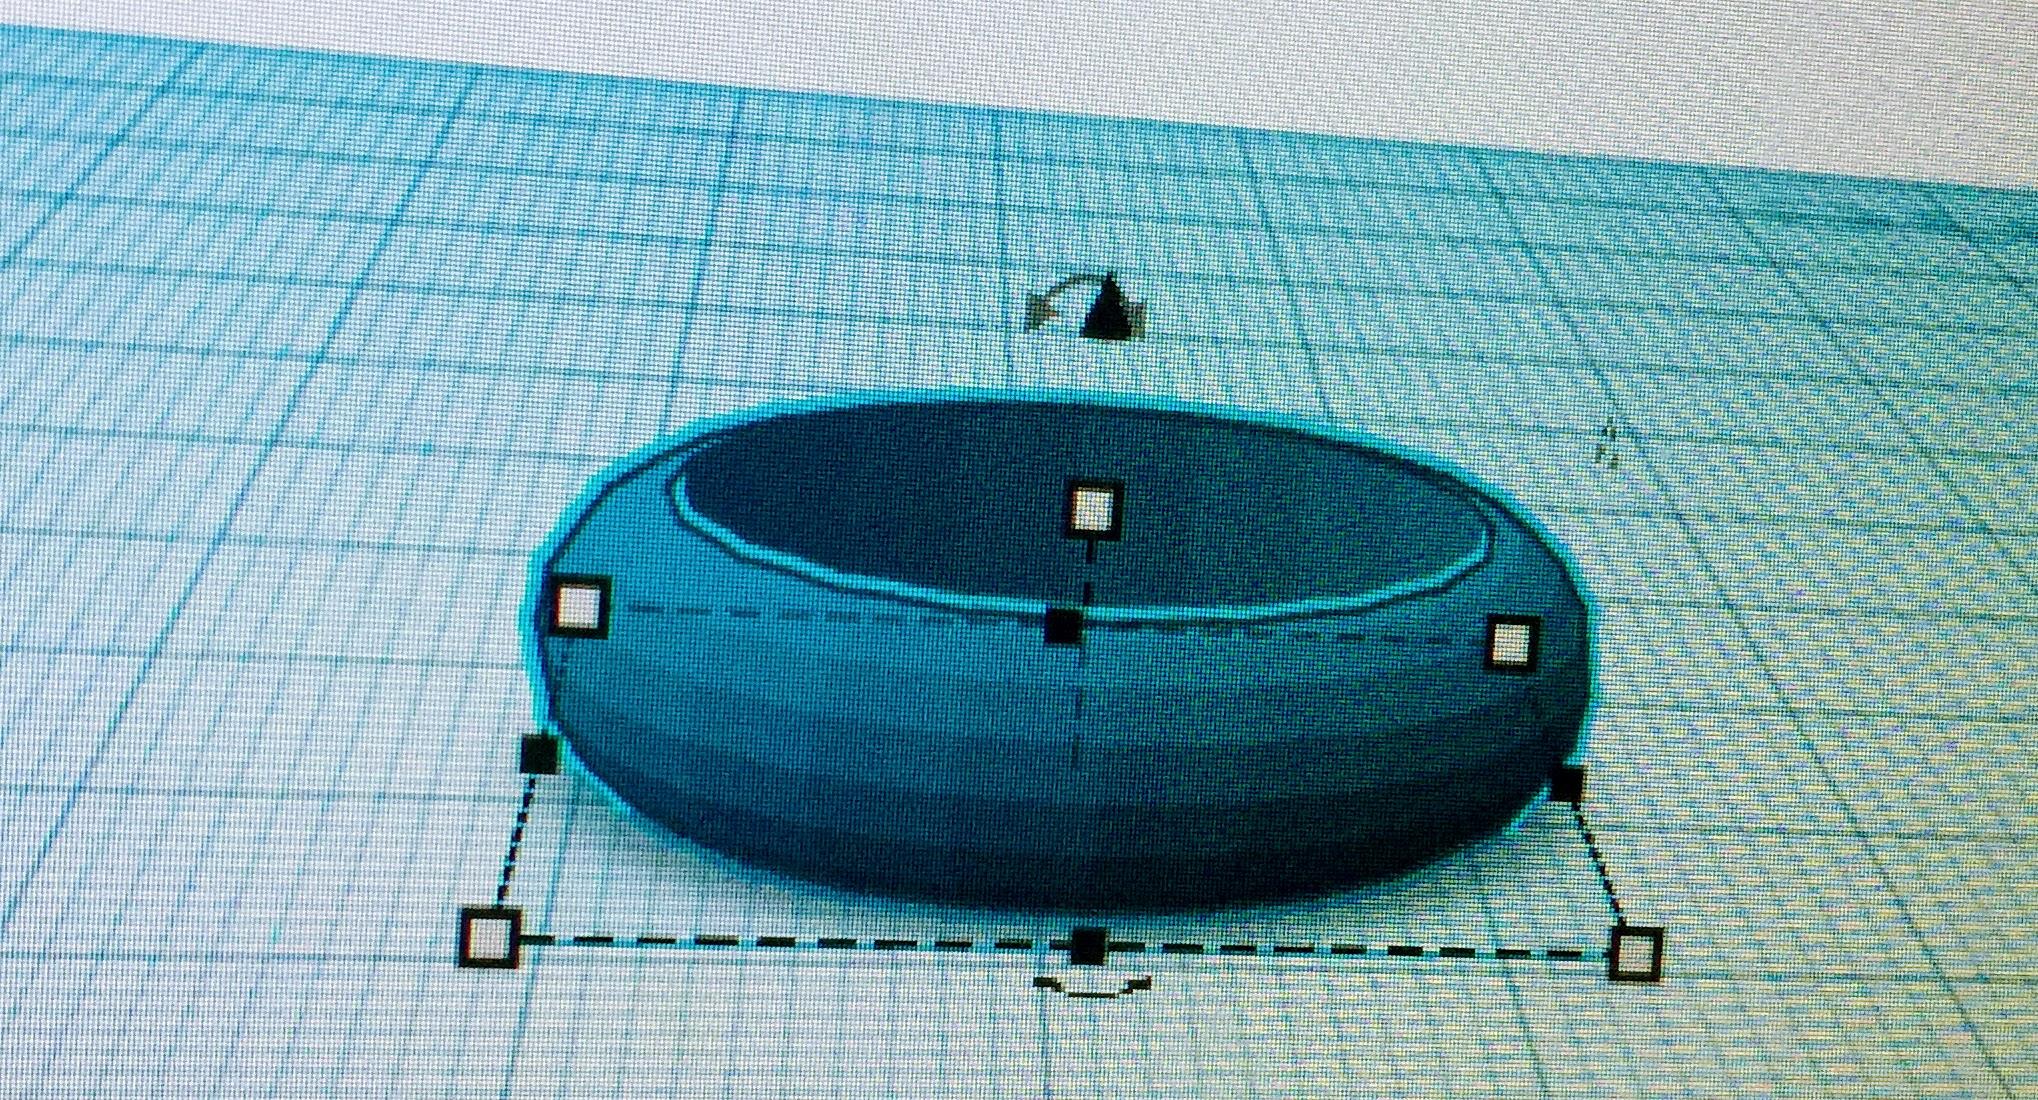
This is for those of you who liked my ring. In order to do this, take the ring shape that is found in the Basic Shapes area and make sure that it is the same height, length, and width as the template. align it using the same lines we used previously, enable the 'Hole' setting, and group it. You should have this shape :)
Conclusion

I sanded mine with 150 grit sandpaper and it worked fine. I really hope you enjoyed this instructable. I understand that 3D design can be challenging and intimidating, which is the reason why I made a step-by-step Instructable on an easy project :). If you have enjoyed this project, please consider giving it a like :)