How to Digitize and Auto-Crop Printed Photos With Your Smartphone Free
by manvelarz in Living > Organizing
481 Views, 11 Favorites, 0 Comments
How to Digitize and Auto-Crop Printed Photos With Your Smartphone Free


Got boxes of old family photos? This guide shows you how to digitize them in minutes using just your smartphone. We'll capture multiple photos at once and use a free web tool to automatically crop and enhance them.
Cost: Free
Difficulty: Easy
Time: Under 5 minutes to start
Supplies

- A smartphone with a camera
- Your printed photos
- A flat, well-lit surface (a window provides great light)
Prepare Your Scanning Area
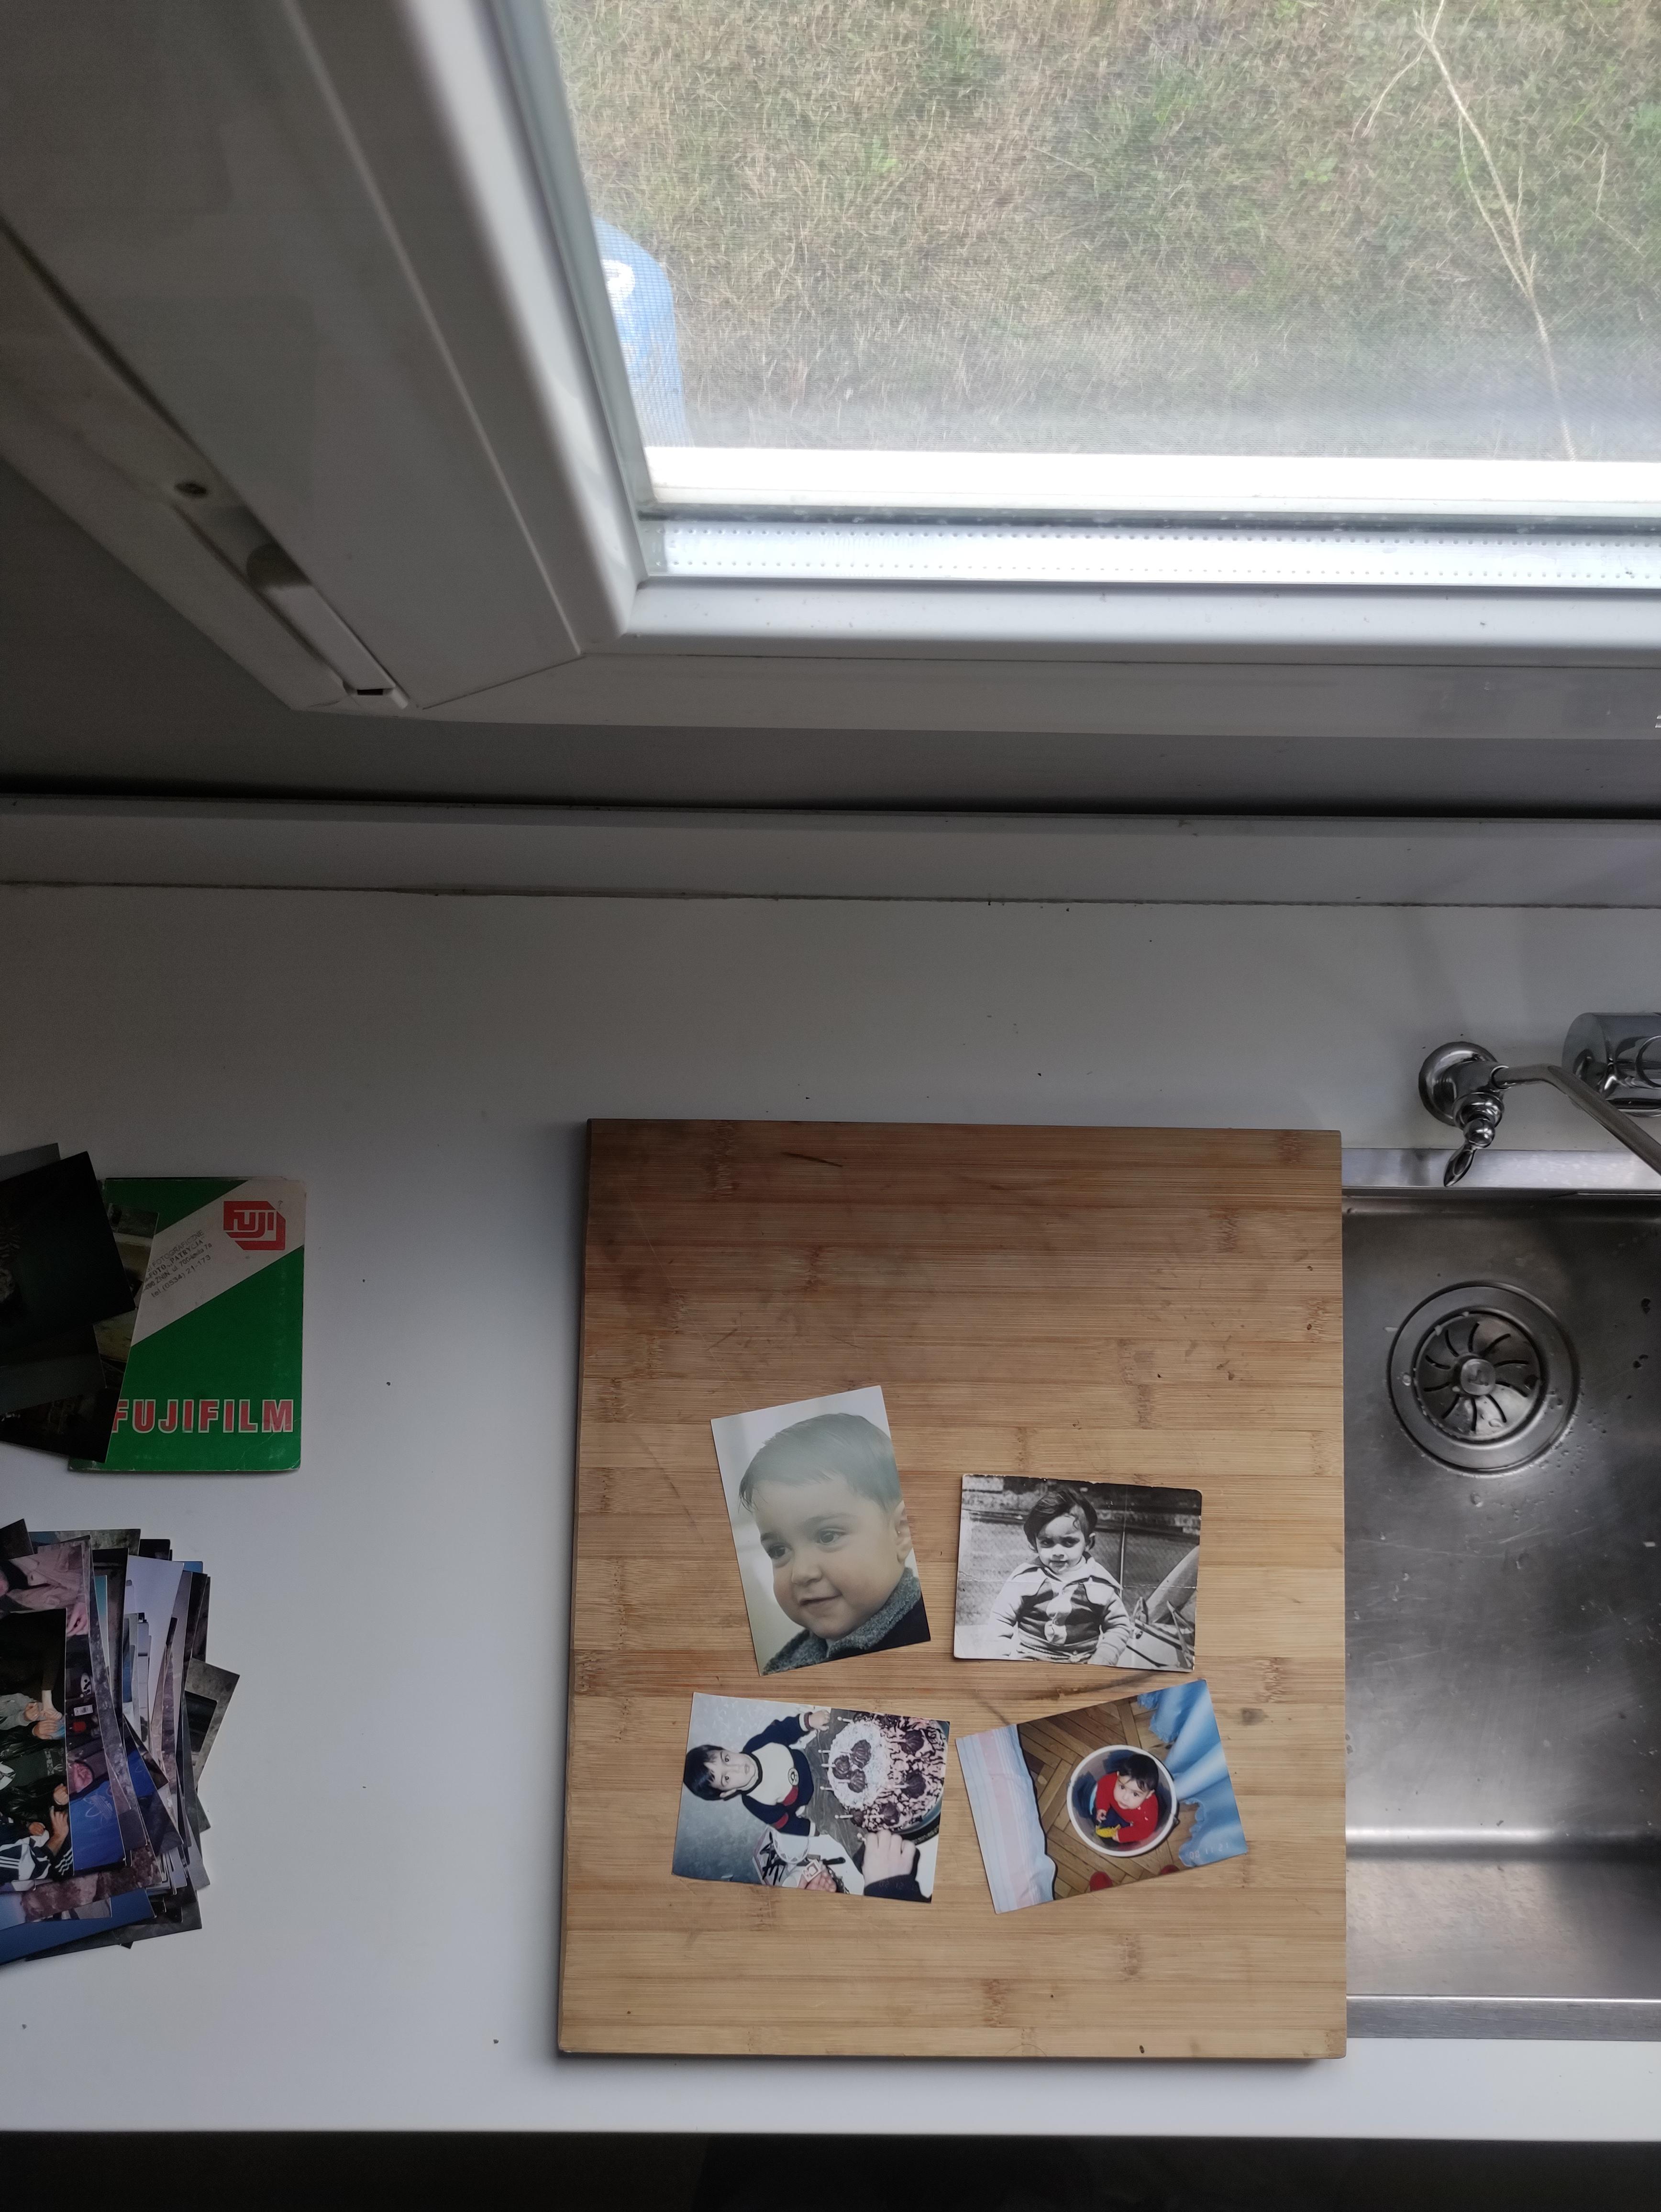
The quality of your digital photos starts with a good setup. You're creating a mini photo studio!
- Find a Flat Surface: A large table, desk, or even a clean spot on the floor works well.
- Get Good Lighting: Place your setup near a window for bright, indirect natural light. This avoids the harsh glare and color issues from a camera flash. If you don't have good window light, use a bright, neutral-colored lamp, positioned to the side to avoid reflections.
- Consider a Contrasting Background: While not strictly necessary, laying your photos on a plain, solid-colored surface that contrasts with the photo edges can help. A large sheet of white paper is great. However, the underlying neural network is capable of detecting photos on various surfaces, so don't worry if you don't have a perfect background.
Pro-Tip: Avoid casting shadows on the photos with your phone or body. The more even the light, the better the results.
Arrange Your Photos

Now it's time to lay out your photos for their digital debut.
- Place Photos on Your Prepared Surface: Arrange a small batch of 3 to 5 photos.
- Avoid Intersections: This is the most important rule. Ensure there is a small gap around each photo. They must not touch or overlap, as this is crucial for the detection algorithm to work correctly.
- Keep Them Flat: If your photos are curled, gently flatten them. You can place them under a heavy book for an hour before you start.
A good layout is the secret to fast and accurate batch cropping.
Capture and Crop Your Photos


This is where the magic happens. Instead of using your phone's camera app, we'll capture the photo directly from the web tool for a smoother workflow.
- Open Your Browser: On your phone, open Chrome, Safari, or any other web browser and go to SmartPhotoCropper.com.
- Launch the App: Tap the "Launch App" button. You can use the tool right away or add it to your home screen to use it like a regular app.
- Capture Directly: The app will open your camera. Position your phone directly above the photos, making sure they are all in the frame and in focus, then tap the capture button.
- Let the AI Work: A sophisticated neural network will instantly analyze the image and draw crop boxes around each photo, correcting any rotation automatically.
This tool is free for core features like cropping and was created by me, Manvel. I built it to make digitizing photos accessible to everyone. Your photos are processed locally on your device for complete privacy.
Fine-Tune and Enhance (Optional)


The neural network detection is highly accurate, but like all AI, it can occasionally "hallucinate" or draw a boundary that isn't perfect. You always have full control.
- Review the Crops: Check that the crop boxes are aligned with the edges of your photos.
- Fine-Tune the Corners: If you're not happy with the detection, you can easily click and drag the corners of the crop box to manually adjust it to perfection. You need to go preview section "Detect" as I show in first image.
- Enhance Your Photos: The tool also provides simple options to improve brightness, contrast, and color. This can bring faded photos back to life. A little tweak often makes a big difference.
Save Your Digital Photos


Once you're happy with the results, it's time to save your new digital collection.
- Download Your Photos: You can save the cropped photos one by one or download them all at once.
- Directly Upload to Google Photos (New Feature!): For ultimate convenience and safekeeping, you can now upload your digitized photos directly to your Google Photos library. This powerful integration was officially authorized by Google, allowing you to send your memories straight to the cloud. Once your photos are there, you have a world of options. In my opinion, Google Photos is the best free organizer available, making it easy to sort, search, and share your collection.