How to Electrify the Speedminton Night Speeder
422 Views, 3 Favorites, 0 Comments
How to Electrify the Speedminton Night Speeder
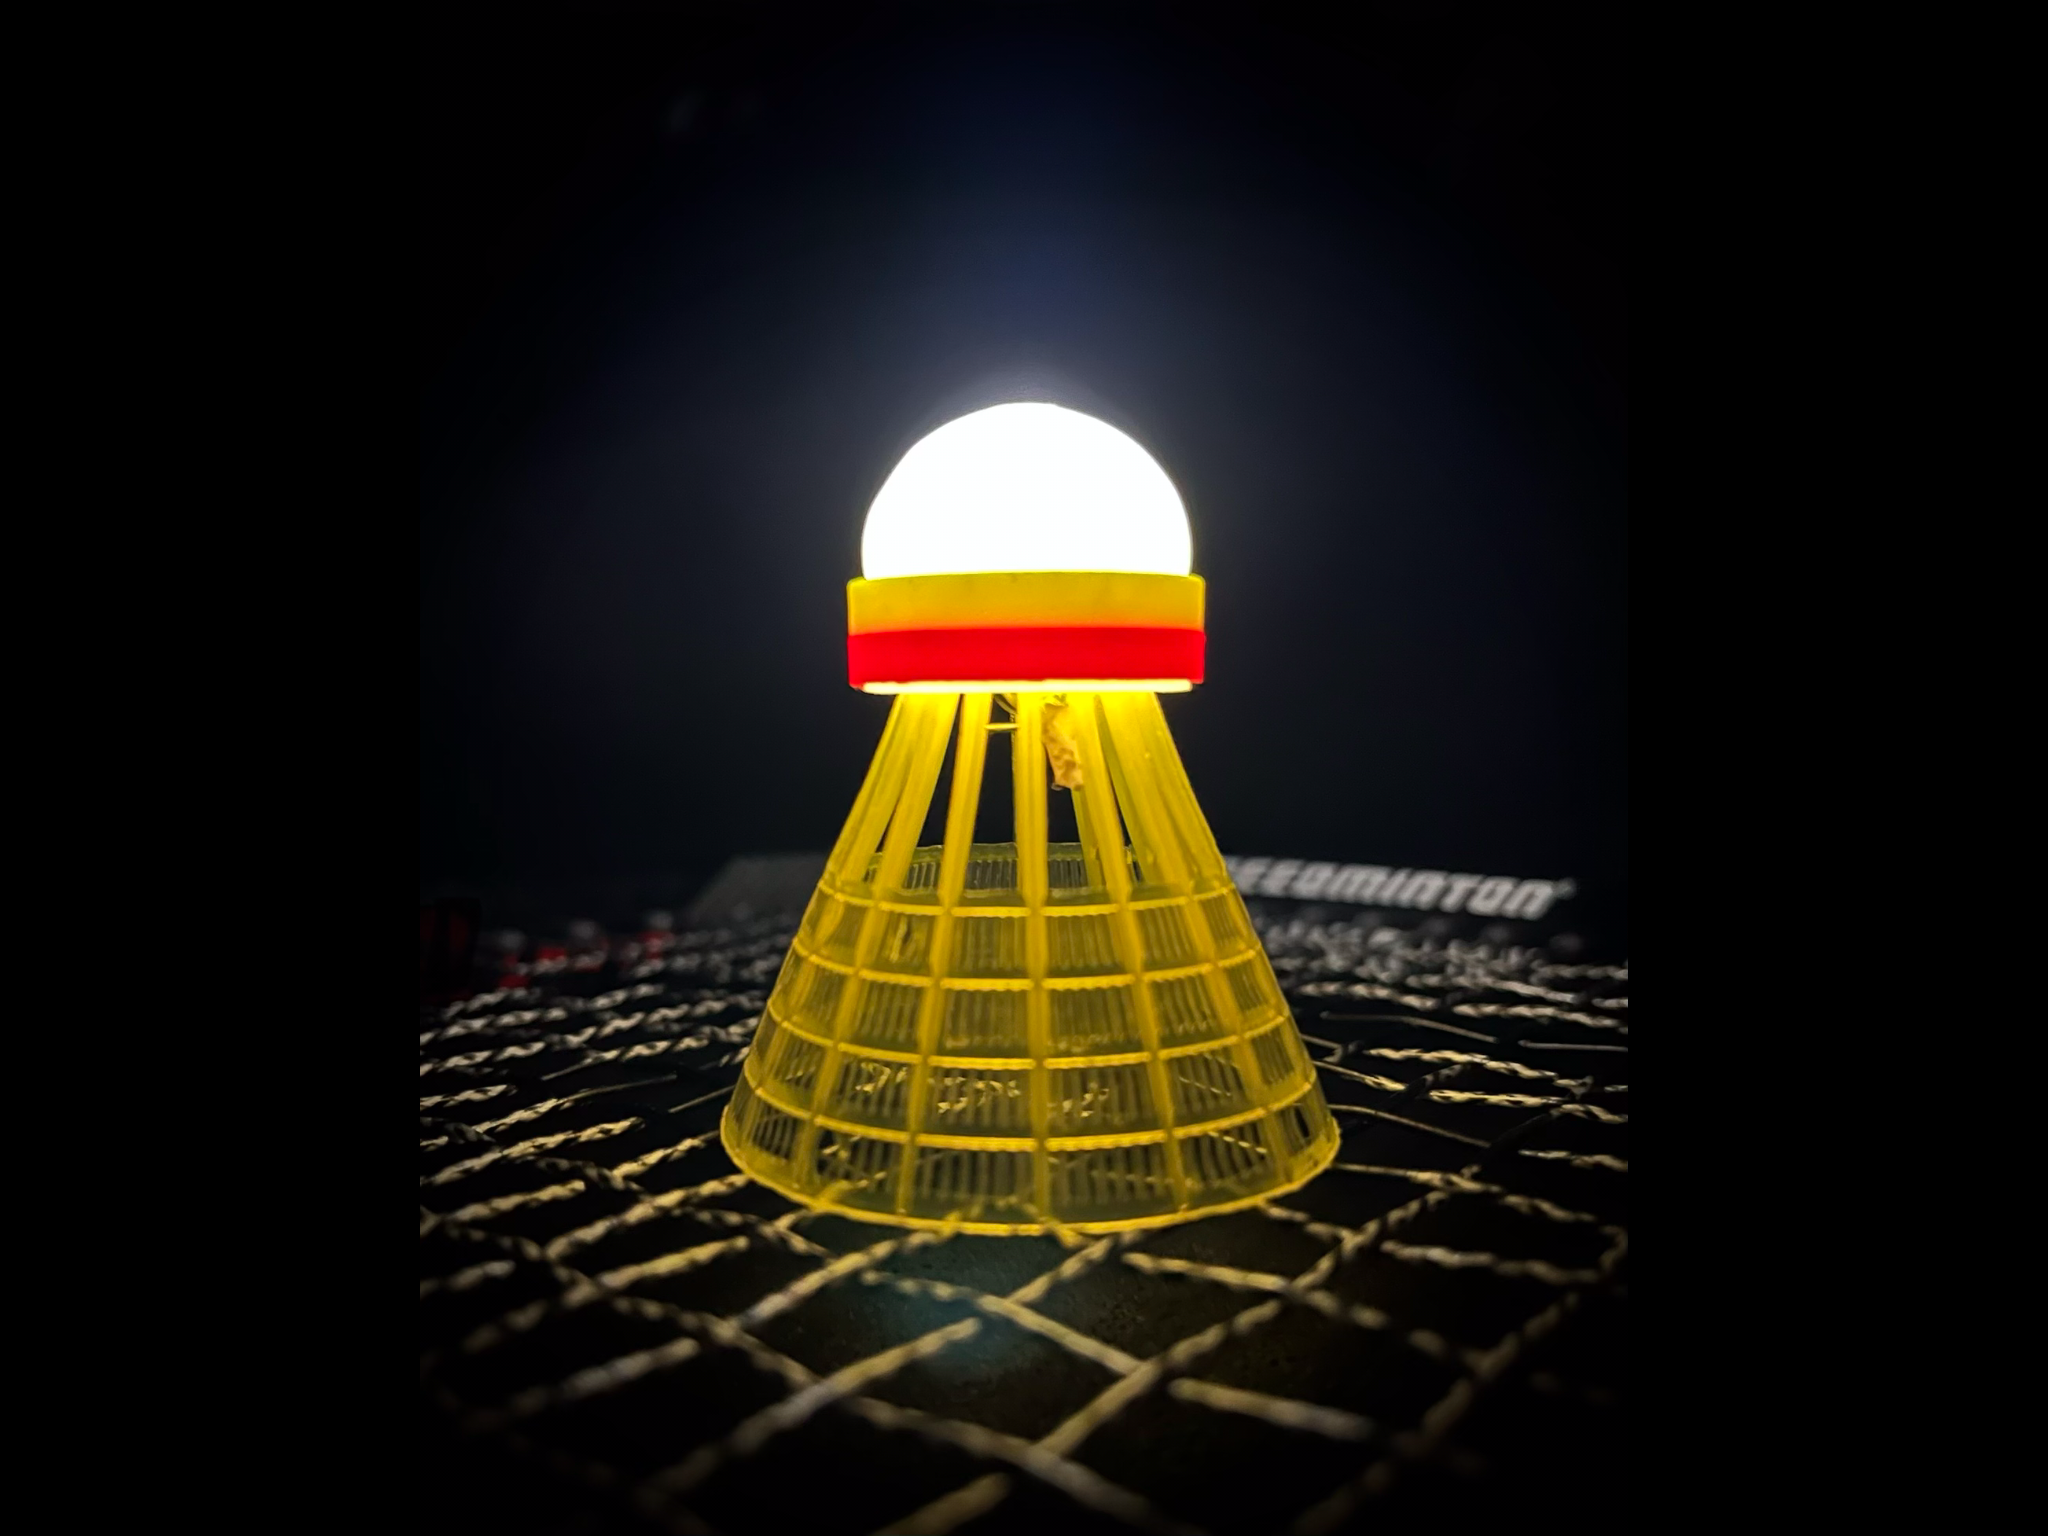
Hi! 🙂
I decided to take a look at the Speedminton Night Speeder (for Crossminton) to electrify it.
The Night Speeder Electrified
• is fully playable
• weighs about the same as its chemical counterpart
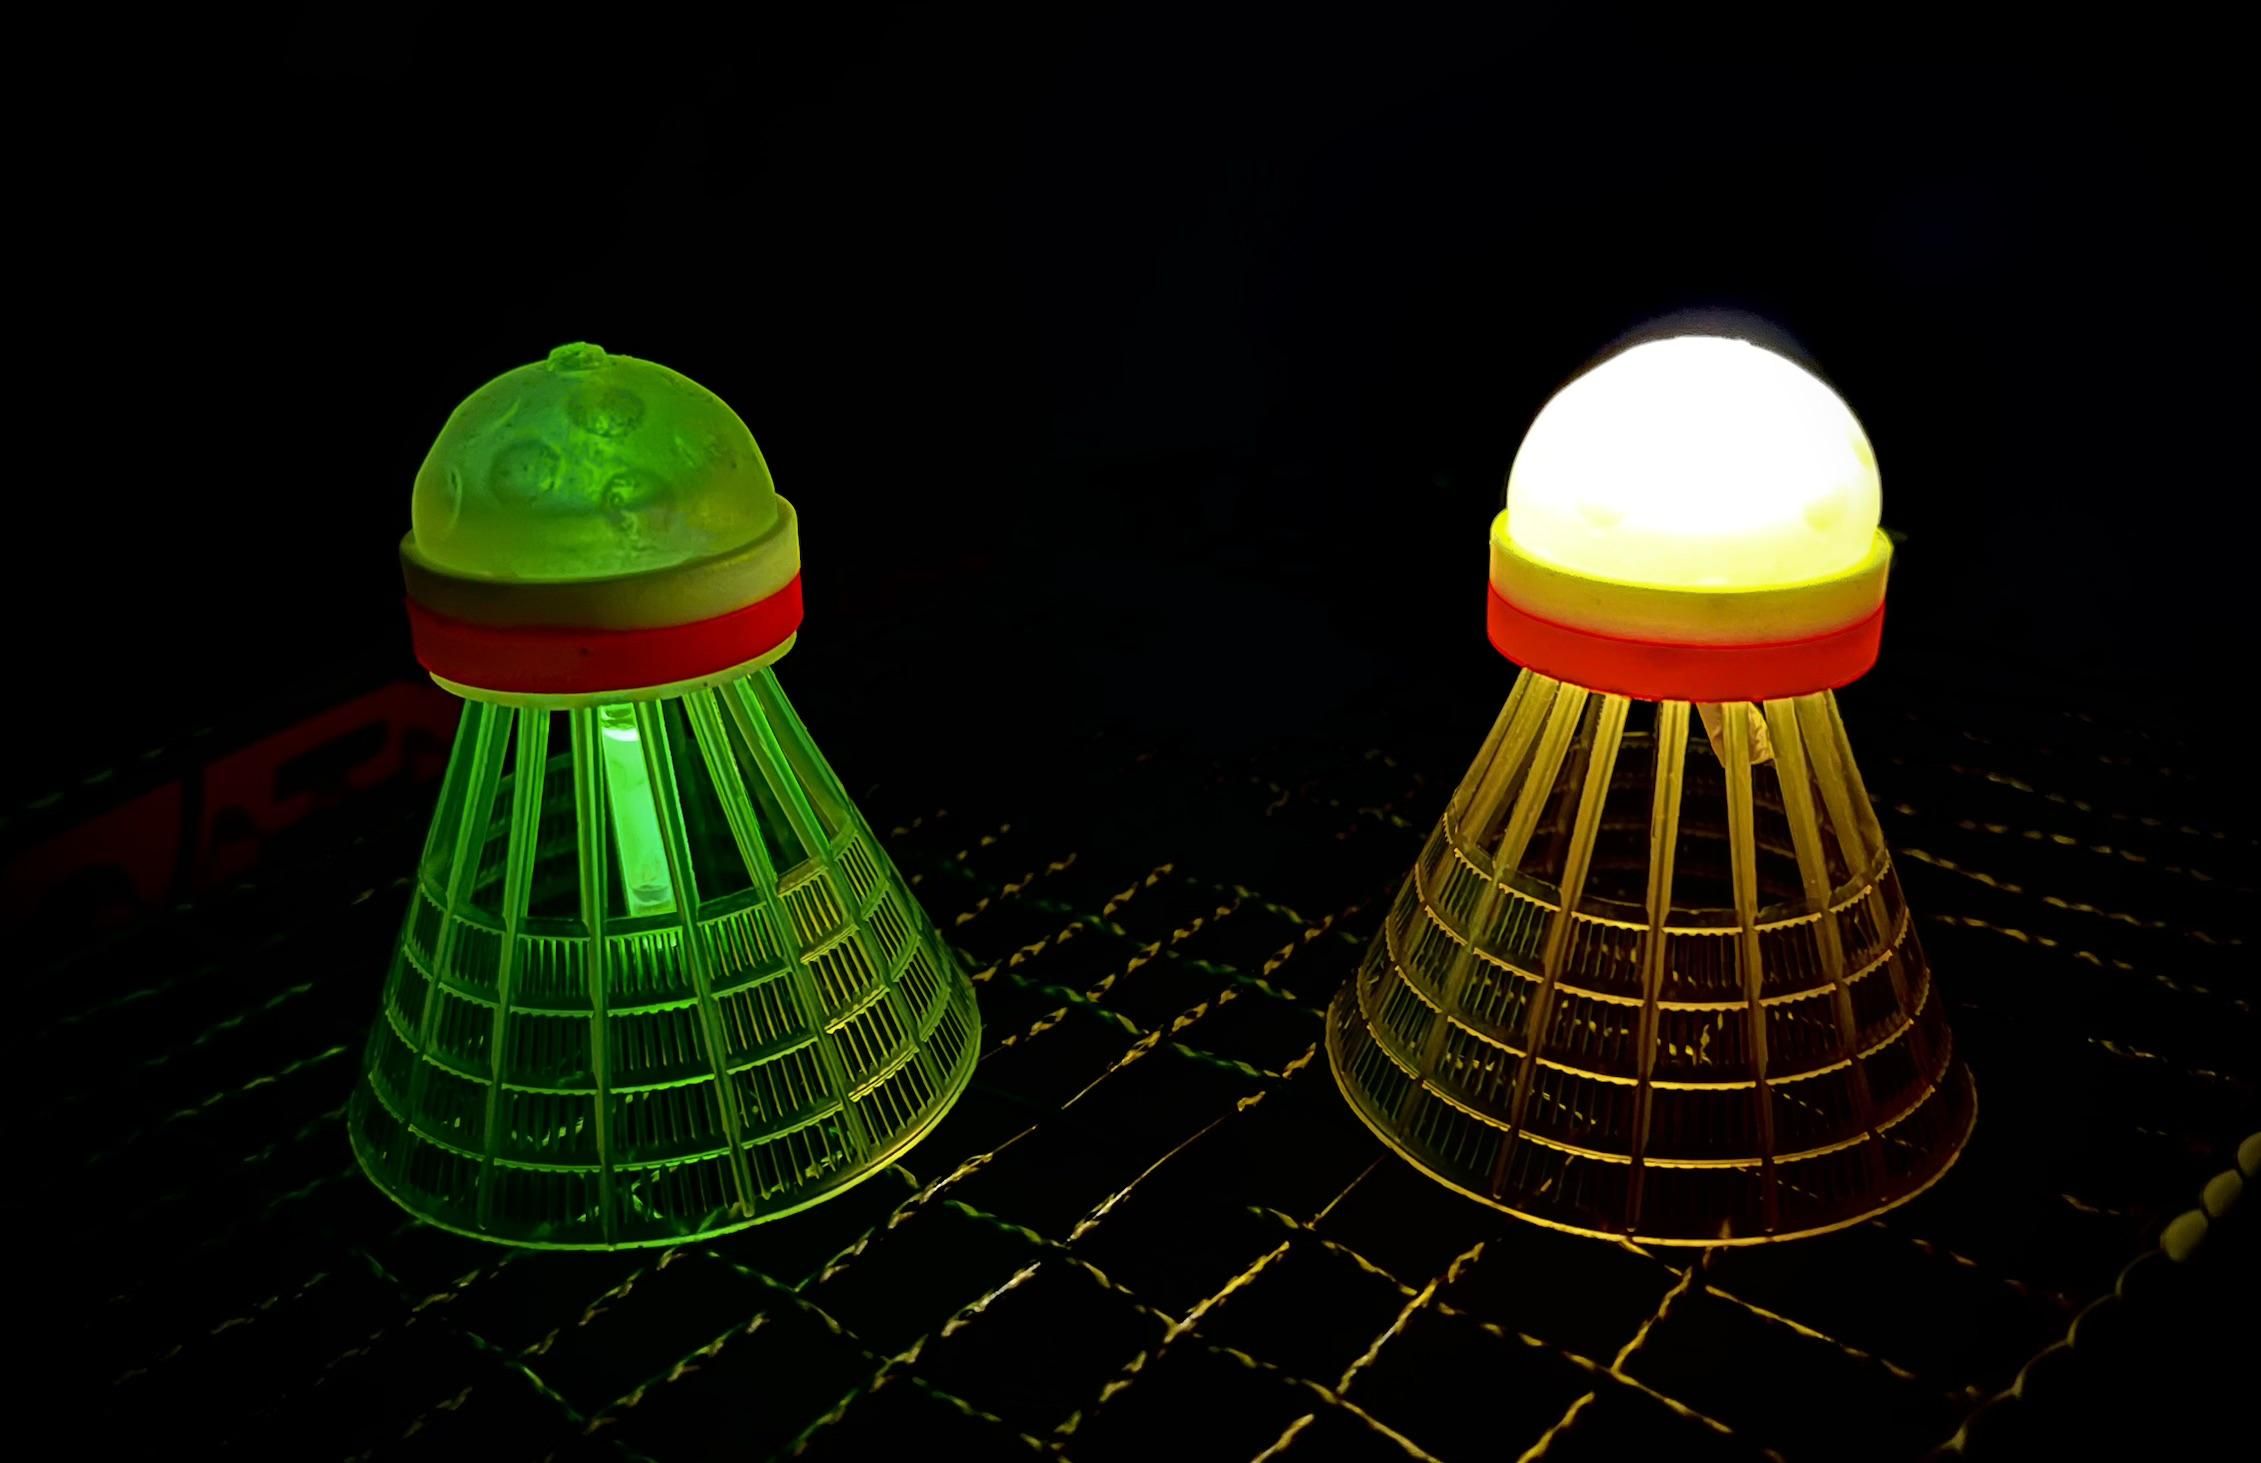
(Night Speeder with Speedminton Speedlight)
• is more cost-effective thanks to the switch (8 x 2 hours for €1.50)
• glows significantly brighter
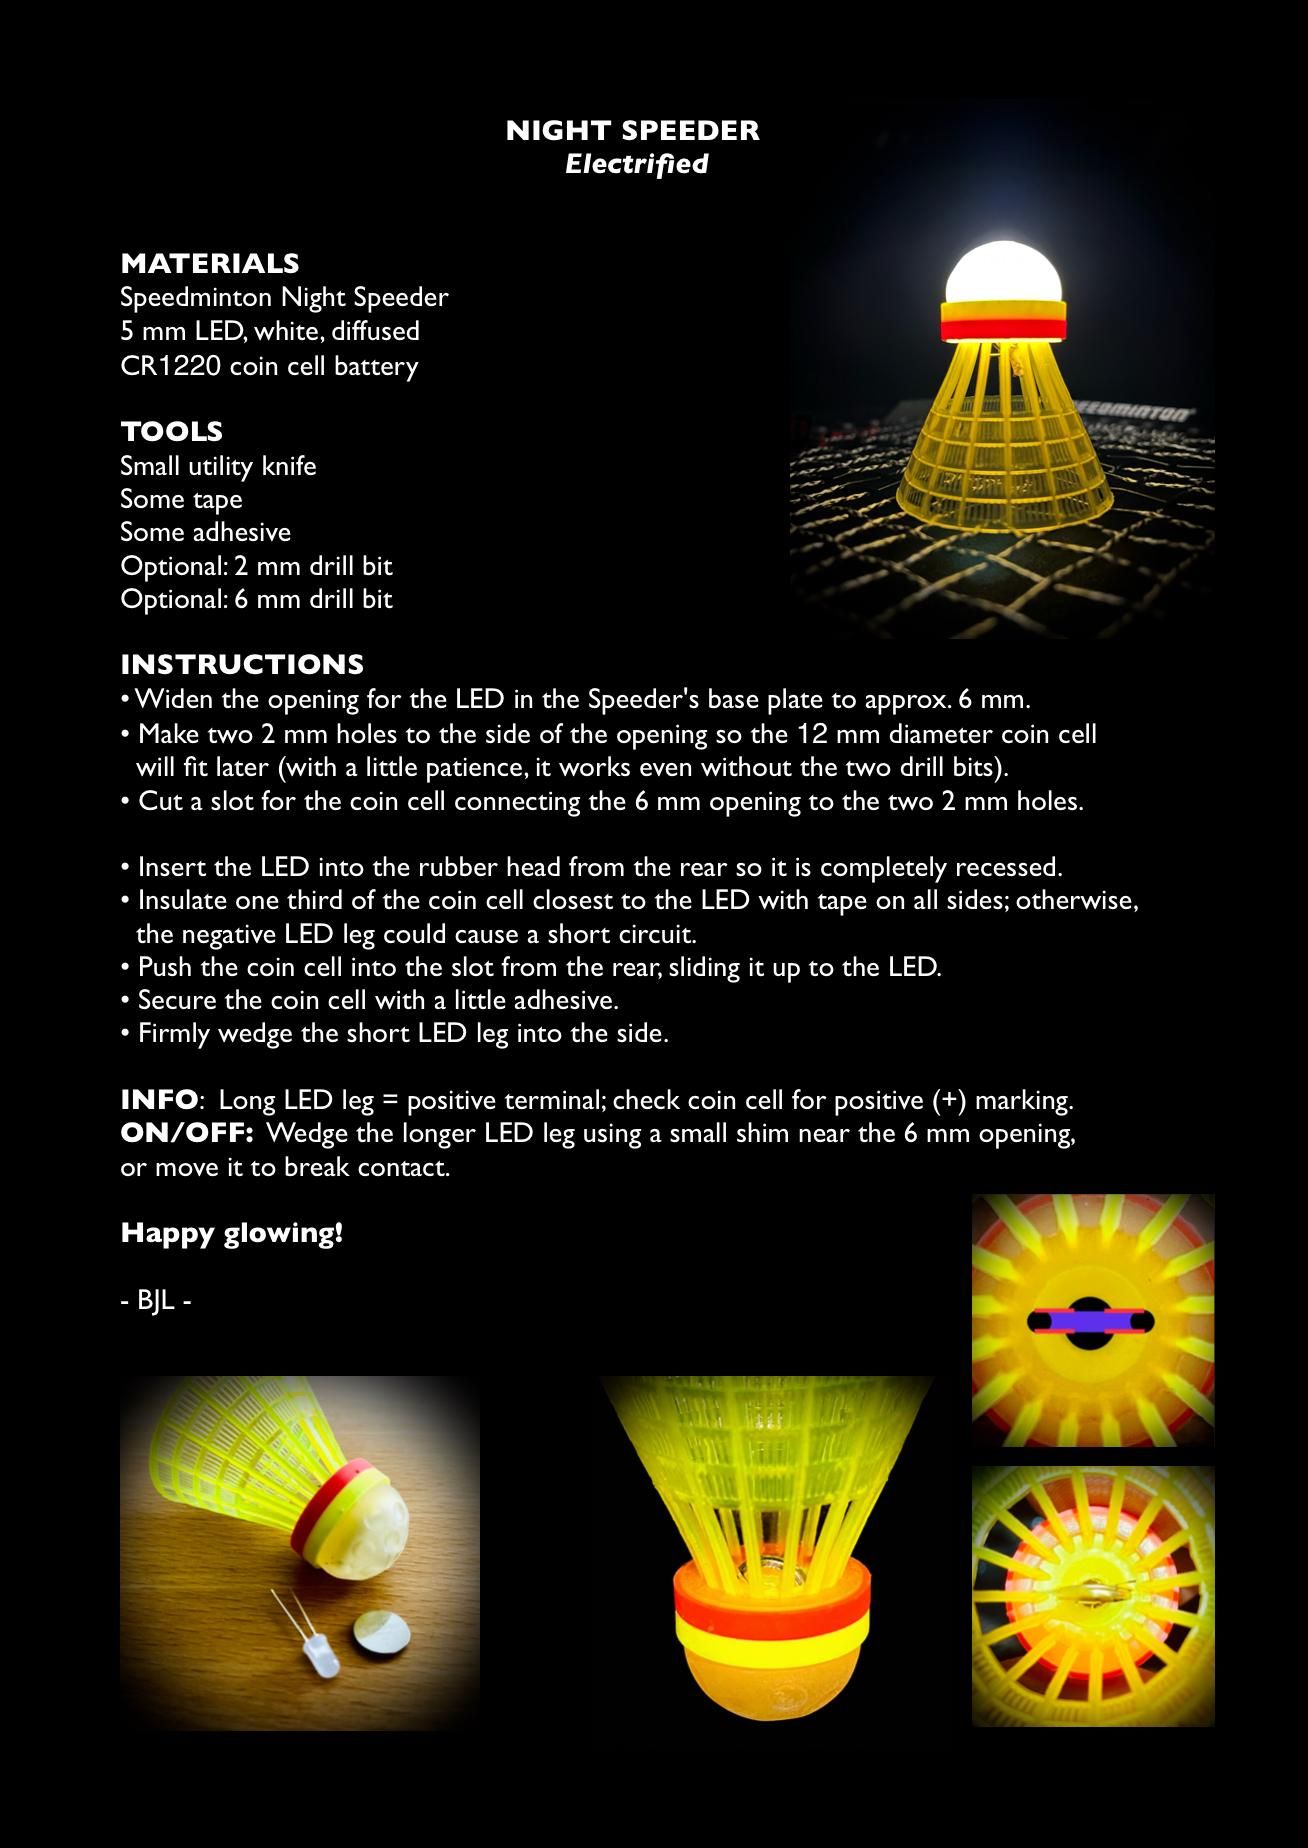
👉 See the complete assembly instructions in one image above. Share.
Have fun trying it out and developing it further!
Greetings 👍
BJL
#Battery #Coin Cell #Night Speeder #Electrified #Crossminton #Speedminton #LED #Batterie #elektrisch #Knopfzelle
Supplies
MATERIALS
• Speedminton Night Speeder
• 5 mm LED, white, diffused
• CR1220 coin cell battery
TOOLS
• Small utility knife
• Some tape
• Some adhesive
• Optional: 2 mm drill bit
• Optional: 6 mm drill bit
INSTRUCTIONS
INSTRUCTIONS
- Widen the opening for the LED in the Speeder's base plate to approx. 6 mm.
- Make two 2 mm holes to the side of the opening so the 12 mm diameter coin cell will fit later (with a little patience, it works even without the two drill bits).
- Cut a slot for the coin cell connecting the 6mm opening to the two 2mm holes.
- Insert the LED into the rubber head from the rear so it is completely recessed.
- Insulate one third of the coin cell closest to the LED with tape on all sides; otherwise, the negative LED leg could cause a short circuit.
- Push the coin cell into the slot from the rear, sliding it up to the LED.
- Secure the coin cell with a little adhesive.
- Firmly wedge the short LED leg into the side.
INFO: Long LED leg = positive terminal; check coin cell for positive (+) marking.
ON/OFF: Wedge the longer LED leg using a small shim near the 6 mm opening, or move it to break contact.
Happy glowing!