How to Laser Cut a No Smoking Sign Step by Step Tutorial
by thunderlaser-nolan in Workshop > Laser Cutting
28 Views, 0 Favorites, 0 Comments
How to Laser Cut a No Smoking Sign Step by Step Tutorial
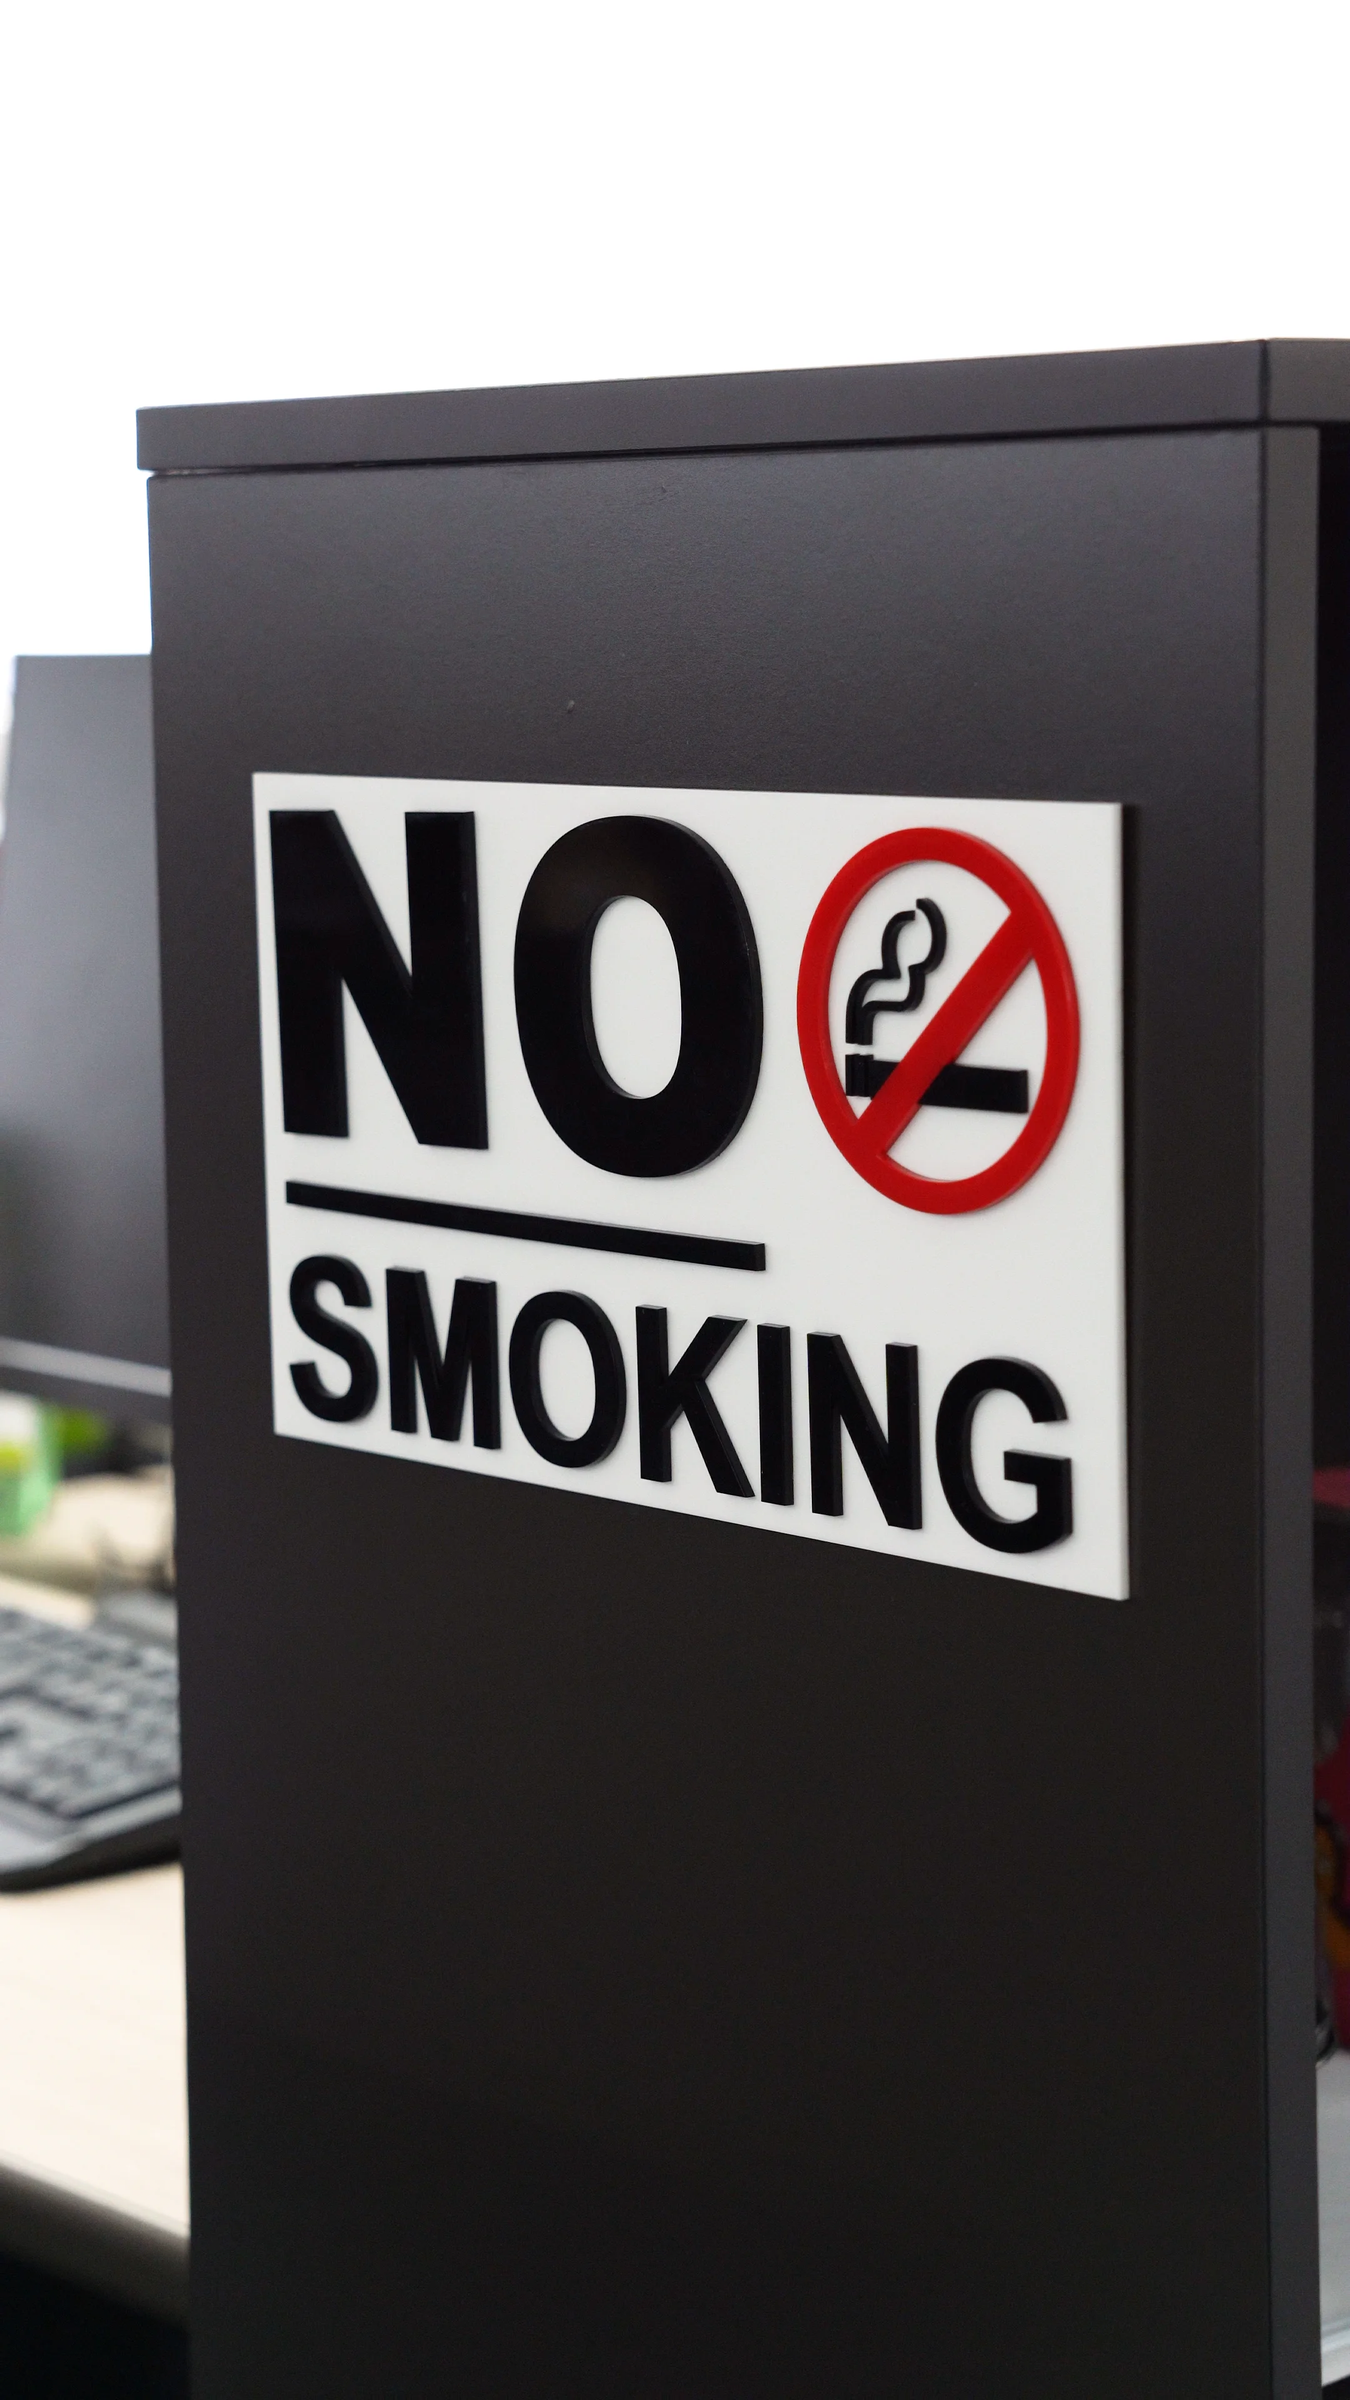
A clear no-smoking sign helps communicate important information while keeping a space looking professional.
By combining black, white, and red acrylic, you can create a sign that is highly visible, durable, and suitable for both indoor and outdoor use.
In this tutorial, you'll learn how to laser cut and assemble a layered acrylic no smoking sign step by step. The process is simple, and the finished result looks clean and professional.
Supplies
Laser Machines
Material Needed
3mm Black Acrylic
3mm White Acrylic
3mm Red Acrylic
Glue
Settings
Laser Cutting
Speed: 10mm/s
Max Power: 60%
Min Power: 10%
Downloads
Prepare & Position the Material
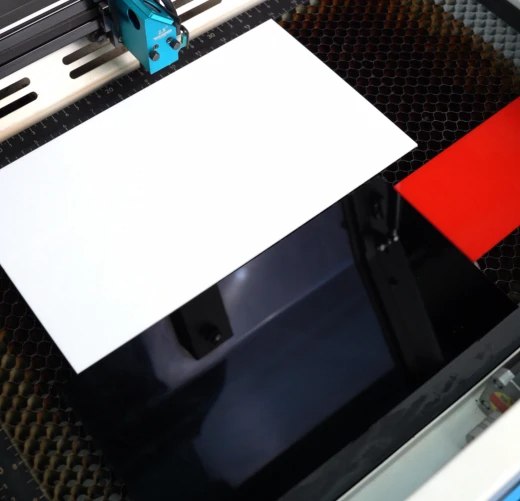
Prepare the black, white, and red acrylic sheets required for the design. Leave the protective film attached whenever possible to help prevent scratches and smoke marks during processing.
Place the acrylic sheet flat on the laser bed and make sure it stays within the machine's working area. Before processing, wipe away any dust, fingerprints, or debris. If needed, use magnets or pins to keep the material securely in place.
Import & Adjust the Design File
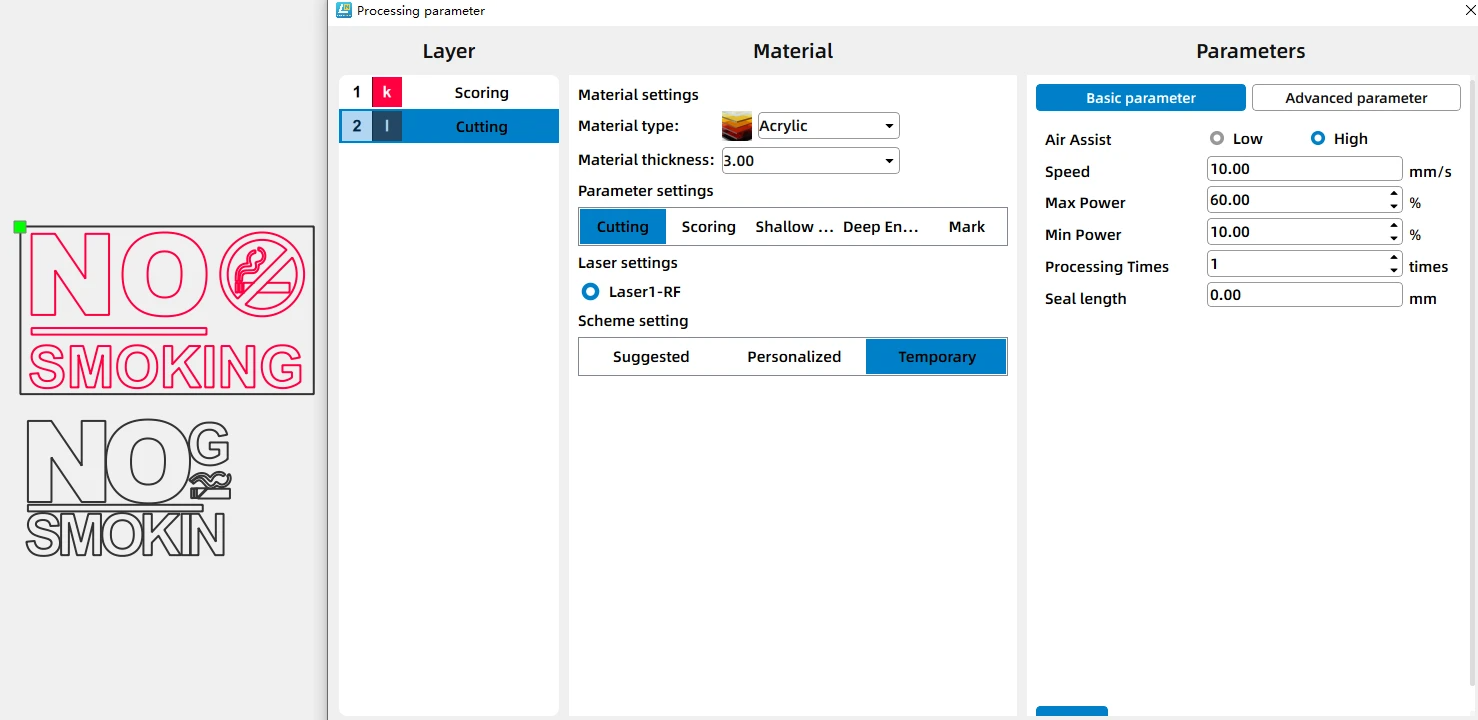
Open your laser software, such as LaserMaker, and import the no-smoking sign design file.
Assign the appropriate cutting settings to each layer and verify that all components are positioned correctly. Once the settings have been confirmed, send the file to the laser machine.
Set the Correct Laser Focus
.png)
Set the laser focus to the surface of the acrylic before starting the job.
Proper focus helps produce smooth cutting edges and ensures that all sign components fit together accurately during assembly.
Frame the Design & Start Cutting
.png)
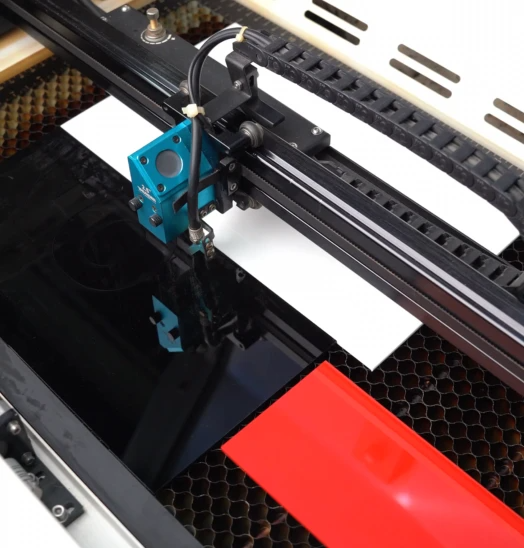
Before processing, use the frame function to preview the cutting area and confirm that all parts are correctly positioned on the material.
Once everything is aligned, start the cutting process. Monitor the machine during operation and ensure ventilation is working properly, especially when cutting acrylic.
Post Processing
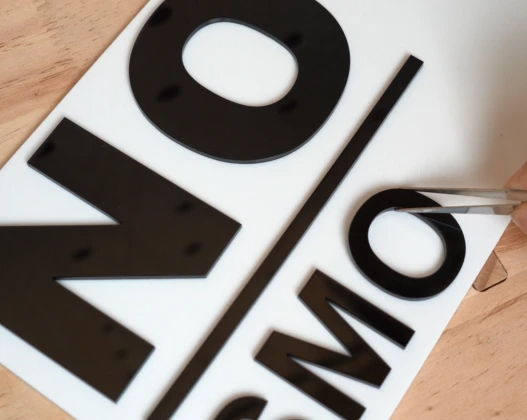
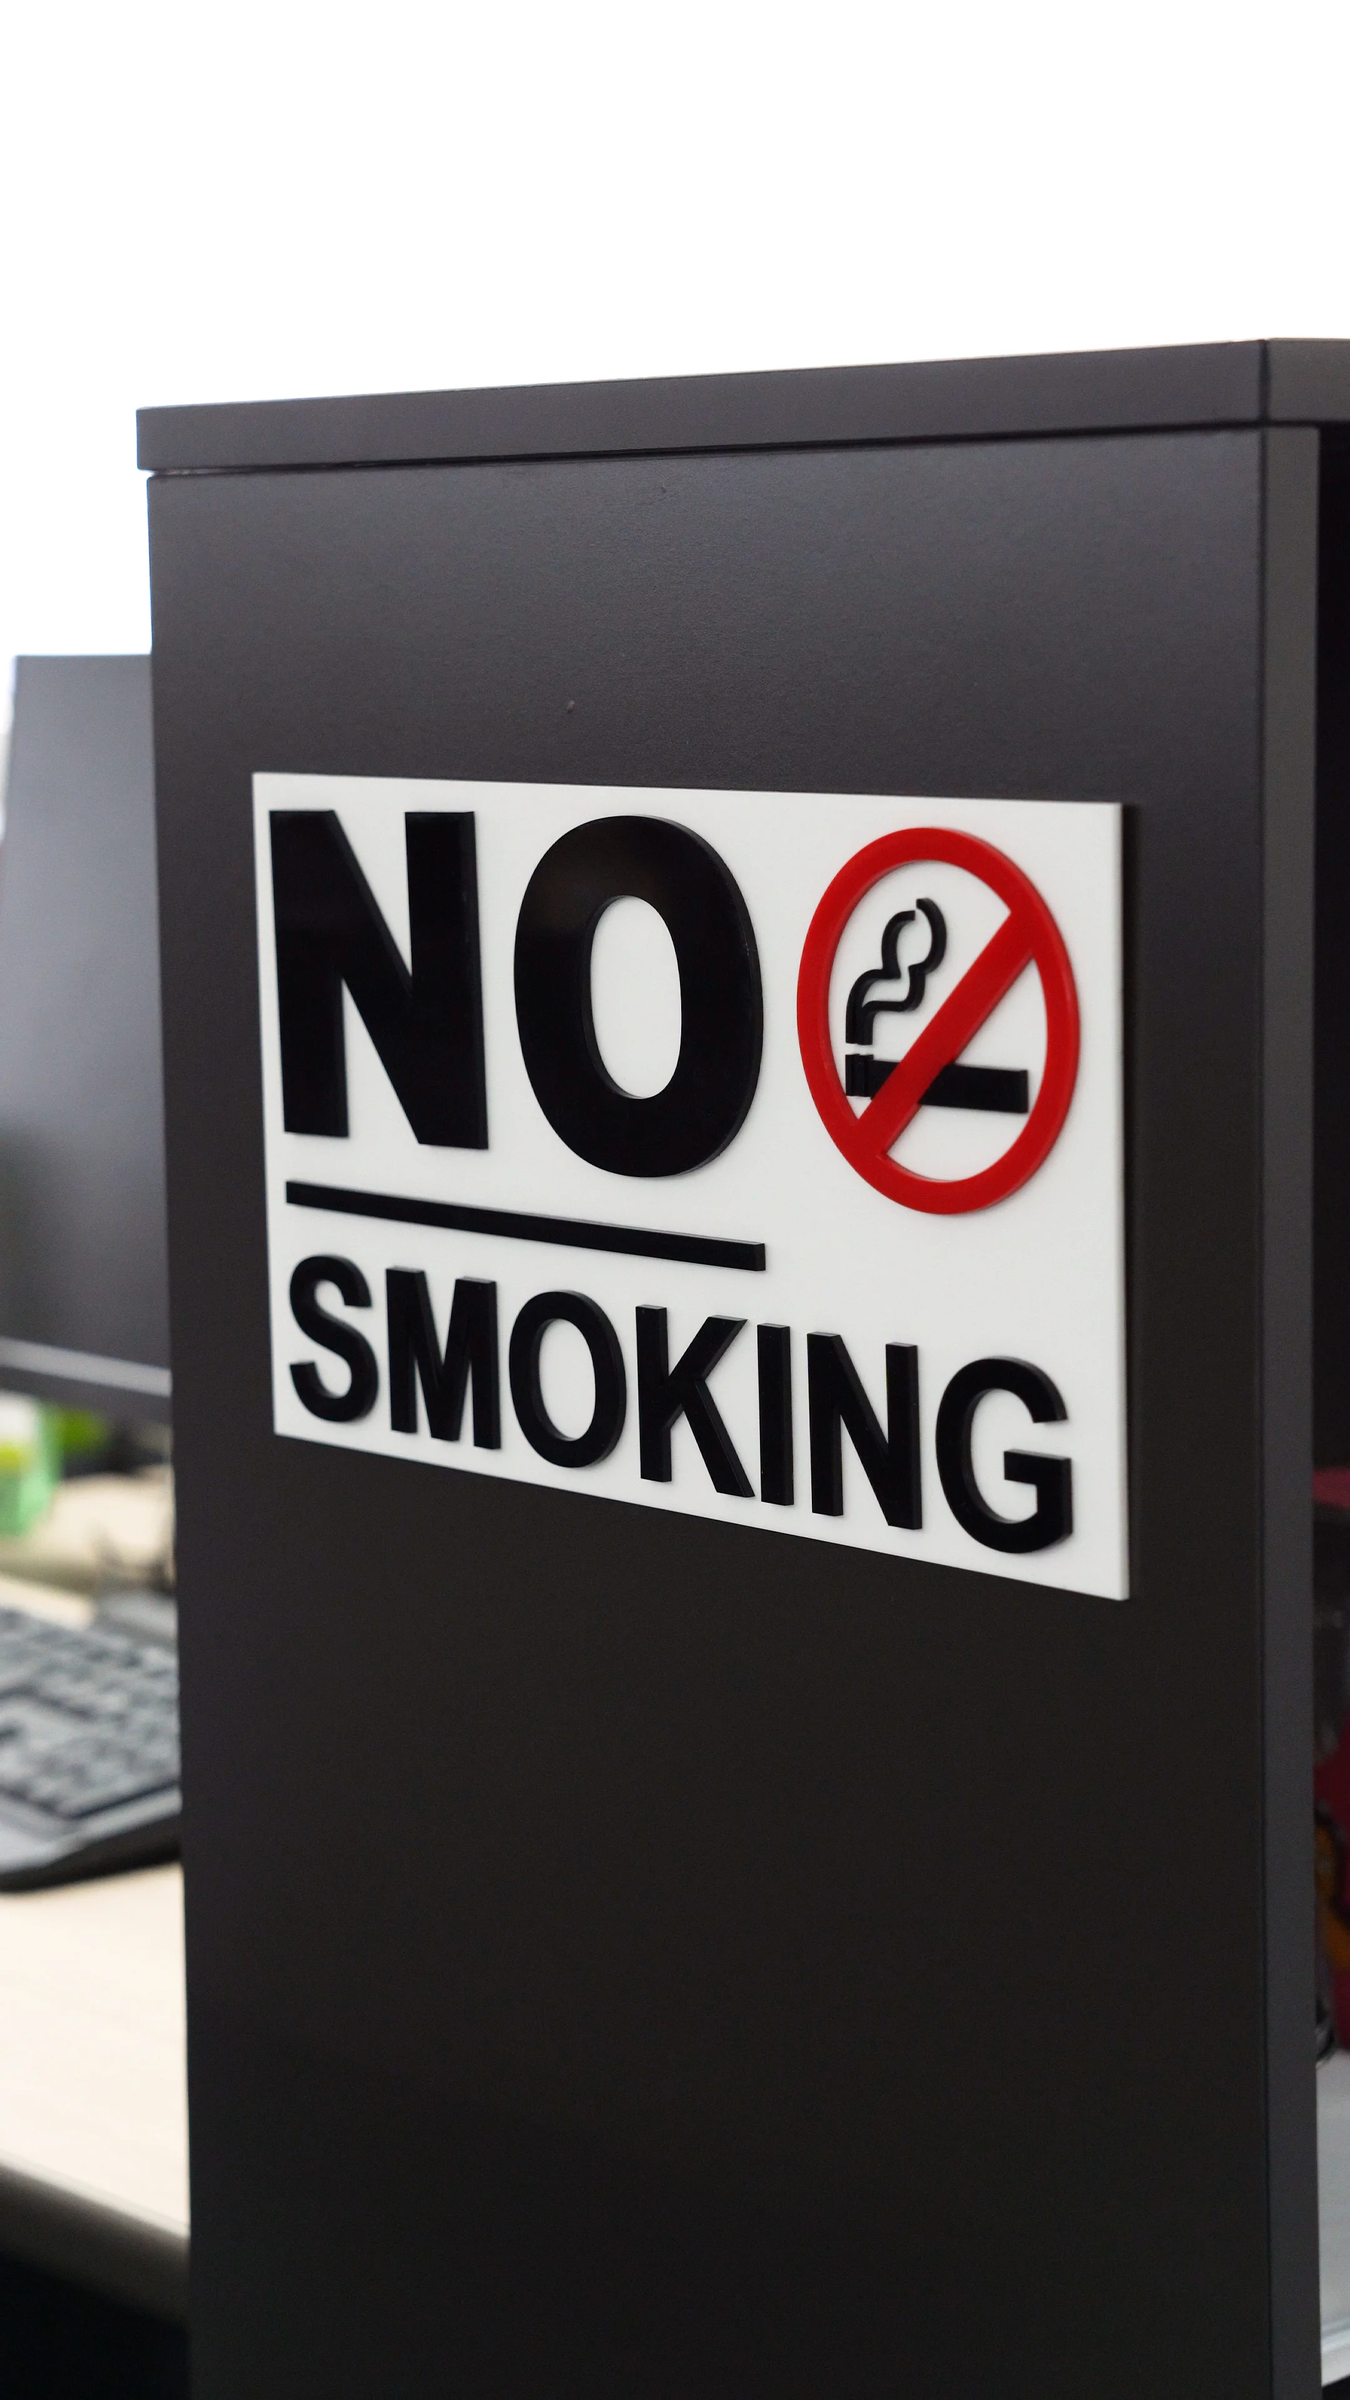
After processing is complete, carefully remove all parts from the laser bed and clean away any dust or residue.
Peel off the protective film and assemble the acrylic layers according to the design. Use glue to bond the pieces together and ensure proper alignment between the red prohibition symbol and the black and white sign elements.
Your no-smoking sign is now complete and ready for installation.