How to Laser Cut a Soccer Night Light Step by Step Tutorial
by thunderlaser-nolan in Workshop > Laser Cutting
40 Views, 1 Favorites, 0 Comments
How to Laser Cut a Soccer Night Light Step by Step Tutorial
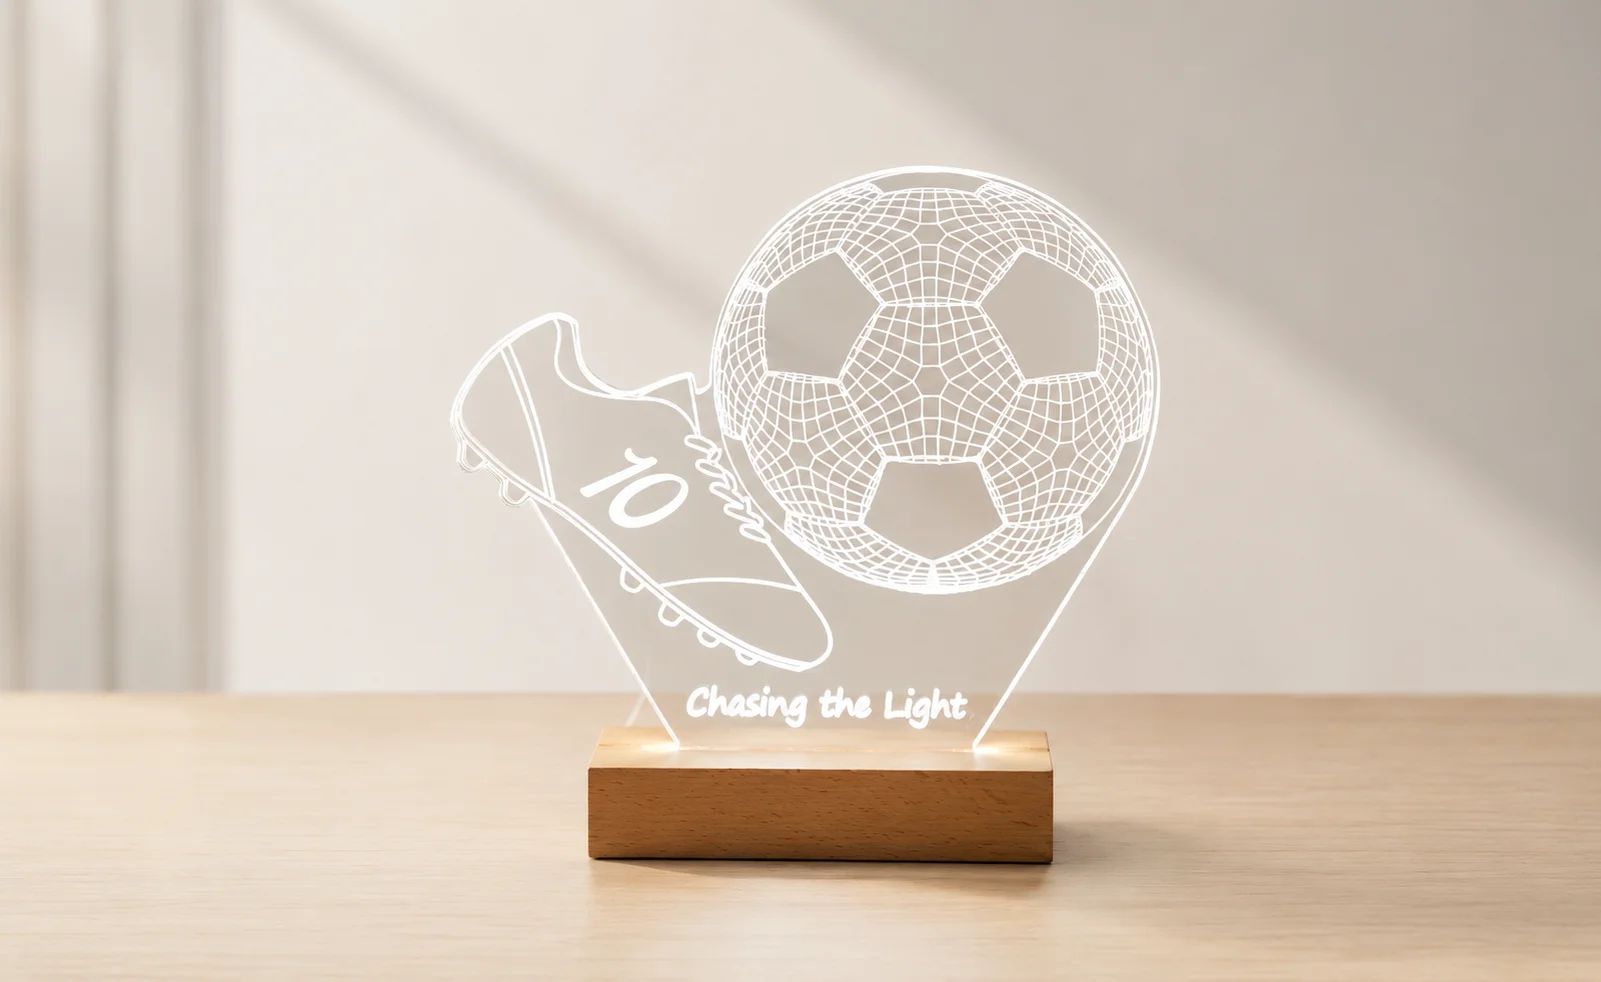
Whether it's displayed in a bedroom, game room, or sports corner, a soccer-themed night light adds a personal touch while creating a warm glow after dark.
The engraved acrylic lights up beautifully when paired with an LED base, making the design stand out.
In this tutorial, you'll learn how to laser engrave and cut a custom soccer night light from 5mm clear acrylic. It's a simple project with an impressive result that's perfect for soccer fans of all ages.
Supplies
Laser Machines
Material Needed
5mm Clear Acrylic
LED Light Base
Setting 1
Laser Scoring
Speed: 400mm/s
Max Power: 60%
Min Power: 10%
Setting 2
Laser Engraving
Speed: 800mm/s
Max Power: 35%
Min Power: 10%
Setting 3
Laser Cutting
Speed: 7mm/s
Max Power: 95%
Min Power: 10%
Prepare & Position the Material
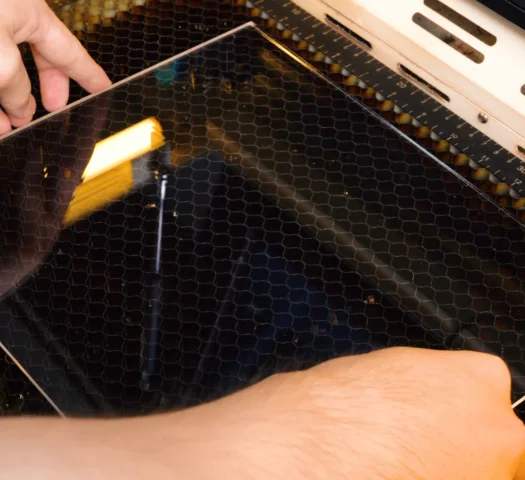
Prepare a 5mm clear acrylic sheet and keep the protective film attached if possible to help reduce scratches during processing.
Place the acrylic flat on the laser bed and ensure it stays within the machine's working area. Before processing, wipe the surface clean to remove dust, fingerprints, or debris that could affect the engraving quality. If needed, use pins to keep the acrylic securely in place.
Import & Adjust the Design File
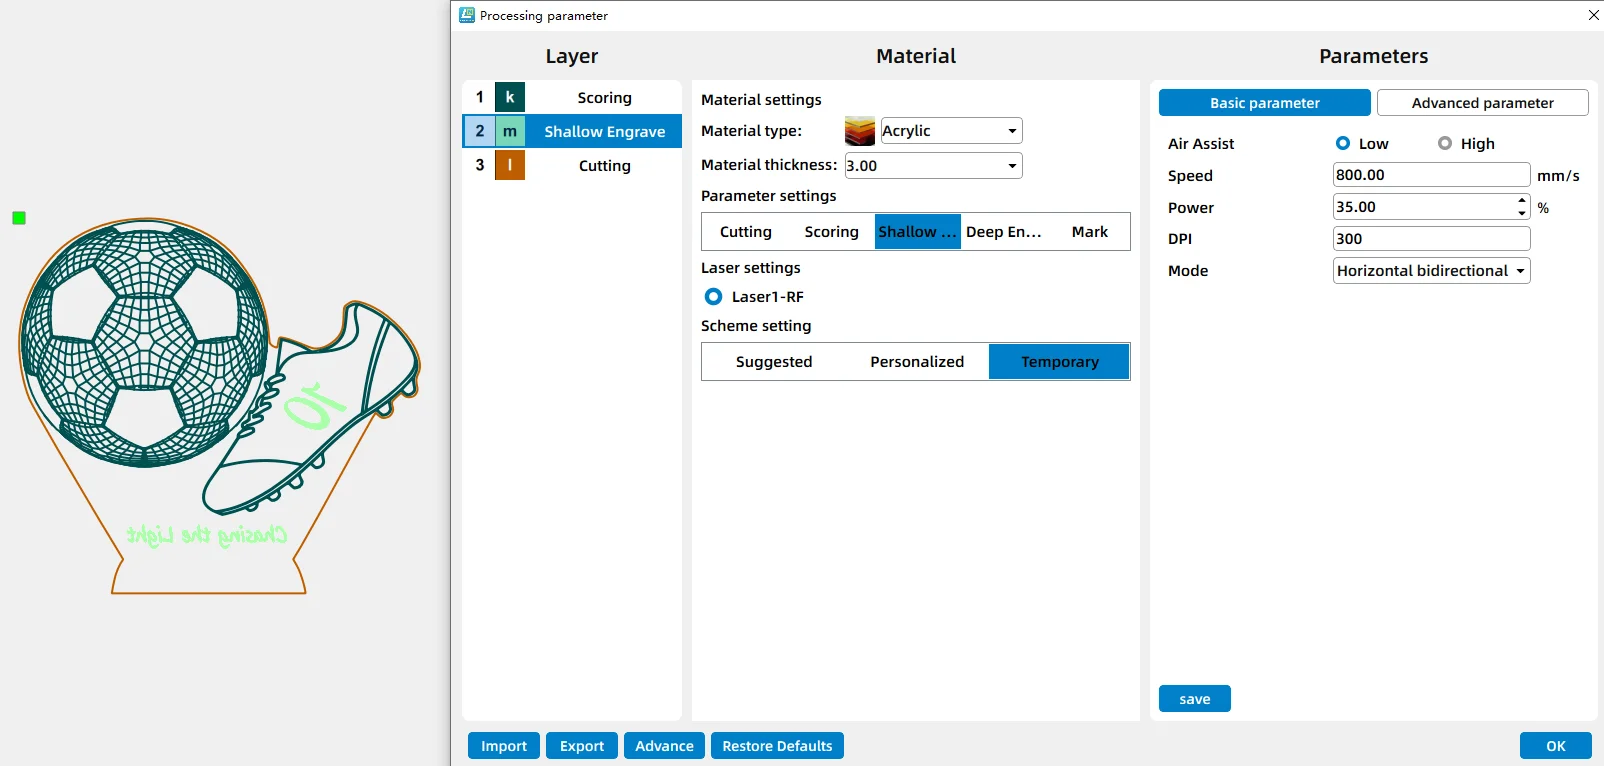
Open your laser software, such as LaserMaker, and import the soccer night light design file.
Adjust the scoring, engraving, and cutting parameters according to your acrylic settings. Check that the design is correctly positioned and that the slot section matches the size of your LED light base before sending the file to the machine.
Set the Correct Laser Focus
.png)
Set the laser focus to the surface of the acrylic before starting the job.
Proper focus helps create sharp engraving details and smooth cutting edges, allowing the illuminated design to appear cleaner and brighter when the light is turned on.
Frame the Design & Start Engraving and Cutting
.png)
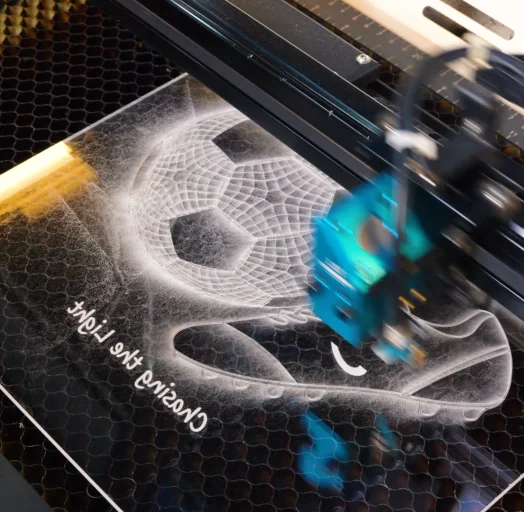
Before processing, use the frame function to preview the engraving and cutting area and confirm that the design is positioned correctly on the acrylic sheet.
Once everything is aligned, start the engraving and cutting process. The machine will engrave the soccer design and then cut the outer profile. Monitor the machine during operation and ensure ventilation is working properly throughout the process.
Post Processing
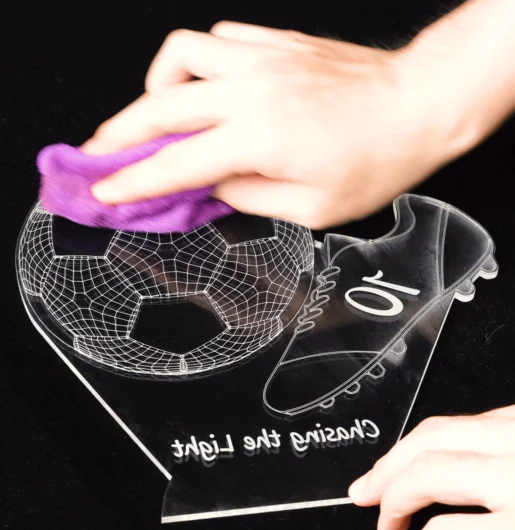
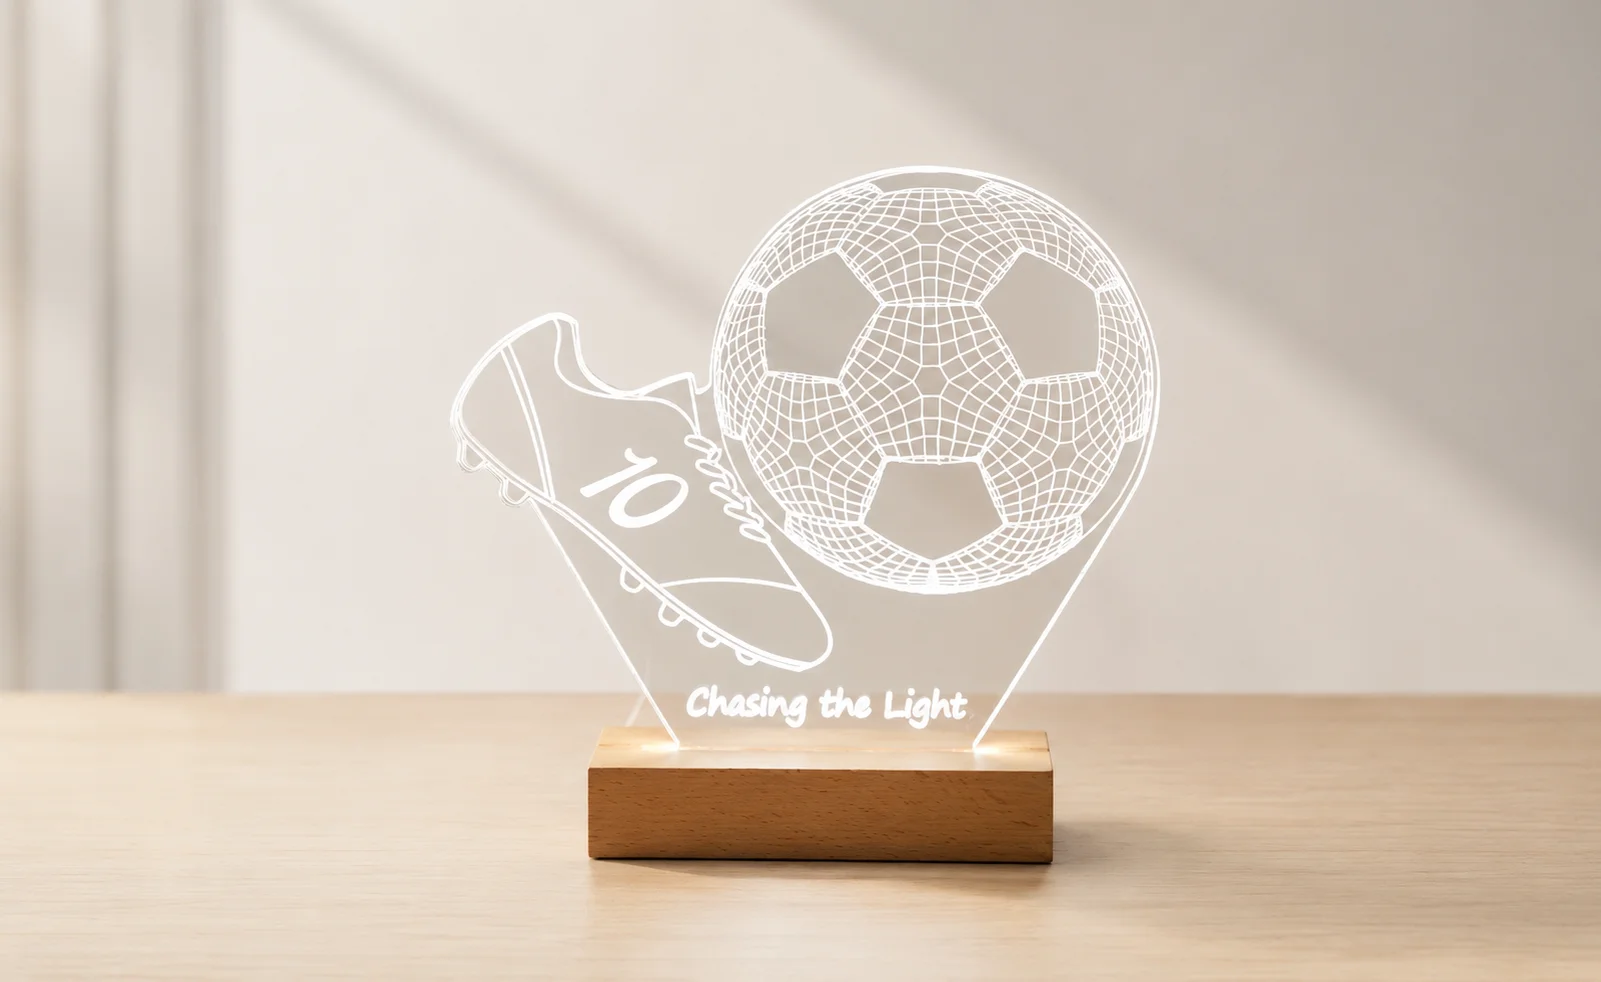
After processing is complete, remove the acrylic from the laser bed and gently clean away any dust or residue.
Peel off the protective film and inspect the engraved surface. Insert the finished acrylic panel into the LED light base and make sure it fits securely. Once powered on, the engraved design will illuminate and reveal the final effect.
Your soccer night light is now ready to display.