How to Laser Cut a Wooden Candle Holder? Step-by-step Guide
by thunderlaser-nolan in Workshop > Laser Cutting
19 Views, 0 Favorites, 0 Comments
How to Laser Cut a Wooden Candle Holder? Step-by-step Guide

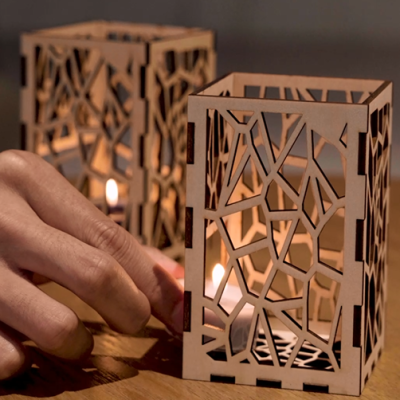
There’s something magical about candlelight—it brings warmth, calm, and a sense of coziness to any space. With a laser cutter, you can design and build your own wooden candle holder, combining practical function with artistic flair. This project is simple, rewarding, and gives you the freedom to create a design that matches your personal style—whether minimalist, patterned, or intricate.
Supplies
Machine Used
Thunder Bolt 30W
Material Needed
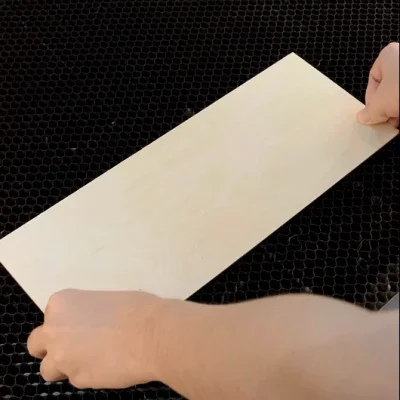
3mm Plywood
Settings
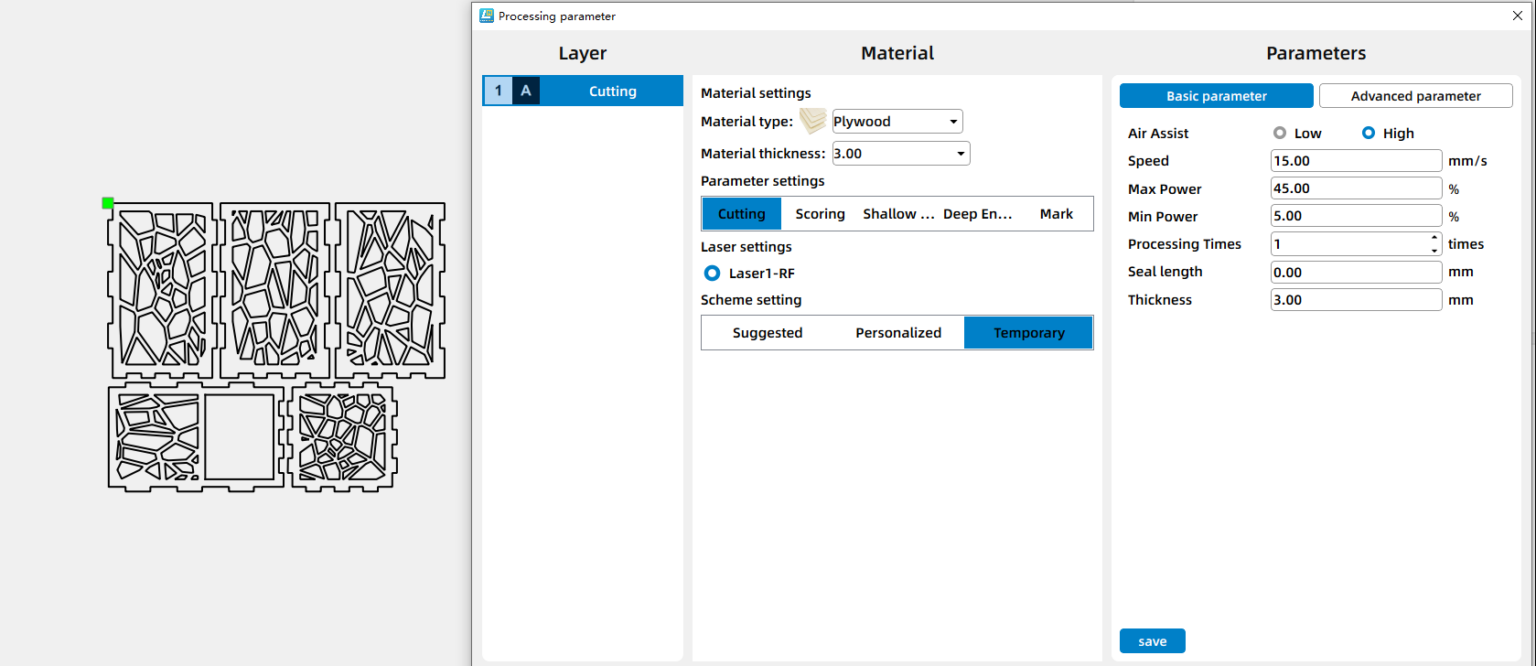
Cutting
- Speed:15mm/s
- Max Power:45%
- Min Power:5%
- Number of Passes:1
Downloads
Prepare Your Design
Download or create a simple candle holder design. Make sure the slot sizes match your wood thickness. Keep enough spacing between cut lines to avoid burning edges. Select a wood sheet suitable for laser cutting (e.g., 3–6 mm plywood). Place it flat on the laser bed. Use pins or magnets to keep it flat and stable during cutting.
Open the File and Check the Settings
Import the wooden chess design in Lasermaker and check if your basswood size is large enough. Double-check everything, and decide if you want to add or subtract elements according to your preferences. For the laser cutting layers, pay extra attention to the power setting.
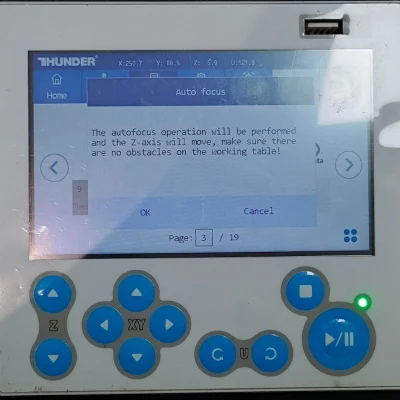
Focus Your Laser Machine
Proper focusing ensures neat, polished edges. If your machine has auto focus, use it for quick setup. For manual focusing, lower the laser head with the focus stick until it touches the wood surface at a perfect angle. Always double-check before cutting.
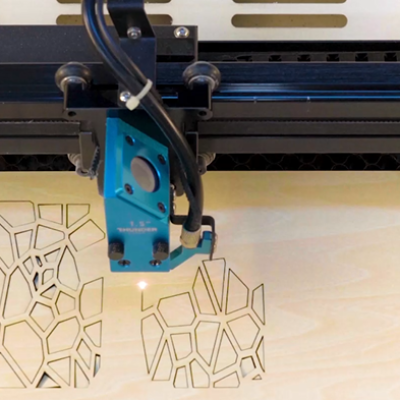
Frame the Design and Start Laser Cutting
Use the software’s frame option to trace the outline of the design with a red light. This confirms your material placement and avoids wasting wood. Adjust as necessary.

Monitor the Laser Cutting Process
Stay close to the machine while it’s running and watch the cutting and engraving progress. Keep an eye out for excessive smoke, small flame-ups, or any movement of the material that could affect the outcome. Make sure your workspace is well-ventilated, and rely on air assist if available to achieve cleaner edges on the wood.
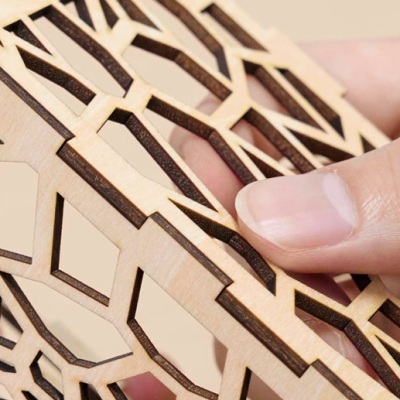
Assemble the Candle Holder
Slot the wooden pieces together according to your design, starting with the base and sides, then securing the top. Use wood glue if needed for extra strength. Wipe away any excess glue before it dries to keep the finish neat.
Complete the Task
Once assembled and dried, the candle holder is ready. Place a small tea light or LED candle inside, and watch the light glow through the patterns you designed. It’s not just a candle holder—it’s a piece of handmade décor that brings warmth into your space.