How to Laser Cut a Wooden Hand Bag Step by Step Tutorial
by thunderlaser-nolan in Workshop > Laser Cutting
72 Views, 0 Favorites, 0 Comments
How to Laser Cut a Wooden Hand Bag Step by Step Tutorial
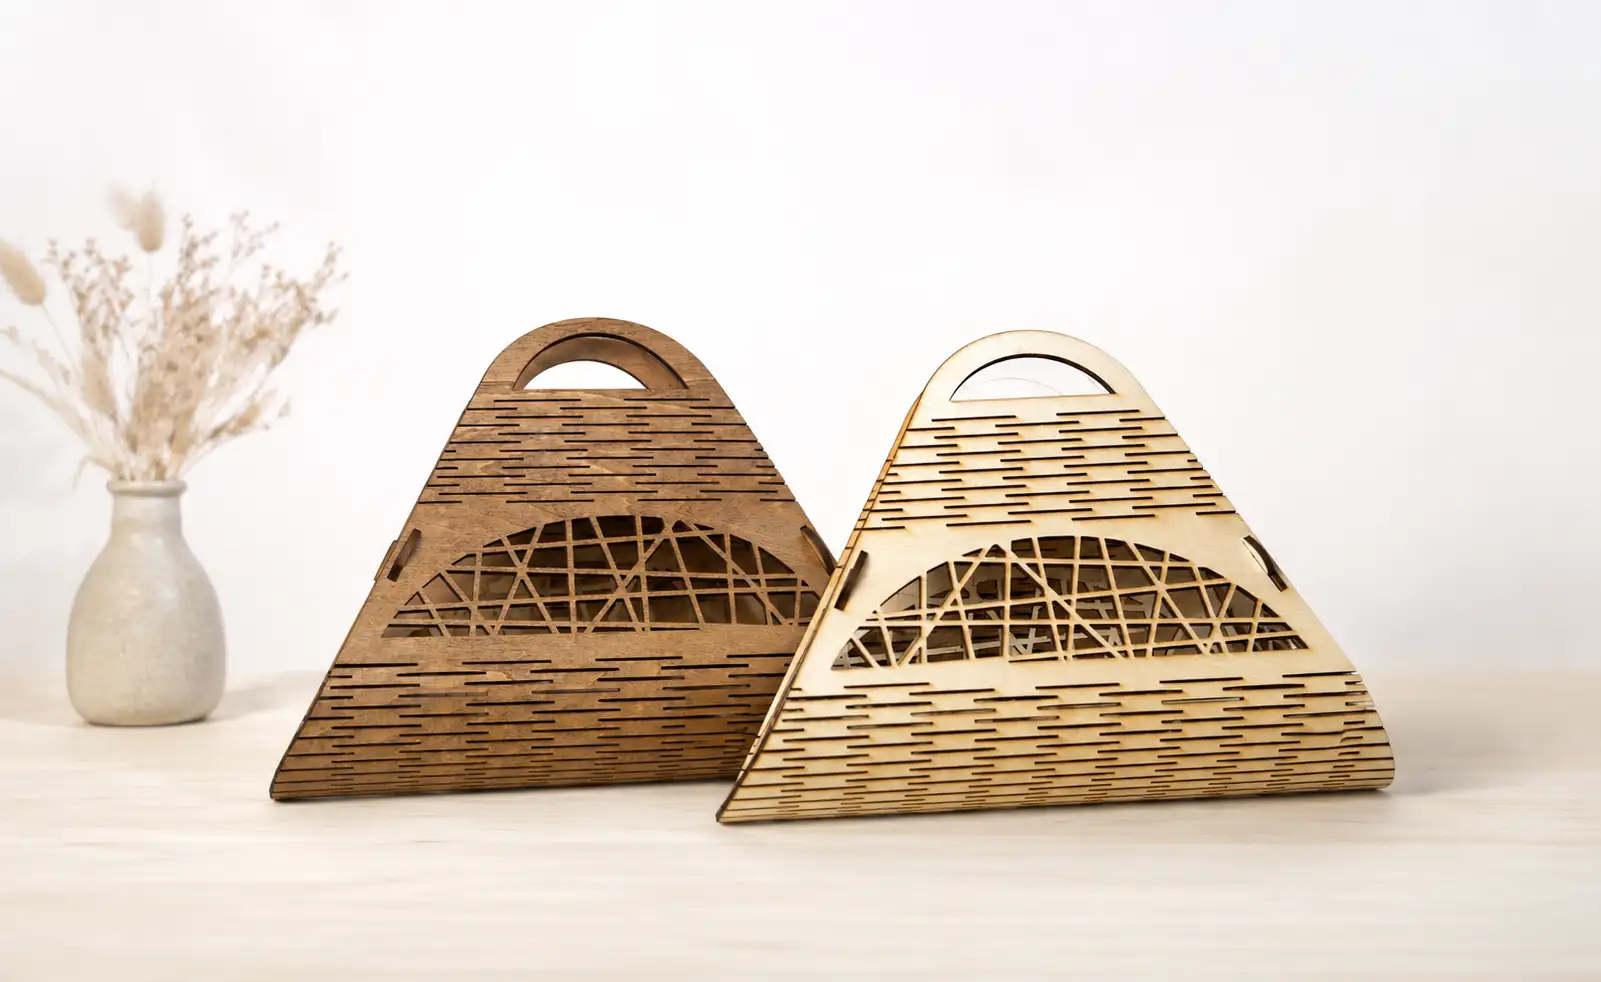
Looking for a handbag that's truly one of a kind?
A laser-cut wooden handbag combines natural wood with modern design, creating an eye-catching accessory that's both fashionable and functional.
In this tutorial, you'll learn how to laser cut and assemble a wooden handbag from 3mm basswood plywood. It's an enjoyable project that's easier than it looks, even if you're new to laser cutting.
Supplies
Laser Machines
Material Needed
3mm Basswood Plywood
Settings
Laser Cutting
Speed: 10mm/s
Max Power: 30%
Min Power: 10%
Downloads
Prepare & Position the Material
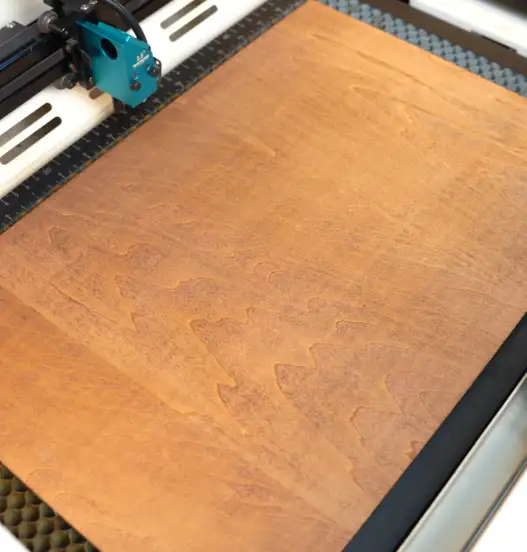
Prepare a sheet of 3mm basswood plywood that is large enough for all the handbag components. Place it flat on the laser bed and make sure it fits completely within the machine's working area.
Before processing, wipe the plywood with a clean cloth to remove dust, fingerprints, and loose debris. If the board is slightly warped, use hold-down pins to secure the corners and keep the material flat throughout the cutting process.
Import & Adjust the Design File
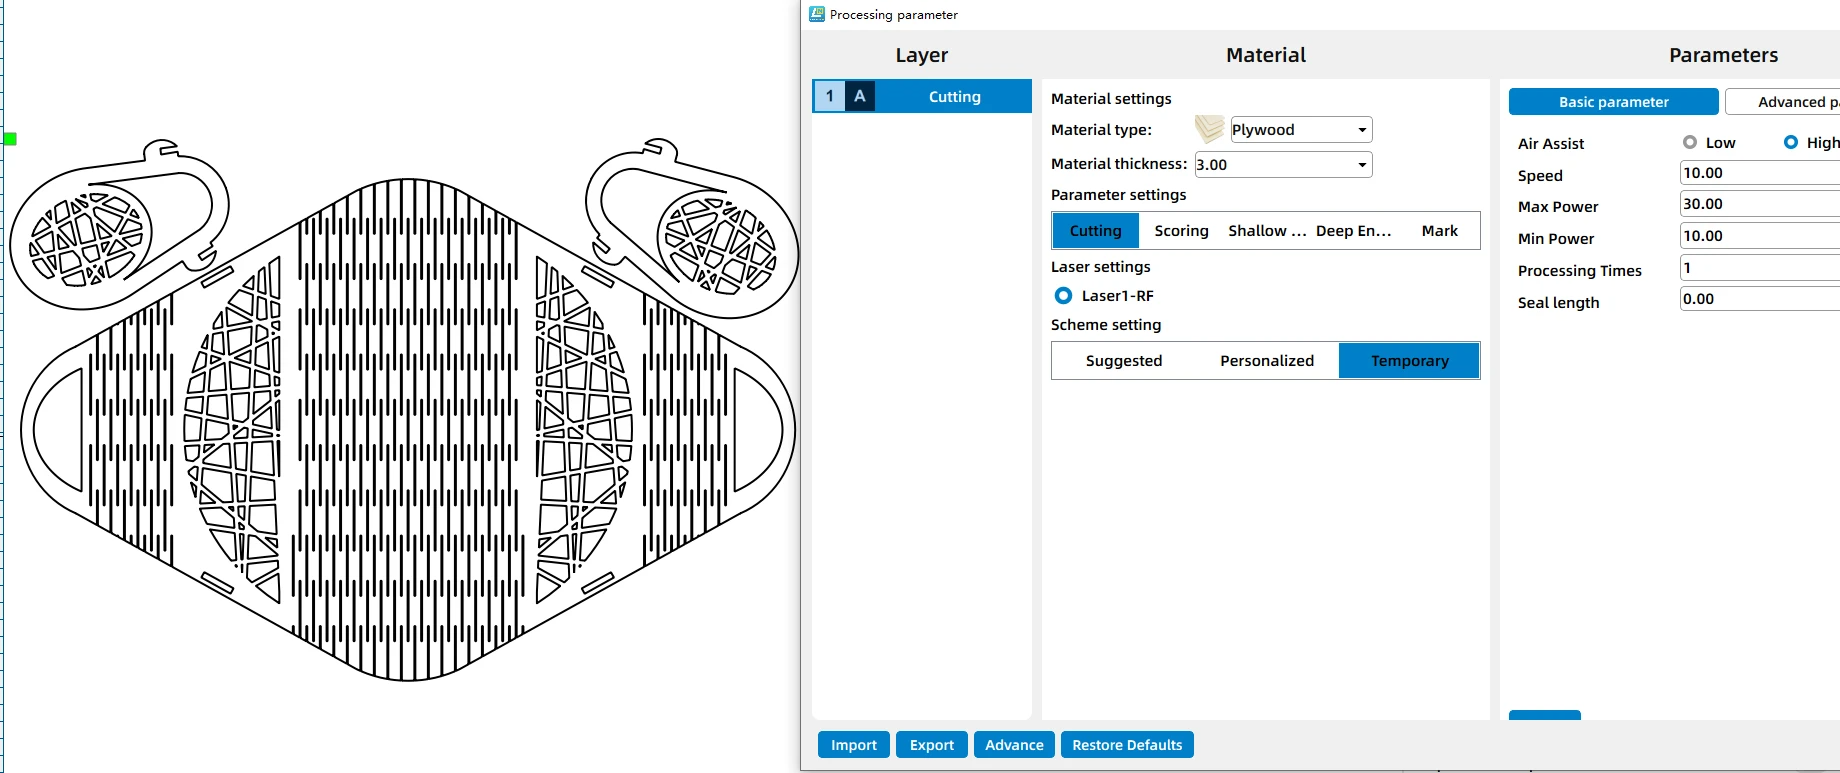
Open your laser software, such as LaserMaker, and import the handbag design file.
Assign the cutting layer and set the parameters. Confirm that every component is arranged correctly on the material, then send the file to the machine.
Set the Correct Laser Focus
.png)
Use the machine's Auto Focus function to focus on the surface of the plywood before processing.
Accurate focus helps produce clean cutting edges and ensures the slots and joints fit together smoothly during assembly.
Frame the Design & Start Laser Cutting
.png)
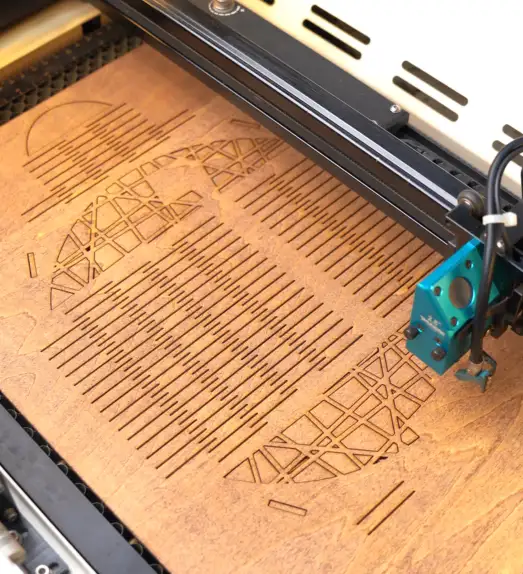
Before starting the job, use the Frame function to preview the cutting area and verify that all parts are positioned correctly on the plywood.
Once everything is aligned, begin the cutting process. Monitor the machine throughout the job and make sure the ventilation system is operating properly until all parts have been completely cut.
Post Processing
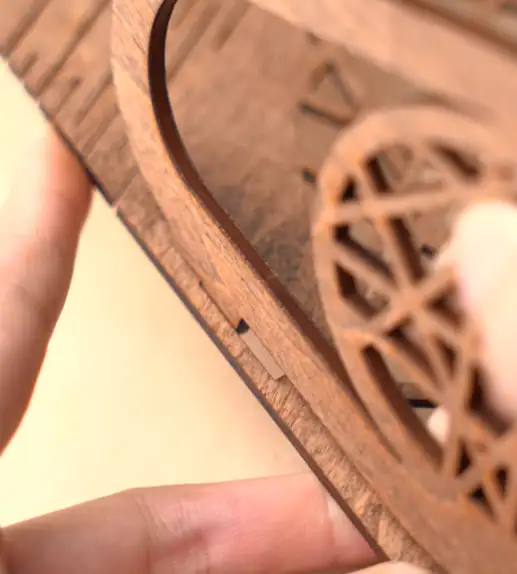
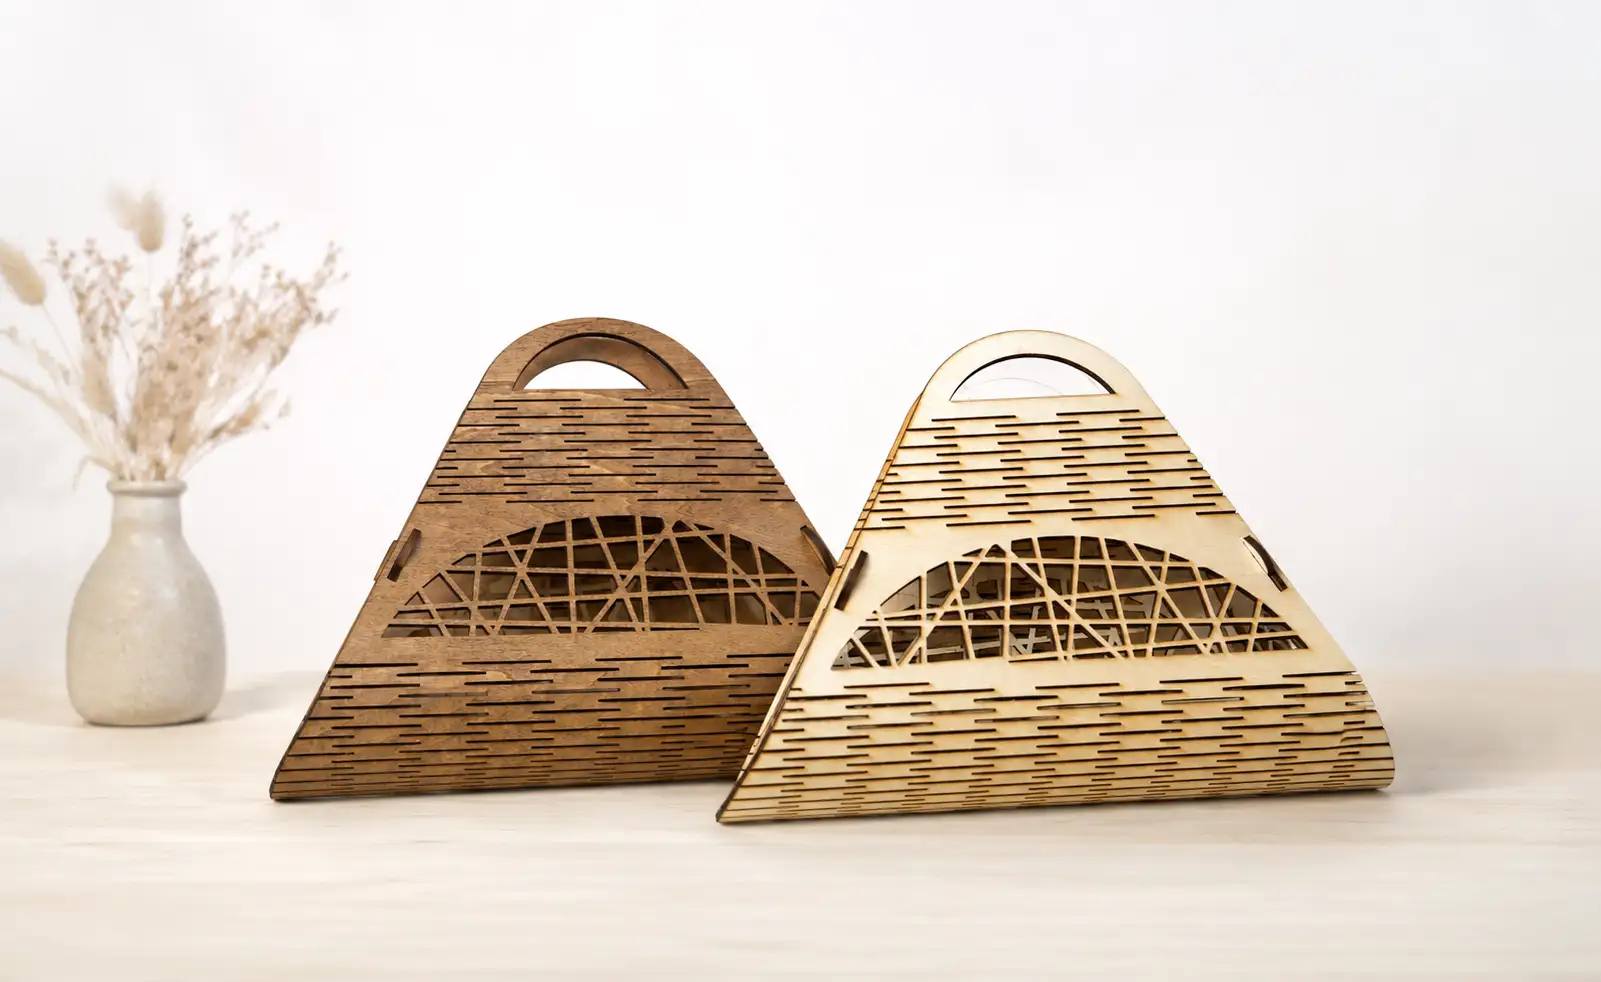
Carefully remove all the finished pieces from the laser bed and clean away any remaining dust or residue.
Assemble the handbag by fitting each piece together according to the design. Apply glue where needed to strengthen the joints, then allow it to dry completely before attaching the handle or any decorative accessories.
Finally, check that the structure is secure and ready for everyday use.