How to Laser Cut a Wooden Jewelry Organizer Step by Step Tutorial
by thunderlaser-nolan in Workshop > Laser Cutting
54 Views, 0 Favorites, 0 Comments
How to Laser Cut a Wooden Jewelry Organizer Step by Step Tutorial
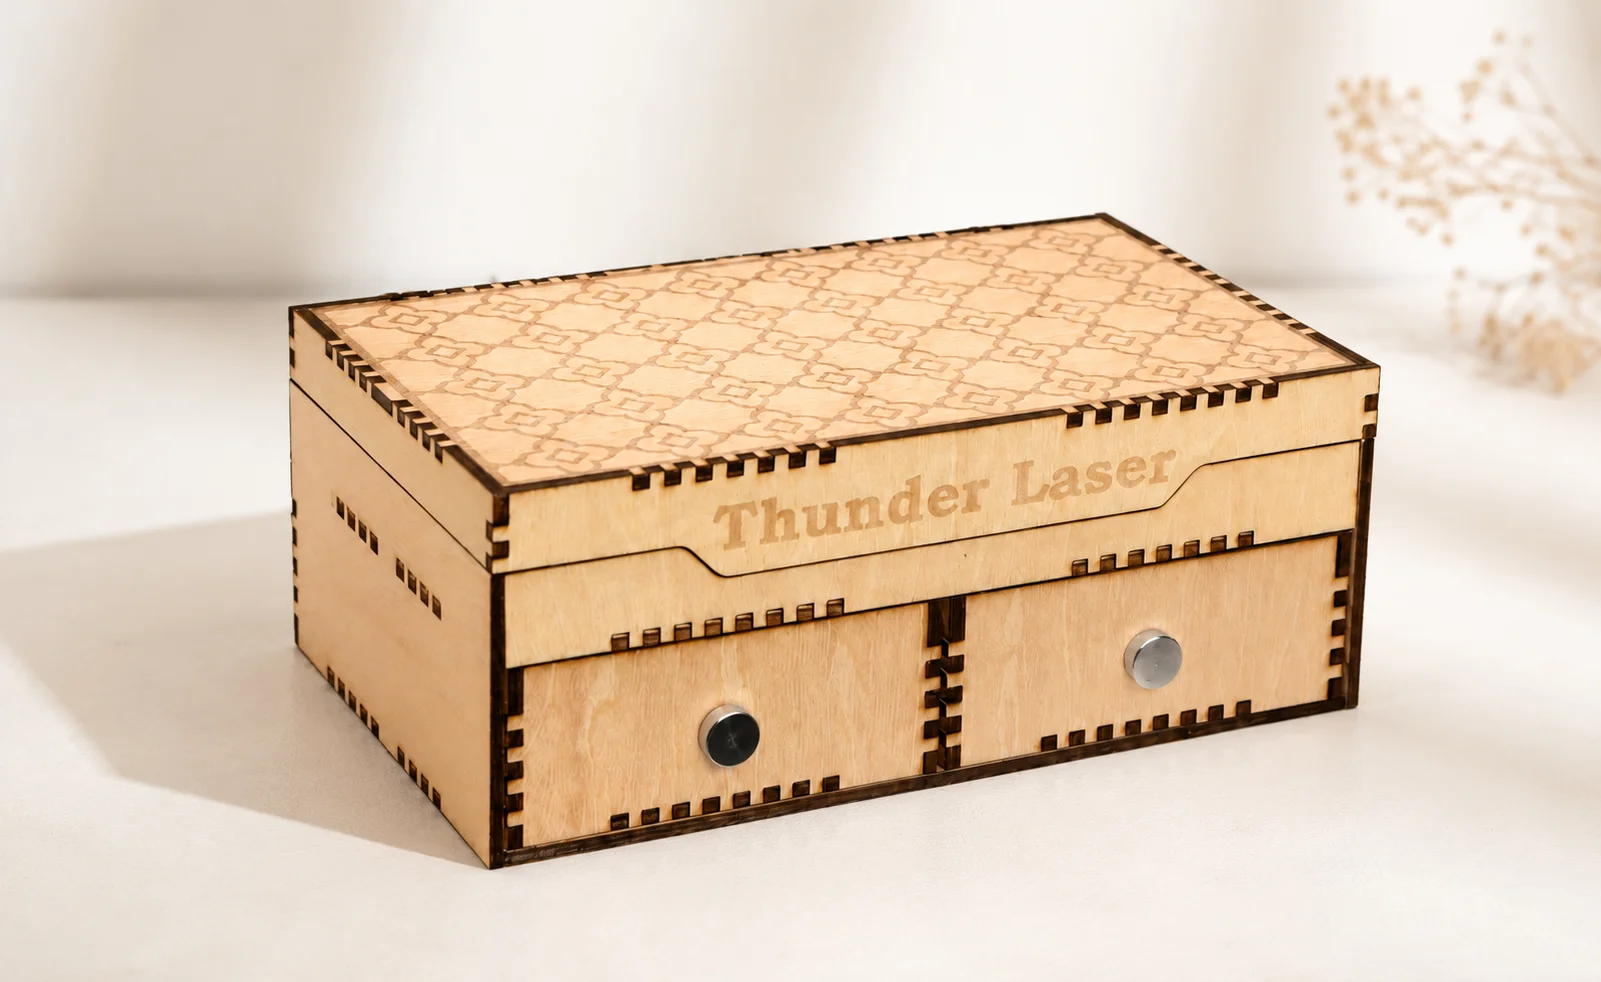
Tired of tangled necklaces and misplaced earrings?
A wooden jewelry organizer is a simple and elegant solution that keeps your favorite accessories neatly displayed and easy to reach.
In this tutorial, you'll learn how to turn a sheet of 3mm basswood into a beautiful jewelry organizer using a laser cutter and a few hardware components.
Supplies
Laser Machines
Material Needed
3mm Basswood Sheet
2 Threaded Knobs
Matching Nuts
Settings
Laser Cutting
Speed: 10mm/s
Max Power: 30%
Min Power: 10%
Prepare & Position the Material
.png)
Place the 3mm basswood sheet flat on the laser worktable and make sure it is free of dust, debris, or warping.
Proper material placement helps maintain cutting accuracy and ensures all parts fit together correctly during assembly. If needed, use pins to secure the corners and keep the material stable during cutting.
Import & Adjust the Design File
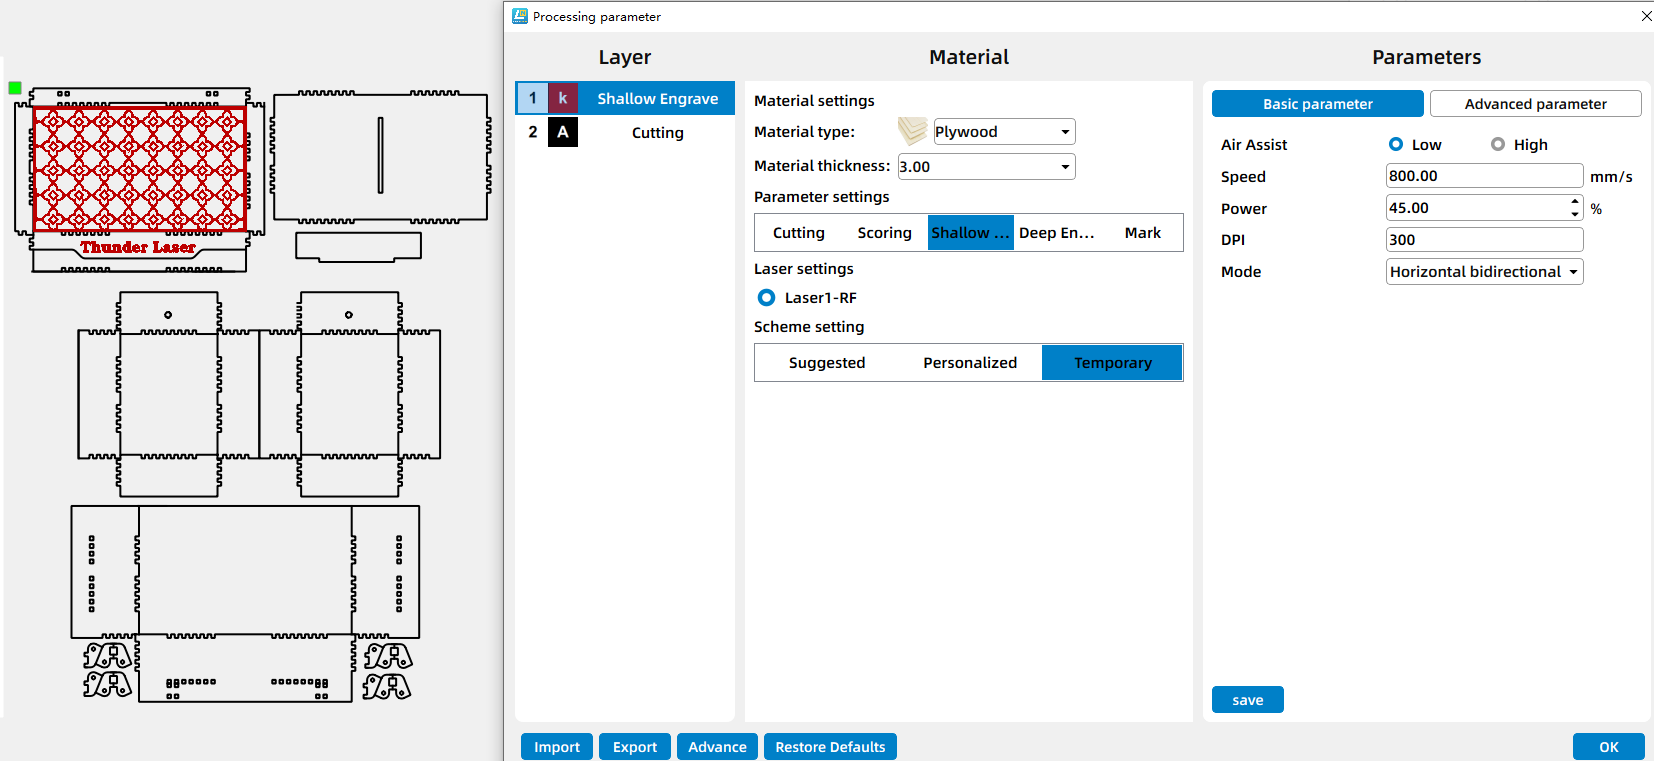
Import the jewelry organizer design file into your laser software and position it within the working area.
Verify that all cutting layers are assigned correctly and adjust the size if necessary to match your project requirements.
Set the Correct Laser Focus
.png)
Use the recommended focusing method for your machine to set the proper focal distance.
Accurate focus is important for achieving clean details and smooth cut edges on basswood.
Frame the Design & Start Laser Cutting
.png)
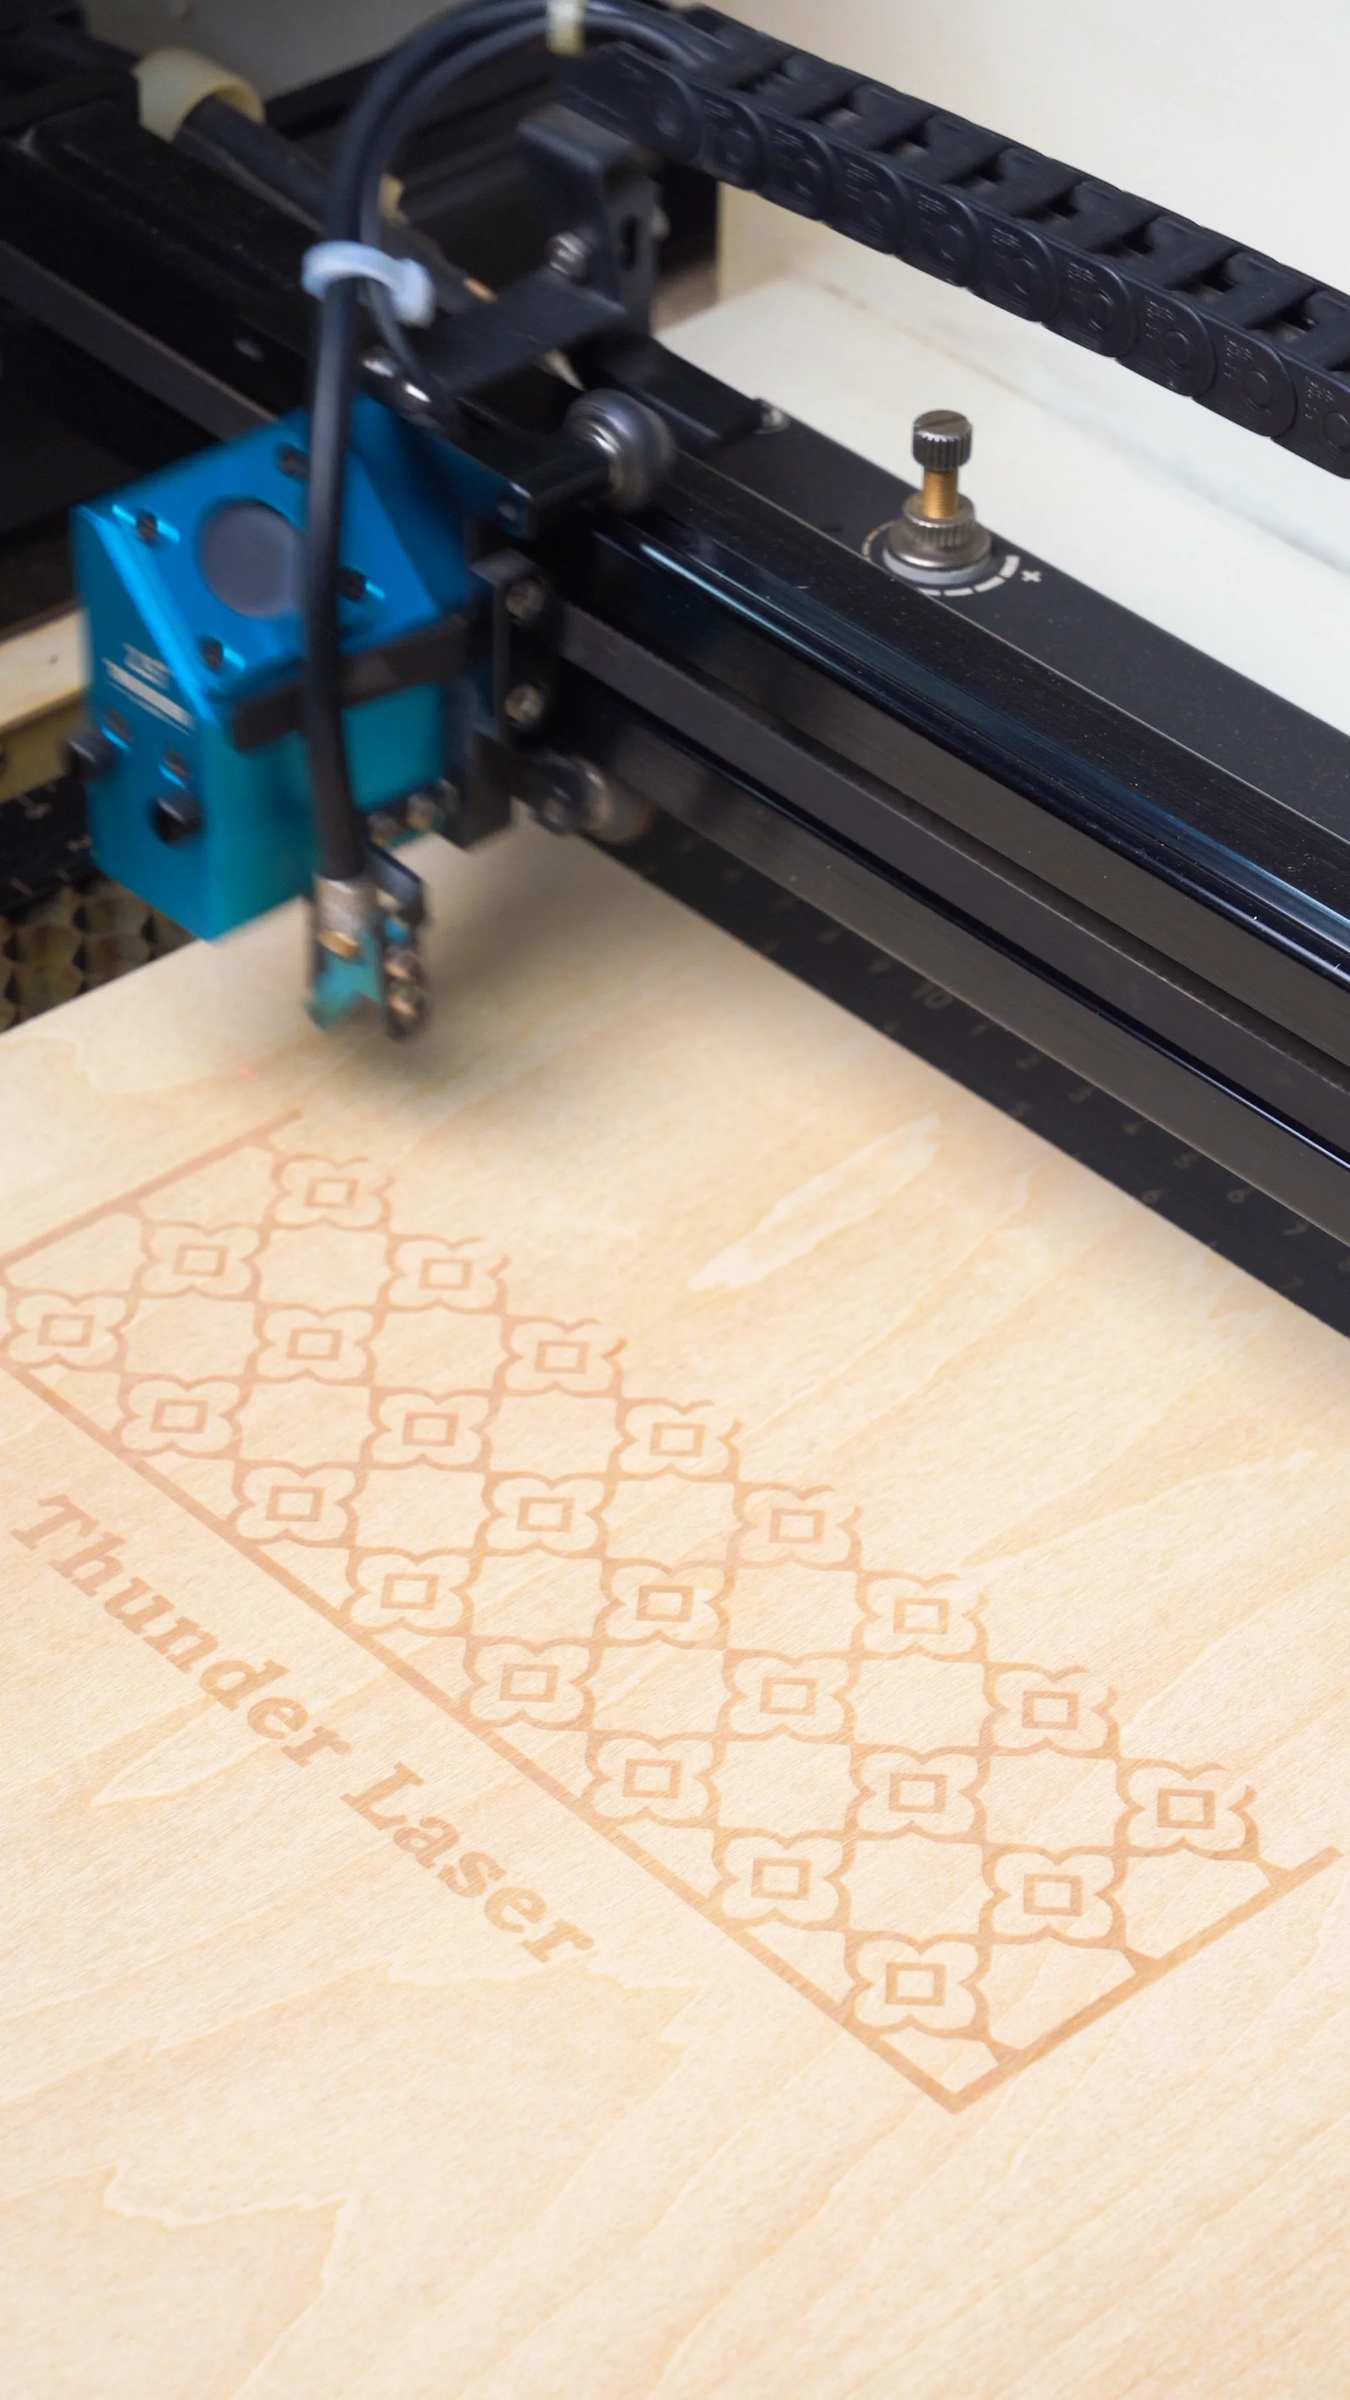
Begin by using the Frame function to confirm the design is positioned correctly on the material.
Once verified, start the cutting process to create all organizer components and assembly slots. Monitor the process and ensure all pieces are fully cut before removing the material from the machine.
Post Processing
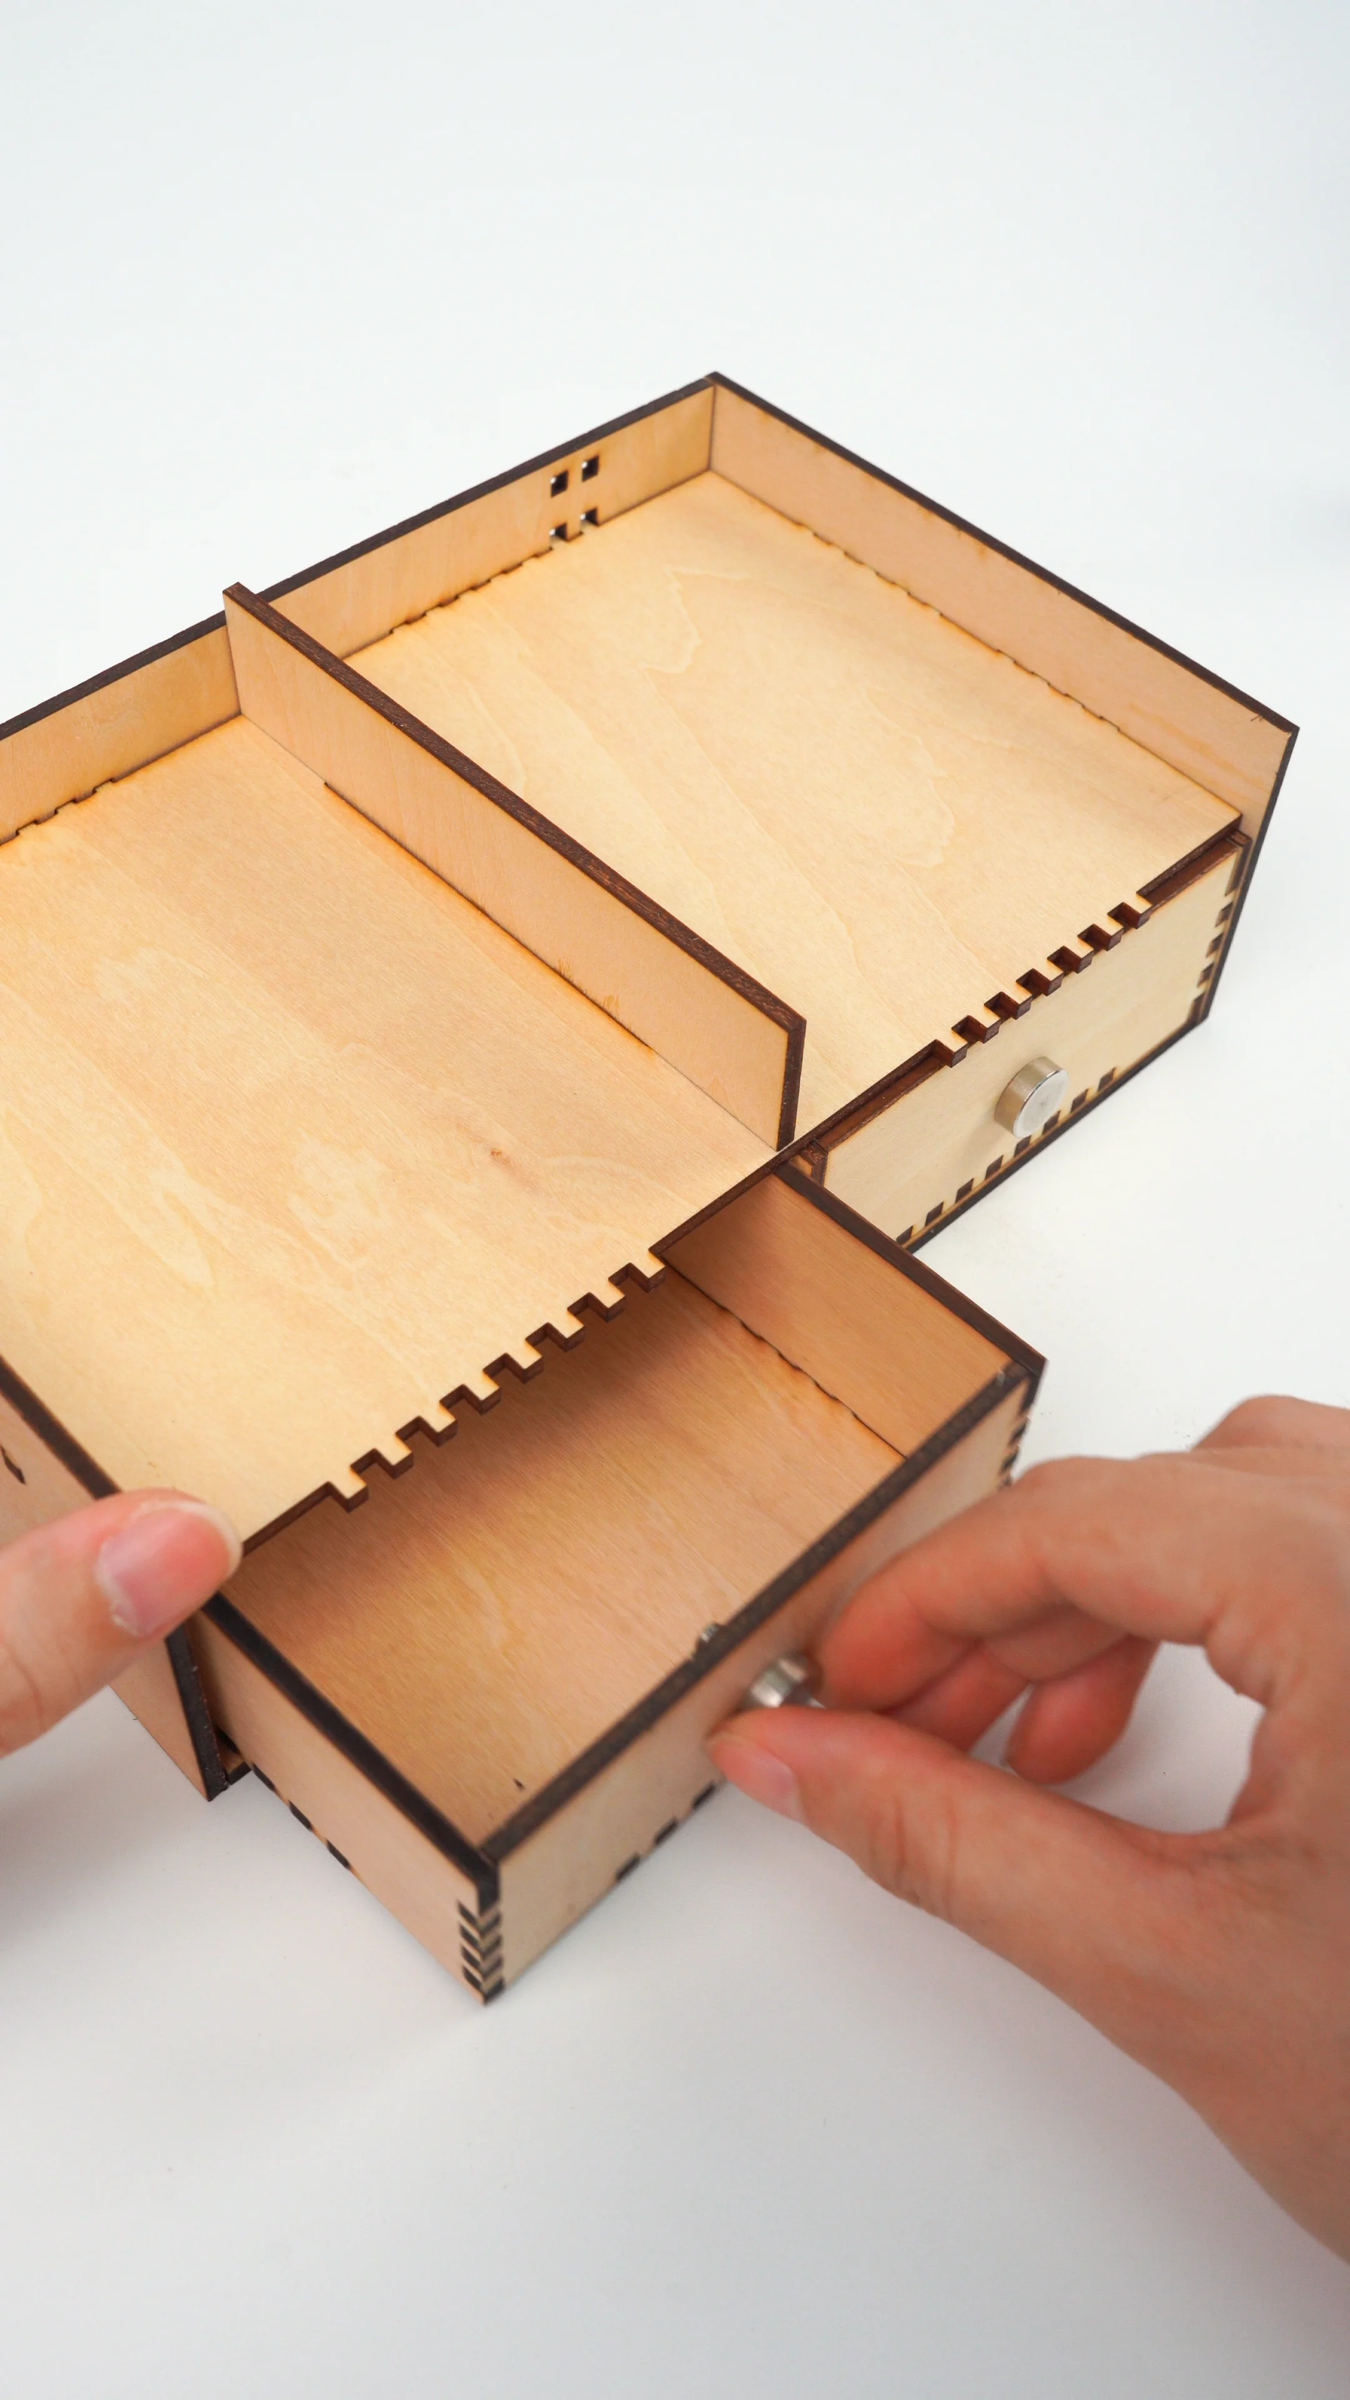
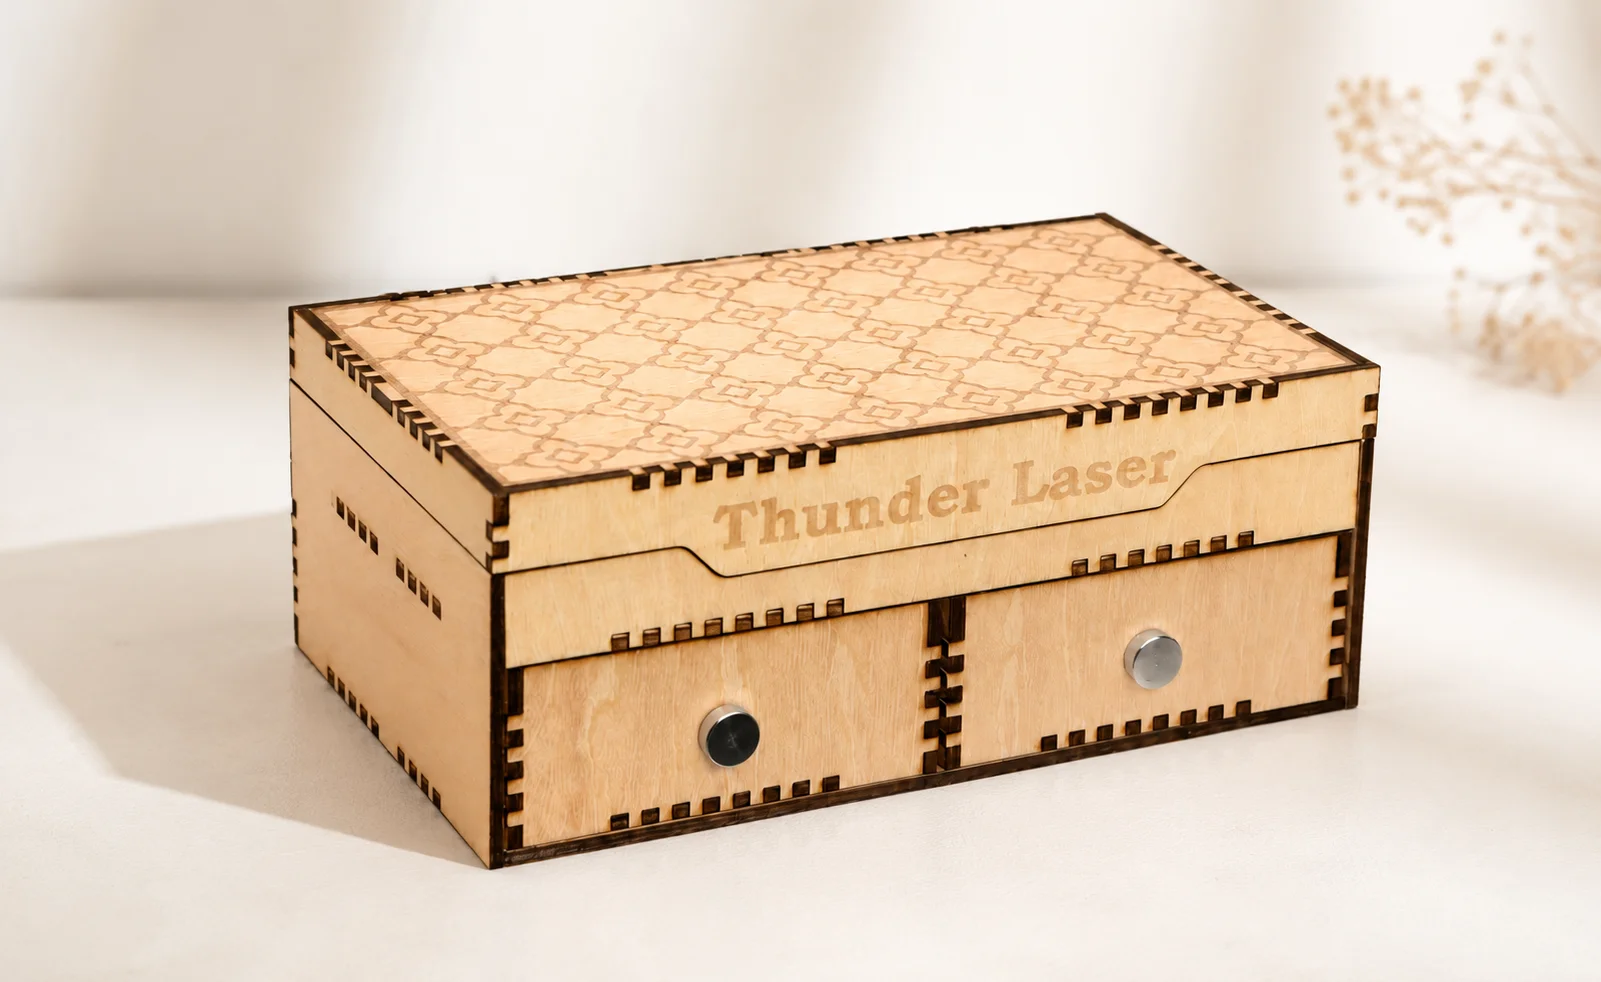
Carefully remove all cut parts from the worktable and clean away any dust or residue.
Assemble the organizer according to the design, securing the threaded knobs with the matching nuts where required. Once assembled, check that all joints fit properly and lightly wipe the surface for a clean, finished appearance.