How to Laser Cut a Wooden Order Holder Step by Step Tutorial
by thunderlaser-nolan in Workshop > Laser Cutting
38 Views, 0 Favorites, 0 Comments
How to Laser Cut a Wooden Order Holder Step by Step Tutorial
.png)
A wooden order holder is one of those small details that instantly makes a counter look cleaner and more organized.
Whether it’s used for restaurant tickets, table numbers, receipts, or display cards, it’s both practical and easy to customize.
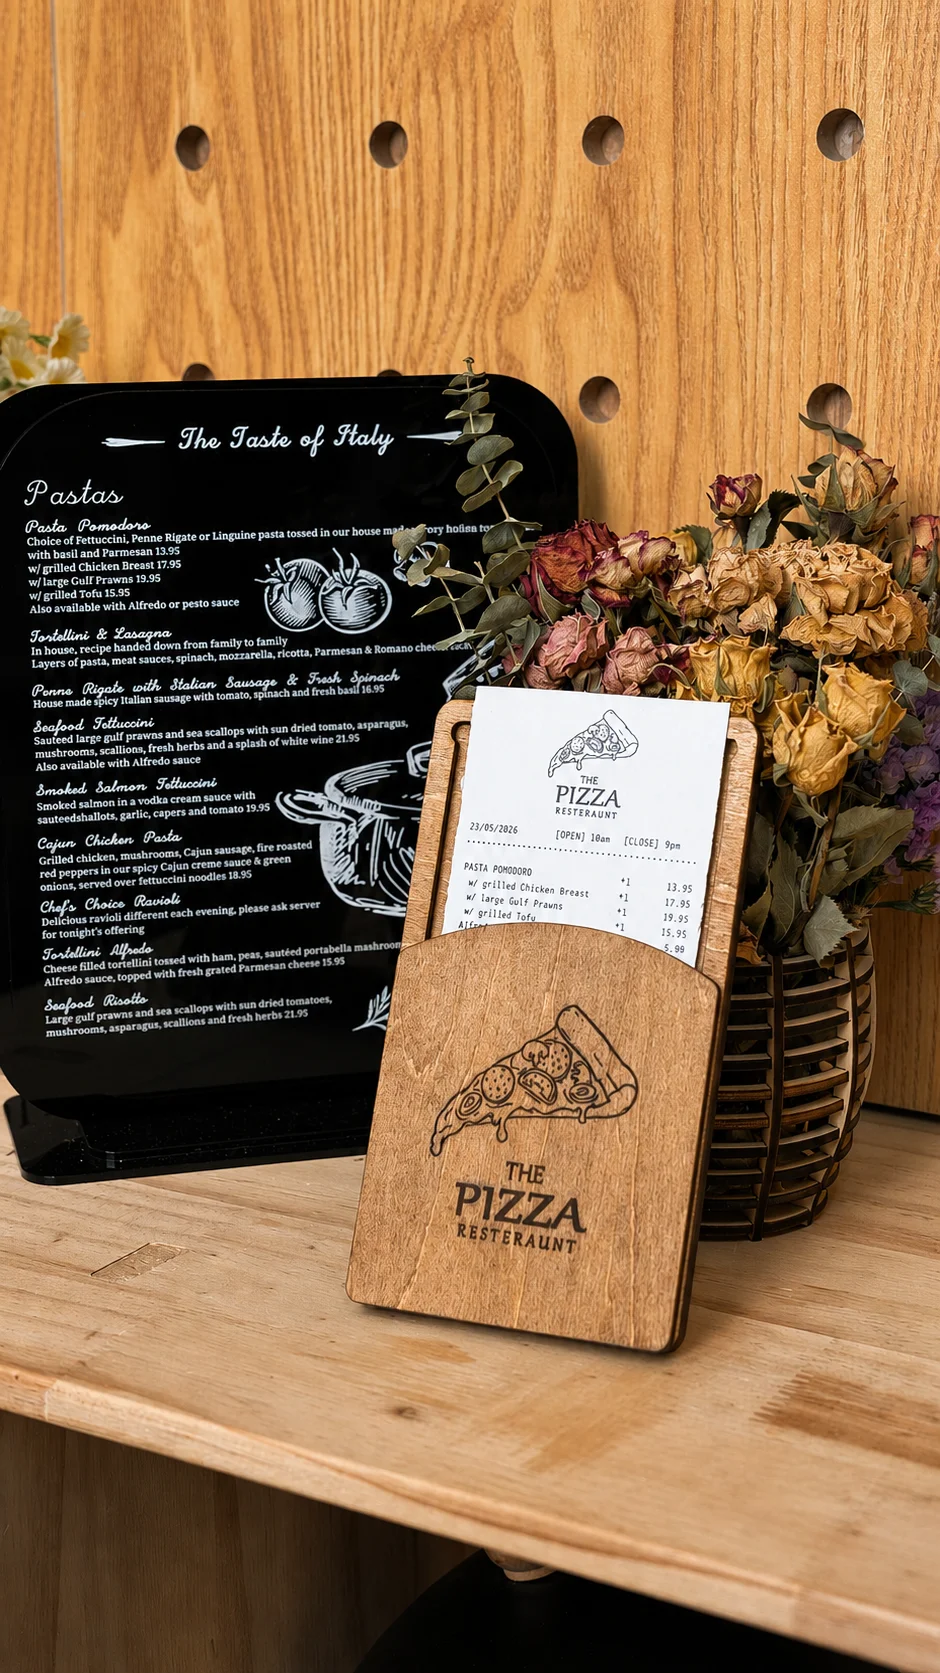
In this tutorial, you’ll learn how to laser cut and assemble a wooden order holder step by step using 3mm plywood. The finished piece is simple, functional, and suitable for everyday use.
Downloads
Supplies
Laser Machines
Material Needed
3mm Plywood
Hardwax Oil
Sponge
Glue
Setting 1
Laser Engraving
Speed: 800mm/s
Max Power: 30%
Min Power: 10%
DPI: 350
Setting 2
Laser Cutting
Speed: 10mm/s
Max Power: 25%
Min Power: 10%
Downloads
Prepare & Position the Material
.png)
Prepare a 3mm plywood sheet with a suitable size for your design. Place it flat on the laser bed and make sure it stays within the machine’s working area.
Before processing, wipe the surface clean to remove dust, fingerprints, or loose debris. If the plywood is slightly warped, use magnets or pins to secure the corners and keep the material stable during cutting and engraving.
Import & Adjust the Design File
.png)
Open your laser software, such as LaserMaker, and import the order holder design file.
Adjust the engraving and cutting parameters according to your plywood settings. Check that all structural slots and cutting lines are properly aligned before sending the file to the laser machine.
Set the Correct Laser Focus
.png)
Set the laser focus to the surface of the plywood before starting the job.
Proper focus helps produce cleaner engraving details and smoother cutting edges, especially for slot-fit structural parts.
Frame the Design & Start Engraving and Cutting
.png)
Before processing, use the frame function to preview the engraving and cutting area. This helps confirm that all parts are correctly positioned on the material.
Once everything is aligned, start the engraving and cutting process. Stay nearby while the machine is running and ensure ventilation is working properly throughout the job.
Post Processing
.png)
.png)
.png)
After processing is complete, remove all parts from the laser bed and gently clean away dust or residue.
Apply hardwax oil evenly with a sponge to enhance the wood grain and provide a smoother surface finish. Once dry, use glue to assemble the structure and secure all parts firmly in place.
Your wooden order holder is now ready to use.