How to Laser Cut a Wooden Table Clock Step by Step Tutorial
by thunderlaser-nolan in Workshop > Laser Cutting
114 Views, 1 Favorites, 0 Comments
How to Laser Cut a Wooden Table Clock Step by Step Tutorial
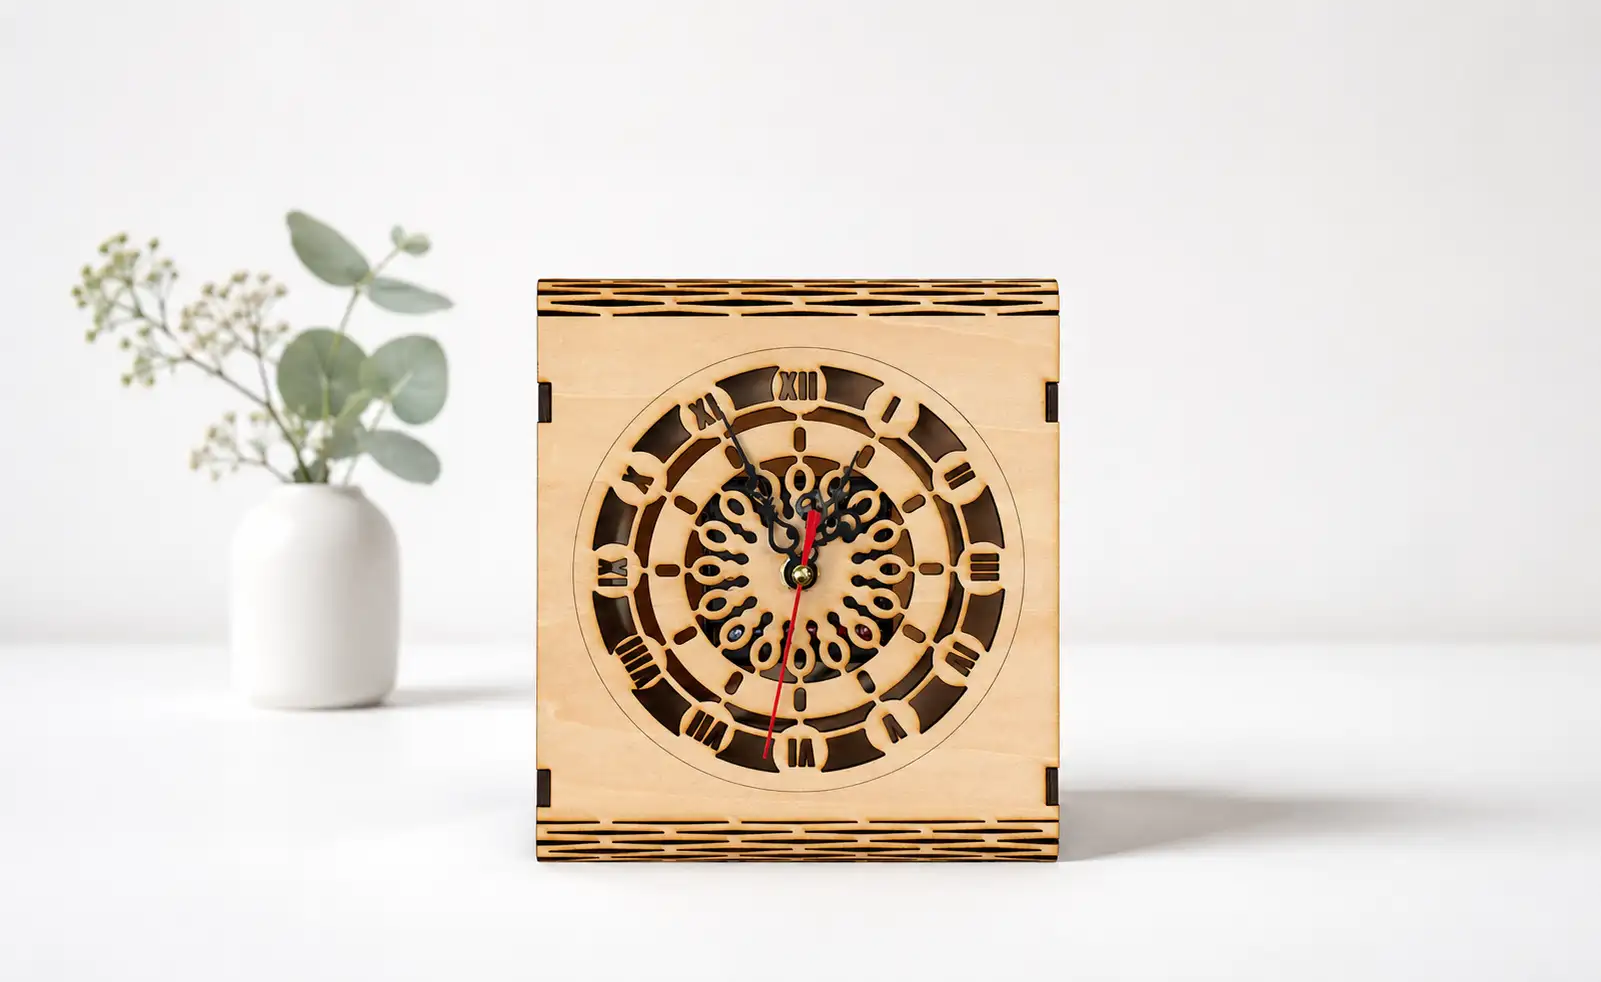
A wooden table clock is small, useful, and easy to personalize.
With a laser cutter, you can turn a simple sheet of basswood into a clean standing clock for your desk, shelf, or bedside table.
In this tutorial, you’ll learn how to laser engrave, cut, and assemble a simple wooden table clock using 3mm basswood plywood, clock hands, and a clock movement.
Supplies
Laser Machines
Material Needed
3mm Basswood Plywood
Clock Hands
Clock Movement
Setting 1
Laser Engraving
Speed: 400mm/s
Max Power: 20%
Min Power: 10%
Setting 2
Laser Cutting
Speed: 10mm/s
Max Power: 35%
Min Power: 10%
Downloads
Prepare & Position the Material
.png)
Place the 3mm basswood plywood flat on the laser workbed. Make sure the board is clean, stable, and not warped.
Use pins or magnets if needed to keep the plywood from moving during engraving and cutting.
Import & Adjust the Design File
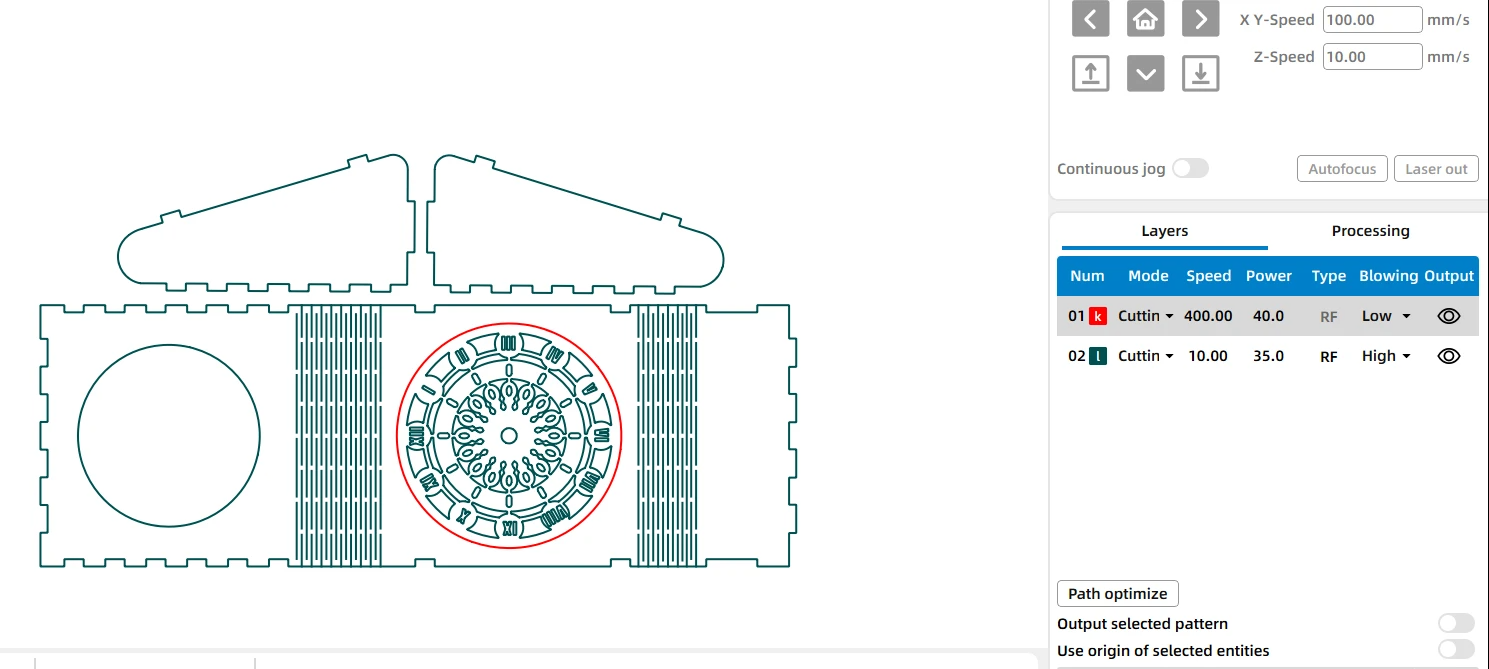
Open the clock design file in your laser software.
Adjust the size of the clock body and stand, and make sure the center hole matches your clock movement. Check the layout carefully before moving to the next step.
Set the Correct Laser Focus
.png)
Set the correct focus before processing.
Good focus helps create clean cuts and sharp details, especially on thin basswood plywood.
Frame the Design & Start Engraving and Cutting
.png)
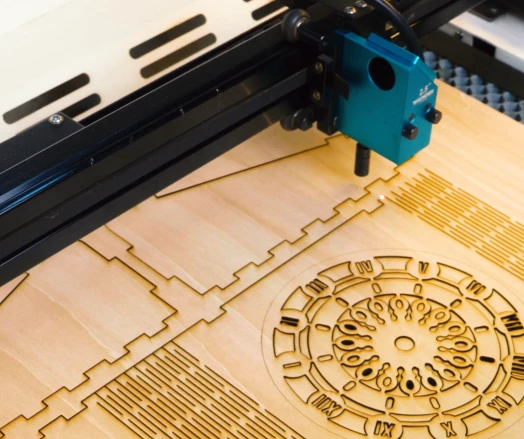
Run the Frame function first to confirm the design fits on the wood and is positioned correctly.
Once the frame looks right, start the engraving and cutting process. Stay nearby and watch for smoke, shifting, or any unusual condition while the machine is running.
Post Processing
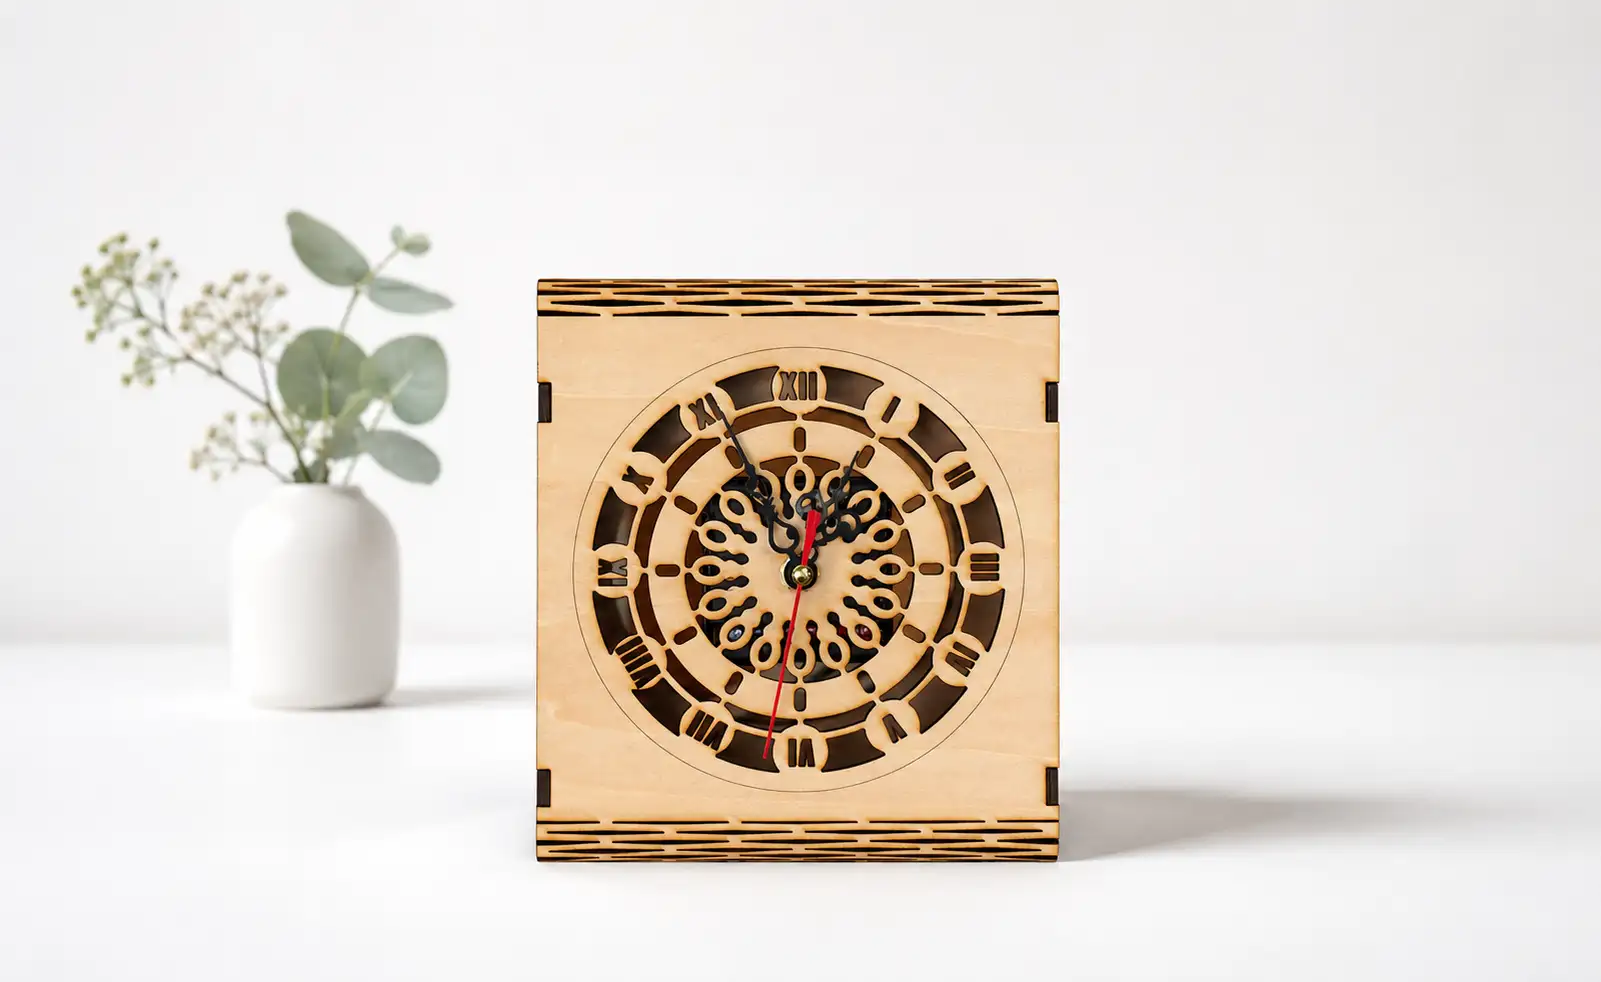
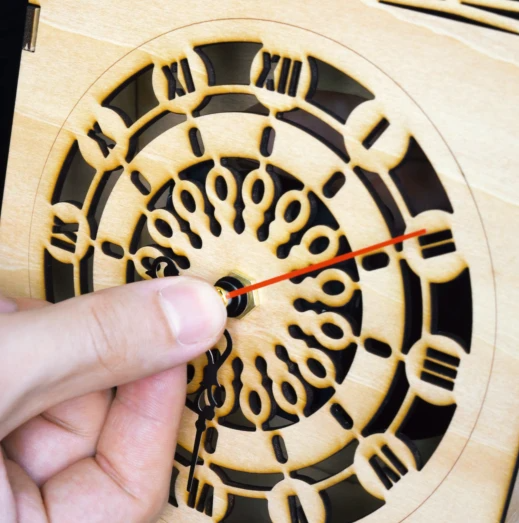
Remove the cut pieces and clean off any dust or soot.
Install the clock movement through the center hole, attach the clock hands, and assemble the wooden stand.
Check that the hands move freely before placing the clock on your desk.