How to Laser Cut a Wooden Table Football Game Step by Step Tutorial
by thunderlaser-nolan in Workshop > Laser Cutting
44 Views, 0 Favorites, 0 Comments
How to Laser Cut a Wooden Table Football Game Step by Step Tutorial
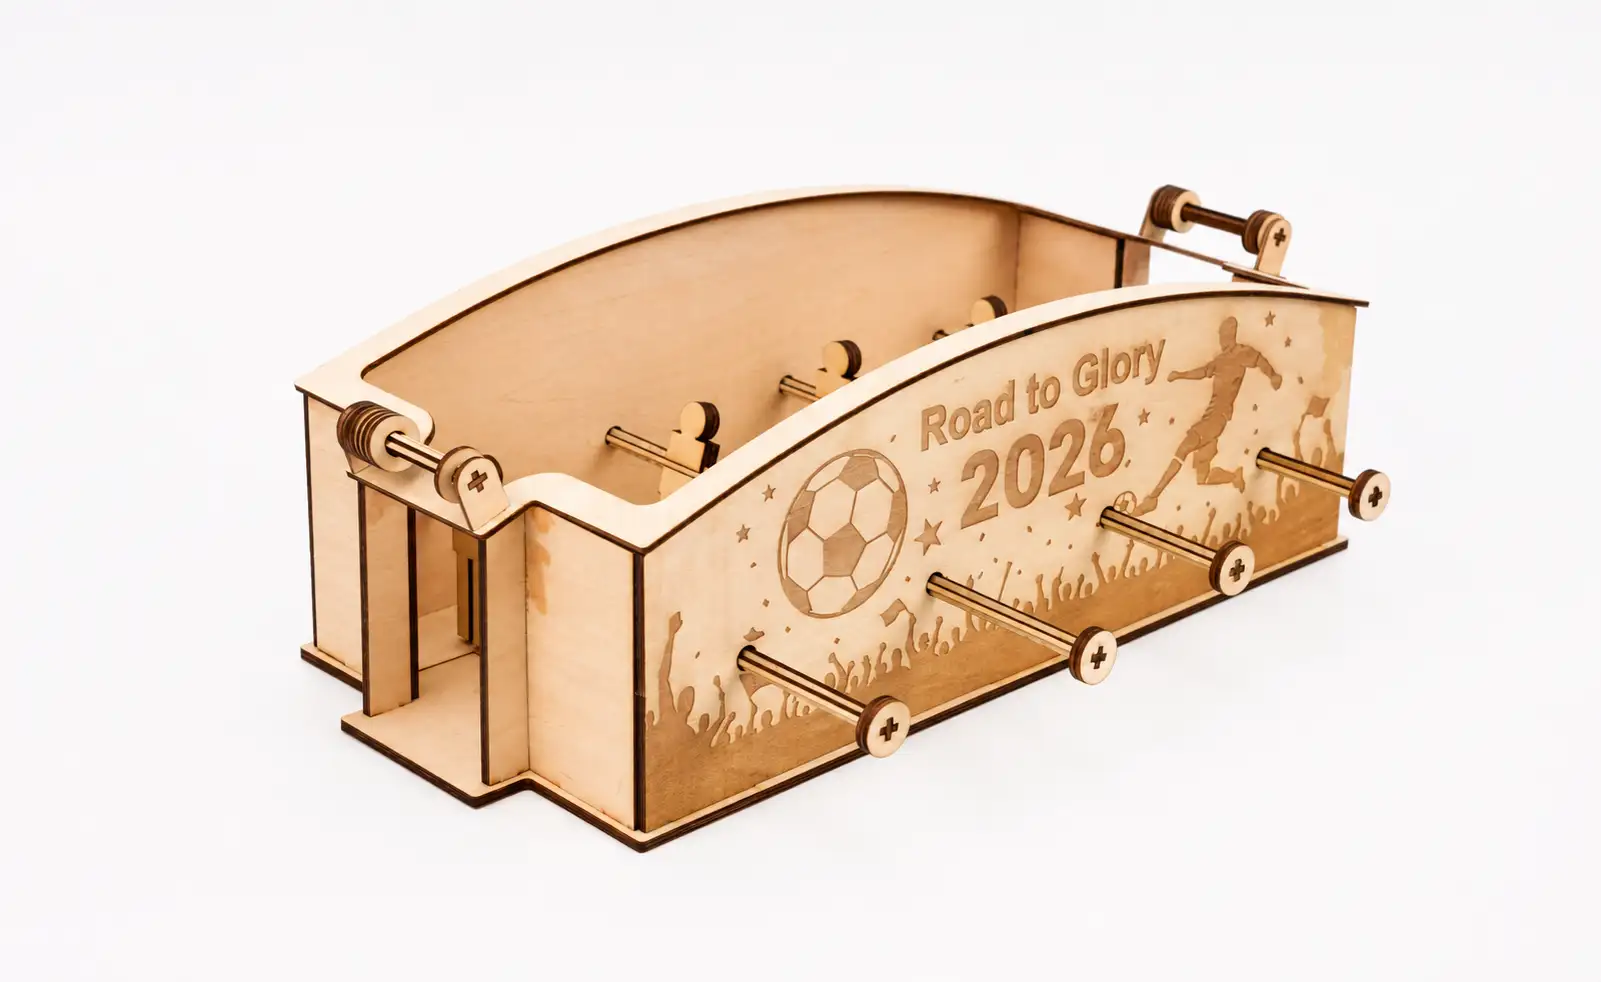
Bring the excitement of the football pitch to your desk with a laser-cut tabletop football game.
It’s a fun project to build, enjoyable to play, and a great way to spend time with family or friends.
In this tutorial, you’ll learn how to laser engrave, cut, and assemble a wooden table football game using 3mm and 5mm basswood plywood. With just a few steps, you’ll have a fully functional mini foosball table ready for kickoff.
Supplies
Laser Machines
Material Needed
3mm Plywood
5mm Plywood
Setting 1
Laser Engraving
Speed: 500mm/s
Max. Power: 25%
Min. Power: 20
Setting 2
Laser Cutting 3mm Plywood
Speed: 10mm/s
Max. Power: 35%
Min. Power: 10
Setting 3
Laser Cutting 5mm Plywood
Speed: 20mm/s
Max. Power: 70%
Min. Power: 10
Downloads
Prepare & Position the Material
.png)
Prepare both the 3mm and 5mm basswood plywood sheets according to the design requirements. Place each sheet flat on the laser bed and ensure it fits completely within the machine's working area.
Before processing, wipe the surface clean to remove dust, fingerprints, or debris. If either sheet is slightly warped, use hold-down pins to secure it firmly and prevent movement during engraving and cutting.
Import & Adjust the Design File
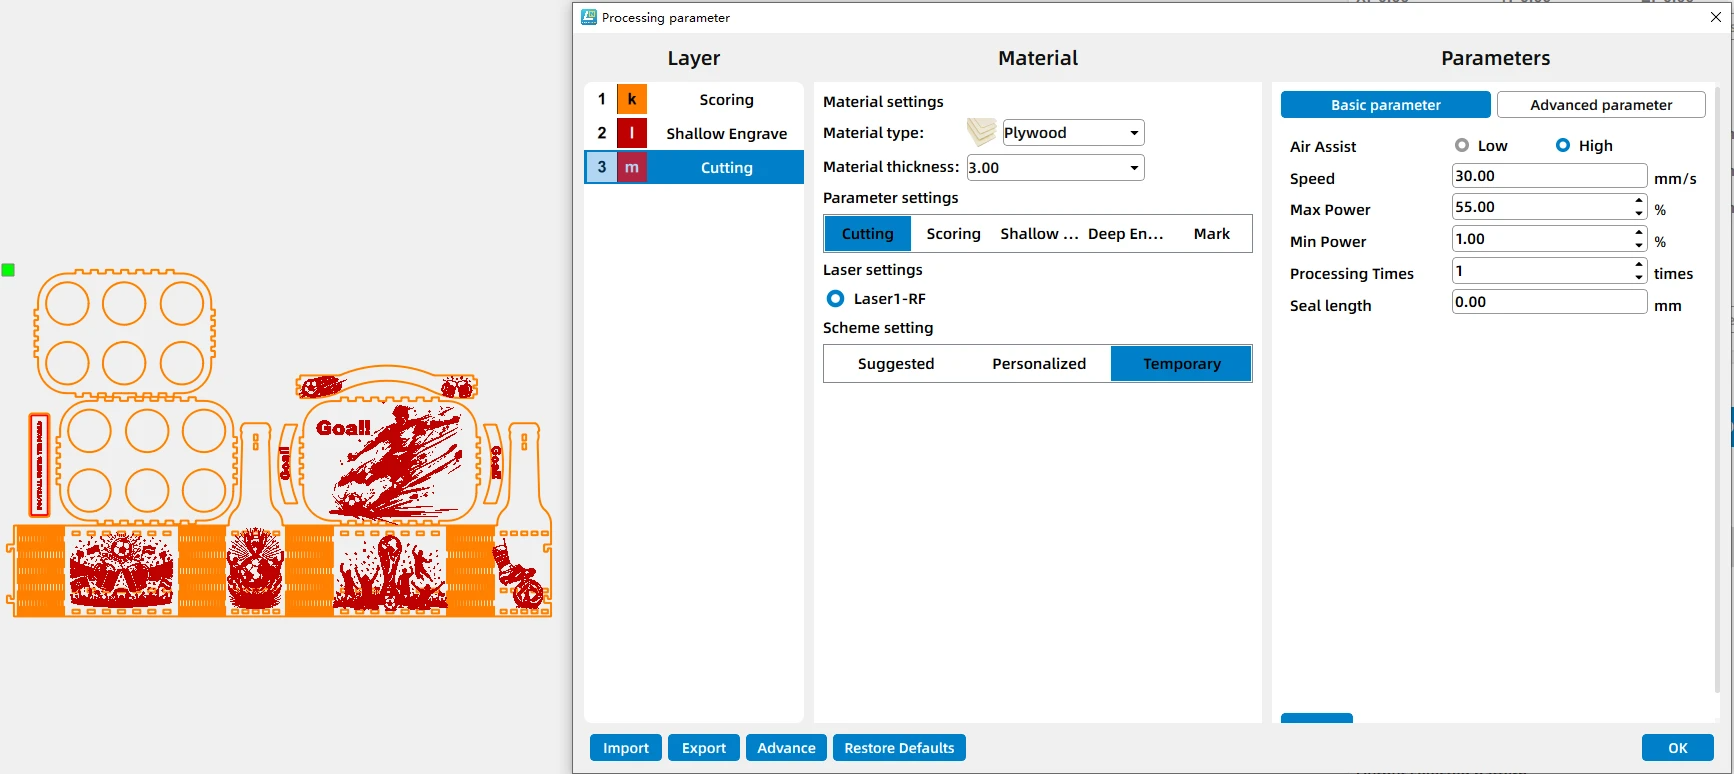
Open your laser software and import the table football game design file.
Assign the engraving and cutting layers correctly based on the material thickness. Once all settings are confirmed, send the file to the machine.
Set the Correct Laser Focus
.png)
Set the laser focus to the surface of the plywood before processing.
Proper focus produces sharper engraved details and cleaner cuts, ensuring that all slots, joints, and structural components fit together accurately during assembly.
Frame the Design & Start Engraving and Cutting
.png)
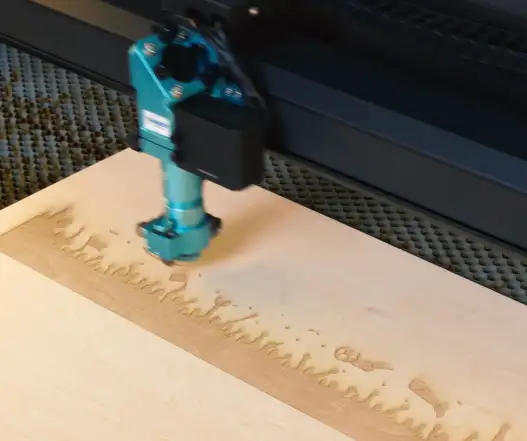
Before starting the job, use the Frame function to preview the entire processing area and verify that all parts are correctly positioned on the material.
Once everything is aligned, begin the engraving and cutting process. The machine will engrave the field markings and decorative details before cutting all structural components. Monitor the machine throughout the job and ensure proper ventilation during processing.
Post Processing
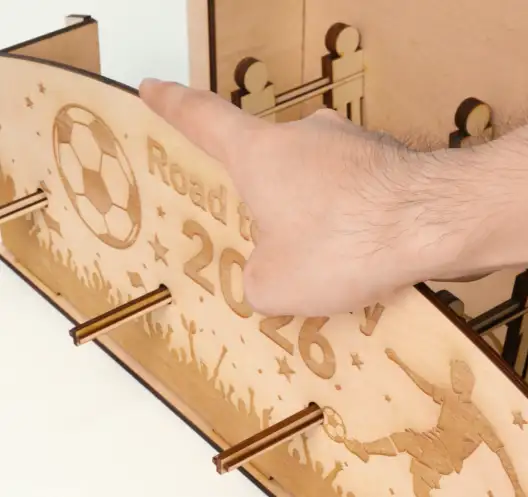
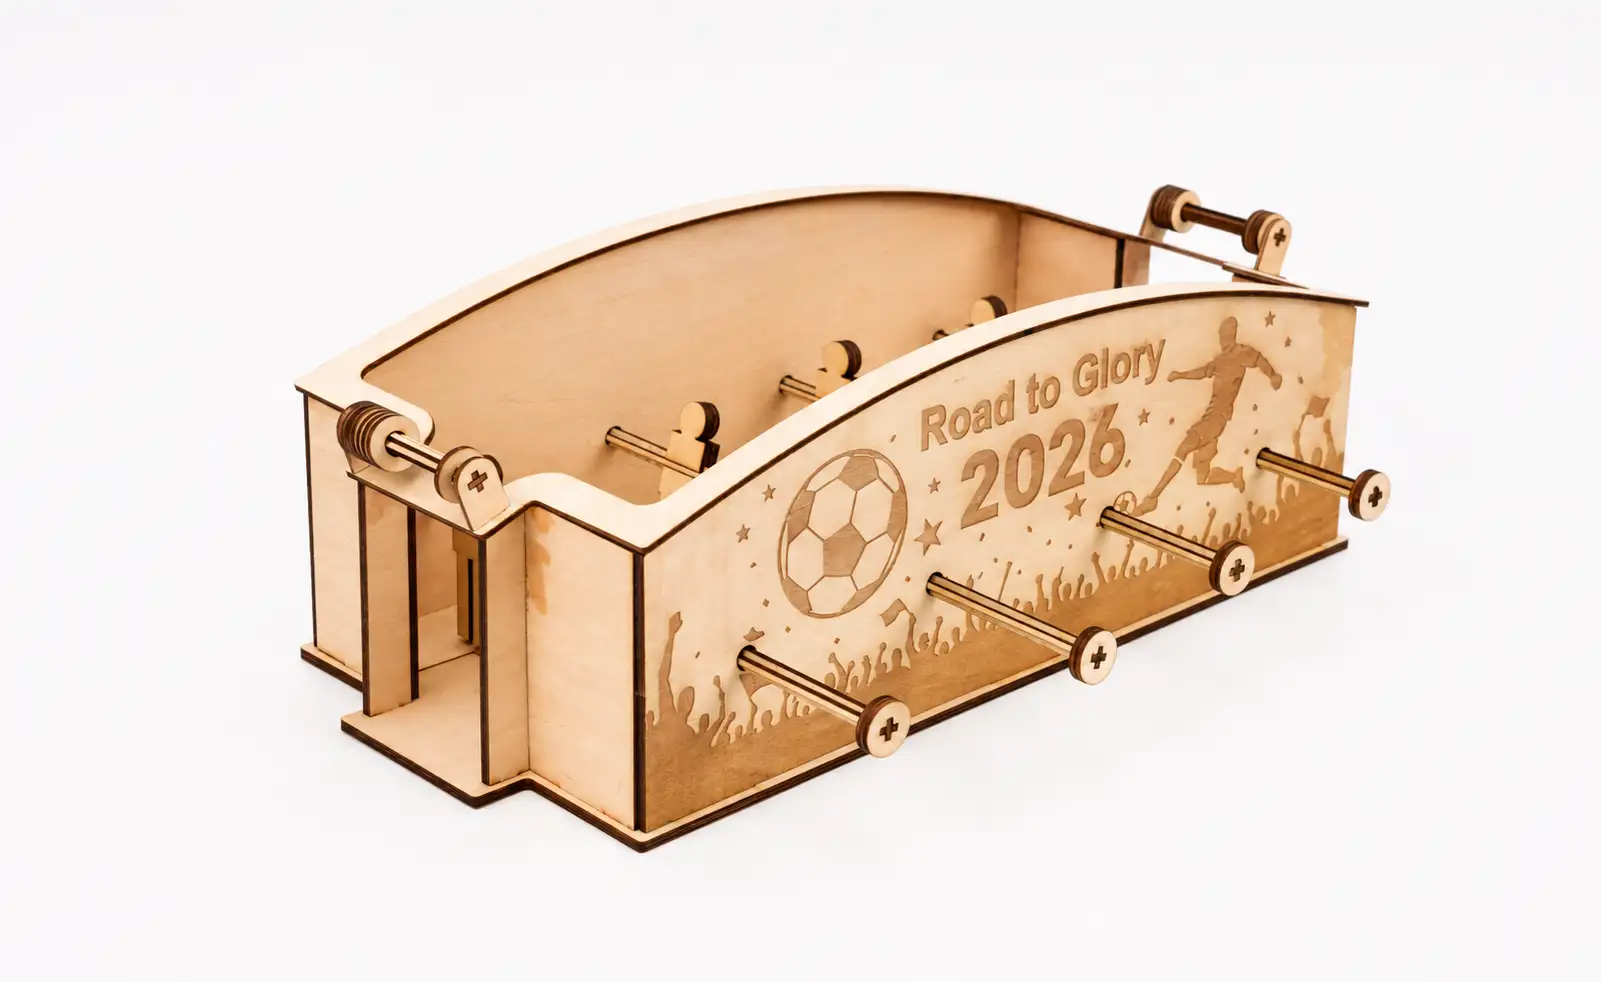
After processing is complete, remove all parts from the laser bed and gently clean away any dust or residue.
Assemble the table football game according to the design, making sure each slot fits securely. Apply glue where required to reinforce the structure, then install the rods, players, and other moving components.
Once assembled, check that all parts move smoothly and the game is ready to play.