How to Laser Mark 3D Relief Marking on Slate?
by thunderlaser-nolan in Workshop > Laser Cutting
25 Views, 1 Favorites, 0 Comments
How to Laser Mark 3D Relief Marking on Slate?

Slate is a naturally textured material that works especially well for laser marking. When combined with 3D relief engraving techniques, it highlights depth, contrast, and fine details on the surface.
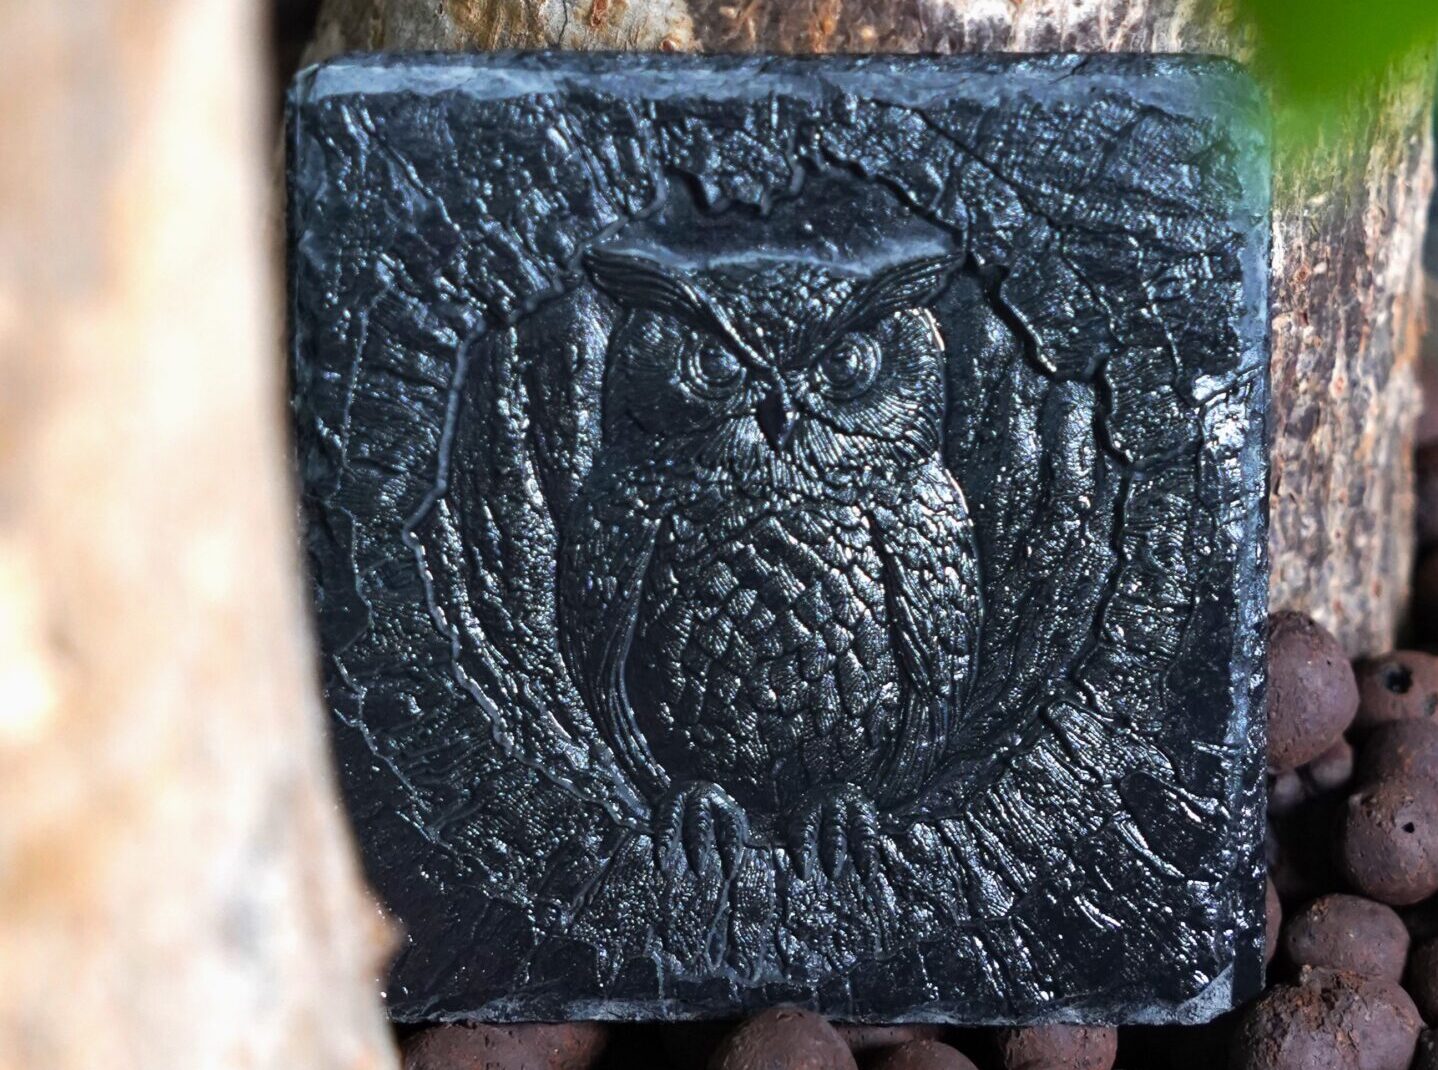
This tutorial will show you how to laser etch a 3D relief owl on slate. The process is simple and can be used to create decorative pieces, wall art, and custom slate products. The same workflow works well for both individual creations and small-batch or production-oriented projects.
Supplies
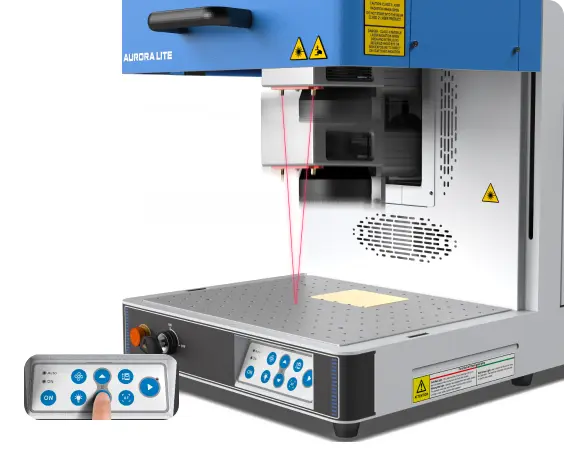
Machine Used
Aurora Lite
Material Needed
Slate
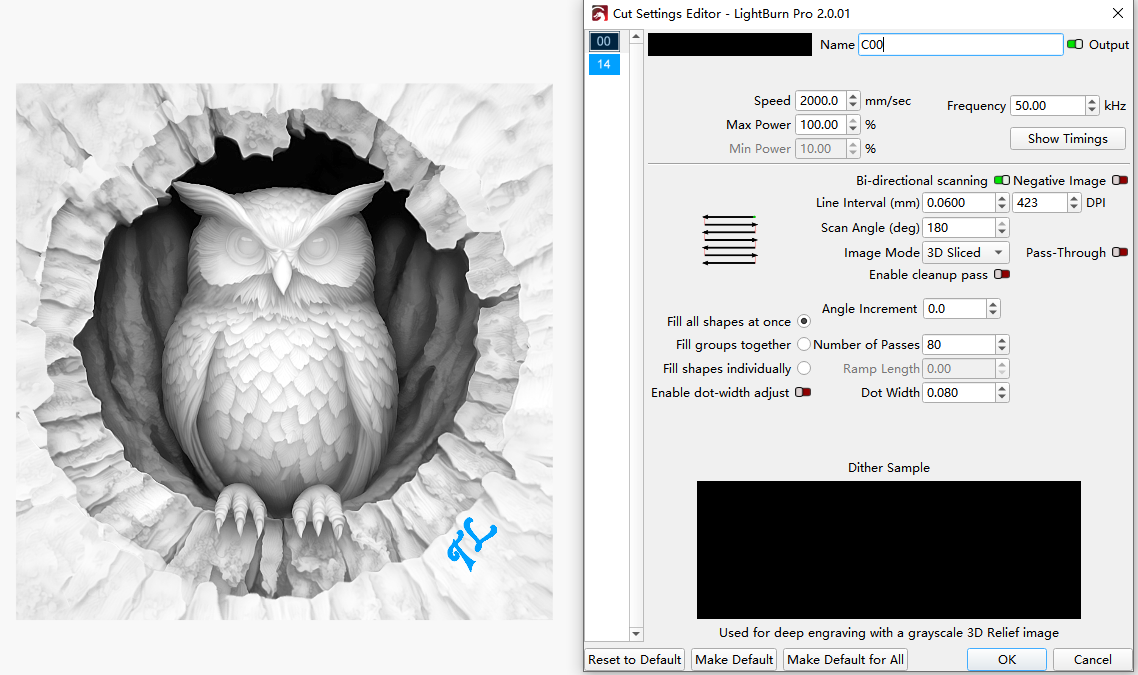
Settings
- Laser Marking
- Speed: 3,000 mm/s
- Marking Power: 100%
- Frequency: 50 kHz
- Line interval: 0.06
- Scan Angle: 180°
- Passes: 80
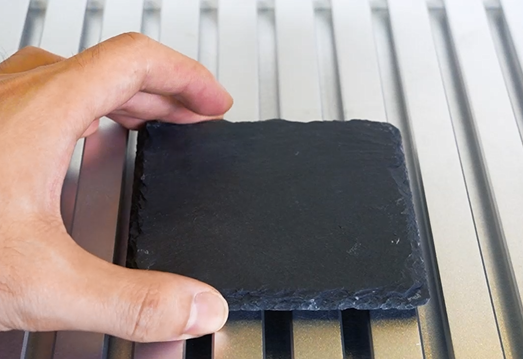
Place the Slate on the Laser Bed
Lay the slate flat on the laser bed with the engraving surface facing up. Make sure the surface is clean, dry, and stable to ensure consistent engraving depth and detail.
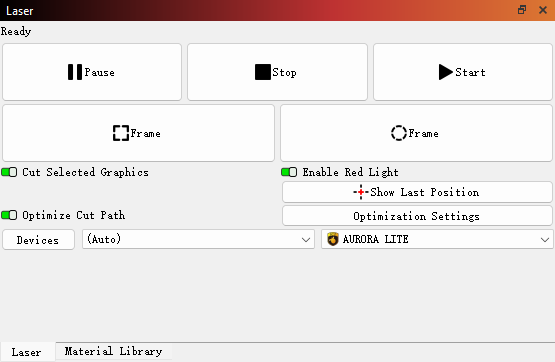
Import the Laser Mark File
Open your laser software and import the prepared owl design. Adjust the size and position to match the slate. For 3D relief engraving, the image should be processed as a grayscale file so the laser can translate brightness into depth. If you still have questions about making a grayscale file for 3D relief engraving, check out more information from our expert.
Focus the Laser
Set the focus precisely on the top surface of the slate. Accurate focus is essential for achieving smooth transitions and well-defined layers in 3D marking.
Run a Frame Test
Use the frame or outline function to preview the laser marking area. This helps confirm alignment and prevents the design from marking outside the slate.
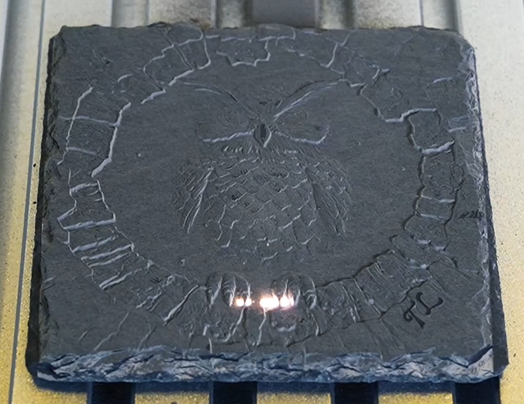
Monitor the Slate Coaster Marking Process
Start laser marking and monitor the process throughout. 3D relief marking on slate typically takes longer than standard marking. Active monitoring is essential to maintain safe operation, protect the laser system, and address any irregular conditions immediately.
Apply a Clear Protective Spray
After marking, gently clean the surface and apply a clear spray coating. This step improves water and stain resistance while enhancing contrast and providing a smoother, more refined surface feel.
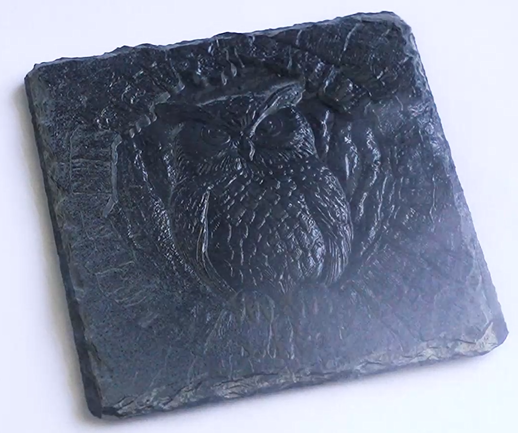
Complete the Laser Marking
Allow the coating to dry completely. The 3D relief owl marking on slate is now finished and ready for display or further use.