How to Make Cool Spoon at Home
by CrazyScience in Circuits > Gadgets
262 Views, 1 Favorites, 0 Comments
How to Make Cool Spoon at Home
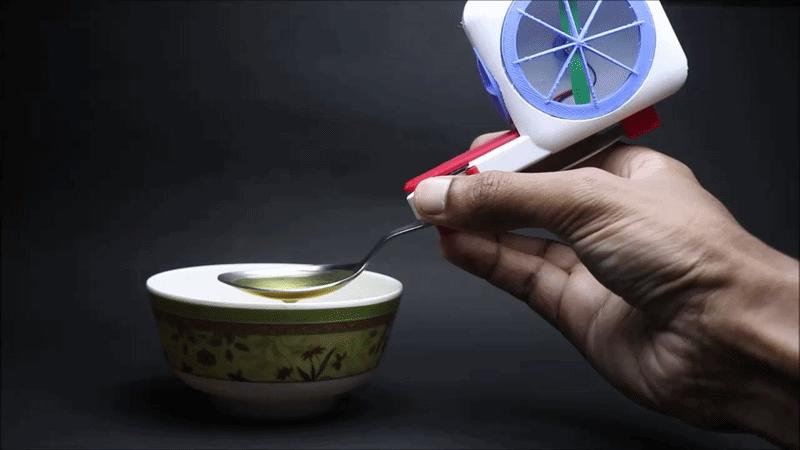
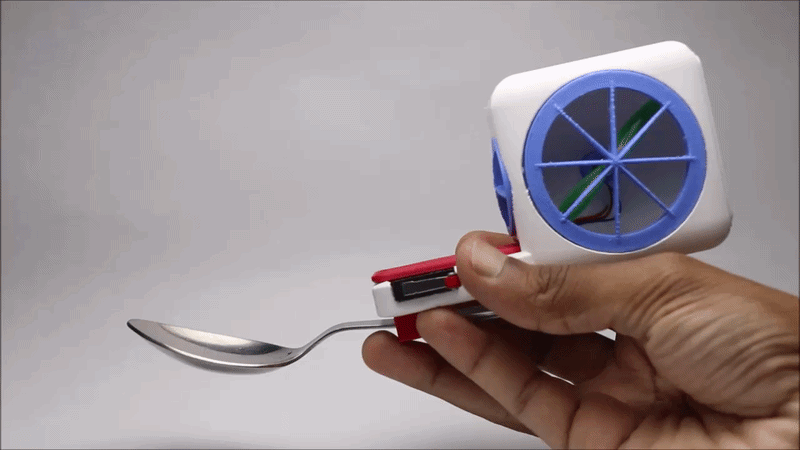
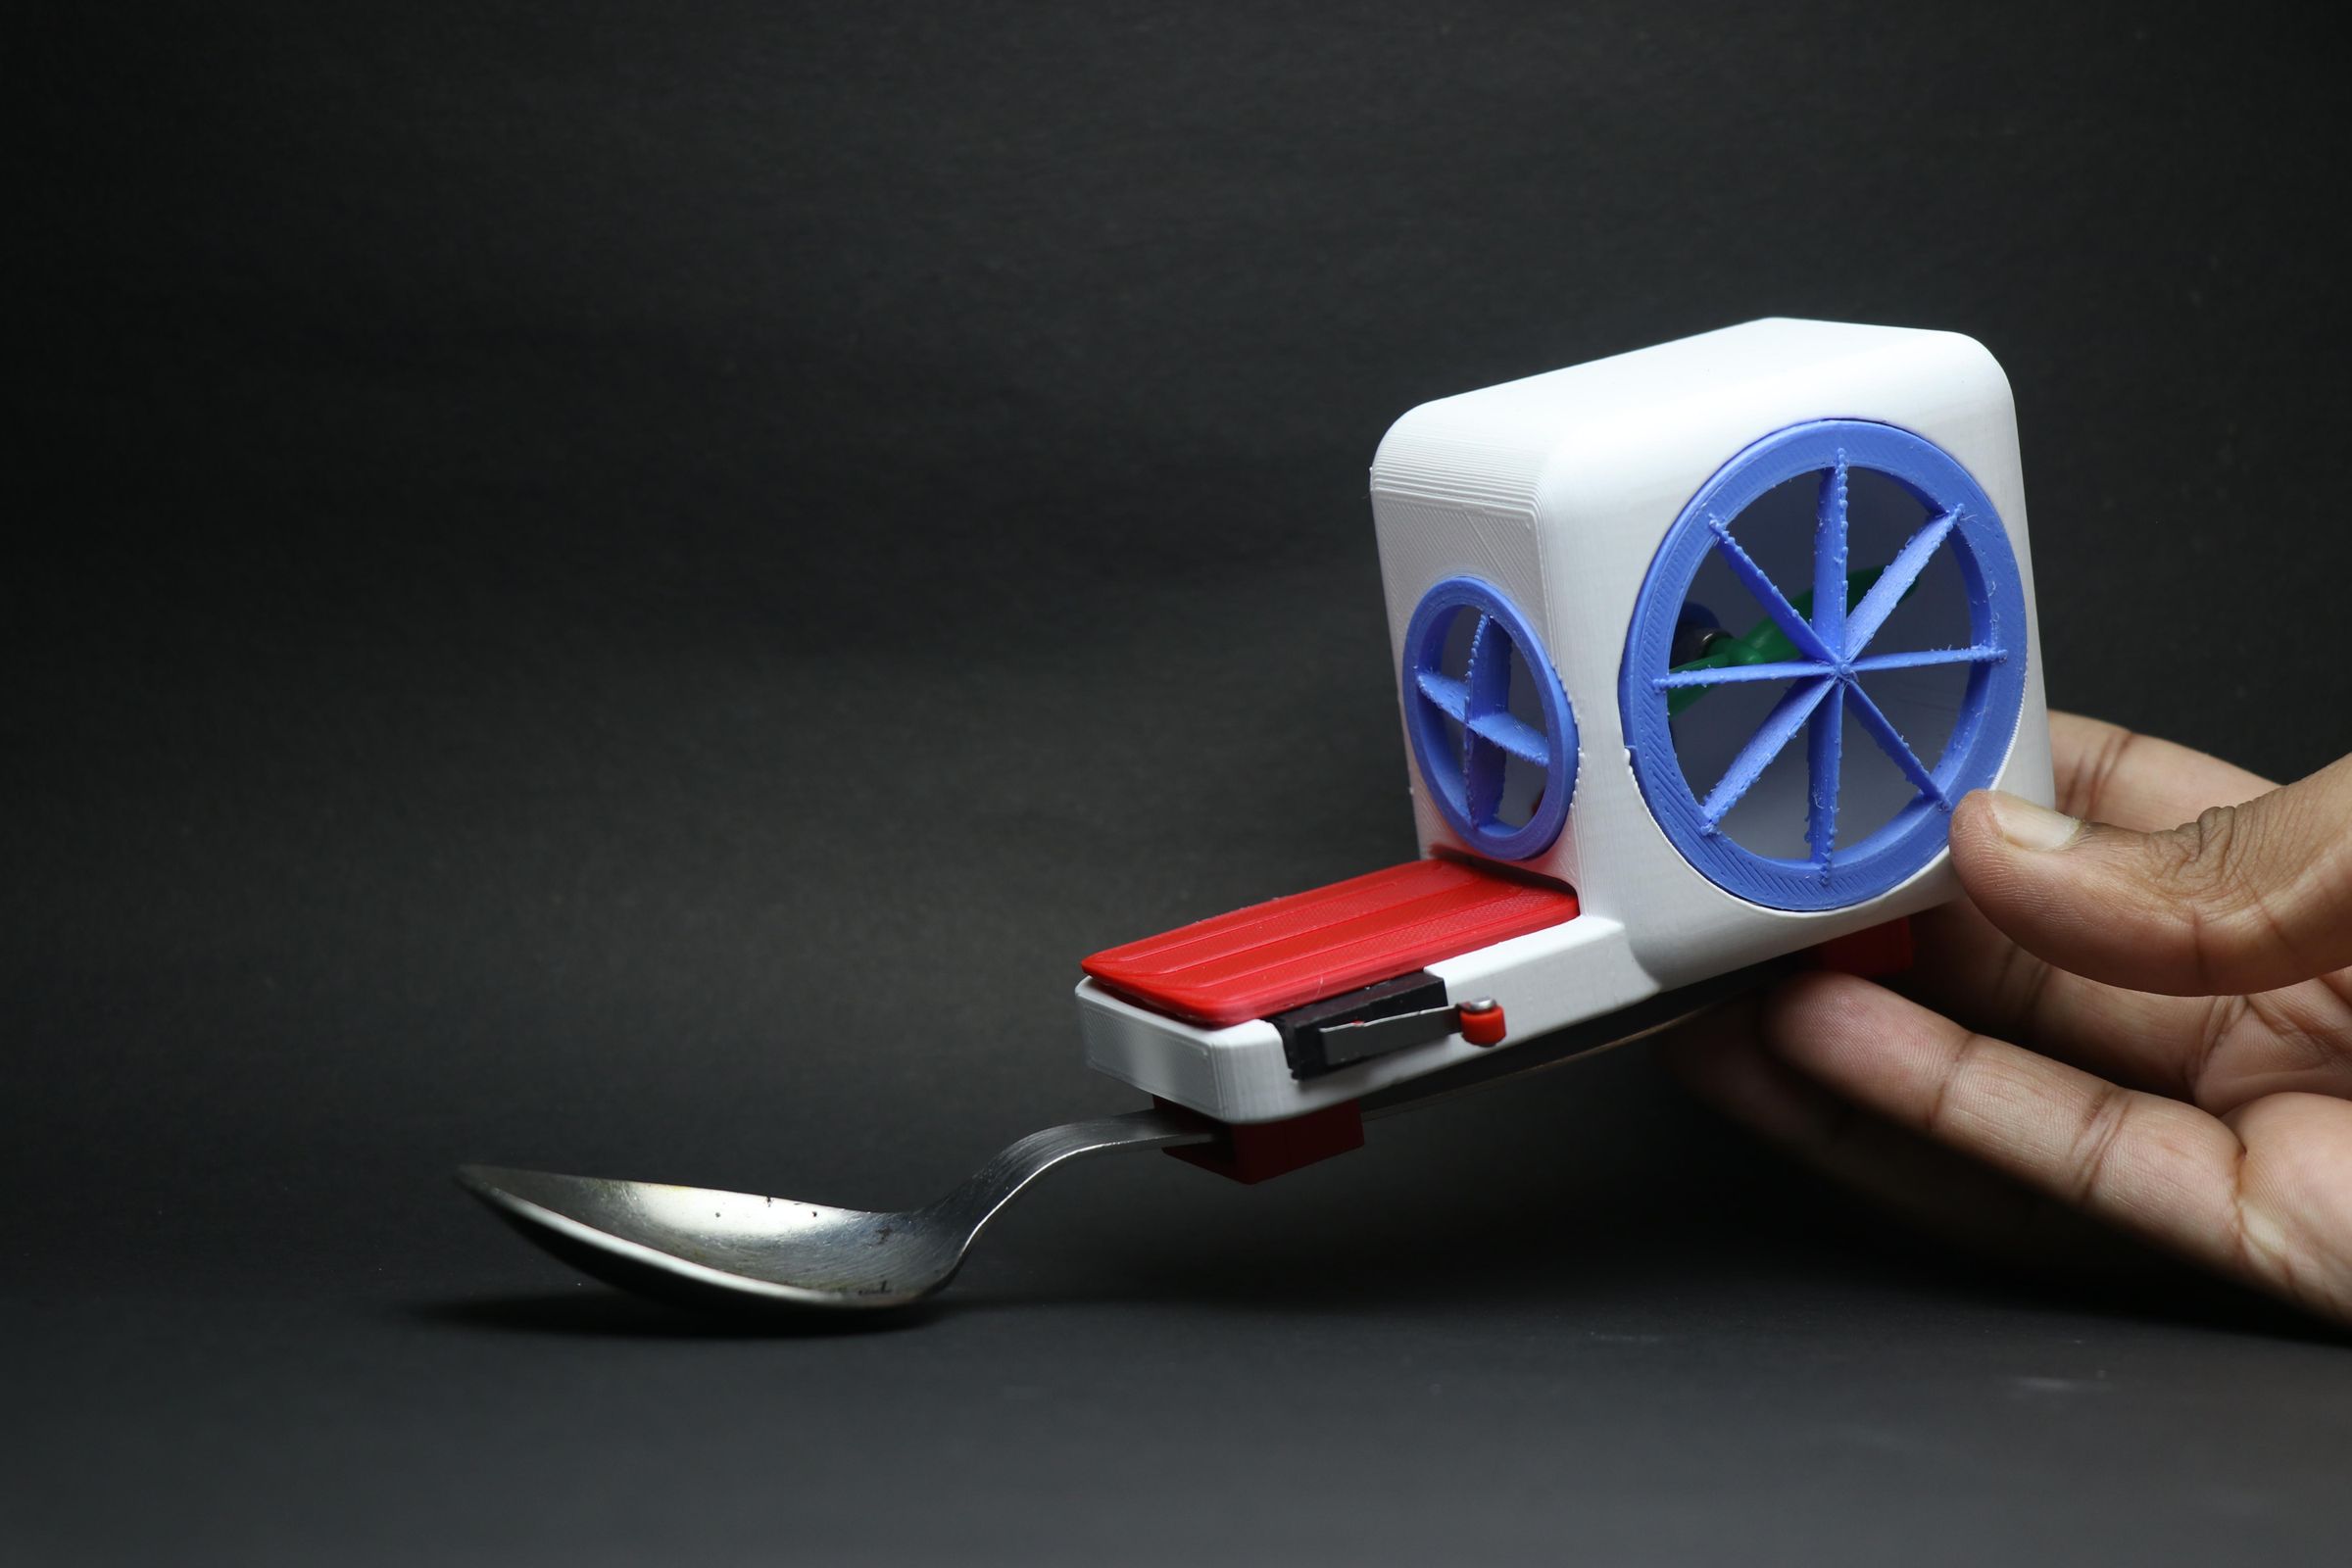
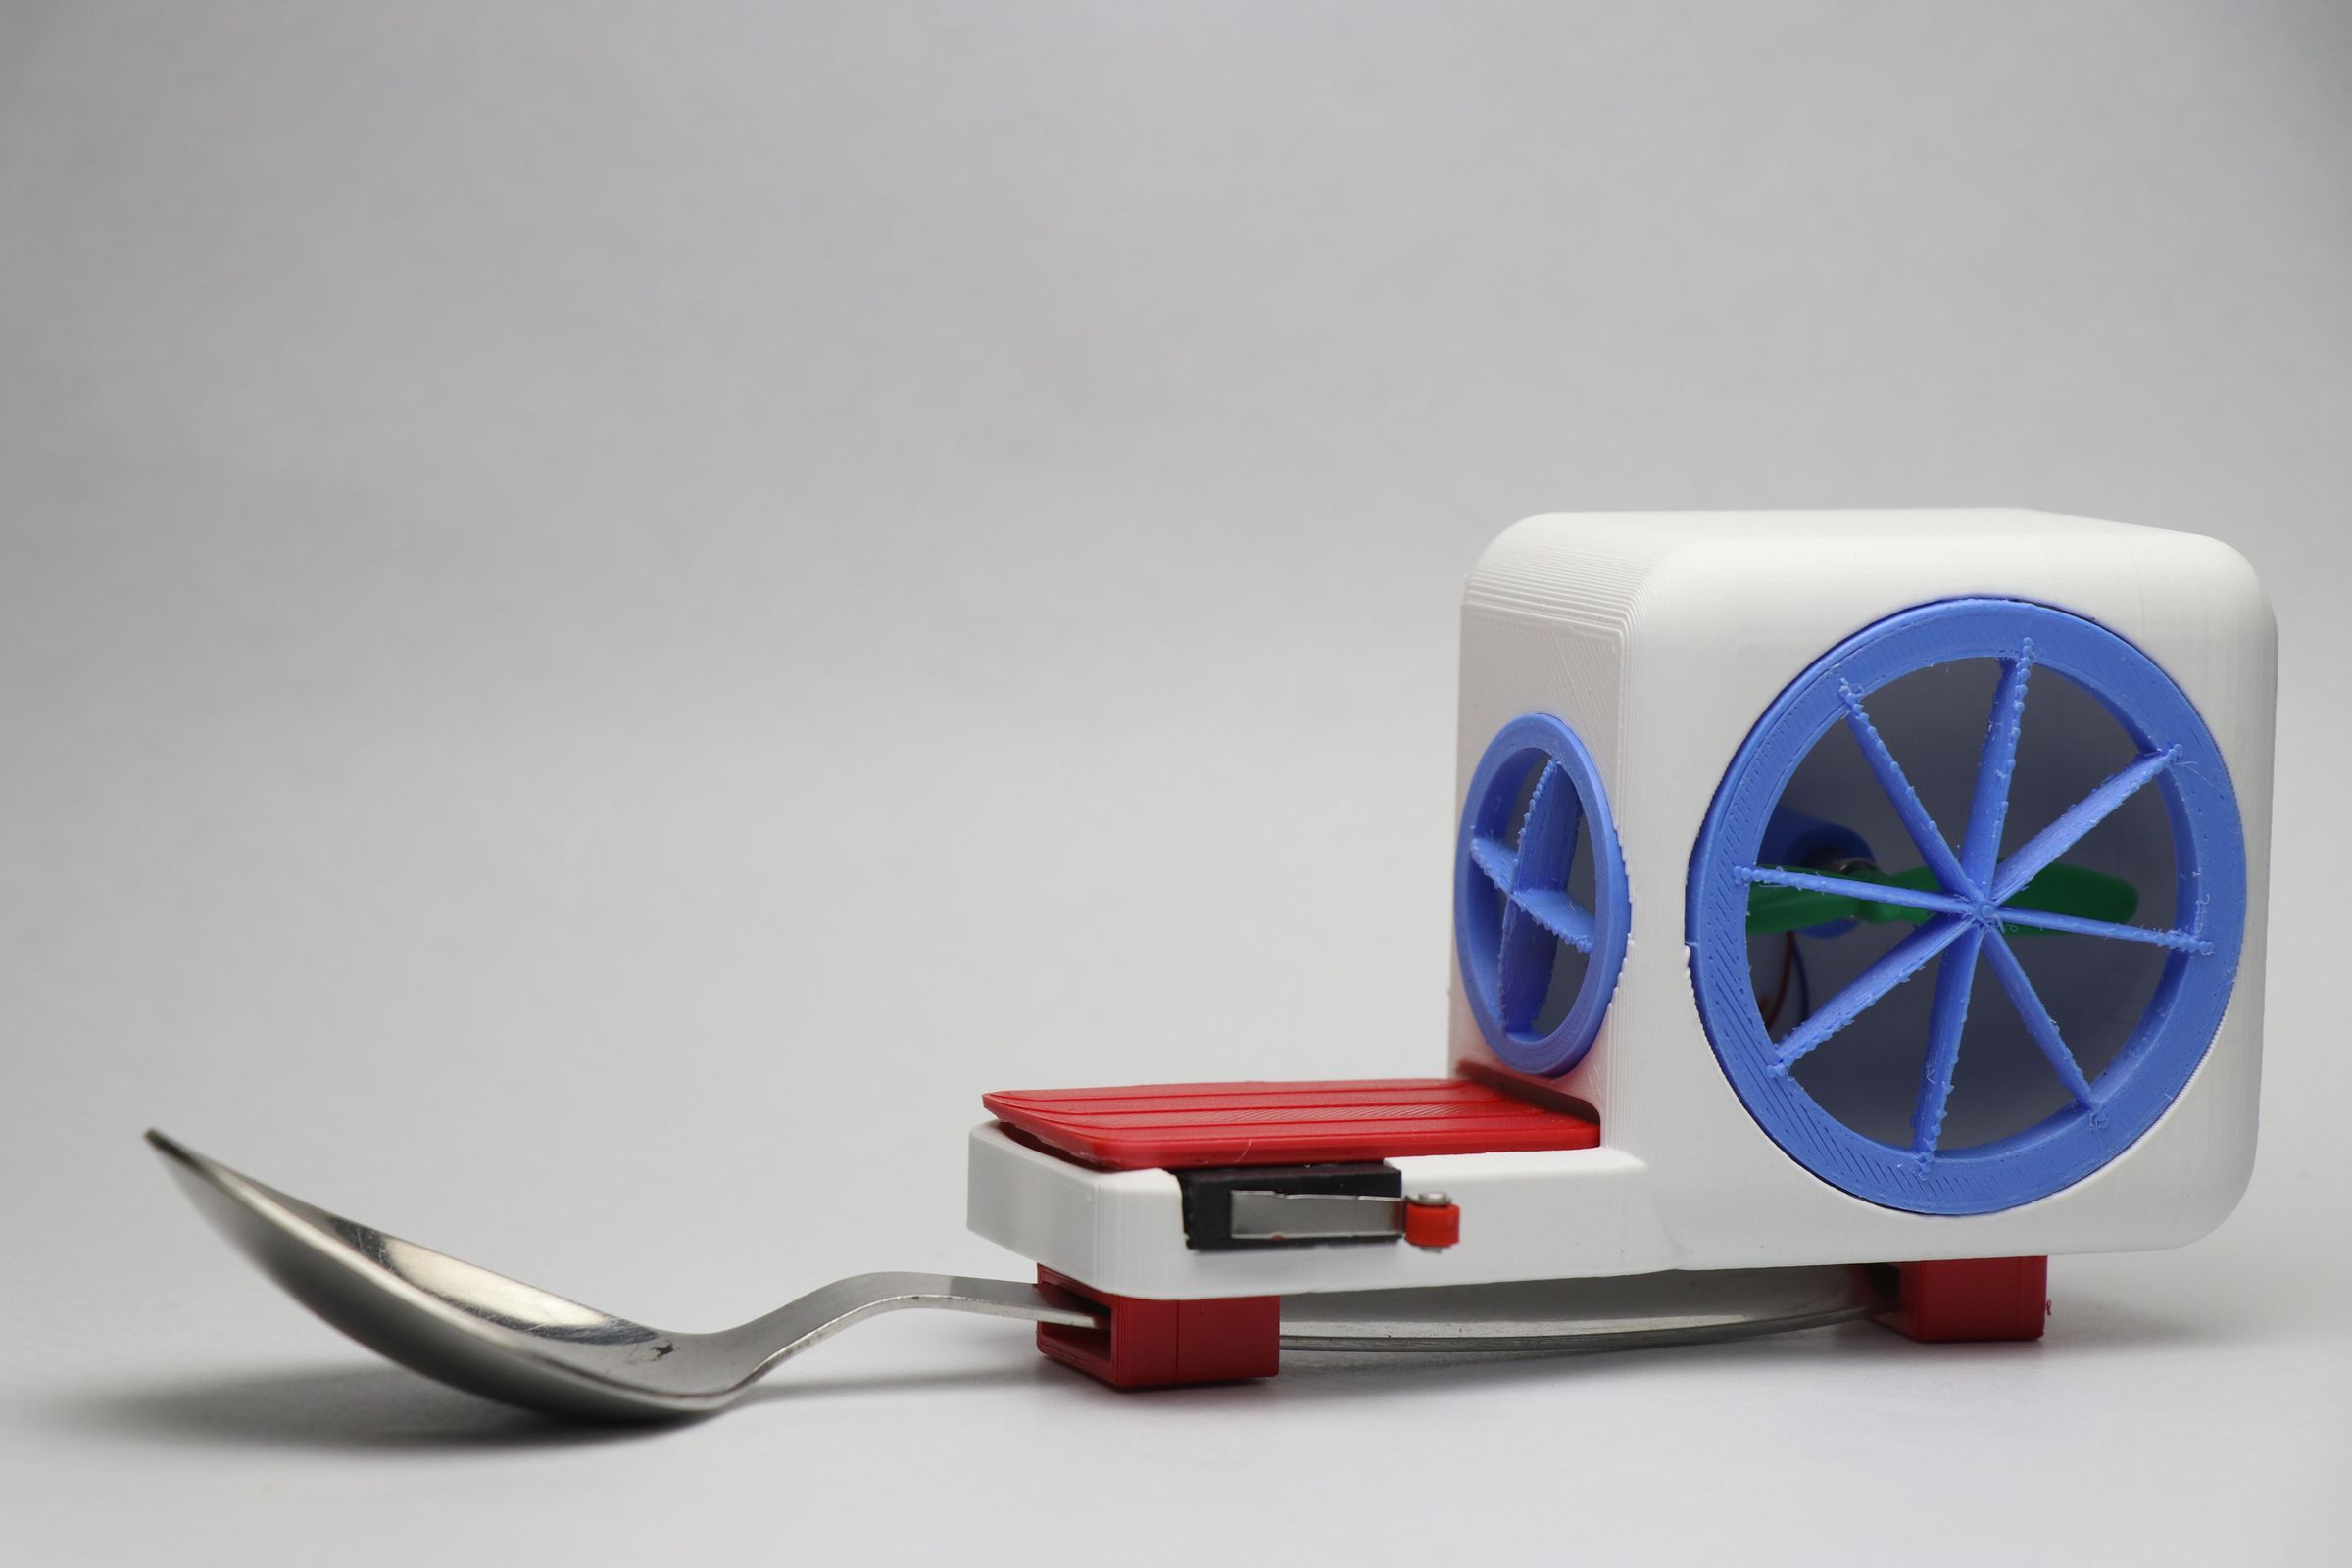
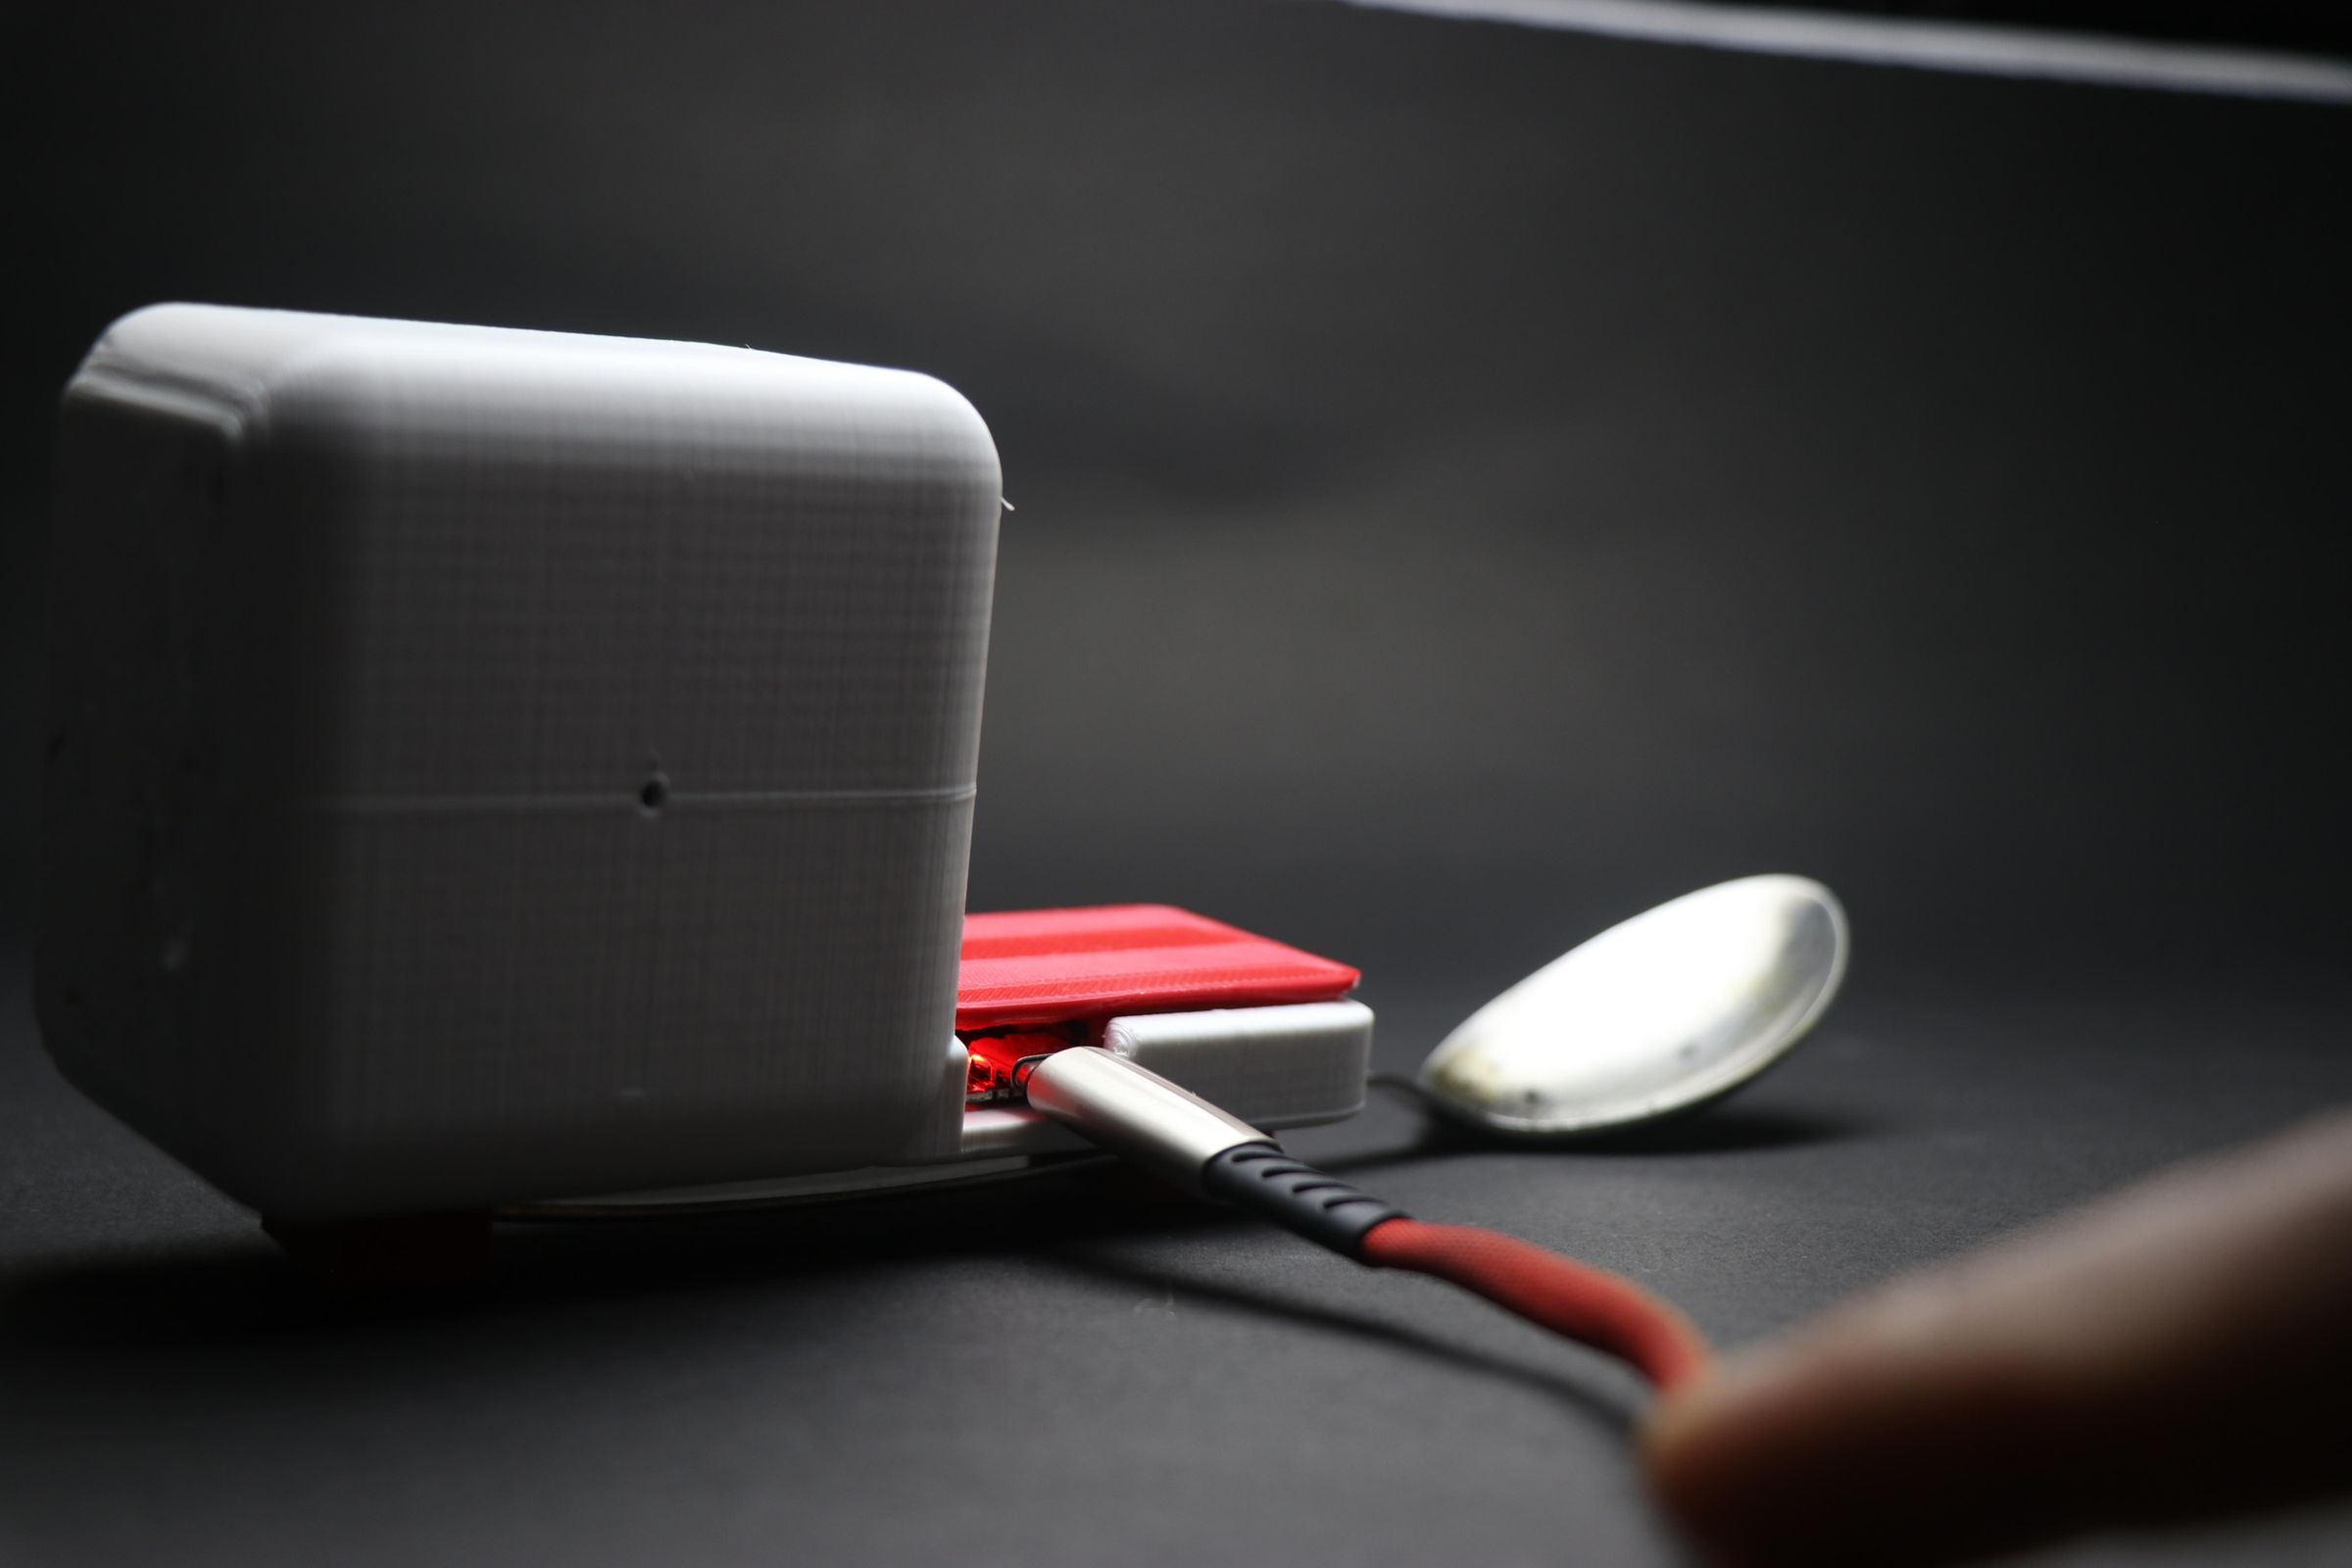
Hello beautiful people, In this instructables I will show you how I made this cool spoon!
By the name you already know what this device does! I bet you would not fully know what this actually does!
In this instructables i will show how I made this and the reason behind building this!
Have you had any instances, Wherein you hurried up to eat noodles or a bowl of hot soup and end up hurting your tongue?
Once in a lifetime or many times you might have had this situation and in my case I have burnt my tongue several times from eating hot noodles.
Since I didn’t find any help from others I wanted to help myself and wanted to show you guys too and enjoy your bowl of noodles or soup without hurting.
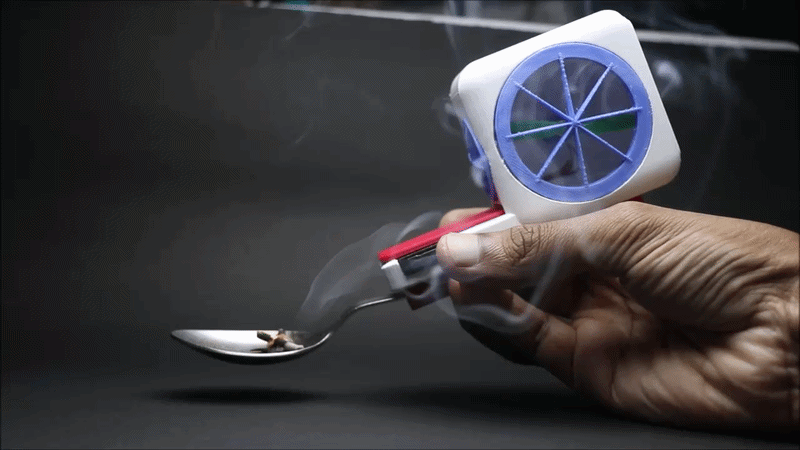
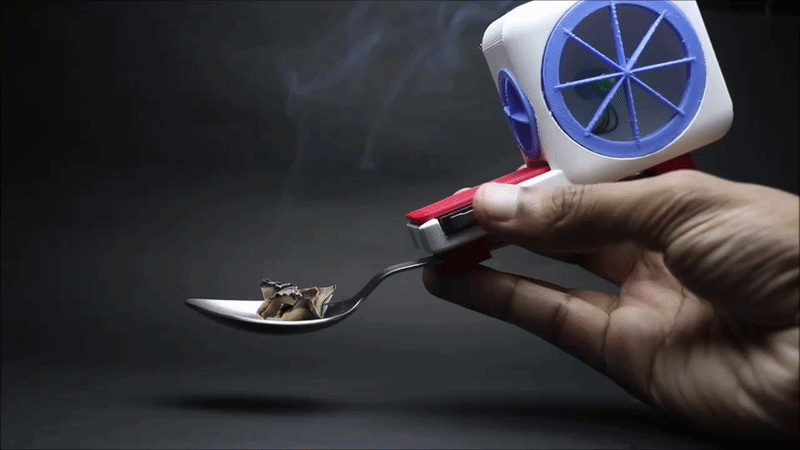
This cool spoon will cool the hot food that you pick on the spoon without the need to manually blow air(universal traditional method) to the food.
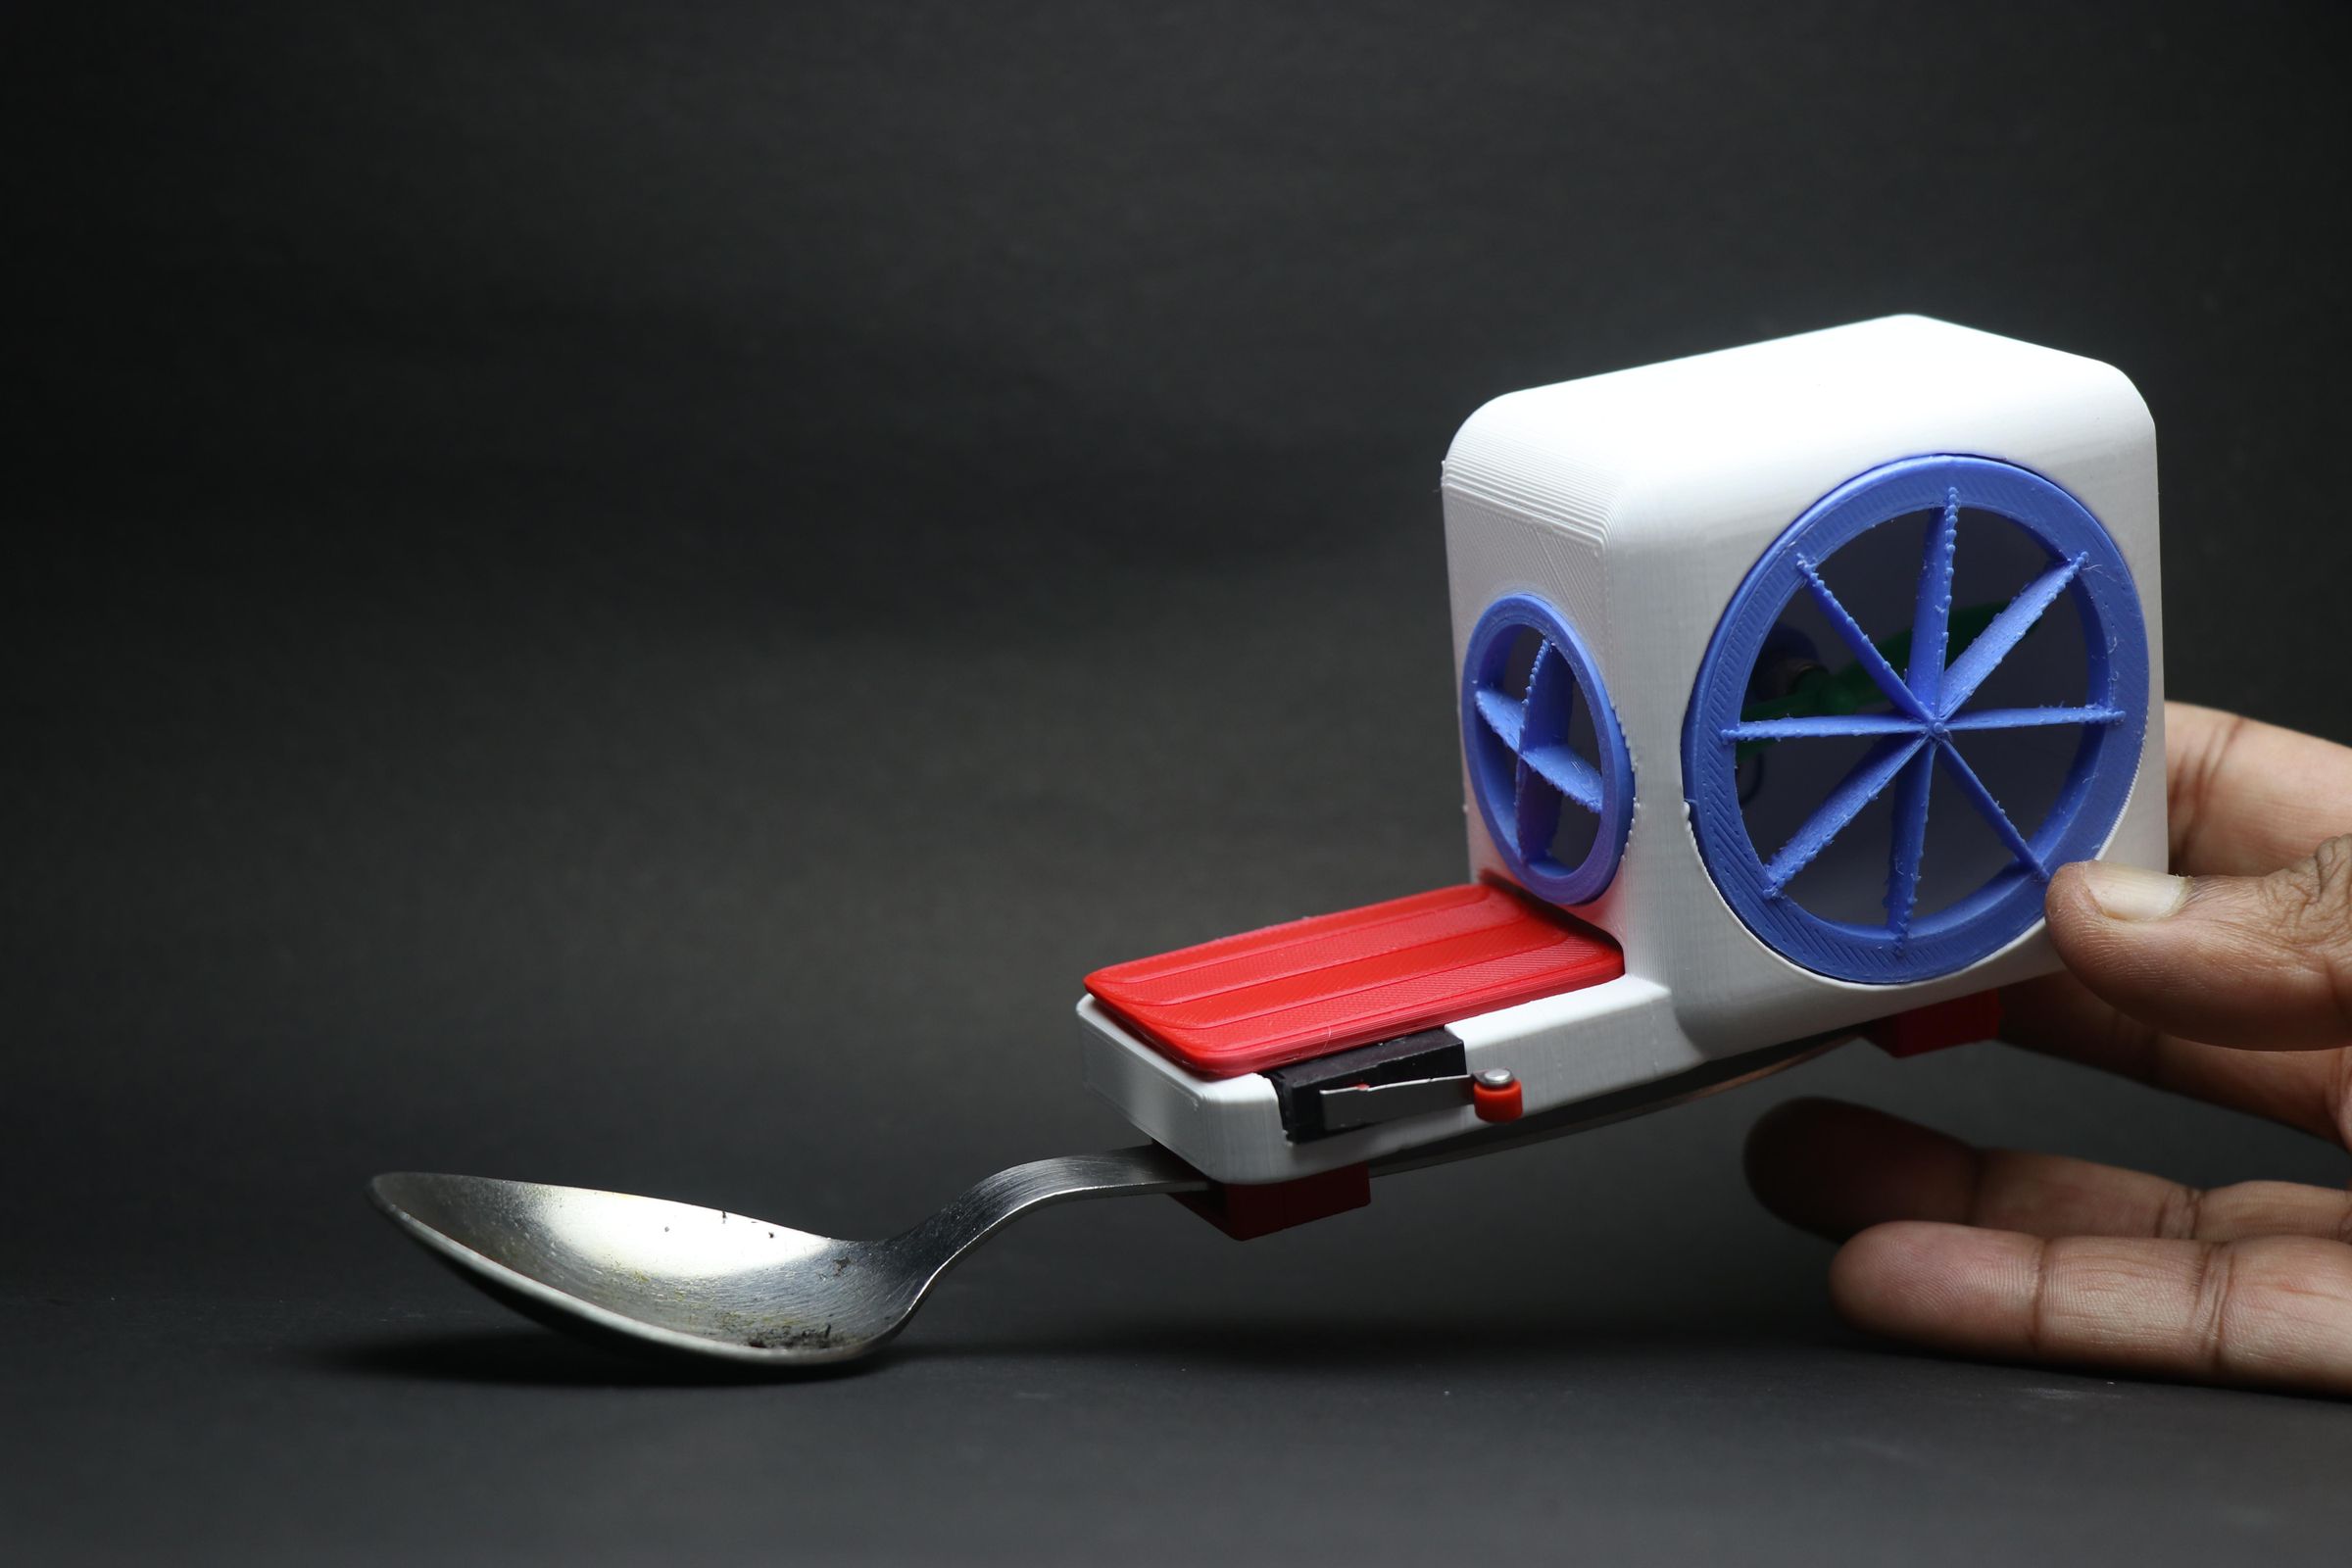
It has a coreless dc motor fan inside that pulls air and blows to your food thereby saving your time!
Click button activates the fan which is near to finger that will enable easy on and off of the fan whenever needed.
Powered by a lithium polymer battery inside that can be charged by type c charging cable.
I have given all the materials to build this project and wish to see you build or atleast the picture of soup from your bowl!!
Ps: since the steam/food vapour was barely visible i used incense sticks to give you a clear picture of the air blowing from the fan, Well this will work absolutely well with soup and noodles.
This was about the story that drove me to make this project, now let us make this.
I have given all the design files that you can edit or use the same file of mine and build this project.
Supplies
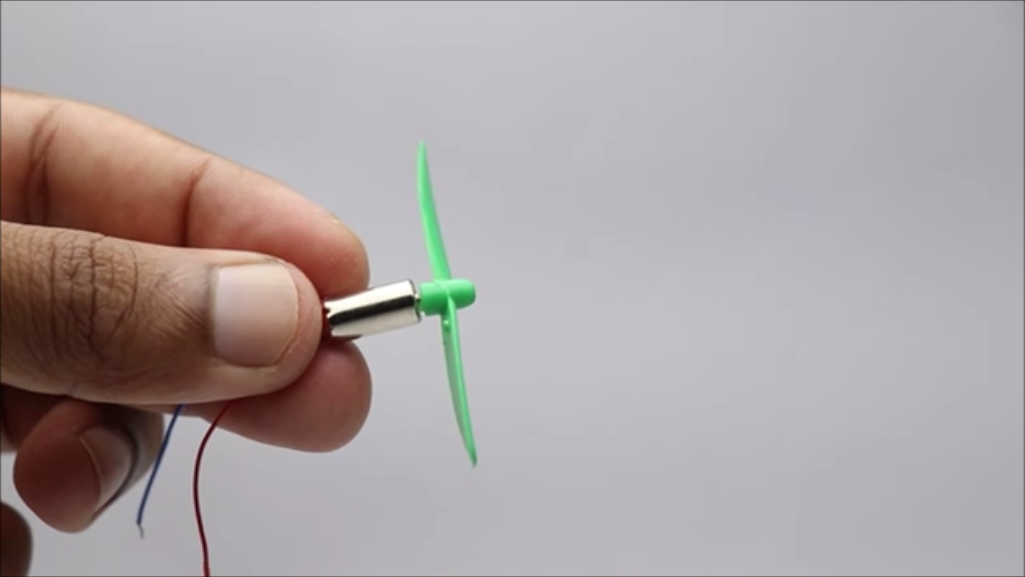
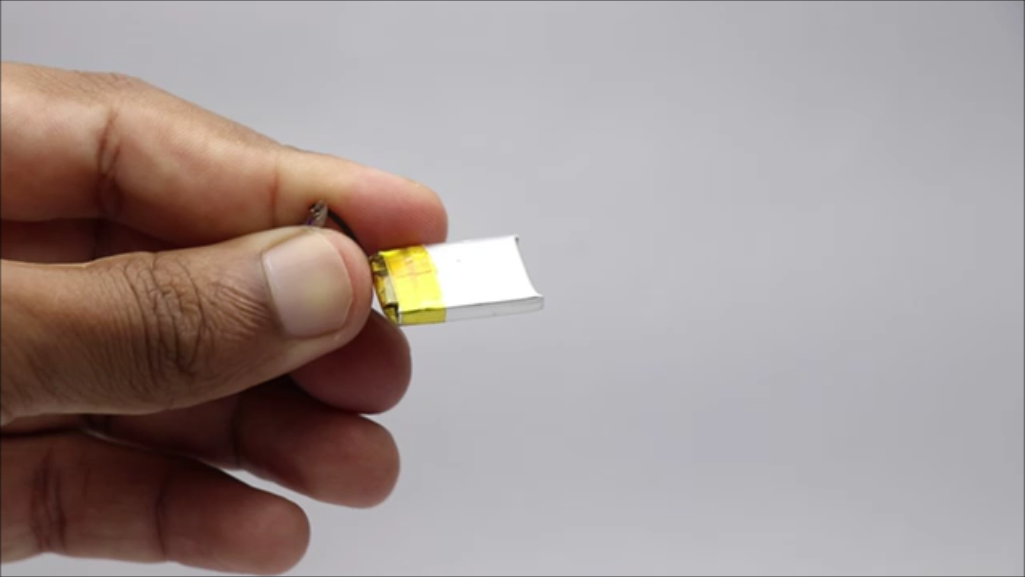
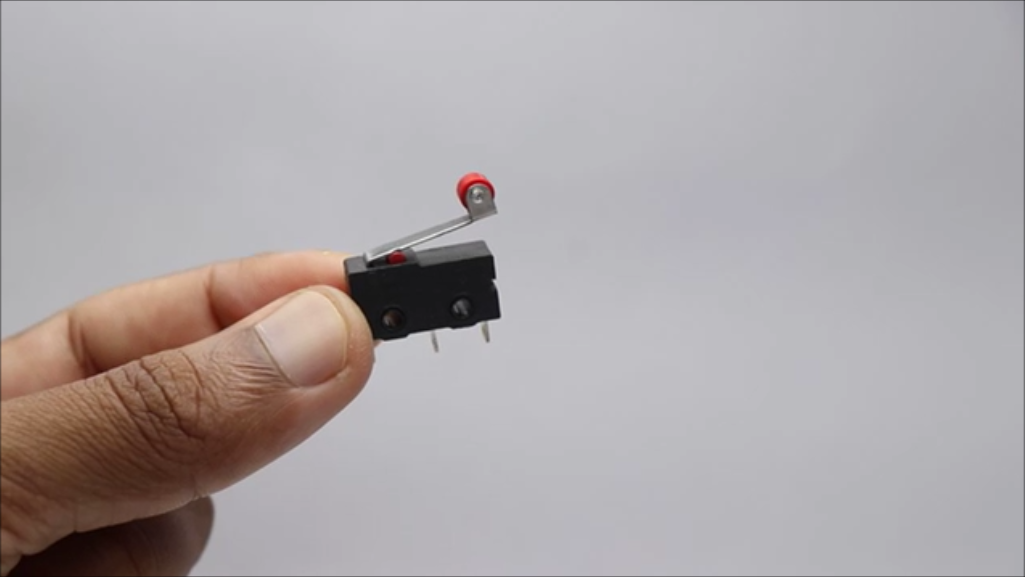
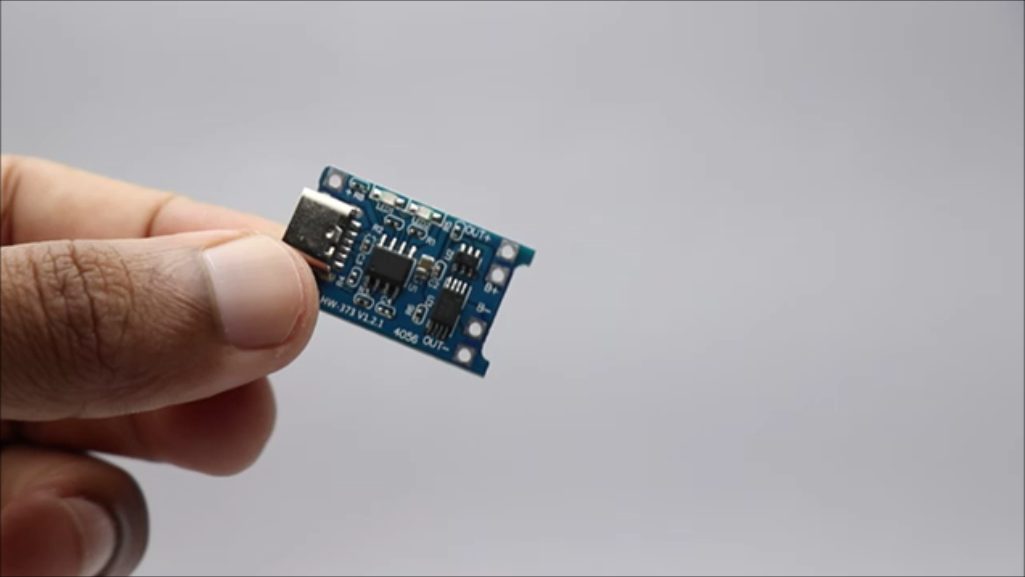
These are the materials that you will need to make this cool spoon project, Keep it handy for a faster build
Coreless DC motor from amzon
Propeller(soft plastic)
Lithium Polymer Battery
TP4056 Charging Module
Spoon
Bowl of Noodles/soup
Cura Slicer(or any other)
Superglue
Soldering iron
Few Cables
These are affiliate links and upon qualifying sales i will receive a small percent of comission at no extra cost to you
TinkerCad Design
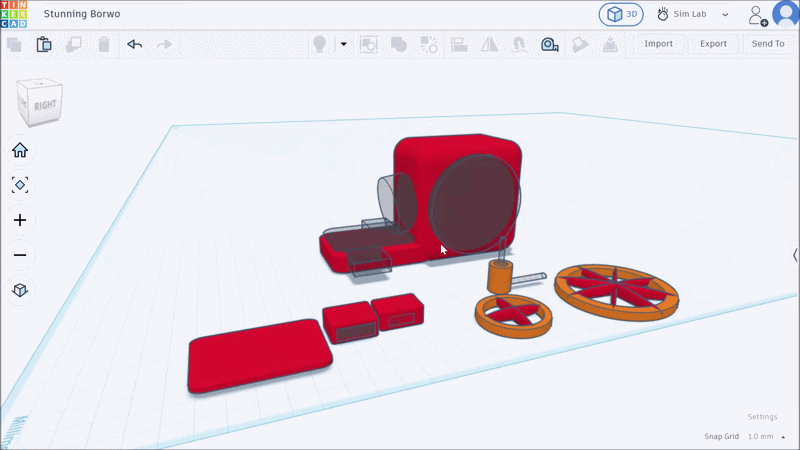
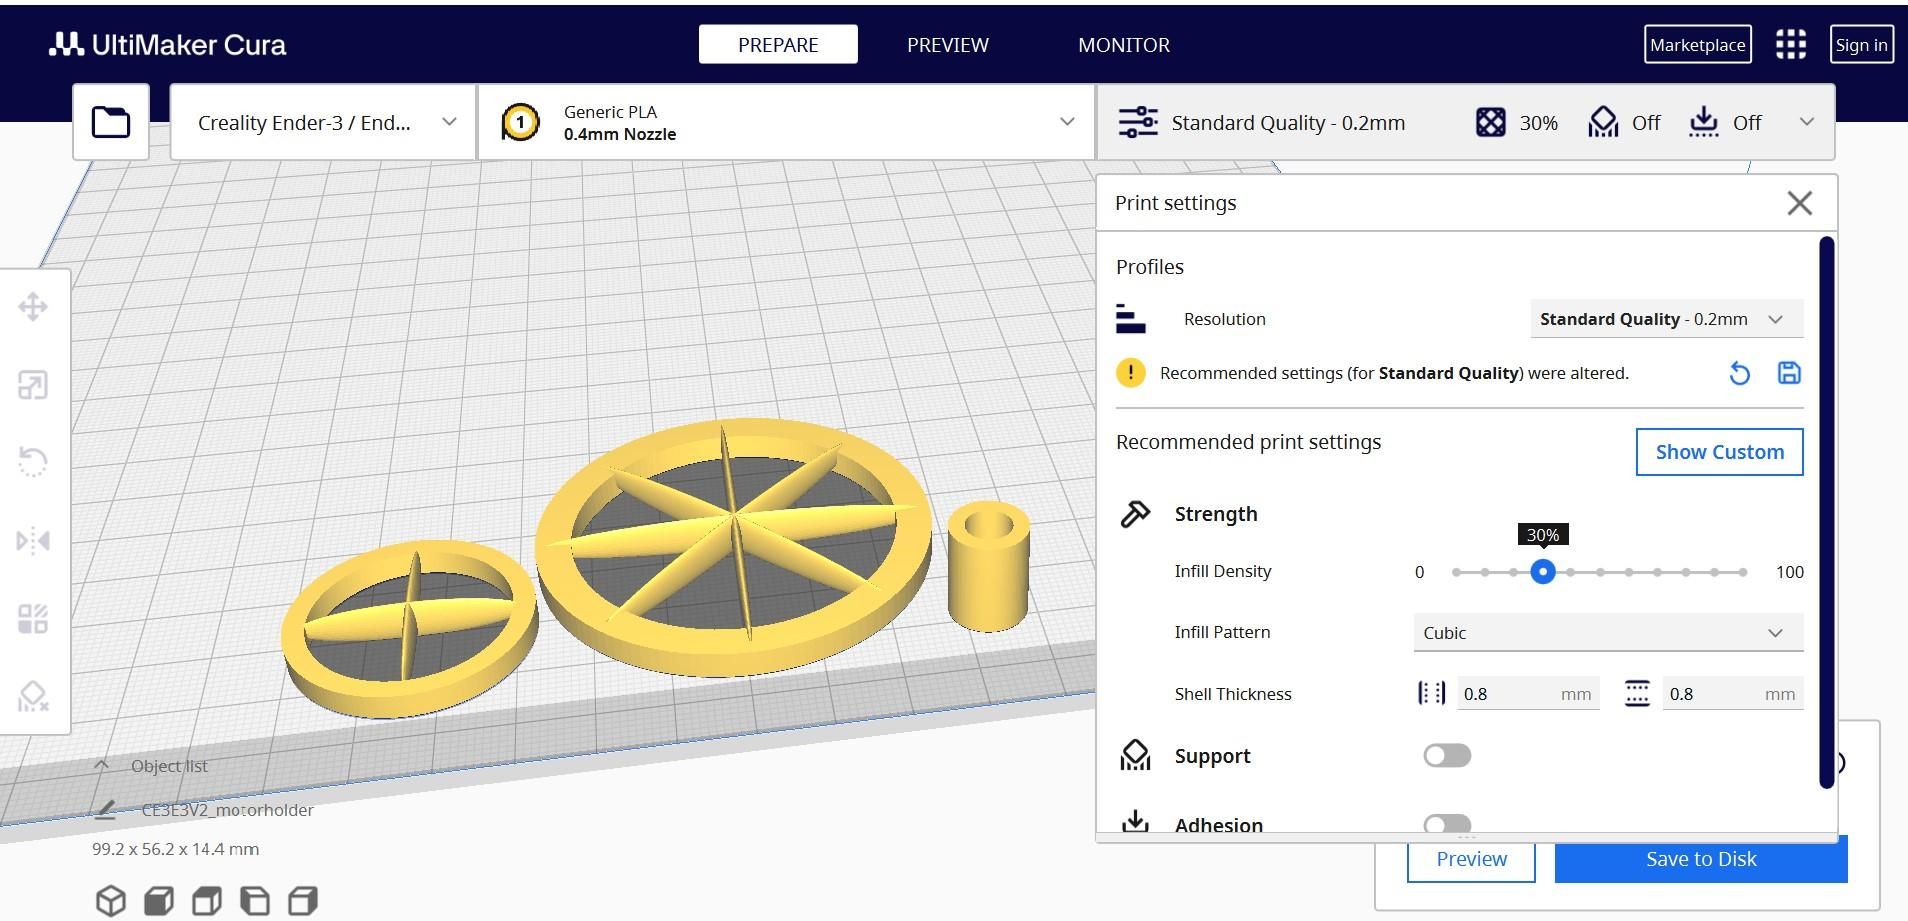
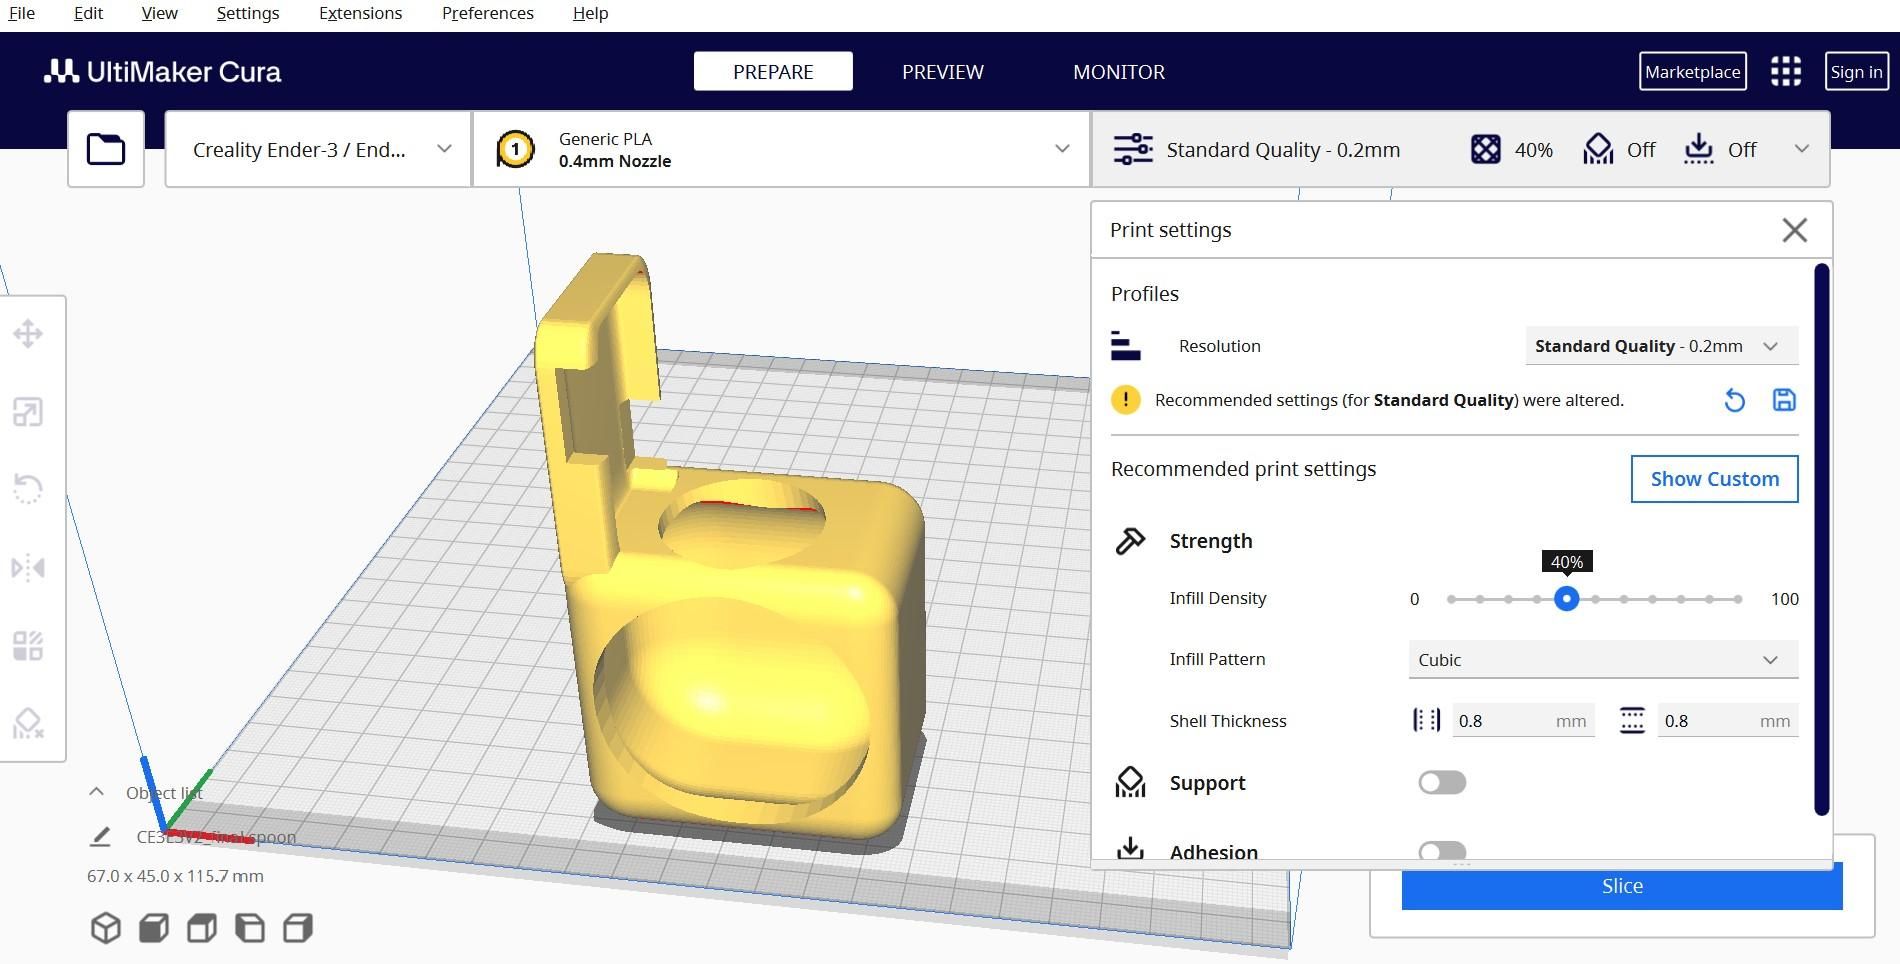
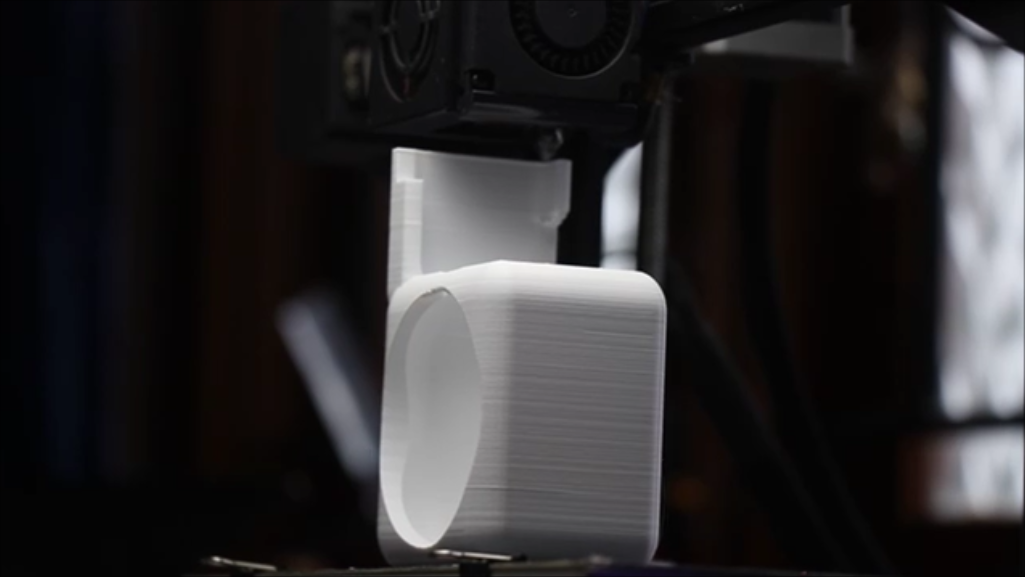
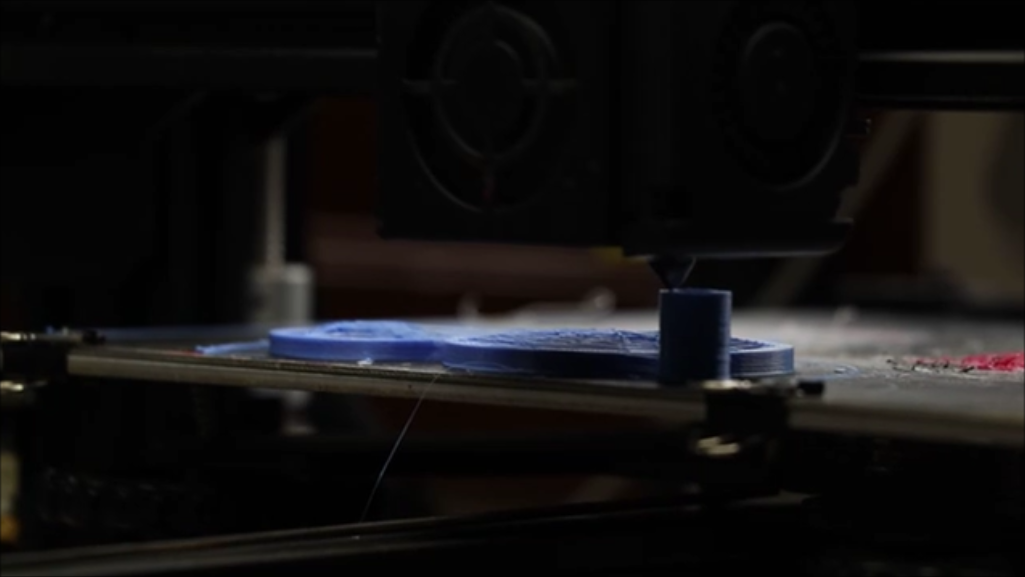
I have made several designs on paper first before making the final design, There was lot of trial and error and then I made the design using TinkerCad.
The vent grills and the orientation all were calculated with the main motto for a good air flow and not too much air that will spill the liquids carried by the spoon.
I have calculated the air flow by practical methods and going forward you can see that too.
I have given the links to my STL files that you can use on your 3d printer to get the models for this cool spoon project.
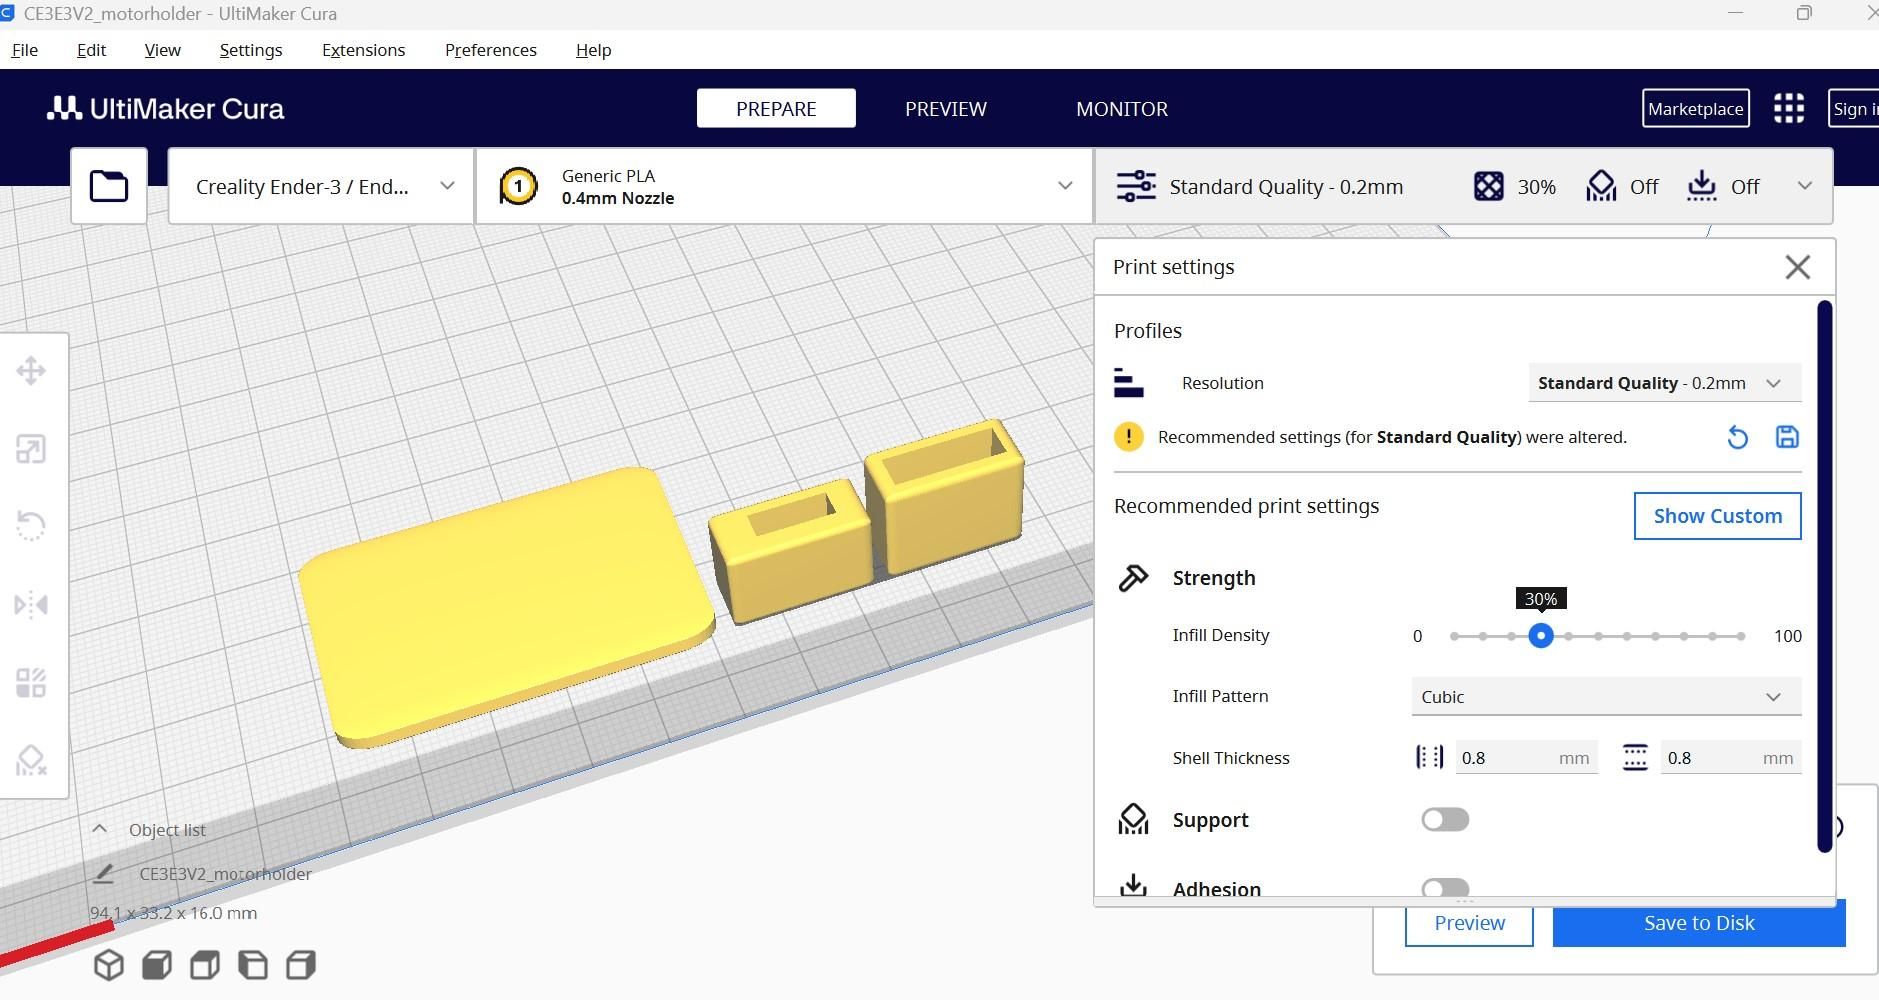
You can check the infill rate and other settings that i will be using on my cura slicer.
Make sure you are using the same placement of the parts like i did here.
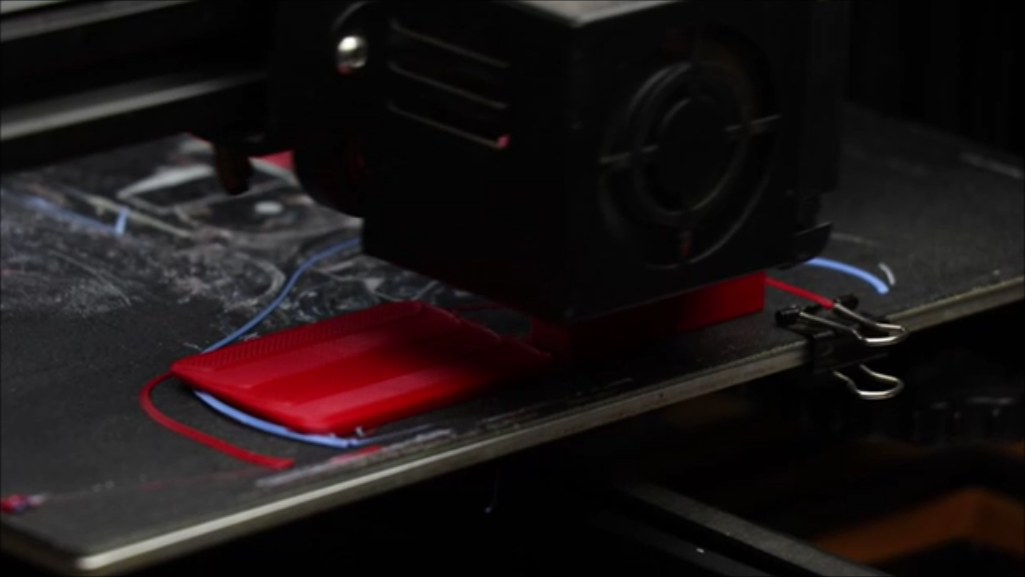
Refer the visuals above from this step to ensure error free prints without any issues
I will use PLA filament to print the part and you can use the same, The choice of color while 3d printing is left to your choice.
There is no need to post process since we are not using any rafts or supports at the time of slicing.
3D Printed Parts
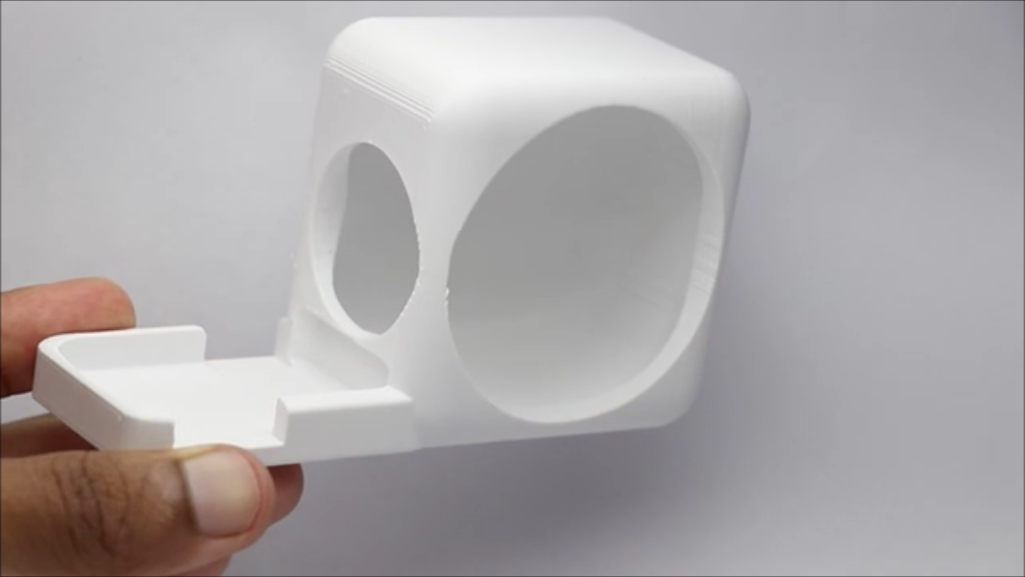
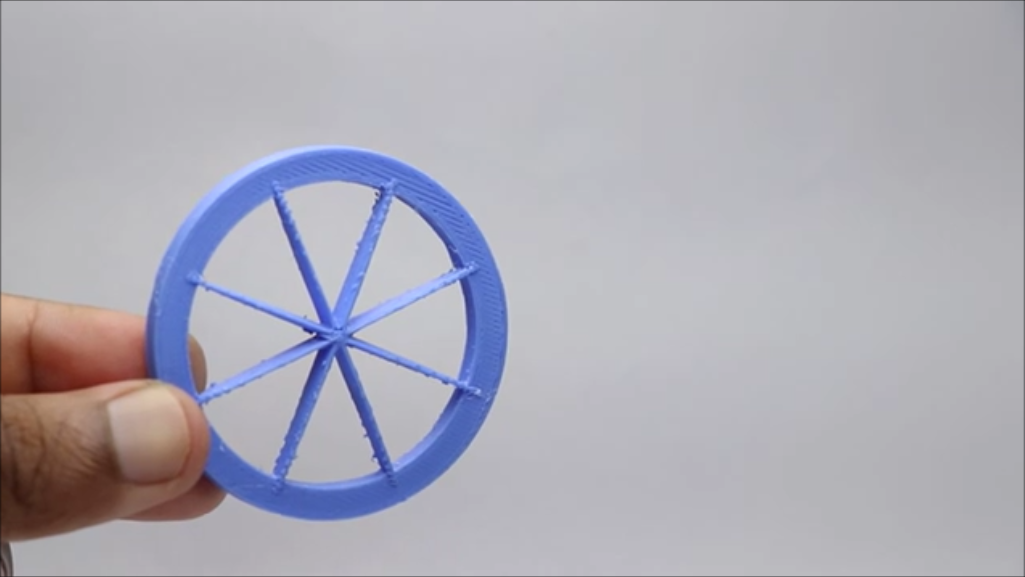
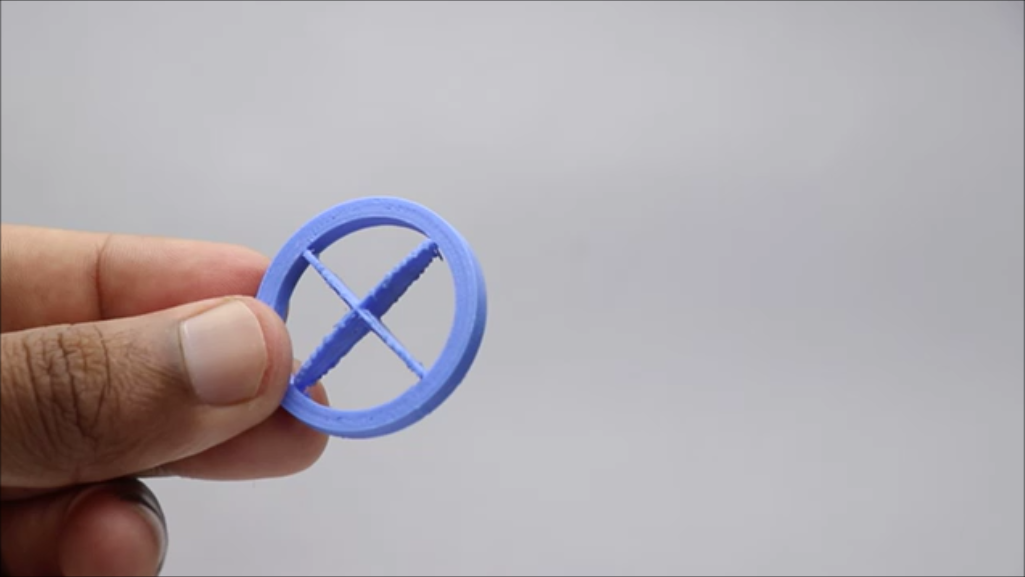
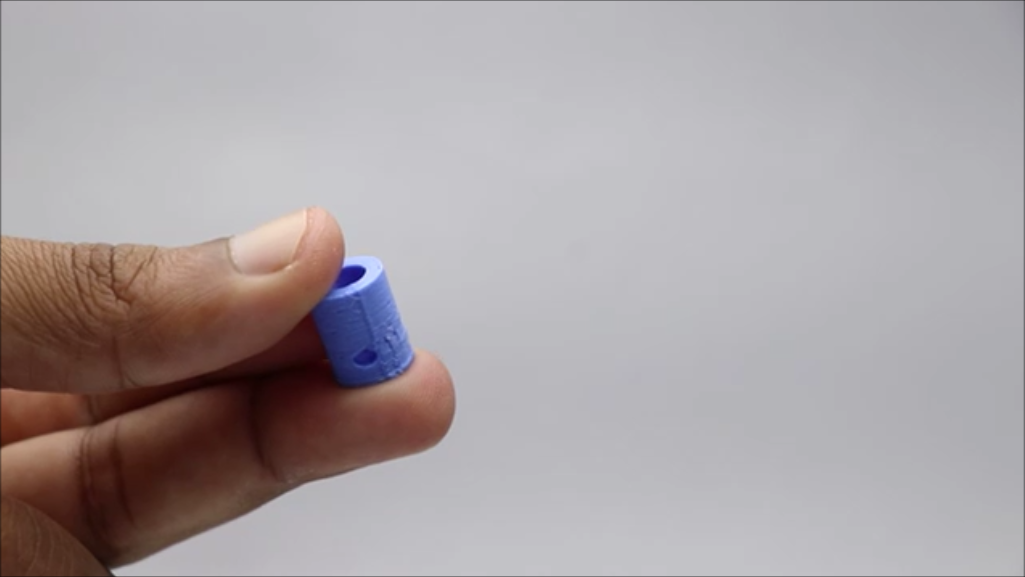
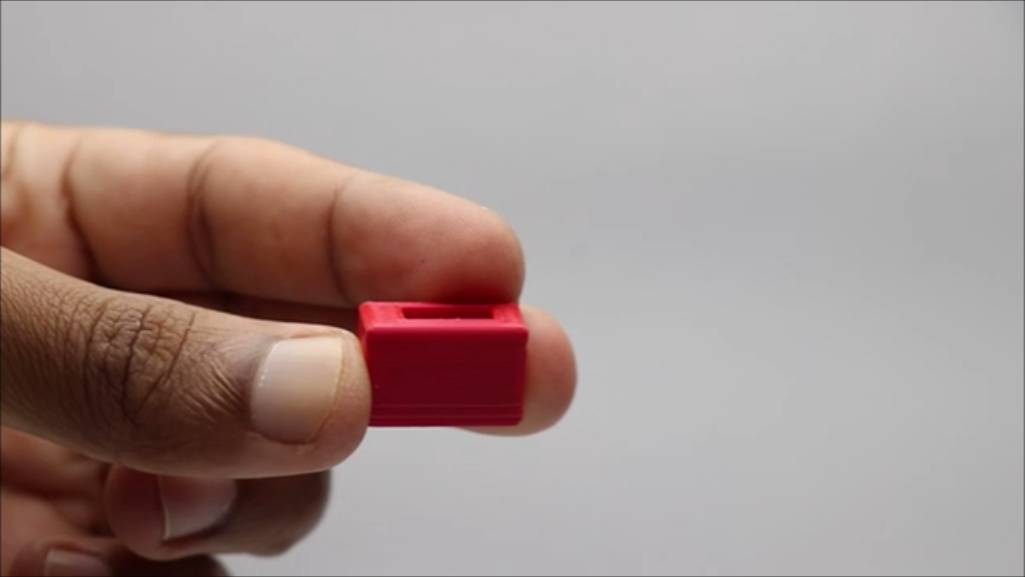
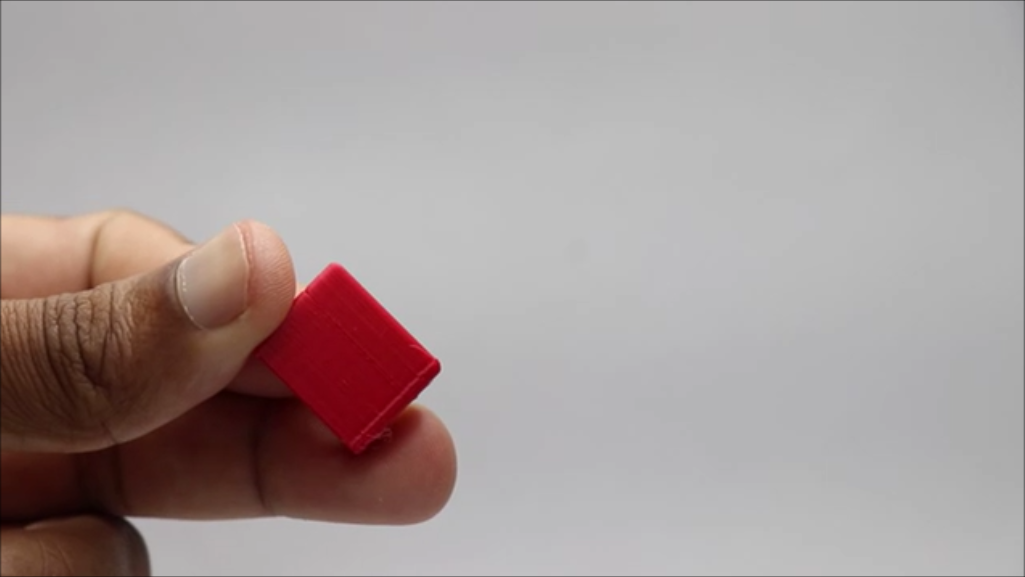
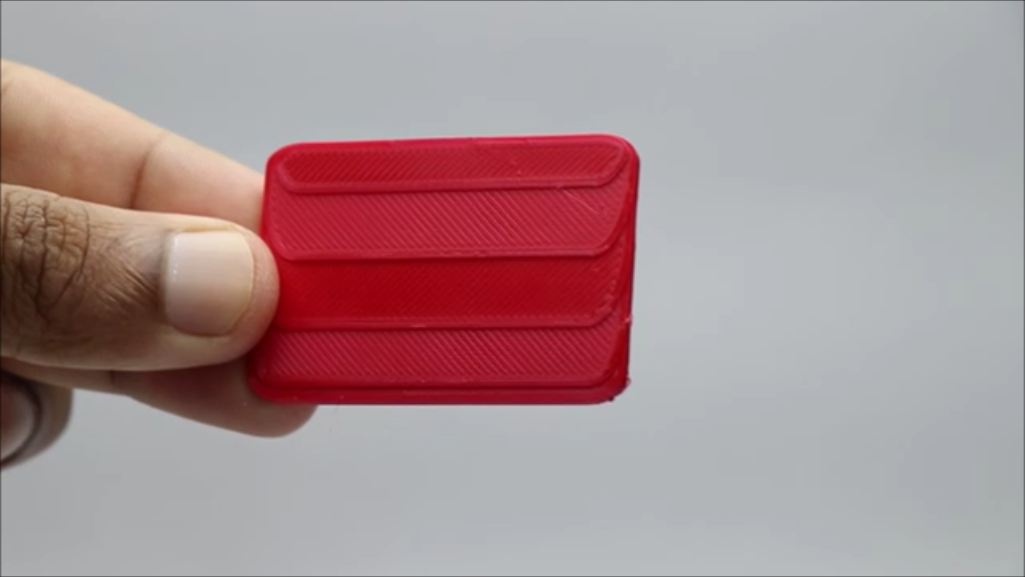
There are total 6 parts that you will be printing in this project
Main frame – this holds all the electronics and the air flow mechanism
Front vent, allows the air flow from outside and prevents entry of insects if any!
Side vent – air flow to the food
Coreless motor holder- this comes with a tiny hole at the bottom for aligning with the main frame
Spoon holder- This is attached to outside (base of the main frame that holds the spoon)
Upper lid or the electronics casing lid that keeps all the electronics hidden
I have shown all the parts that i have 3d printed for this project, You can keep all this handy so that at the time of assembly you wont miss any of these.
While pulling the vents parts from the print bed make sure to be careful since the vents fins are fragile and if you apply force it may break.
Coreless Motor Setup
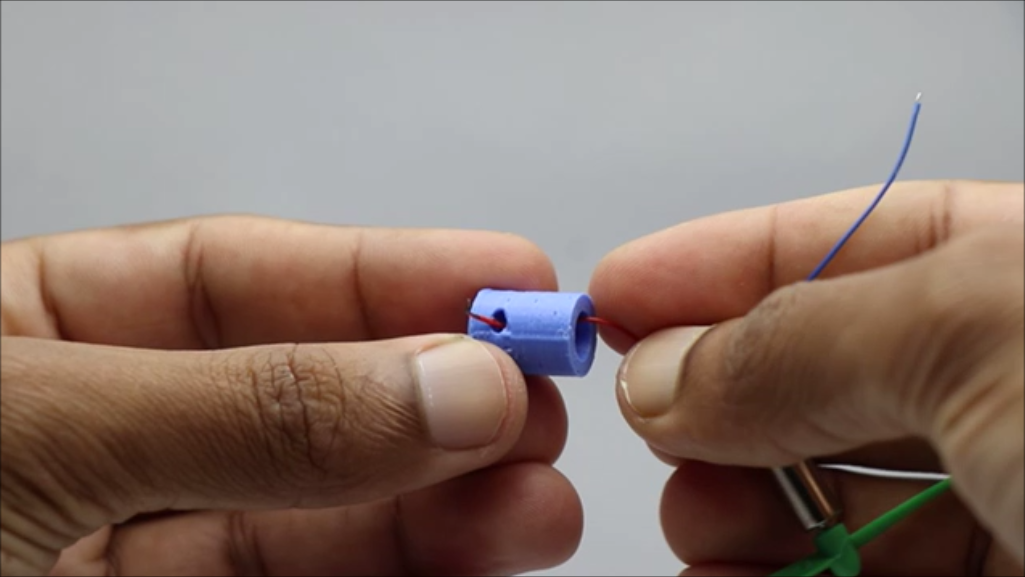
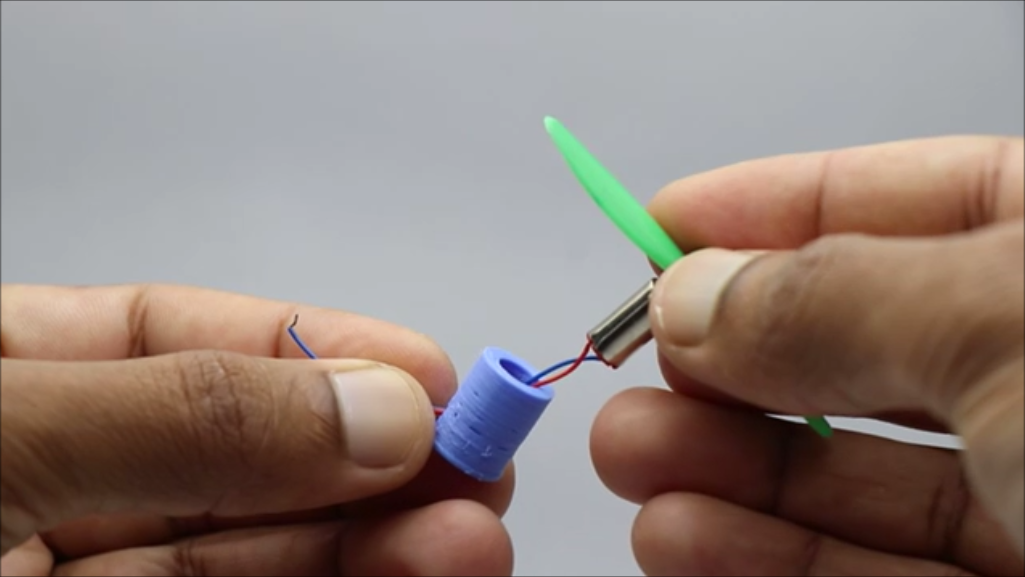
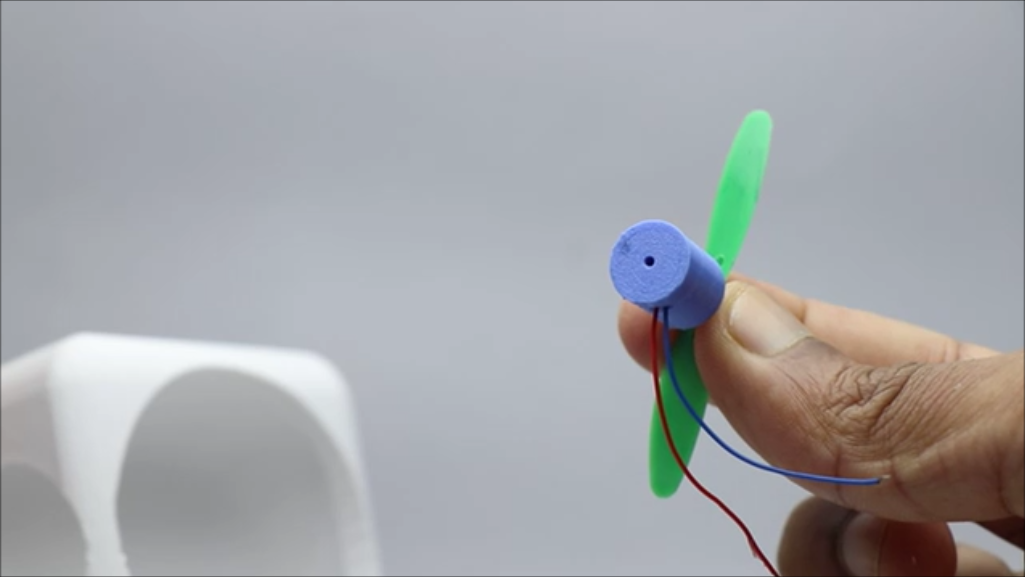
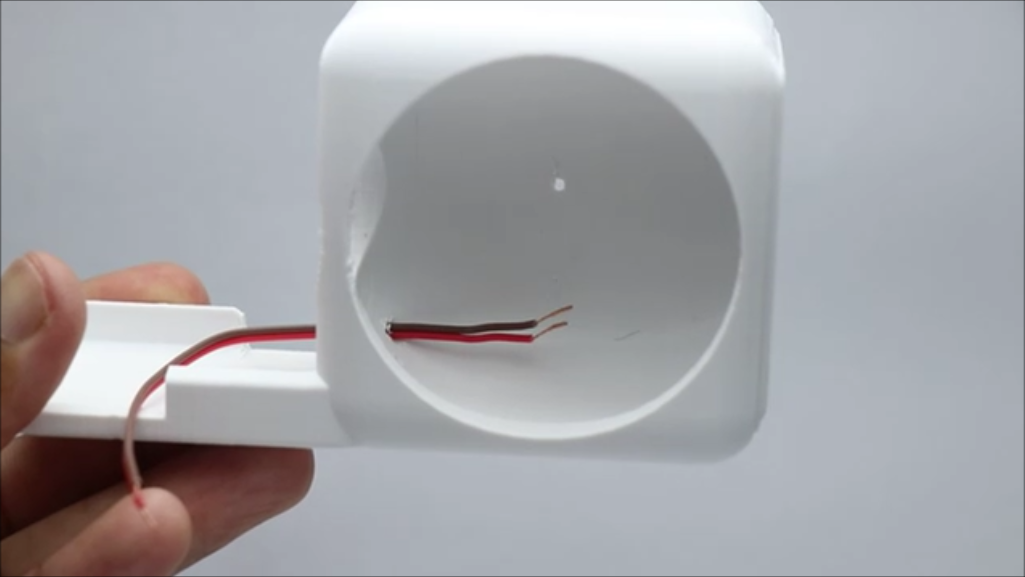
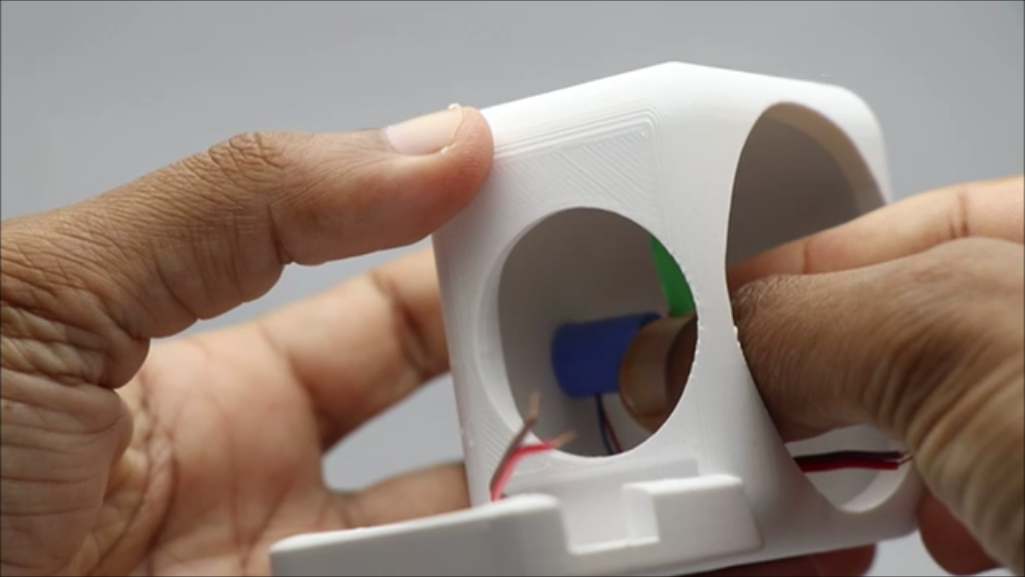
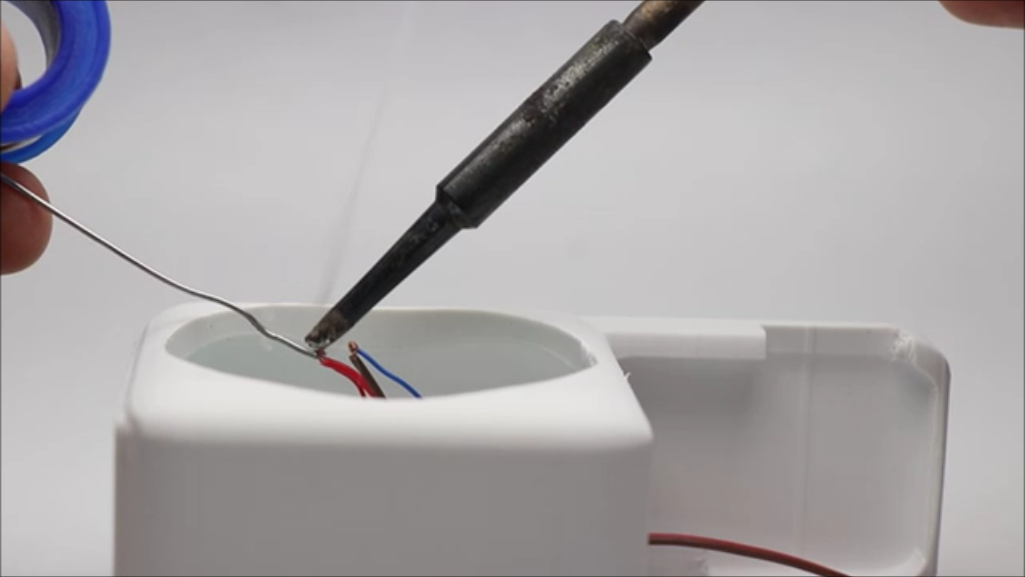
This is the most important part of this project and so considering many factors the 3d printed part was made for the coreless motor.
Use the coreless motor holder holes given at the base to arrange the wires from the motor.
The base hole on the holder and the tiny hole on the frame was provided intentionally so that the alignment will be easier.
Use superglue on these holder and then add glue and connect these holder to the base part(center inside) using glue again.
Since the length of the wire is too short on coreless motor i will be using extra length of cables that will be connected and soldered for firm join.
Follow these simple steps to setup the coreless motor.
Now after the motor is setup, check for its working so that the propeller is rotating freely, If yes you are good to go and add the grills.
Adding the Vents
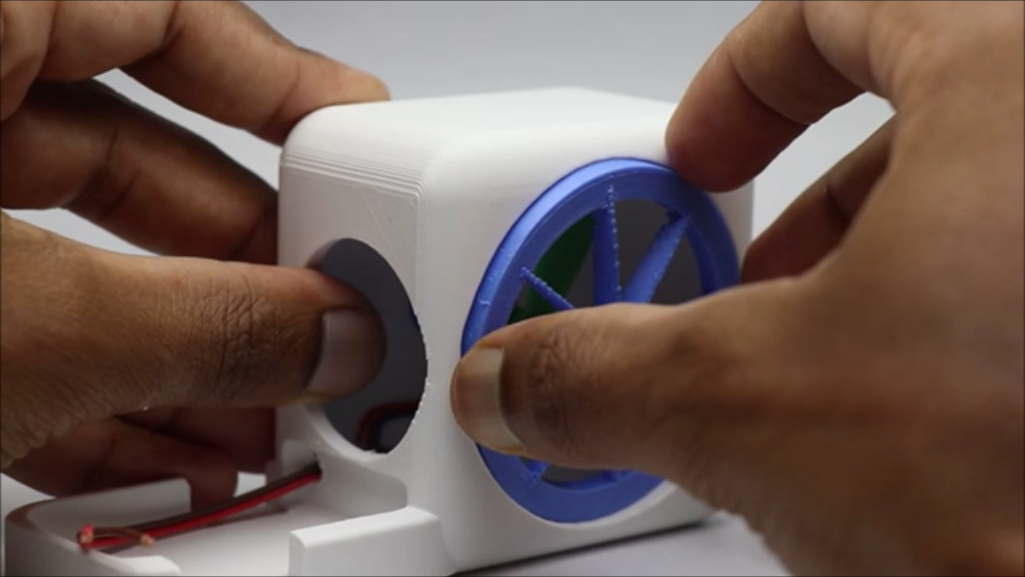
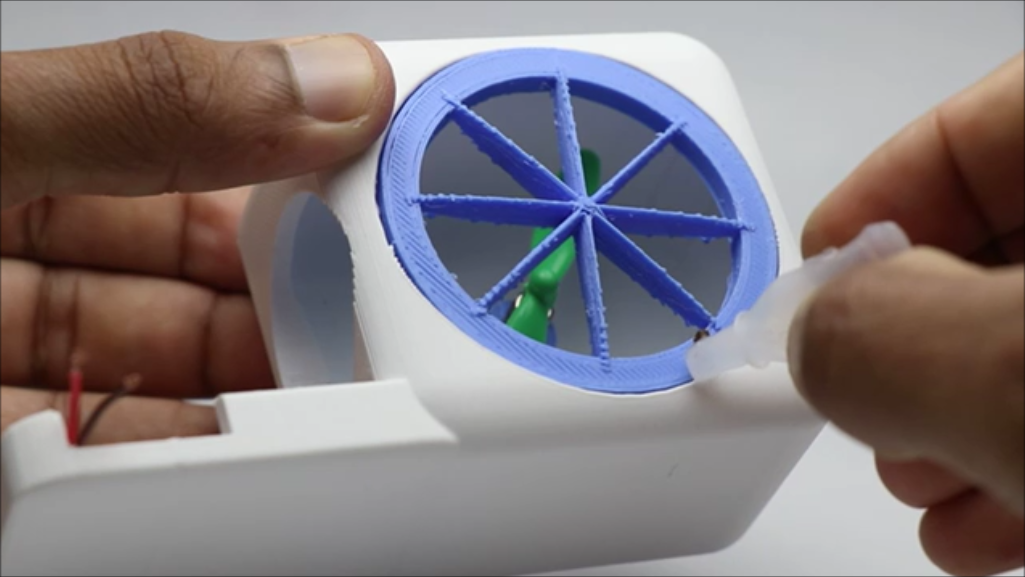
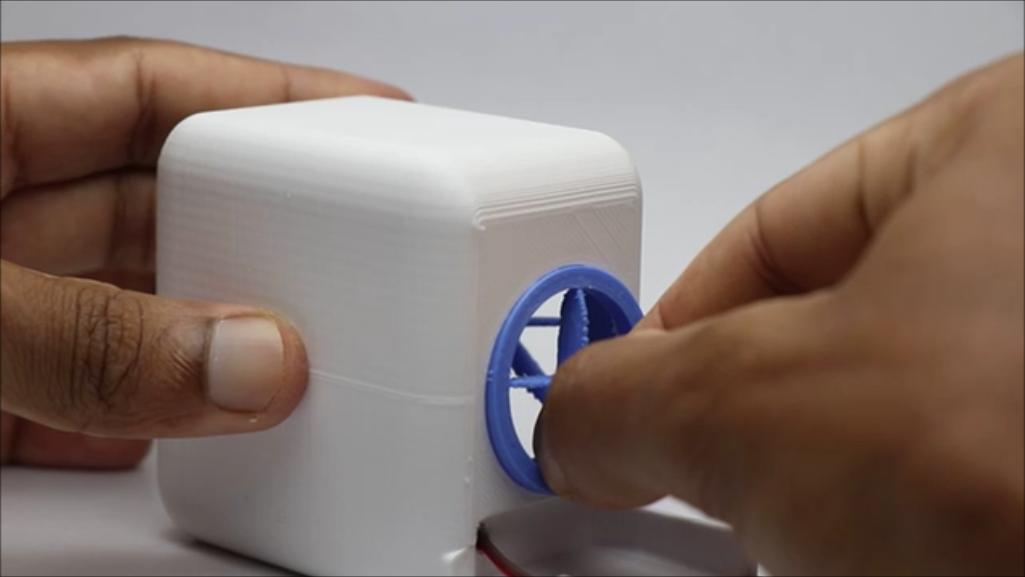
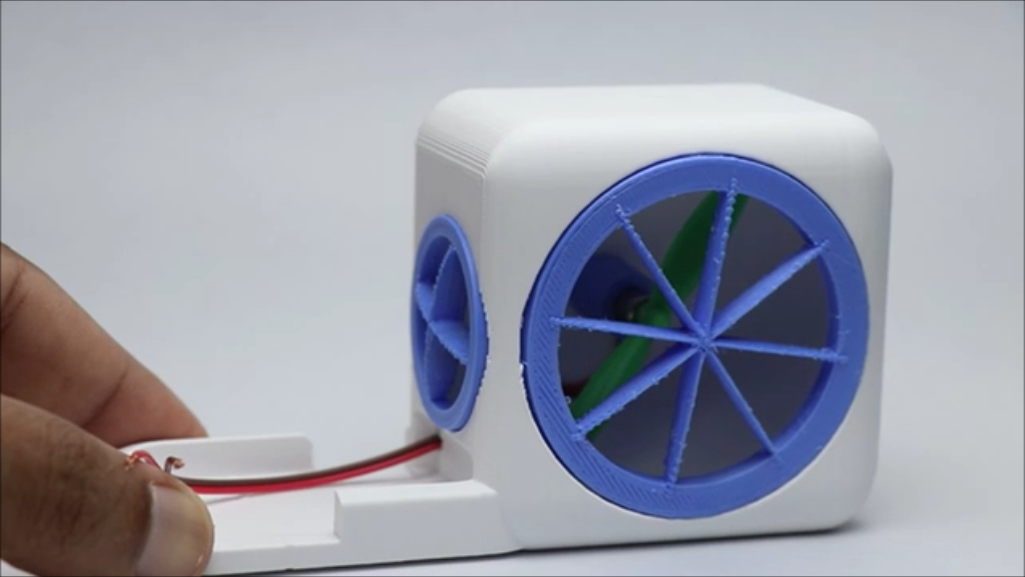
I will start by adding the electronics on the space provided in the main frame, don’t forget to use superglue when you are adding the coreless motor holder.
Now after adding all these just test the circuit and then close the top lid for casing the electronics.
After this you can add the front vent grill(bigger one) just use super glue and it will snap to the ring easily.
Later repeat the same for the side vent also, here also you can simply use super glue and hold it firmly until it attaches to the frame.
Now we are almost done, only the last thing pending is the spoon holder.
I will be using stainless steel spoon and it comes in standard sizes! If not don’t worry the holders are adjustable.
I added the 3d printed holders for spoon in the last, you can see that too.
The design of spoon aligns with the frame and hence we are using 2 holders that ensures firm grip and maximizes the compatibility.
Some Electronics
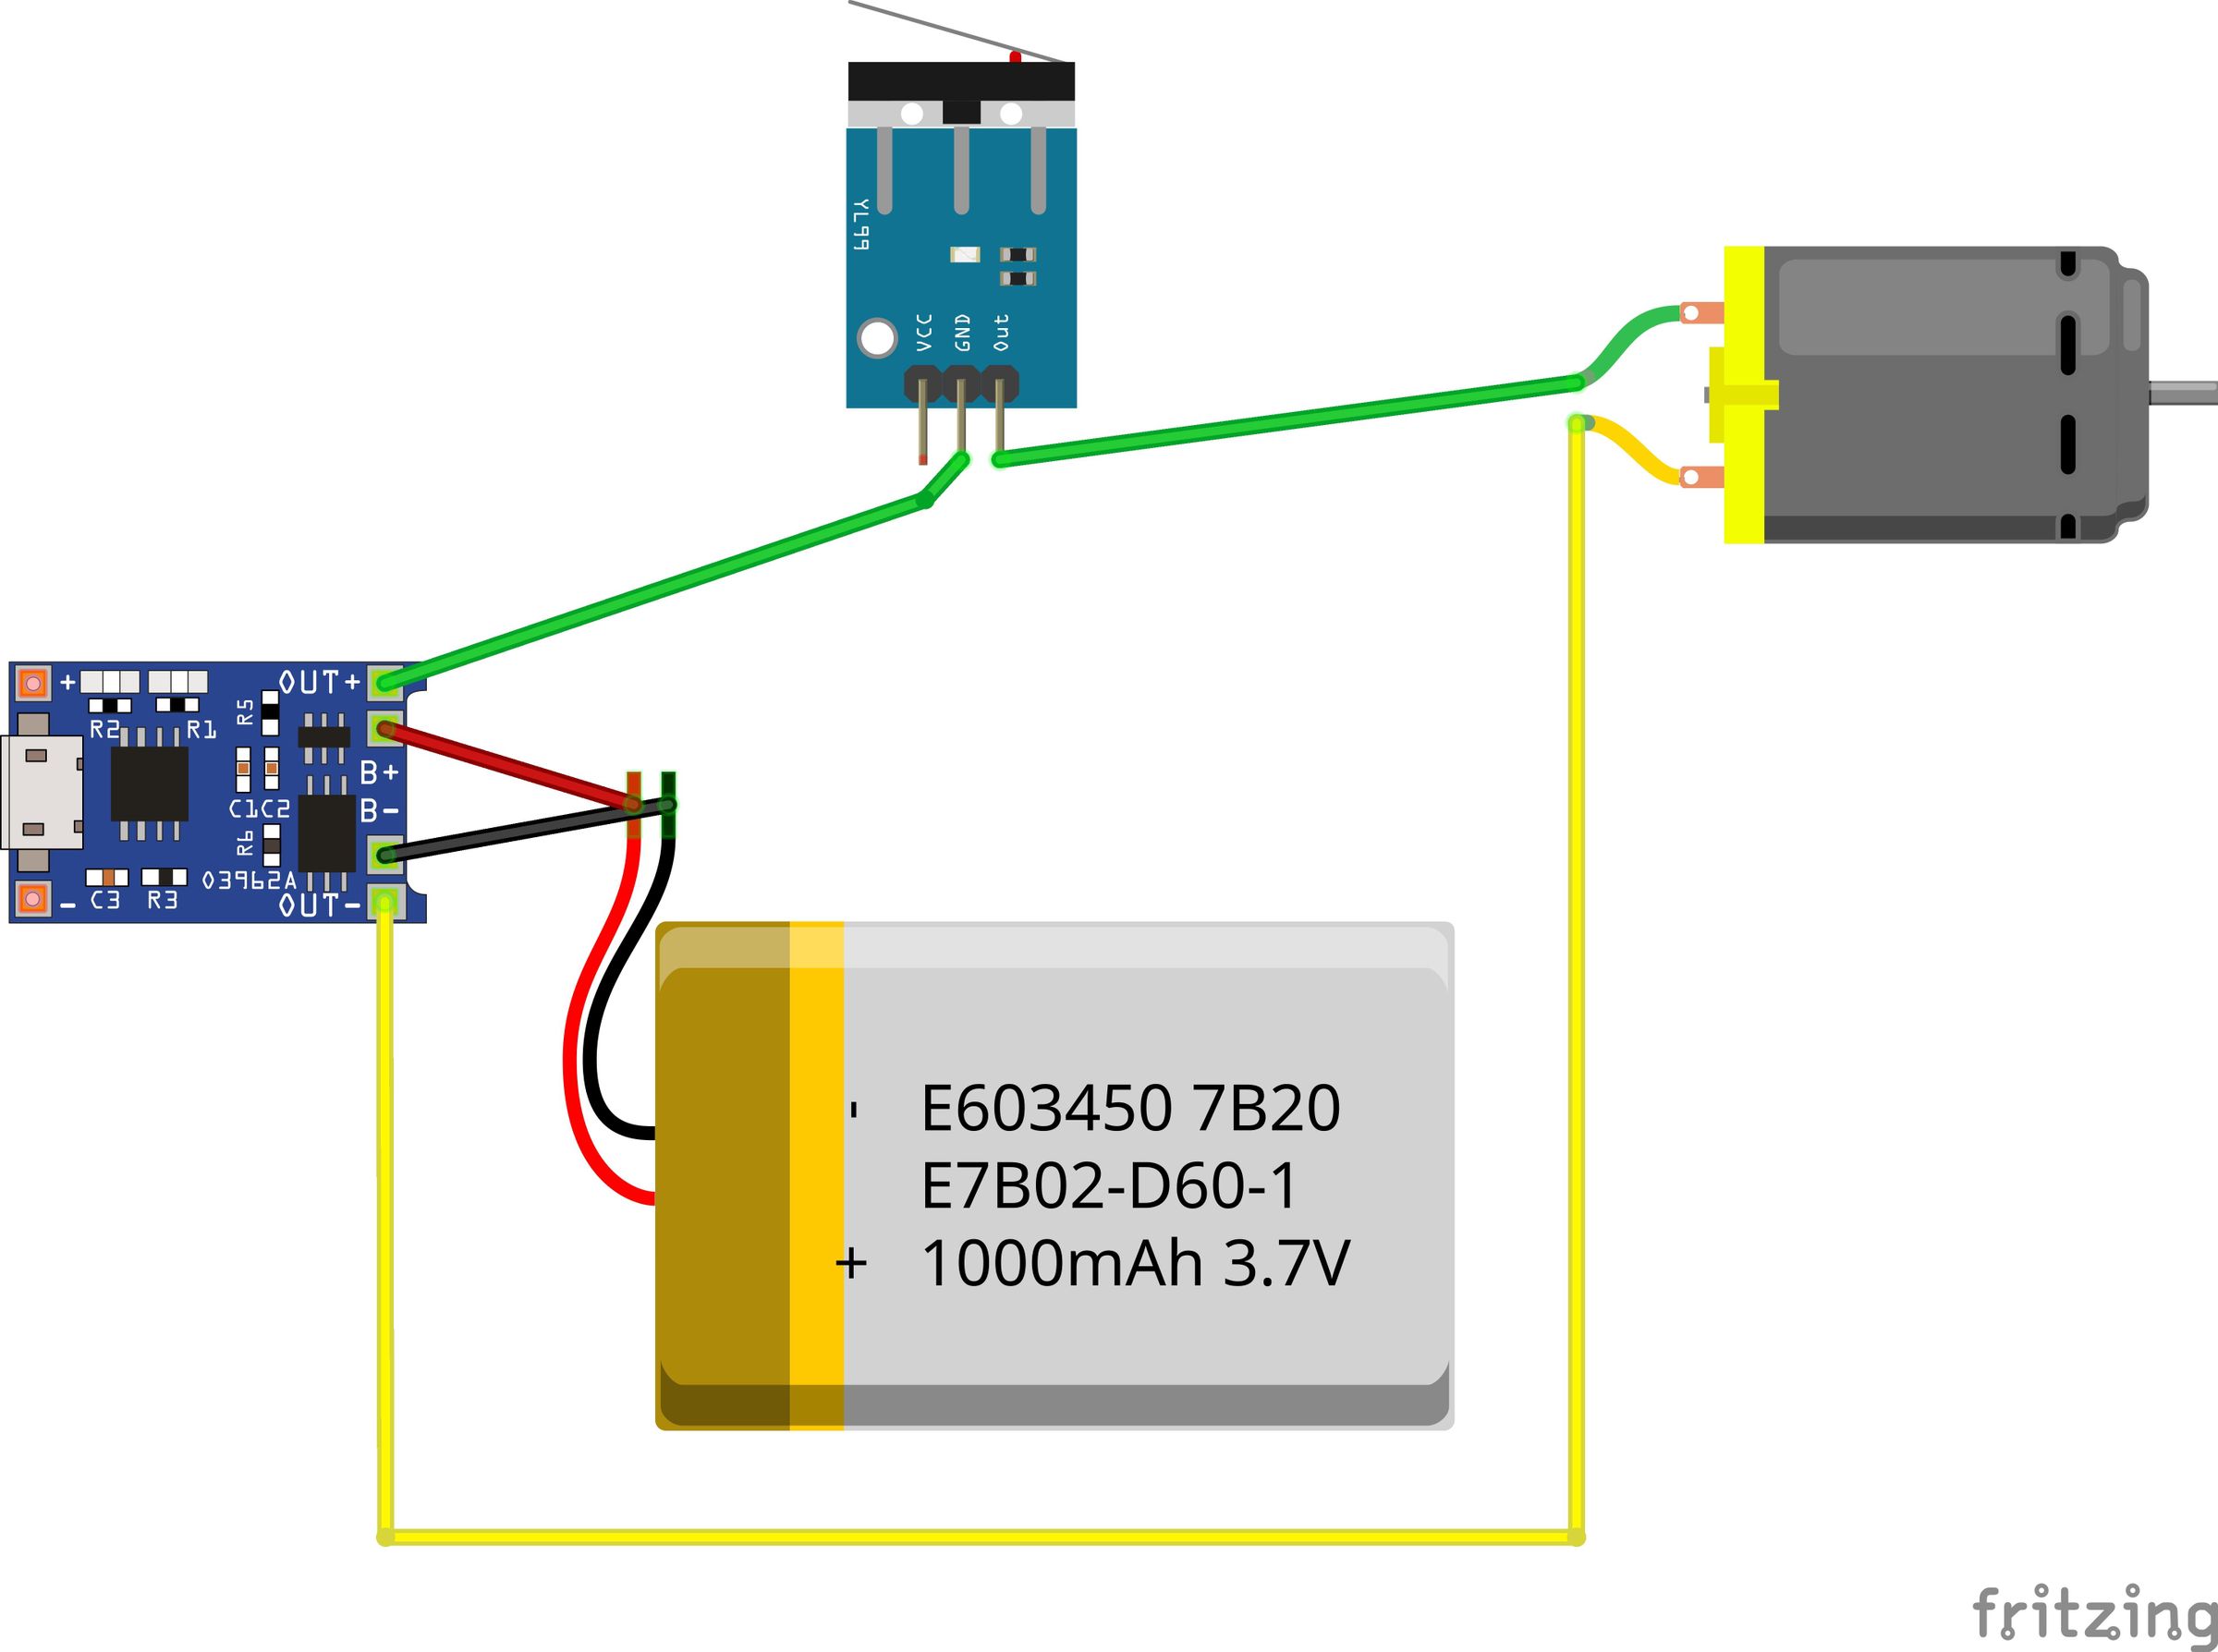
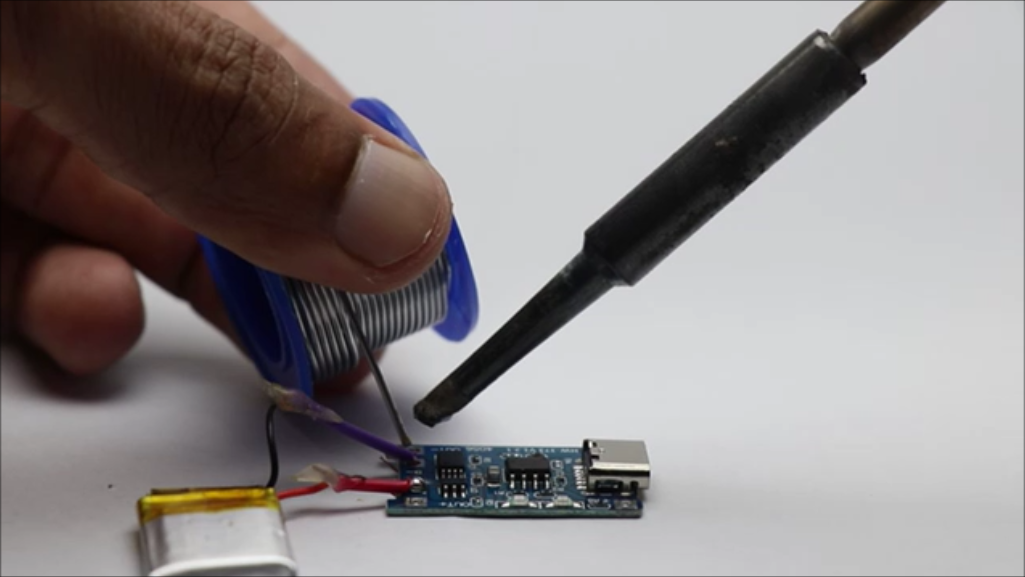
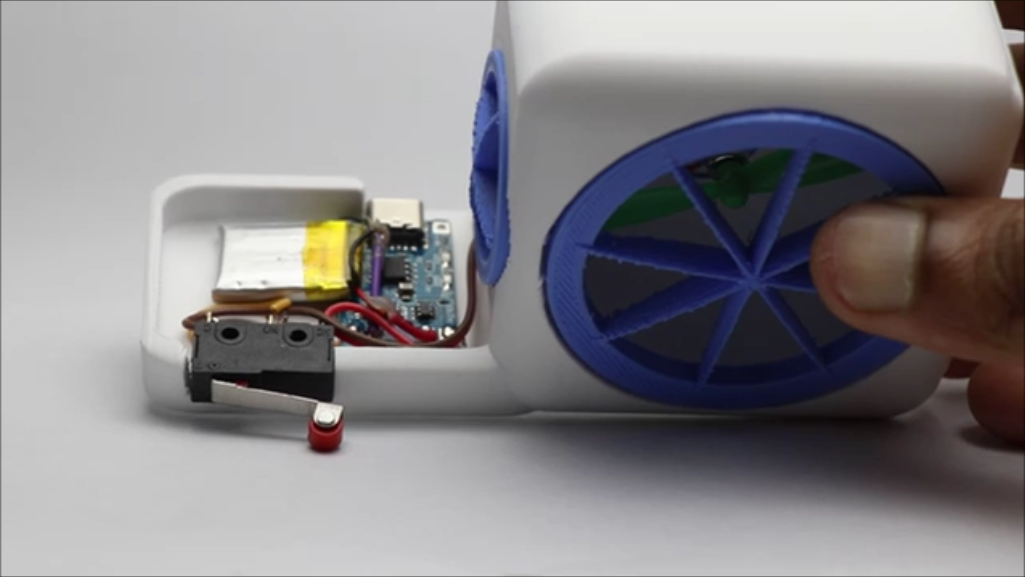
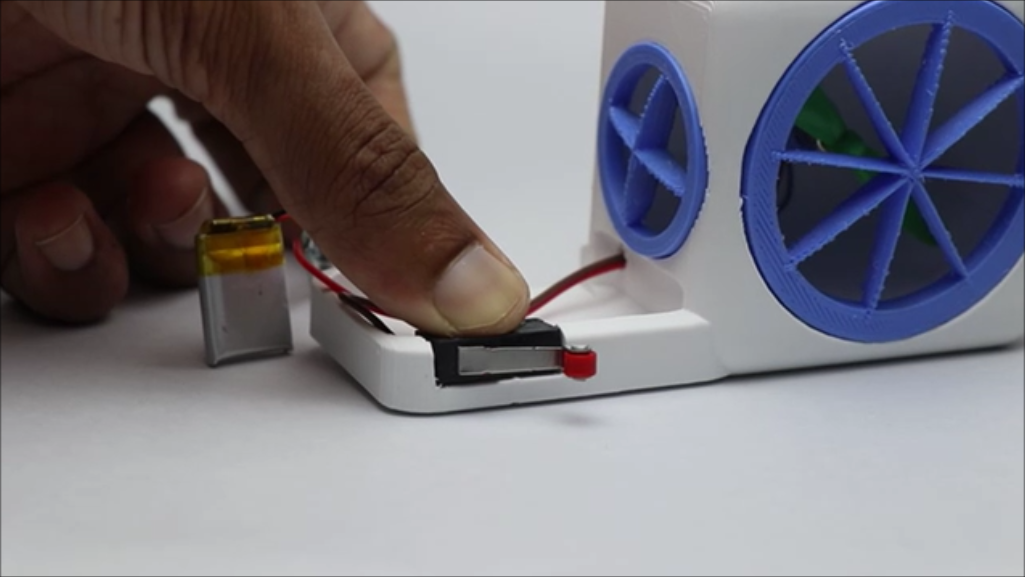
The circuit for this project is very simple and if you are a beginner I will explain the steps of building circuit.
There are 4 parts in total, I will start by soldering the lithium polymer battery to the charging board
TP4056 has 4 pins, 2 for the battery input and the other 2 for the output, here we are soldering the battery first.
Now we have left over 2 output points and to the positive output I will connect positive terminal of the coreless dc motor and the negative terminal to the limit switch center pin.
Now the first pin from limit switch is connected to the negative of the output pin on tp4056 charging board.
This completes the connection.
Press the limit switch and you should be able to see the coreless motor working.
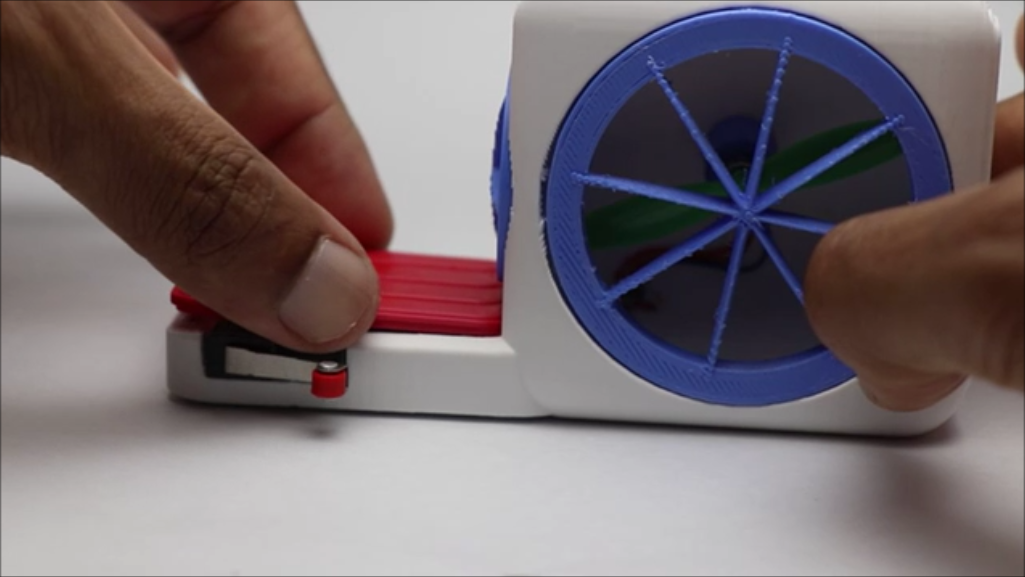
After you have verified the circuit we you can close the lid cap for casing these electronics, Use drop of superglue between the edges and press hold for few seconds.
Finishing
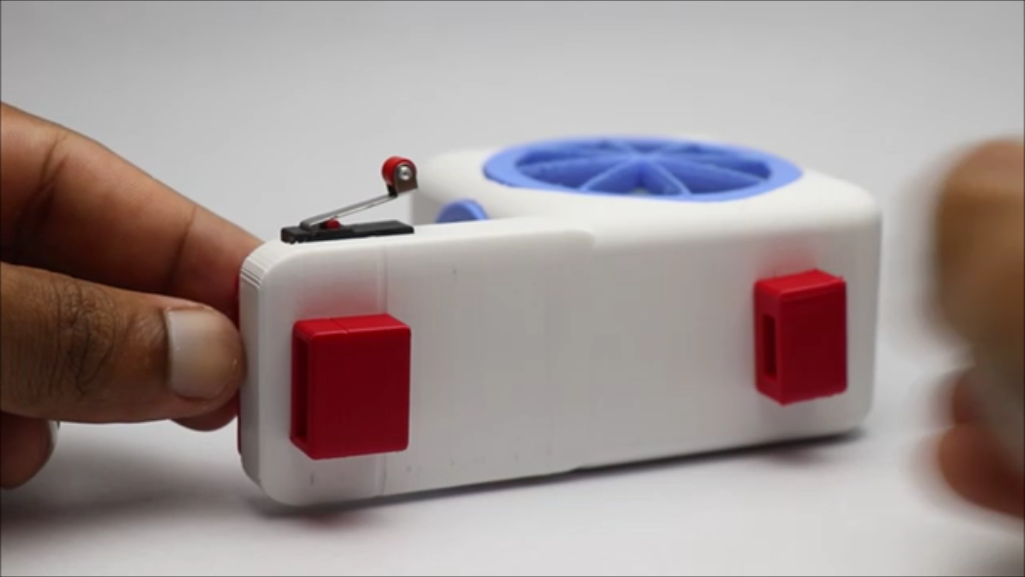
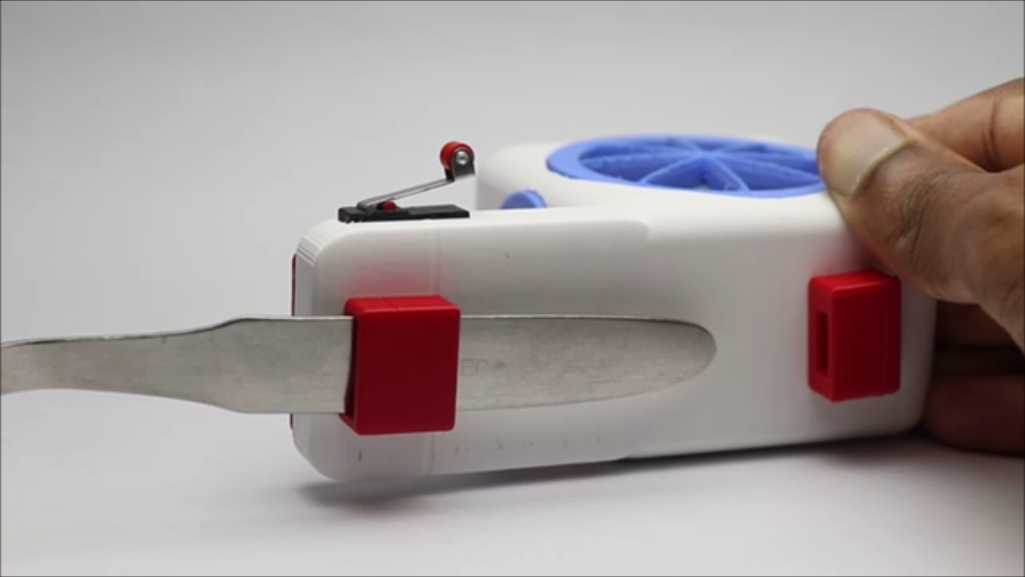
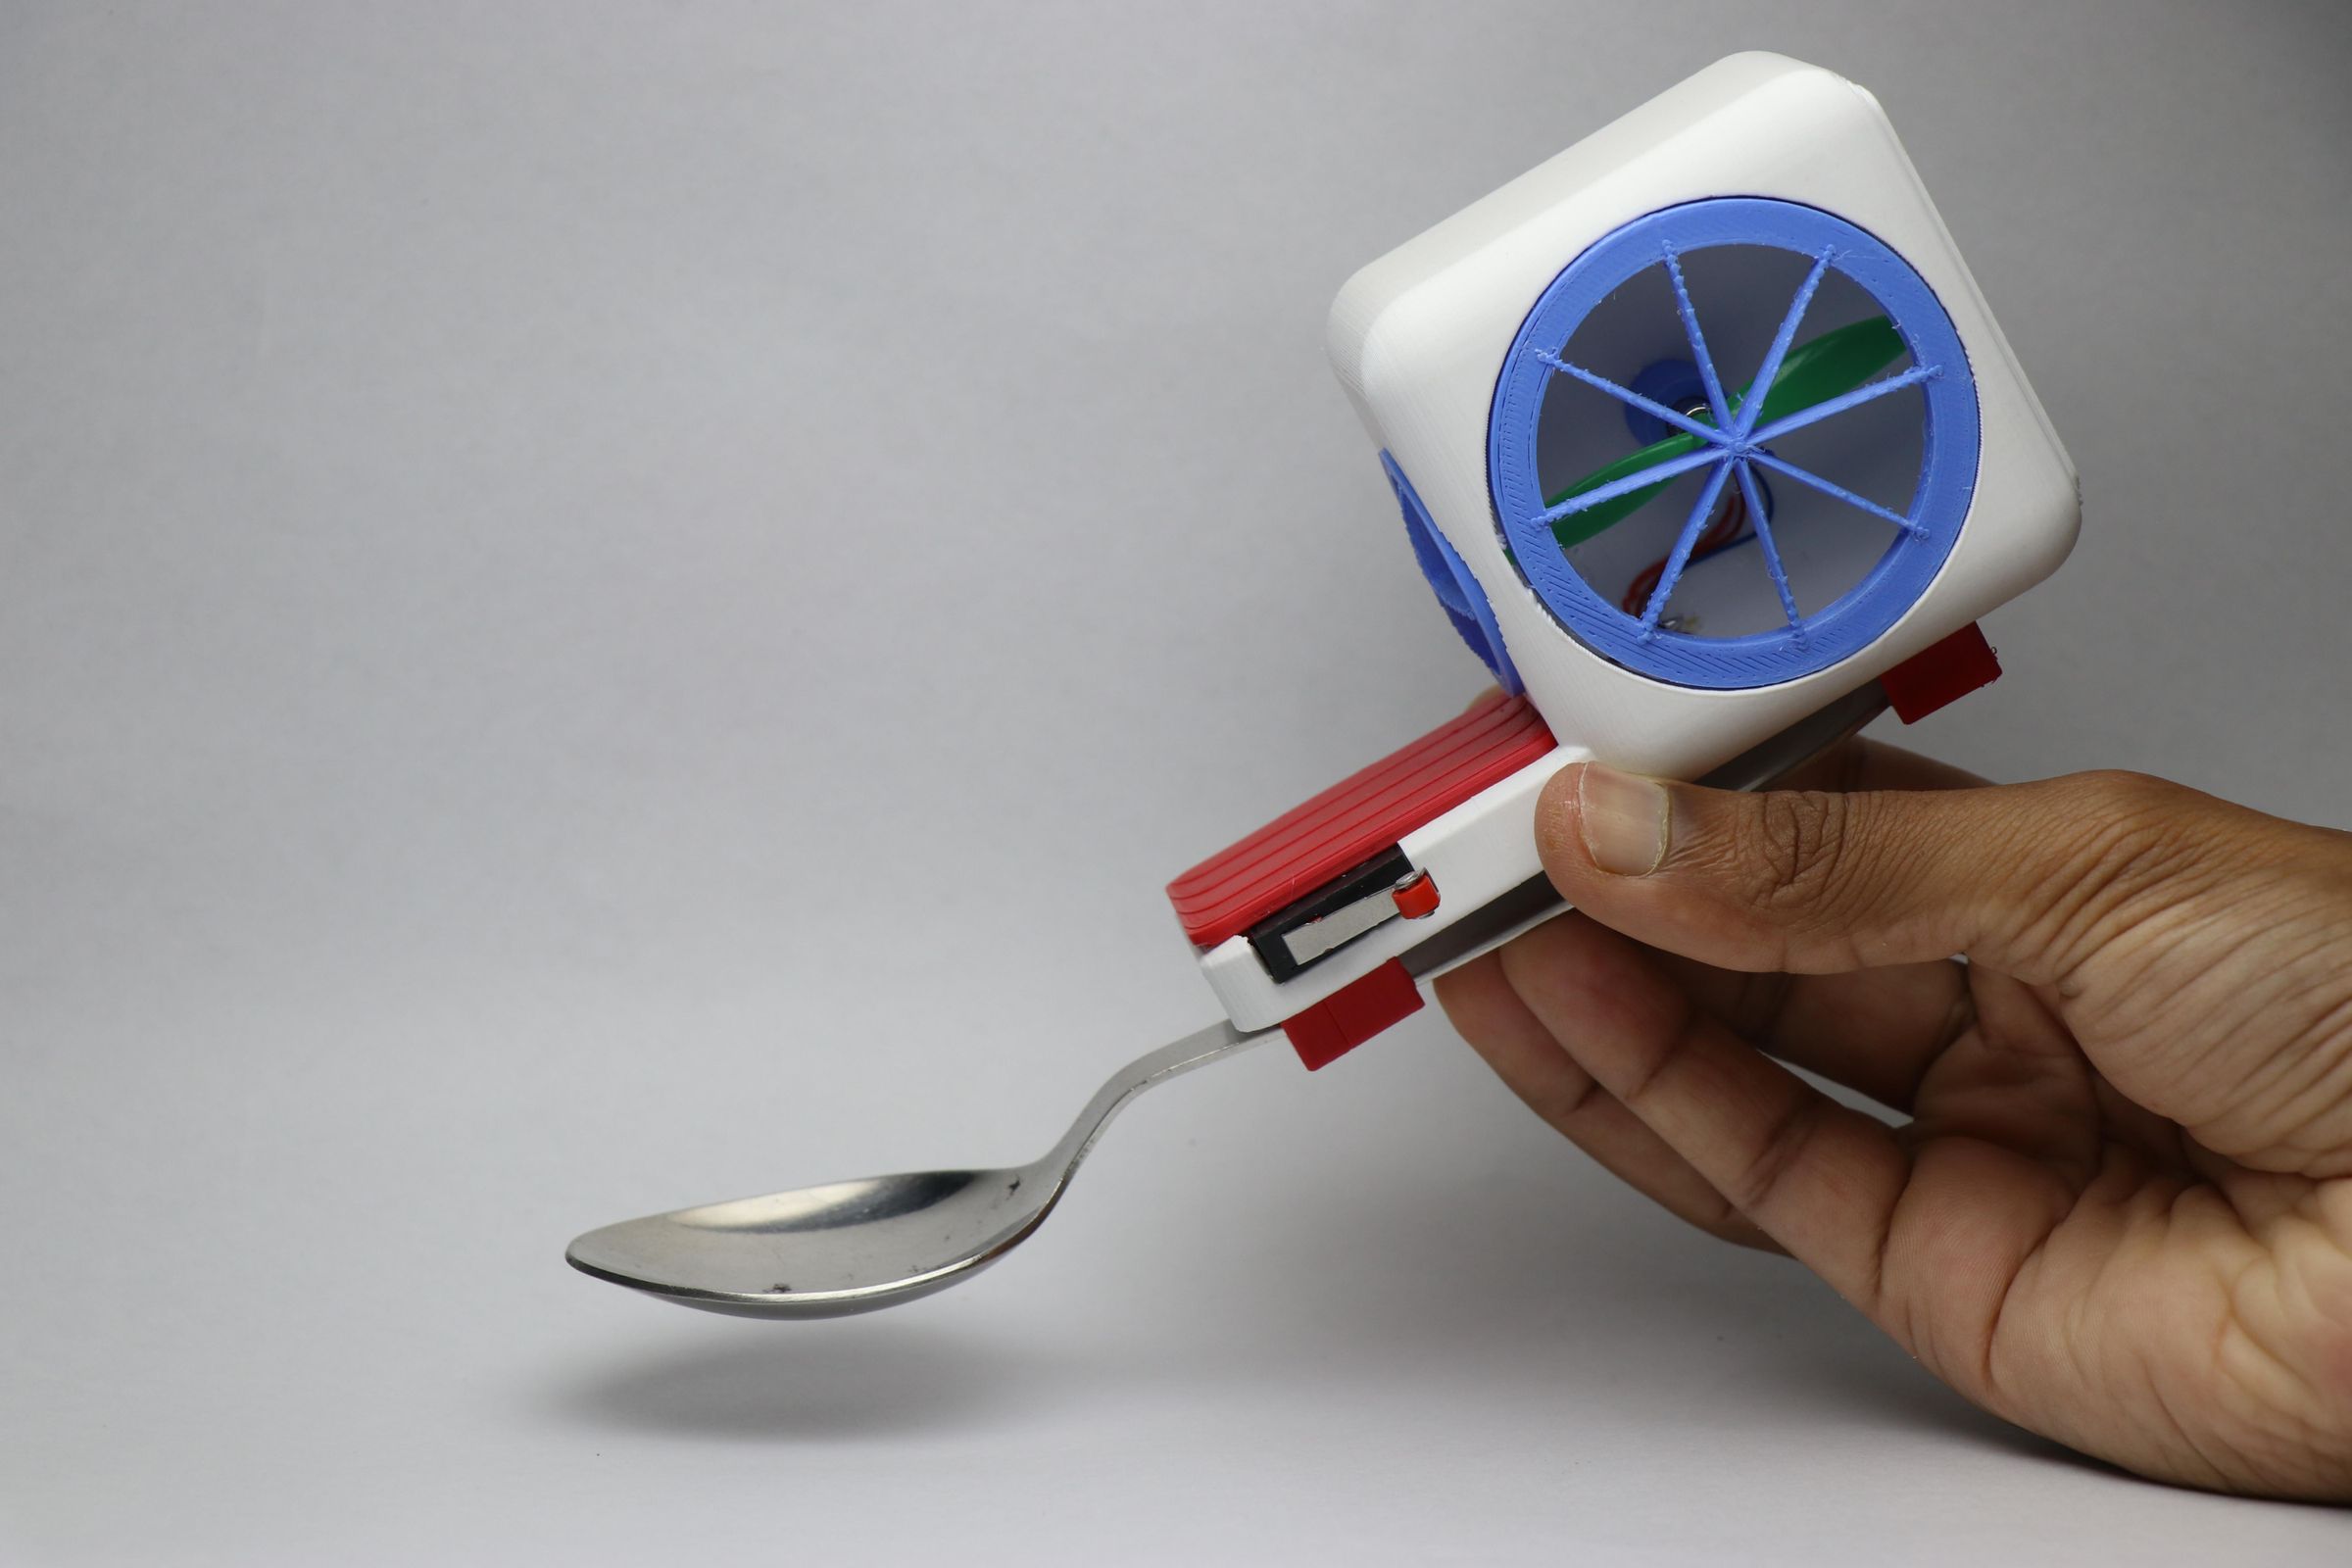
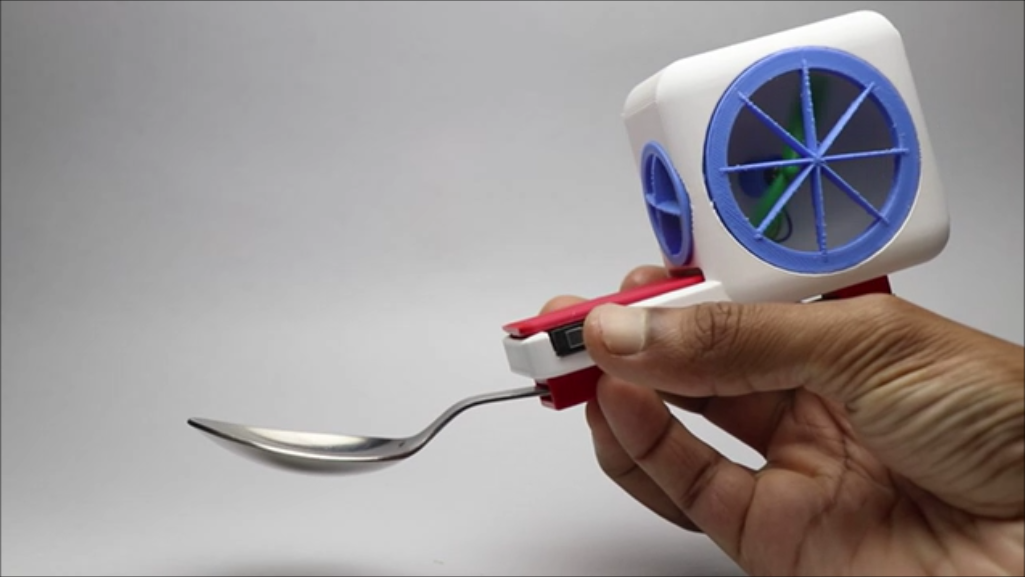
Its time to finish the project and to do this we will use the infamous spoon holder!
There is a reason why I'm using 2 of these, since we have different designs of spoons on the stainless steel type i wanted to maximize the compatibility.
These 2 holders, the one with fully hollow will be glued first and from here the spoon enters.
Other one is the holder that will be glued back and it will acts as a support for the back part of spoon and thereby giving a small inclination so that air blows directly.
Use superglue to connect these to the base and you are good to go.
Just snap the spoon(refer the type of spoon that im using) and it fits perfectly without any issue.
This also balances the weight and makes feel very light in hand, Now we can test this project for checking its working.
How to Use and Video Tutorial
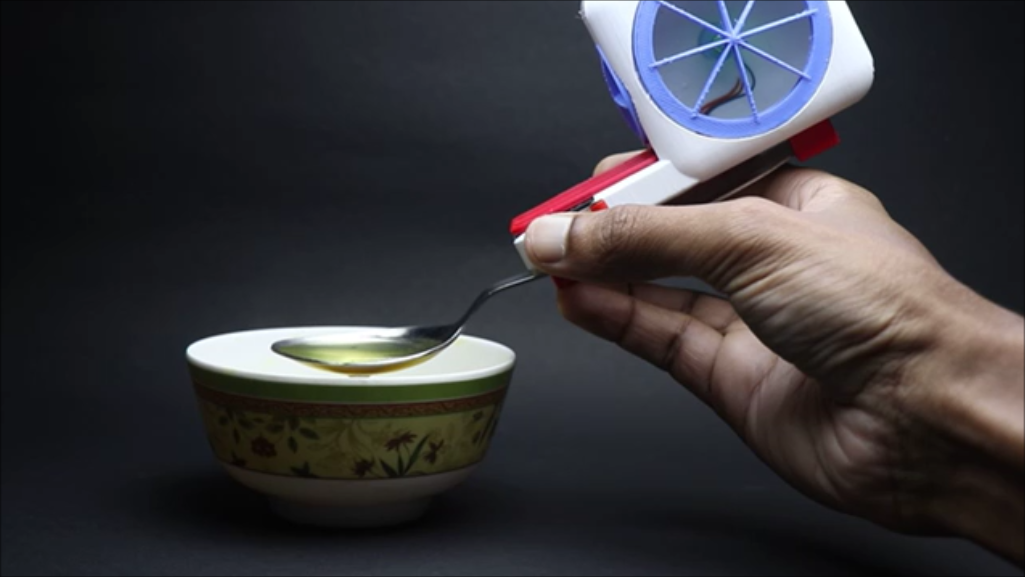
Using this project is very fun and also it is useful too, Not just buffing this works well practically and i have attached few clips inside this video so that you will know.
You can use this spoon as a regular spoon and if the food is hot you can simply press the button and instantly you can see the air blowing towards food.
You may have a question that the air that comes out from this is enough?
Yes it is more than enough, i intentionally change the direction of air flow so that we have decent air flow and not too much to blow away the soup!
This has a decent working time and if you run out of charge simply plugin to any USB source and you are good to go again after some time.
Hope you will find this project useful, if you have any questions ask in the comments and also watch this video tutorial of build and various tests.
Thanks and wishing to see your builds in the i made it section!