How to Make IoT Plant Watering System With Web Server Monitoring
by ROBO HUB in Circuits > Wireless
5285 Views, 42 Favorites, 0 Comments
How to Make IoT Plant Watering System With Web Server Monitoring


Hi Readers, In this instructable I will show you how I made this IoT Plant Watering System with Web Server Monitoring.
You can check the status live on your phone and can water the plant with the press of a button.
You can also build this project, I bet it will be very easy even for a beginner to follow these steps, I have provided step by step building process along with a detailed circuit diagram and codes + a video tutorial.
Note: I will work on version 2 of this project by adding much more options on the web servers.
What Sparked me to come up with this project?
I have some indoor plants and with my busy work schedule, I always forget to water them! (So sorry plants, at least I am honest)
I looked up automation gadgets online and those seemed expensive, I didn't want to buy them!
It really feels sad to pay for something that you can literally make for a fraction of the cost.
Money is not the lead role here, But the joy of building something you love is priceless.
With a cheap wifi development board, and some other inexpensive electronics I was able to build this fully functional plant watering system.
After this project you can keep your plants healthy by supplying water on time, Why would i say this? Because we always have phones in our hands!
What to expect from this project: Plant enthusiasts can easily maintain optimal soil moisture levels and ensure the well-being of their plants, even when they are away!
Supplies

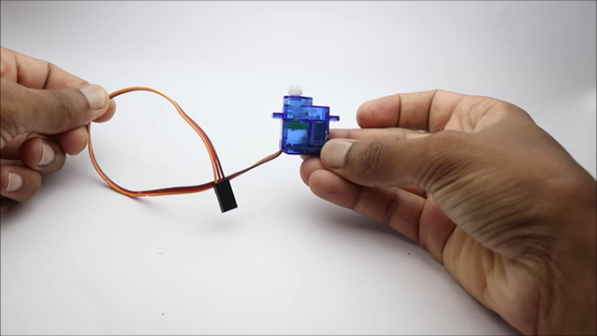


Gather these required components:
NodeMCU (ESP8266) microcontroller board
Soil moisture sensor
Micro servo motor
Submersible pump
Toggle switch
Jumper wires
Power supply (battery or USB)
Cardboard base
Small container with water
PLANT you forget to Water!
Circuit Diagram
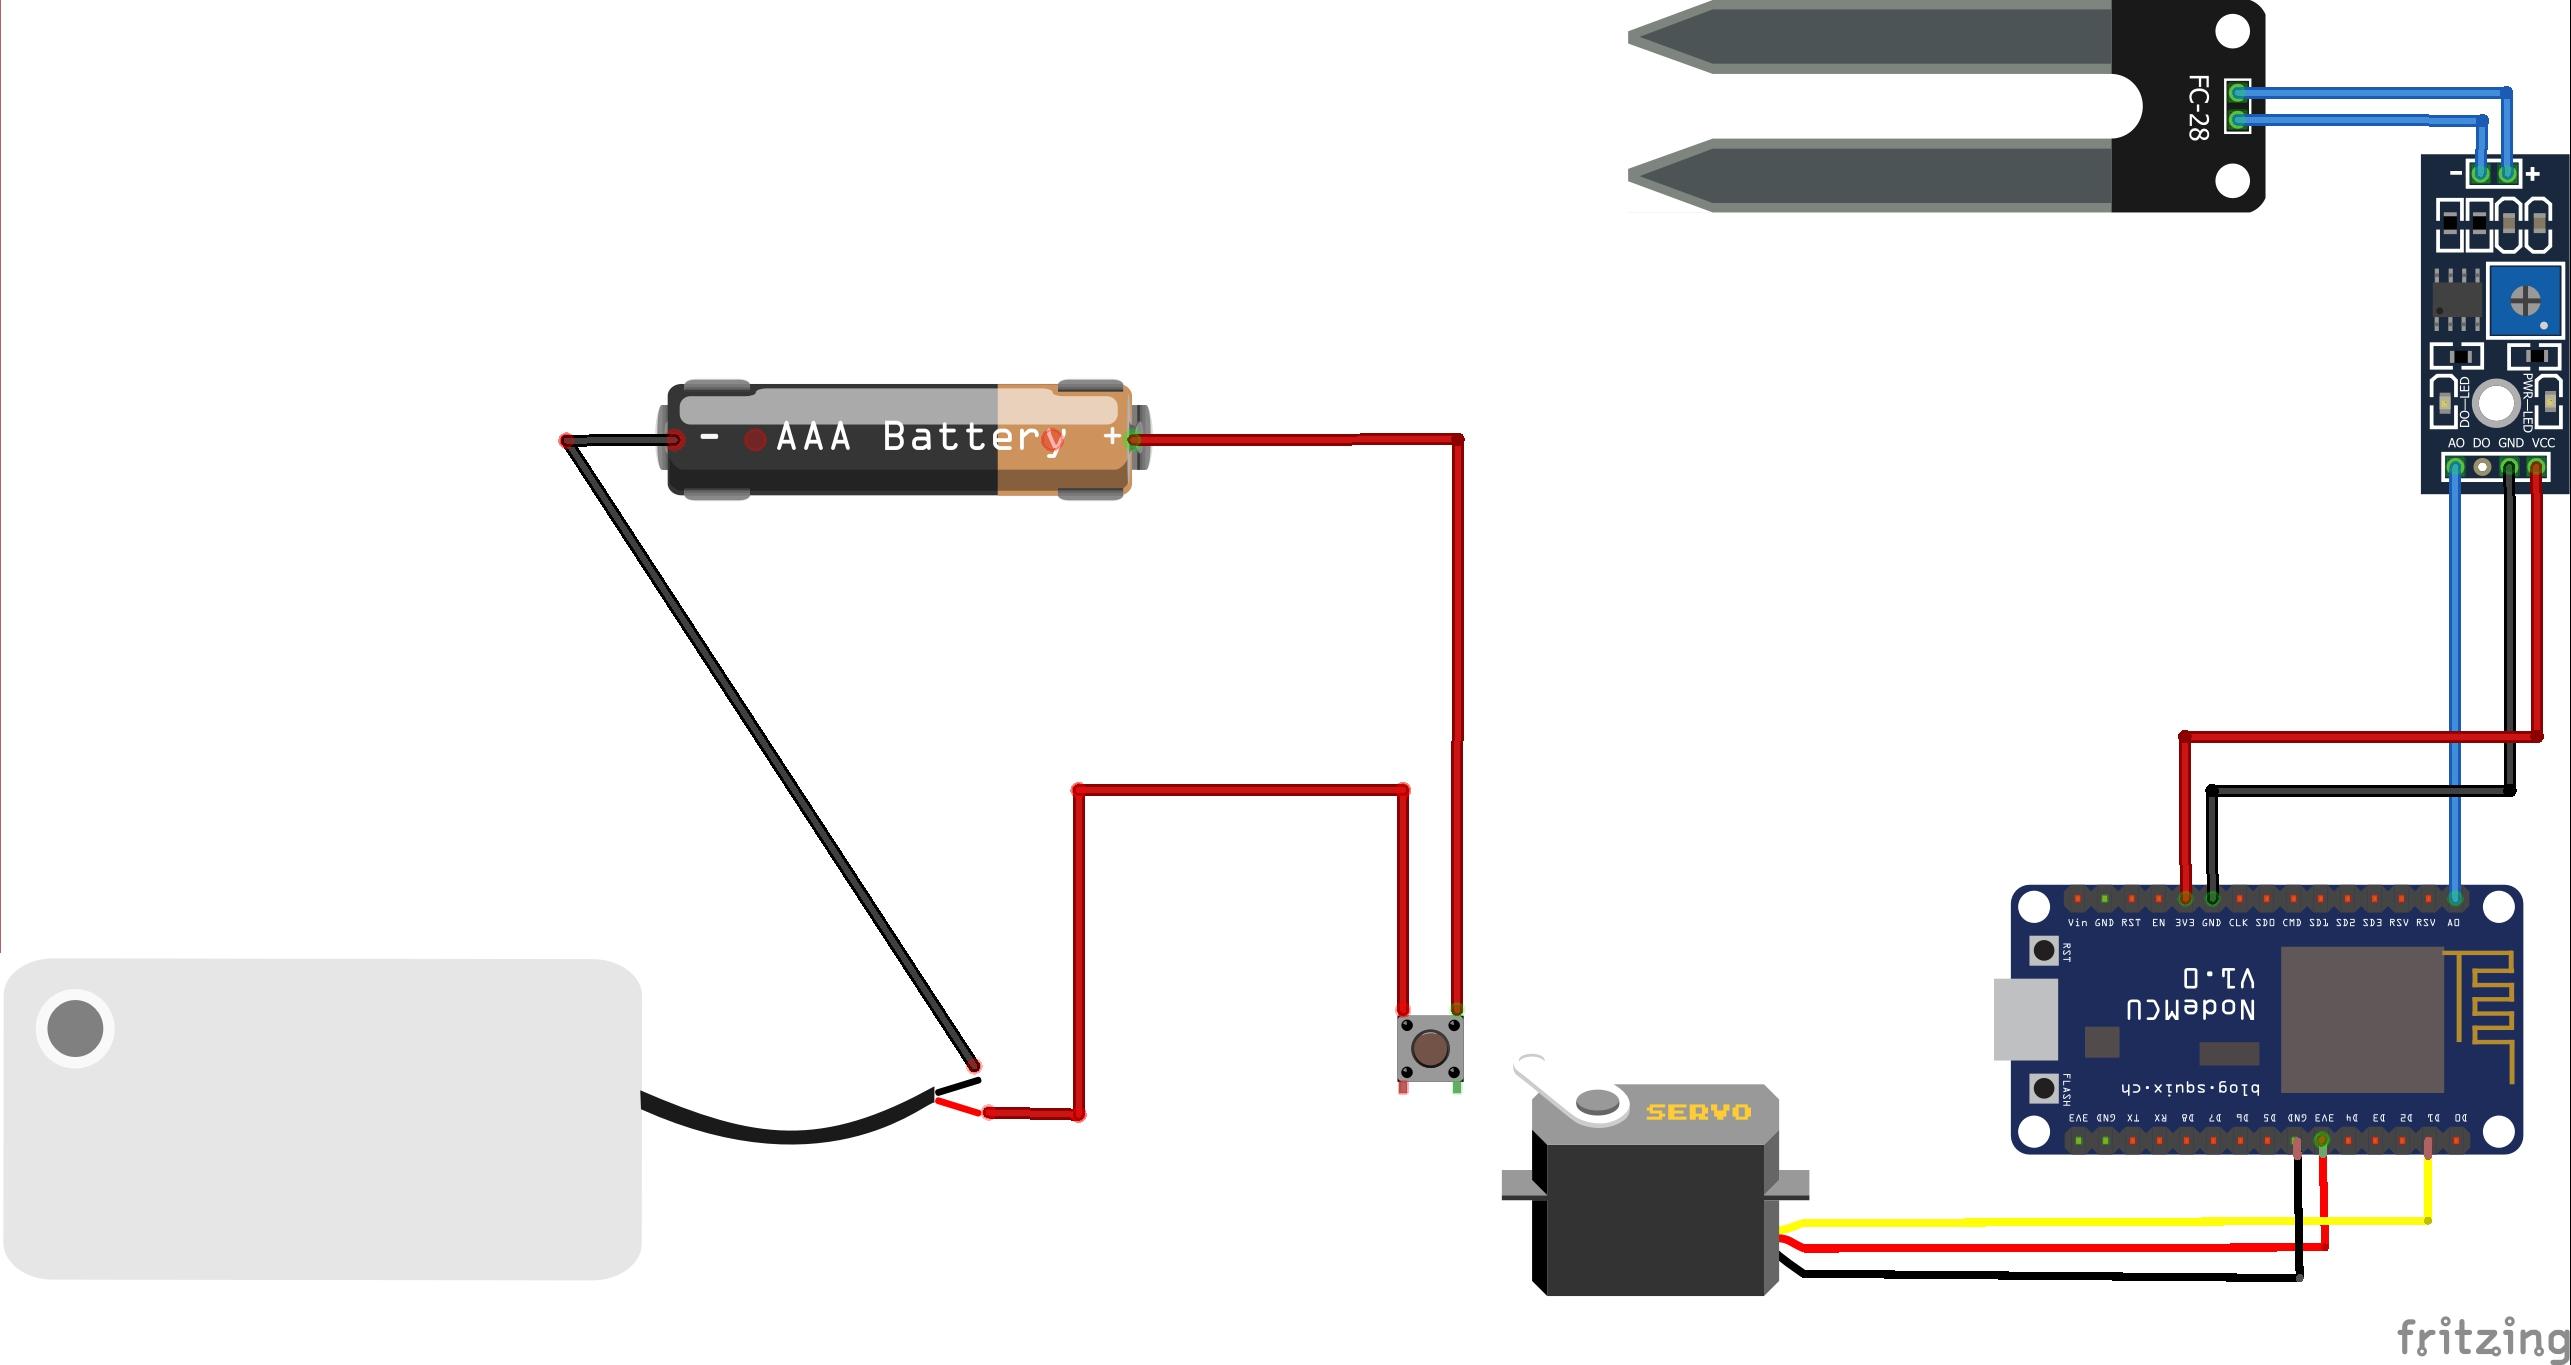
The circuit is very simple
In this project, I have split the circuits into two
First is the Nodemcu, soil moisture sensor and servo circuit
The soil moisture sensor has 3 pins, Vcc, Gnd and A0
Vcc is connected to 3v pin, Gnd to Gnd and A0 to A0 pin on nodemcu.
Servo has 3 pins Positive, Negative and signal
Positive to 3v pin, Negative to Gnd pin and signal to D1 pin of nodemcu
The second is a submersible pump
This is a very basic circuit, the pump is connected to the battery, and the other end of the battery and the pump is connected to a toggle switch.
To activate this circuit we are using the servo movement from the first circuit.
The toggle switch will be pushed by the horns of the servo in return making the submersible pump work.
WHY 2 Separate circuits?
This is because I didn't want to use any source of AC input(relay module to convert to dc power) This makes the circuits complex
I wanted to use only the safest means of power supply, and here comes the power bank!
And secondly, the submersible pump handles water, if there is any mistake the water might splash the electronics thereby causing damage
So 2 separate circuit solves all these issues!
Circuit Connections


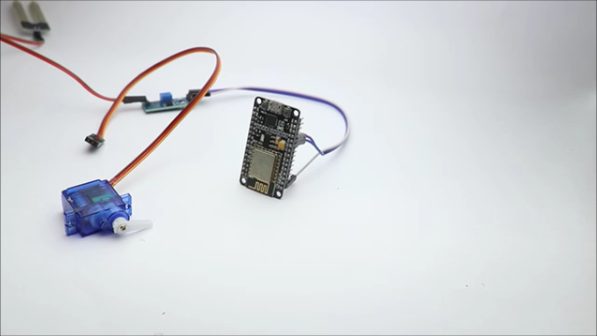

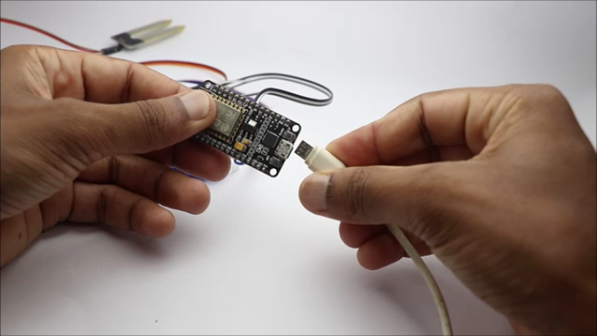


I will be using jumper wires to make connections between different components.
Start with the soil moisture sensor, connect these first to nodemcu board.
Later work with micro servo, This completes the first part.
After this process, you can upload the code to the board.
I did not use any breadboard to make the circuit as it increases the number of jumpers used, so i thought direct connections would reduce the wires to some extent.
Want to simplify this circuit? Buy PCBs for your electronic projects from PCBWay.
Why them? They have provided me with the best PCB and The quality is just amazing compared to other providers in the market
Its definitely the right time to use their service as they are raining offers due to 9th-anniversary check offers here https://www.pcbway.com/activity/anniversary9sales.html
Free coupons, Anniversary sales, and blind boxes are live, Checkout the free coupons they are offering upto 200$
Don't miss to check their blind boxes, with this game you can try your luck by participating in their lucky draw.
How to play? Just click here and open any of the boxes! also, earn coupons by sharing the links with your friends, refer the last visual of this step for the same
Do you remember my last 3D-printed project? I got the prints from here https://www.pcbway.com/rapid-prototyping/
Arduino Code

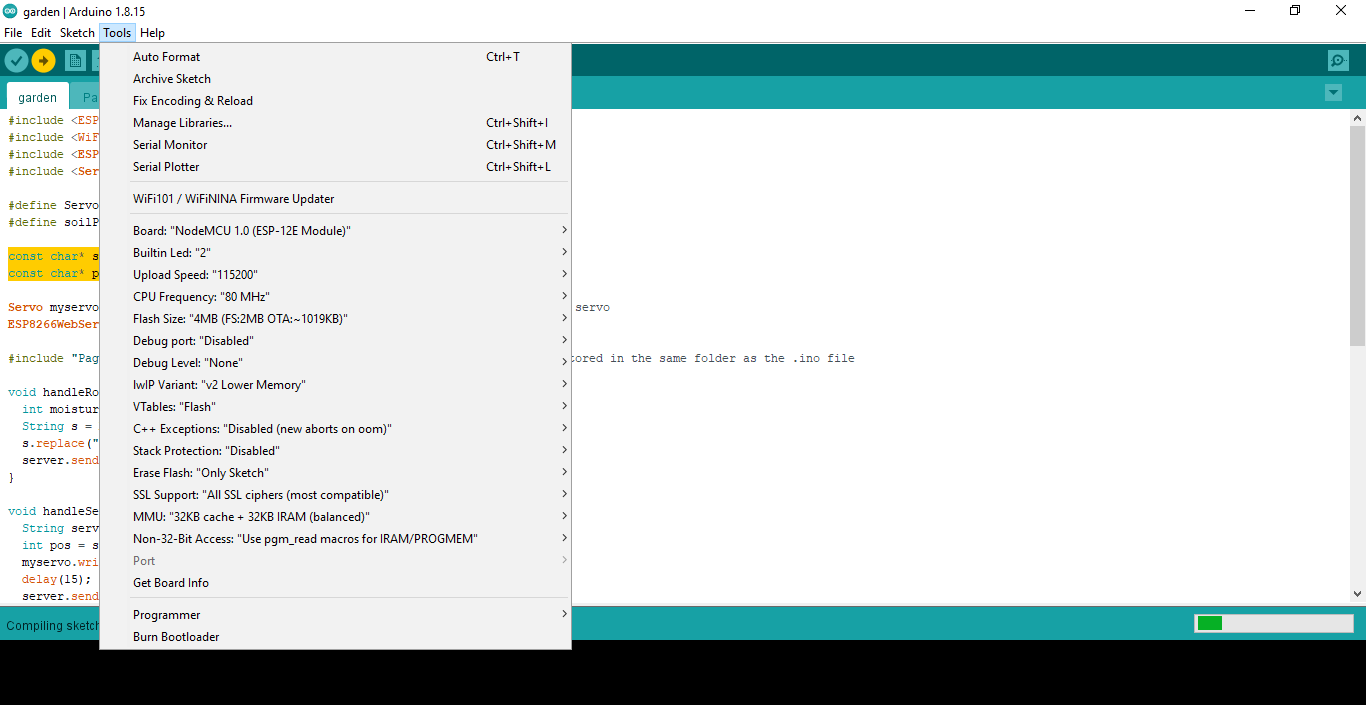
These arduino codes come with a change, let me explain it why i said so.
To begin with i will go with the general code format
As usual code includes the necessary libraries for using the ESP8266 board, WiFi functionality, web server capabilities, and servo motor control.
If you are using my code you need an page.index file(attached below)
Copy and paste this file to another tab on arduino ide
Why use page.index file
The code includes the contents of the User Interface Web page, which is stored in a separate file called "PageIndex.h". This file likely contains the HTML and JavaScript code for the web interface.
If You like playing with codes here is some definition for you!
HandleRoot()
The handleRoot() function is called when a client requests the root location ("/"). It reads the analog value from the soil moisture sensor using analogRead(soilPin), maps the value to a range of 10 to 0 using the map() function, and replaces the placeholder "{{moistureLevel}}"
In the HTML template stored in the MAIN_page variable with the moisture level value. Then, it sends the modified HTML as the response to the client.
HandleServo()
handleServo() function is defined. This function is called when a client sends a request to the "/servo" location with a parameter named "pos" specifying the desired position of the servo motor.
It reads the position value from the request using server.arg("pos"), converts it to an integer using toInt(), and moves the servo motor to the specified position using myservo.write(pos). Finally, it sends an empty response to the client.
setup()
The setup() function is called once when the microcontroller starts up. It initializes the serial communication for debugging purposes and attaches the servo motor to the specified pin using myservo.attach(ServoPort), connects to the WiFi network using the provided SSID and password, and waits until the connection is established.
Note: Use your own WIFI credentials
Once connected, it prints the local IP address of the ESP8266. Then, it sets up the request handlers for the root location and the "/servo" location, and starts the web server.
loop()
The loop() function is called repeatedly after the setup() function completes. It handles incoming client requests by calling the server.handleClient(), allowing the webserver to respond to those requests.
If you don't like to modify anything, just upload my code and you are ready to go.
Downloads
Testing the Circuit


Since the first part is the control unit for the second circuit we will test it first.
Connect your nodemcu to a power bank or any USB power supply device
Open the hotspot on your phone/laptop
The nodemcu will connect automatically
go to ->Connected devices and note down the IP address of your board
Paste the IP on your browser, you will see a screen with soil moisture and a slider to control servo
Dip the soil moisture sensor into water and refresh the page on your phone, it will show the moisture
Now move the slider, the servo should make movements.
This completes our first part of the circuit which you can also call a controller circuit.
Getting Everything Together




To place all the electronics i will be using the cardboard as a base.
To hover the nodemcu board, i made use of toothpicks, Just trim the sharp edges and add a drop of hot glue.
Repeat the same steps for all 4 sides, Stick on the board using superglue.
To sort out the wires issue i used a 3d printed part, because of this part i was able to clear a big pile of jumpers lying around.
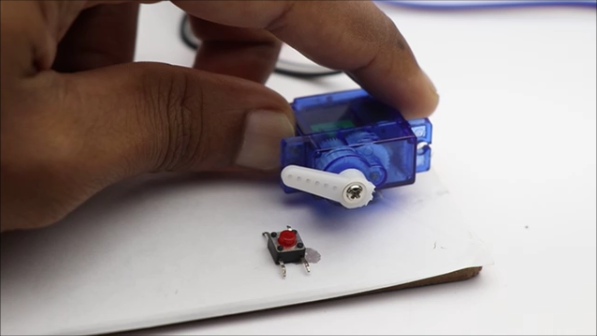
To make the servo horn run the toggle button, i glued the toggle switch to the board first, later to its side i glued the servo.
All other components are placed on the board.
Finishing

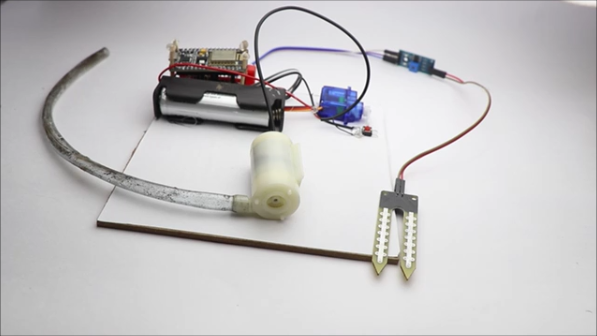

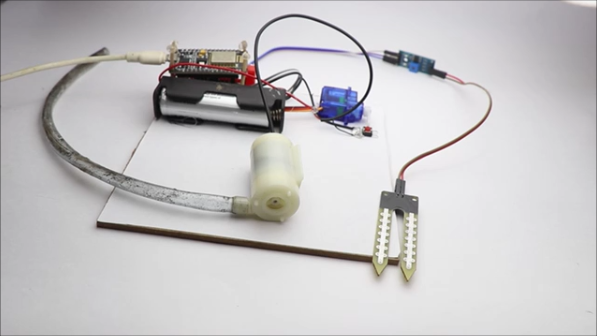
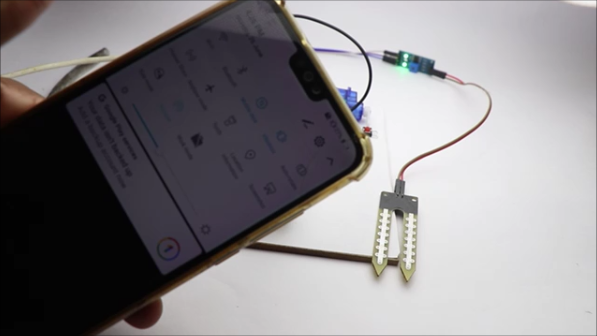
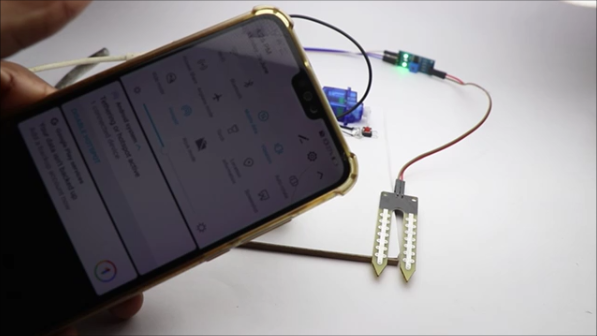


Like i mentioned earlier submersible pump is activated by pressing toggle switch.
From the second image of this step you can see the placement of servo horn and toggle switch.
Use hot glue wherever necessary to keep the components in place.
After everything is in place, connect USB power supply to the nodemcu, turn on mobile/laptop hotspot.
Nodemcu connects with your device, from there type your IP on the browser tab.
You will see an option to check moisture level at the top followed by a sliding button to on and off servo.
On sliding the servo button, toggle switch is activated as a result water is supplied.
Water storage container can depend on the amount of water you would supply for the plant, Each plant requires certain level of water.
Working Video of Smart Plant Watering System

Here is the video tutorial of what you just read, it shows the working too that you should definitely check out.
If you face problem with your auto video play here is the same link https://youtu.be/hBCVmhaB-Is
Hope this helps, Happy making