How to Make Mini Electronic Piano Using Arduino
by ROBO HUB in Circuits > Arduino
2026 Views, 11 Favorites, 0 Comments
How to Make Mini Electronic Piano Using Arduino
.JPG)

.JPG)
Hello guys, In this instructables i will show you how i made this Mini Electronic Piano using Arduino that can play sounds like the real piano.
The best part about this piano is you can carry wherever you go and most importantly it is programmable so that you can customise this as per your needs.
Like a usual piano when u press a button the tone will be played on speaker and if you press combination of buttons it will give out a music.
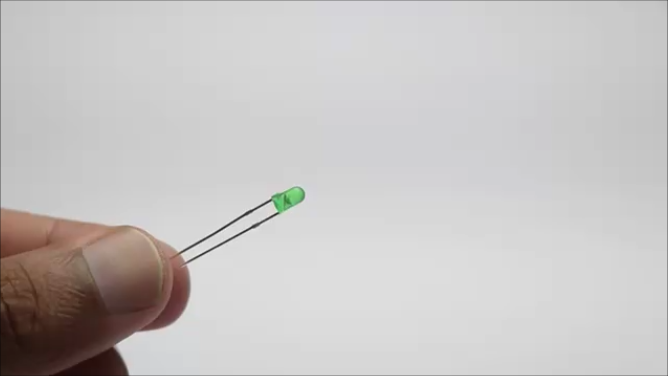
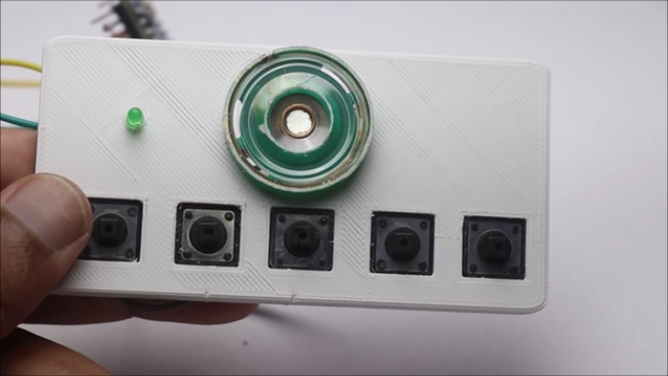
There are 5 buttons in total and when you press each button different sounds are played accompanied by an green LED.
Complete body parts are 3d printed and it is very easy to print.
You can use your favourite color and make multi color design combinations that matches your clothes!
Since the holiday season is coming up, this makes a great DIY gift idea for friends who love music or tinkering with electronics.
I’ve carefully documented all the steps, parts, and code, and included a complete build video in the last step of this Instructable.
Give a try to make this cool project since i will be explaining the build process in simple way as i can.
Supplies

These are the supplies that you will need to build the piano
Arduino Nano from here
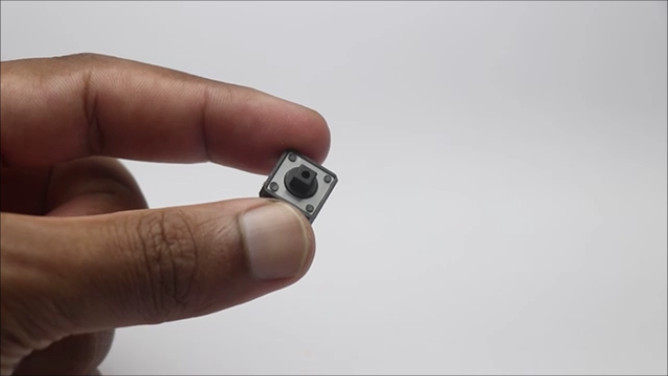
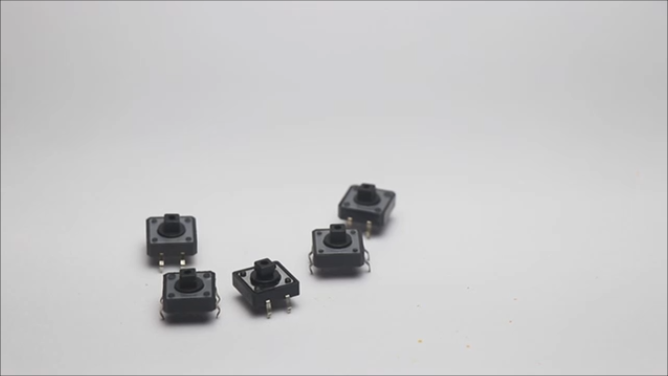
Push Button x5
Striped wires
Led (color of your choice)
Soldering Iron and Lead
Arduino IDE
Programming Cable
Super Glue
If you buy from these links I may receive a small percent of sales at no extra cost to you
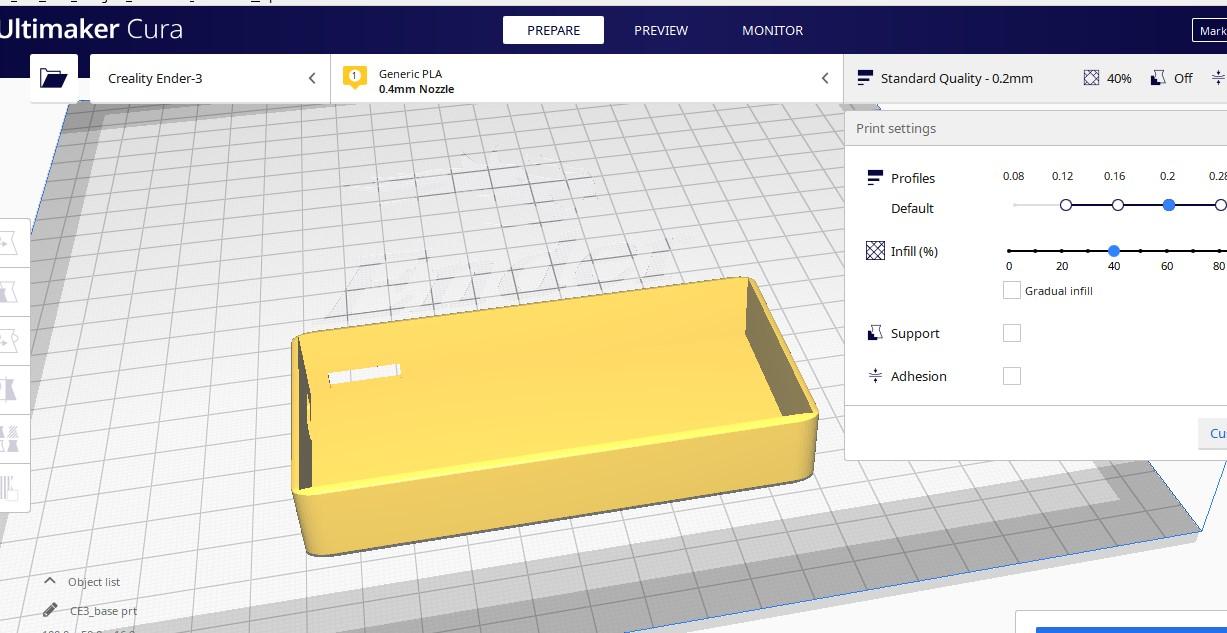
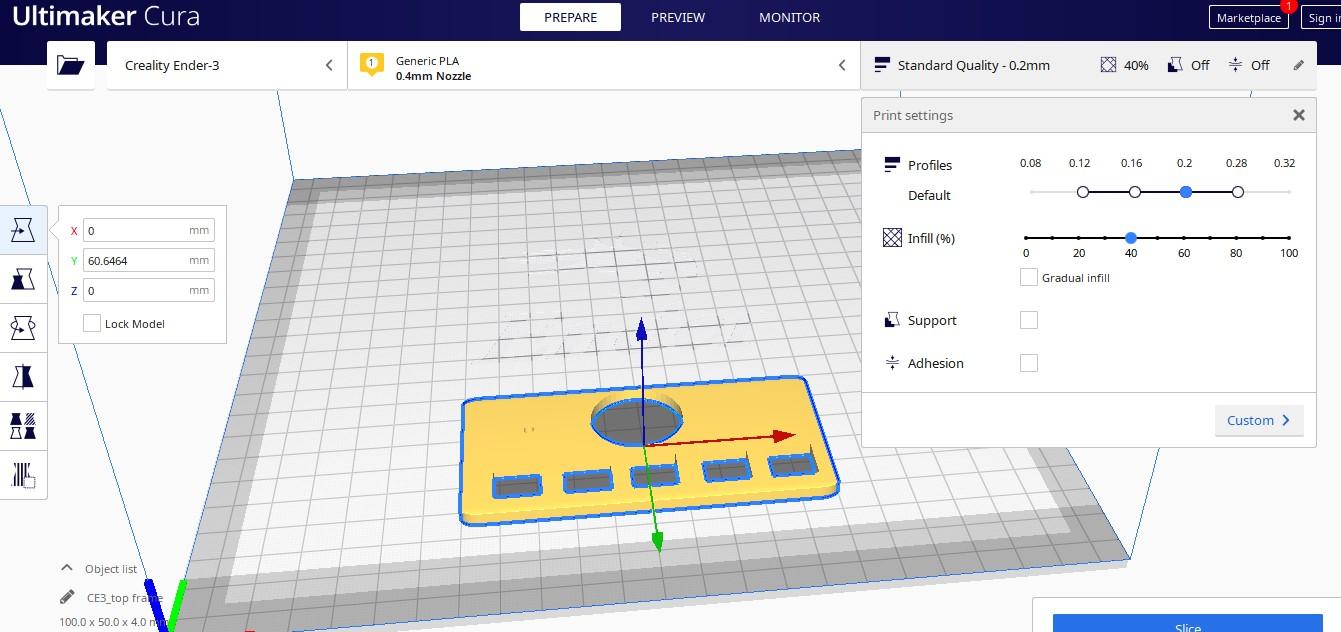
Design and 3d Printing

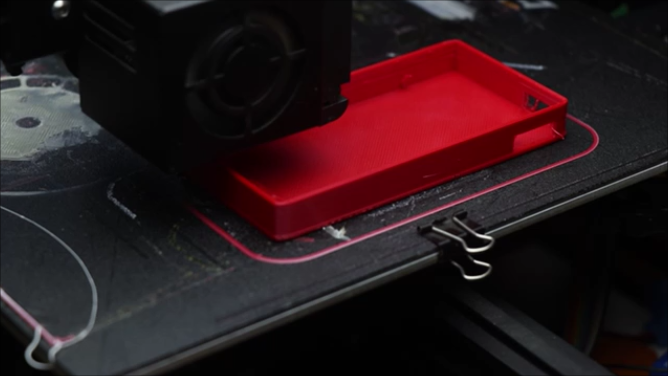

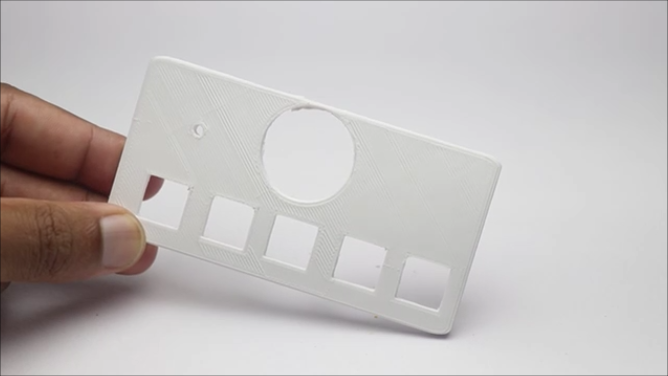

The first step in making any project when you consider using 3d printed parts is the design and the compactness.
I designed the frame for this piano using Tinkercad and my choice of design had 5 buttons on the piano.
There is no limit to add the push buttons, you can choose higher number of buttons if you want.
After the design is complete export the design to any slicer, i have easen the work for you.
Simply export the STL and use it in your slicer, if u still want my og design file i can give it for you, just ask in the comment.
The 2 design doesnt need any rafts or supports at the time of printing, You can simply follow my slicer settings.
The printing time is less than 2 hours, the choice of color is left to you.
There is some changes i made to the base part to increase the height, you can use my files directly
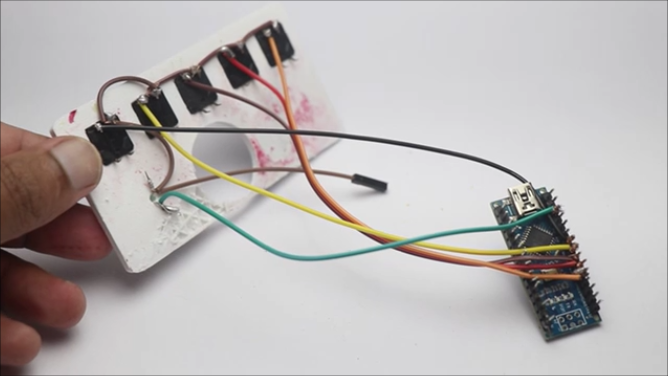
Circuit and Codes


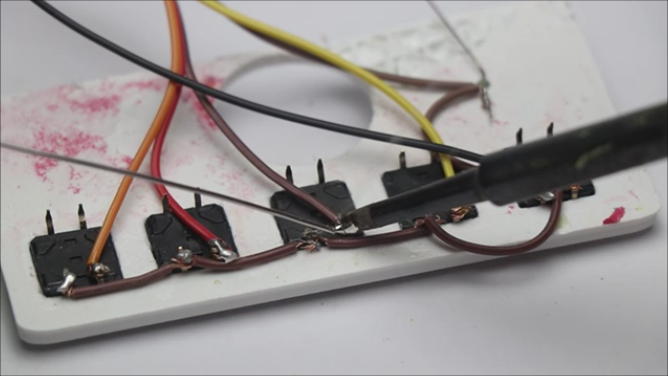
The circuit is easy even though it looks complex.
I have used 5 buttons in total, the push button pins are connected to D2, D3, D4, D5 and D6 pins respectively.
Other pin of push button is connected to gnd, and the led one end that is ground is connected to gnd and the other terminal is connected to D10
I recommend to use soft cables that are flexible since we are compressing the circuit when we combine the base and the top part.
Since i had the pins already soldered on my nano board i had to use jumper cables, you can solder directly too.
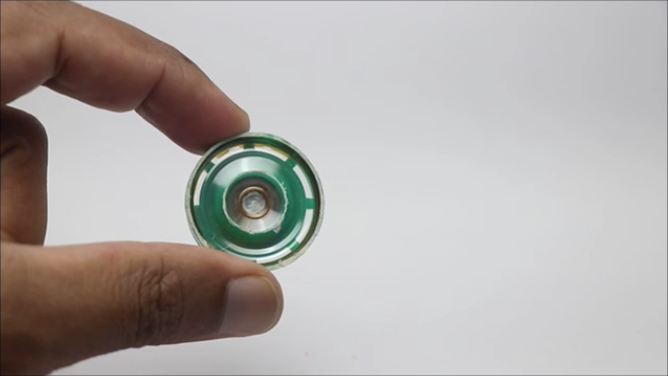
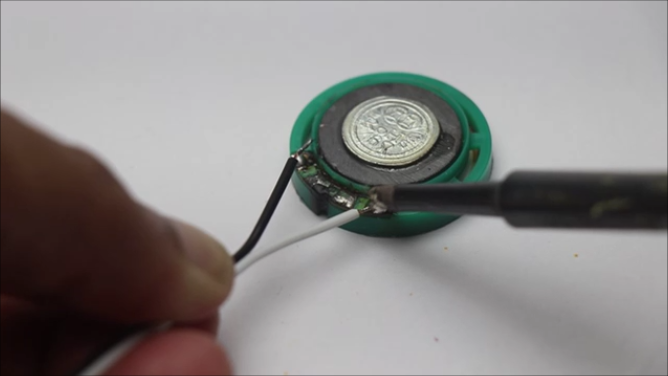
Speaker gnd goes with ground whereas the other terminal is connected to pin D9 on the nano board
After you make all these connections connect nano to computer and paste the below code into your Arduino Ide.
Select proper board type and port and click on upload button, now if u want different tones make changes in the code.
Thinking of reducing the circuit and replace it with a PCB? Then you can consider checking NEXTPCB website they are providing PCB at $20 off and the first PCB for your project is on them! How cool is that
Have you heard about ceramic PCB earlier? maybe you havent but they manufacture it and i would say from makers point of view you can create super fancy projects using those.
Download their free PCB designing tool from here and have access to manufacturing analysis tool
Check their website for more exciting offers, they have all high quality products and services at very affordable prices so you can make high quality prototypes and products.
Downloads
Assembling the Components


Start by connecting the push buttons to the top frame, I made the design to fit the frame well.
For ensuring great strength i will also add super glue to the corners of push buttons and the 3d printed frame.
I will then solder the jumper cables to the push buttons pins, before soldering gently scratch the pins of the push button so that the wires adhere properly.
After the push button part of soldering is complete move on to the led part, in the end secure the joints if needed with hot glue.
Double check for the joints before insulating.
Pull the wires out and then solder the end of wire with speaker terminals, if you want to double check connect the arduino with usb power and press any button to check led and speaker.
Now attach the arduino nano to the base of 3d printed part, wait for drying after you apply the hot glue.
Connect the base with the top part and to the joining part add some hot glue, gently press both the parts and allow to dry well.
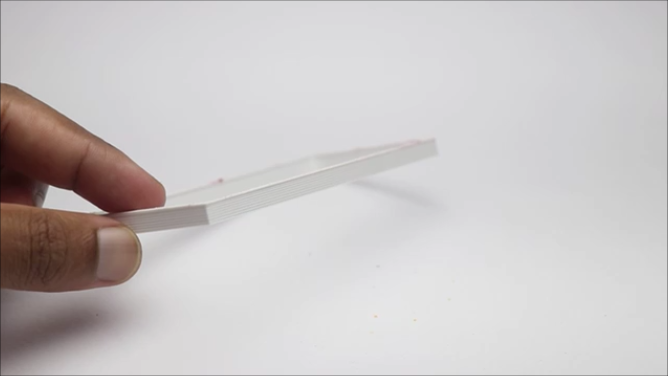
In my case the base broke at the time of print, i have fixed the issue for you guys, so i had to extend the height with another part which you dont want to do.
How to Use and a Video Tutorial

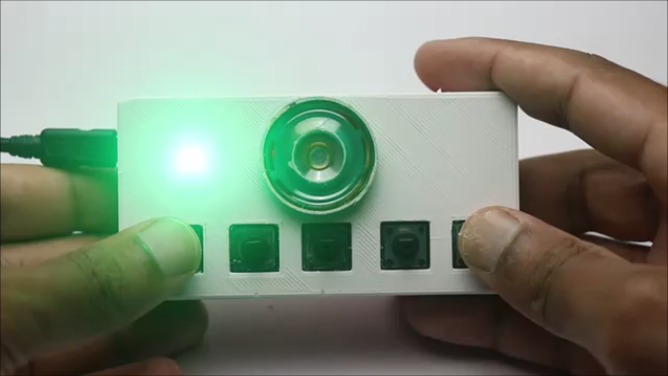


Using this is very easy, all you have to do is connect this piano to any USB source and you are ready to go.
Test by pressing the buttons one by one and you will hear a different tone when u press each button. If u don't like the music change the tone and you can use it.
As you press the button, simultaneously the LED turns on and upon pressing a combination of buttons you can create a tone.
It is very fun to play and gives out good tones that make you feel relaxed.
This is all about this mini electronic piano. If u still have any questions or suggestions for improvements, let me know
Here on the images, I can't show you how it sounds, so consider watching this video to see the whole build process.
I have programmed the arduino to sound differently in the second half of the project.
So what are you waiting for! Build this project and show off your creations in the i made it section.
Happy building and have a great day.