How to Make Wooden Pens


To begin gather all your materials. It is best if you order pen kits that come with pen accessories.
Supplies
All together these are the required materials/machinery:
7mm pen mandrel
Set of Slimline bushings
7mm drill bit
2 brass tubes per pen
CA (cyanoacrylate) glue or two-part-fast-drying epoxy
Two pen blanks per pen
Pen press, vise, clamp, or jig
80 and 400 grit sanding supplies and finish
Drill press
Bandsaw
Lathe
Safety Glasses/Face Shield
Ruler and a Pencil
Gloves
6mm trimming bit
1 woodturning lathe carbide (or steel) tipped finisher tool
Wiping Cloth
Friction based finish
Picking, Measuring, and Cutting Blanks

.jpg)
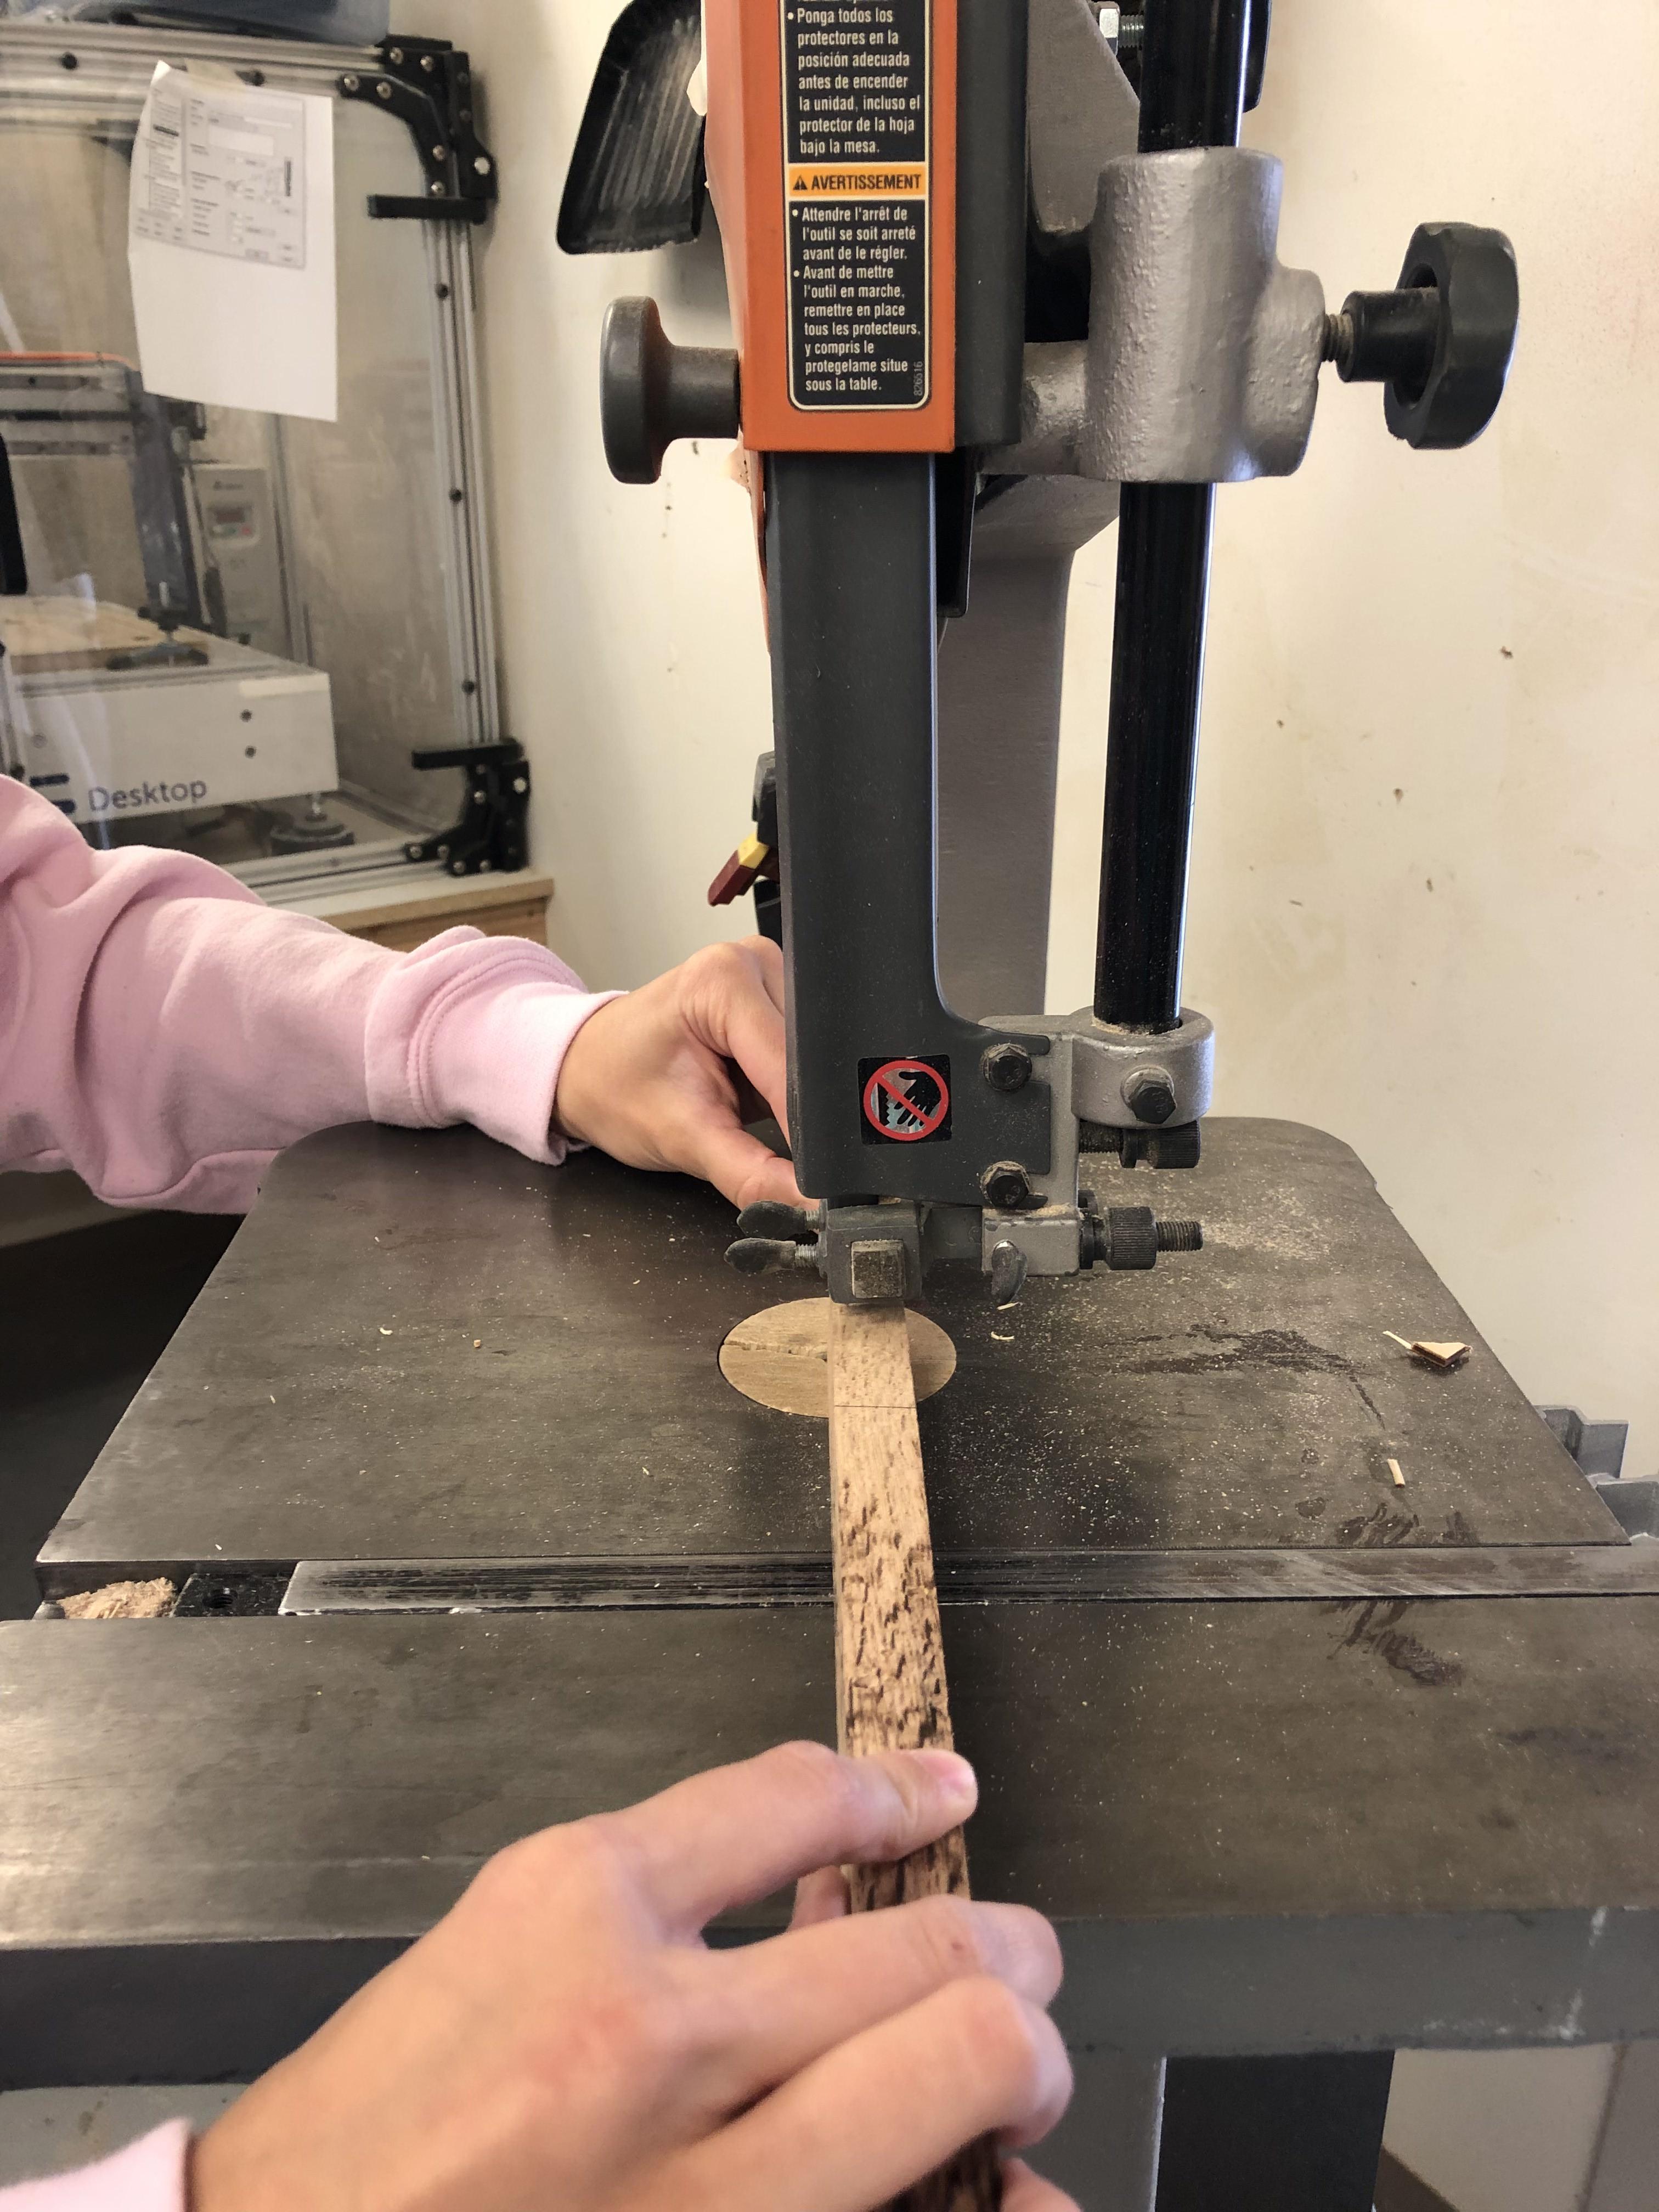
Obtain your 3/4" by 3/4" piece of wood that you would like to use for your pen. You will need to have two blanks cut that is 2 1/4" long for each pen. Once you have marked your pen and it is ready to be cut you can head to the bandsaw. Try to follow the measured line as best as possible however if it comes out to me a little shorter/longer if won't be a big deal. When operating machinery don't forget to wear safety glasses and later on in pen making you will also want to wear a face shield.
Marking Center and Drilling Blanks


Mark the ends of your blanks with a center point. You can do this by using a rule and lining it up with diagonal corners and drawing a line. After this, you can drill your holes. You will need a drill press, a 7mm drill bit, and either a jig or sturdy clamps. Line up the bit with the center point of your wood and slowly start to drill the hole. Don't drill the hole all in one go. Drill a little and then bring the bit up, drill some more and bring it up, and then drill all the way through. Repeat this for the second blank.
Gluing Blanks to Tubes


Now from your pen kit grab two brass tubes, glue, and 80 grit sandpaper. Start out by sanding your brass tubes. Then put on gloves and add a small amount of glue to the surface of the tube and then quickly insert it in the hole of the blank. Let the glue dry for 24 hours before moving forward.
Trimming the Blanks to Length


Using a drill press and the trimming bit trim the excess wood and the wood should be flush with the brass tubes on each end. This will also scrap out any excess glue on the inside.
If you don't have this bit you can sand the blanks with a belt or disc sander and scrap the glue out by hand but the first method is highly recommended.
Mandrel Preparation
.jpg)
.jpg)

Gather mandrels, bushings, rivet heads, and wood blanks. Place the materials on the mandrel in the correct order (as seen in picture two ).
Turning the Blanks
Insert the mandrel into the lathe. Place your tool rest parallel and as close as possible to the blank, making sure the blank does not touch the tool rest. Use a turning speed of about 1,000 RPM. Turn the blanks to a diameter that is slightly larger than the bushing. From here you can turn the blank to your desired design and diameter.
Sanding and Finishing
Sand your blanks using a fine (400) grit sandpaper until smooth. Wipe excess sawdust off with a rag. Using a wiping cloth (optional: you can cut it into about 3" wide strips) and friction-based finish rub the cloth back and forth on the blanks as the lathe is in motion. Do you this 3-5 coats. It's recommended to be wearing gloves during this process. Let dry overnight.
Pen Assembly


Using the image above assemble your pen using a table clamp vise. First press pen clip/cap (1/5) into the upper barrel (3). Press the tip (7) into the lower barrel (6). Insert the pen twist mechanism (8) threaded end out into the lower barrel (6) until the indent on the twist mechanism is just covered. Then slide the brass ring (4) on the pen mechanism until it touches the lower barrel (6). Insert and screw the ink refill (2) into the pen mechanism. Before going any further make sure the pen tip is long enough to write when the ink refill is completely screwed in but disappears when you retract the pen. Lastly, press the upper barrel (3) on the pen mechanism until it touches the brass ring (4). Congrats you have completed your pen!!!